
crispy chicken tenders air fryer
intro
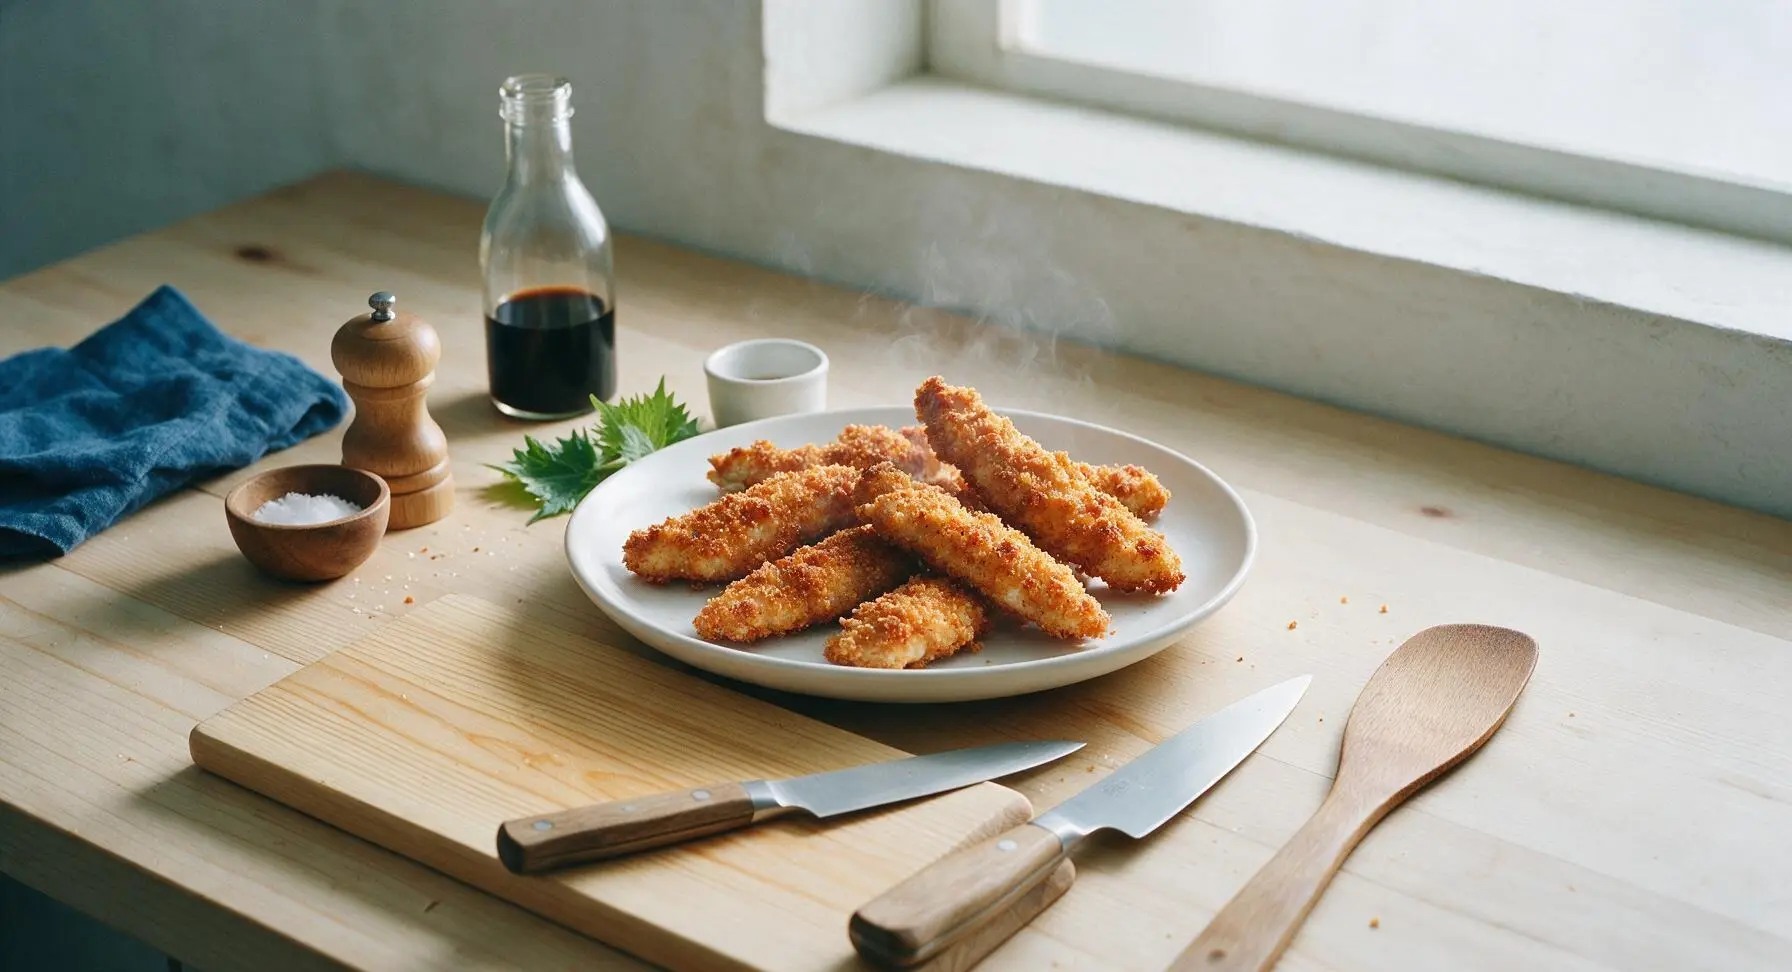
Extra-crispy, juicy chicken tenders made in the air fryer with a fraction of the oil of deep-fried versions. Golden, perfectly seasoned, and ready in 25 minutes for fast, low-mess meals.
Ingredients
Steps
Prep Chicken and Breading
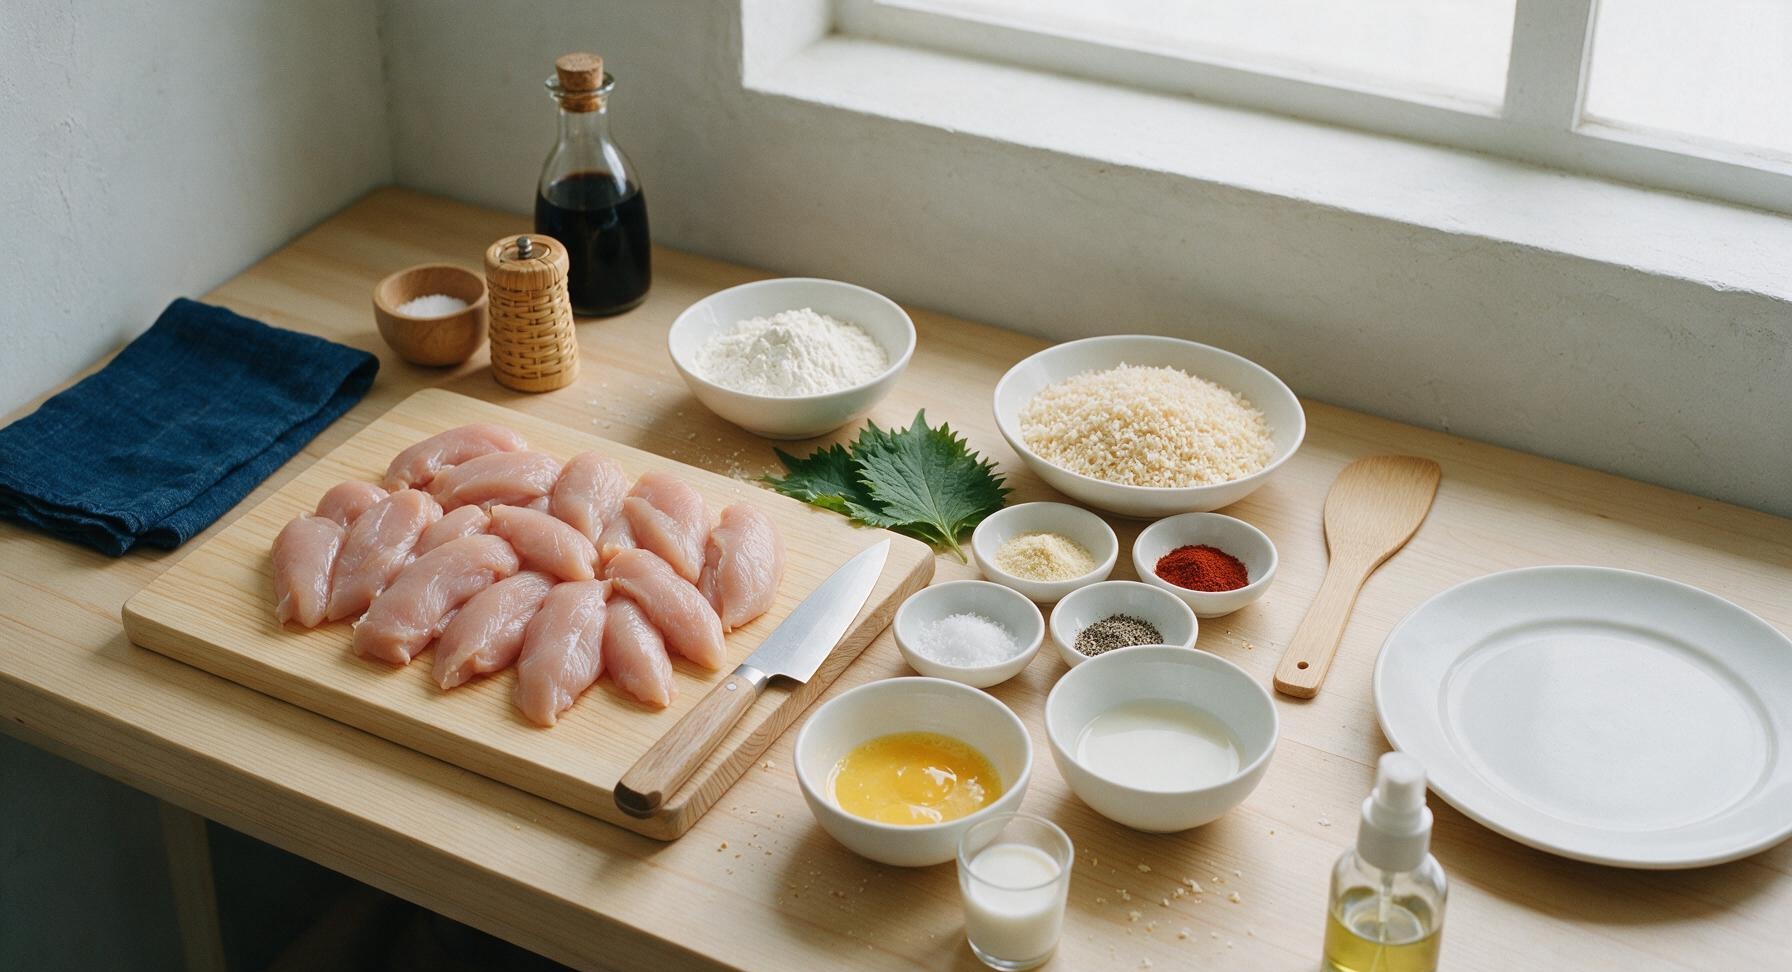
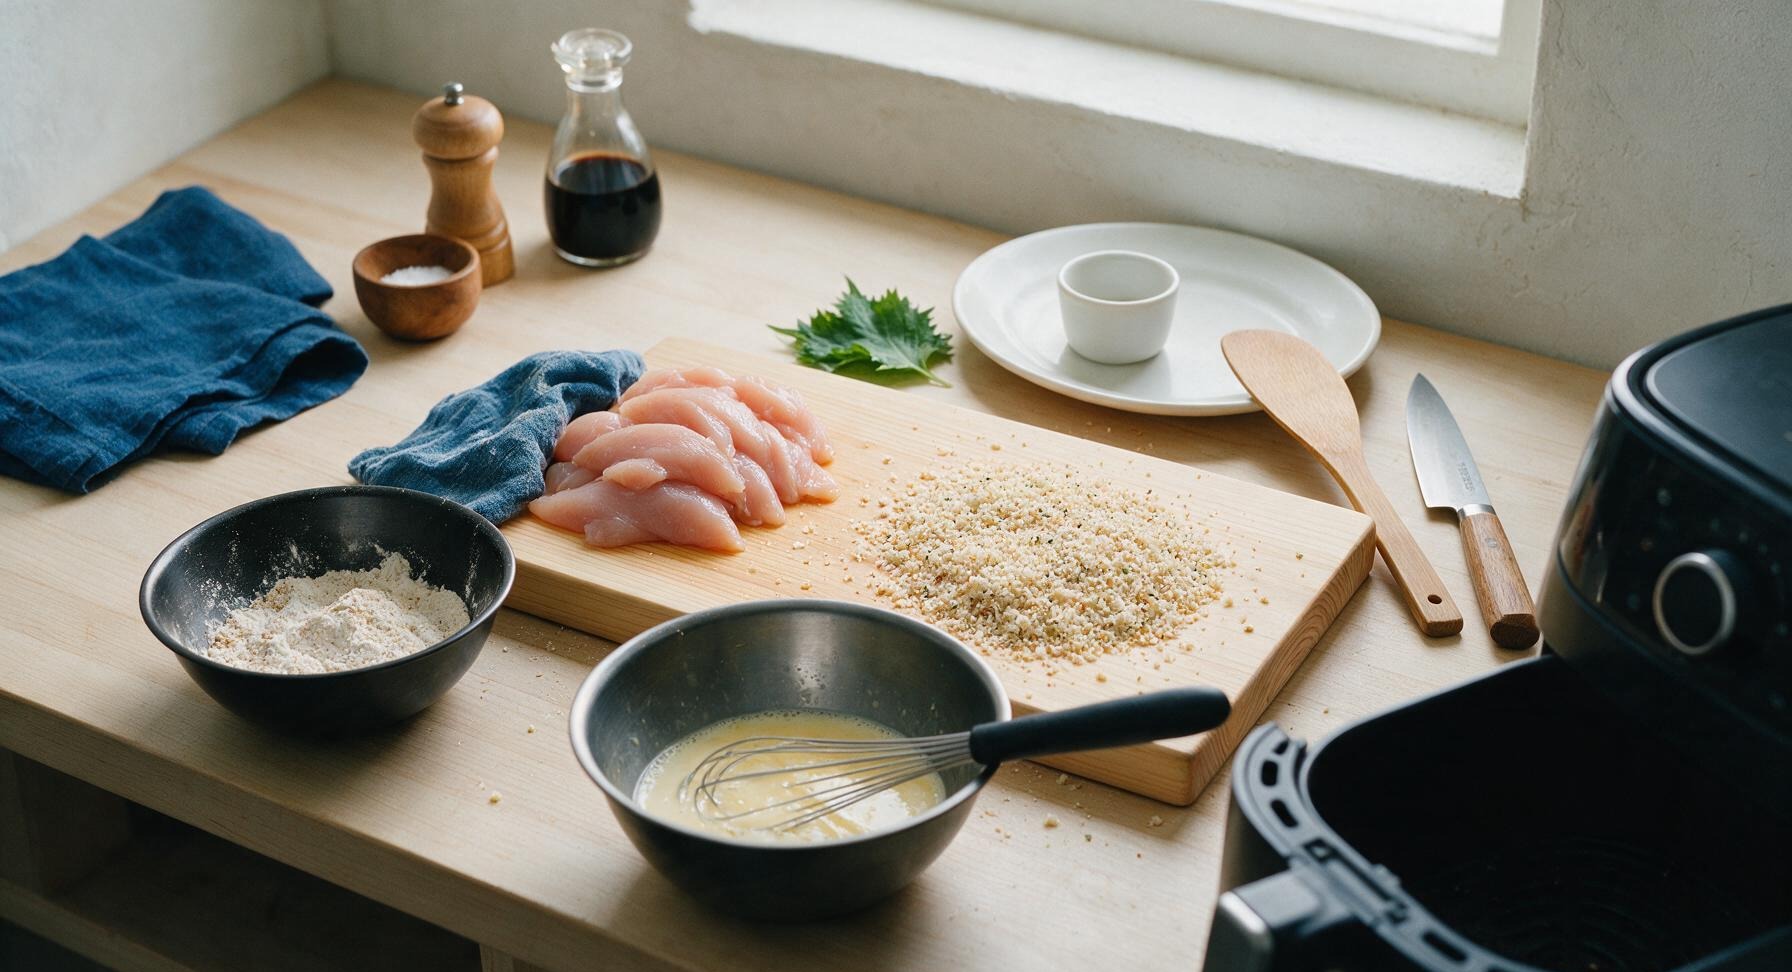
Pat all trimmed chicken tenderloins completely dry with a corner of the indigo linen towel (a fully dry chicken surface is critical for crisp, non-soggy breading). Add the all-purpose flour and ¼ tsp kosher salt to the small matte black stainless steel prep bowl, stir to combine. Crack the 2 eggs into the medium matte black stainless steel mixing bowl, add 2 tbsp whole milk, and use the black-handled wire whisk to mix until completely smooth, with no streaks of unincorporated egg white remaining. Spread the panko breadcrumbs in an even thin layer on the right side of the bamboo cutting board, then mix in garlic powder, onion powder, smoked paprika, remaining ¾ tsp kosher salt, and black pepper, stirring to distribute spices evenly through the crumbs.
Coat in Seasoned Flour
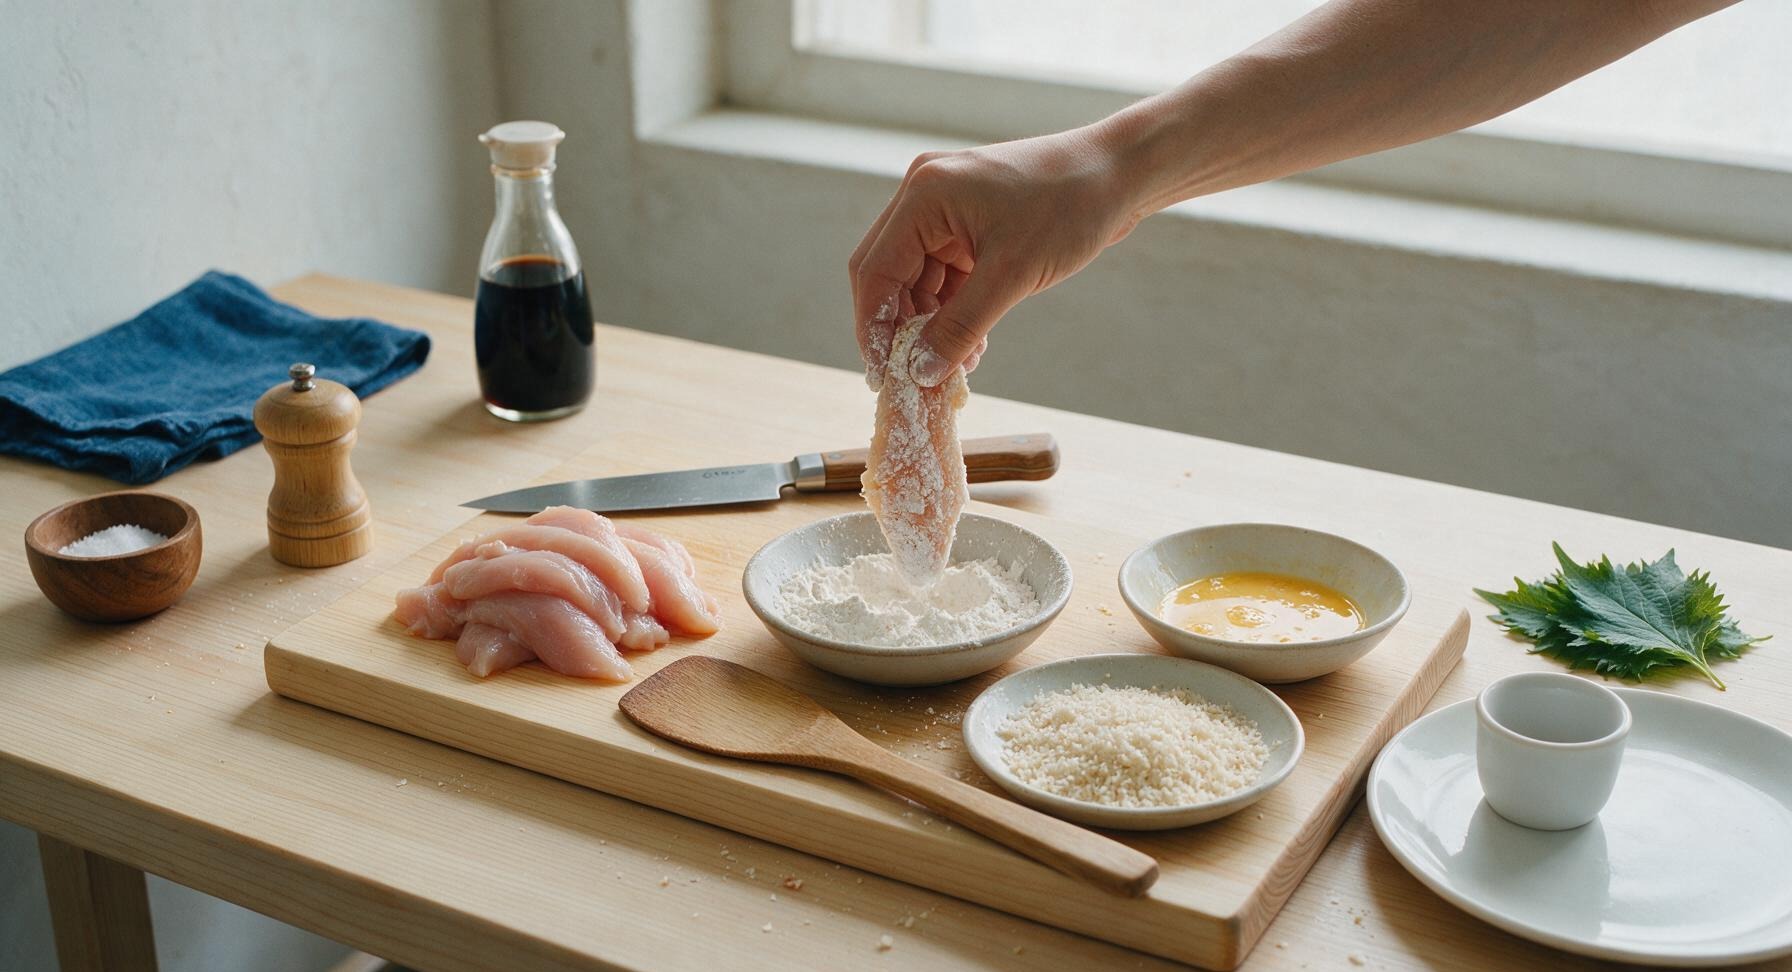
Working one tender at a time, place a chicken tender into the seasoned flour in the small prep bowl. Toss to coat completely, pressing flour into every crevice of the chicken, then lift the tender and shake firmly to remove all excess flour, leaving only a thin, even dusting. This base flour layer creates a tacky surface for the egg wash to stick to, preventing breading from sliding off during cooking.
Dip in Egg Wash
Transfer the flour-coated tender directly into the egg and milk mixture in the medium mixing bowl. Turn the tender to fully coat every surface, then hold it above the bowl for 2 seconds to let excess egg drip off. Thick, drippy pools of egg will cause soggy, gummy spots under the breading, so be sure to let excess drain fully.
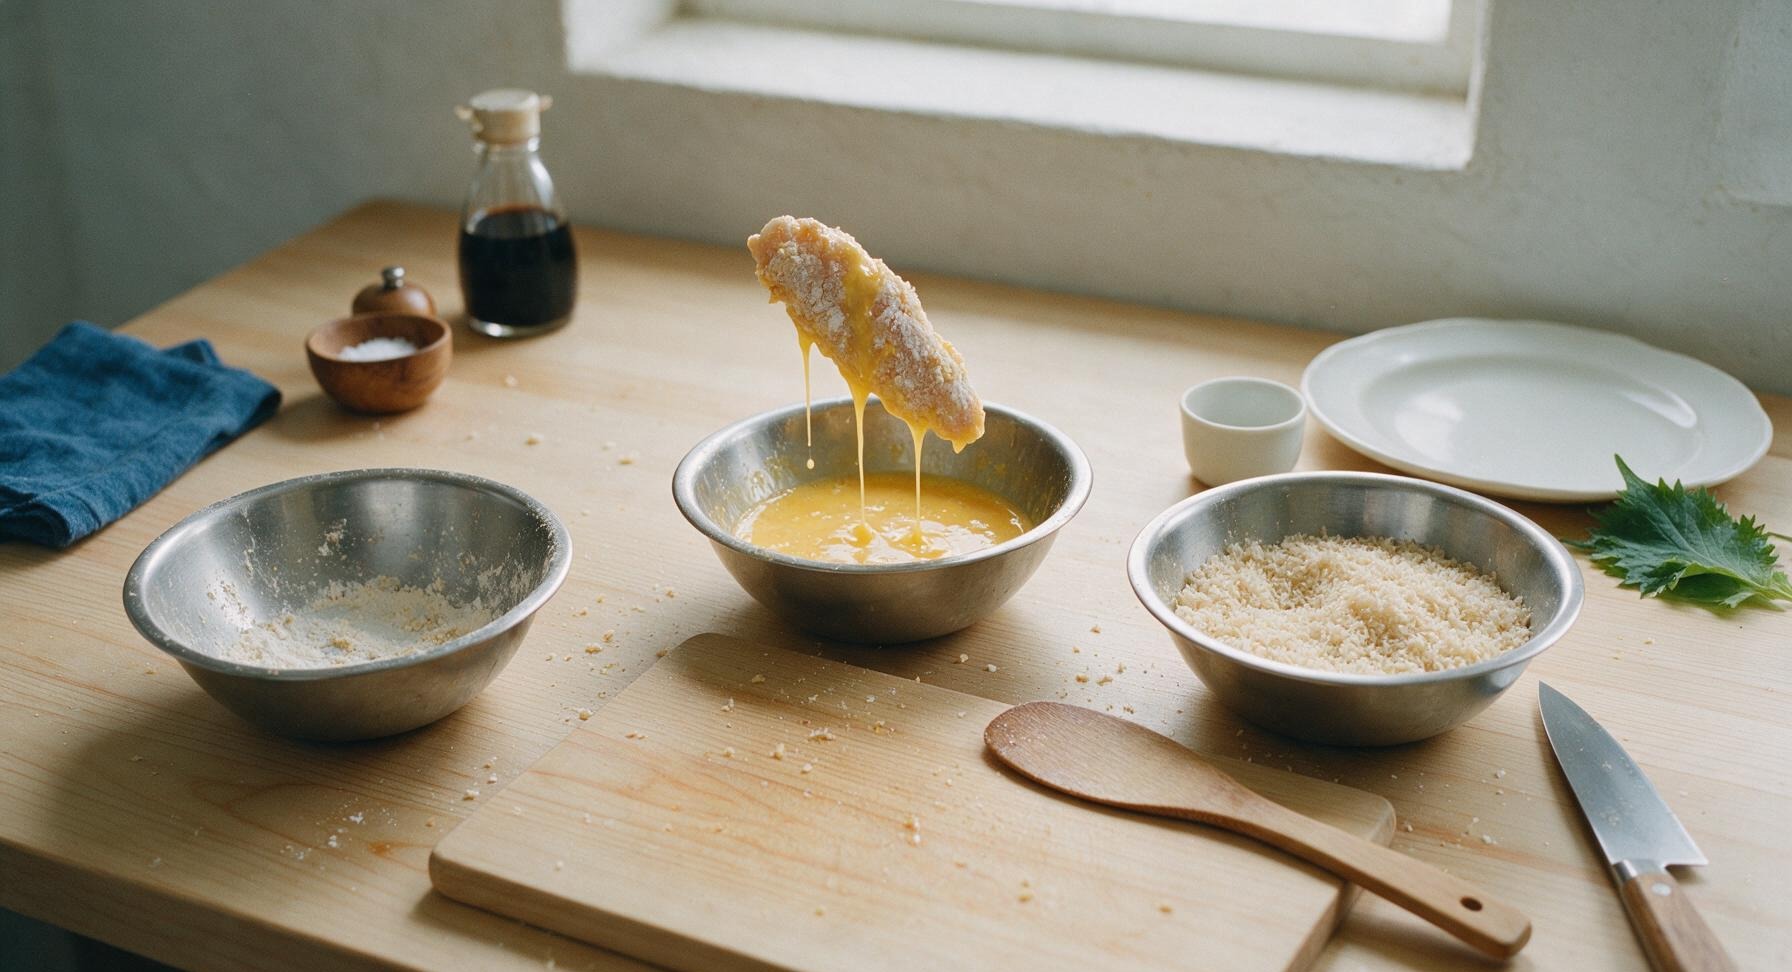
Press Panko Crumbs
Place the egg-coated tender into the spiced panko crumb layer on the cutting board. Press crumbs firmly onto every side of the tender, making sure no bare chicken or egg spots show through, then set the fully breaded tender on the front edge of the cutting board. Repeat with all remaining tenders, arranging breaded tenders in a single, non-touching layer. Let breaded tenders rest for 3 minutes to allow the breading layers to bond before cooking.
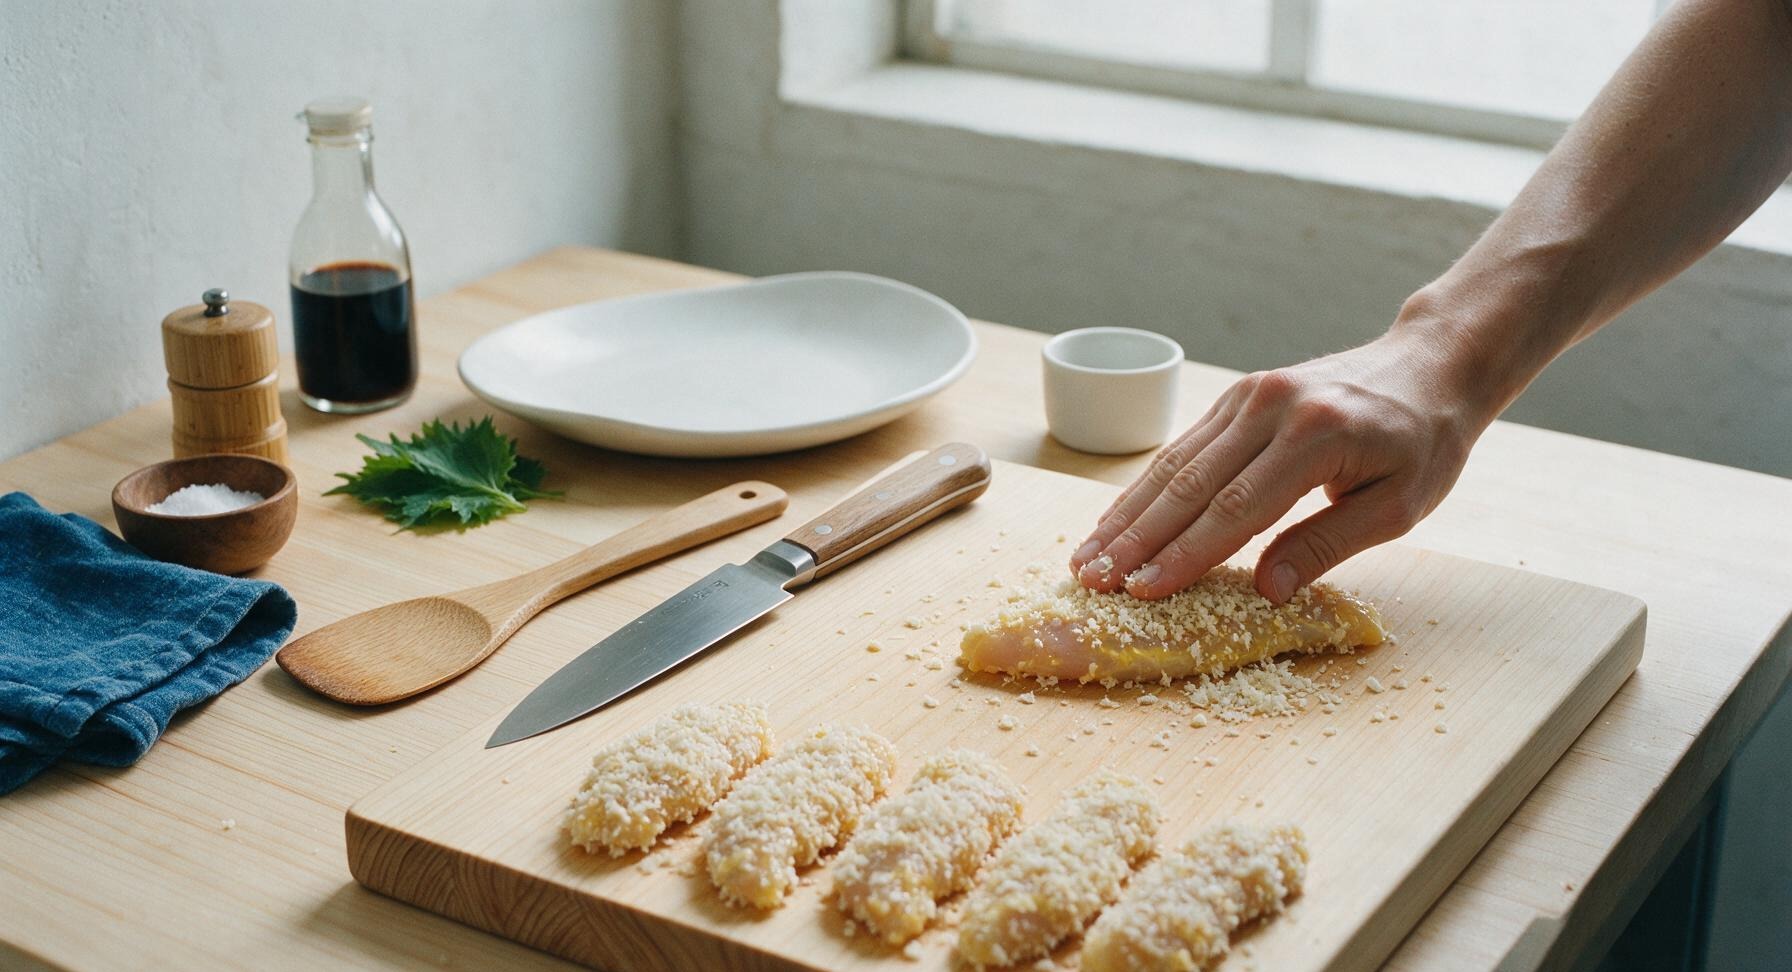
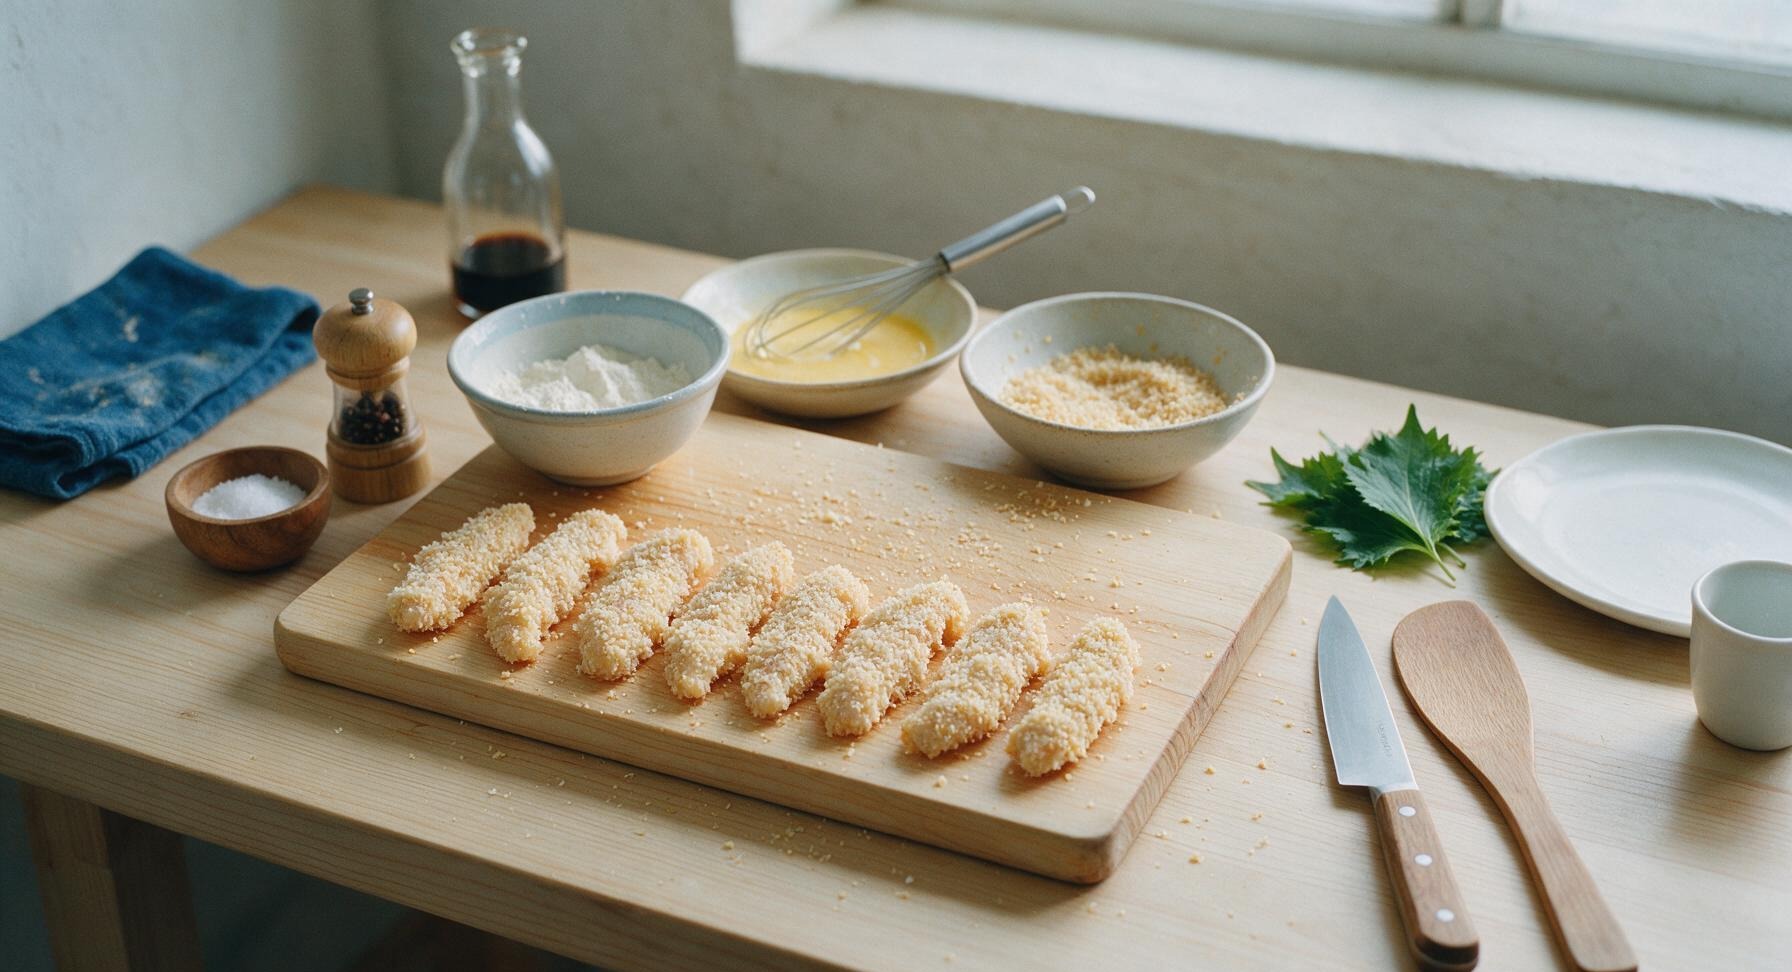
Preheat Air Fryer
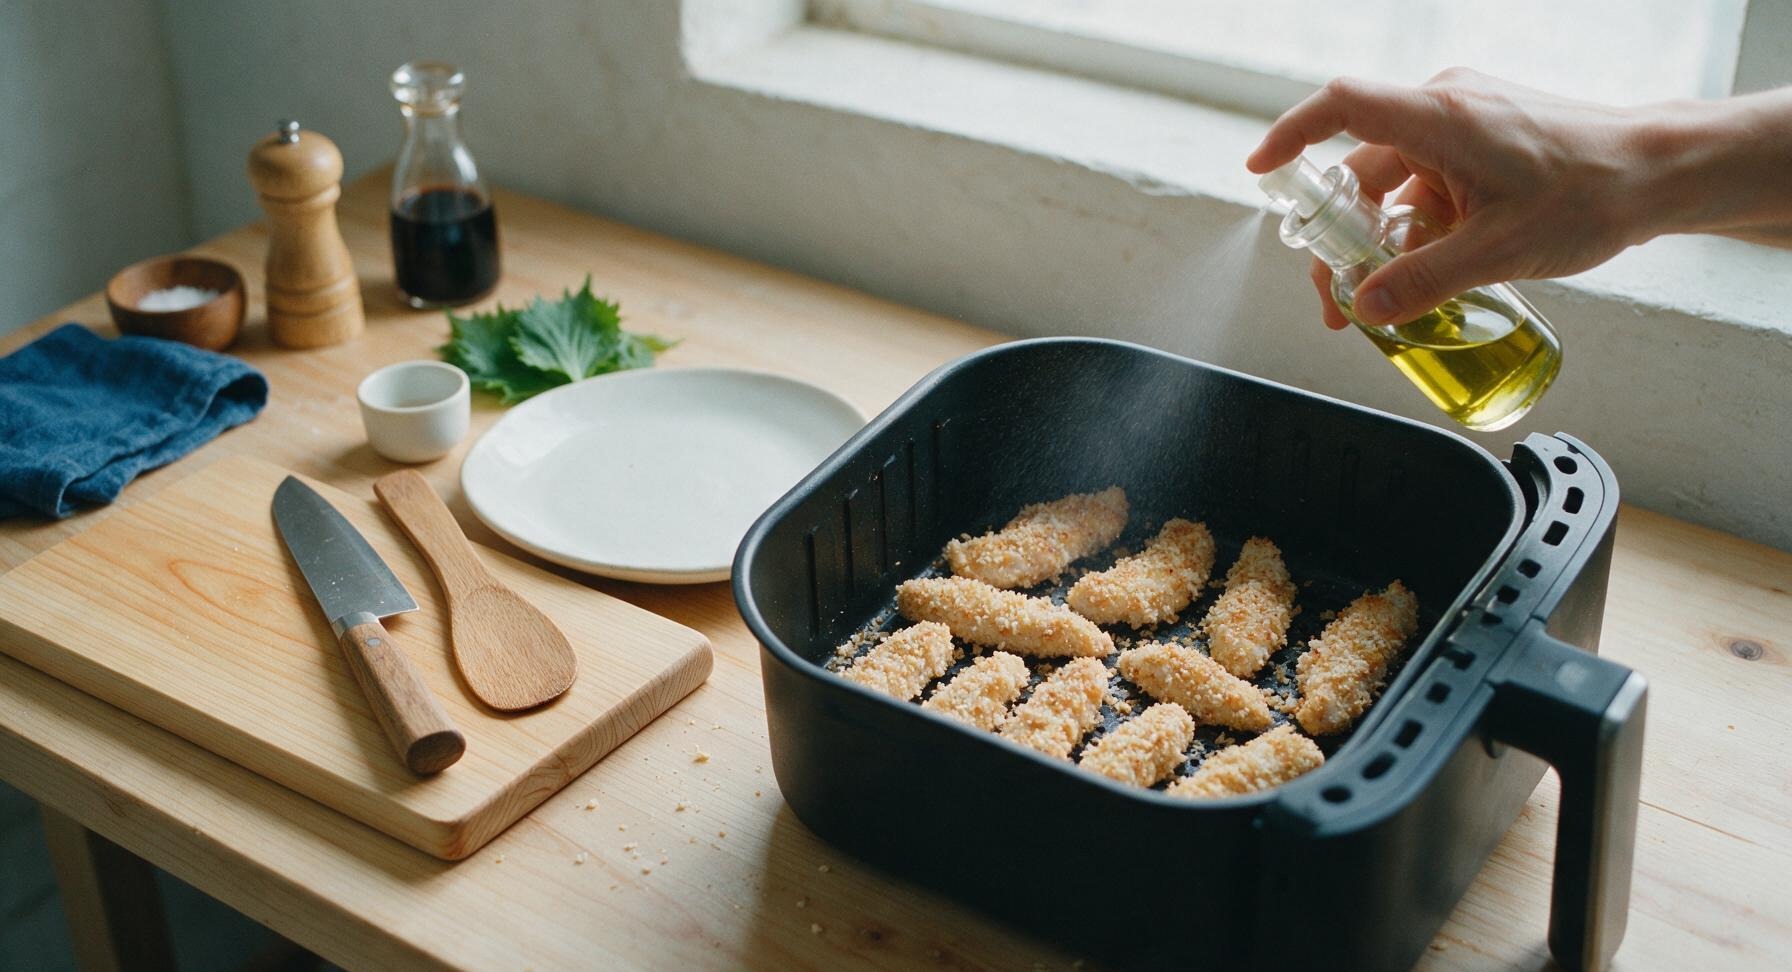
Pull the basket out of the matte black air fryer, spray the basket surface lightly with olive oil from the clear glass spray bottle to prevent sticking. Preheat the air fryer to 400°F (200°C) for 3 minutes. Skipping preheat leads to soggy breading, as the cold basket causes the crumbs to steam instead of crisp immediately.
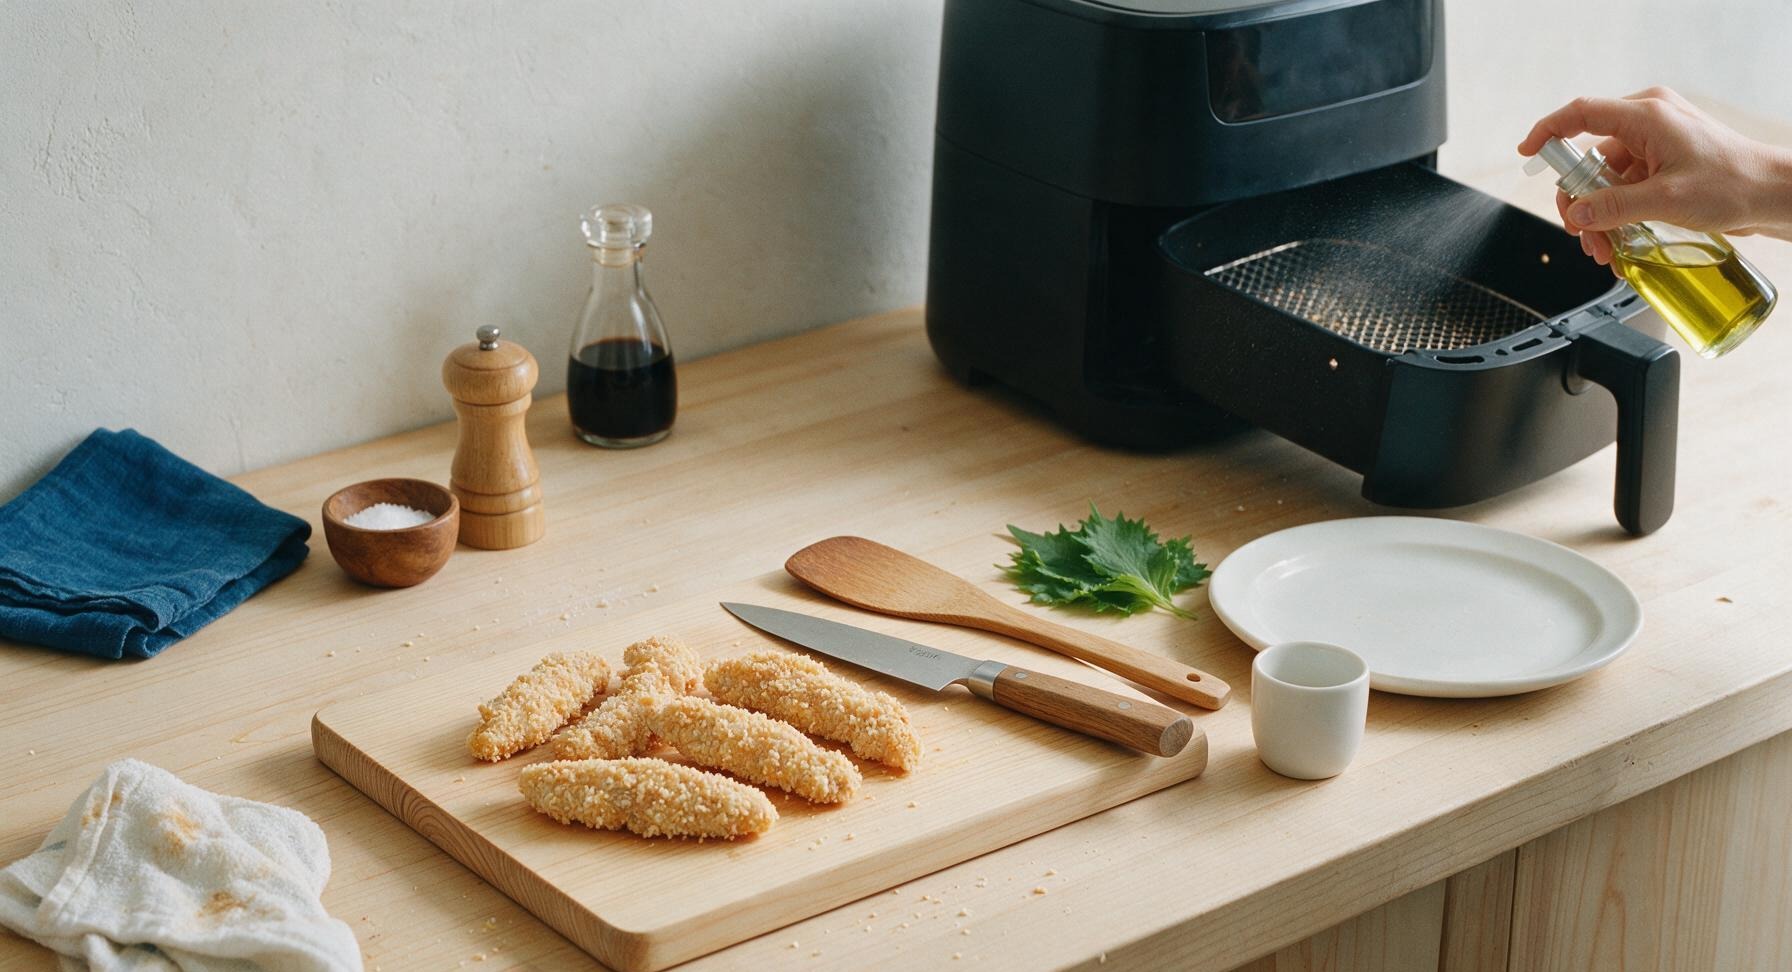
Load Tenders in Basket
Arrange the breaded tenders in a single layer in the preheated air fryer basket, leaving ¼ inch of space between each tender to allow hot air to circulate freely. If your basket is too small to fit all tenders without crowding, cook them in two separate batches. Lightly spray the top surface of the tenders with a thin coat of olive oil spray to help the crumbs turn deep golden and crispy instead of dry and pale.
Cook and Flip Tenders
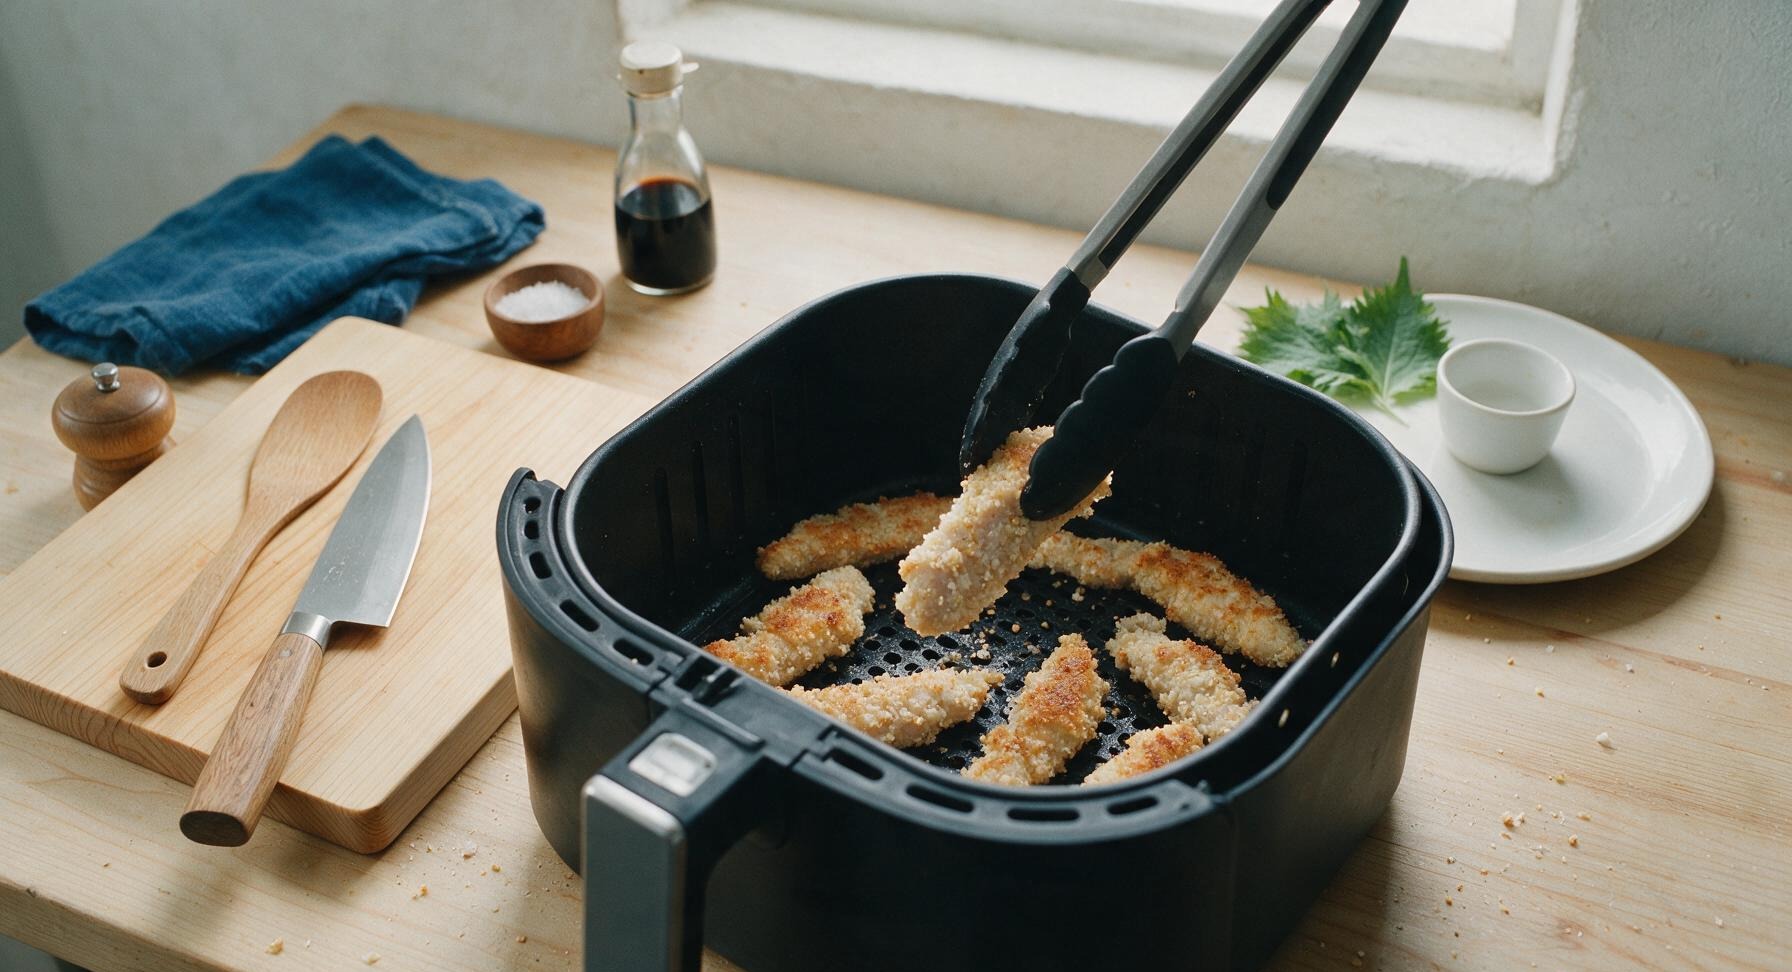
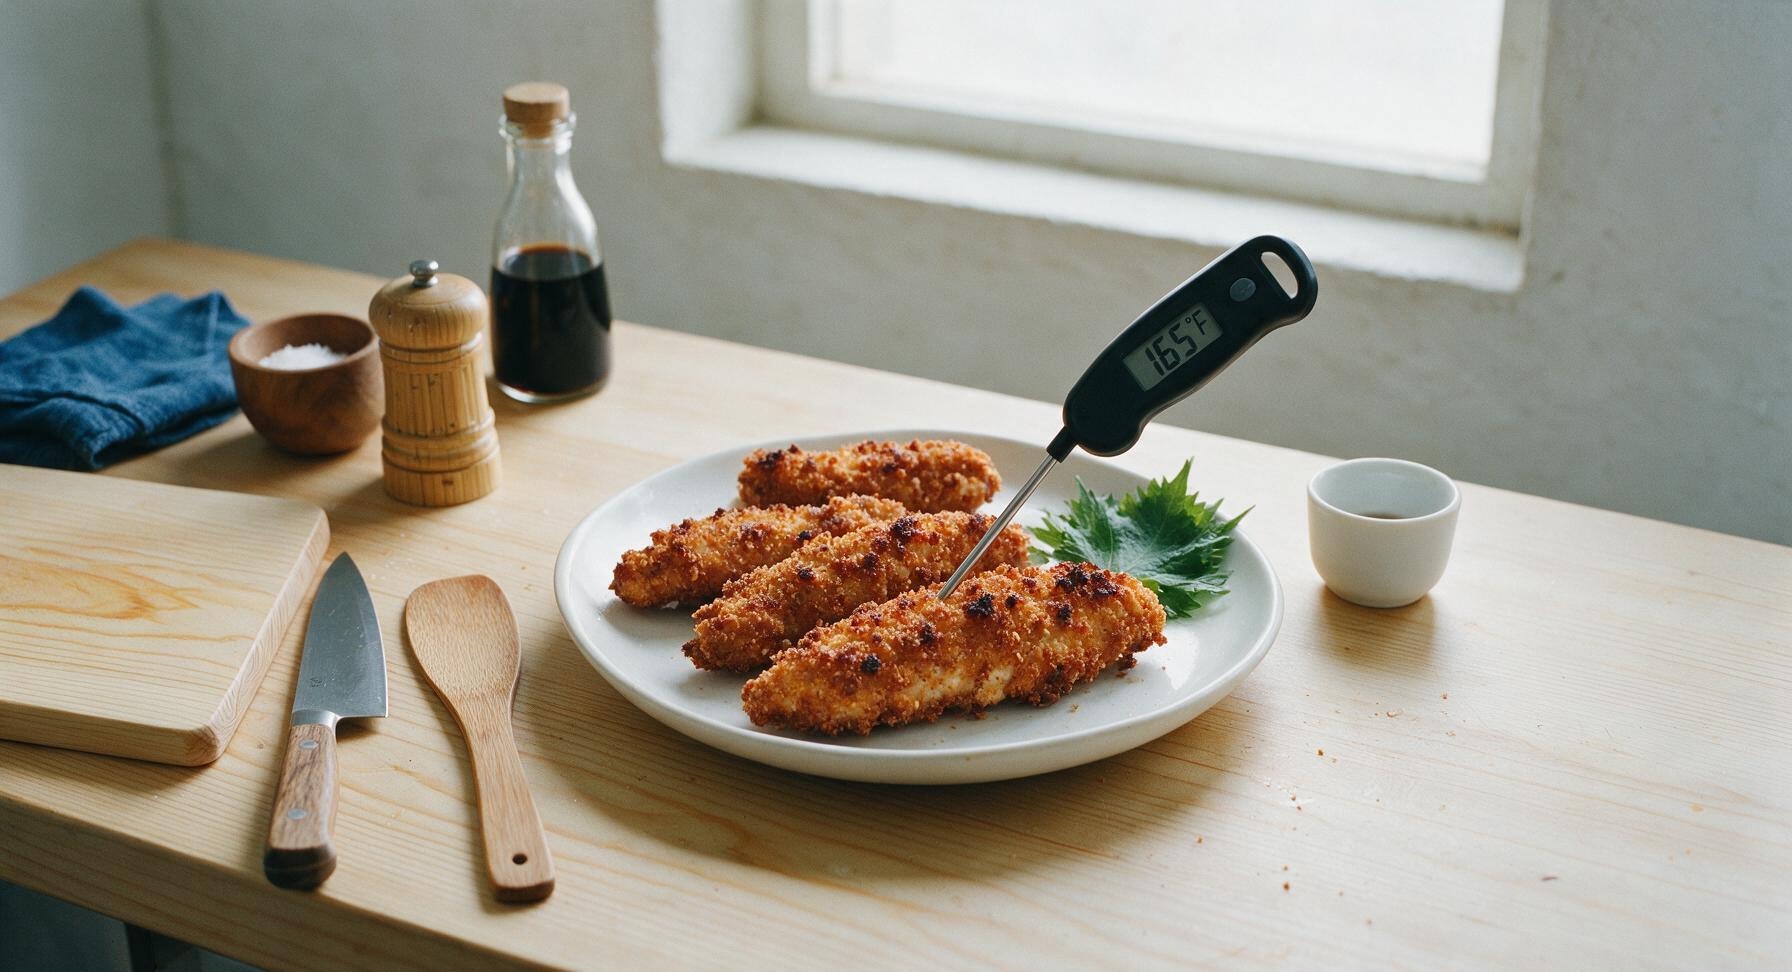
Slide the basket back into the air fryer and cook at 400°F (200°C) for 6 minutes. Use the black silicone-tipped tongs to carefully flip each tender, then lightly spray the second side with olive oil. Cook for an additional 5-6 minutes, until the breading is deep golden brown and crispy all over, and the internal temperature of the thickest tender reaches 165°F (74°C) when checked with the digital instant-read thermometer. Avoid overcooking, as lean chicken tenders will dry out quickly past this temperature.
Rest and Plate Tenders
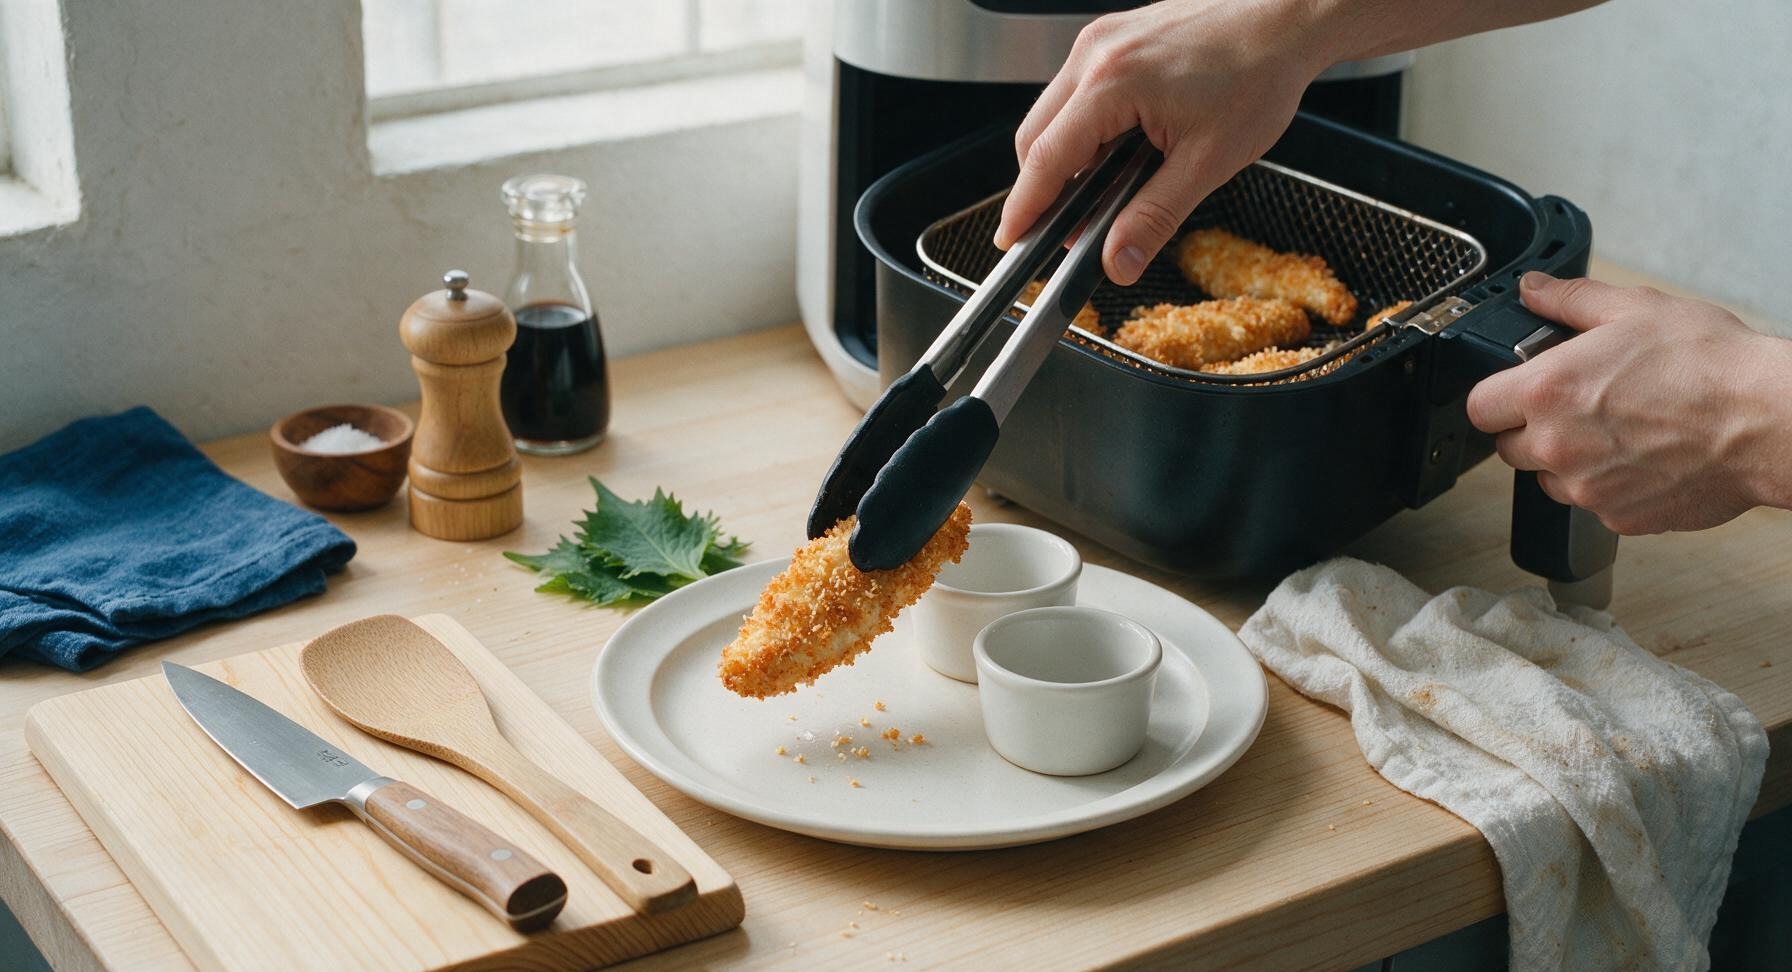
Use the silicone-tipped tongs to transfer the cooked crispy tenders to the matte cream white ceramic dinner plate. Let them rest for 2 minutes to allow juices to redistribute through the chicken, then sprinkle with a tiny pinch of flaky sea salt from the black ceramic salt cellar. Serve with your favorite dipping sauces in the two small matte white ramekins.
Tips
2.Don’t crowd the air fryer basket: When tenders touch or overlap, hot air cannot circulate around every surface, resulting in pale, soft breading spots instead of uniform crunch. Cook in two small batches if needed for your air fryer size.
3.Let breaded tenders rest 3 minutes before cooking: This short rest period allows the flour, egg, and panko layers to bond into a single coating, so breading will not peel off the chicken during cooking or when you flip the tenders.






OMG these were such a game changer for our weeknight family dinner! My kids usually turn their nose up at chicken unless it's the fast food nugget kind, but they devoured every last tender and asked for seconds. The breading got SO crispy in the air fryer, no soggy spots at all, and 12 minutes cook time is perfect for when I'm scrambling to get food on the table after work. 10/10, will be adding this to our regular meal prep rotation!
Made these for our neighborhood block party potluck last weekend and they were gone in 10 minutes flat! I set out a little tray with honey mustard, ranch, and buffalo sauce for dipping and people kept coming back to ask where I got the recipe. Way less mess than pan frying, and I didn't have to heat up my whole oven in that Florida heat. Absolute win.
I was so excited to try this as my first ever air fryer recipe! The breading was perfectly crispy like everyone says, but my chicken came out a tiny bit dry. I cooked for the full 12 minutes like the recipe said, so I'm wondering if my appliance runs hotter than most? Still tasted great dipped in ranch, just not as juicy as I hoped.
SO good! I made a double batch on Sunday to portion out for lunches this week and they held up way better than I thought they would. I was worried reheating them in the air fryer would make them tough, but 2 minutes at 350 and they're just as crispy as when I first made them. No sad soggy lunch chicken for me this week!