
vegetable tater tots
intro
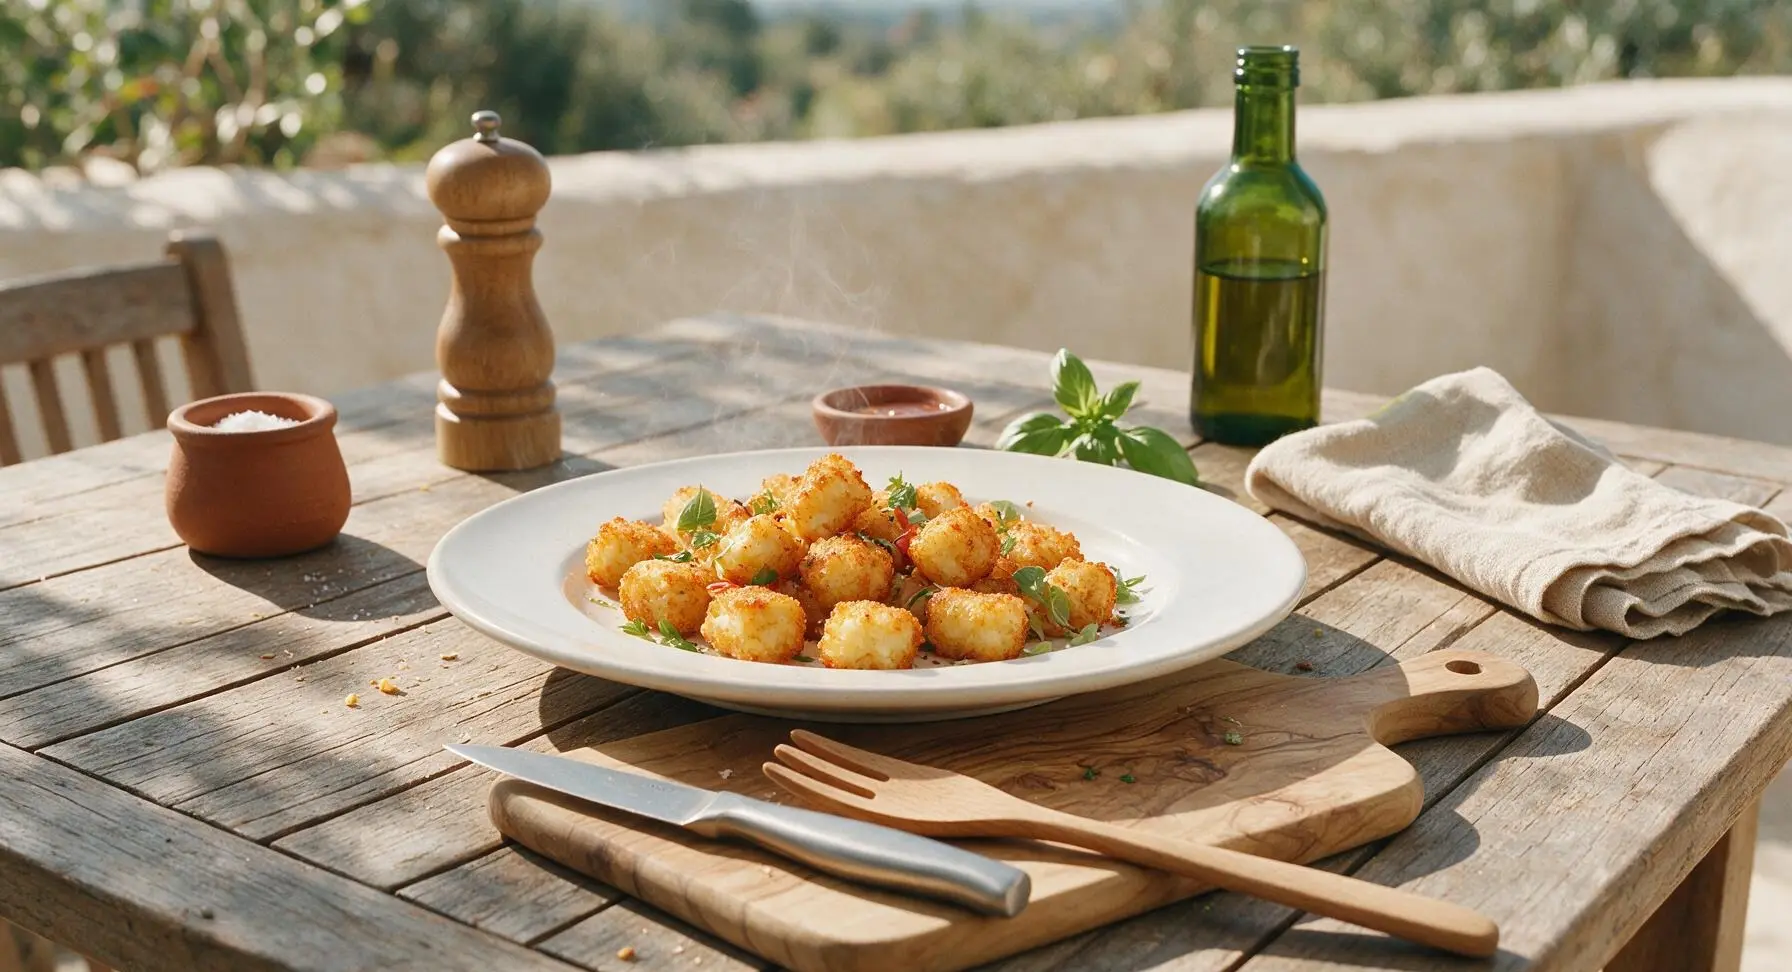
Crispy, golden-brown veggie-packed tater tots, fluffy inside, perfectly seasoned—ideal for dipping, sharing, and enjoying as a crowd-pleasing game day bite.
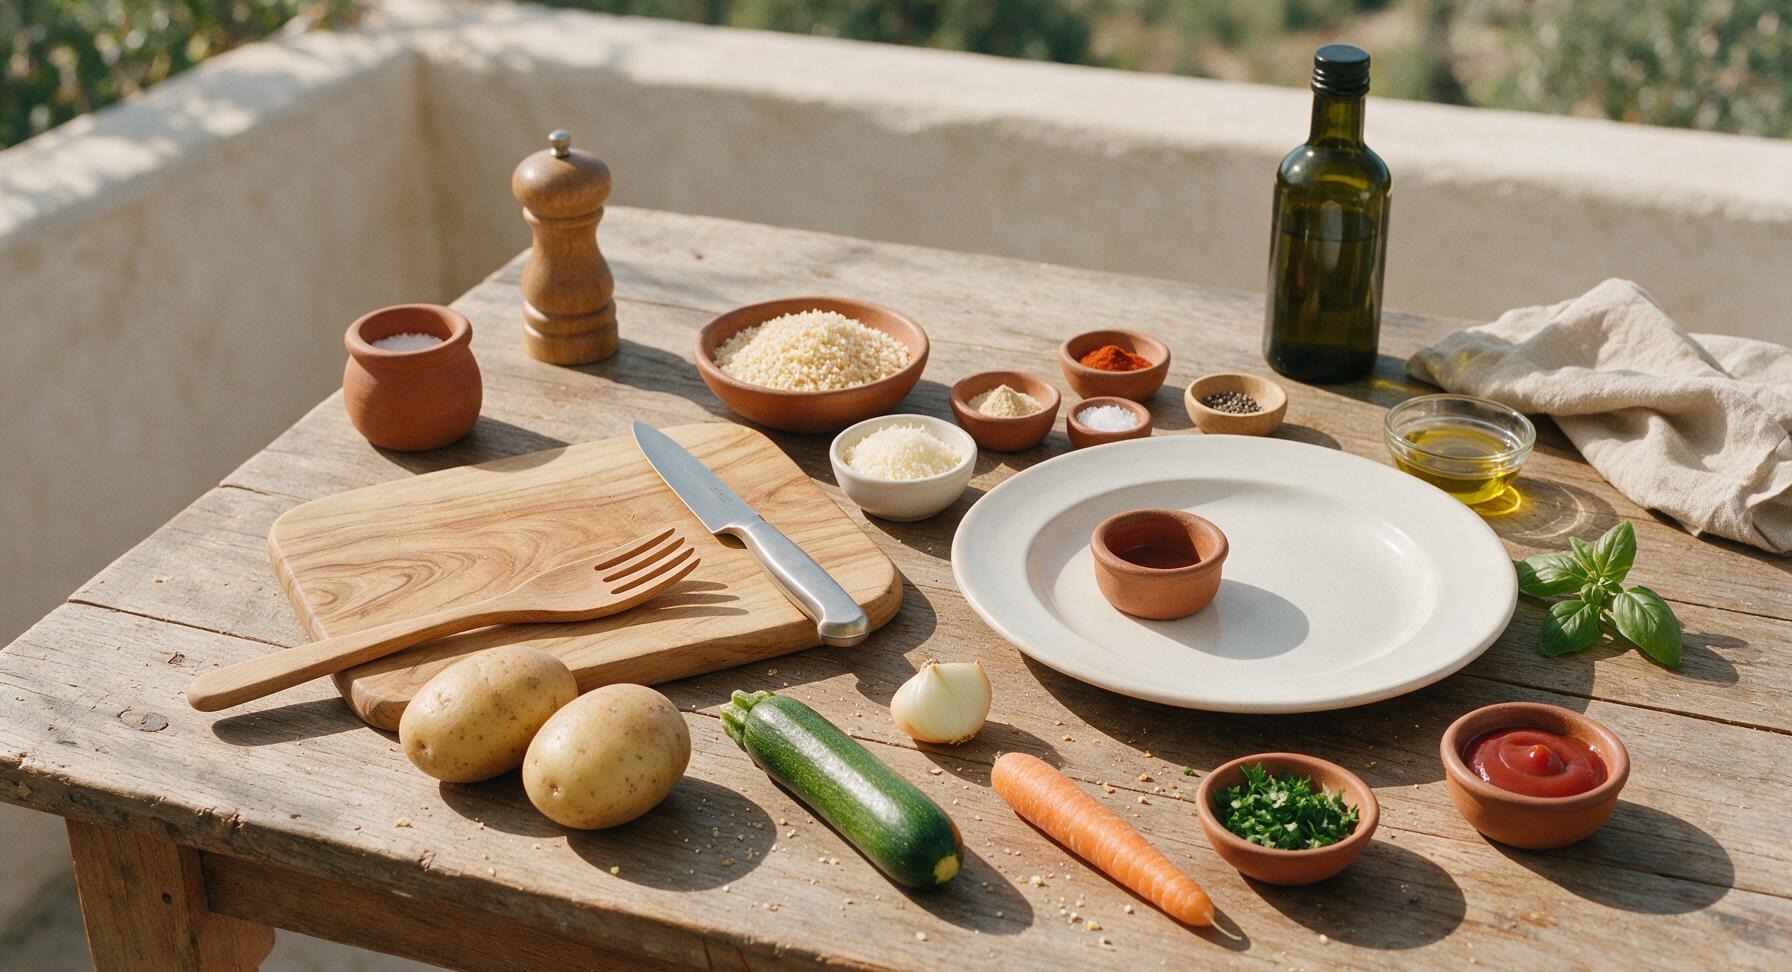
Ingredients
Steps
Shred Raw Vegetables
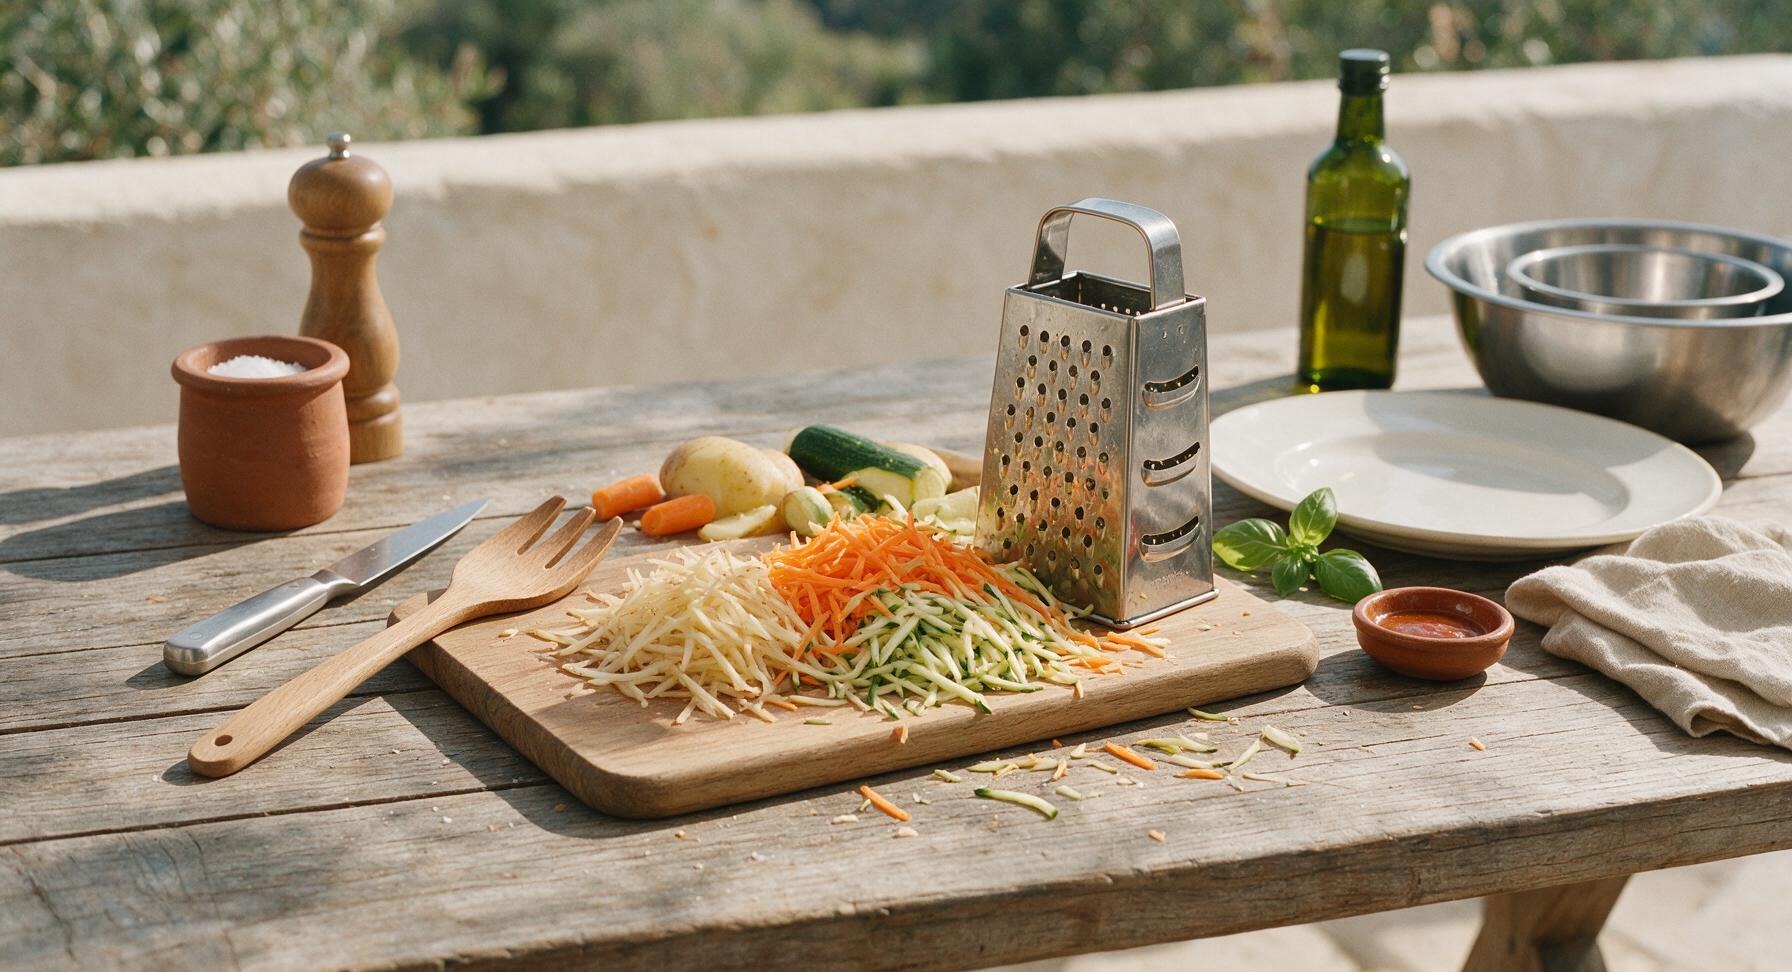
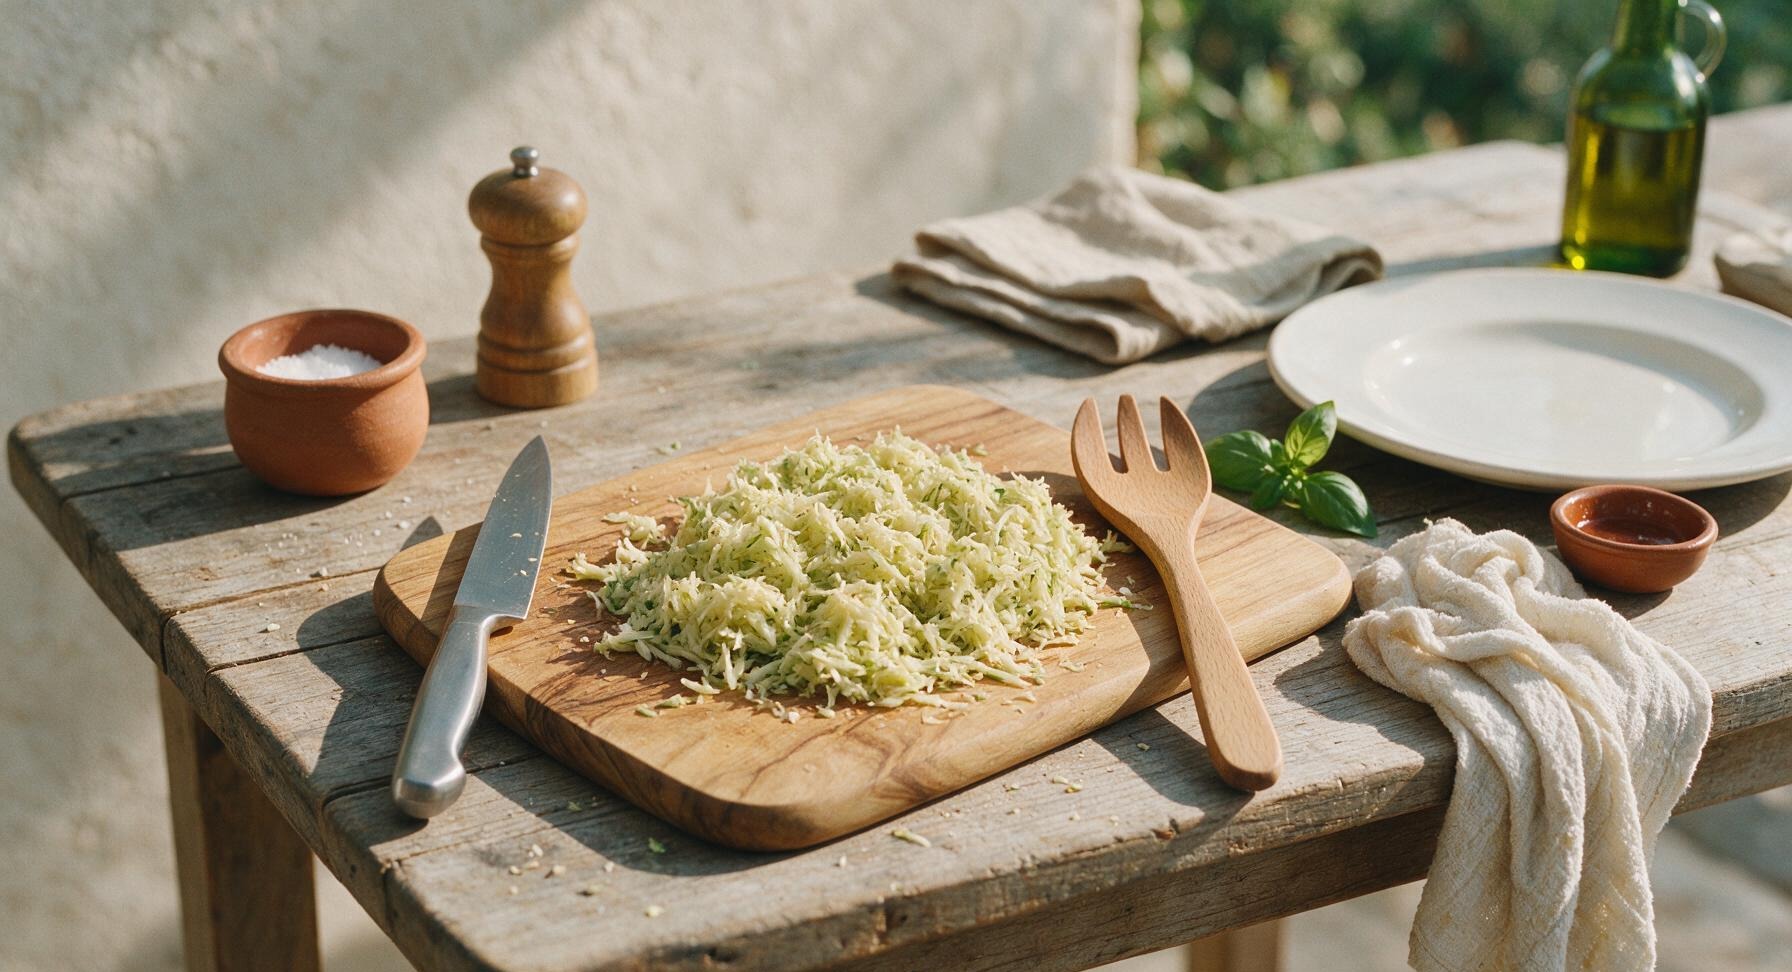
Preheat oven to 400°F (200°C) and set the rimmed aluminum baking sheet aside for later. Scrub 400g russet potatoes, 150g zucchini, and 100g carrot clean; peeling is optional for a more rustic texture. Using the stainless steel box grater on its largest grating surface, shred the potatoes, zucchini, carrot, and 30g yellow onion into uniform 2mm thick matchstick pieces directly onto the light birch cutting board. Stop when all vegetables are fully shredded, with no large ungrated chunks remaining.
Squeeze Out Moisture
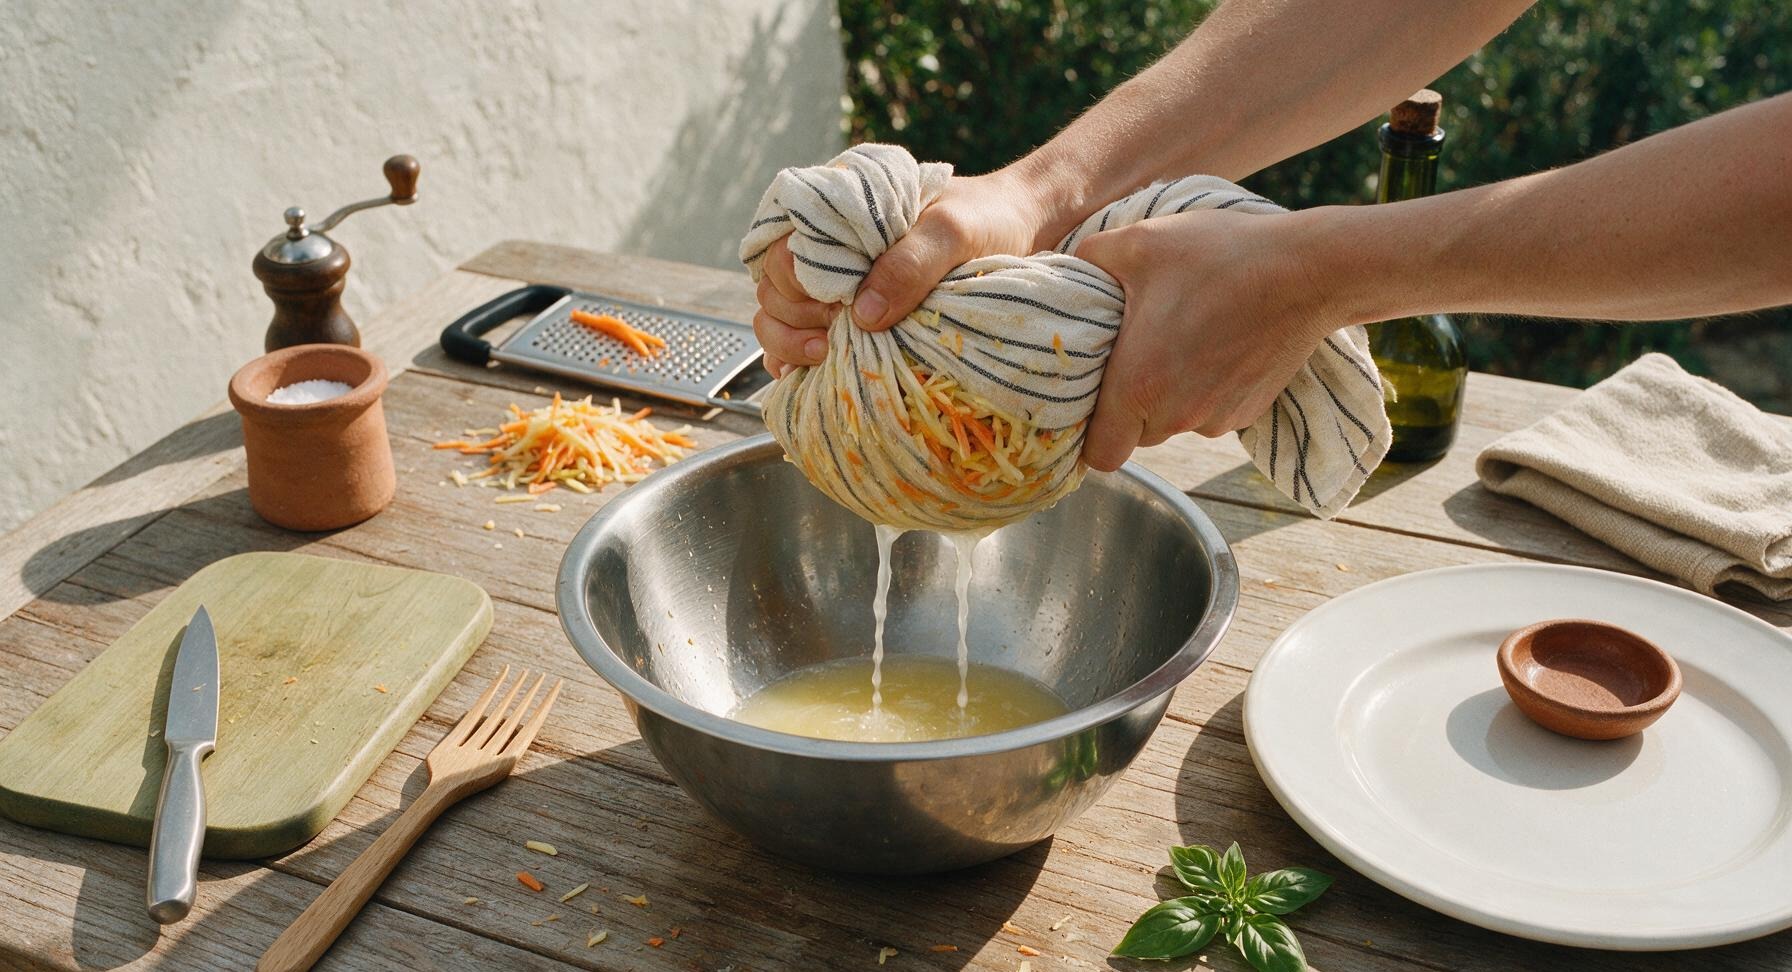
Gather all shredded vegetables into the center of the striped off-white cotton kitchen towel. Gather the towel edges tightly to form a sealed pouch around the shreds, then squeeze firmly over the largest 25cm stainless steel mixing bowl to remove as much excess starchy liquid as possible. Continue squeezing for 2-3 minutes, until no more water drips from the towel, and the shredded veggies feel dry and crumbly to the touch, not wet or mushy. Thorough moisture removal is the single most important step to avoid soggy tots.
Mix Tot Base
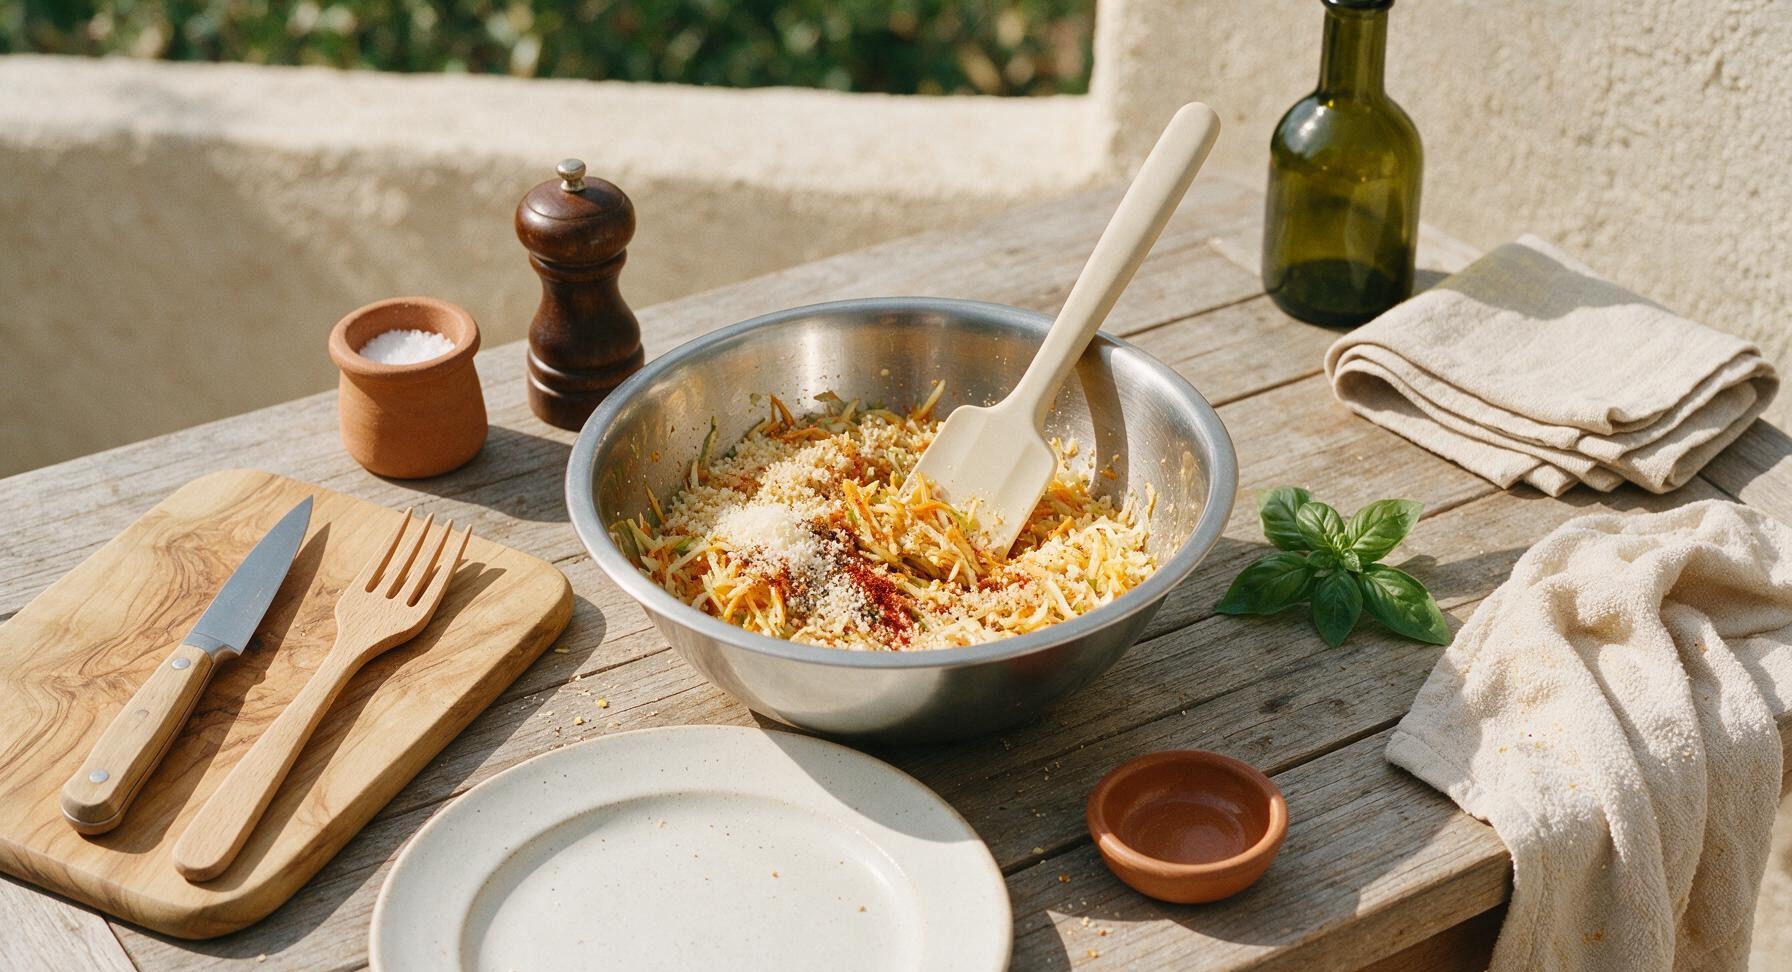
Transfer the fully dried shredded vegetables to the 20cm diameter stainless steel mixing bowl. Add 50g panko breadcrumbs, 30g finely grated parmesan cheese, 1 tsp garlic powder, 1/2 tsp smoked paprika, 1 tsp kosher salt, and 1/4 tsp freshly ground black pepper to the bowl. Use the matte off-white silicone spatula to stir all ingredients together until fully combined, so every shred of vegetable is evenly coated in breadcrumb and seasoning, with no dry clumps of spice left at the bottom of the bowl.
Shape Tater Tots
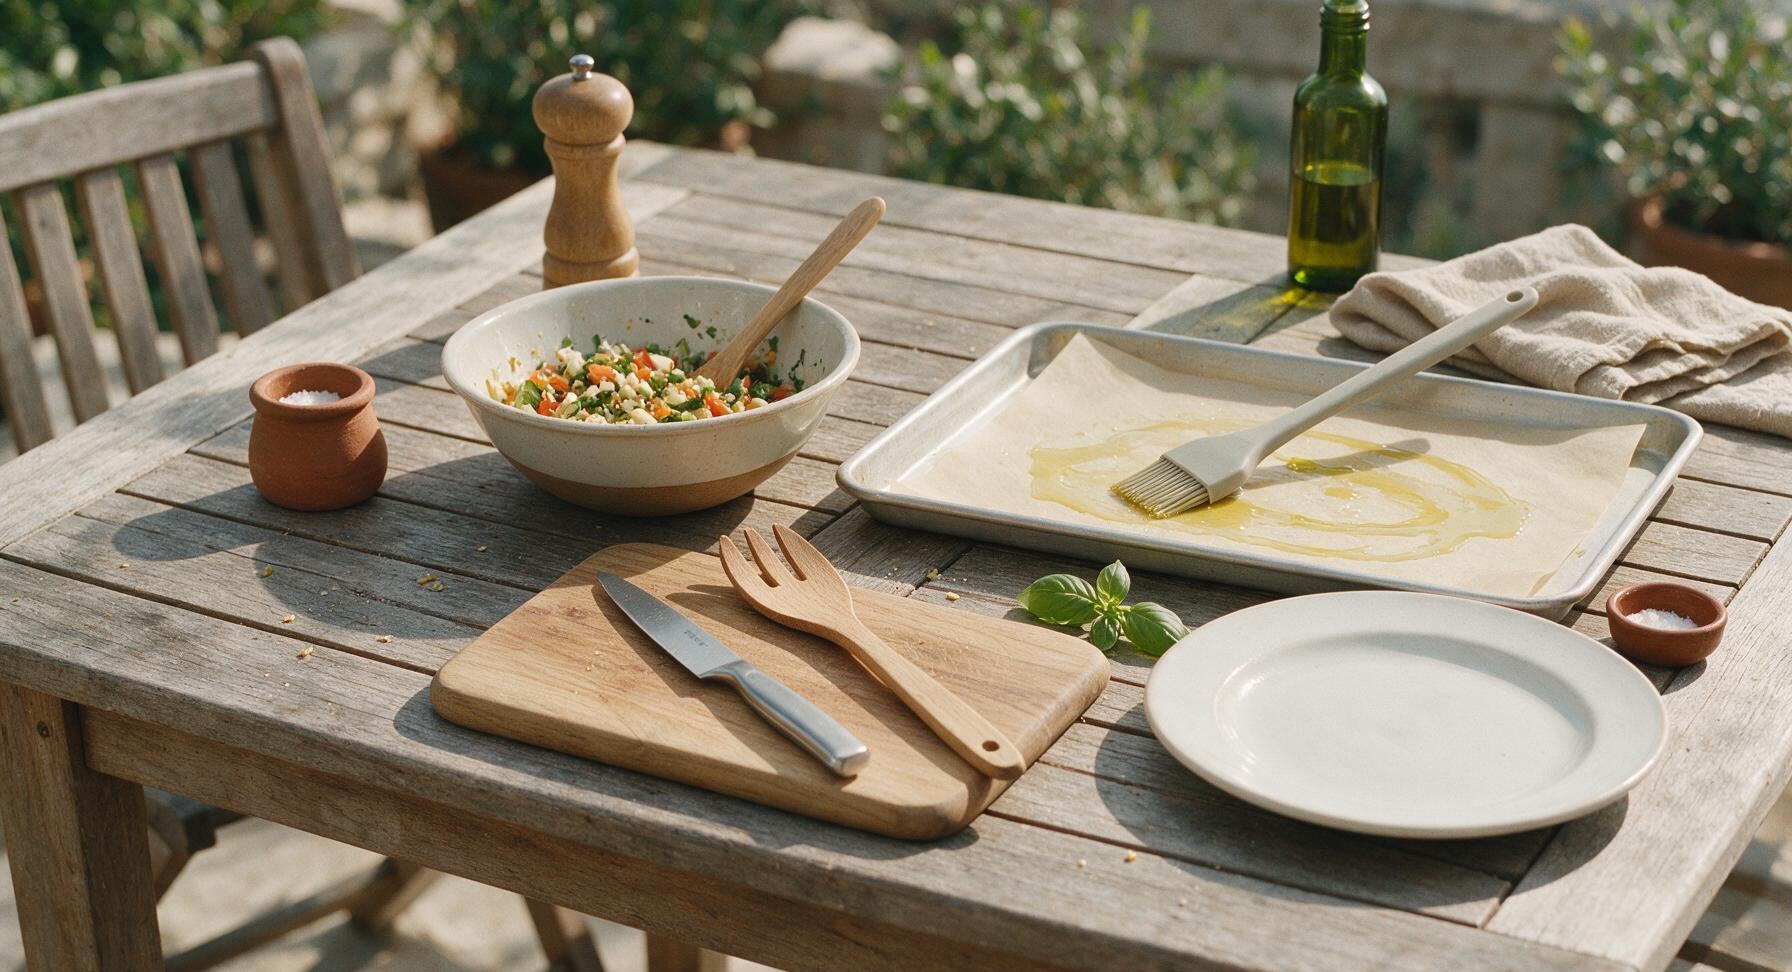
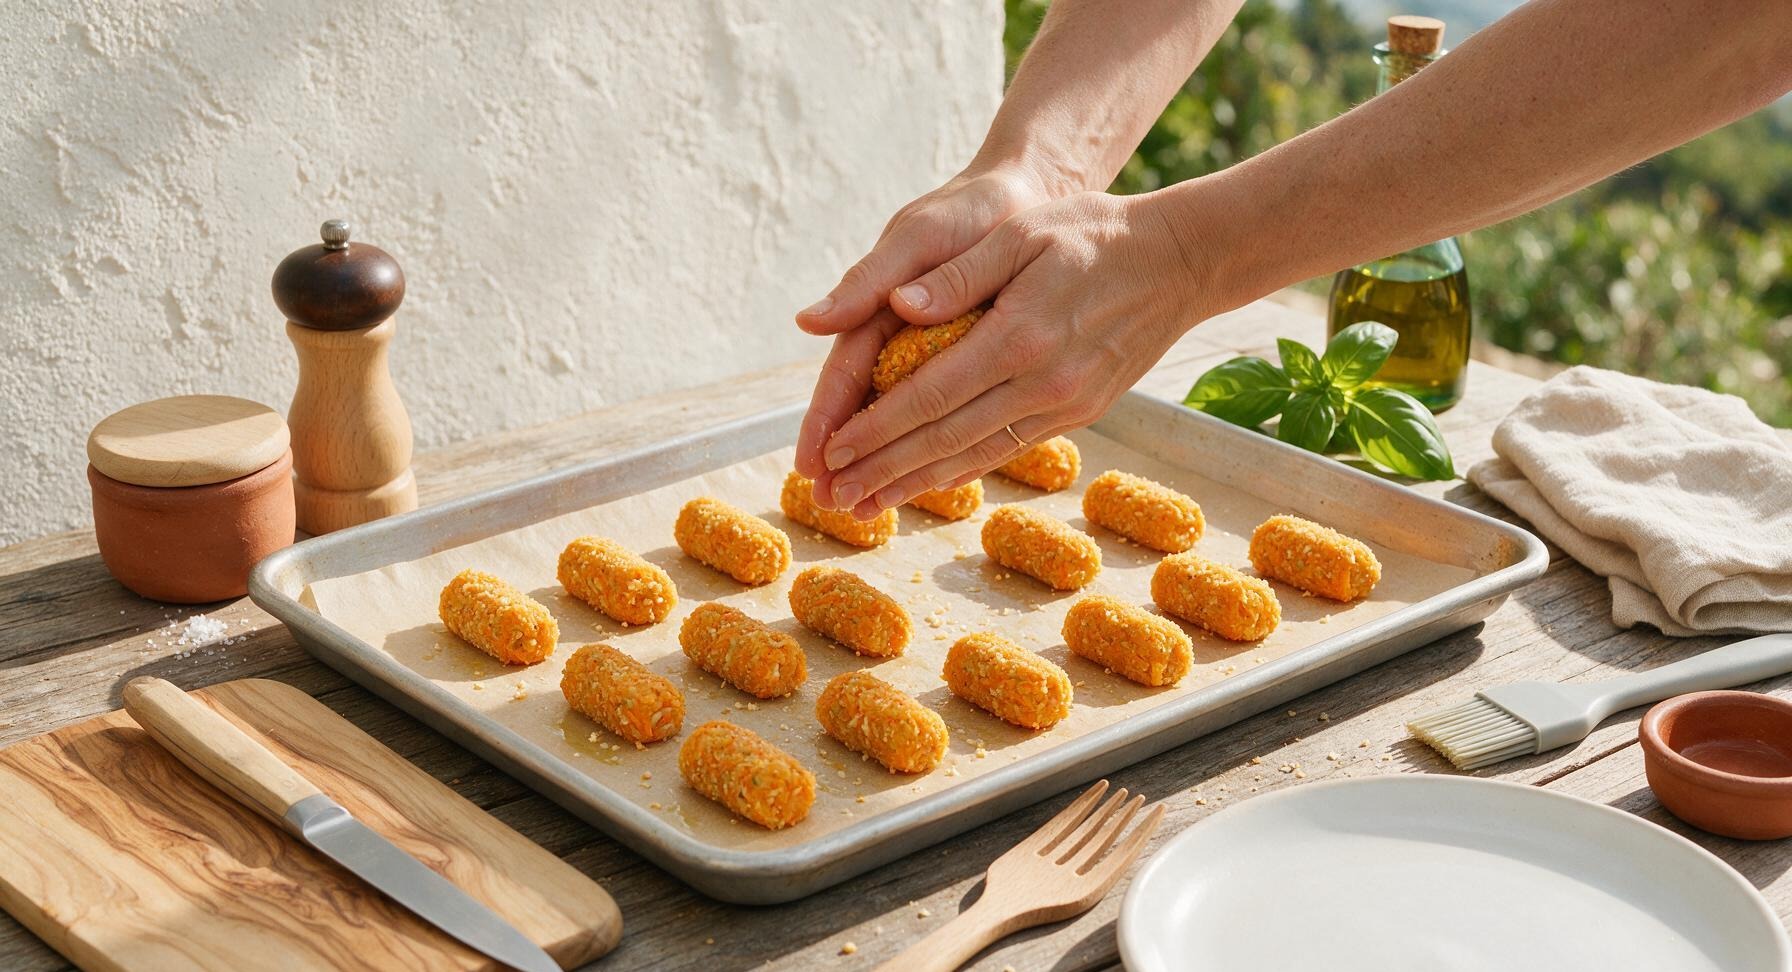
Retrieve the rimmed aluminum baking sheet from below the counter, line it with unbleached parchment paper, then brush the paper lightly with 1 tbsp of olive oil using the light grey silicone pastry brush. Scoop 1-tablespoon sized portions of the vegetable mixture, squeezing each portion firmly between your palms to compress it into a tight, cylindrical tot shape about 4cm long and 2cm wide. Place each formed tot onto the prepared baking sheet, leaving 1cm of space between each tot to allow air circulation for even crisping. You will end up with approximately 32 tots total.
Bake Until Crisp
Brush the tops of all formed tots with the remaining 1 tbsp of olive oil. Place the baking sheet on the middle rack of the preheated 400°F (200°C) oven. Bake for 15 minutes, then use the thin stainless steel turner spatula to carefully flip each tot to its opposite side. Bake for an additional 10-12 minutes, until all tots are deep golden brown and crispy on every side, with no pale soft spots visible. Total bake time is 25-27 minutes. Remove from oven and set the baking sheet on the round cork trivet to rest for 2 minutes.
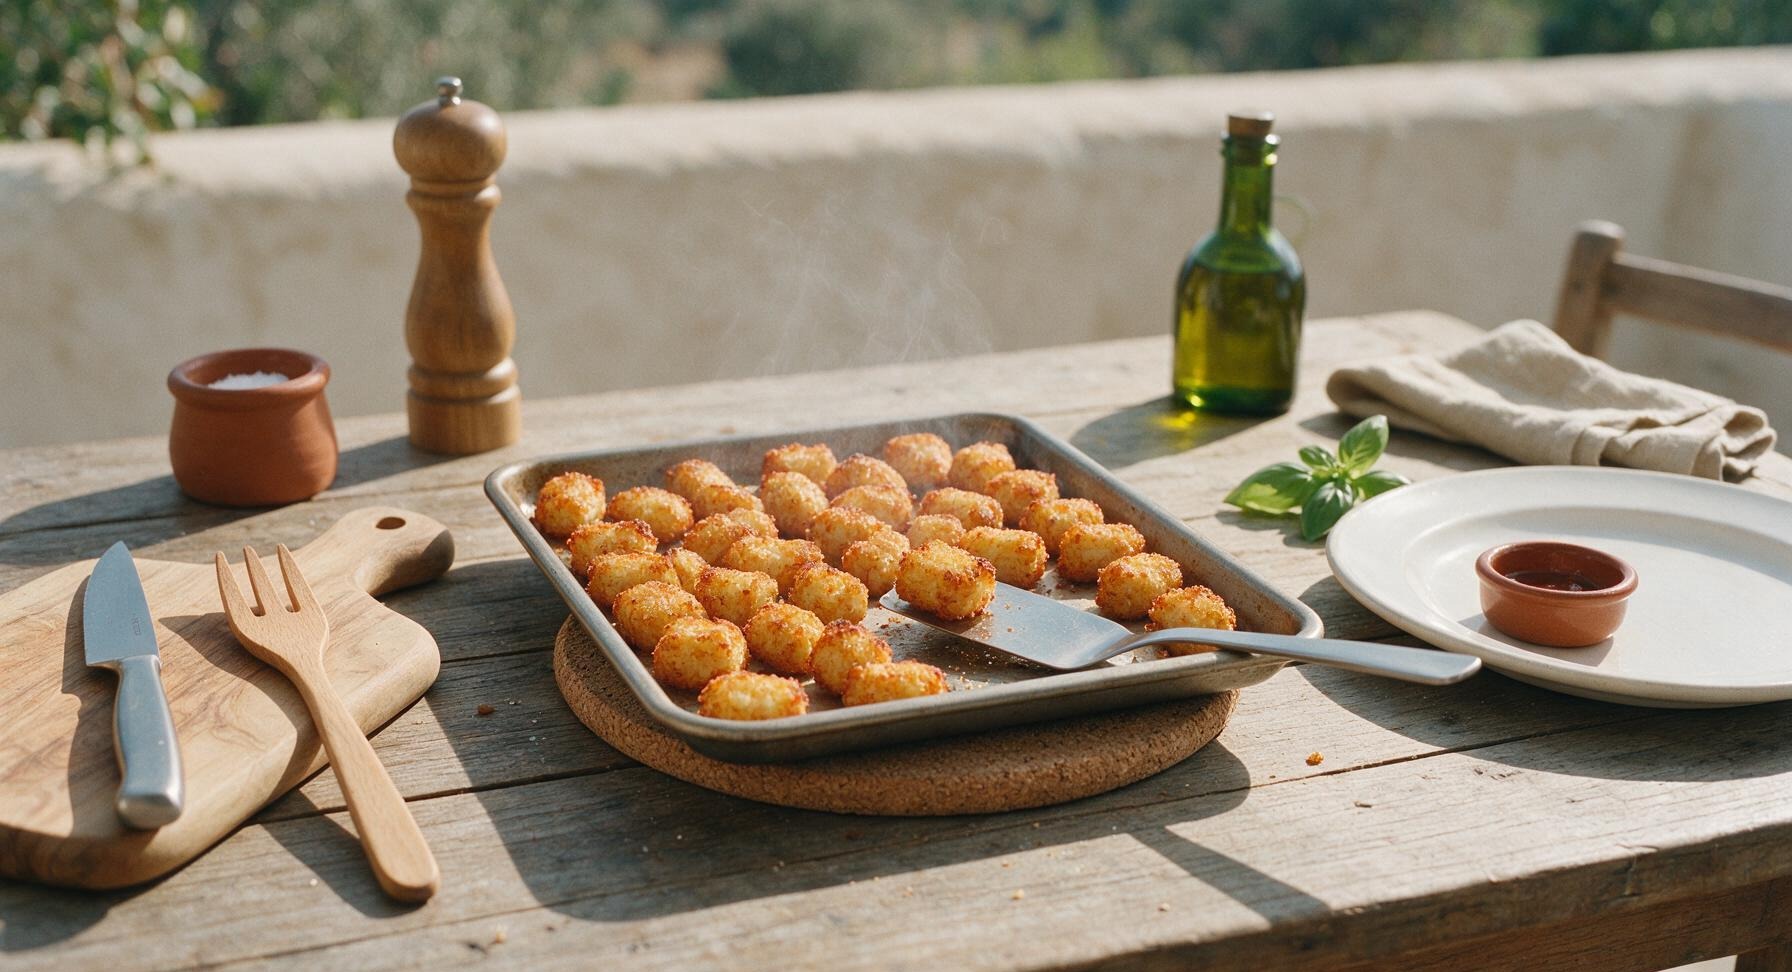
Plate and Serve
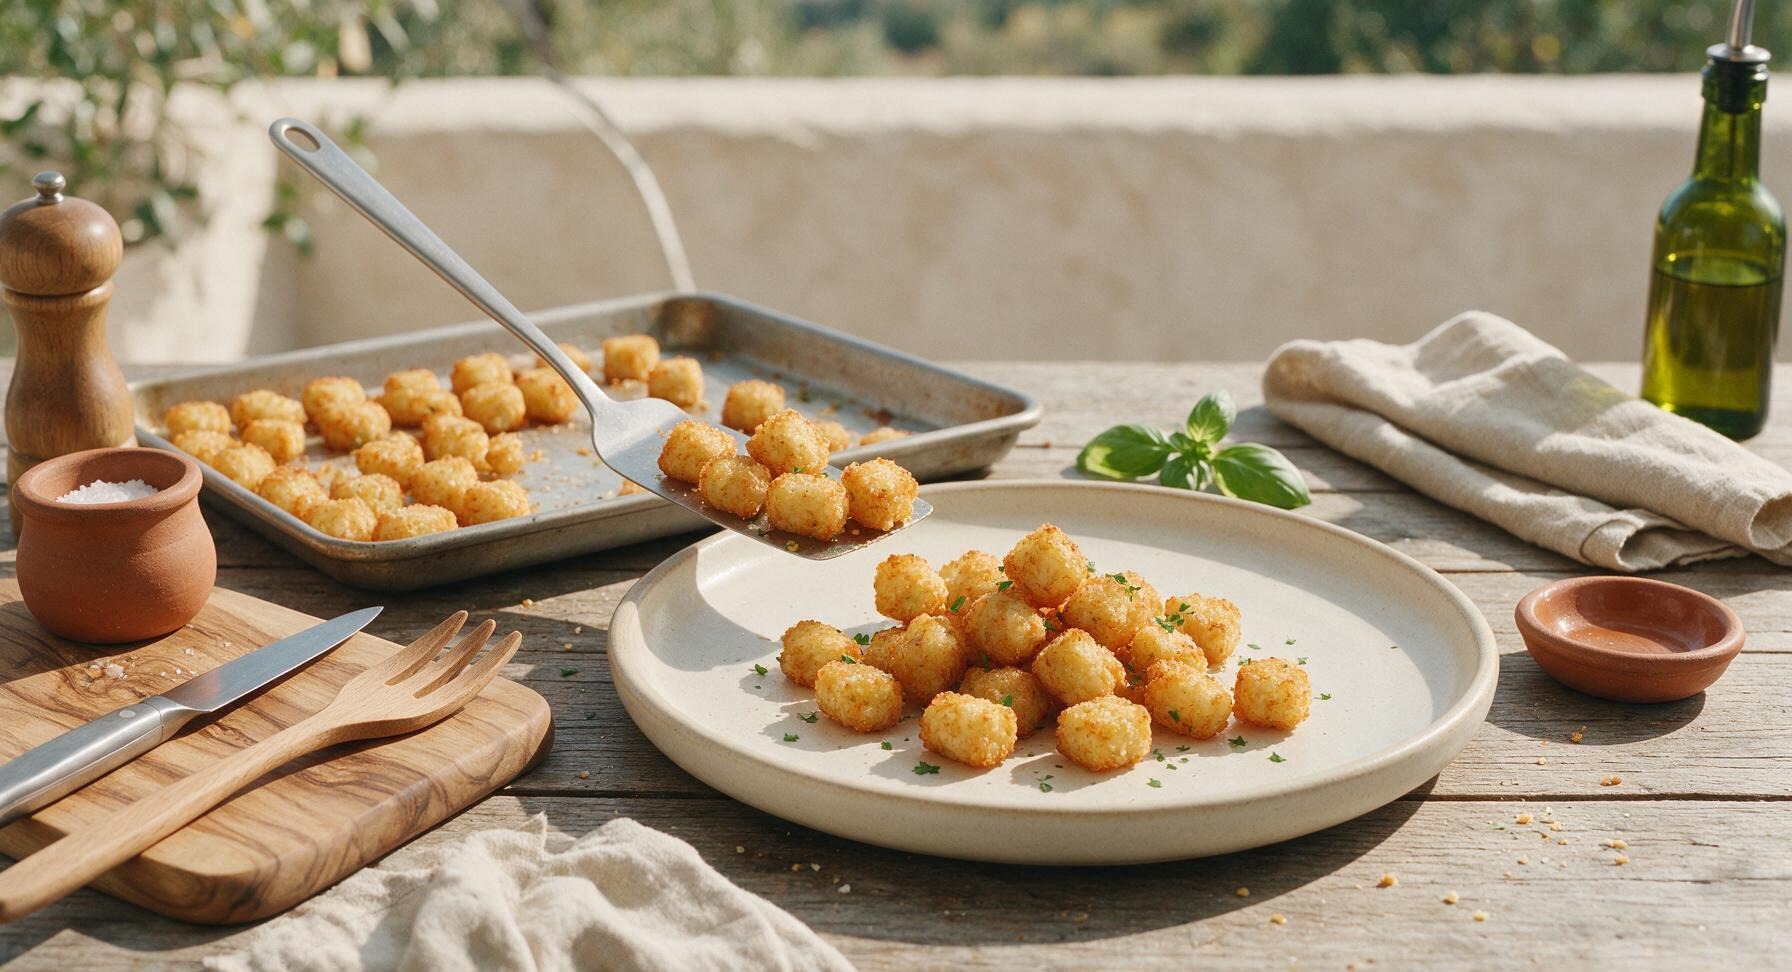
Transfer the hot crispy tots to the matte cream ceramic dinner plate, piling them loosely. Sprinkle with 1 tbsp chopped fresh flat-leaf parsley and a tiny pinch of flaky sea salt, if desired. Pour 1/4 cup ketchup into the tiny matte terracotta sauce dish, placing it next to the plate for dipping. Serve immediately while tots are hot and crisp.
Tips
2.Compress tots tightly when shaping—loosely formed tots will fall apart during baking and flipping. The natural starch released from the squeezed potatoes acts as a binder, so firm pressure when rolling is all you need to hold the shape without extra eggs or flour.
3.For extra crunch and depth, swap 2 tbsp of panko for finely crushed cornflakes, or add 2 tbsp of shredded sharp cheddar to the tot base. Never overcrowd the baking sheet, as trapped air between tots is what creates the crisp, golden exterior; bake in two batches if needed.






OMG these are a total game changer for our weeknight family dinners! My 3 kids refuse to eat plain steamed veggies but devoured these tater tots last night. I tossed in a little extra shredded zucchini and they didn’t even notice. Crispy on the outside, fluffy inside, and way less greasy than the frozen store-bought tots! 10/10
Made these for our neighborhood block party potluck over the weekend and they were gone in 10 minutes flat! People kept asking if I deep fried them, no one believed they were baked. Served them with a side of spicy garlic aioli and it was chef’s kiss. So easy to throw together too, will be making these for every game day from now on
Perfect for my Sunday meal prep rotation! I made a double batch last Sunday and they reheated beautifully in the air fryer all week for quick work lunches. Only tiny tweak I made was adding a sprinkle of smoked paprika for a little extra kick. SO good, way better than the salty frozen processed tots I used to stock up on
Quick question – are these easy to make gluten free? I’ve been hunting for a simple side dish I can make for my kiddo who has celiac, and these look perfect. Hoping I don’t have to tweak the recipe too much to make them work for our family!
I’m literally terrible at cooking and even I didn’t mess these up! The instructions were so straightforward, the 27 minute cook time was exactly spot on, and they came out perfectly crispy all over. Dipped them in classic ketchup like regular tater tots and it hit every single late night snack craving. Will absolutely be making these again soon
Made these totally vegan by swapping the egg for a flax egg and using nutritional yeast instead of parmesan, and they came out so crispy and flavorful! Even my diehard meat-and-potatoes boyfriend was obsessed, said he’d choose these over regular fast food tater tots any day. Win in my book!
Has anyone tried adding a little shredded sharp cheddar to the tot mixture? I feel like cheesy veggie tots would be absolutely insane, but I don’t want to add anything that’ll make them lose that perfect crispiness the recipe promises
Bummed! Mine came out a little soft on the inside and not nearly as crispy as the photos look? I followed the cook time exactly and used the veggies listed, but they just didn’t have that crunch I was hoping for. Any tips for next time?