
Crispy Fried Cornmeal Mush
intro
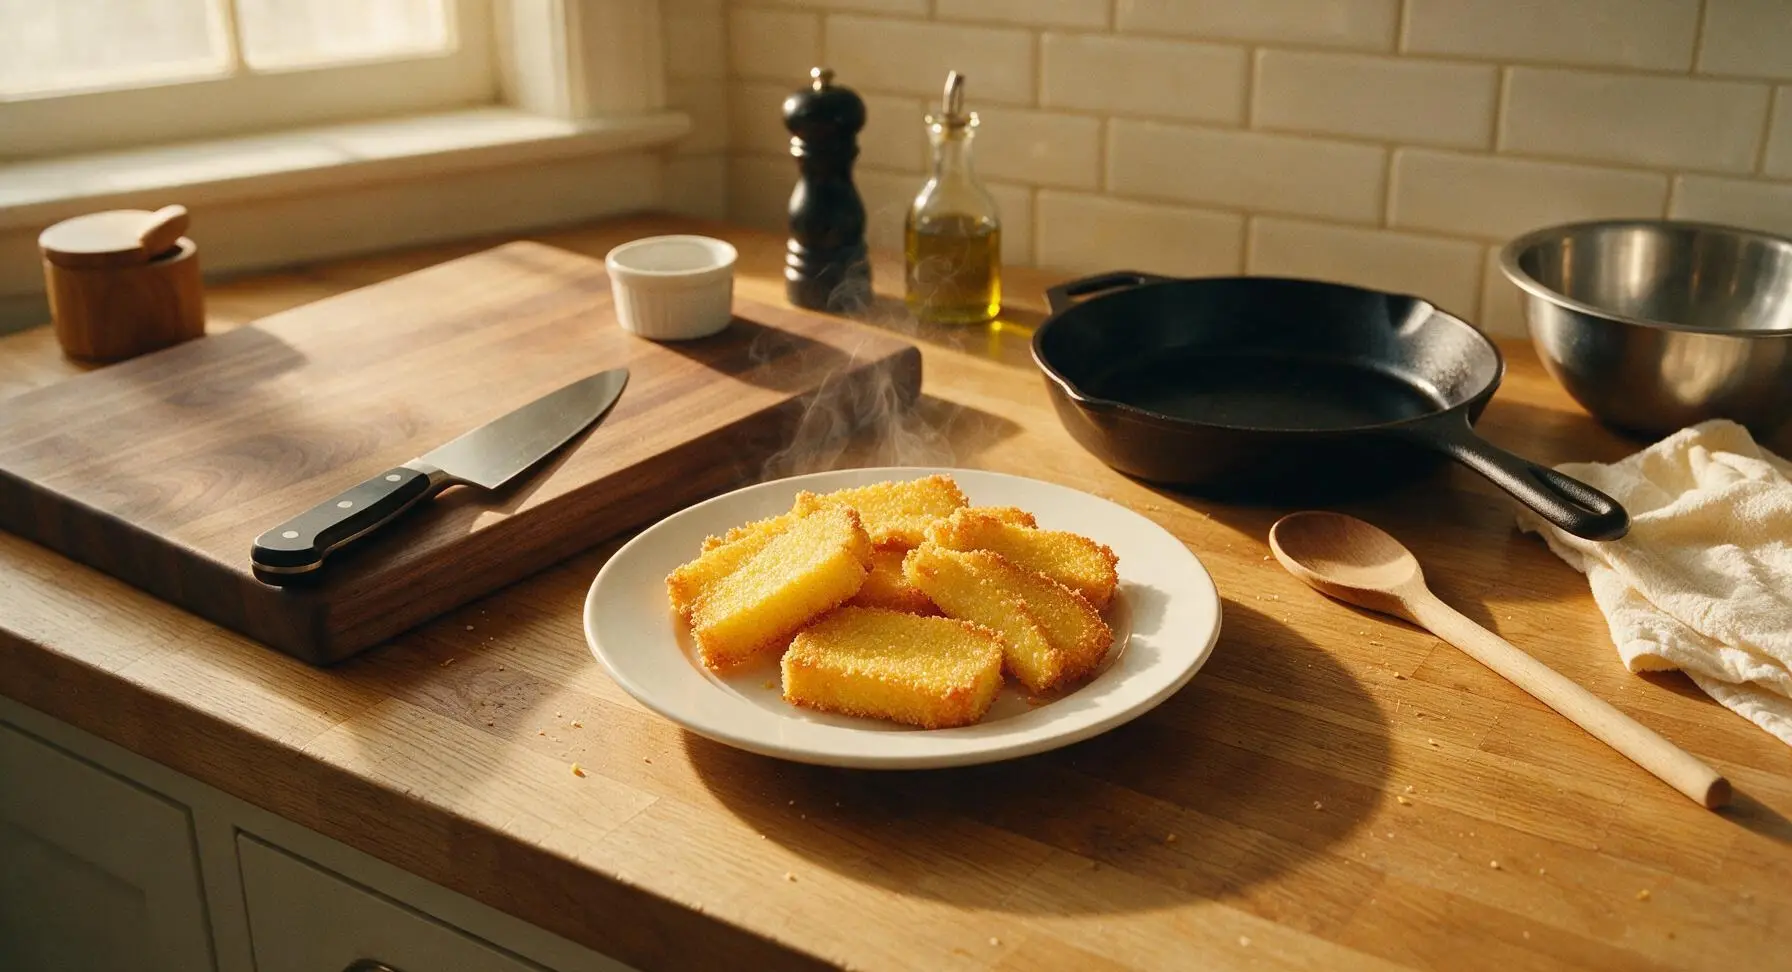
Shatteringly crisp, golden fried cornmeal slices with a soft, creamy center, this nostalgic American staple is perfect for cozy breakfasts served with maple syrup or savory gravy.
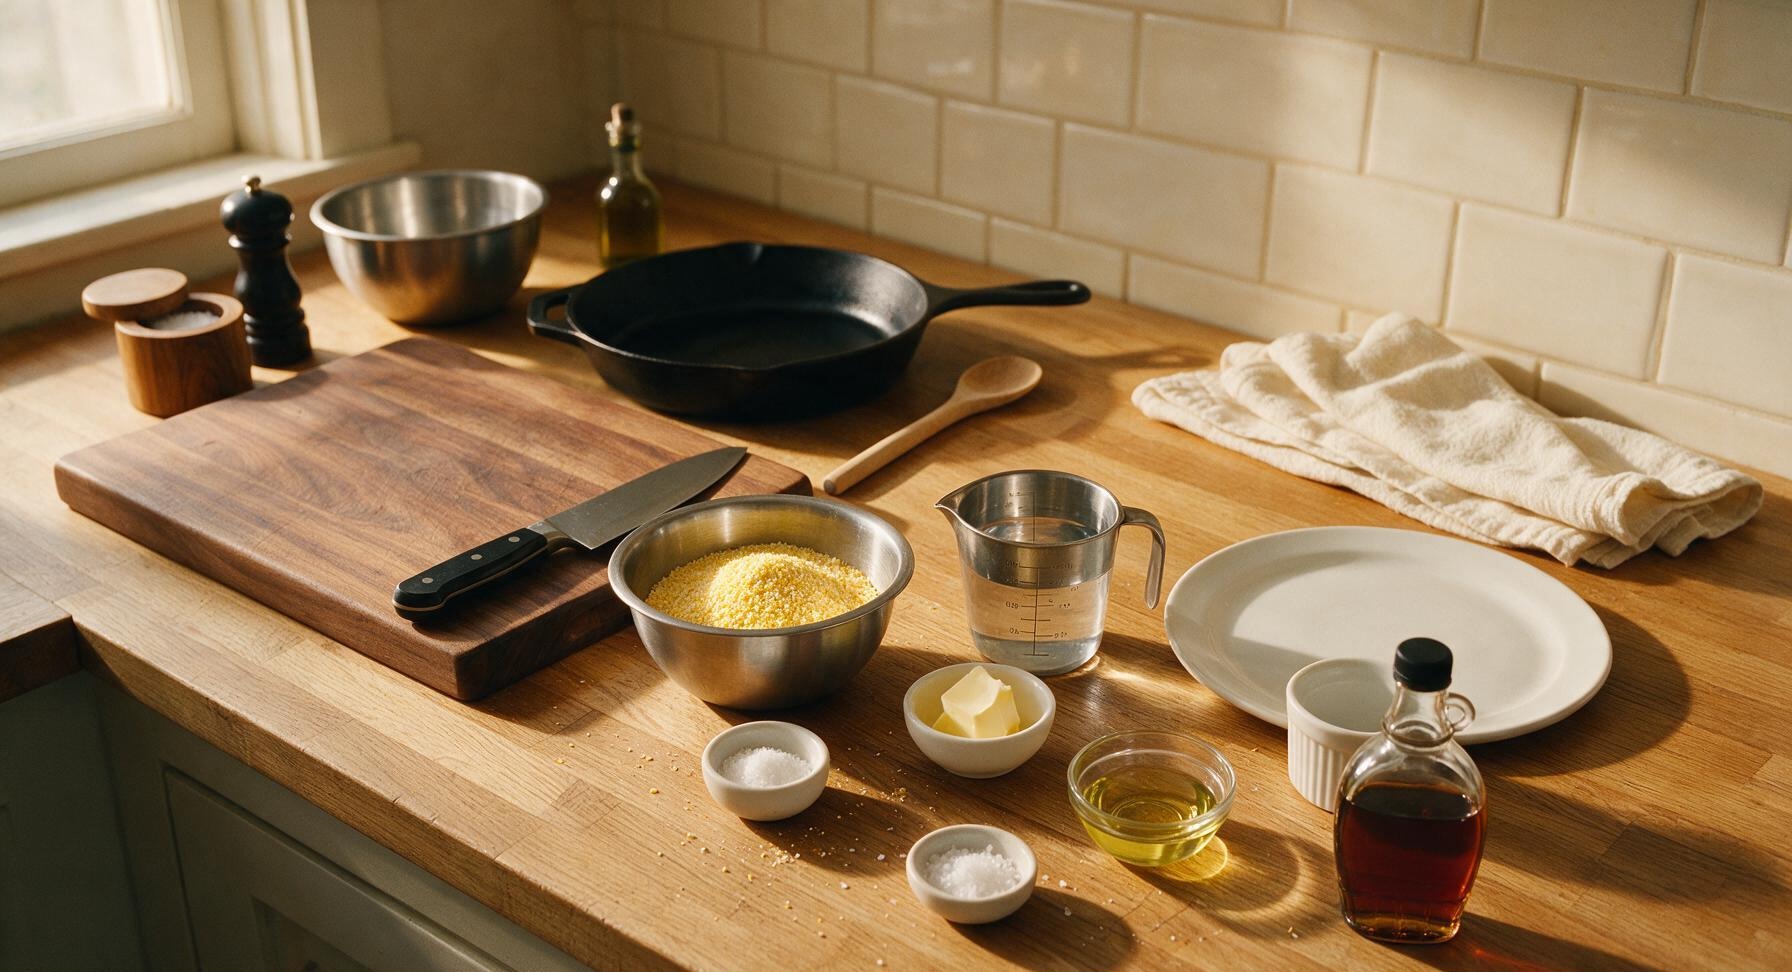
Ingredients
Steps
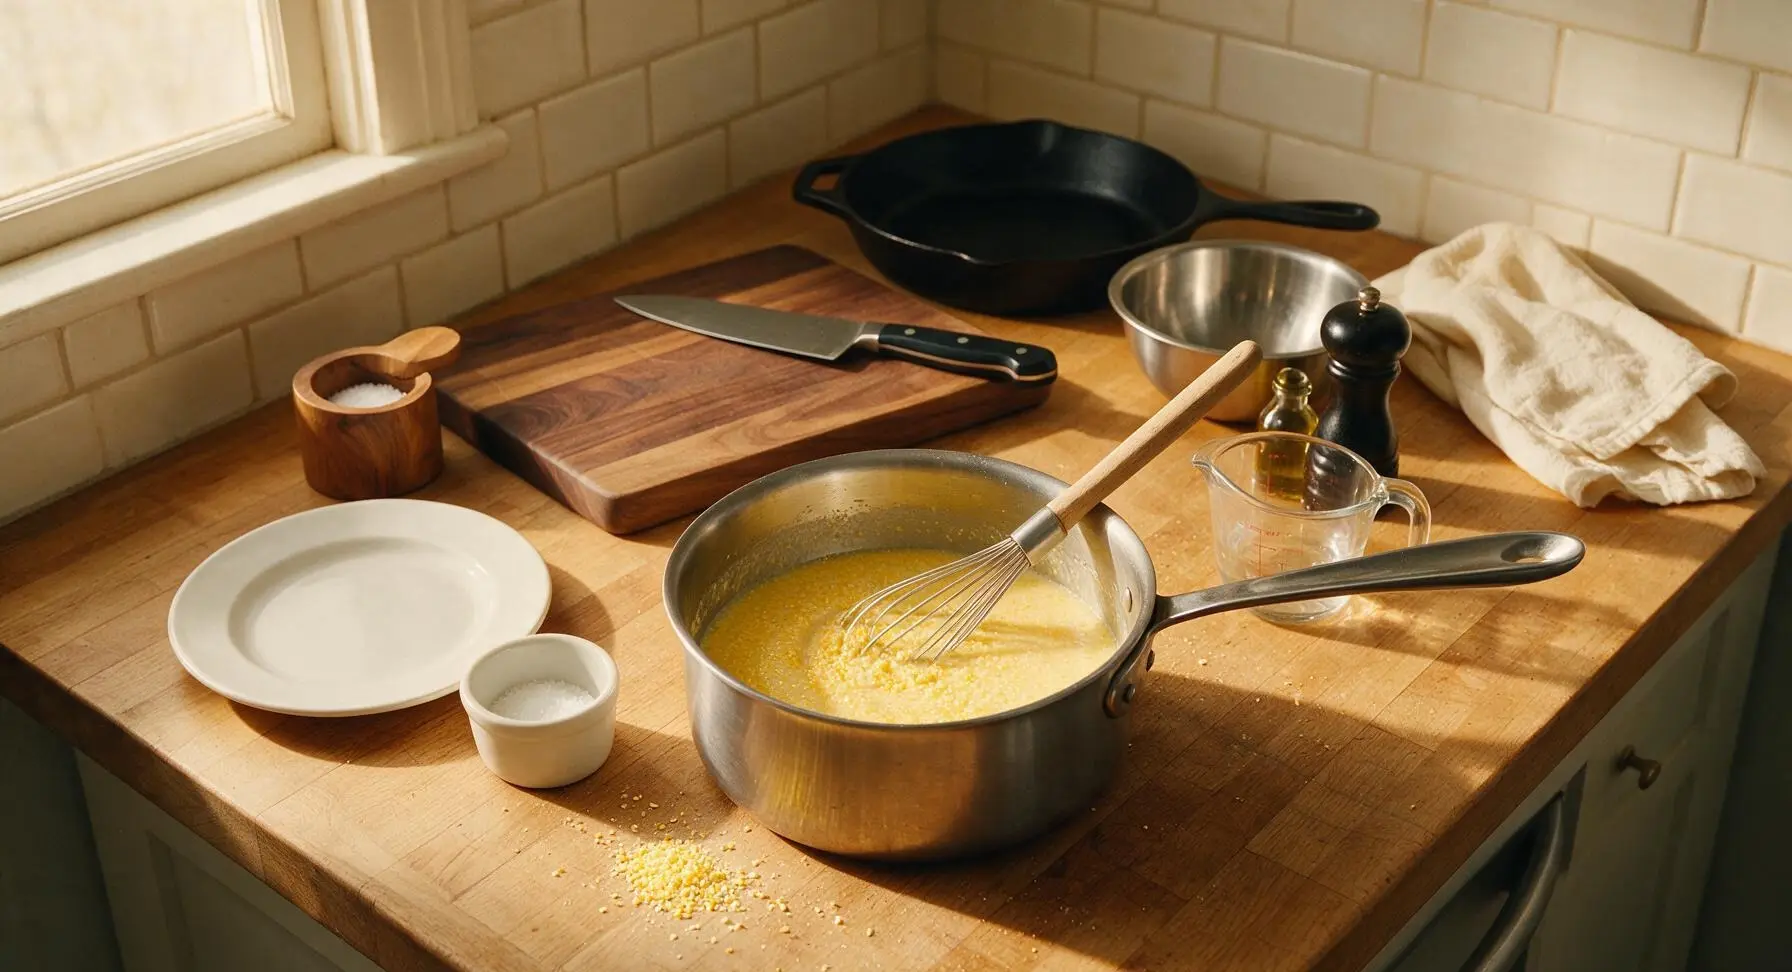
Whisk Cornmeal Slurry
In the 3-quart stainless steel saucepan, combine 1 cup coarse yellow cornmeal, 1 teaspoon fine sea salt, and 1 cup of the measured cold water. Whisk until completely smooth, with no dry lumps of cornmeal remaining. This slurry step prevents stubborn lumps from forming as the mush cooks.
Cook Thick Cornmeal Mush
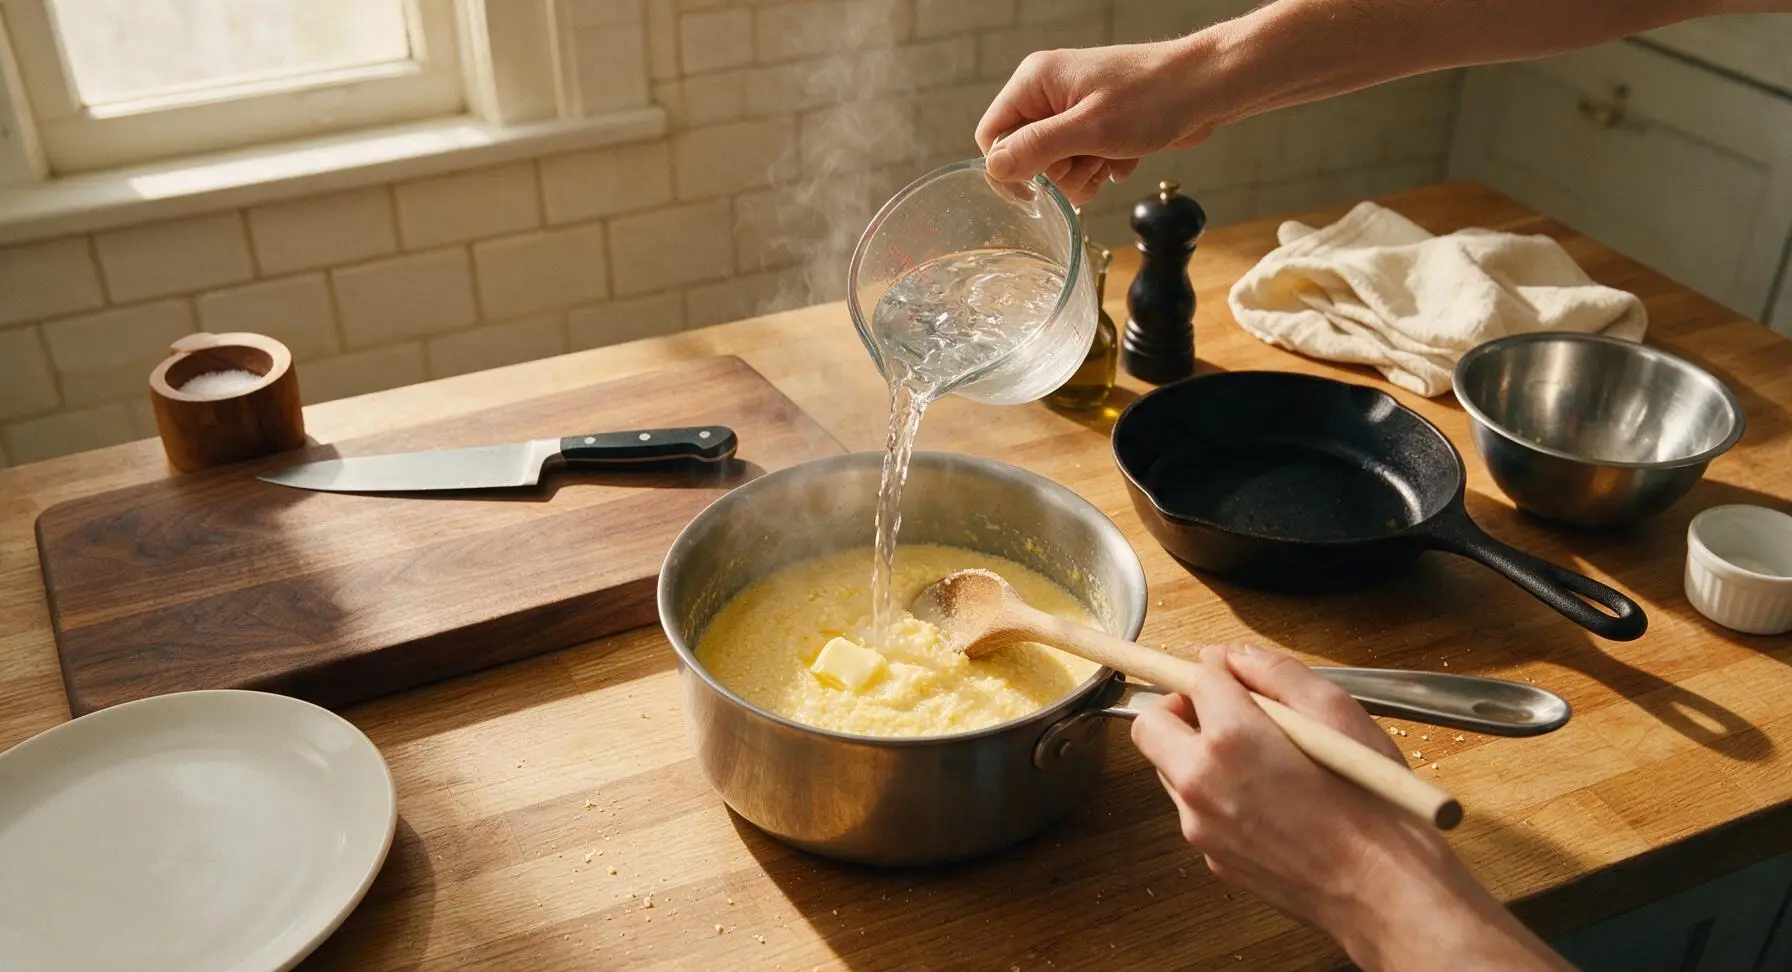
Bring the remaining 2 cups of water to a rolling boil, then slowly pour the boiling water into the cornmeal slurry while stirring constantly with the beech wood spoon. Reduce heat to medium-low, and cook, stirring frequently, for 10-12 minutes until the mush is very thick, pulls away from the sides of the pan, and holds its shape when you lift the spoon. Stir in 1 tablespoon of the unsalted butter until fully melted and incorporated.
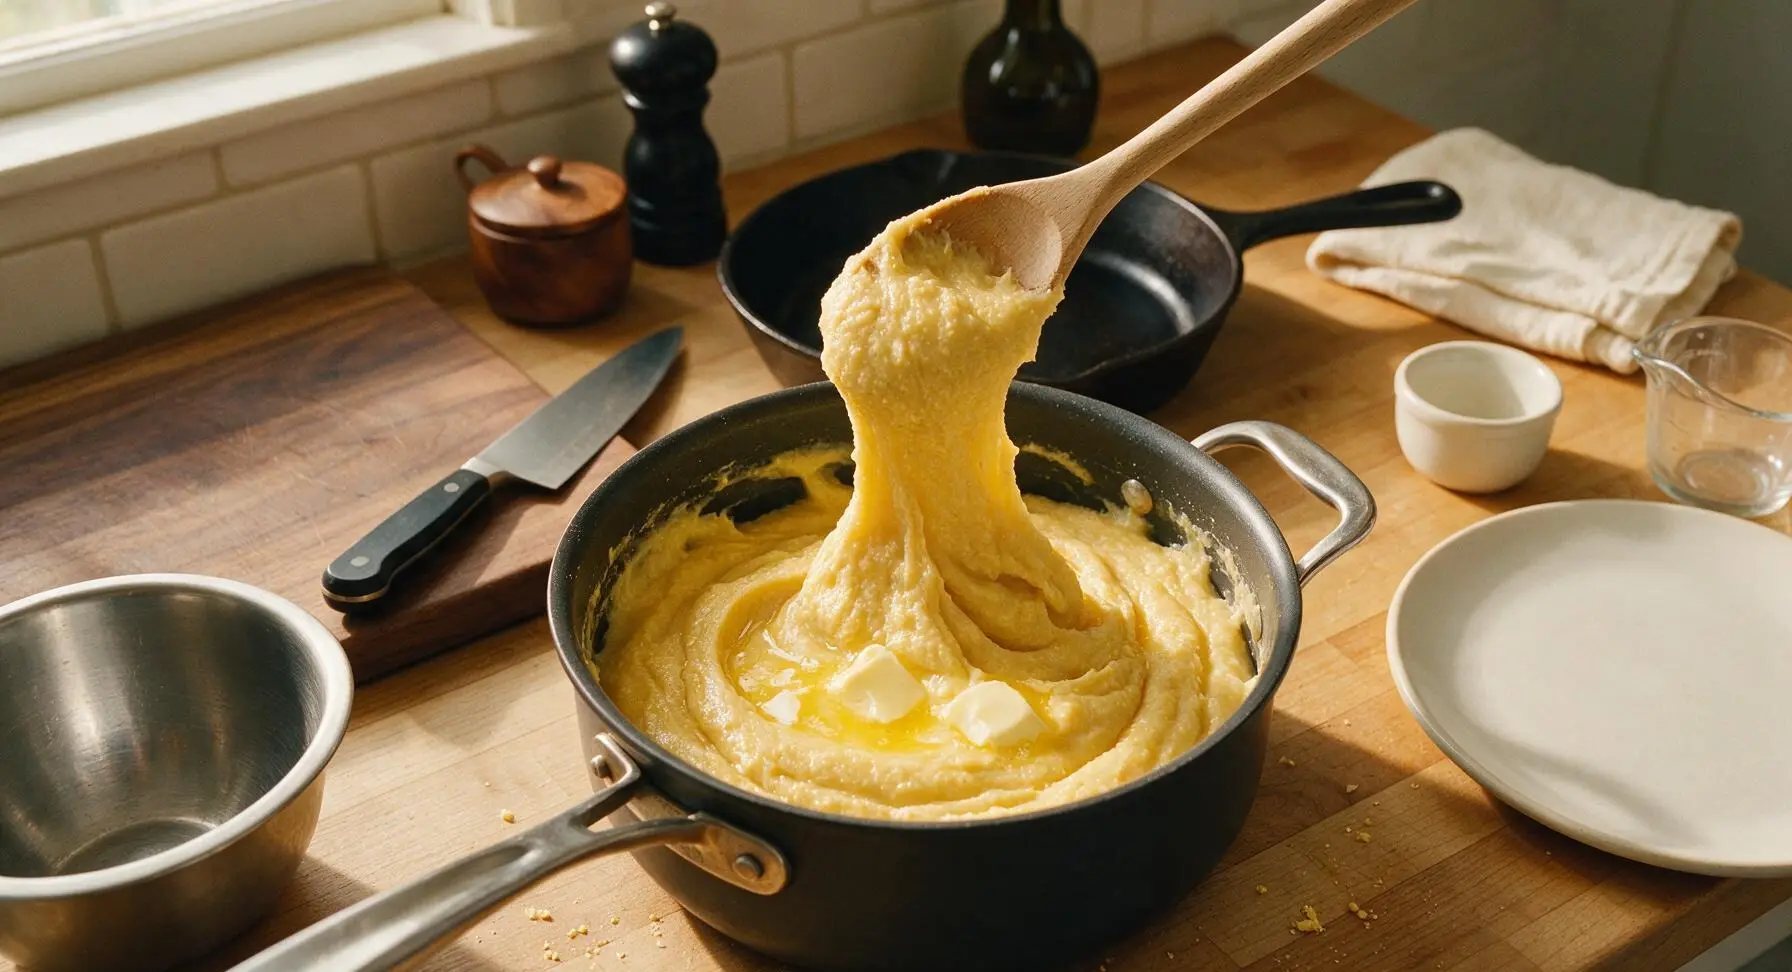
Transfer Mush to Set
Grease the inside of the 9x5 inch light gray metal loaf pan with the remaining 1 tablespoon of unsalted butter. Pour the hot, thick cornmeal mush directly into the prepared pan, smoothing the top surface flat with the back of the wood spoon. Press a piece of parchment paper directly against the surface of the mush to prevent a tough skin from forming as it cools.
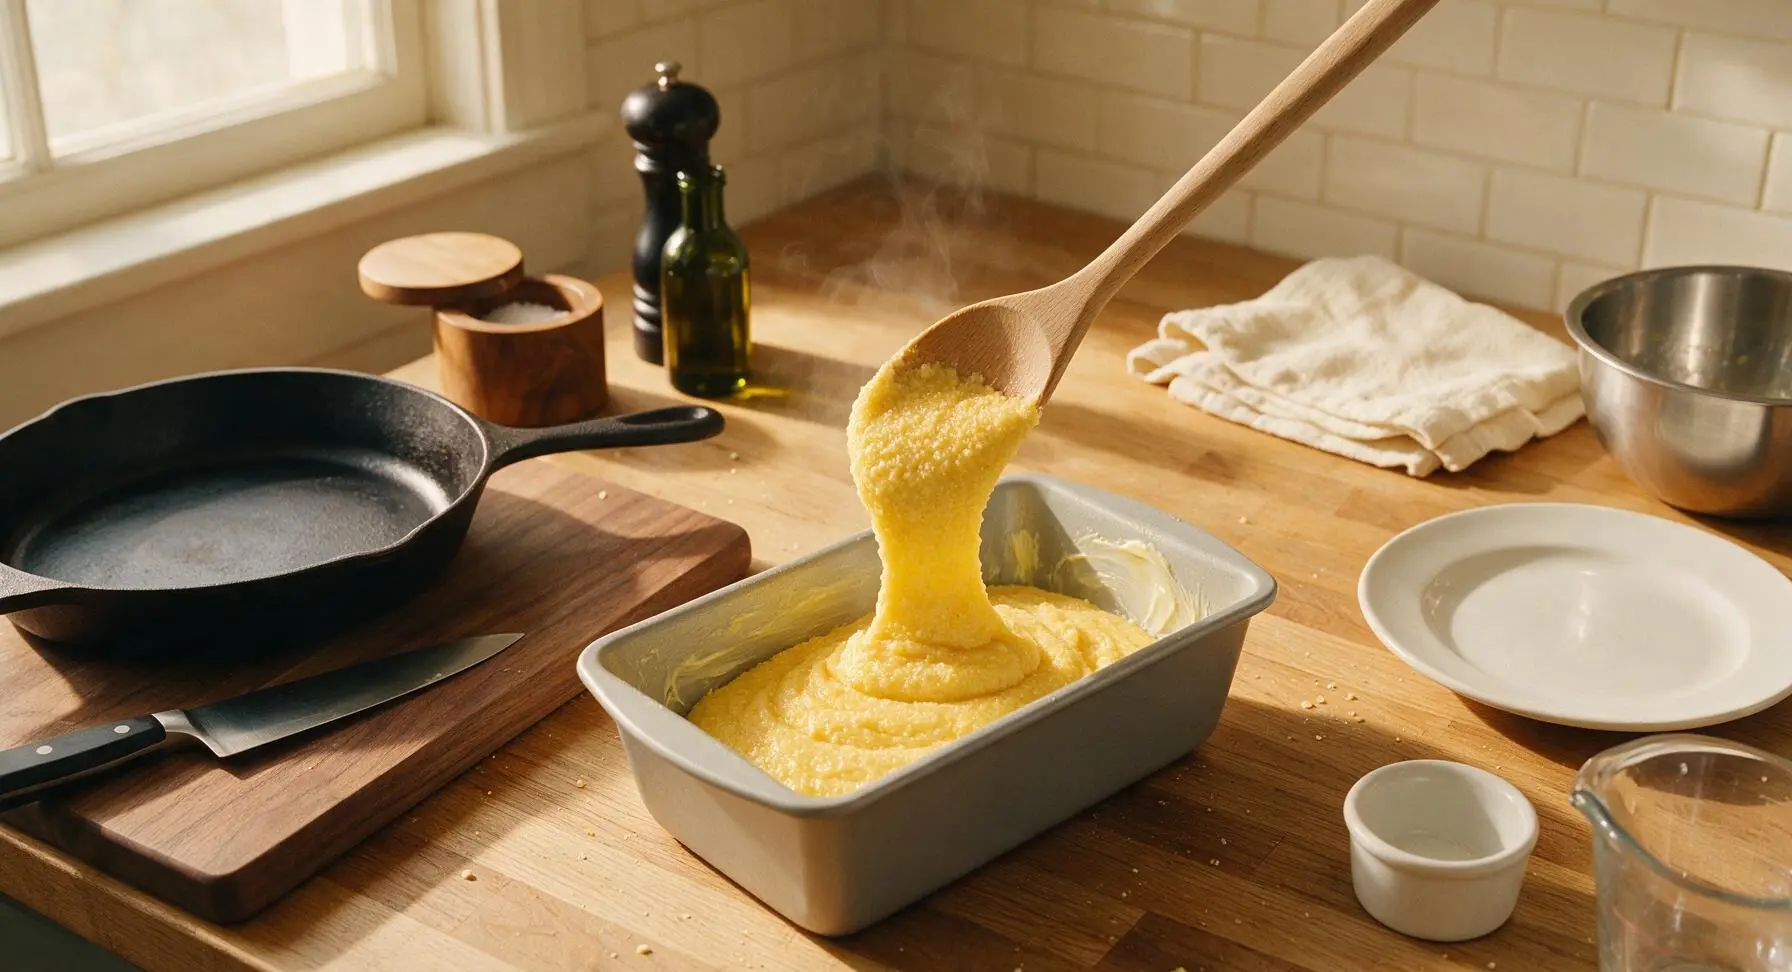
Chill Mush Until Firm
Place the loaf pan of mush in the refrigerator for a minimum of 4 hours (or up to 3 days, tightly covered) until completely firm and solid to the touch. The mush should not jiggle when you gently shake the pan; this firm texture is critical to prevent slices from falling apart during frying.
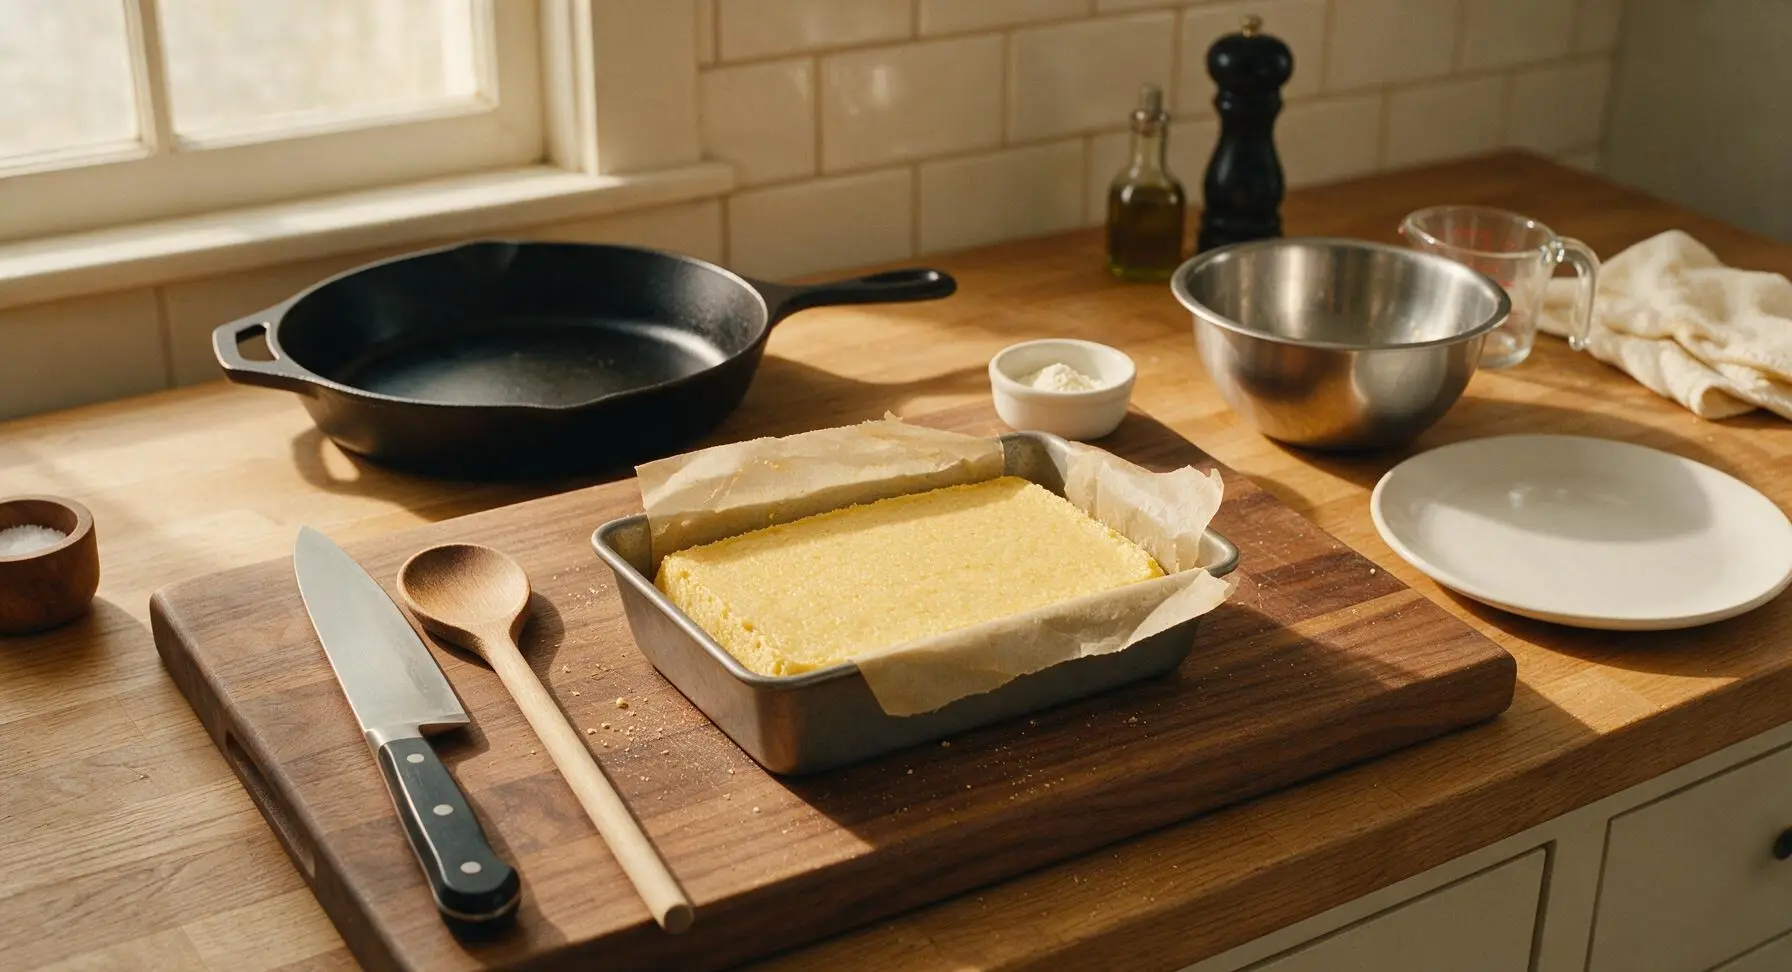
Slice Firm Mush Block
Run the tip of the serrated knife around the edge of the loaf pan, then invert the pan onto the bamboo cutting board to release the solid cornmeal block in one smooth piece. Using the serrated knife with a gentle sawing motion, cut the block into uniform 1.5cm (1/2 inch) thick slices. Wipe the knife blade between cuts if mush sticks to ensure clean, even slices.
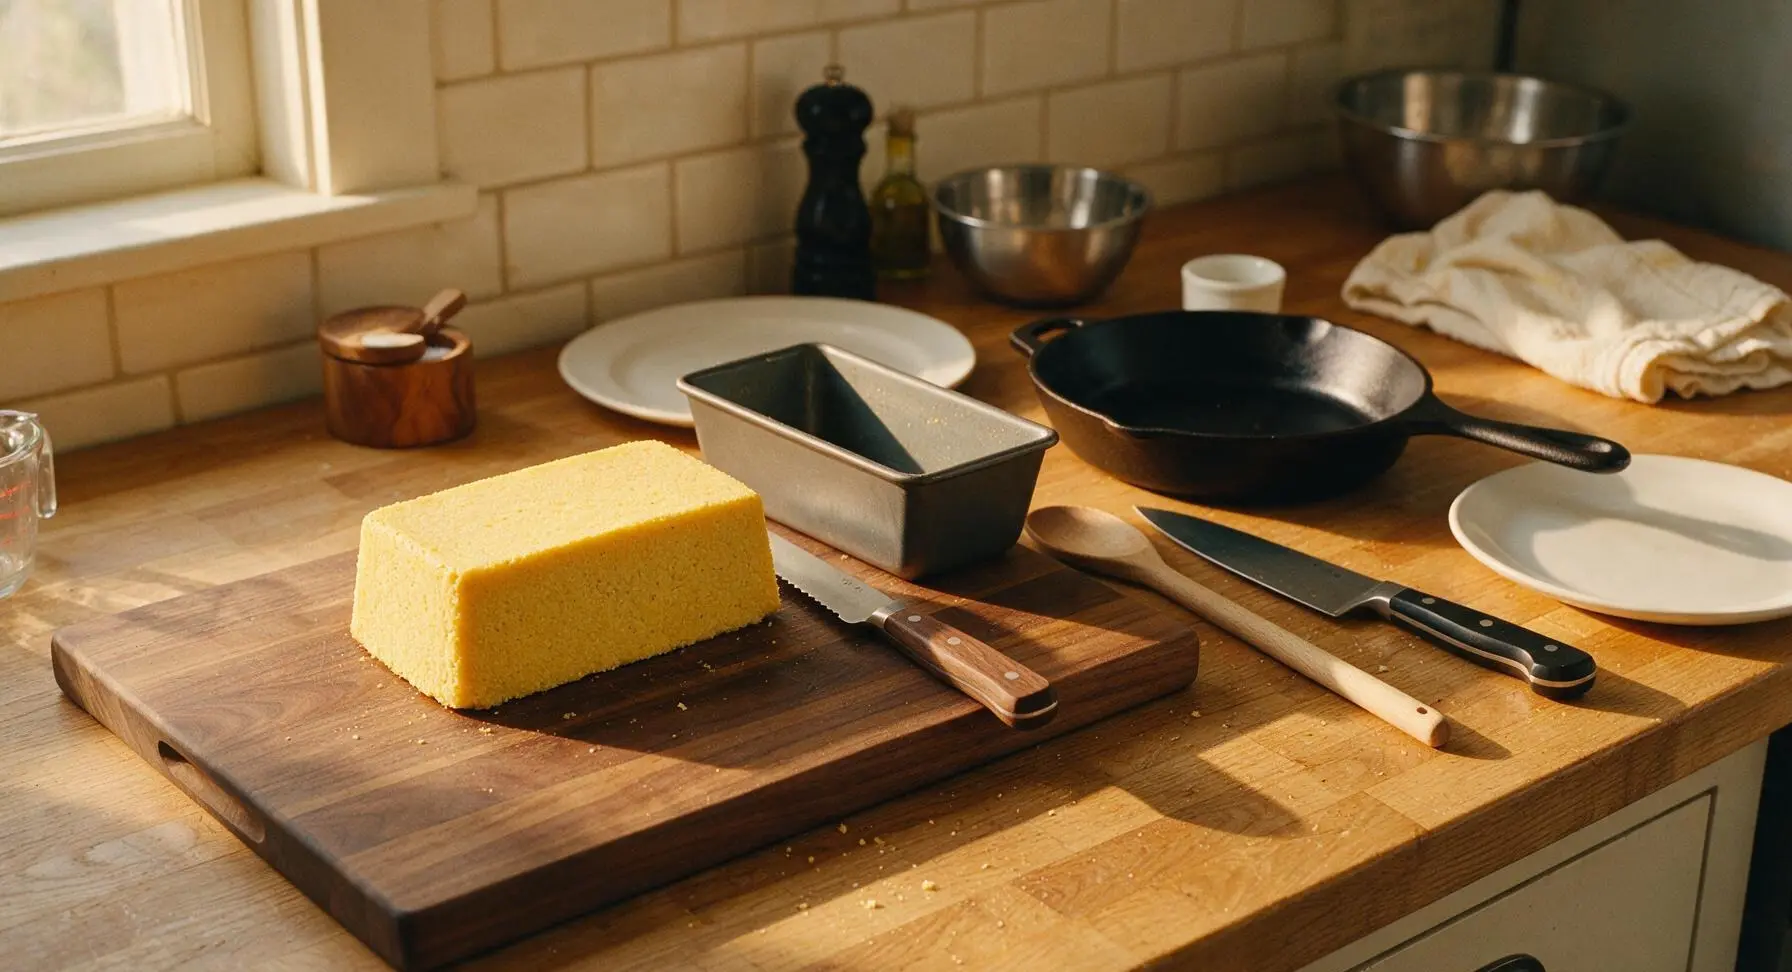
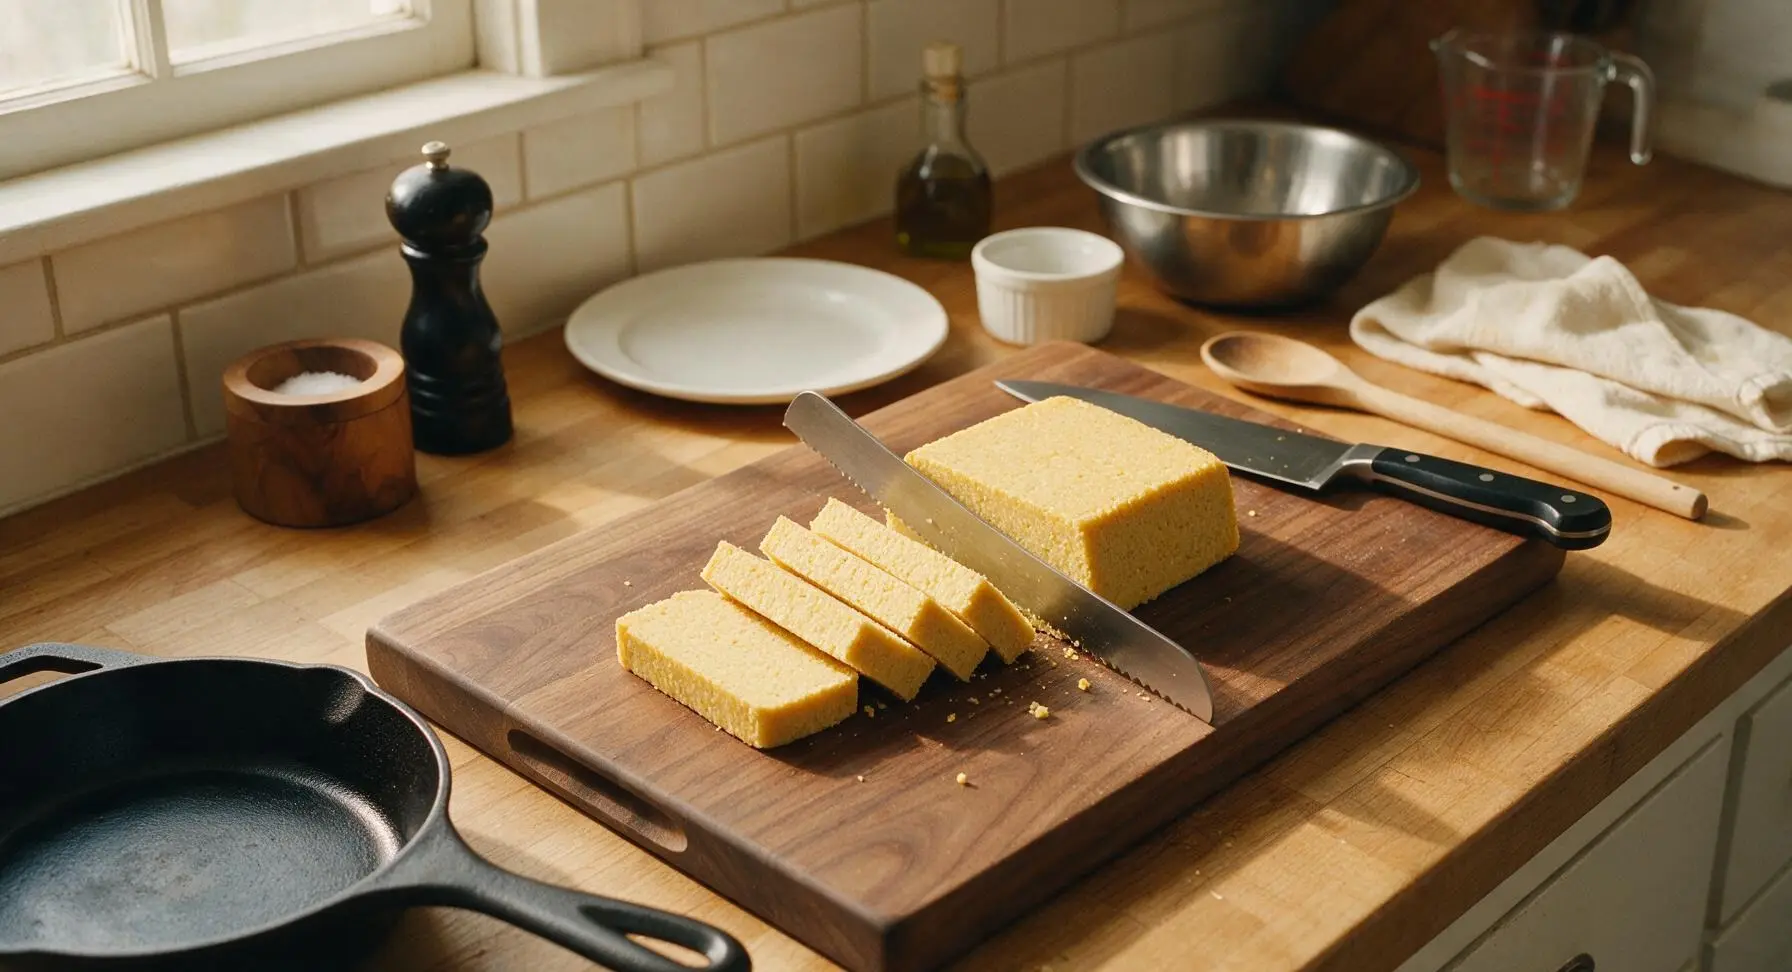
Heat Skillet for Frying
Place the 12-inch matte black carbon steel skillet on the integrated induction stovetop over medium heat, add 1/4 cup neutral canola oil, and heat for 3-4 minutes until the oil shimmers. Test the oil temperature by dropping a single crumb of cornmeal into the pan: it should sizzle immediately and bubble rapidly around the edges when the oil is ready for frying.
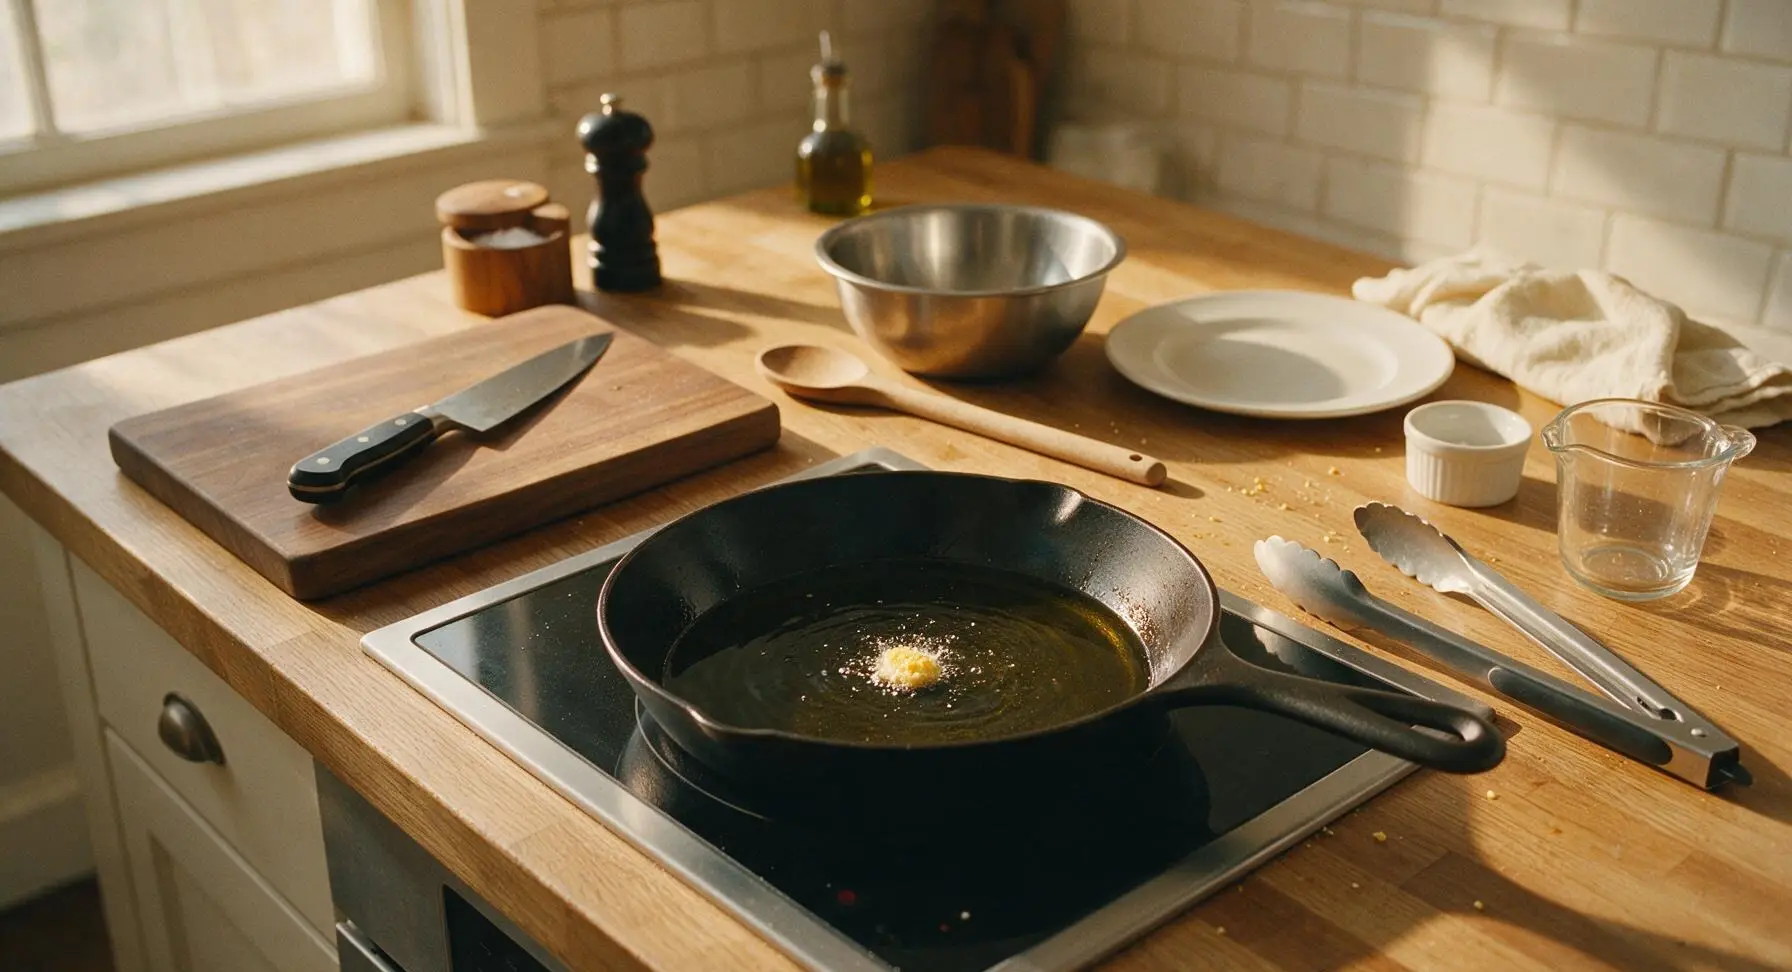
Fry Slices Golden Crisp
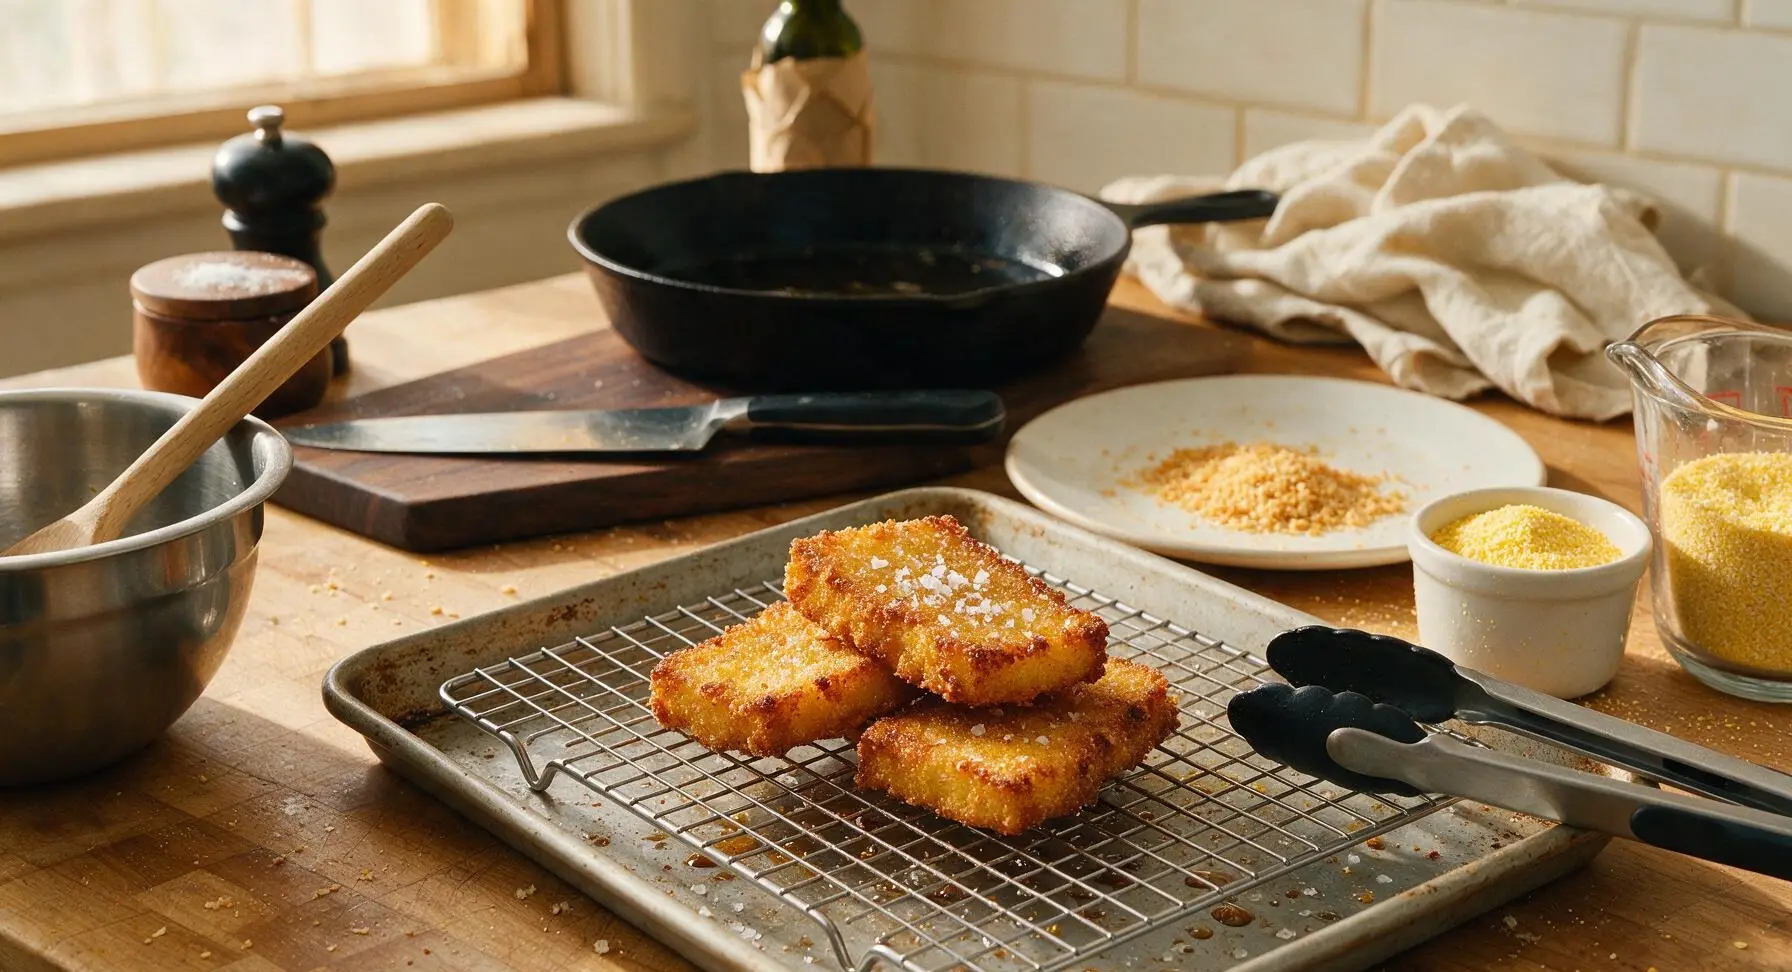
Carefully place 3-4 cornmeal slices into the hot oil in a single layer, taking care not to overcrowd the pan. Fry for 4-5 minutes on the first side until deep golden brown and crispy around the edges, then use the silicone-tipped tongs to flip each slice, and fry for another 3-4 minutes on the second side. Transfer cooked slices to the chrome wire rack set over the light gray rimmed baking sheet to drain, and sprinkle lightly with flaky sea salt immediately while hot.
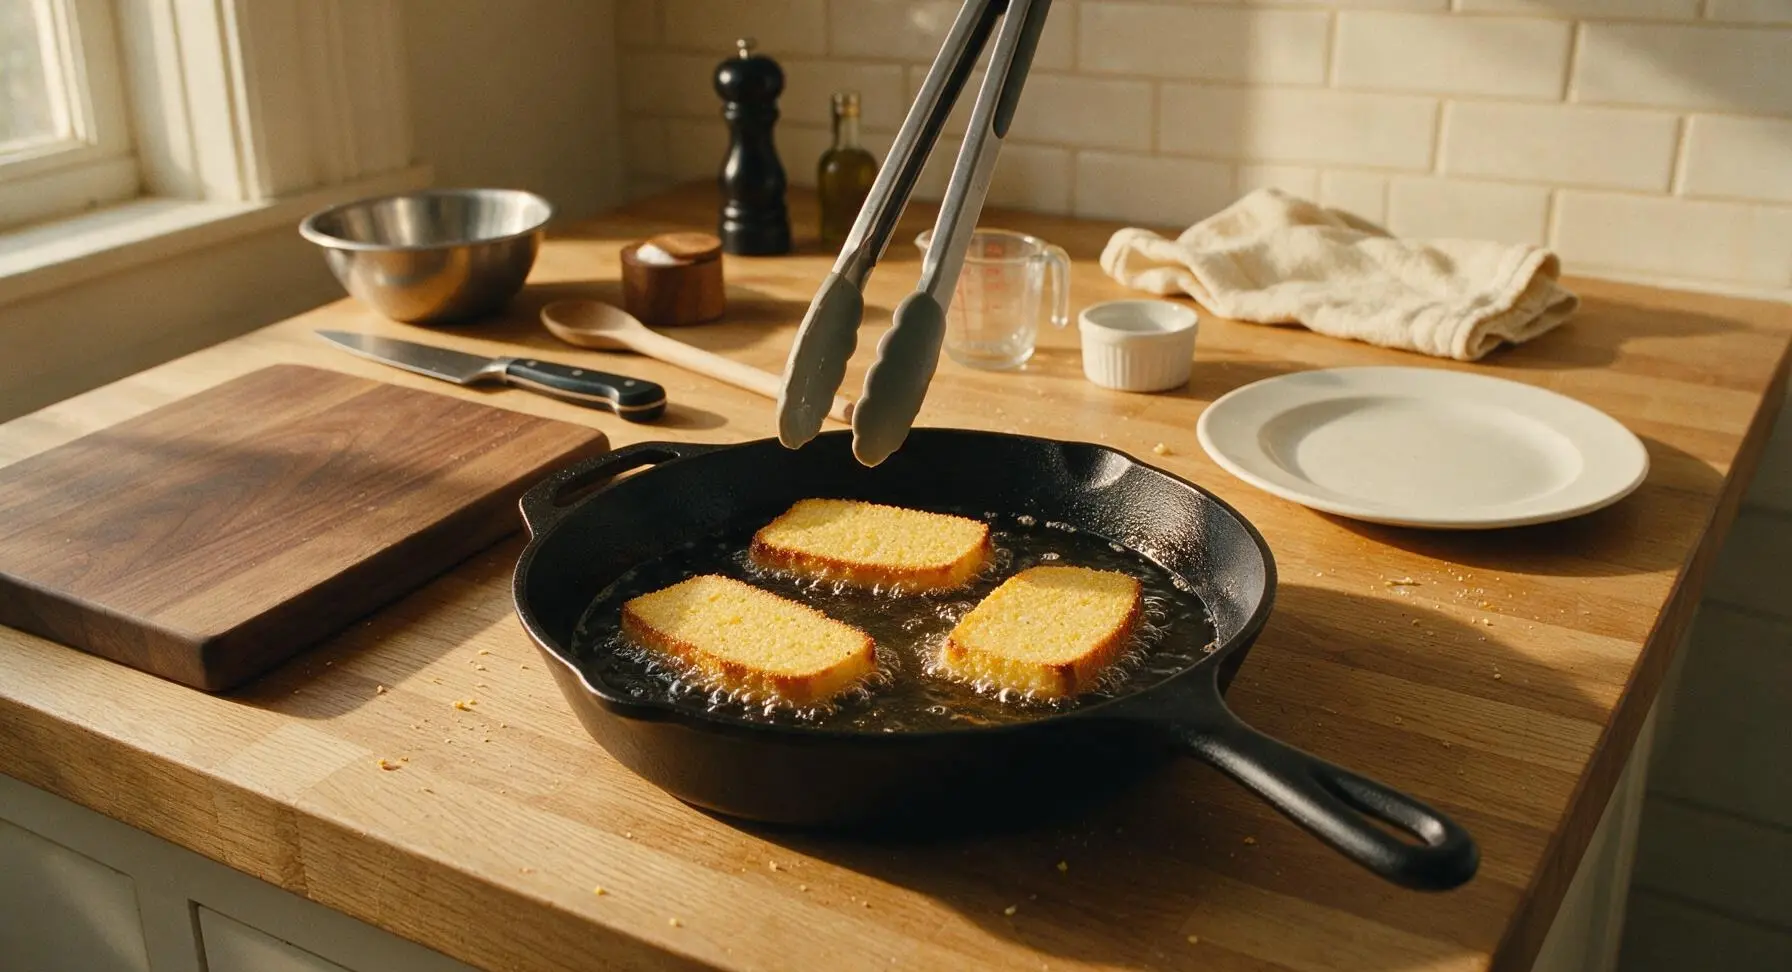
Tips
2.Drain fried slices on a wire rack instead of paper towels: trapped steam from the hot slices will condense on paper towels, turning the shattery crust soggy in minutes. Elevating slices on a rack lets air circulate to keep them crisp.
3.Wait until oil shimmers before adding slices: oil that is too cool will cause the mush to absorb excess grease and turn heavy, while smoking oil will burn the crust before the center of the slice warms through. Test with a cornmeal crumb for immediate, vigorous bubbling to confirm the right temperature.






OMG this crispy fried cornmeal mush is such a game changer! I grew up eating the soft, spoonable version my grandma made but never thought to fry it extra crispy like this. Served it with a drizzle of maple syrup and a side of bacon for Saturday breakfast and my kids devoured every last bite before I even sat down to eat. SO good, this is going into our regular weekend rotation for sure.
Took this to our neighborhood potluck last weekend and people were asking me for the recipe left and right! I added a little pinch of cayenne to the cornmeal mix for a tiny kick and it paired perfectly with the fried crispiness. Only thing is I had trouble getting the slices to hold together when I first cut them—did I do something wrong?
Wait a second, this is so perfect for meal prep! I made a big batch on Sunday, sliced it up, and kept it in the fridge all week to fry up quick for busy weekday mornings. 25 minute cook time is no joke even on chaotic school days, total lifesaver.
Who else eats this with a little pat of butter and a sprinkle of powdered sugar?? It tastes like a warm, cozy hug on a plate. I was worried it’d be too hard to make since I’m a total beginner, but the easy difficulty rating was 100% accurate, no fancy skills needed.
Made this before an early morning hike last week and it kept me full for hours, way better than sad granola bars that leave me hangry an hour in. I fried mine in a little bacon grease instead of vegetable oil for extra savoriness and wow, chef’s kiss. Will be making this for all my future camping trips too.
This recipe is exactly how my mom used to make cornmeal mush back when I was a kid in the 70s! I haven’t had crispy fried mush in probably 30 years and the first bite took me right back to her kitchen table. I did cook mine a tiny bit longer to get the edges extra crunchy, just like she did.
Yay, a naturally gluten-free breakfast option that doesn’t taste like cardboard! I used coarse ground cornmeal because that’s what I had in the pantry, and it still came out super crispy. Wondering if I could make this in the air fryer to cut down on oil a little bit?
I know this is usually a breakfast food but I served this as a side with chili last night and it was the perfect pairing! The crispy corn flavor cut through the rich spicy chili so well, my husband said it’s a mandatory side for chili night from now on. Who knew it worked for dinner too?
Uh oh, my first batch came out really gummy on the inside even after frying, did I mess up the cornmeal to water ratio? I followed the directions but maybe I rushed the cooking step for the mush before chilling? It was still tasty but the texture was off.
Made this for my monthly brunch with the girls and everyone went crazy for it! I set out a whole topping bar: maple syrup, honey, hot sauce, fruit compote, even cream cheese frosting for anyone with a sweet tooth. It’s such a versatile base for whatever toppings people love.
This is such an affordable recipe, I swear all the ingredients cost me less than $3 total for a whole week of breakfasts. Way cheaper than buying frozen breakfast sandwiches or getting takeout on the way to work. Tastes way better too, can’t beat that crispy crust.
I added a half cup of shredded sharp cheddar and a dash of smoked paprika to the cornmeal before chilling it, and fried it until the edges were almost burnt (the best part, let’s be real). It was like a crispy cheesy cornbread bite but better. Curious if there are other savory mix-ins people love?
I was so sure my super picky 7 year old would turn his nose up at this, but he ate three slices dipped in ketchup (don’t judge) and asked if we could have it for dinner again tomorrow. Win for mom! I didn’t even have to bargain with him to take bites, that never happens.
I fried mine in avocado oil and topped it with sautéed spinach and a runny poached egg for a fancy-ish weekend breakfast, and it felt like something I’d pay $15 for at a brunch spot. So easy to elevate with simple toppings, 10/10 for impressing guests without the hassle.
My grandma used to fry up leftover cornmeal mush from dinner the night before for breakfast, and I haven’t had it since she passed. This recipe tasted exactly like hers, I teared up a little at the first bite. Thank you so much for sharing this, it means a lot.
Wait, can I use instant cornmeal for this? I don’t feel like running to the store, I’ve got a whole bag of instant in the pantry from making cornbread last month. Don’t want to waste it if it works!