1.What makes a homemade cronut different from a regular raised donut?
▾
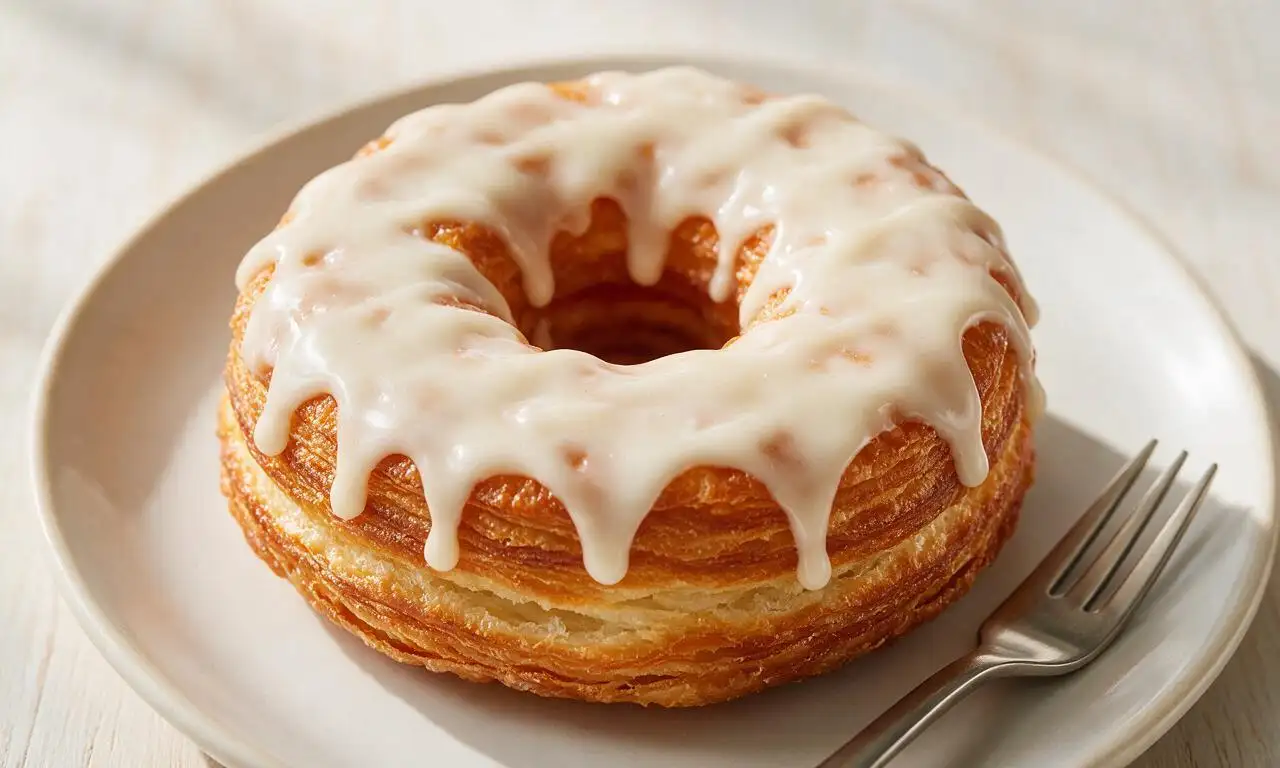
Unlike dense, uniformly crumbed regular raised donuts, cronuts are made with laminated, croissant-style dough folded repeatedly with butter to create dozens of thin, flaky layers. When fried, those layers puff to create a crisp, golden outer edge and light, pillowy, buttery interior, rather than the soft, even crumb of a standard donut.
2.Do I need special equipment like a dough laminator to make these cronuts at home?
▾
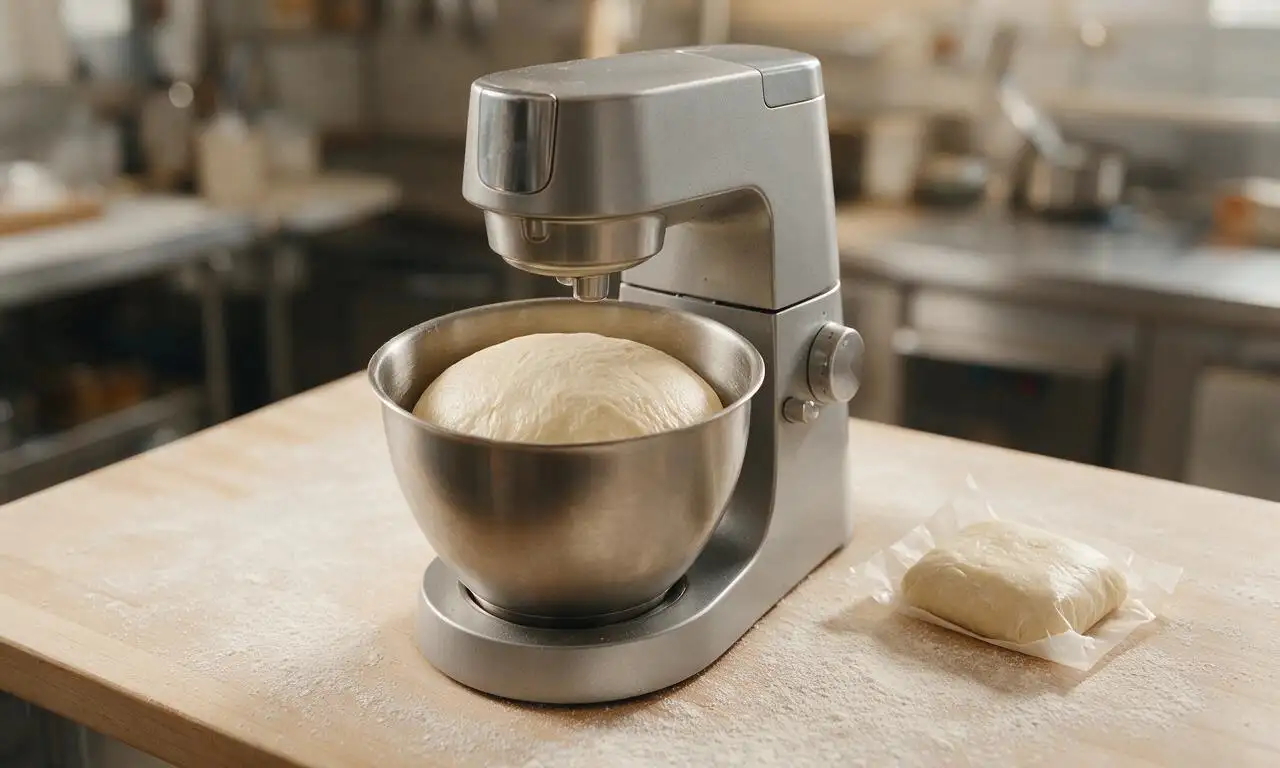
No fancy professional gear is required! A sturdy rolling pin, sharp 3-inch round cutter, small 1-inch cutter for the center hole, clip-on deep-fry thermometer, and large mixing bowl work perfectly. A stand mixer with a dough hook cuts down kneading time, but you can easily knead the dough by hand with no laminator needed.
3.Can I use active dry yeast instead of the instant dry yeast called for in the recipe?
▾
Absolutely! If you only have active dry yeast, use the exact same measured amount, but activate it first in warm (105–110°F) whole milk with a pinch of sugar for 5–7 minutes until it foams up, before mixing it into the rest of your dough ingredients. It will perform exactly the same as instant yeast for this recipe.
4.Why is my laminated dough leaking butter while I roll and fold it?
▾
Butter leaks almost always happen when your butter block is too soft, or your dough is too warm during rolling and folding. If you see butter starting to soften and peek through the dough, pop it on a sheet pan in the fridge for 20–30 minutes to firm everything back up, and never skip the required chill time between each set of folds.
5.Can I use lower-fat milk instead of the whole milk called for in the dough?
▾
Whole milk is ideal here because its higher fat content keeps the dough tender, feeds the yeast effectively, and supports that rich, buttery flavor. If you only have 2% milk, it will work but produce slightly less tender layers; skip skim milk entirely, as it leads to a drier, blander crumb that won’t puff as well when fried.
6.Can I use bread flour or cake flour instead of all-purpose flour for the dough?
▾
Stick with all-purpose flour for the perfect balance of chew and tenderness. Bread flour has higher protein that will make cronuts tough and chewy instead of light, while cake flour has too little protein to support the tall, puffed layers, leading to flat, crumbly pastries that fall apart when fried.
7.Can I use table salt instead of fine sea salt in the dough?
▾
Fine sea salt is called for to balance the sweet dough, buttery layers, and vanilla glaze without a harsh salty bite. If you only have table salt, use half the measured amount of fine sea salt, since table salt is denser and more concentrated. Too much salt will overpower the delicate buttery, sweet flavor of the cronuts.
8.Can I cut down on the granulated sugar in the dough to make it less sweet?
▾
The small amount of granulated sugar in the dough does more than add sweetness: it feeds the yeast, supports browning for crisp golden edges, and keeps layers tender. You can cut the sugar by 25% if you prefer less sweet pastries, but don’t omit it entirely, or your yeast will struggle to rise and cronuts will be pale.
9.How thin should I roll the final laminated dough before cutting out cronut shapes?
▾
Aim to roll your fully laminated dough to a consistent ½-inch thickness before cutting. Any thinner, and your cronuts won’t puff enough to form those distinct, tall layers; any thicker, and the center may not cook all the way through during frying, leaving you with a dense, doughy middle instead of a light, flaky crumb.
10.What type of oil is best for frying cronuts to get that signature crisp edge?
▾
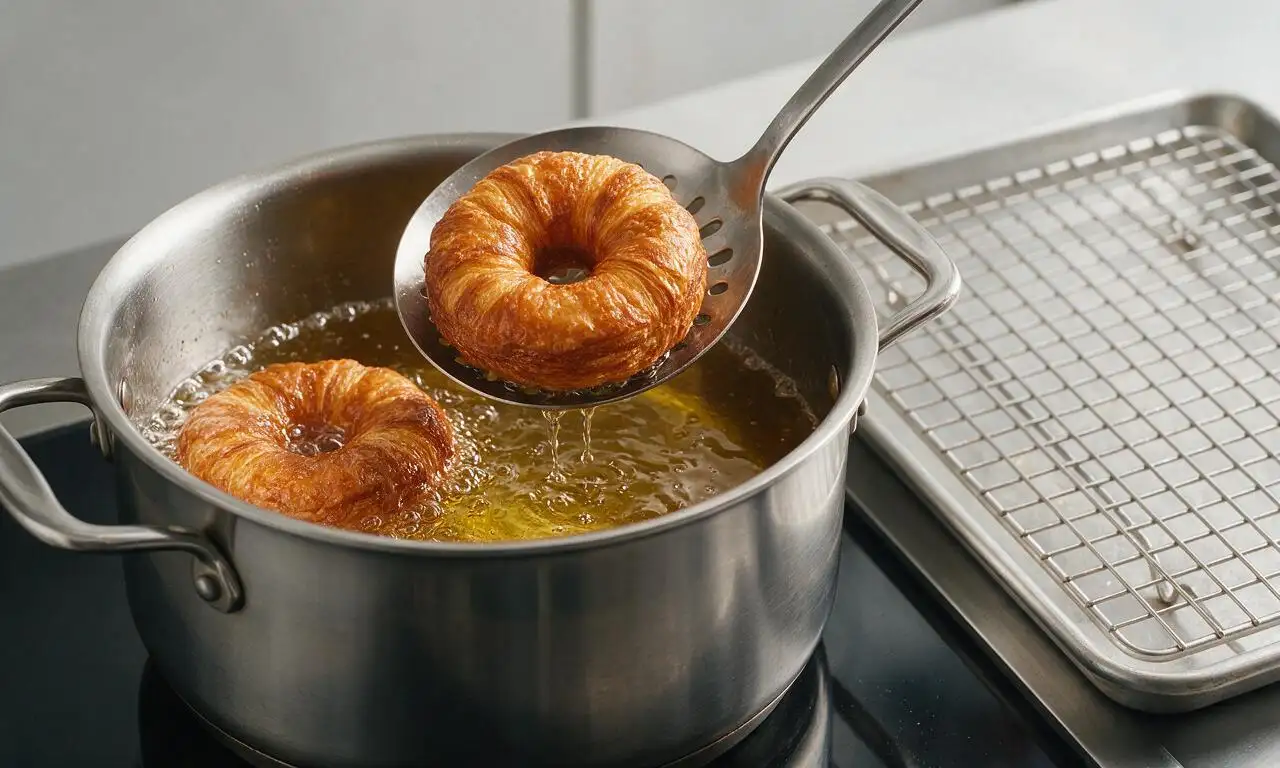
Reach for a neutral, high-smoke-point oil like canola, vegetable, or peanut oil for frying. Avoid strongly flavored oils like extra-virgin olive oil or toasted sesame oil, which will overpower the delicate buttery flavor of the cronut. Hold your oil steady at 350°F the whole time for even, golden browning.
11.Why didn’t my cronuts puff up into tall, layered shapes when I fried them?
▾
Poor puff usually stems from three common missteps: you skipped chill time so butter melted into the dough instead of creating steam to lift layers, your oil was below 340°F so the dough absorbed oil instead of puffing, or you rolled the dough too thin before cutting and proofing. Double-check chill times and oil temp for fluffy results.
12.How long do cut cronut shapes need to proof before they’re ready to fry?
▾
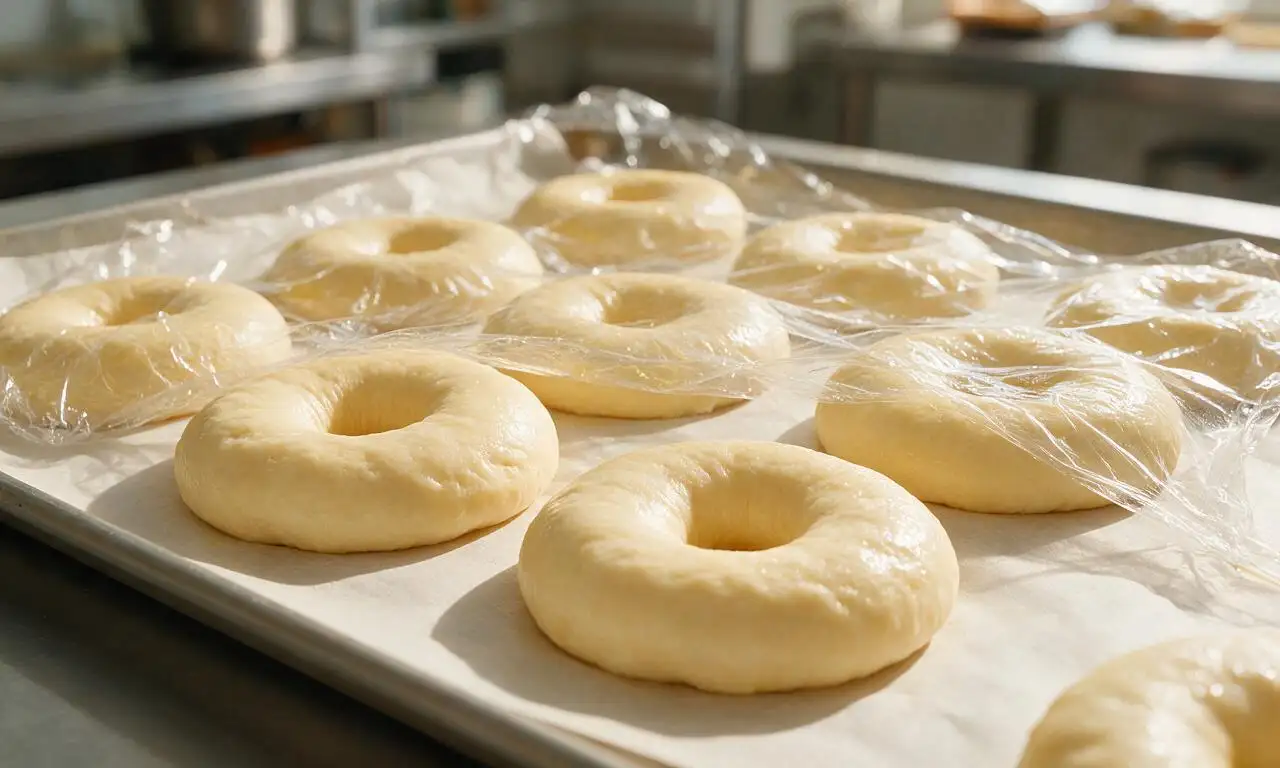
After cutting your shapes, let them proof in a warm, draft-free spot (75–80°F is ideal) for 45–60 minutes, until they feel puffy, jiggle slightly when you nudge the pan, and have roughly doubled in thickness. Don’t overproof them, or the delicate layers will collapse when you lower them into the hot oil.
13.Can I make the laminated dough ahead of time to cut down on day-of prep?
▾
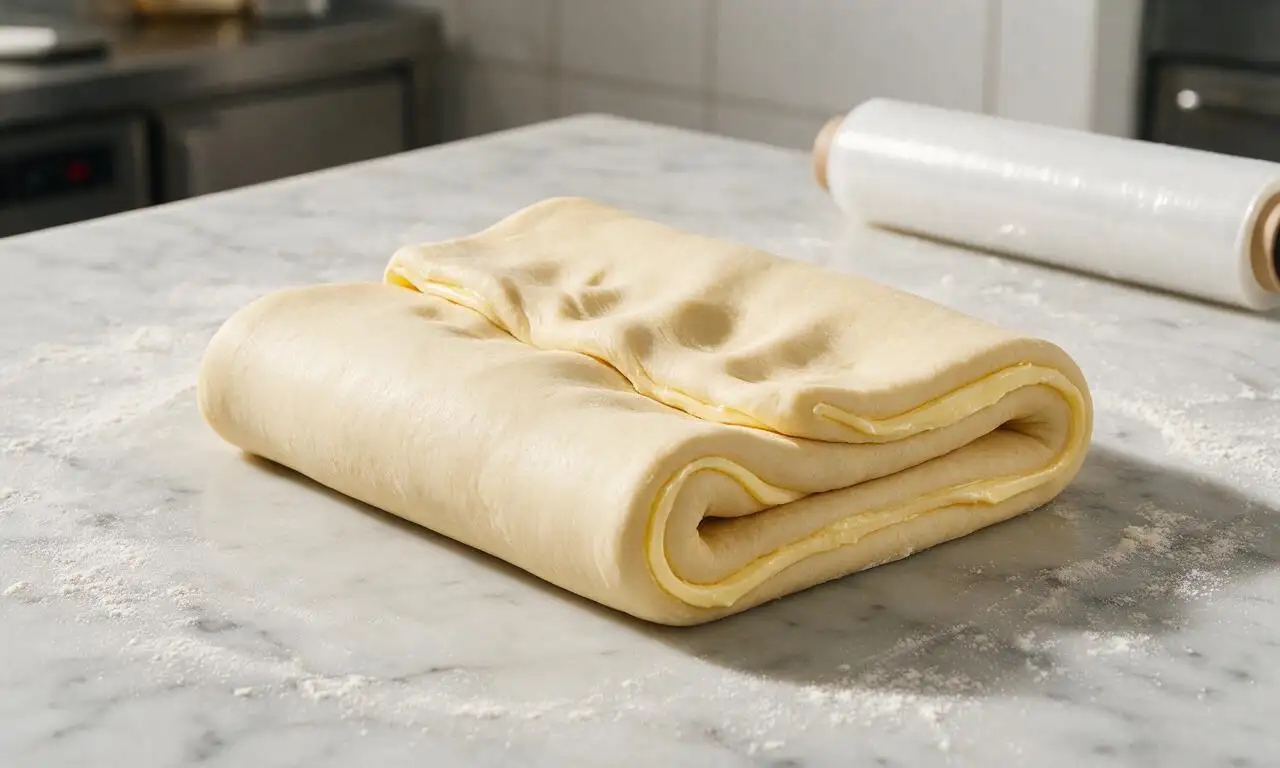
Definitely! You can wrap the fully folded, unrolled laminated dough tightly in plastic wrap and store it in the fridge for up to 2 days, or freeze it for up to 1 month. Thaw frozen dough in the fridge overnight before rolling, cutting, proofing, and frying for the exact same flaky results as fresh dough.
14.What’s the trick to cutting cronut shapes so the layers don’t get squished?
▾
Use a sharp, floured round cutter, and press straight down without twisting when you cut through the dough. Twisting the cutter pinches the delicate laminated edges shut, which prevents layers from separating and puffing properly during proofing and frying. Dip your cutter in flour between every cut to prevent sticking.
15.Can I bake these cronuts instead of frying them for a lighter option?
▾
While baking will give you a tasty laminated pastry, it won’t produce a true cronut. Baked versions don’t develop that signature crisp, caramelized fried edge, and layers don’t puff quite as dramatically. If you do bake them, brush with melted butter and bake at 400°F for 15–18 minutes, for a croissant-like treat.
16.My vanilla glaze is running right off the cronuts instead of sticking—what’s wrong?
▾
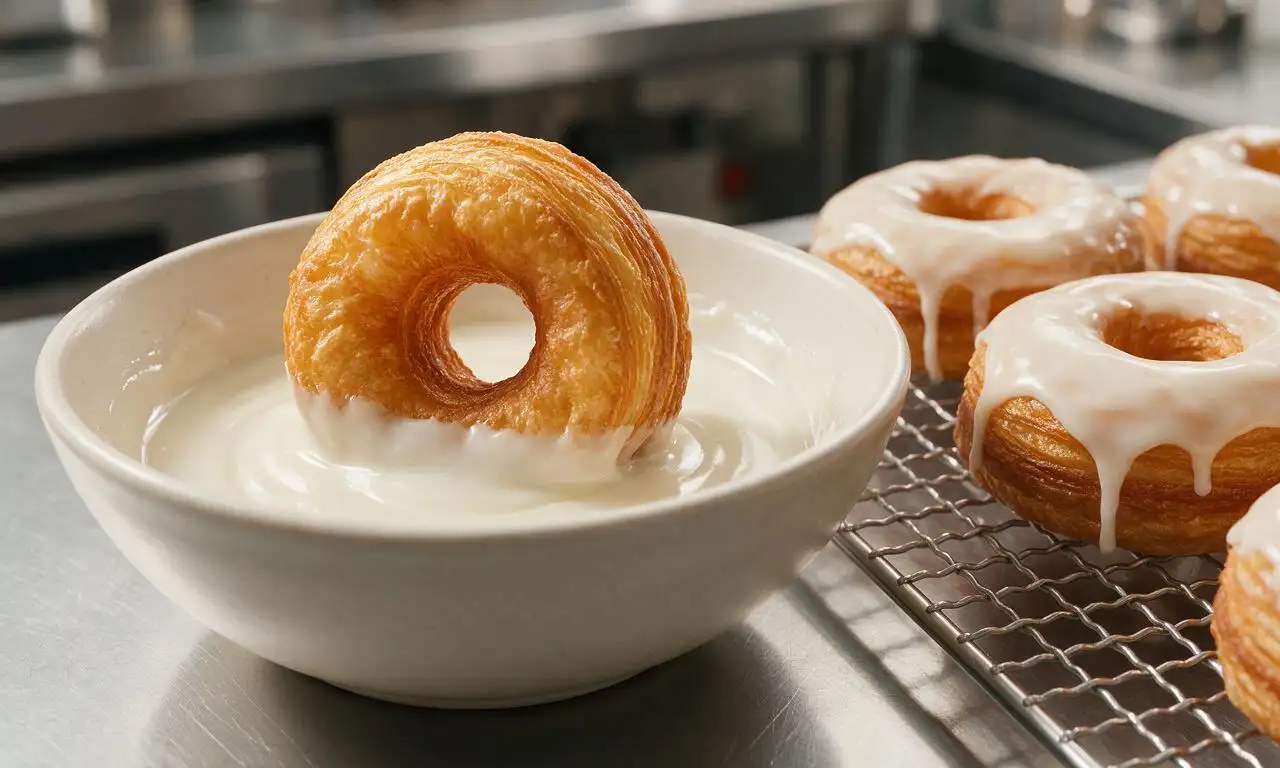
Runny glaze happens either because your glaze is too thin, or you’re applying it to cronuts that are still piping hot. Let fried cronuts drain on a wire rack for 3–4 minutes so they’re warm, not scalding, and adjust glaze by adding extra powdered sugar 1 tablespoon at a time until it coats the back of a spoon smoothly.
17.How many laminated folds do I need to do to get those signature flaky layers?
▾
For perfect, distinct but not overly dense layers, do 3 total book folds (where you fold dough like a letter, then in half like a closed book) with a 30-minute fridge chill between each. That creates 72 distinct butter and dough layers, the ideal sweet spot—more folds make layers too thin to puff, fewer create big, uneven gaps.
18.What kind of butter works best for the laminated butter block?
▾
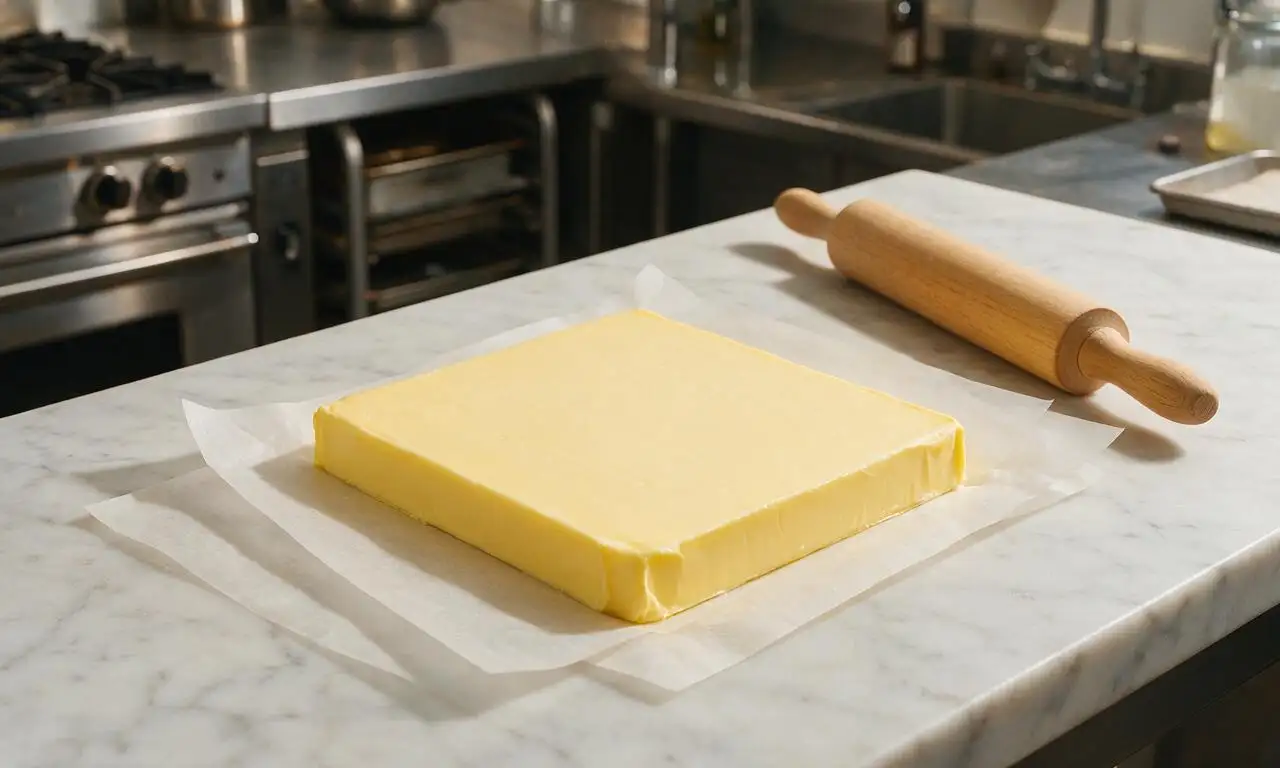
Stick with good-quality unsalted butter, ideally European-style with 82% fat content if you can find it, for the butter block. Higher-fat butter is firmer, less watery, and rolls out more evenly without leaking, leading to cleaner, more distinct flaky layers than lower-fat, more watery generic store-brand butter sticks.
19.Why do my finished cronuts taste greasy instead of light and buttery?
▾
Greasy cronuts are almost always caused by oil that’s too cool (below 340°F) when you add the dough, which lets layers soak up oil instead of sealing instantly and puffing. Let your oil come back to a steady 350°F between batches, and don’t overcrowd the fryer, which drops oil temp fast and leads to soggy pastries.
20.How long do homemade cronuts stay fresh, and how should I store leftovers?
▾
Cronuts are at their absolute best within the first 2 hours after frying, when edges are crisp and layers are flaky and light. You can store leftover unglazed cronuts in an airtight container at room temperature for up to 1 day, but reheat for 10 seconds in the microwave to refresh texture before glazing and serving.







OMG y’all, I spent all Saturday making these for my brunch potluck and they were gone in 10 minutes flat!!! The buttery layers were so flaky I had crumbs all over my counter, but 100% worth the 4.5 hour time investment. Game changer, will absolutely be making these again for my kid’s soccer team snack day next month.
Tried this last weekend and honestly? Way better than the overpriced cronuts I waited 2 hours in line for in NYC a few years back. The vanilla glaze I added on top paired so perfectly with the buttery layers, SO good. My partner ate 3 in one sitting no joke.
Full transparency: I messed up the first lamination and my layers oozed butter everywhere in the oven. I almost gave up but tried a second time and wow, when you get the folding right? *Chef’s kiss*. Don’t let the hard difficulty rating scare you off, just take your time and keep everything cold!
Made these for my office potluck yesterday and everyone was asking for the recipe! I filled half with vanilla pastry cream and half with raspberry jam, people went absolutely wild for them. Only note is I wish I’d made a double batch because I didn’t even get a full one for myself lmao.
Uh, full warning: these are NOT for beginner bakers who cut corners. I tried to rush the chill steps and ended up with a greasy mess that didn’t rise at all. Gonna try again this weekend when I have a free afternoon to actually follow the steps properly, because the test bite I got from the edge was still amazing.
My kids loved it! They went absolutely nuts for these cronuts – I let them help sprinkle cinnamon sugar on top after frying, and they thought it was the coolest weekend activity ever. Definitely a bit of a project for a random Tuesday, but perfect for a lazy Sunday when you don’t have other plans.
These are insane. I swapped the regular butter for browned butter in the lamination for a nutty twist and it took the flavor to a whole new level. Crispy on the outside, soft and layered on the inside, exactly what a cronut should be. 10/10.
Has anyone tried adapting this for gluten free? My sister has celiac and I’d love to make these for her birthday brunch next month, but I don’t want to sink 4 and a half hours into a batch that falls flat! The regular version I made for my family last month was chef’s kiss, though, so I’m dying to make a GF version work.
Y’all. I made these at 10pm last night because I had a random craving and I have zero regrets. The smell of buttery fried dough woke my roommate up and he was mad until he took a bite, then he helped me eat half the batch while we watched a movie. 10/10, no notes.
Wait, don’t let the cook time scare you off! I prepped all the lamination steps on Sunday night, cut the cronut shapes, and kept them in the fridge for 2 days before frying them up for quick weekday breakfasts. They tasted just as fresh as if I’d made them same day! SO good, will absolutely be adding these to my weekend meal prep rotation.
Okay so I’m convinced I’m cursed? I’ve tried this recipe three times now and every time my butter leaks out when I’m rolling the layers. I keep my dough cold, I follow the fold steps exactly, what am I doing wrong?? I’m determined to get these right because my mom says cronuts are her favorite and I want to make them for her Mother’s Day brunch.
Made these for my monthly drag brunch last weekend and they were the star of the show! I topped them with a rainbow sprinkle glaze and edible glitter, and every single guest asked for the recipe. Absolute game changer, will be making these every single month from now on.
I tested air frying half a batch last week when I made these, and they were good but missing that super crispy deep fried crunch. Still tasty, just not quite the same as the deep fried version. Curious if anyone else has tried it and had better results!