
crunchy fried chicken

title 1
crunchy fried chicken
⏱️ cook time 25 minutes
🍽️ servings 4
⚡ Difficulty medium

intro

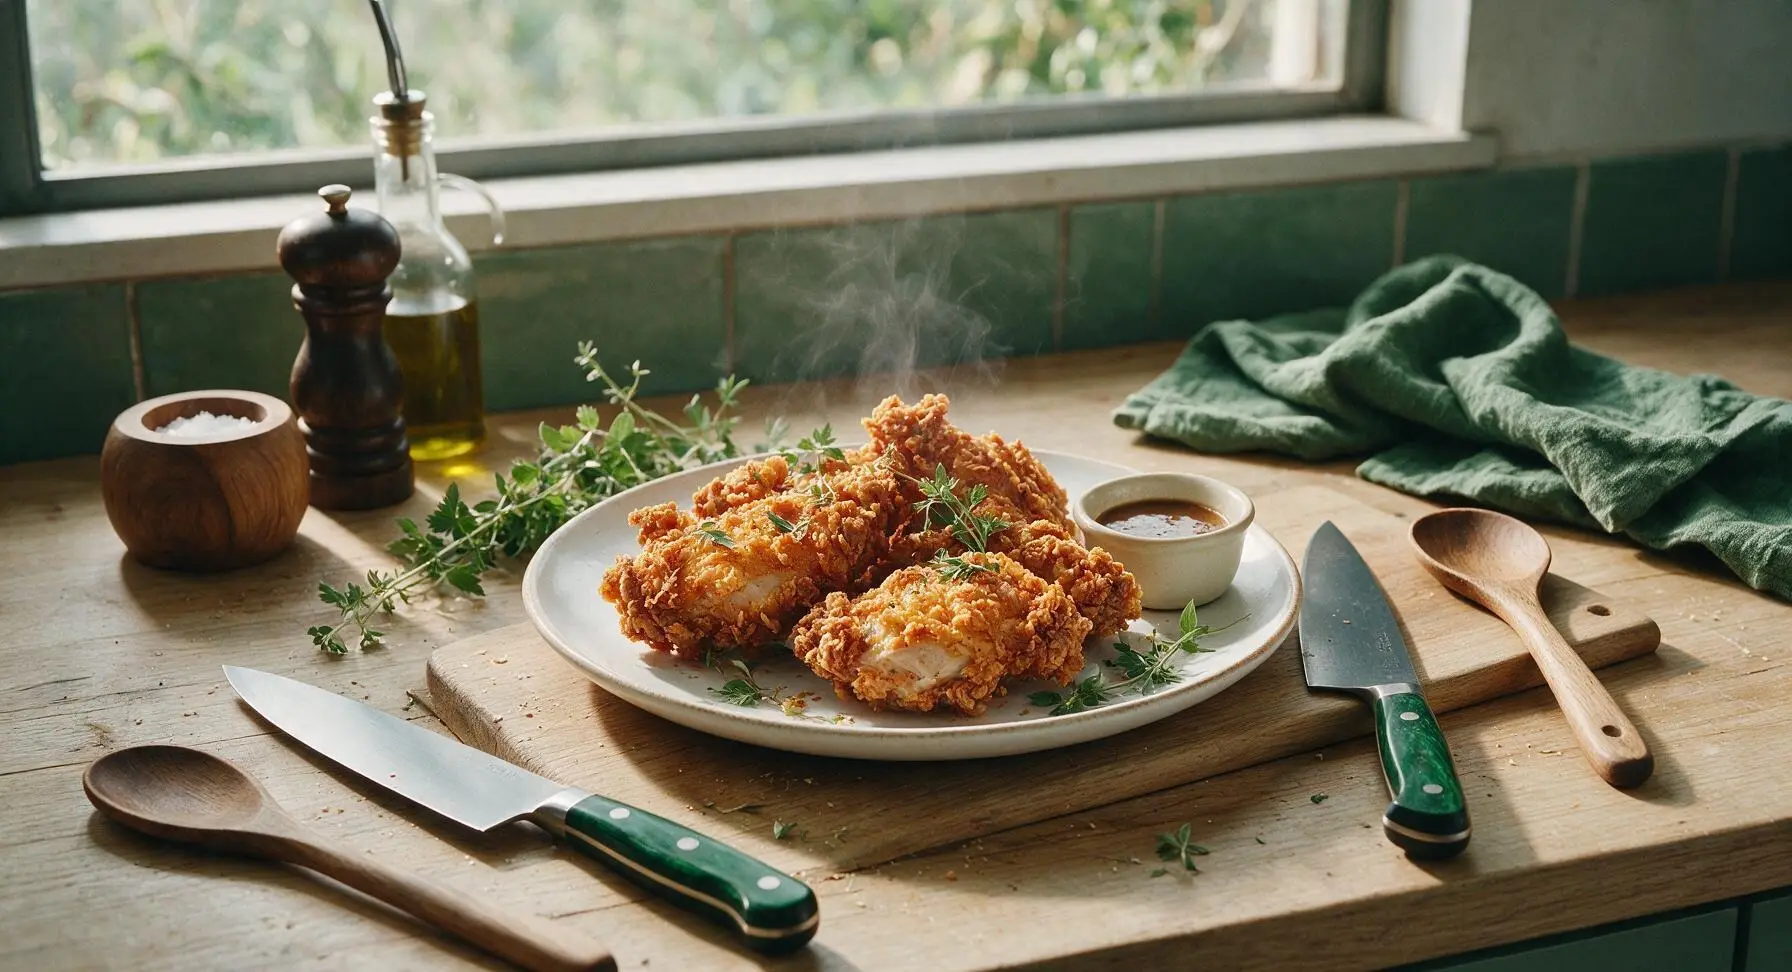
Shatteringly crisp golden crust encasing juicy, well-seasoned tender chicken, this classic Southern crunchy fried chicken is the ultimate comforting family meal centerpiece.

Ingredients
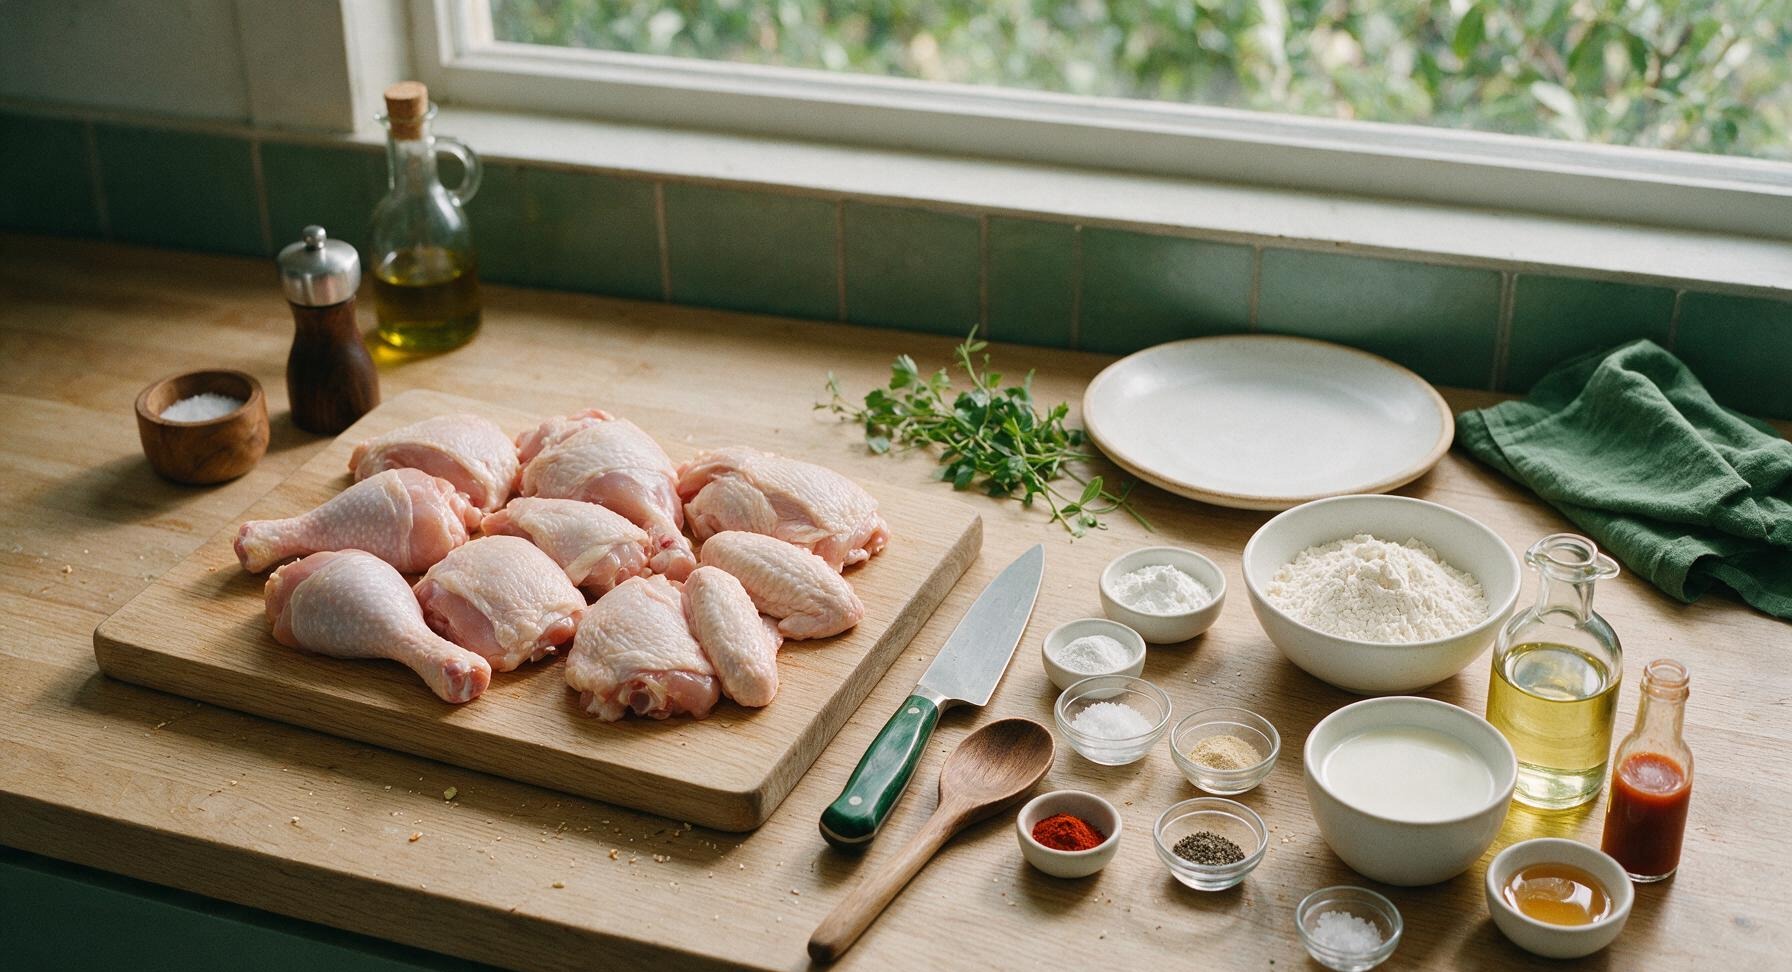
Bone-in skin-on chicken pieces (drumsticks, thighs, wings, halved breasts) 1.2kg (approx 8 pieces)
Full-fat buttermilk 480ml (2 cups)
All-purpose flour 180g (1.5 cups)
Cornstarch 2 tbsp
Baking powder 1 tsp
Kosher salt 1 tbsp
Garlic powder 1 tsp
Smoked paprika 1 tsp
Cayenne pepper 1/2 tsp
Freshly ground black pepper 1 tsp
Neutral canola oil 1.5L
Honey 2 tbsp
Hot sauce 1 tbsp
Flaky sea salt 1 tsp

Steps

1

Brine Chicken in Buttermilk

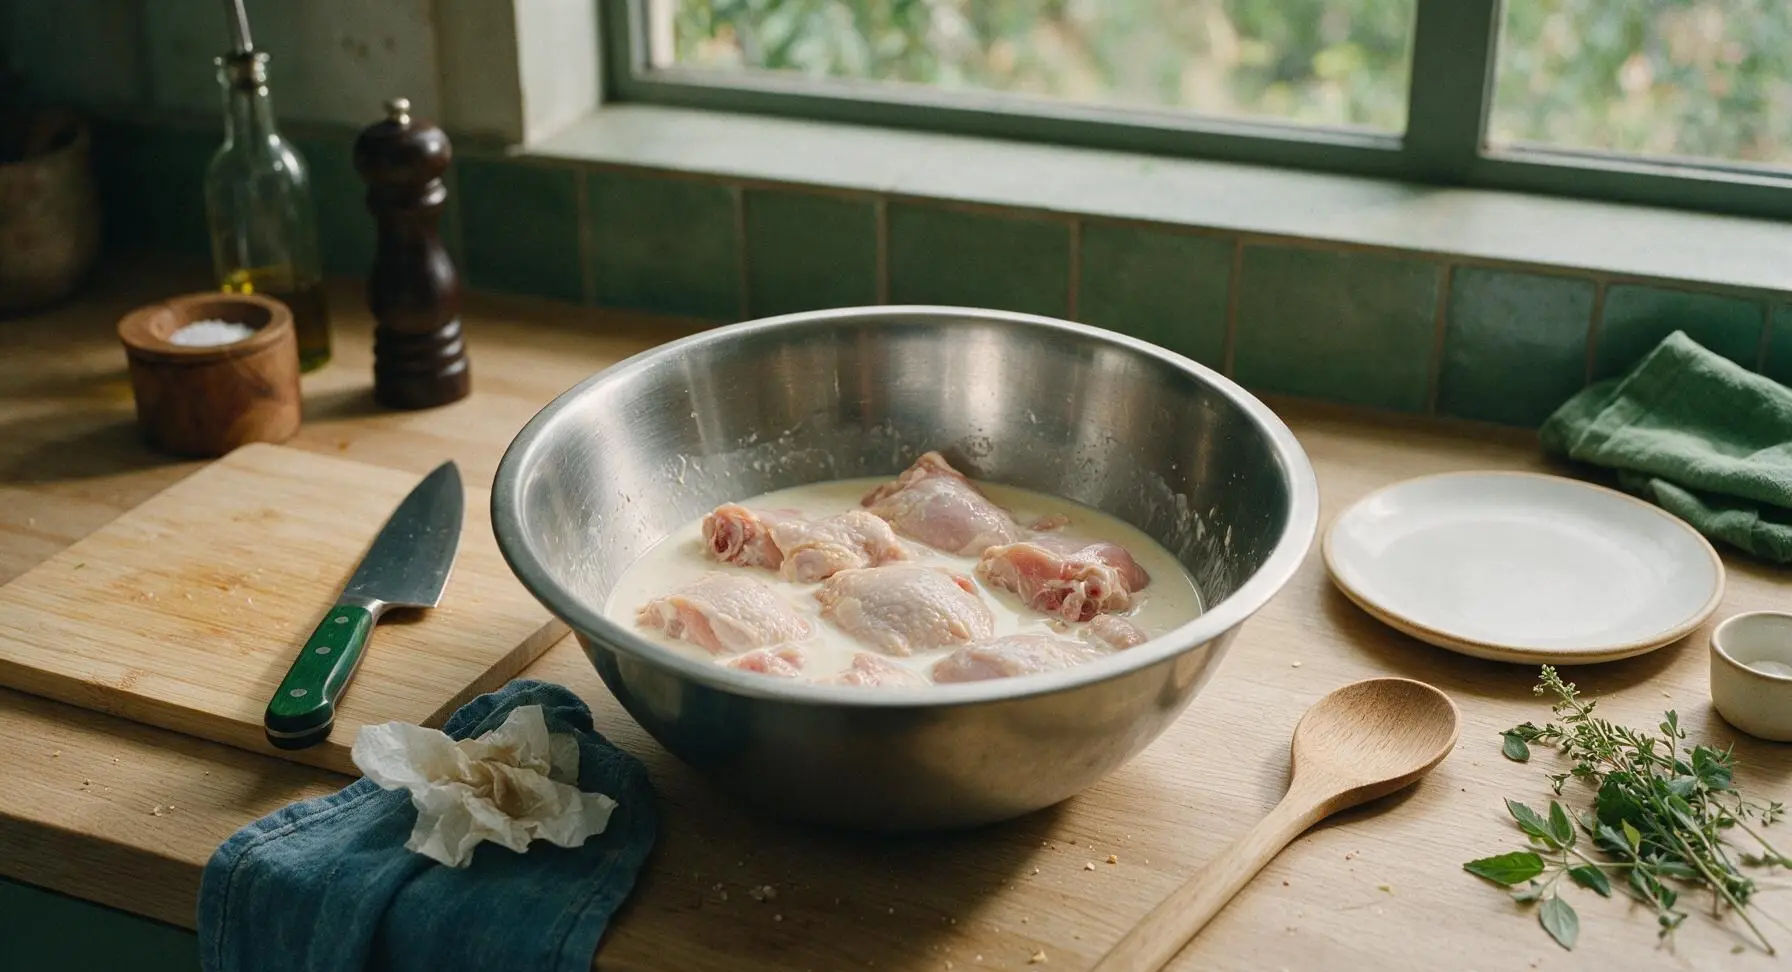
Pat all 1.2kg bone-in, skin-on chicken pieces completely dry with paper towels from the counter roll. Place dried chicken into the large brushed stainless steel mixing bowl. Pour 480ml full-fat buttermilk over the chicken, add 1 tsp kosher salt, and toss to ensure every piece is fully coated. Cover the bowl and refrigerate for 1 hour (inactive time) to tenderize meat and create a sticky base for the crispy coating.
Step 1
step1:Brine Chicken in Buttermilk
2

Mix Crispy Dry Coating

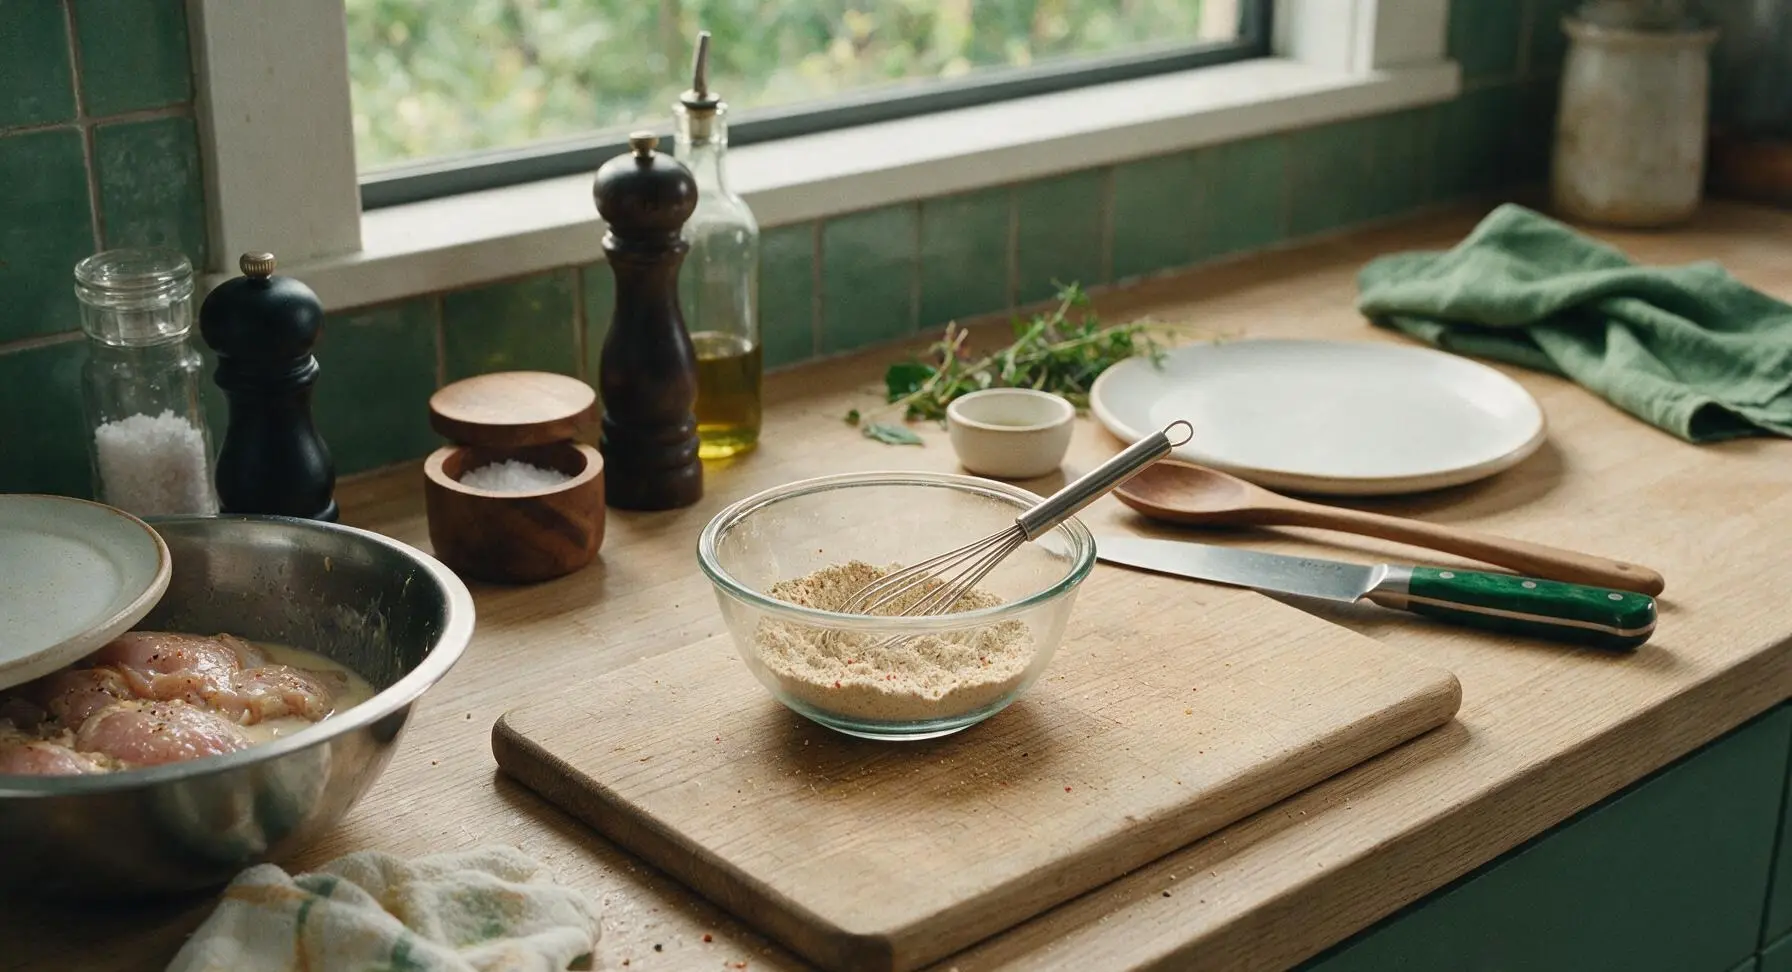
In one small clear glass prep bowl, combine 180g all-purpose flour, 2 tbsp cornstarch, 1 tsp baking powder, remaining 2 tsp kosher salt, 1 tsp garlic powder, 1 tsp smoked paprika, 1/2 tsp cayenne pepper, and 1 tsp black pepper. Whisk thoroughly for 30 seconds until all spices are evenly distributed with no visible clumps of baking powder or spice. The finished mixture will be pale tan with faint red and black spice flecks.
Step 2
step2:Mix Crispy Dry Coating
3

Coat Chicken Evenly

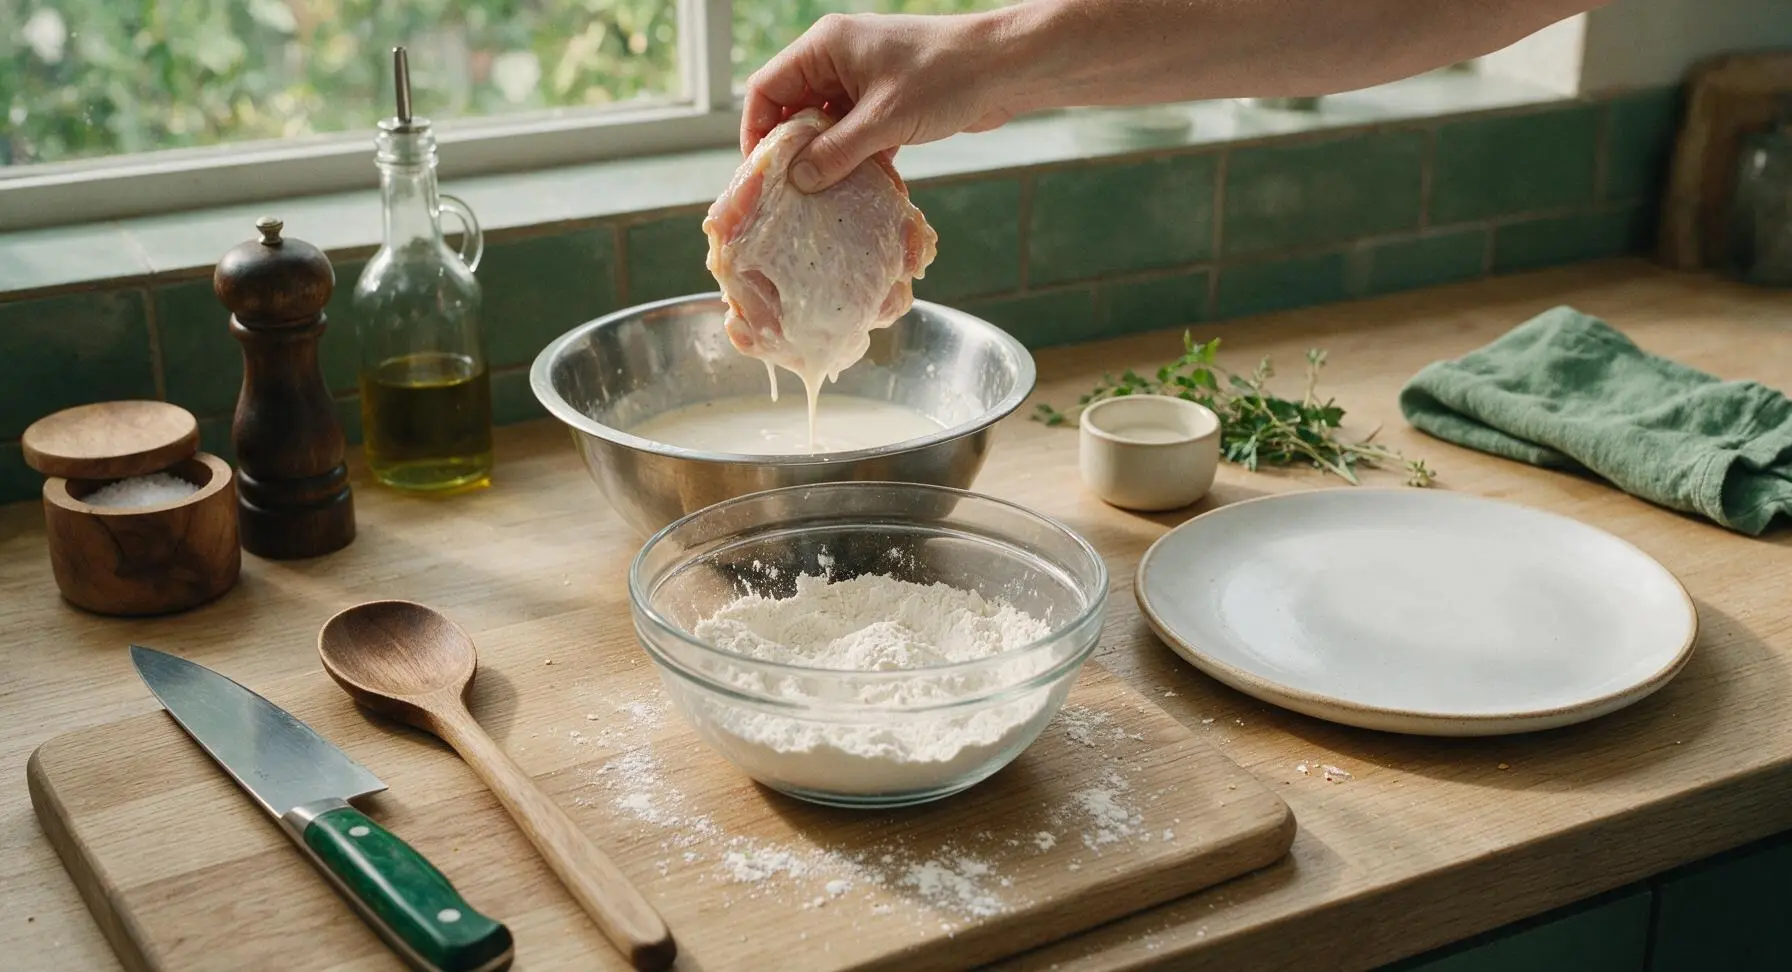
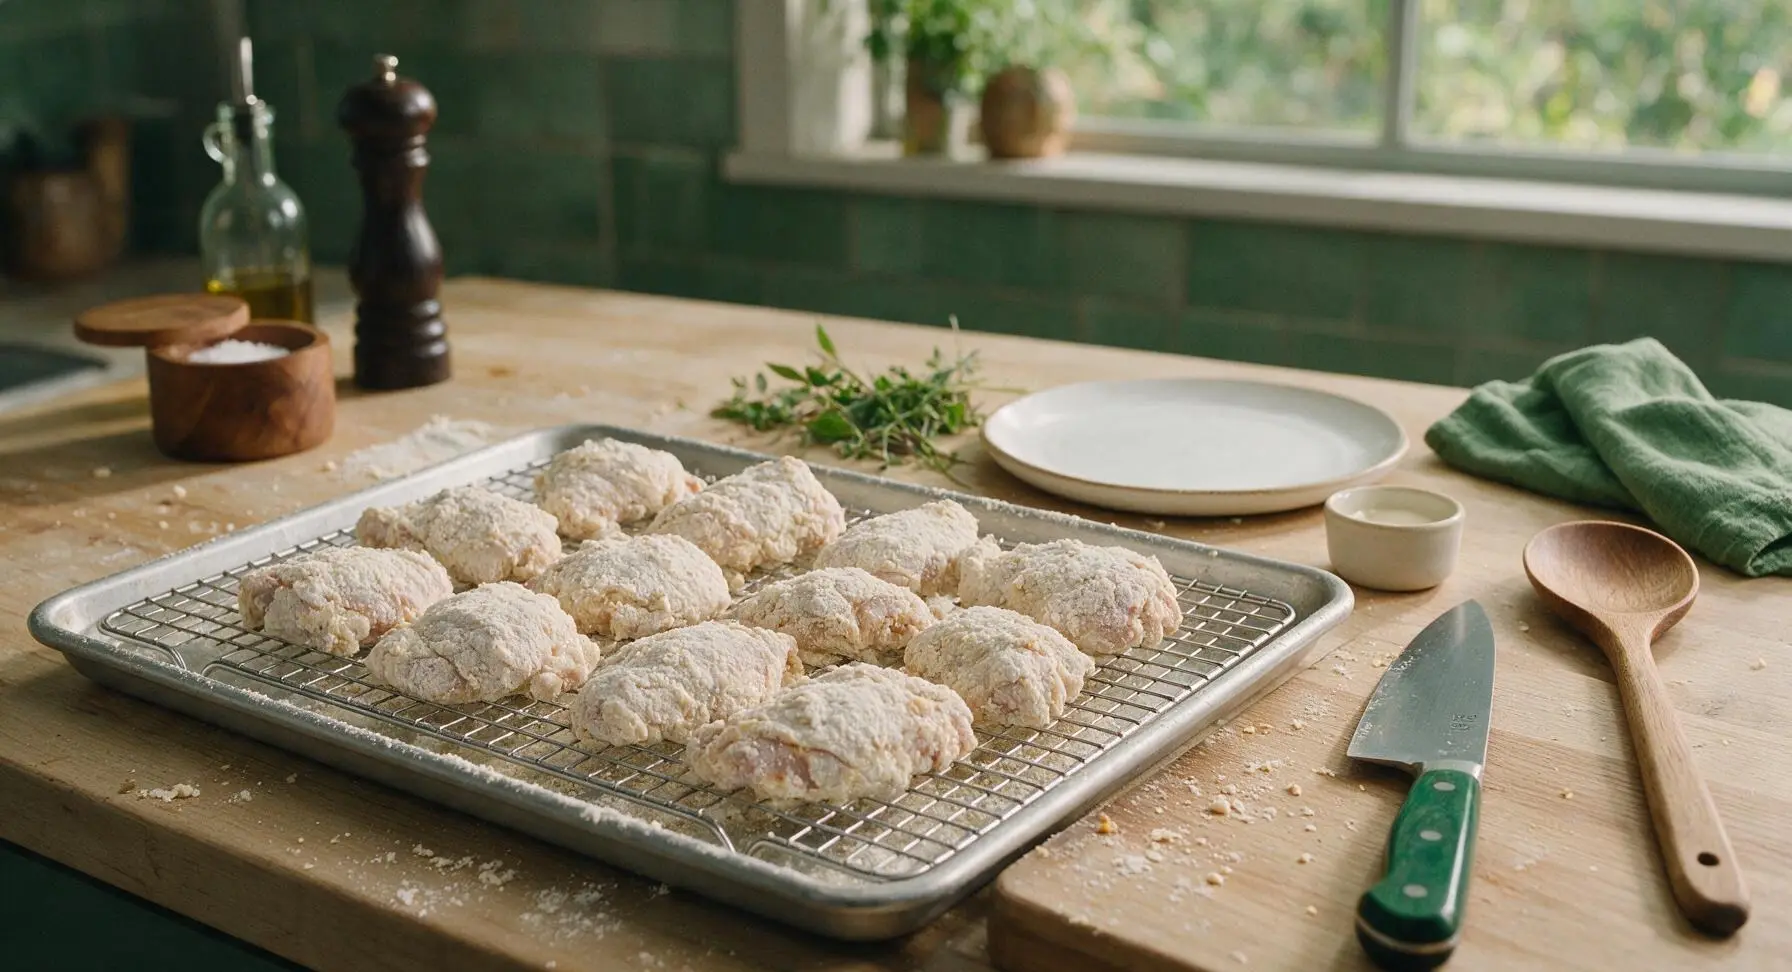
Remove brined chicken from the refrigerator one piece at a time, letting excess buttermilk drip off for 2 seconds. Dredge each piece fully in the dry flour mixture, pressing firmly with fingertips to make coating adhere to every skin crevice, including under loose skin edges. Place coated pieces on the wire cooling rack set over the baking sheet, and rest 15 minutes at room temperature. The coating will look slightly damp and pasty (not powdery) when properly set, which prevents crust from falling off during frying.
Step 3
step3:Coat Chicken Evenly
Step 3
step3:Coat Chicken Evenly
4

Heat Frying Oil

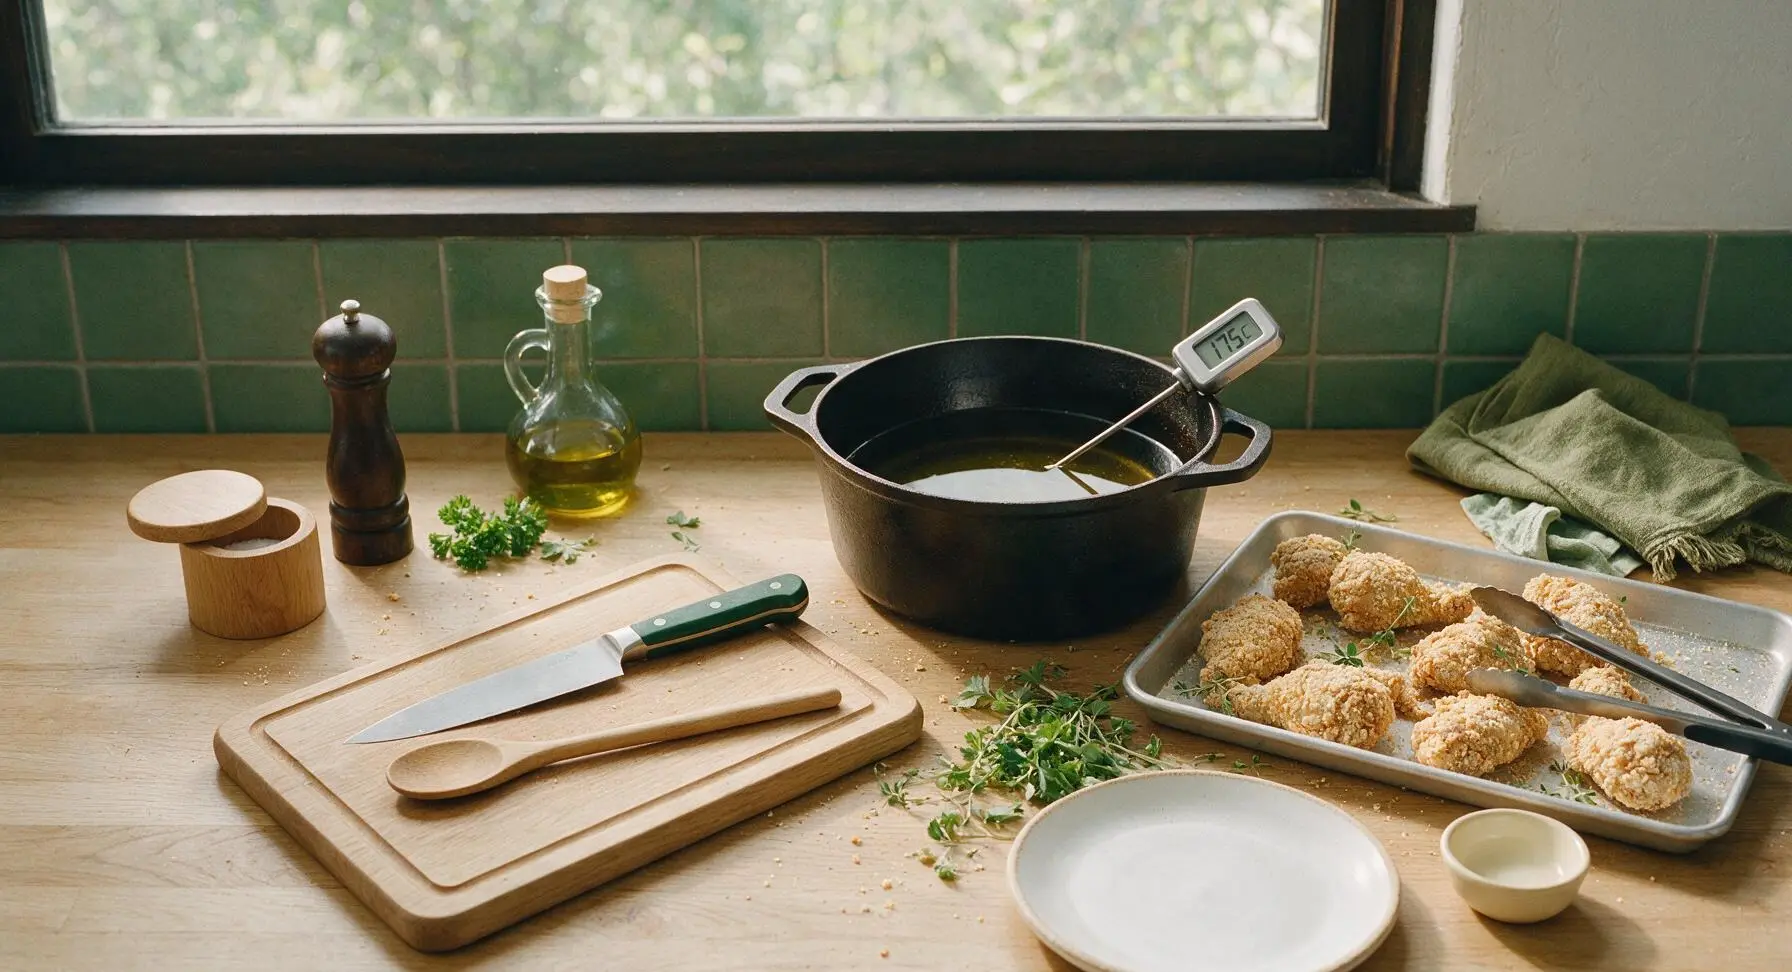
Retrieve the 5L seasoned cast iron Dutch oven and place it in the center-right counter position. Pour in 1.5L neutral canola oil, and heat over medium-high heat until oil reaches a steady 175C (350F), measured with the digital instant-read thermometer clipped to the pot rim. Do not let oil exceed 180C (360F), as this will burn crust before chicken cooks through; adjust heat as needed to maintain consistent temperature throughout frying.
Step 4
step4:Heat Frying Oil
5

Fry Chicken in Batches

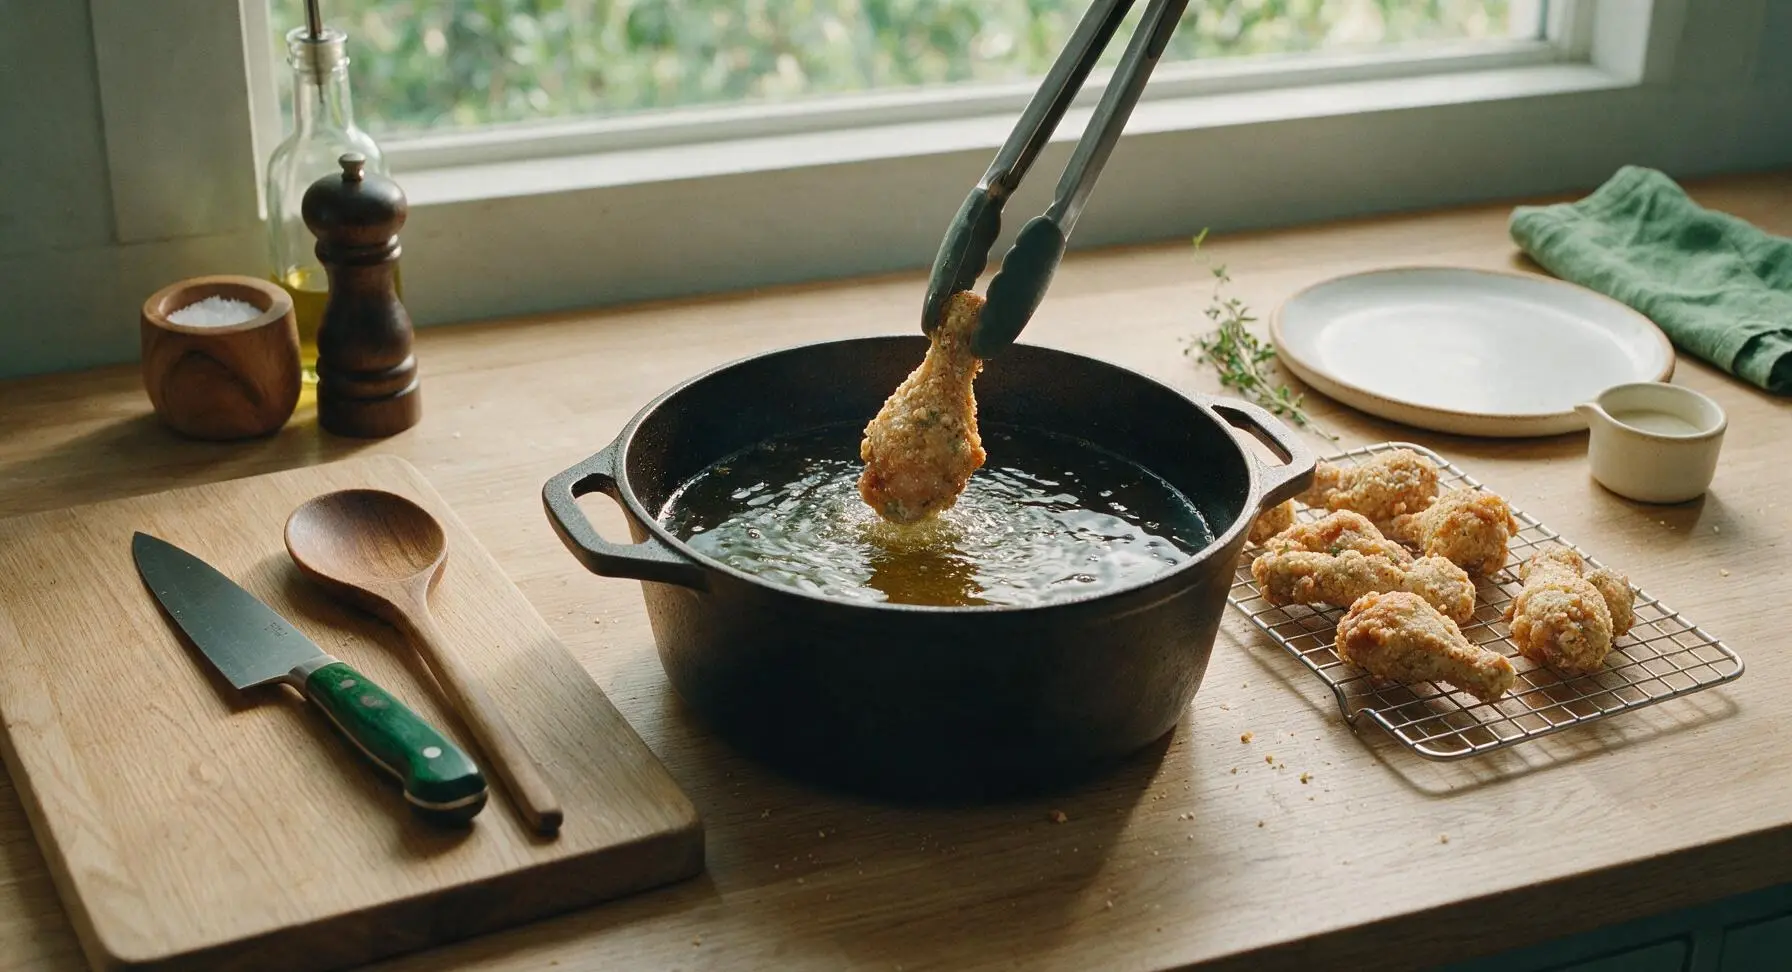
Using the long silicone-tipped tongs, carefully lower 3-4 chicken pieces into hot oil, taking care not to overcrowd the pot (overcrowding drops oil temperature and causes soggy crust). Fry 12-14 minutes total, turning pieces every 3-4 minutes, until crust is a deep even golden brown and chicken reaches an internal temperature of 75C (165F) at the thickest part, not touching bone. Transfer cooked pieces back to the wire cooling rack as they finish, and let oil return to 175C (350F) between batches.
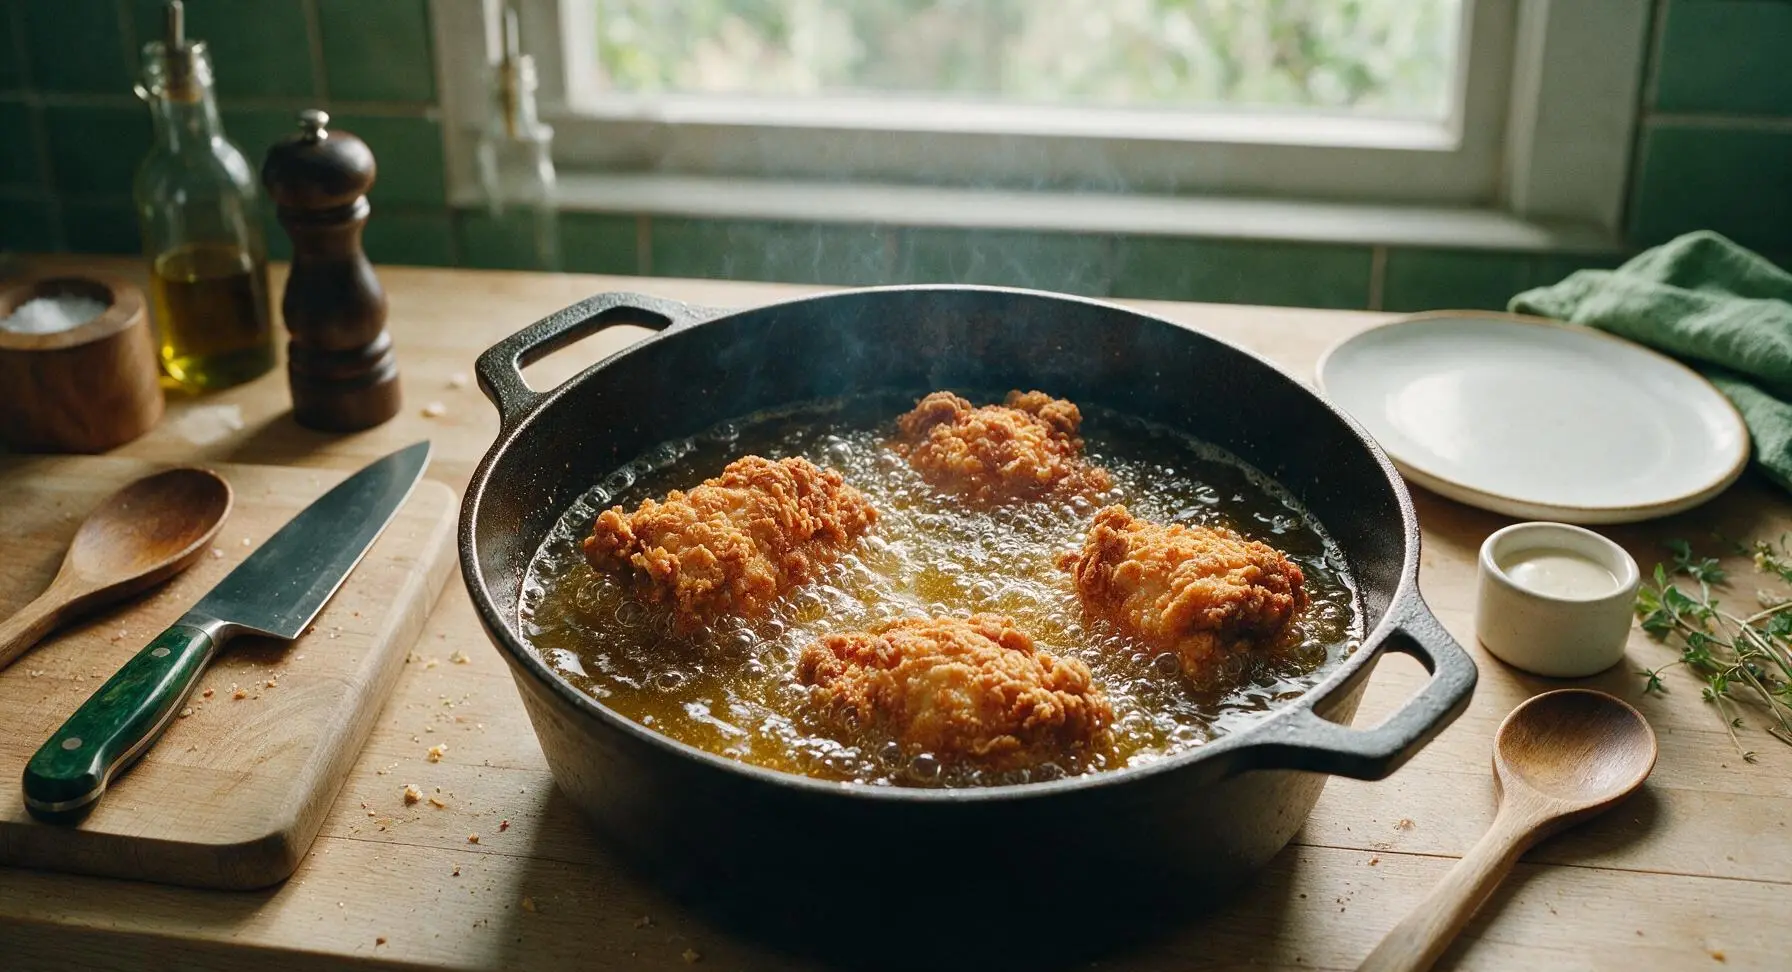
Step 5
step5:Fry Chicken in Batches
Step 5
step5:Fry Chicken in Batches
6

Rest and Season Chicken

As each batch finishes cooking, transfer chicken back to the wire cooling rack to drain excess oil for 5 minutes—do not place chicken on paper towels, as this traps steam and makes bottom crust soggy. Immediately sprinkle hot crust lightly with flaky sea salt as soon as it comes out of oil, so salt adheres to the crisp surface.
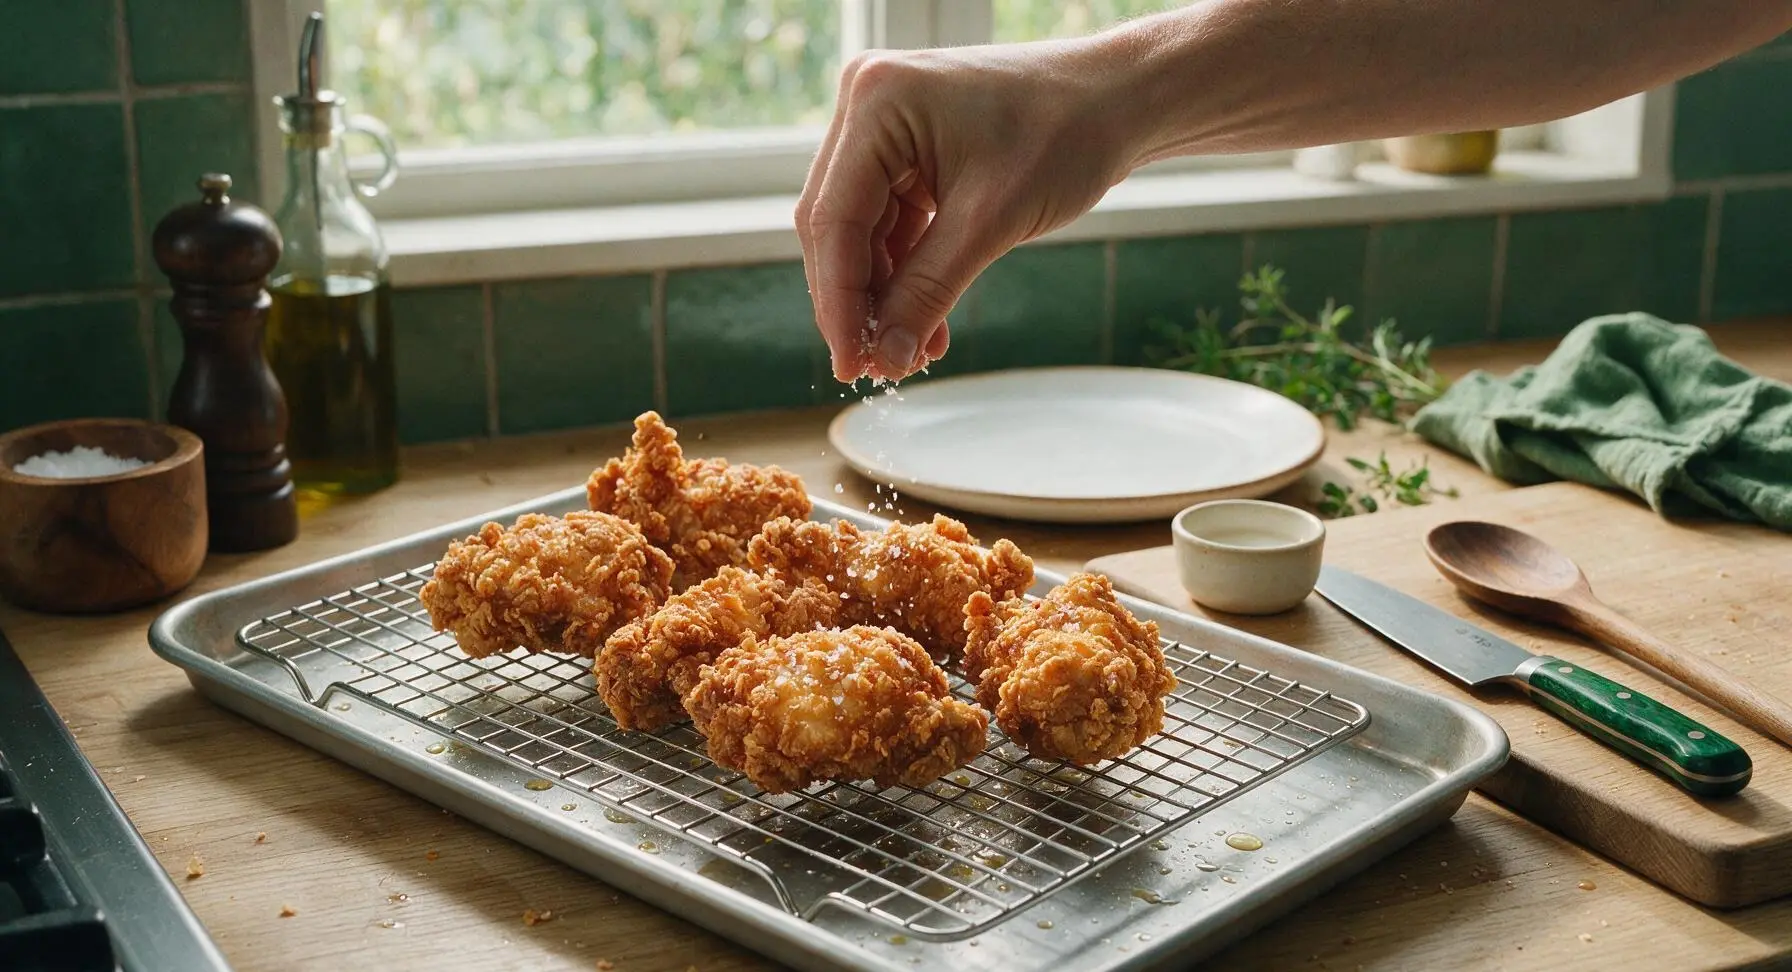
Step 6
step6:Rest and Season Chicken
7

Mix Dipping Sauce

While chicken rests, stir 2 tbsp honey and 1 tbsp hot sauce together in the small matte white ceramic ramekin until fully combined into a smooth, glossy, amber-orange sauce.
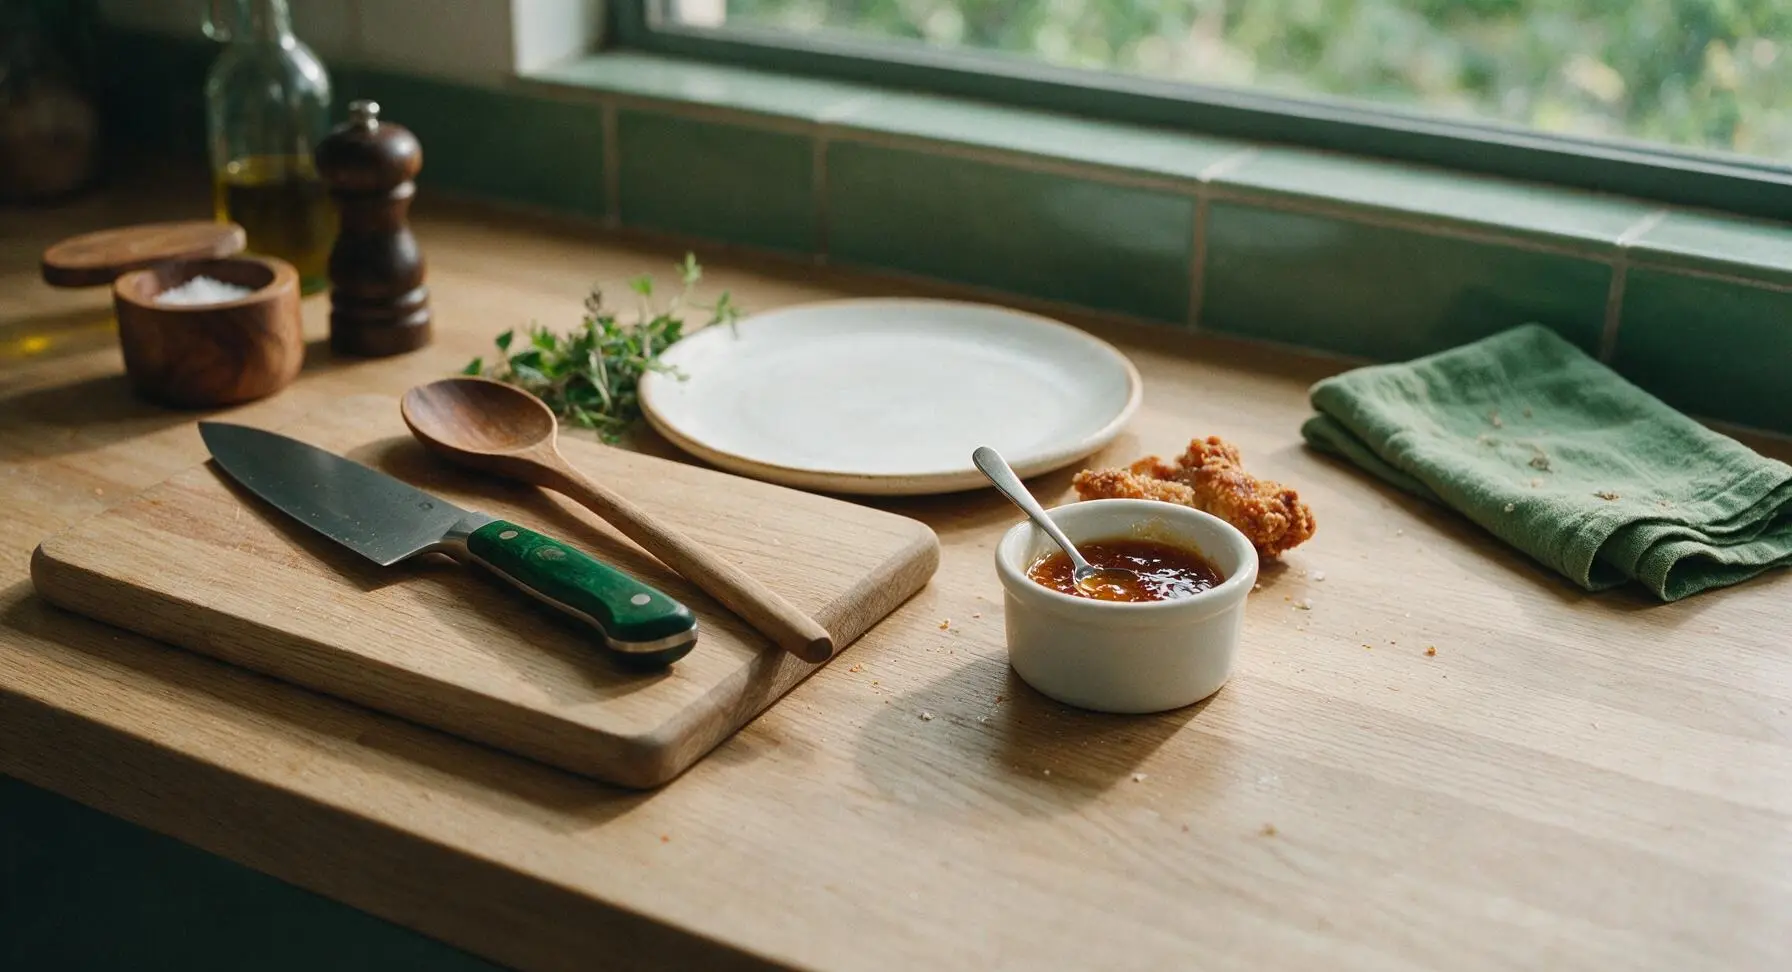
Step 7
step7:Mix Dipping Sauce
8

Plate and Serve

Arrange rested, crunchy fried chicken pieces in a loose natural stack on the cream white speckled stoneware dinner plate, tuck a small sprig of fresh parsley from the counter bunch at the plate edge for garnish, and set the ramekin of honey-hot sauce next to the chicken. Serve immediately while crust is at its crispiest.
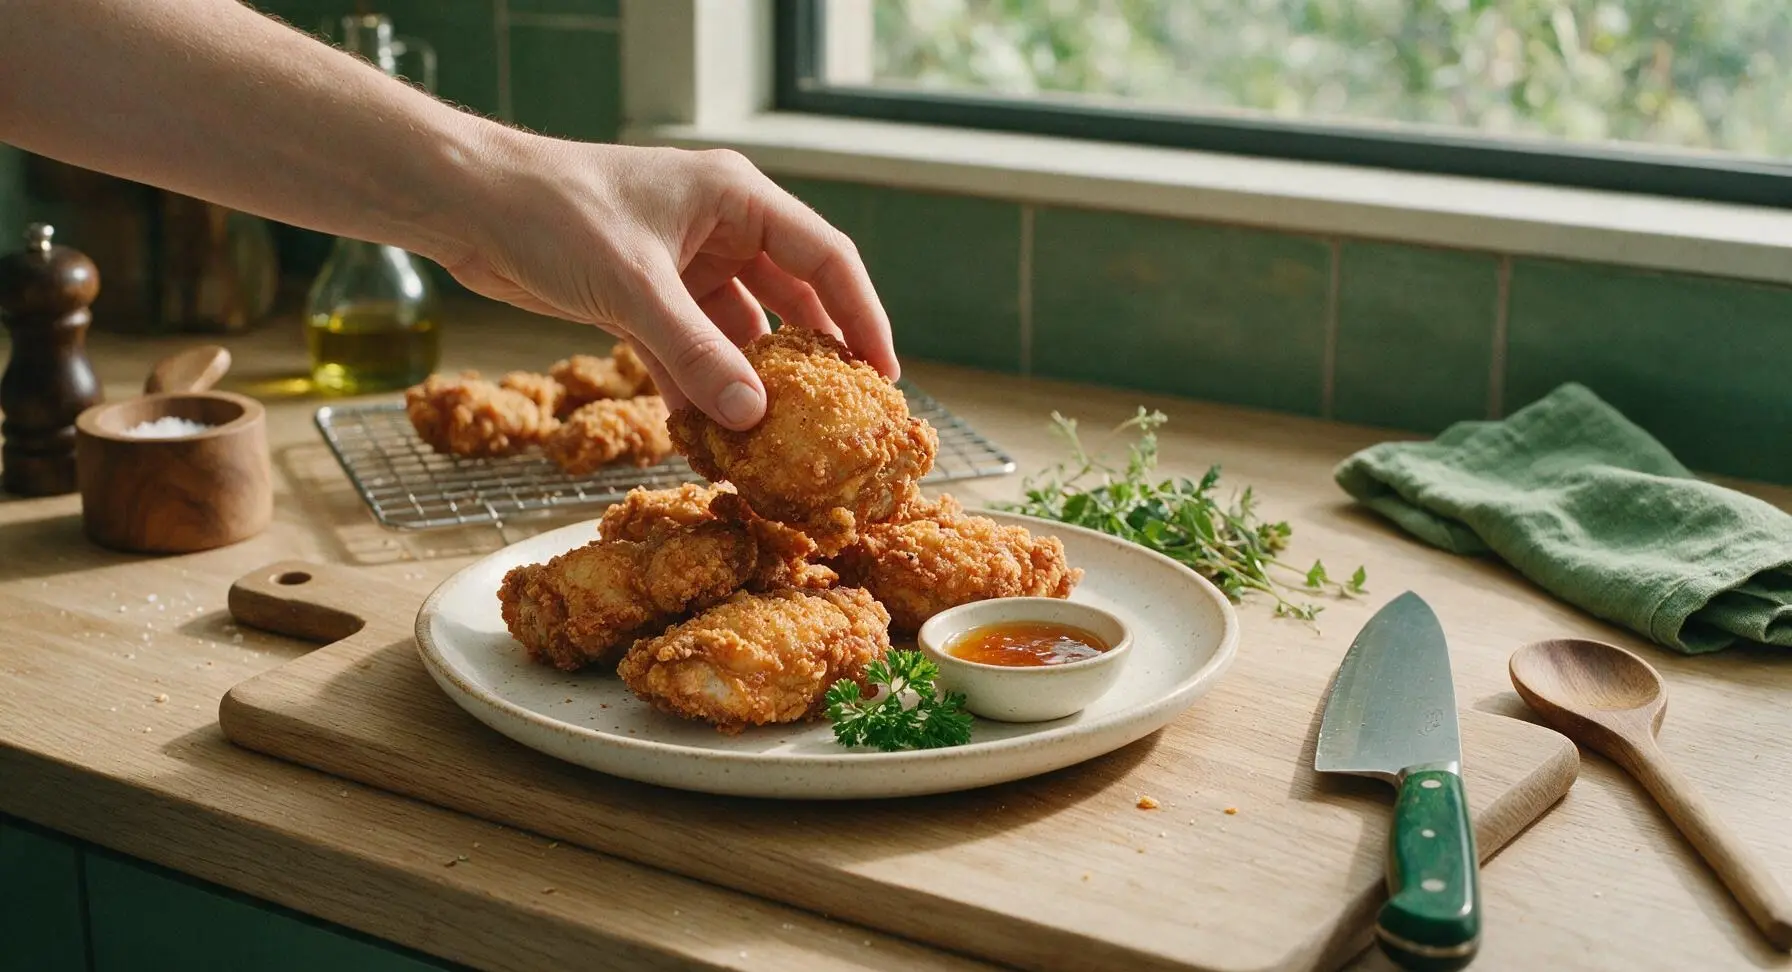
Step 8
step8:Plate and Serve

Tips

1.Let dredged chicken rest for 15 minutes before frying: this rest period lets flour absorb buttermilk to form a thick, paste-like adhesive layer that prevents crust from sliding off during cooking, and creates extra craggy, crunchy texture as the coating fries.
2.Maintain a steady 175C (350F) oil temperature throughout frying: oil that is too hot will burn the spiced crust before chicken cooks through to the safe 75C (165F) internal temp, while oil that is too cool will seep into the coating, resulting in greasy, soggy crust instead of light crunch.
3.Drain cooked chicken on a wire rack instead of paper towels: placing hot fried chicken directly on absorbent paper traps steam against the bottom crust, turning it soft and soggy within minutes, while an elevated rack allows air circulation to keep every surface crisp during the 5-minute rest.


✨ You May Also Like

Main Course
🍜 United Kingdom

A showstopping classic of tender seared beef, savory mushroom duxelles, and crisp prosciutto wrapped in flaky golden puff pastry, baked to juicy perfection.

⏱️ 2 hours 1Main Course ★ 4.7
Main Course
🍜 India

Tender charred marinated chicken simmered in a rich, spiced creamy tomato sauce, this iconic Anglo-Indian curry pairs perfectly with basmati rice or warm naan.

⏱️ 50 minuteMain Course ★ 4.6
Main Course
🍜 Thailand

Classic tangy, sweet, and savory Thai stir-fried rice noodles with shrimp, tofu, and crunchy garnishes, balancing all five core Thai flavor profiles.

⏱️ 30 minuteMain Course ★ 4.5
Main Course
🍜 United Kingdom

Crispy golden beer-battered cod and fluffy double-fried chips, served with tangy tartar sauce and malt vinegar: the timeless, beloved British pub comfort classic.

⏱️ 45 minuteMain Course ★ 4.7
Main Course
🍜 Mexico

Smoky, chile-marinated pork tacos with caramelized pineapple, fresh cilantro, and lime: a beloved classic Mexican street food perfect for casual summer gatherings.

⏱️ 1 hour 45Main Course ★ 4.8
Main Course
🍜 United States

Crunchy Fritos corn chips layered with savory beef chili and melted cheddar, topped with cool, zesty fixings for a beloved, cozy Tex-Mex comfort food.

⏱️ 35 minuteMain Course ★ 4.8

crunchy fried chicken:Frequently Asked Questions

1.Why do you call for full-fat buttermilk instead of low-fat or a homemade milk-and-vinegar substitute? ▾
Full-fat buttermilk’s cultured lactic acid tenderizes chicken gently without making outer meat layers mushy, and its higher fat content locks in juiciness while helping the coating stick reliably. Low-fat versions lack that rich moisture, and quick DIY substitutes don’t have the consistent acid profile for even tenderizing, so full-fat is always worth grabbing.
2.What gives this fried chicken that signature shatteringly crisp crust instead of a soft, chewy one? ▾
The one-two punch of cornstarch and a small amount of baking powder mixed into the all-purpose flour dredge is the secret. Cornstarch cuts gluten formation in the flour for a lighter crunch, while baking powder creates tiny air pockets in the coating as it fries. Letting coated chicken rest 15 minutes before frying also helps the crust set so it doesn’t turn soggy.
3.Can I use boneless, skinless chicken pieces instead of the called-for bone-in, skin-on cuts? ▾
You can, but you’ll lose a lot of the classic juicy, deep flavor that makes Southern fried chicken iconic. Boneless cuts cook 30-40% faster than bone-in pieces, so watch fry time closely to avoid dry meat. If you do swap, keep the skin on whenever possible to lock in moisture and add extra crispness.
4.How long should I let chicken soak in the buttermilk brine for the best results? ▾
Aim for a minimum 4-hour soak, and up to 24 hours, stored covered in the fridge. Soaking less than 2 hours won’t give the buttermilk’s acid time to penetrate and tenderize deeper meat layers, while soaking longer than 24 hours can break down the outer meat too much and leave it with an unpleasantly mushy texture.
5.What oil temperature is ideal for frying, and how do I keep it consistent? ▾
Heat neutral oil (peanut or canola work great) to 350°F before adding chicken, and hold it between 325–350°F for the full cook time. Never overcrowd the pot, which drops oil temperature sharply and causes soggy crust. Use a clip-on candy thermometer to check regularly, adjusting your burner heat as needed to stay in that range.
6.Won’t adding baking powder to the flour dredge make the chicken taste like biscuits? ▾
Not at the small ratio used here! That pinch of baking powder reacts with residual buttermilk on the coated chicken as it fries, creating tiny, light air pockets in the crust that deliver that signature shatter crisp. It won’t leave a bready, biscuit-like aftertaste—it just keeps the crust from turning dense and heavy, which is common with straight flour dredges.
7.How do I make sure the chicken cooks all the way through without burning the crust? ▾
Frying at too high a temperature is the #1 culprit for burnt crust and raw centers. Once the crust is a deep, even golden brown (12–15 minutes for dark meat, 10–12 minutes for wings and halved breasts), use an instant-read thermometer to check the thickest part: it should hit 165°F, away from the bone, to be fully safe.
8.Can I bake this chicken instead of deep-frying it to use less oil? ▾
You can make a solid baked version, though it won’t have the exact same shattery crunch as the fried original. Set your oven to 425°F, place coated chicken on a wire rack over a baking sheet, spritz lightly with oil, and bake 35–40 minutes until it hits 165°F internally, flipping halfway through for even browning.
9.Why does my fried chicken coating sometimes slide right off when I put it in the oil? ▾
Coating slide almost always traces back to two common mistakes: skipping the post-breading rest time, or not letting excess buttermilk drip off before dredging. Press the flour coating firmly onto every surface of the chicken, then let it rest on a wire rack 15–20 minutes so the coating sets into a sticky, adherent layer before frying.
10.What seasonings should I add to get that classic Southern fried chicken flavor? ▾
Stick to simple, bold pantry staples for authentic taste: mix kosher salt, cracked black pepper, garlic powder, onion powder, sweet paprika, and a tiny pinch of cayenne into both your buttermilk brine and flour dredge. Seasoning both layers ensures every bite is flavorful, rather than only having seasoning on the very outer crust.
11.How do I keep the chicken crisp if I’m making it for a crowd instead of serving immediately? ▾
Never hold fried chicken in a covered container or under foil, which traps steam and turns crust soggy fast. Instead, set cooked pieces on a wire rack over a baking sheet in a 200°F oven for up to 45 minutes. The circulating air keeps the crust crisp while holding the chicken at a safe, warm serving temperature.
12.Is it safe to reuse the frying oil after I make this chicken? ▾
Absolutely, as long as you strain and store it correctly. Let the oil cool fully to room temperature, then pour it through a fine-mesh sieve lined with cheesecloth to catch all small crumbs, which burn and turn rancid if left behind. Store the strained oil in a sealed, dark container in a cool spot for up to 3 months.

Comments (3)

3 days ago

OMG y’all, this crunchy southern fried chicken was the absolute star of our Sunday family dinner! I was nervous it’d be too fussy since it’s marked medium difficulty, but the 25 minute cook time was totally manageable even with my toddler clinging to my leg the whole time. The crunch was INSANE—my husband said it’s better than the version at our favorite small-town diner, and my kids loved it so much they asked for seconds before they finished their first piece. I’m already planning to make a big batch for our next neighborhood potluck next month!

2 days ago

Wait this sounds so good! Quick question for anyone who’s made it—did you brine the chicken first? I’m thinking of making this for my weekly meal prep this weekend and don’t wanna mess up that iconic crunch everyone’s raving about.

yesterday

Great question! If you have extra time, a 2-hour buttermilk brine locks in so much juiciness, but if you’re crunched for time you can totally skip it and still get that perfect shaggy, crunchy crust. Just make sure your oil holds steady at 350°F while frying, and don’t overcrowd the pan—those two tricks make all the difference!

1 week ago

Total game changer! I’ve tried probably a dozen southern fried chicken recipes over the years and they always end up with soggy skin or dry, bland meat, but this one nailed both the perfect crunch and juicy, well-seasoned interior. I used boneless skin-on thighs because that’s what I had stashed in the freezer, and it still turned out SO good. Cooked up a whole double batch on Sunday to pack for work lunches all week, and it held up way better than I expected even when I reheated it in the air fryer.

5 days ago

So happy to hear the boneless thigh swap worked out for your meal prep! That’s one of my favorite quick swaps for faster weeknight cooking too—reheating in the air fryer is such a smart call to keep that crunch intact, thanks so much for sharing that tip!

5 minutes ago

Made this last night for my roommate and his crew who came over to watch the college football game, and every single piece was gone in 10 minutes flat! The seasoning blend was perfectly balanced, not too salty, and that crunch? Absolute chef’s kiss. The only tiny tweak I made was adding a little extra smoked paprika because I love that warm, smoky kick. Will 100% be adding this to my regular weeknight rotation.



