
cubano bread
intro
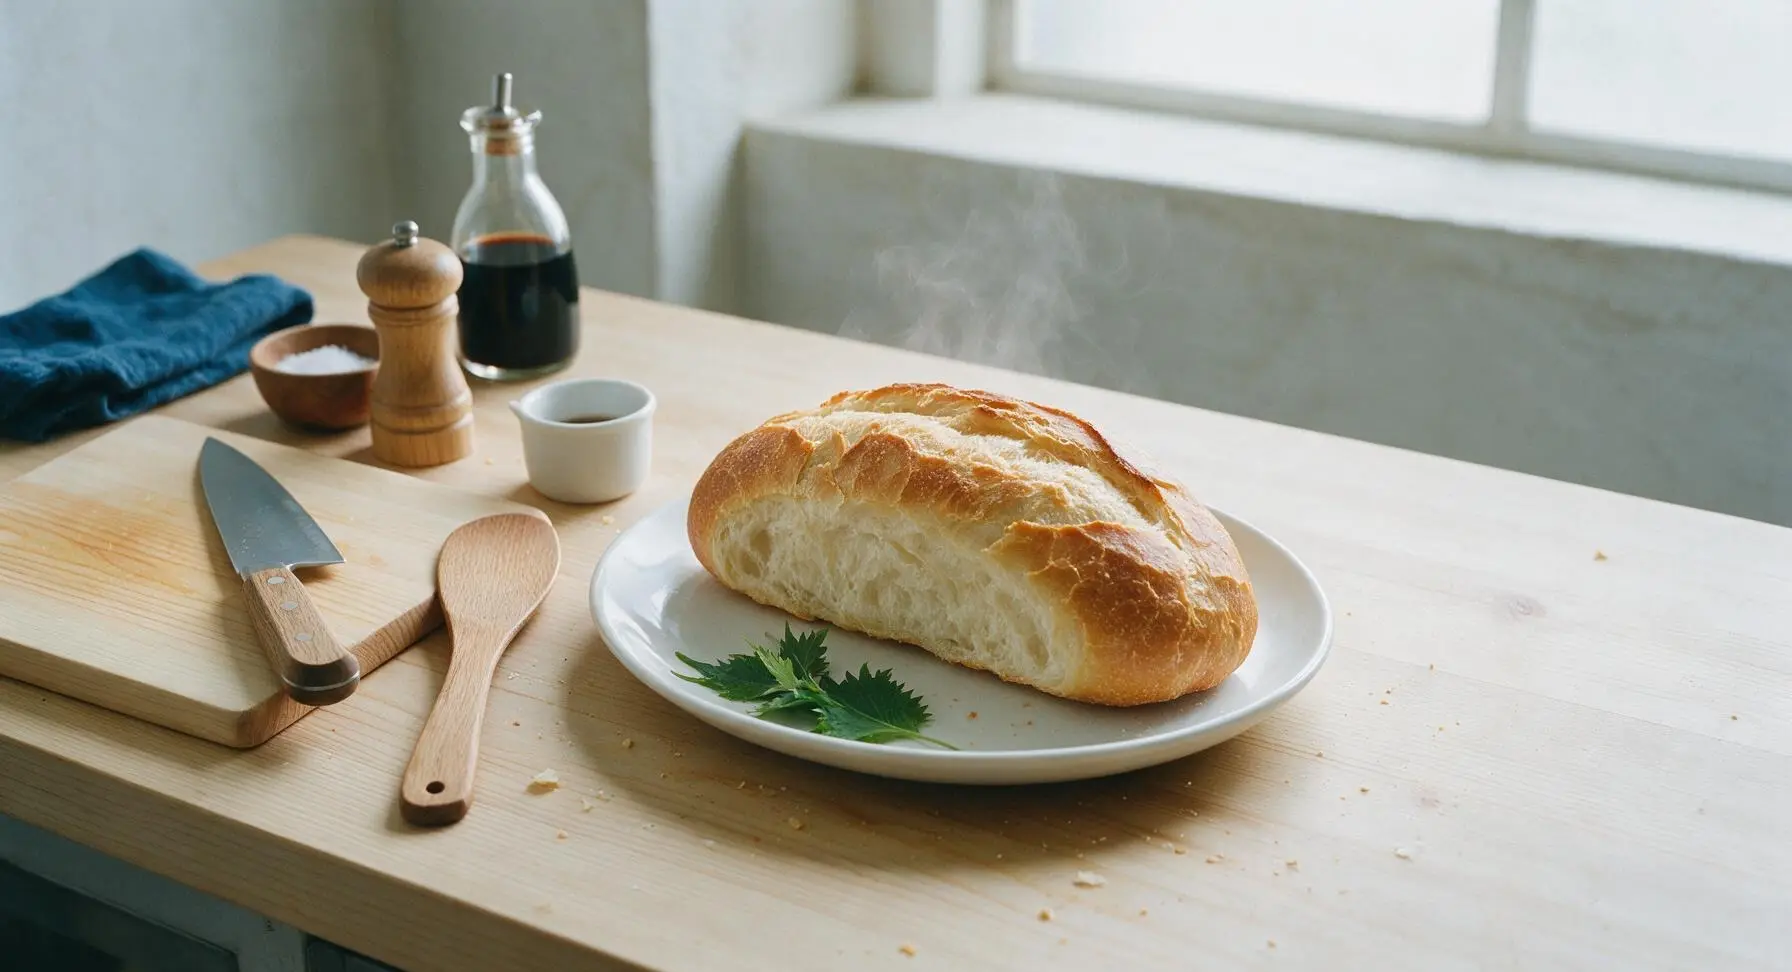
Crisp, shattery golden crust, soft pillowy airy crumb, and subtle lard-kissed savoriness—this classic Cubano bread is perfect for pressed sandwiches or sopping up hearty stews.
Ingredients
Steps
Combine Dough Ingredients
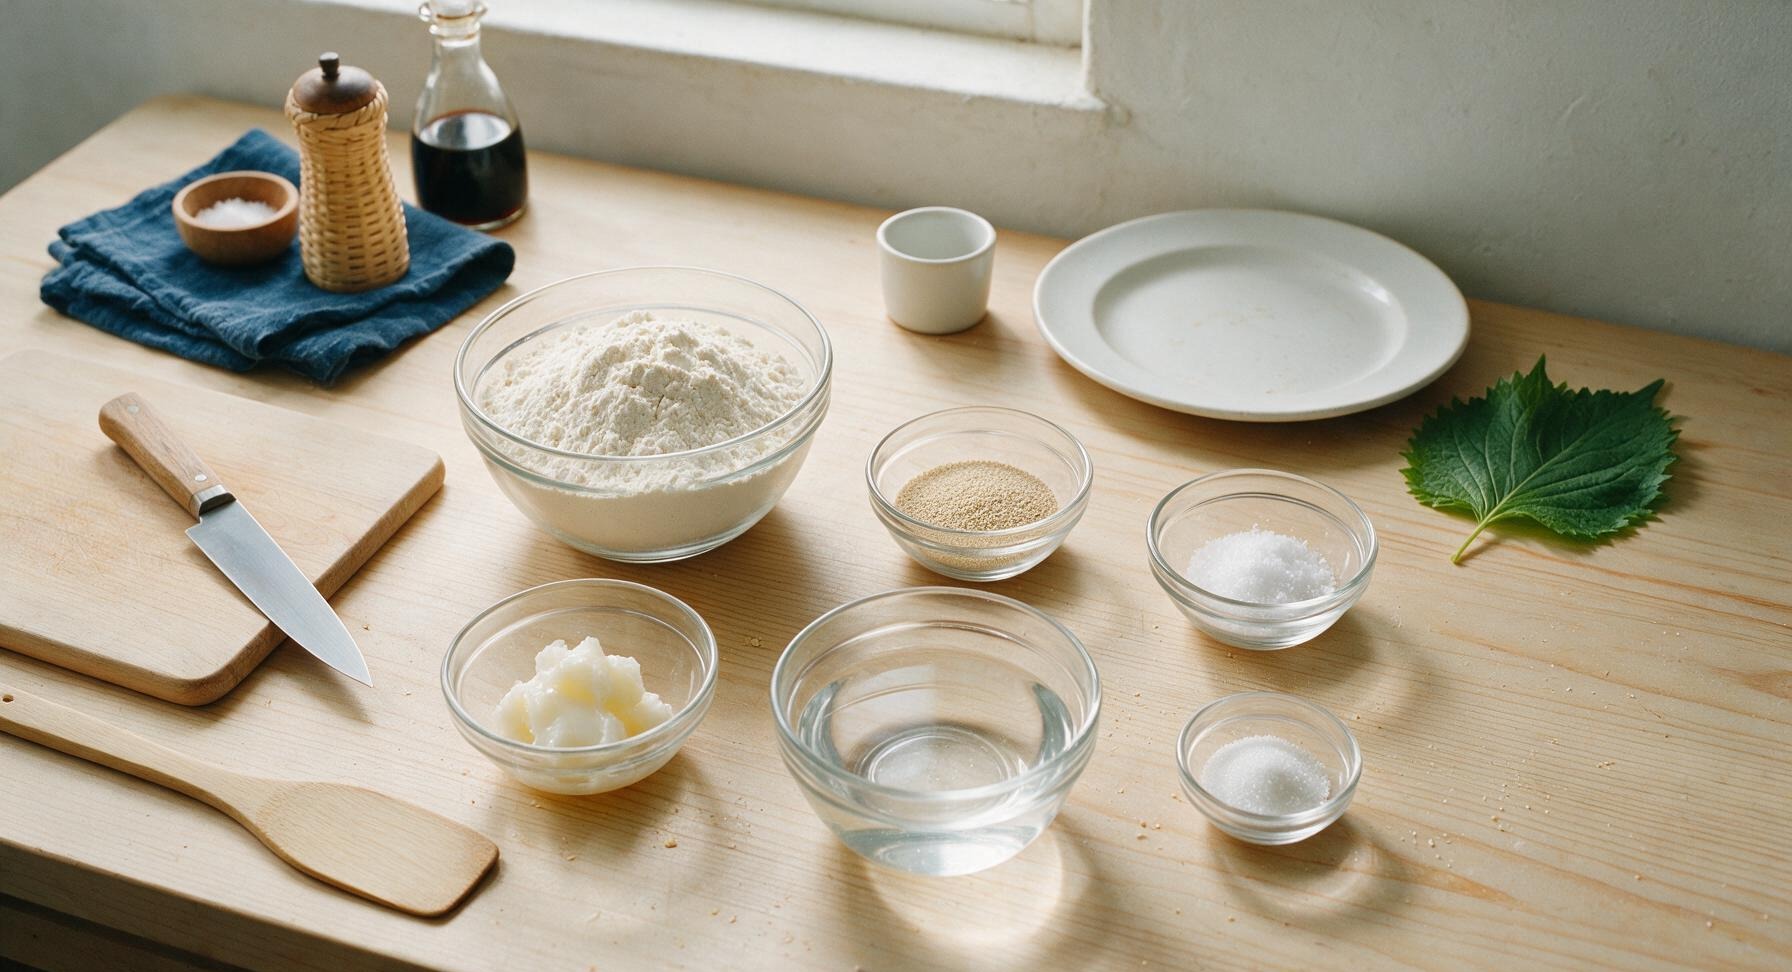
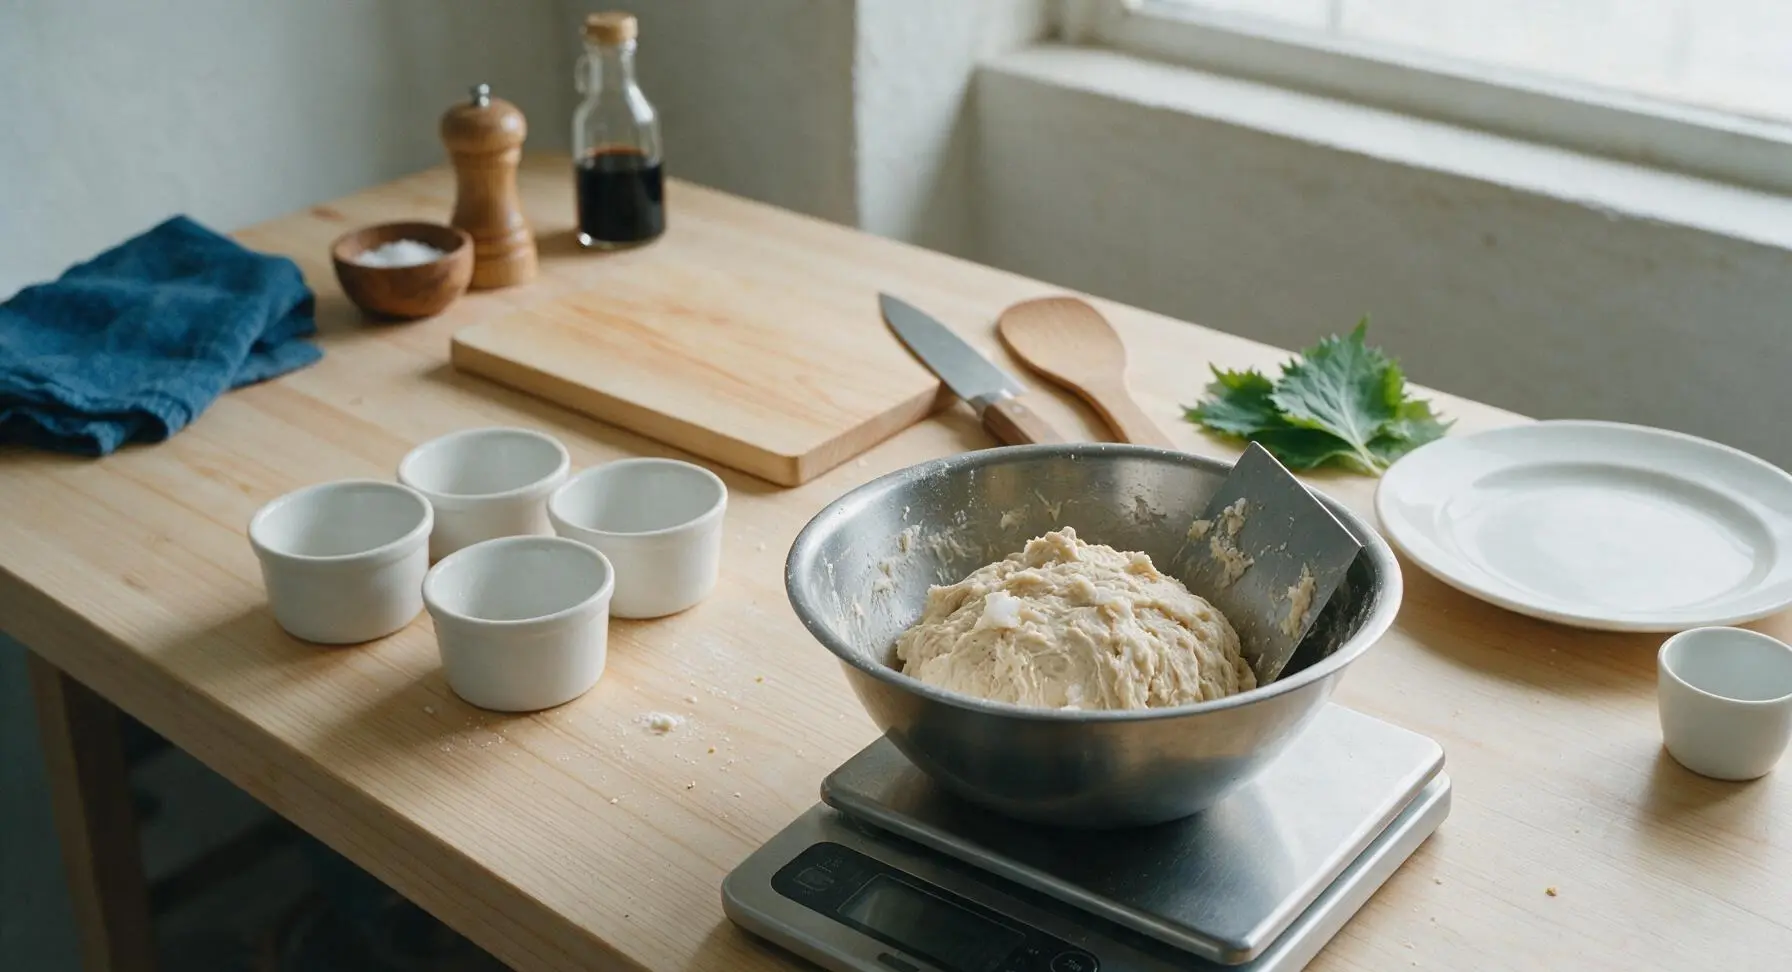
Place the stainless steel mixing bowl on the digital kitchen scale, tare to zero, and add 500g all-purpose flour, 7g instant yeast, 5g granulated sugar, and 10g fine sea salt, whisking to combine evenly. Pour in 320ml warm (105–110°F / 40–43°C) water and 30g softened lard, stirring with the dough scraper until a shaggy, ragged dough forms with no dry flour pockets remaining at the bottom of the bowl. The dough will feel sticky and rough at this stage, not smooth.
Knead Until Smooth
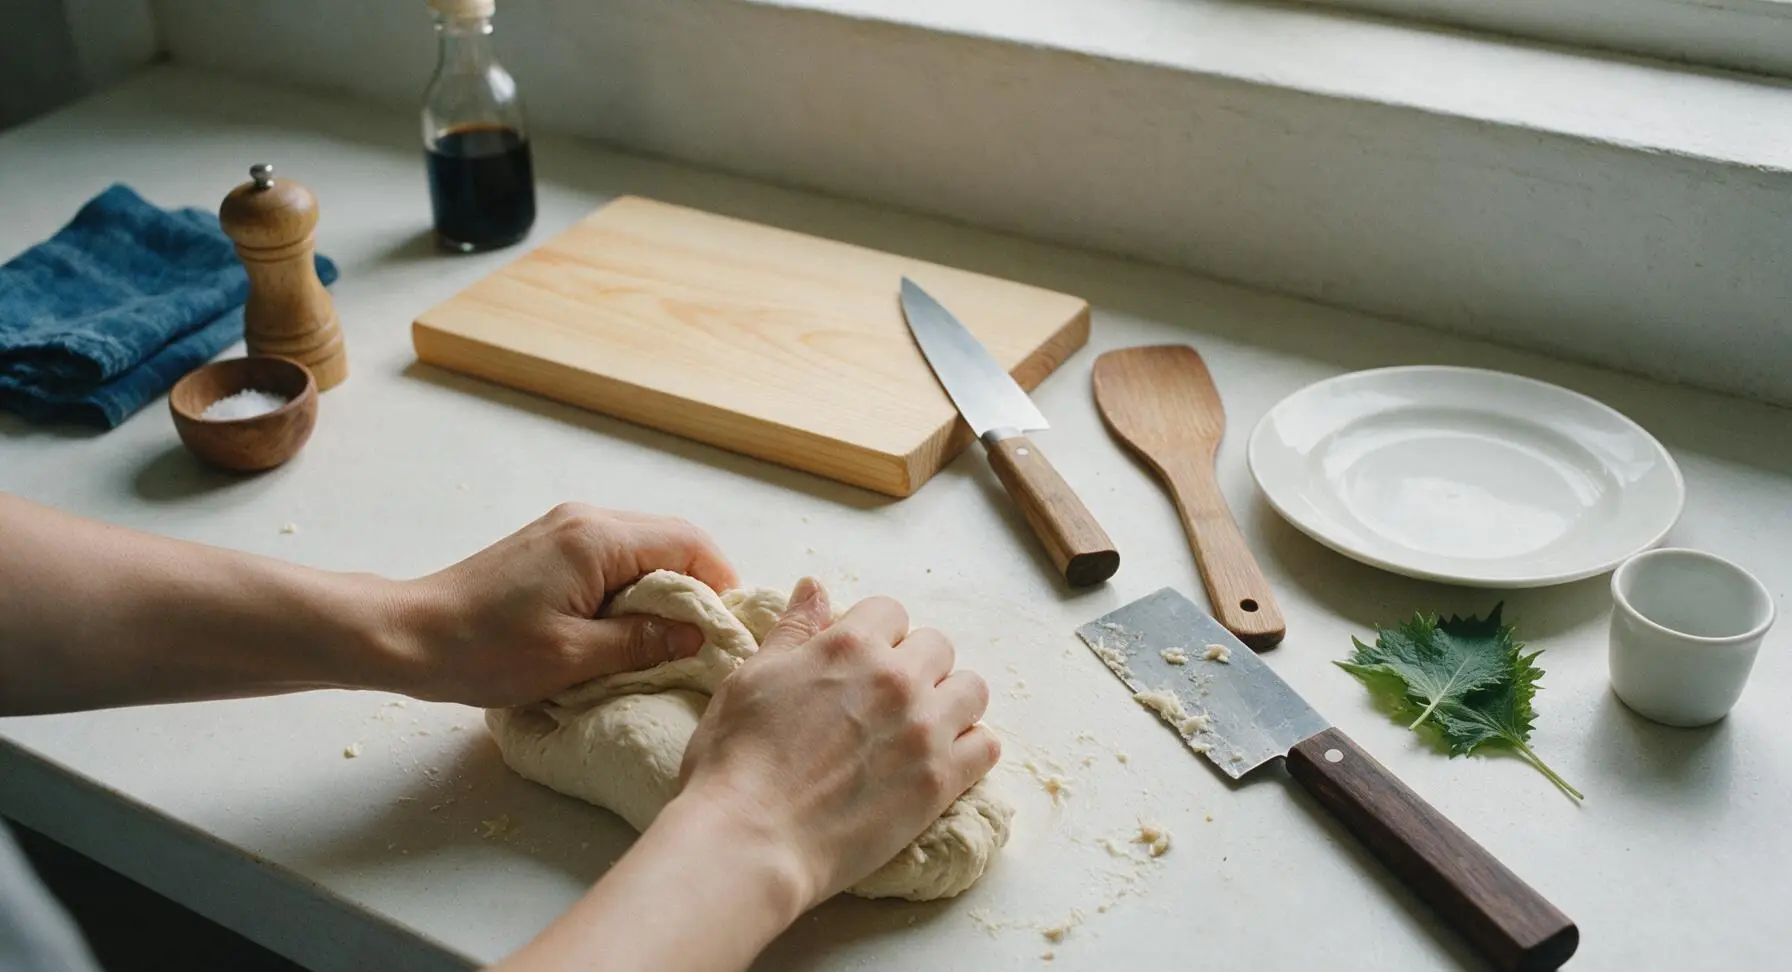
Turn the shaggy dough out directly onto the clean soapstone counter (no extra flour needed initially, to avoid toughening the crumb). Knead for 8–10 minutes by hand, using the bench knife to scrape up sticky bits as needed, until the dough is smooth, elastic, and springs back slowly when poked with a finger. The finished dough will feel soft, not tacky enough to stick permanently to your hands or the counter.
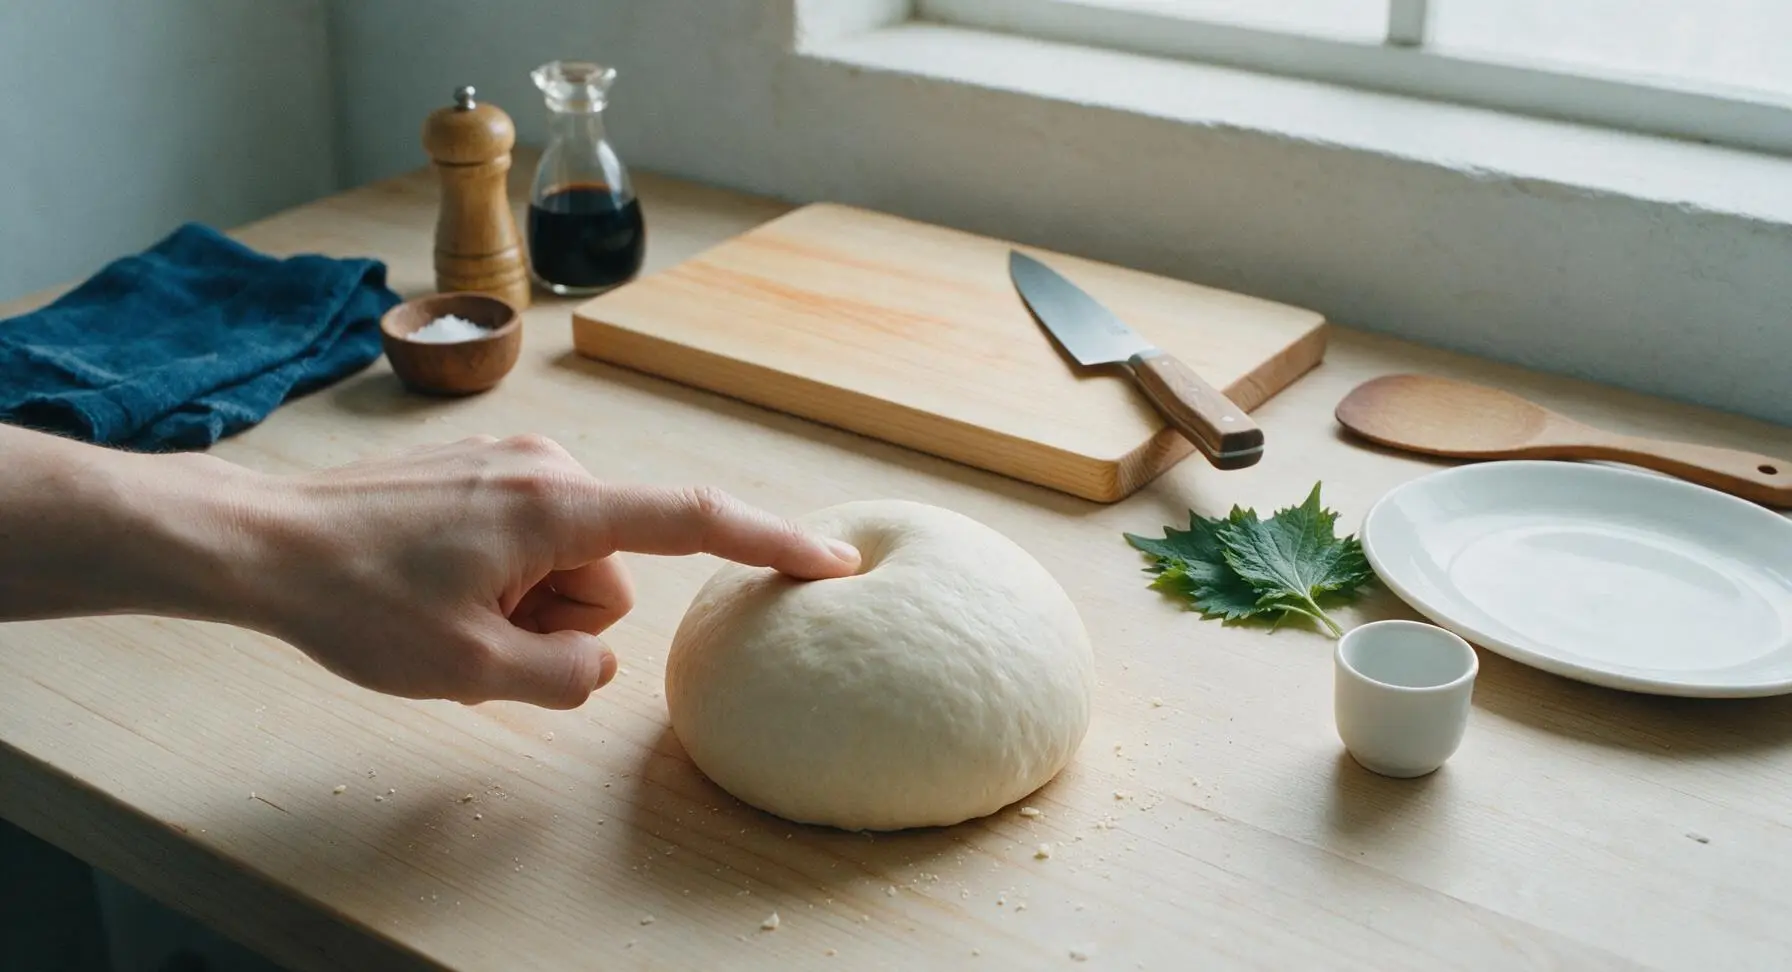
Let Dough Rise
Form the kneaded dough into a tight ball, place it back into the stainless steel mixing bowl, and cover the top loosely with the indigo cotton kitchen towel. Let it rise in a warm, draft-free spot (75–78°F / 24–25°C) for 1 to 1.5 hours, until the dough has doubled in size, and a finger poked into the center leaves an indent that does not spring back immediately.
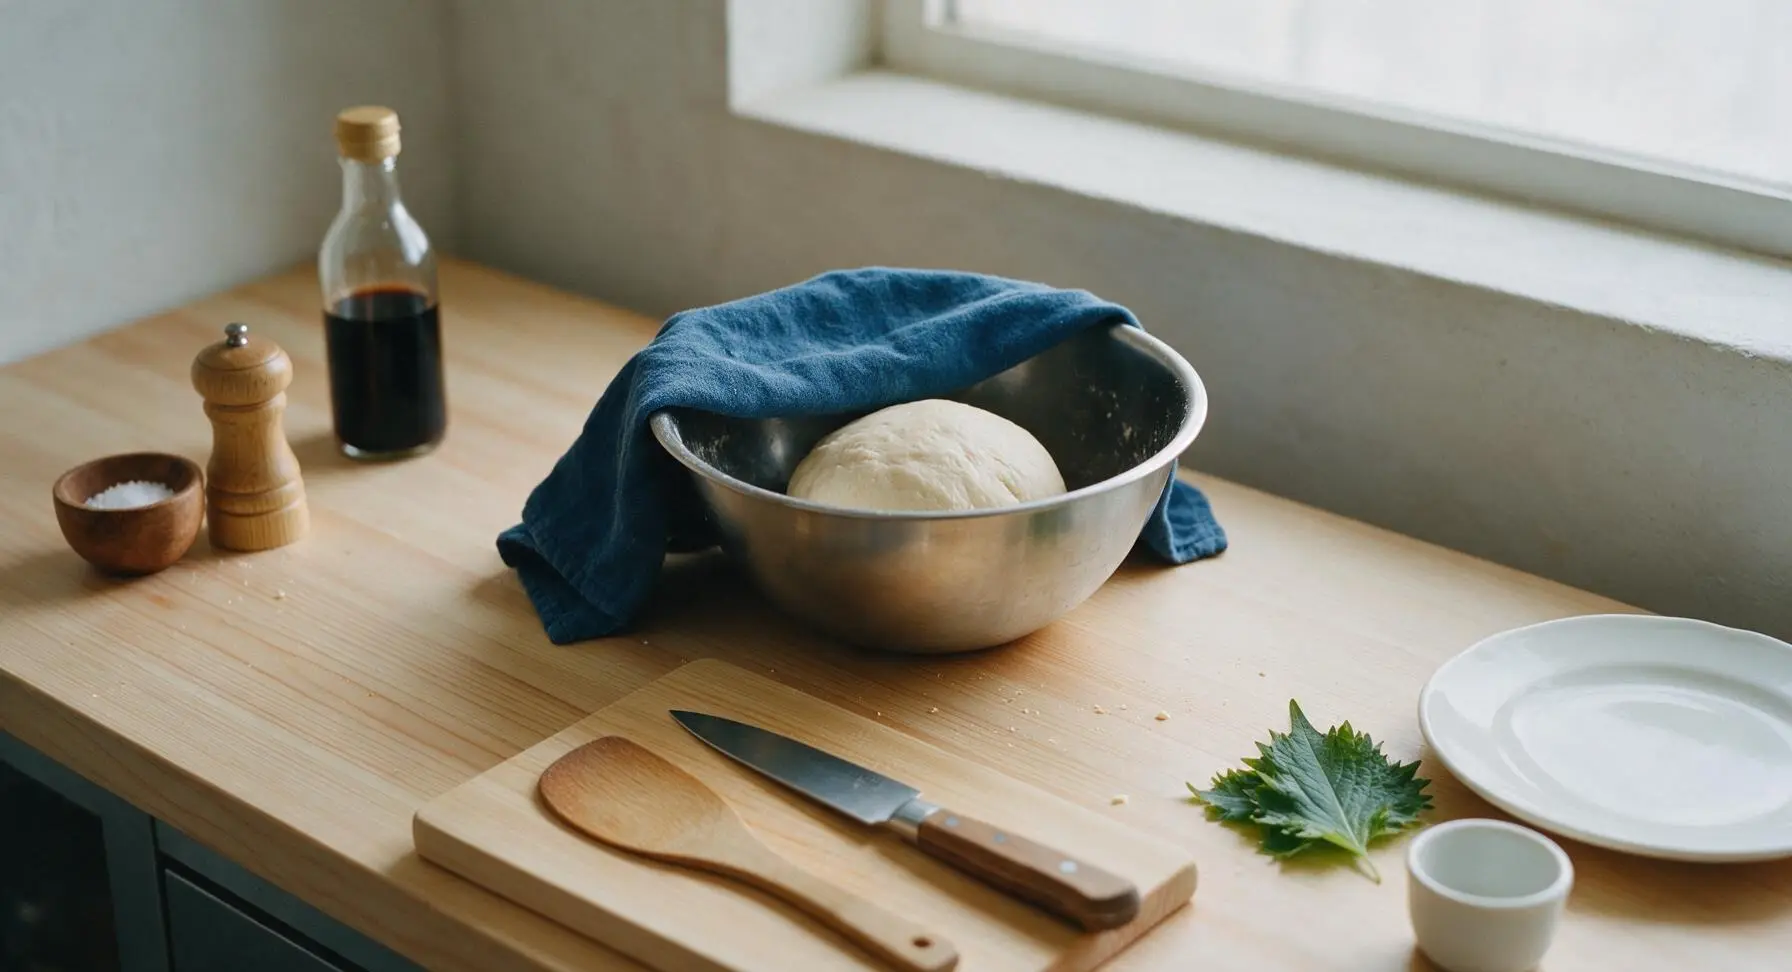
Shape Bread Loaves
Once doubled, turn the risen dough out onto the counter, gently pressing to deflate all large air bubbles (do not knead hard, to preserve small air pockets for a soft crumb). Use the bench knife to cut the dough evenly into two 430g portions. Roll each portion into a tight 12-inch long log, tapering the ends slightly to form the traditional long, slender Cubano bread shape, pinching the seam along the bottom tightly to seal.
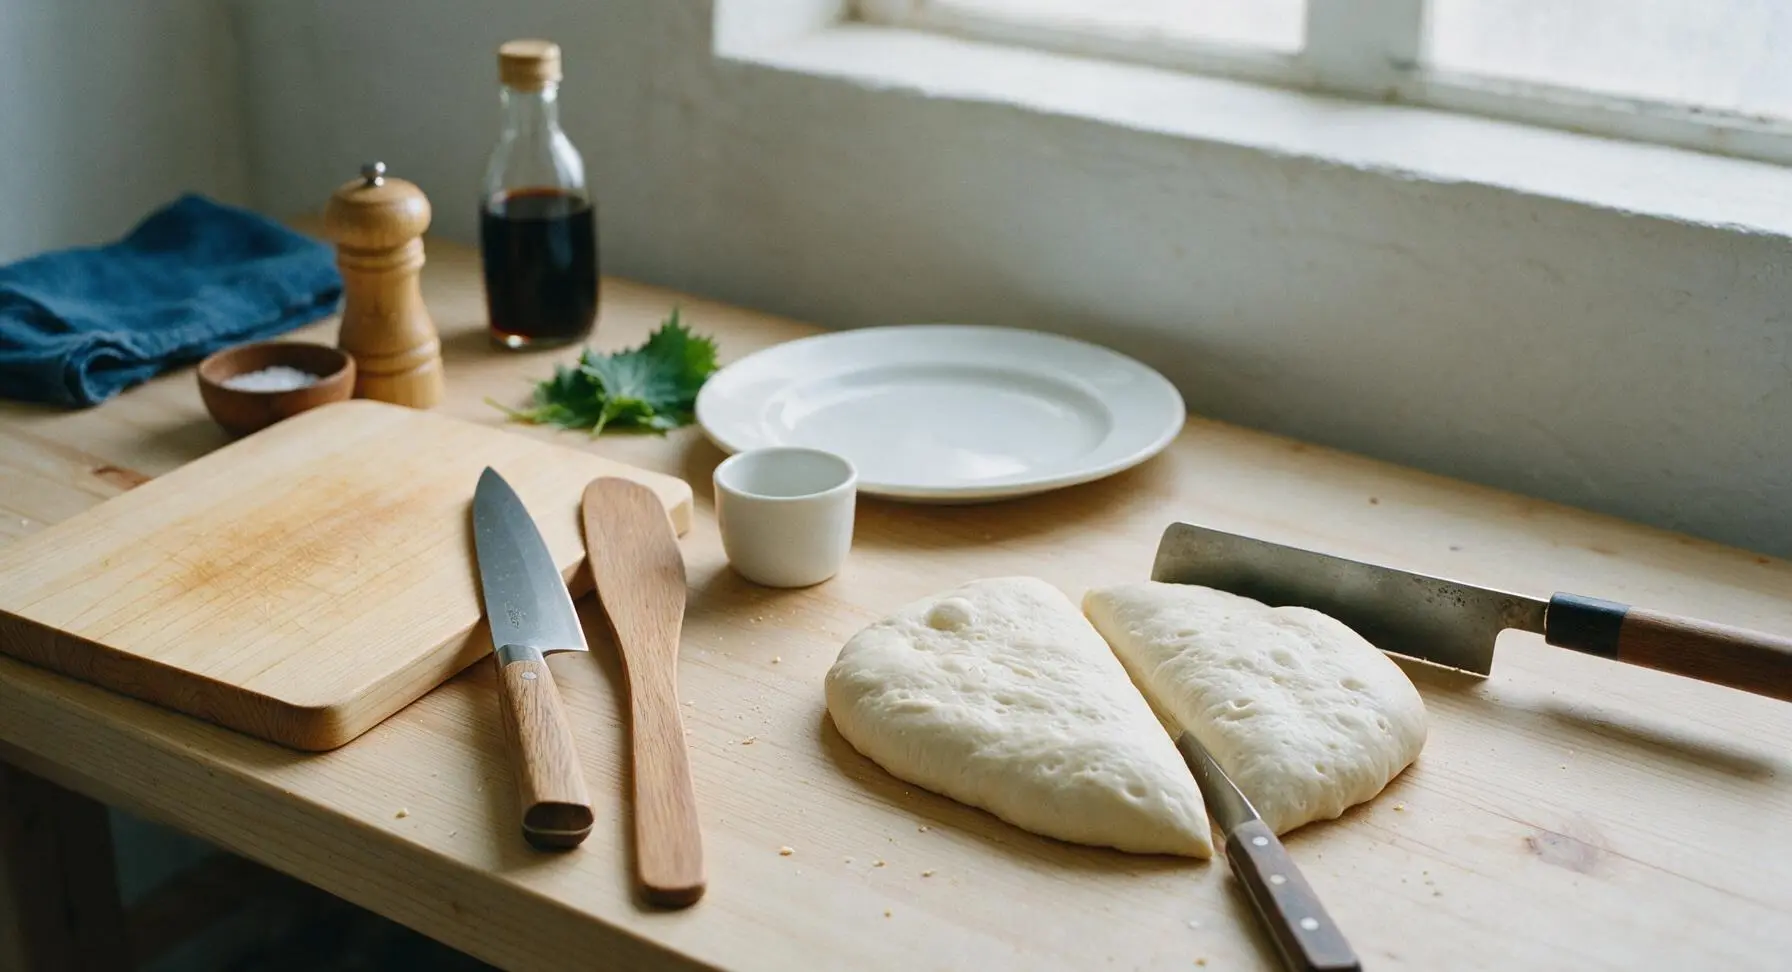
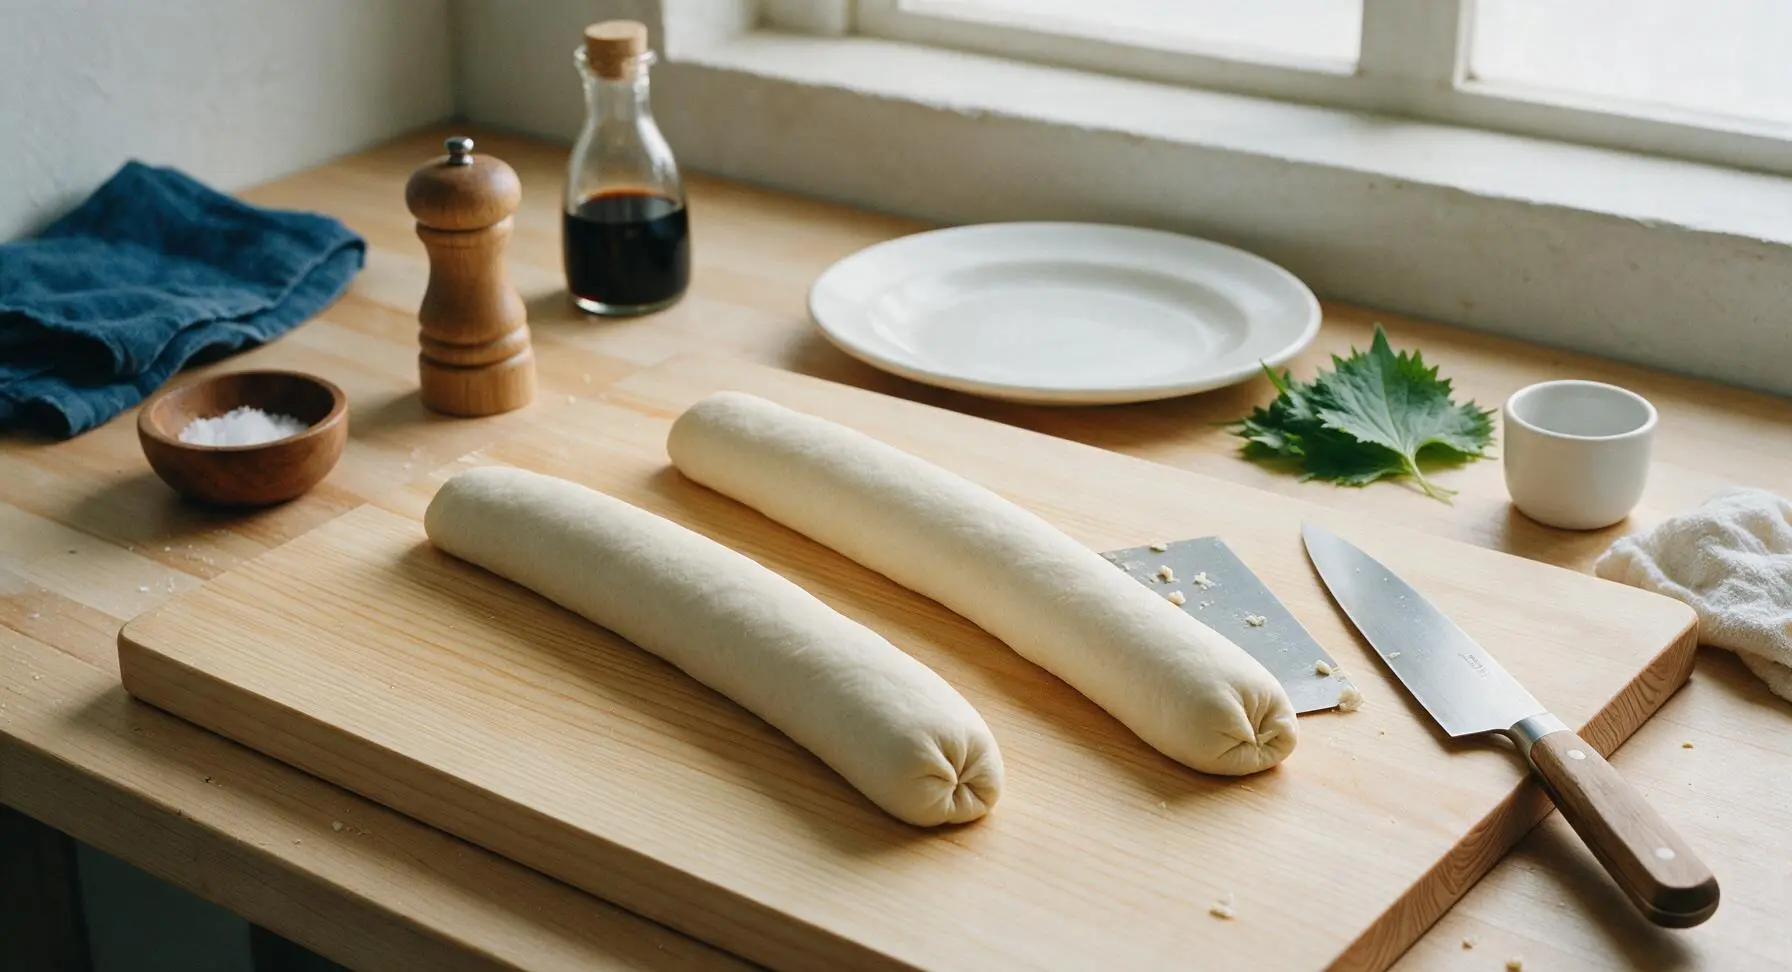
Proof and Preheat Oven
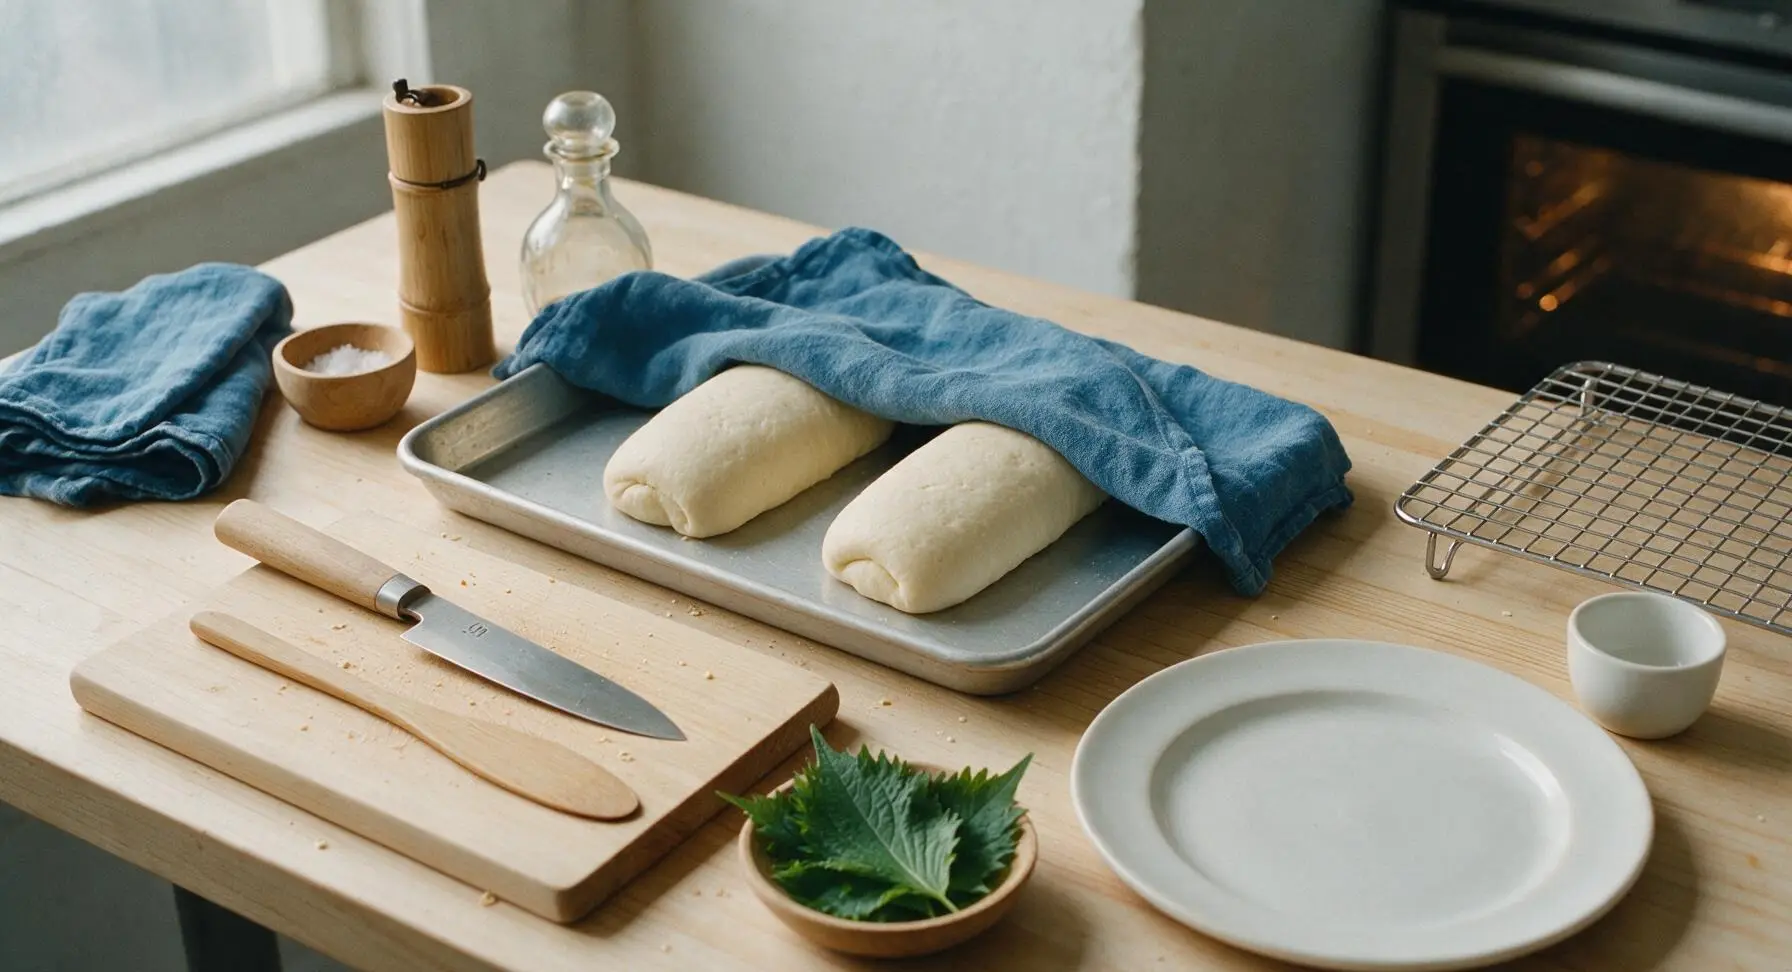
Transfer the shaped dough logs seam-side down to the ungreased aluminum baking sheet, leaving 3 inches of space between them to allow for expansion. Cover loosely with the indigo kitchen towel and let proof for 30–40 minutes, until the loaves are puffy and jiggle slightly when the baking sheet is gently tapped. While proofing, preheat the oven to 425°F (220°C), placing an empty metal baking pan on the lower rack to preheat for steam.
Score and Bake Loaves
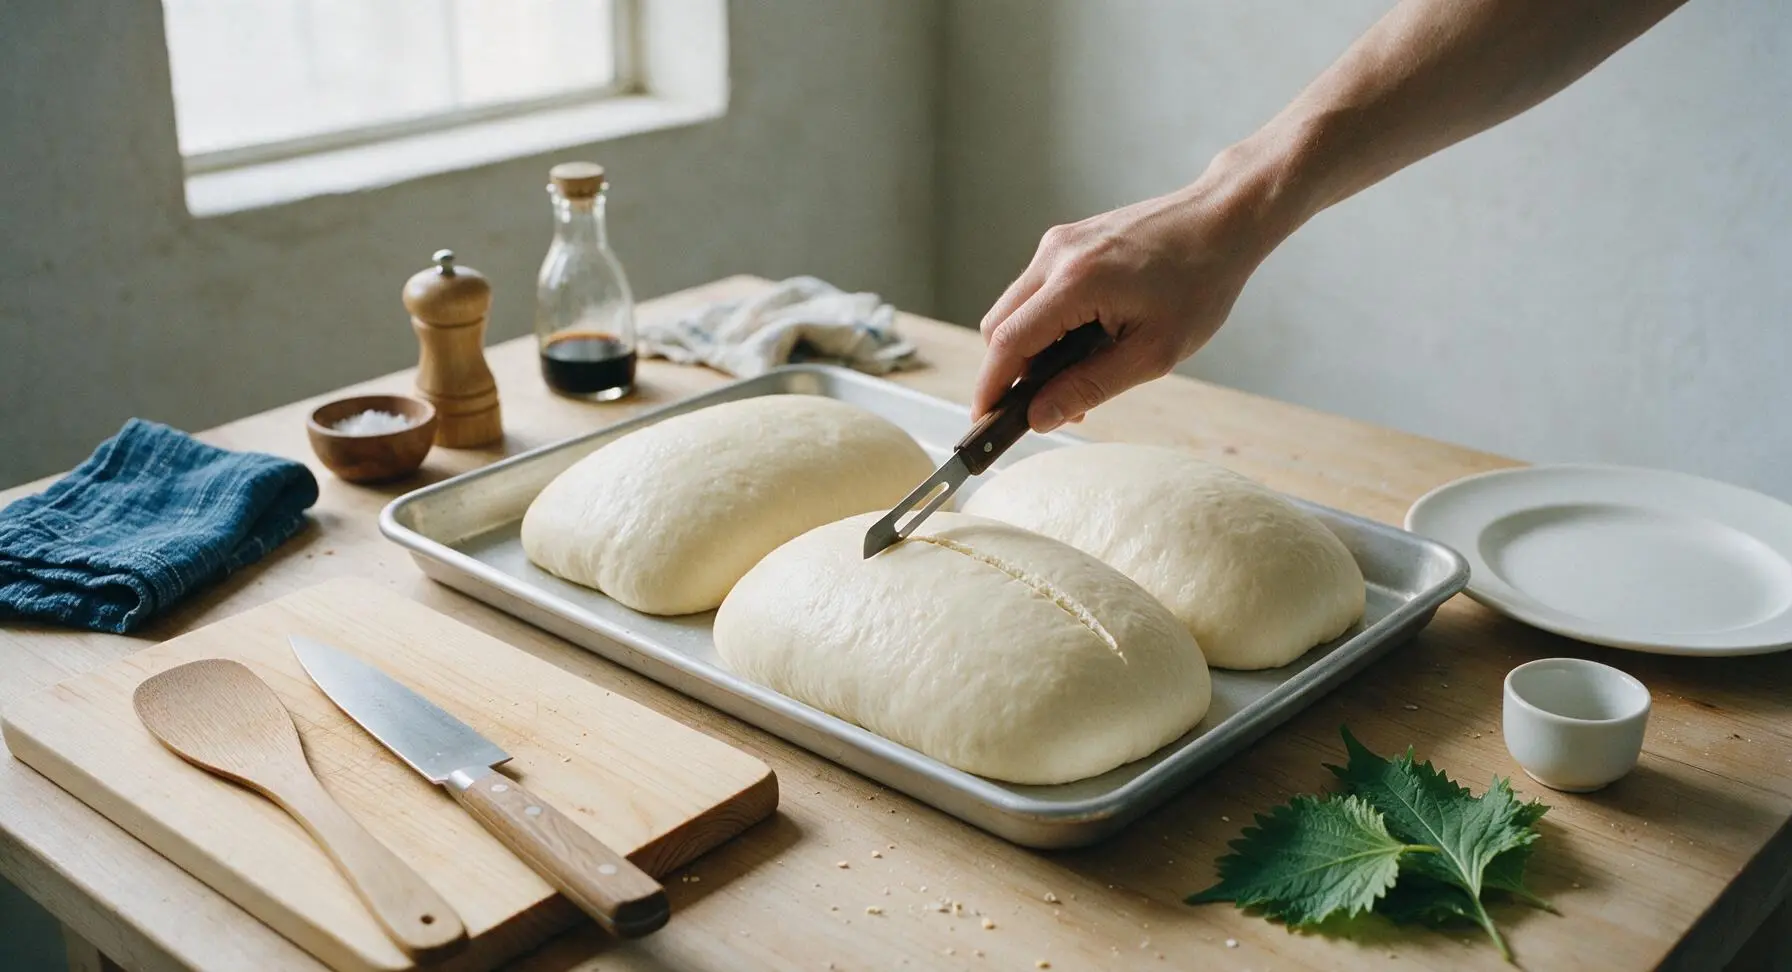
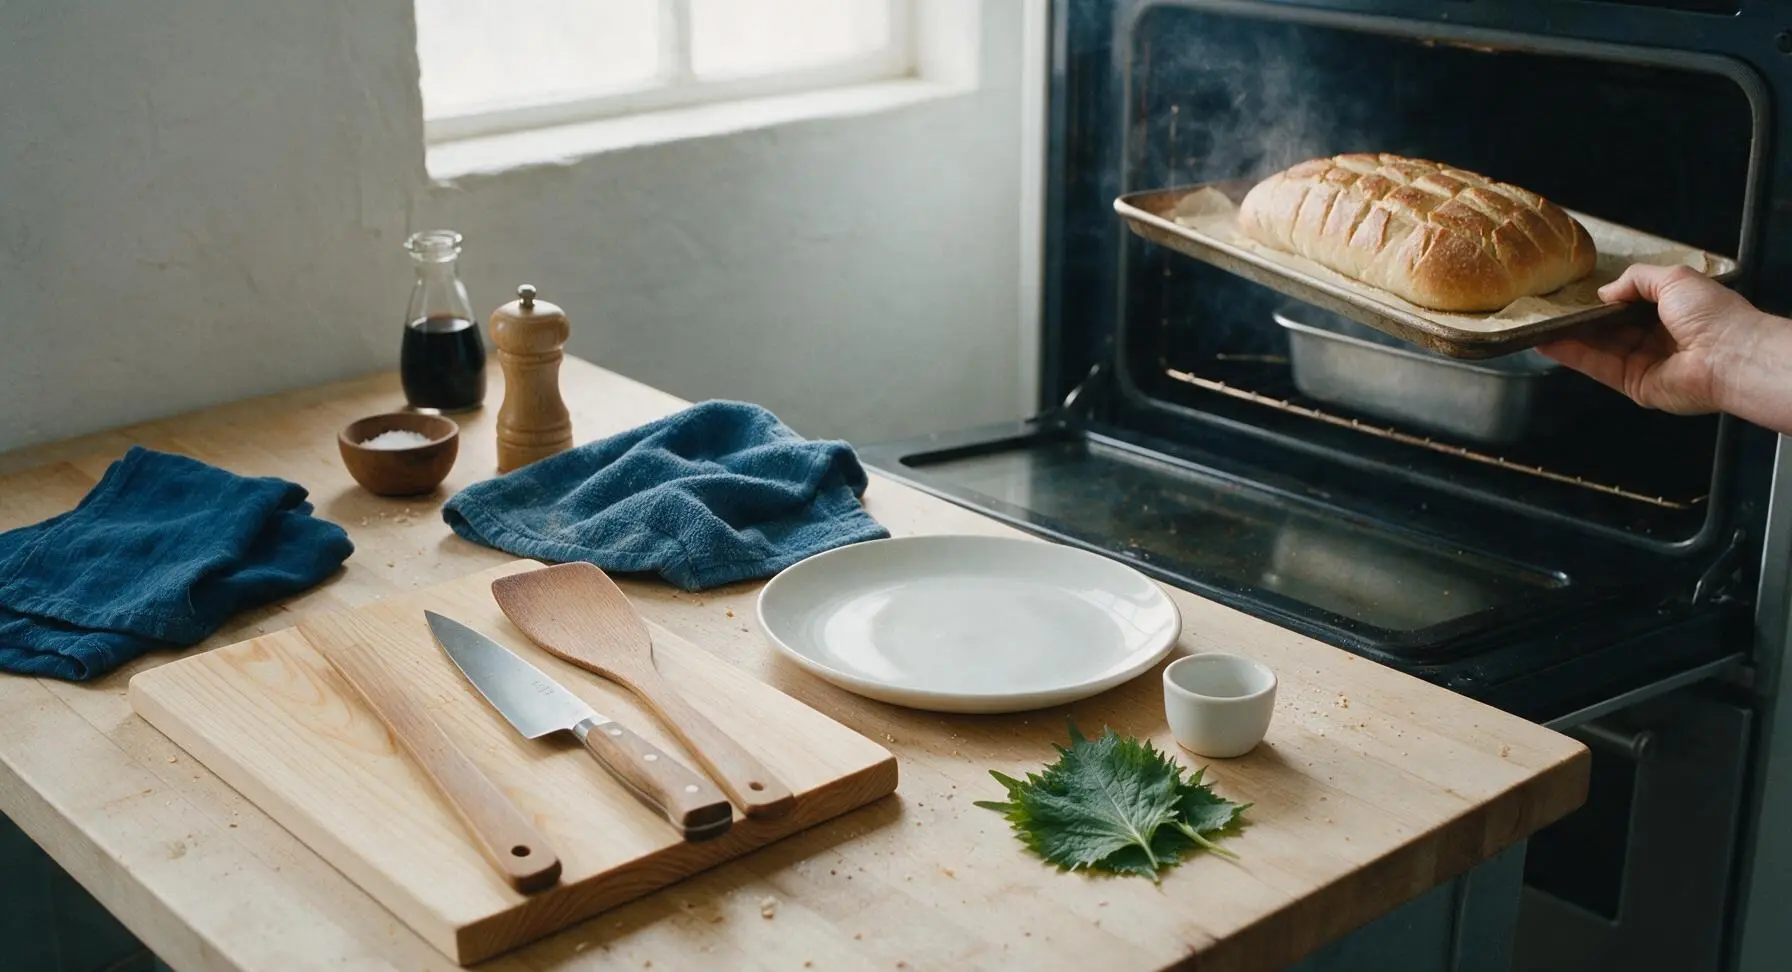
Once proofed, uncover the loaves. Use the lame to score a single 1/4-inch deep lengthwise cut down the center of each loaf. Carefully pour 1/2 cup hot water into the preheated lower pan to create a burst of steam, then immediately place the baking sheet with loaves on the middle oven rack. Bake for 22–25 minutes, until the loaves are a deep golden brown all over, and sound hollow when tapped on the bottom (internal temperature should reach 205–210°F / 96–99°C).
Cool Before Serving
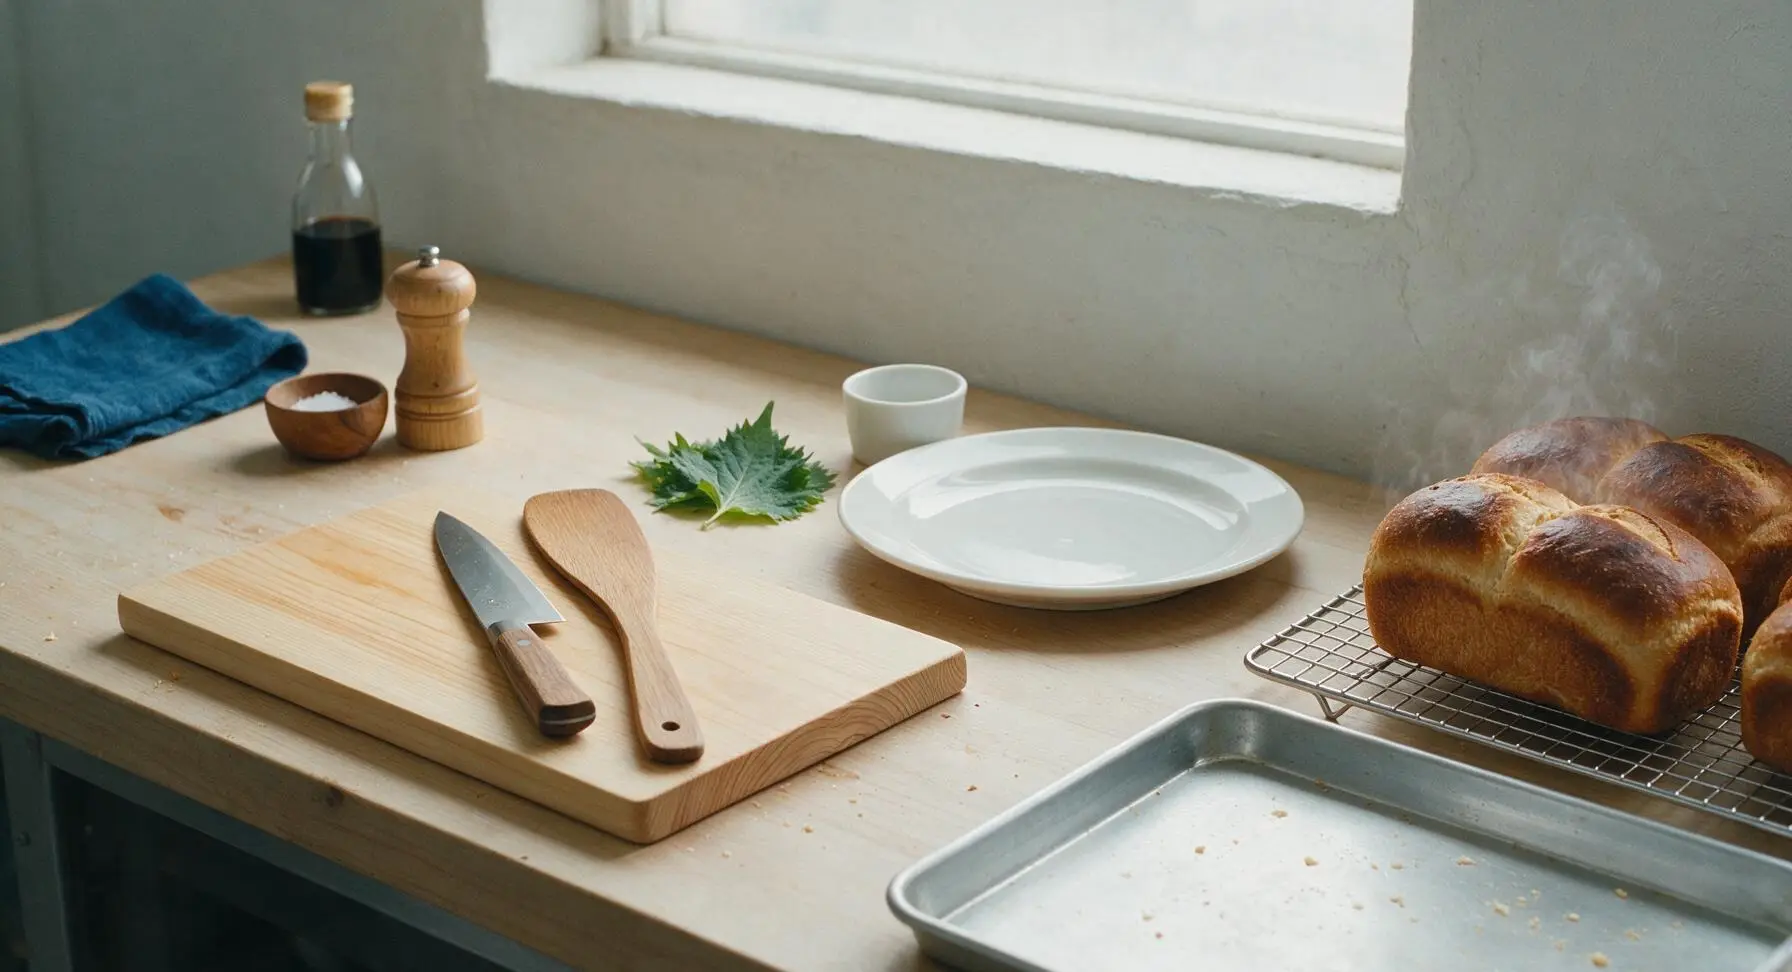
Once baked, use oven mitts to transfer the loaves from the baking sheet directly to the chrome wire cooling rack. Let cool for at least 20 minutes before slicing—cutting hot bread will cause the crumb to become gummy and compressed, rather than soft and airy. The crust will crisp further as it cools. Return the indigo kitchen towel to its folded top-left storage position once finished.
Tips
2.Use oven steam for the first 10 minutes of baking: Pouring 1/2 cup hot water into the preheated lower pan creates a burst of steam that keeps the loaf surface soft as it rises, allowing the lengthwise score to open fully and form a thin, crackly crust instead of a thick, tough outer layer.
3.Wait the full 20 minutes to cool before slicing: As bread cools, the gelatinized starch in the crumb sets fully. Slicing hot bread causes the soft interior to compress and turn gummy, even if the loaf is fully baked. Use a sharp serrated knife for clean, even slices without squishing the soft crumb.






OMG this Cubano bread is a total game changer! I made it for our Sunday family dinner to go with lechon asado and everyone went back for seconds. The crust was perfectly crispy and the inside was so soft and chewy, just like the loaves I used to get from the Cuban bakery down in Miami when I was a kid. 10/10 will be making this every other week for meal prep!
Made this for a potluck last weekend and people were asking me for the recipe before they even finished their first slice! I brushed the top with a little extra butter right when it came out of the oven and *chef's kiss*. SO good.
Tried this yesterday and my loaf came out a little denser than I expected? I followed the measurements exactly, used instant yeast like the recipe said, but it didn't rise as much as the photos show. Any tips?
First time making any kind of homemade bread and this turned out way better than I thought it would! Medium difficulty was no joke though, I had to re-read the folding step three times before I got it right. Ended up using it for Cubano sandwiches for my son's birthday cookout and it was perfect.
My kids loved it! I cut slices thick, toasted them, and served them with guava butter for breakfast this morning and there were zero crumbs left on the plates. Will absolutely be adding this to our regular rotation.
I swapped the lard for coconut oil to make this vegan and it still came out incredible! The texture was spot on, even with the swap. So happy I don't have to miss out on good Cubano bread just because I don't eat animal products.
This tastes exactly like the bread my abuela used to make when I was growing up in Tampa. I haven't had bread that good in years, I almost cried when I took the first bite. Thank you so much for sharing this recipe!
Wait, the recipe says to let it rise for two hours but my kitchen is super cold right now (old apartment, terrible heating) — can I let it rise longer without ruining it?
Brought two loaves to our office potluck yesterday and they were gone in 10 minutes flat. People were fighting over the end pieces! Who knew homemade bread could be such a hit?
I've made a lot of bread recipes over the years and this one is top tier. The subtle sweetness from the sugar, the perfect crumb, that crispy crust — it's perfect for Cuban sandwiches, toast, even just eating plain with a little butter. 10/10
Made this last night to go with our weekly taco night spread (we do Cubano sliders sometimes too!) and it was chef's kiss. The only change I made was adding a little extra salt on top before baking, which I do for all my breads. So tasty.
Wait, I'm a total beginner and almost didn't try this because it says medium difficulty, but I have a stand mixer with a dough hook — does that make this easier? I don't want to waste flour on a failed loaf since I'm on a college student budget.
I've been making Cubano bread for 40 years and this recipe is the closest I've found to the original recipe I got from a Cuban neighbor in Miami back in the 80s. The only thing I do differently is add a tiny bit of malt syrup, but the recipe as written is fantastic.
Great for meal prep! I slice a whole loaf up, freeze the slices, and pop them in the toaster straight from the freezer for quick breakfasts or post-workout carbs. Holds up perfectly for two weeks in the freezer.
Made this for a weekend brunch with my girlfriends and served it alongside Cuban coffee, cream cheese, and guava jam. We ate half a loaf before we even made the main dishes! It was that good.
First loaf came out lopsided? Not sure what I did wrong, one side rose way more than the other, but honestly it still tasted incredible so I'm not even mad. Will definitely be trying again to get that perfect uniform loaf shape.
Used this bread to make Cubanos for our family Sunday dinner last week — pressed with roast pork, ham, Swiss, pickles, mustard — and my dad said it was better than the sandwiches we get at our favorite Cuban spot downtown. High praise coming from him, trust me.
I made this last weekend for my partner who's Cuban, and he said it tasted exactly like the bread his grandma used to make in Havana before she moved to the states. He hasn't stopped talking about it all week! Total win.
I was worried this would be too time consuming to make on a weeknight, but the hands on time is actually super reasonable! I mixed the dough before work, let it rise in the fridge all day, then baked it when I got home. Worked like a charm.
I've literally never baked bread in my life and I was so nervous to try this, but I followed the steps exactly and it came out perfect!!! I screamed when I pulled it out of the oven and saw that golden crispy crust. My roommate thought I bought it from a bakery, I was so proud.