
cured pork belly
intro
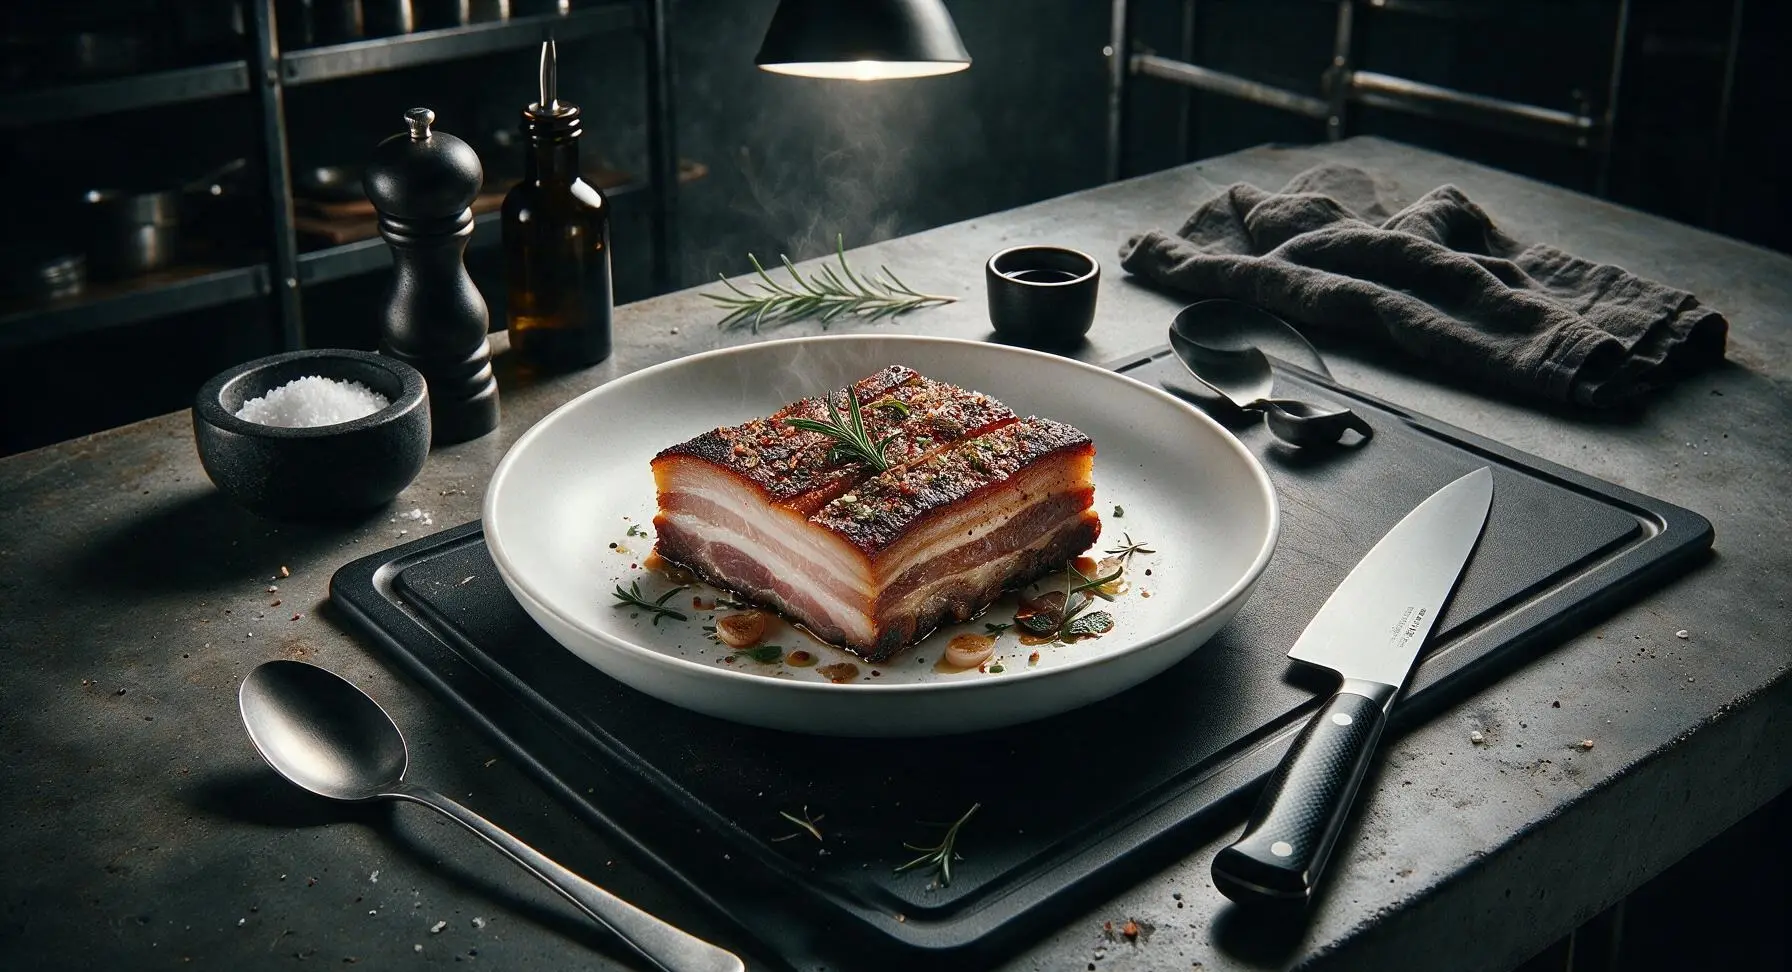
Rich, umami-dense dry-cured pork belly with silky rendered fat and deeply seasoned meat, perfect for New Year feasts, stir-fries, stews, or charcuterie boards.
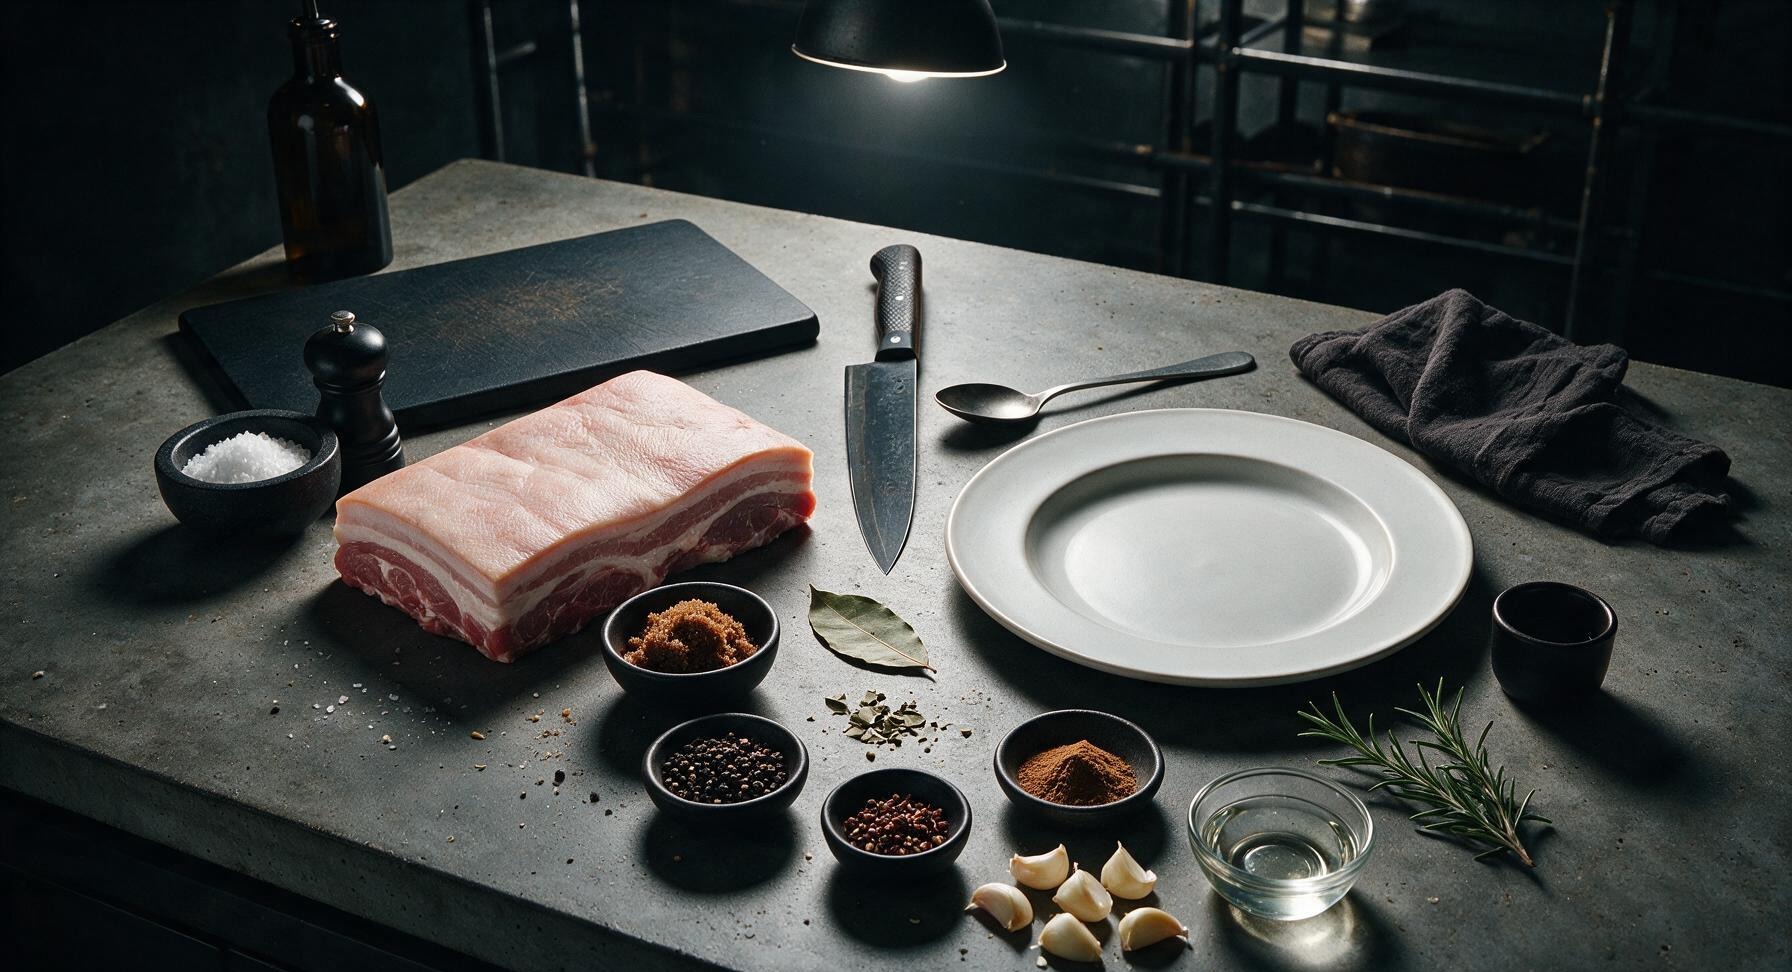
Ingredients
Steps
Prep the pork belly
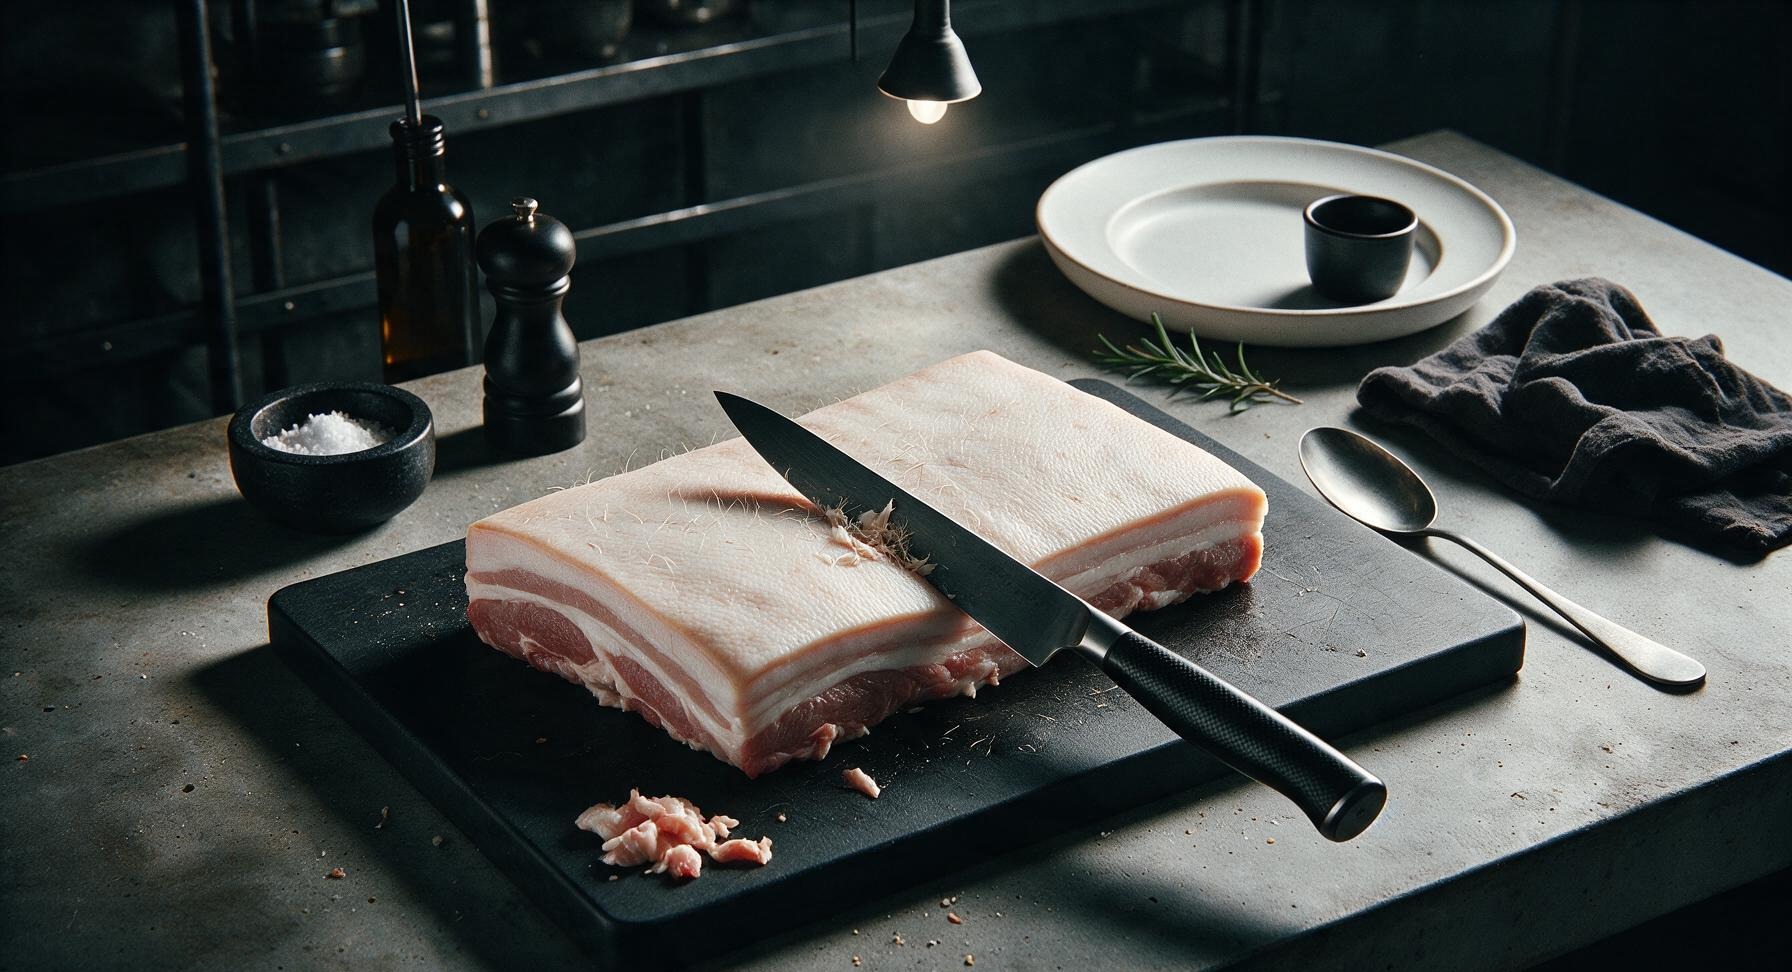
Rinse the 1kg skin-on pork belly under cold running water, then pat completely dry on all sides with the indigo linen kitchen towel. Use the chef knife to scrape any remaining hair or debris from the skin surface, and trim any ragged loose edges from the meat so the slab forms a neat, even rectangle about 5cm thick. Do not trim off the fat cap or skin. The meat surface should feel completely dry to the touch before moving on.
Mix the dry cure
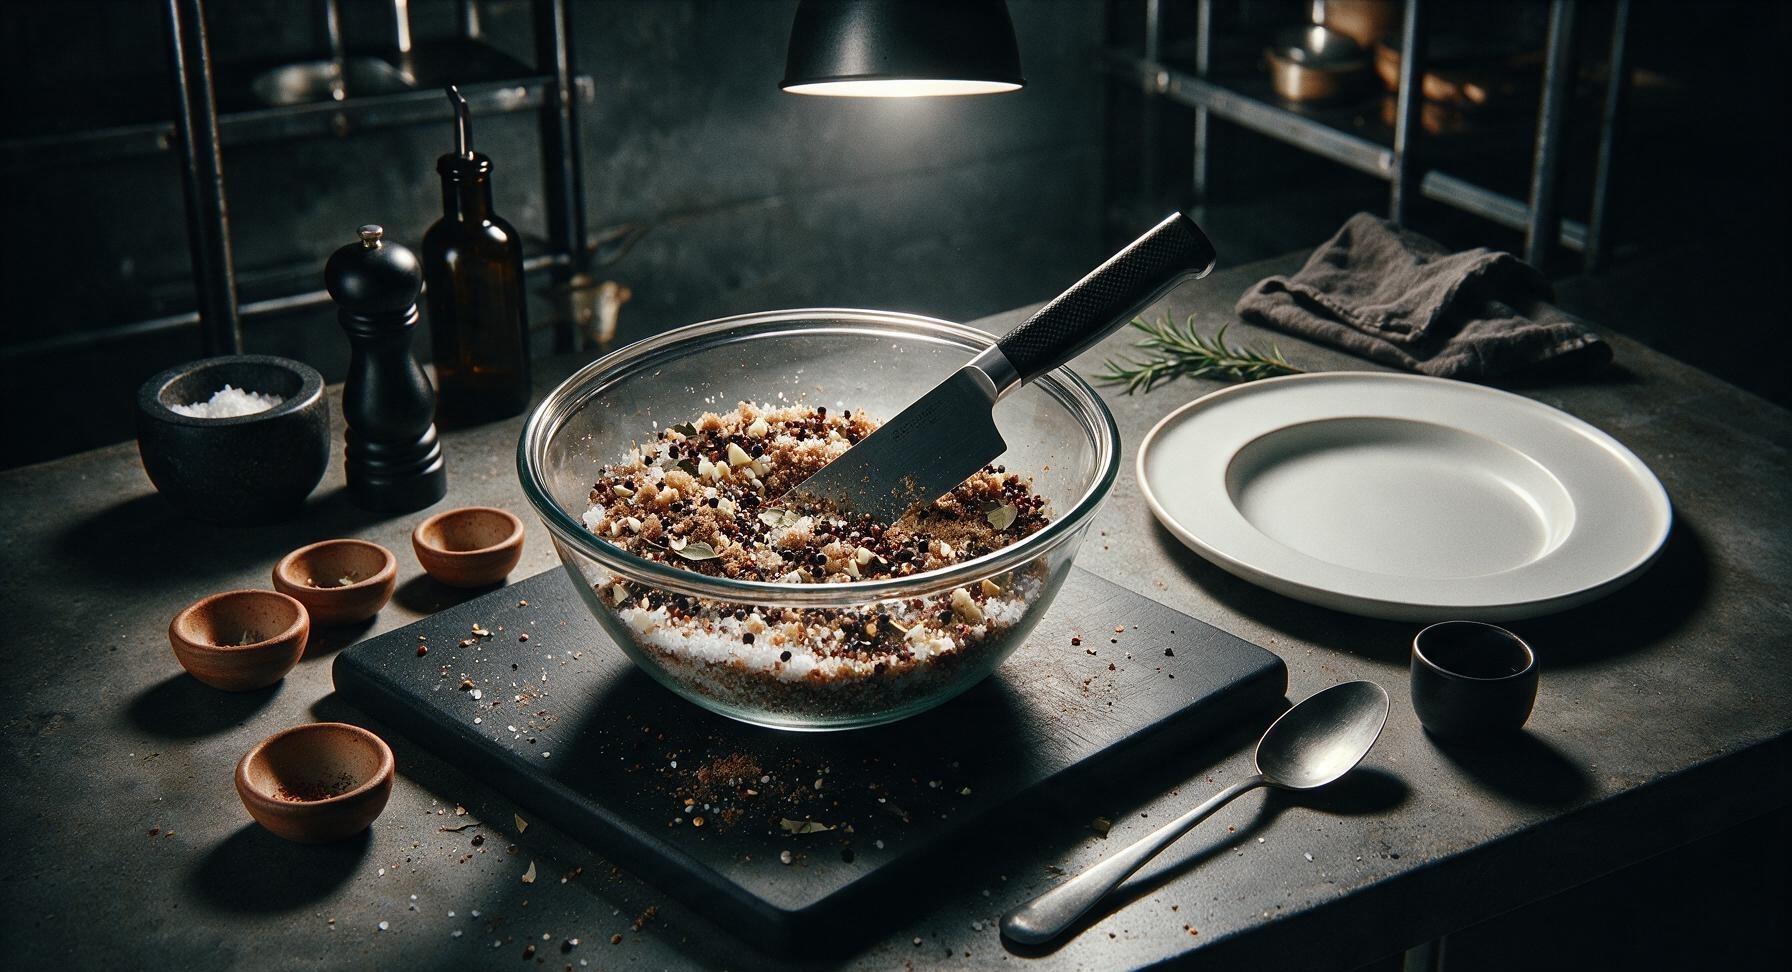
In the clear glass mixing bowl, combine the 60g coarse sea salt, 30g packed dark brown sugar, 1 tbsp crushed black peppercorns, 1 tsp crushed toasted Sichuan peppercorns, 1 tsp five-spice powder, 6 crushed garlic cloves, and 4 crumbled bay leaves. Stir thoroughly with the tip of the chef knife until all ingredients are evenly distributed, with no clumps of brown sugar remaining. The mixture will smell fragrant, warm, and slightly spicy.
Coat with spirit first
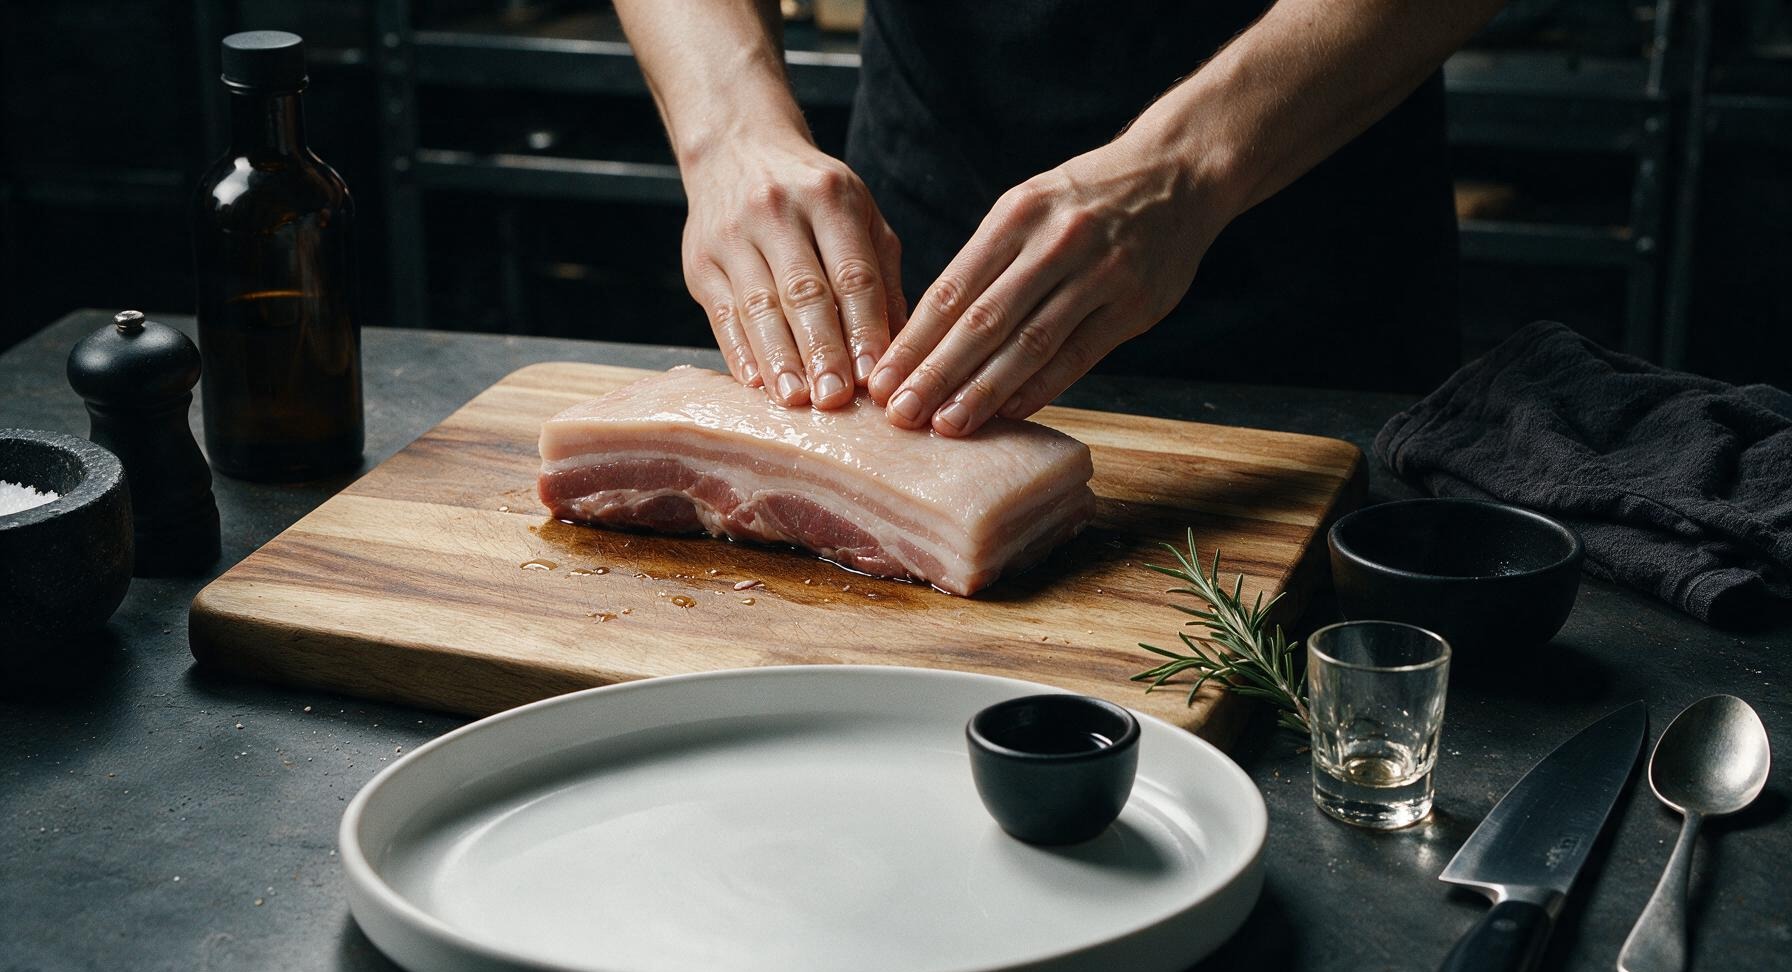
Pour the 2 tbsp of high-proof spirit over all surfaces of the dried pork belly, rubbing it into the skin, fat, and meat sides with clean hands. The alcohol acts as a preservative, kills surface bacteria, and helps the cure adhere evenly to the meat. The entire surface should feel slightly damp, with no pools of liquid pooling on the cutting board.
Rub cure all over
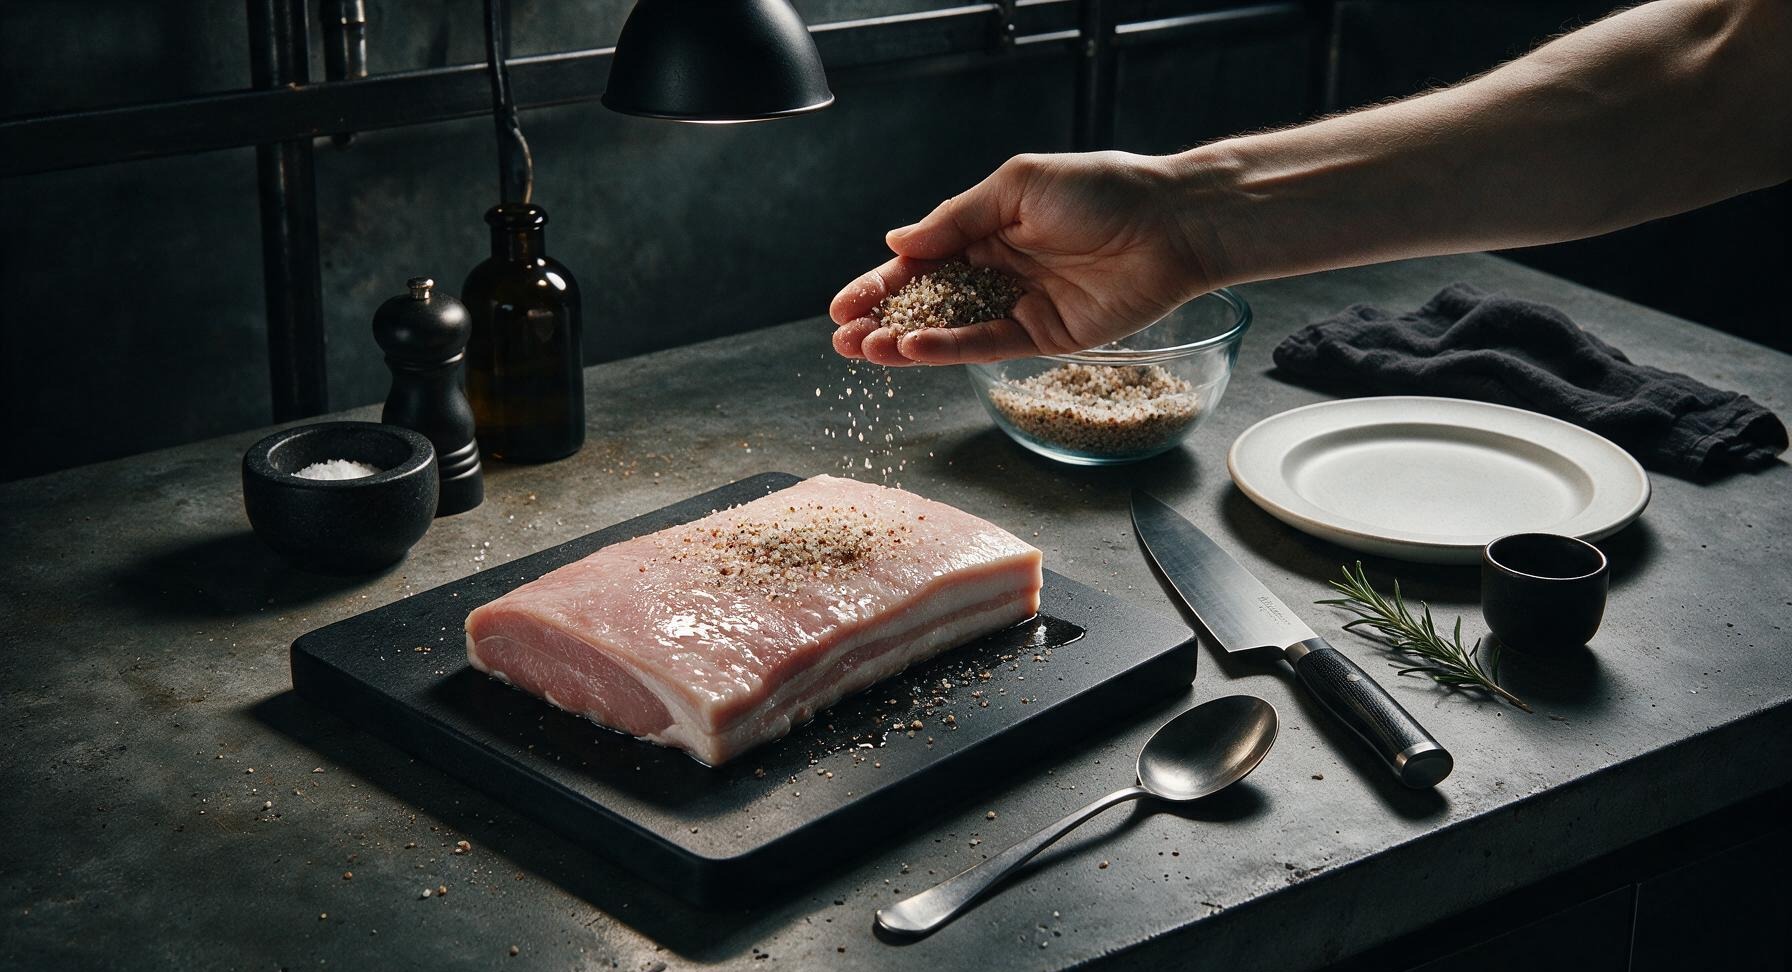
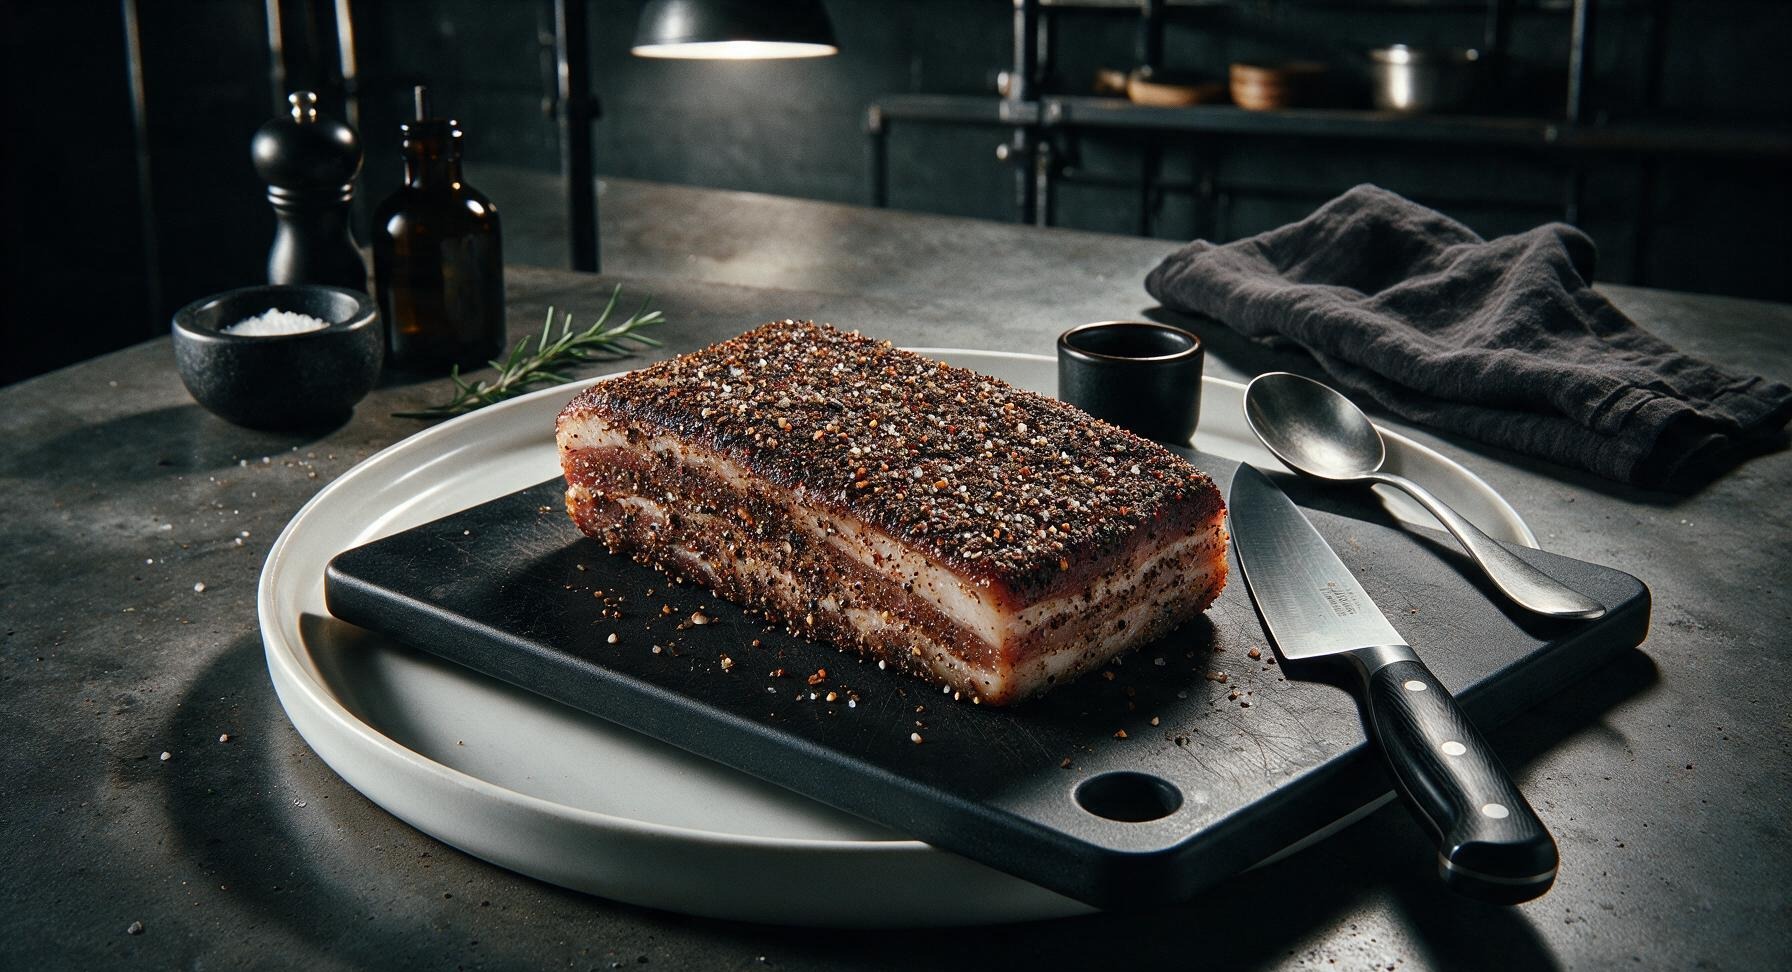
Take half of the mixed cure and rub it firmly into every surface of the pork belly, pressing hard to work the salt, sugar, and spices into the meat, fat, and skin. Pay extra attention to the edges and corners of the slab, which are prone to uneven curing. Once the first half is applied, repeat with the remaining cure, making sure no bare spots of meat remain visible. The entire slab will be coated in a thick, gritty layer of spice and salt.
Cure in refrigerator
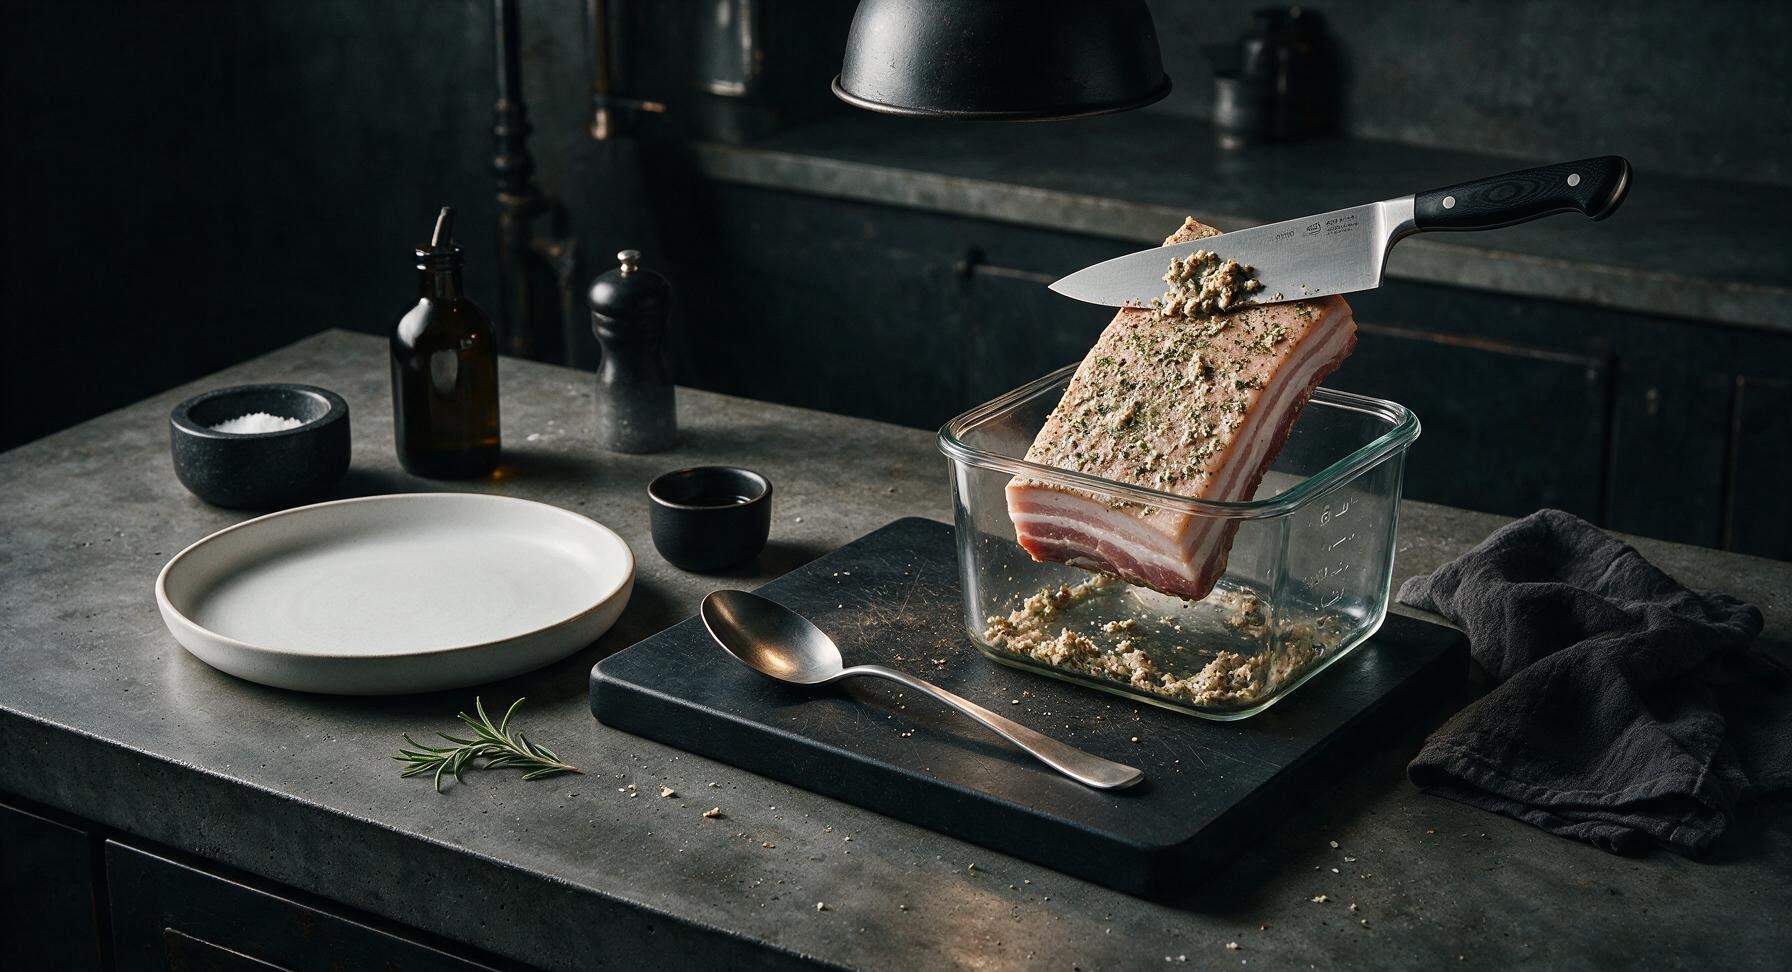
Place the fully coated pork belly in a sealed non-reactive glass or plastic container, skin-side up, and pour any remaining cure from the bowl over the top. Seal the container tightly and place it in the refrigerator for 7 full days, flipping the pork belly once every 24 hours. Each day, you will notice small amounts of brine pooling at the bottom of the container as the salt draws moisture out of the meat; this is normal. After 7 days, the meat will feel firm to the touch, with no soft squishy spots remaining.
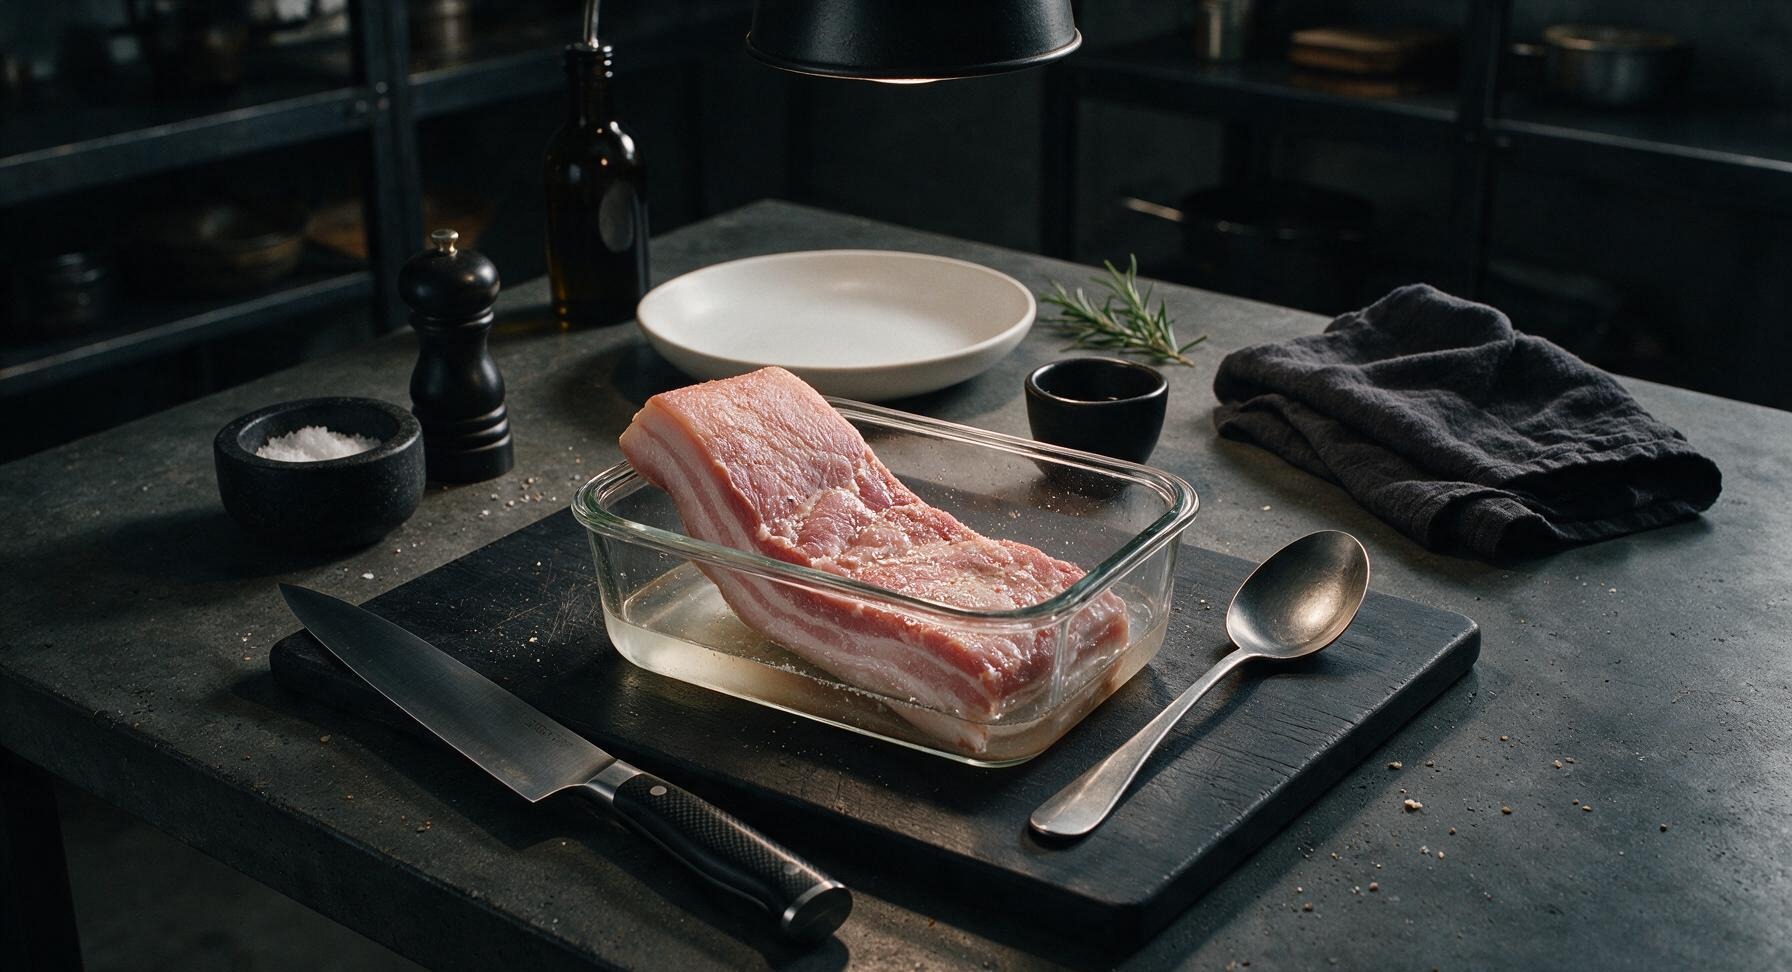
Rinse off cure residue
After 7 days of curing, remove the pork belly from the container and rinse all surface cure, garlic, and spice residue off completely under cold running water. Pat the slab completely dry on all sides with the linen towel until no moisture remains on the surface. The meat will be a deep, uniform pink color, with a firm, dense texture.
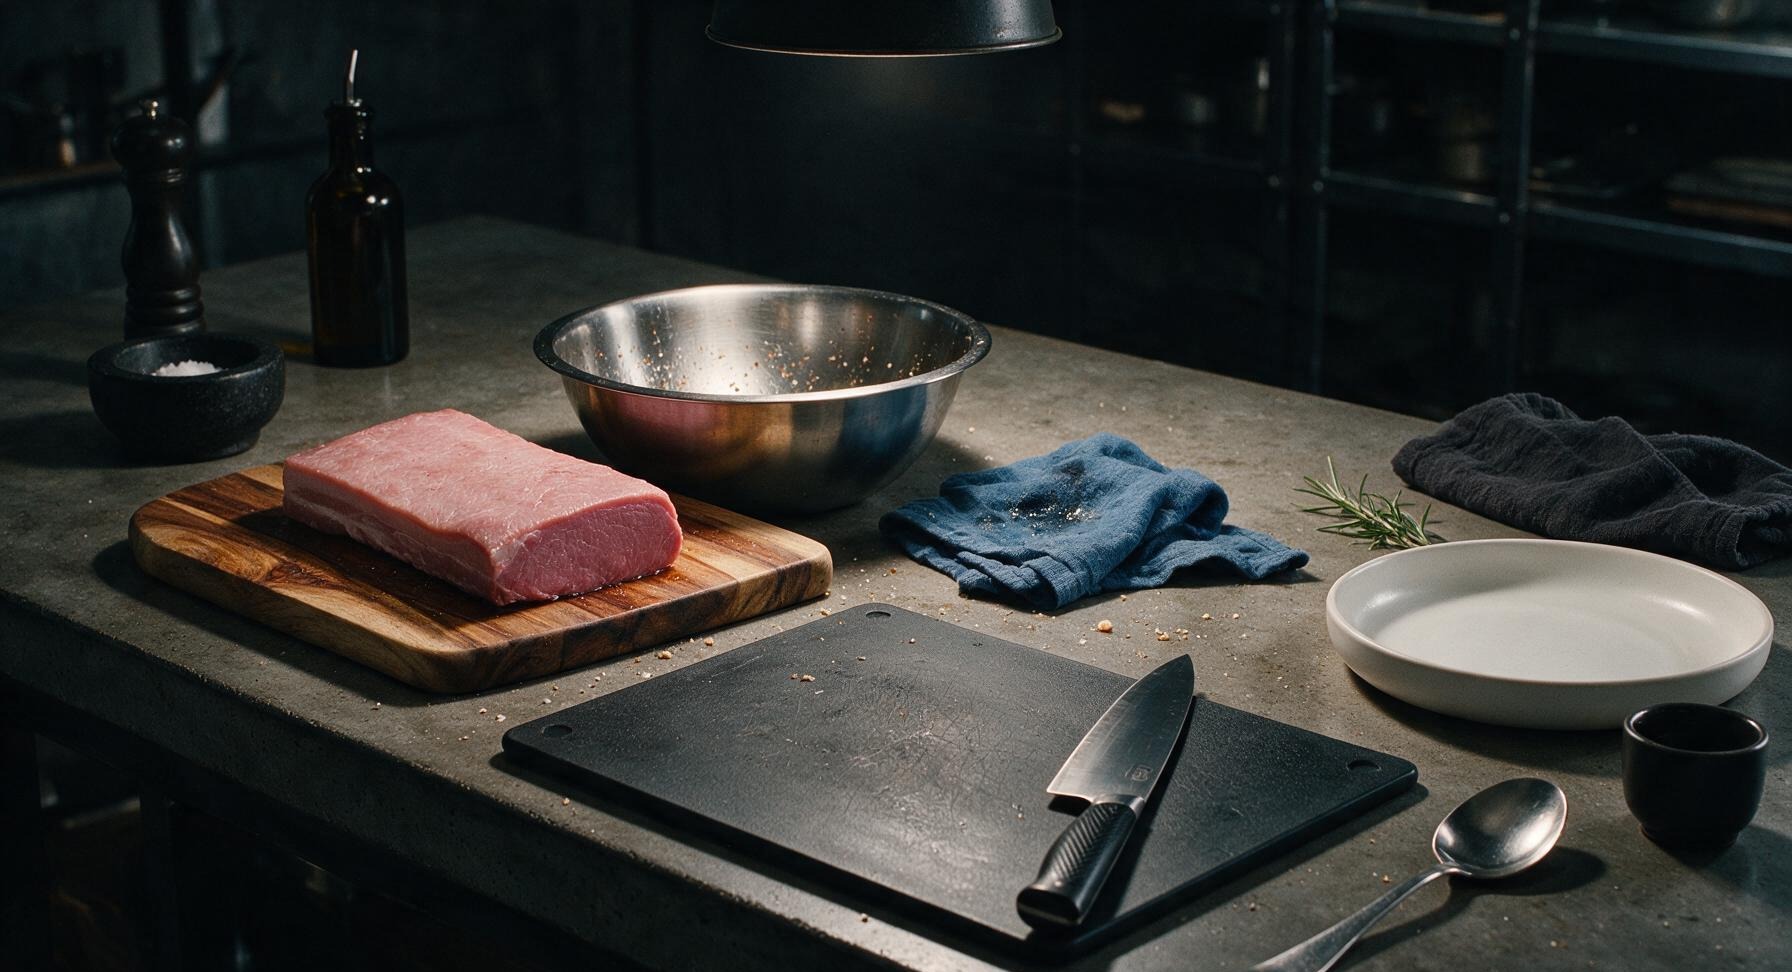
Tie for air drying
Cut a 40cm length of butcher's twine from the spool, and tie it tightly around one end of the pork belly slab, leaving a 10cm loop for hanging. Hang the pork belly in a cool, dry, well-ventilated area (3-7°C / 37-45°F, 60-70% humidity) for 3 full days, until the surface is completely dry to the touch and slightly tacky, with a faint darkened color. A spare refrigerator, unheated garage, or cold porch works perfectly for this step.
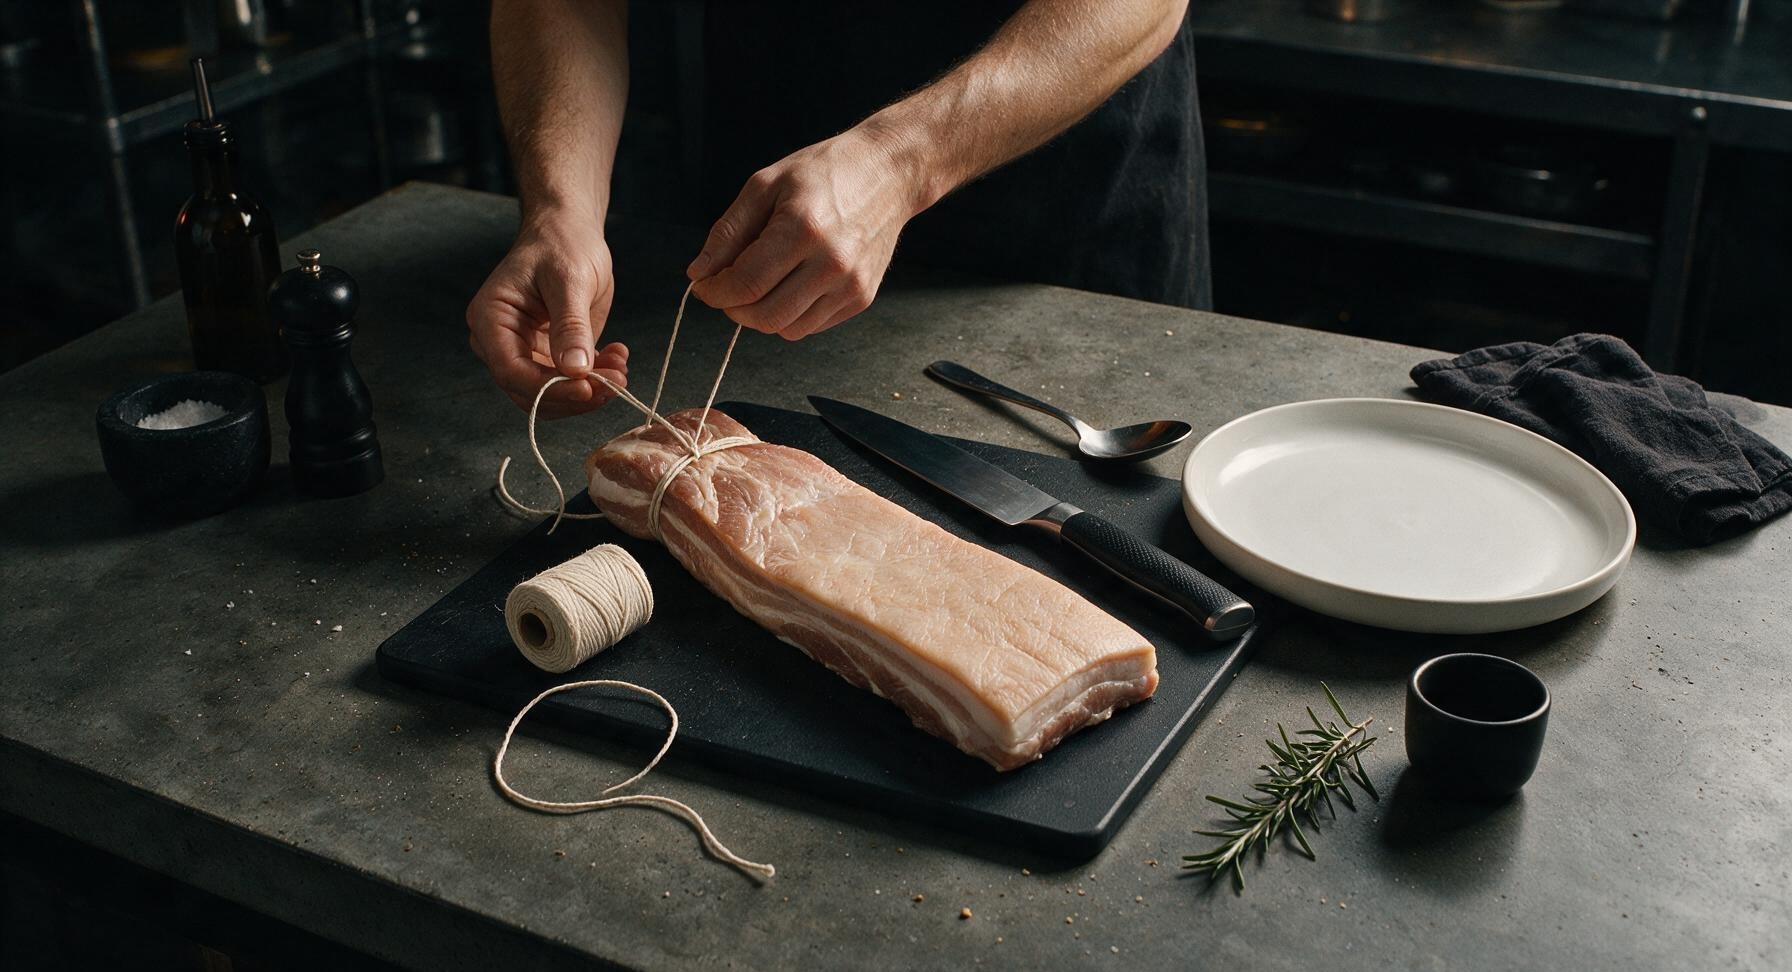
Slow roast until tender
After 3 days of air drying, preheat your oven to 160°C / 320°F. Place the pork belly on the stainless steel roasting rack set inside the stainless steel roasting pan, skin-side up. Roast for 1 hour 20 minutes, until the internal temperature reaches 71°C / 160°F, the skin is deep golden and slightly crisp, and the fat is fully rendered. Remove from the oven and let rest for 20 minutes before slicing.
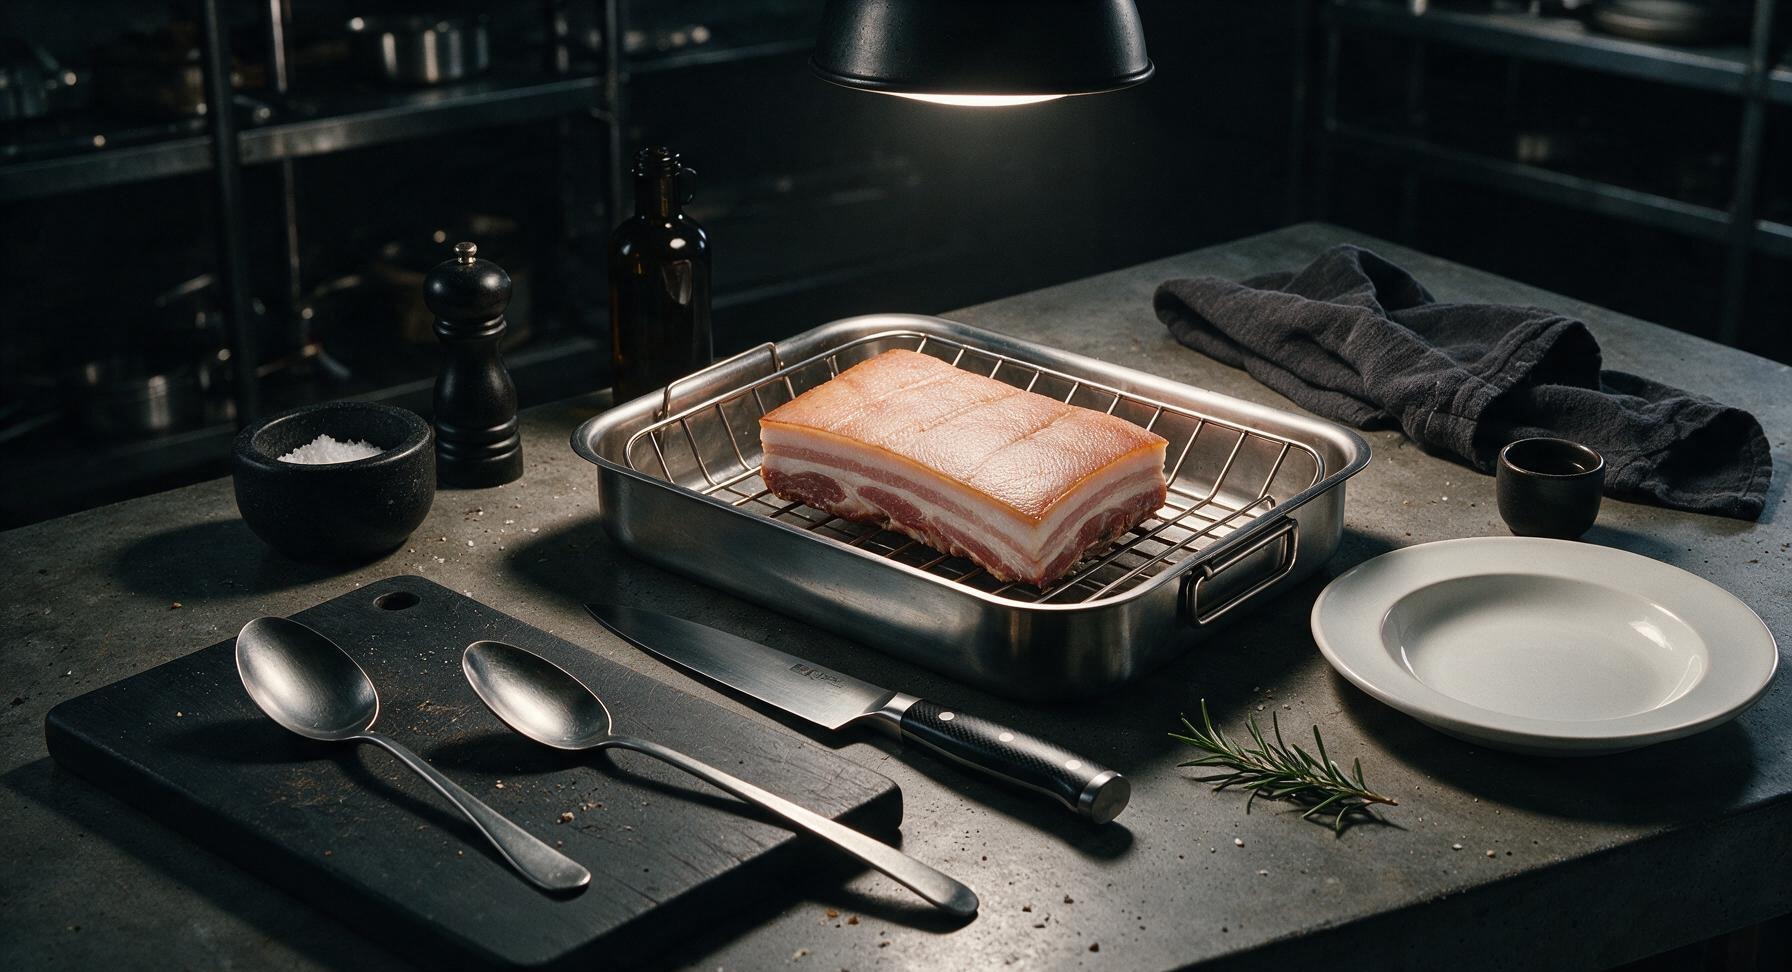
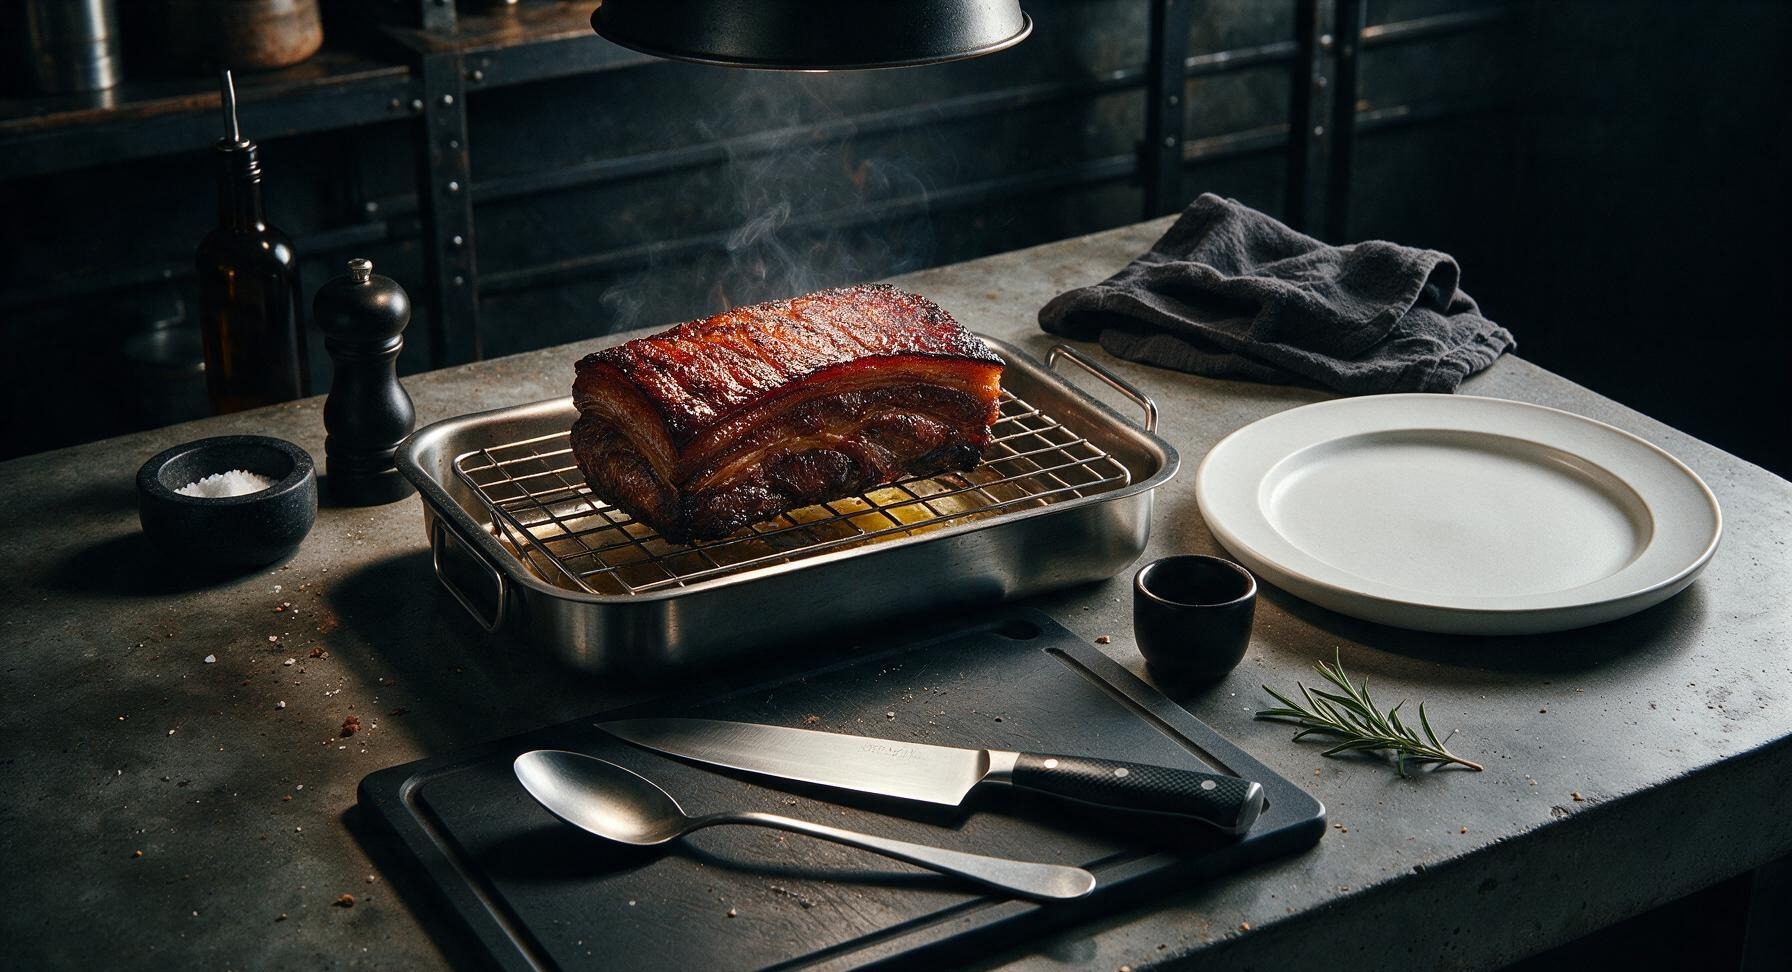
Slice thin and serve
Transfer the rested roasted cured pork belly to the matte off-white stoneware platter. Use the chef knife to slice the meat against the grain into 3mm thick slices, fanning them out across the platter. Garnish with a few reserved dried bay leaves, and serve warm, or let cool completely and store wrapped in parchment in the refrigerator for up to 3 weeks for use in stir-fries, stews, or sandwiches.
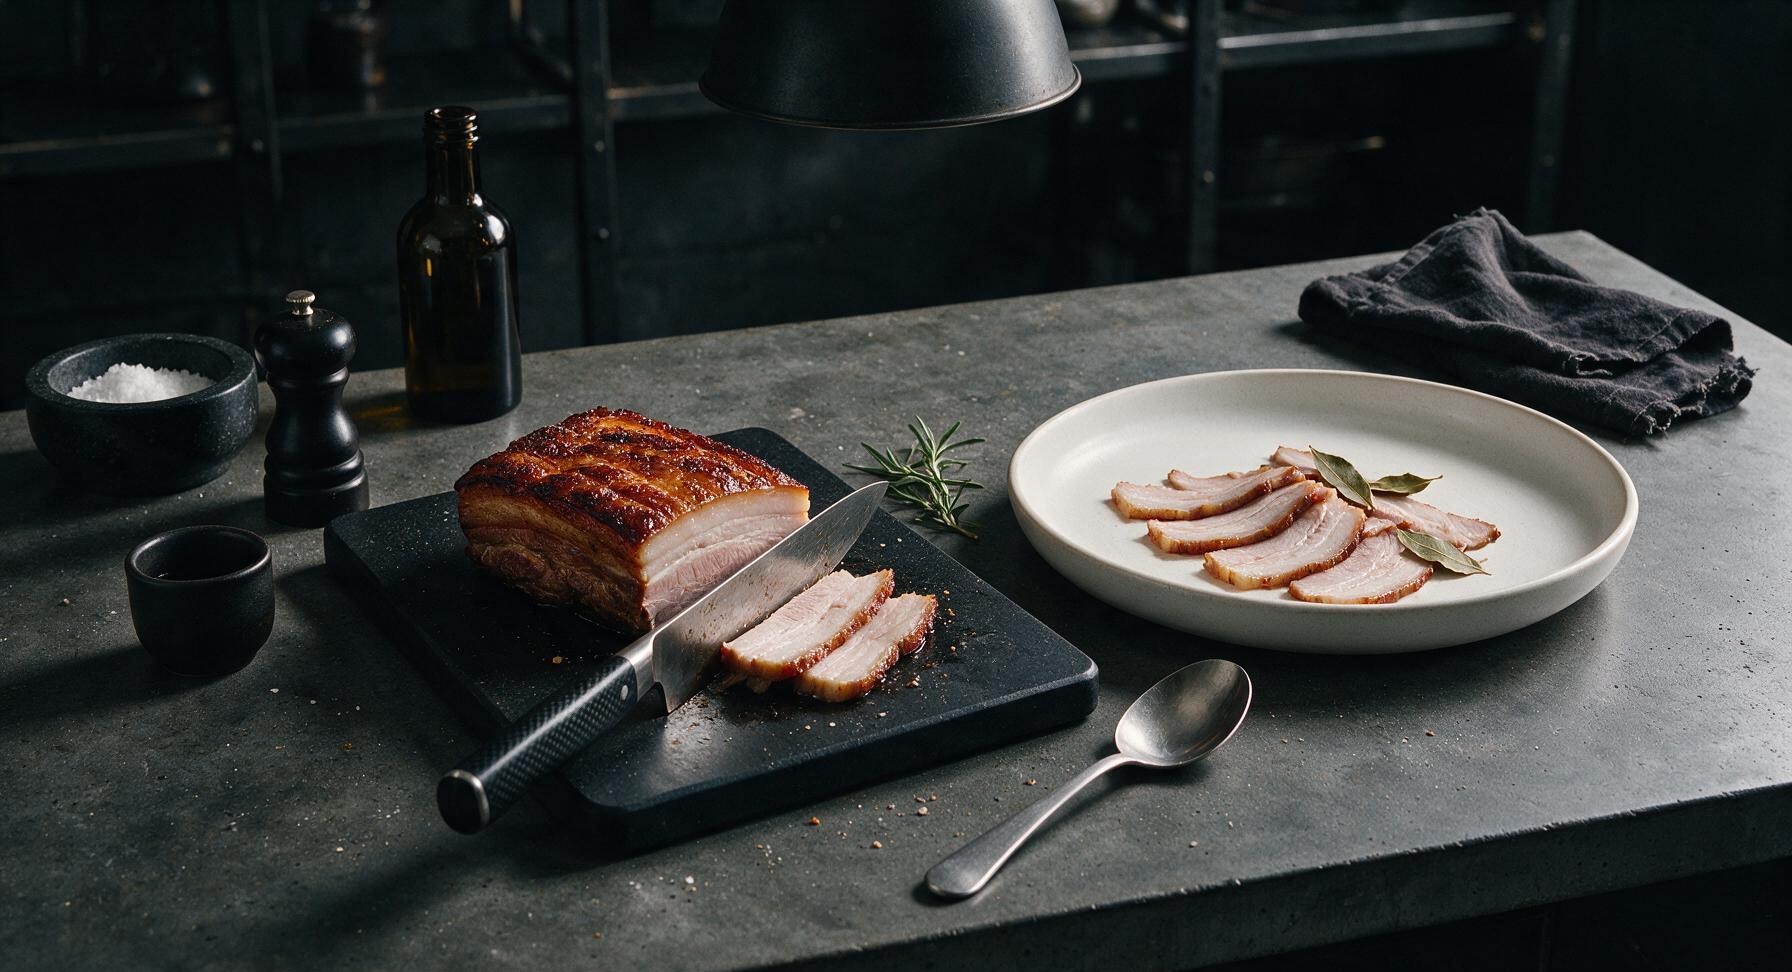
Tips
2.Maintain consistent temperatures between 3-7°C / 37-45°F during both the refrigerator cure and air-dry stages: temperatures above 7°C will cause the pork fat to turn rancid, while freezing temperatures will halt salt penetration and lead to uneven, bland curing.
3.Pat the pork completely dry before hanging to air dry: any remaining surface moisture will encourage unwanted mold growth. If small, harmless white mold spots appear during drying, simply wipe them away with a clean cloth dipped in extra high-proof spirit.






OMG, I made this for our Labor Day potluck and people were literally begging me for the recipe! The 10 day wait was so worth it—salty, rich, perfect crispy edges when I seared slices up for sliders. 10/10, game changer for my charcuterie board spreads too. Only thing I was worried about was the curing temp in my Arizona garage, but I kept a small fan on it and it turned out perfect!
Tried this last weekend, followed the measurements exactly but my end result was way too salty? Did I mess up the rinse step? I only rinsed it for like 30 seconds after pulling it out of the cure, oops. Flavor was great otherwise, can’t wait to try again now that I know what I did wrong.
SO good! I sliced a bunch of this up after curing, froze individual portions, and now I have quick add-ins for fried rice, ramen, and breakfast hash all month long. Way cheaper than buying pre-cured pork belly from the specialty market, too. Will absolutely be making this on repeat.
Wait a second—do I need any special equipment for this? I don’t have a curing chamber or anything fancy, just a regular fridge and a wire rack. Don’t want to drop a bunch of money on supplies if I don’t have to!
Just pulled my first batch out of the cure today to start the air dry step! It’s already smelling so good, can’t wait 10 whole days to cook it. Planning to make candied bacon bits out of half of it for salad toppings.
First time ever curing any kind of meat at home and this recipe was so easy to follow! I was intimidated at first but the step-by-step instructions made it totally foolproof. Crisped up a few slices for breakfast this morning and my roommate said it’s better than any restaurant bacon we’ve had. Win!
Has anyone tried adding extra seasonings to the cure? I was thinking a little smoked paprika and black pepper, maybe some red pepper flakes for a kick? Don’t want to mess up the cure ratio though.
Made this for our weekly Sunday family dinner, sliced it thick, seared it, and served it with collard greens and cornbread. My 82 year old grandpa said it tasted exactly like the cured pork his dad used to make on the farm when he was a kid. I almost cried, y’all. Absolute keeper recipe.
Vacuum sealed a few chunks of this to take on our backcountry camping trip next month. It’s shelf stable after curing right? No need to keep it cold as long as it’s kept dry? Perfect lightweight, high calorie trail food that tastes way better than those weird energy bars.
Quick heads up for anyone in a small apartment like me—your fridge WILL smell like cured pork for the full 10 days. It’s not a bad smell, just don’t be surprised when your roommate asks why the whole place smells like a deli. Worth it, though.
Wait, I noticed a little bit of white mold on the edge of my pork belly on day 7 of air drying. Is that normal? I panicked and cut that chunk off, tossed it, and kept going, but was I supposed to throw the whole thing out?
This is perfect for my low carb/keto meal plan! Zero added sugar if you skip the optional brown sugar in the cure, high fat, so much flavor. I’ve been eating a couple slices with eggs every morning and it keeps me full for hours. Obsessed.
Cooked slices of this on the grill at our tailgate last weekend and it was a total hit. People were putting it on burgers, eating it straight off the grill, even crumbling it on top of their nachos. So much better than regular store-bought bacon for cookouts. Already planning my next batch to make before the next home game.
Wait, the cook time says 1 hour 20 minutes plus 10 days curing—does that mean I have to cook it for an hour and 20 minutes after it’s done curing? I thought I just had to slice it and sear it for a minute or two? Confused!
Y’all, I messed up and left the pork in the dry cure for 12 days instead of 7 before I realized. Is it going to be too salty to eat? I don’t want to waste 5 pounds of good pork belly if I can save it!
I added a couple slices of this to my homemade tonkotsu ramen last night and it was better than any ramen I’ve gotten at a restaurant downtown. The rich, salty pork flavor cut right through the creamy broth, chef’s kiss. 10/10.
Starting a batch today so it’s done right in time for our Christmas family dinner! Planning to serve it cubed and crispy as an appetizer with a little honey mustard dip. Fingers crossed it turns out as good as everyone says!
Did the math, and making this at home costs me less than half of what the fancy butcher charges for pre-cured pork belly. The flavor is way better too, since I can adjust the seasonings exactly how I like them. Total win for my monthly grocery budget.
Just finished my third batch of this in 3 months! I’ve given chunks away to neighbors, coworkers, and my kid’s teacher, and everyone keeps asking when I’m making more. Who knew homemade cured pork belly would make me the most popular person on my block? 😂