
skinless chicken thigh
intro
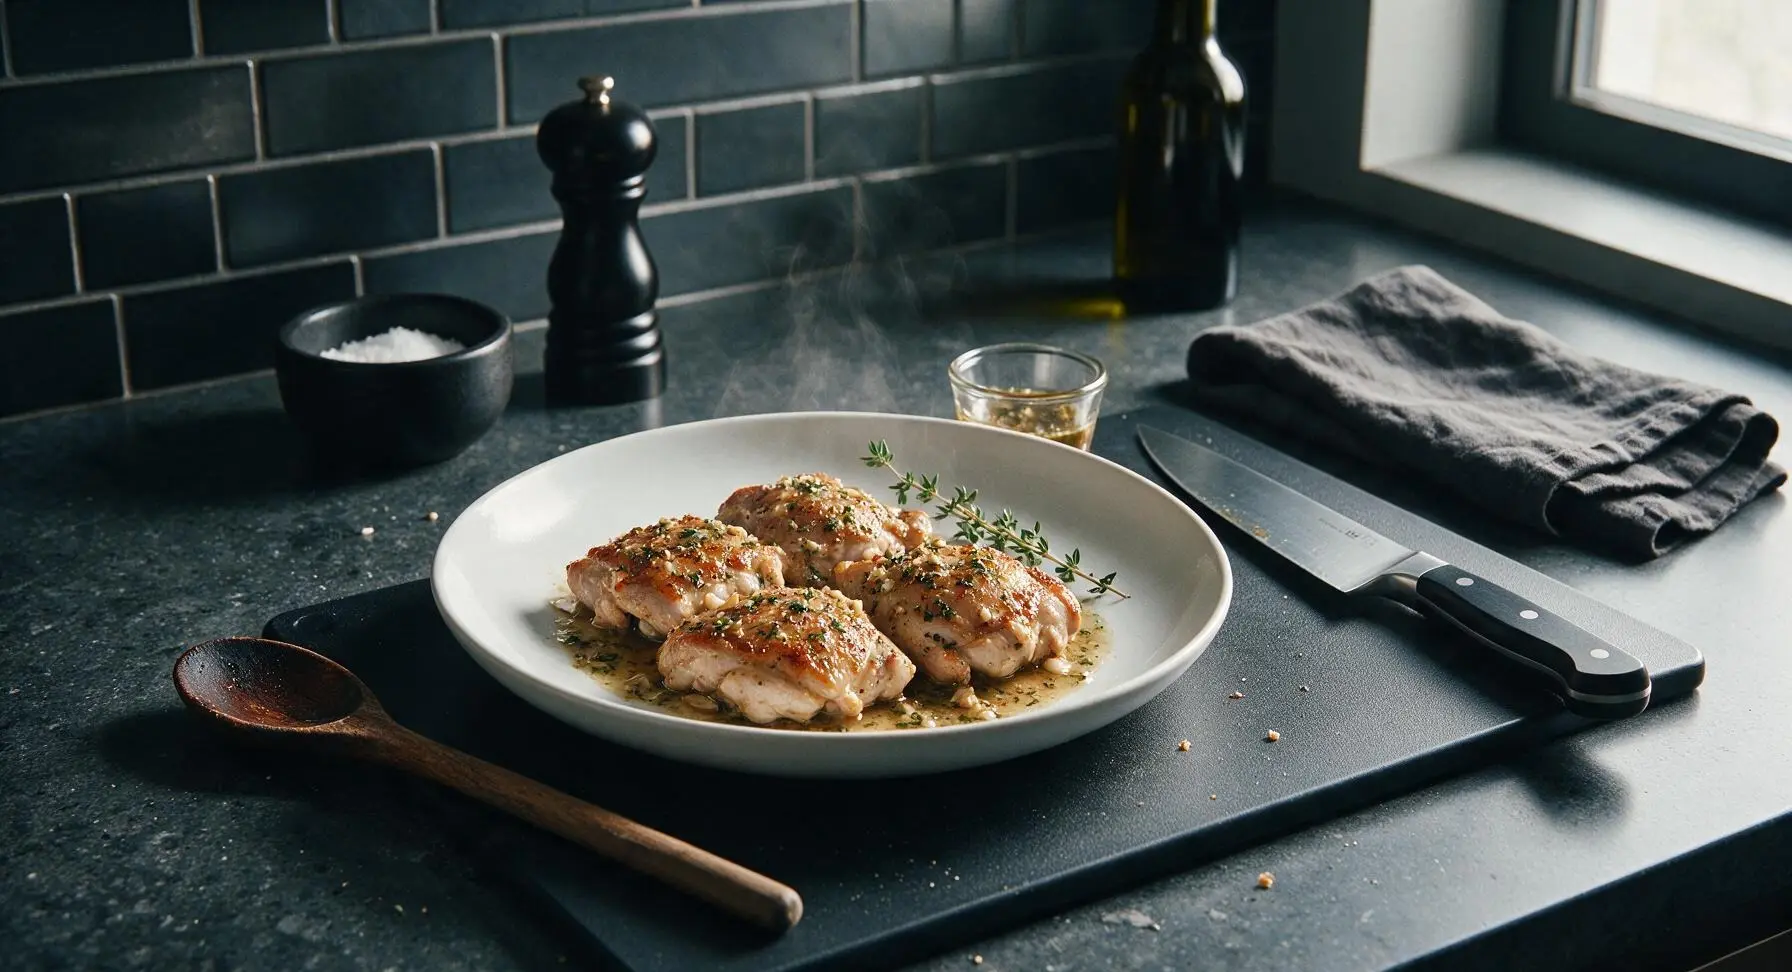
Juicy, tender pan-seared skinless chicken thighs coated in fragrant garlic-herb pan sauce, ready in 30 minutes for a satisfying, no-fuss cozy weeknight meal.
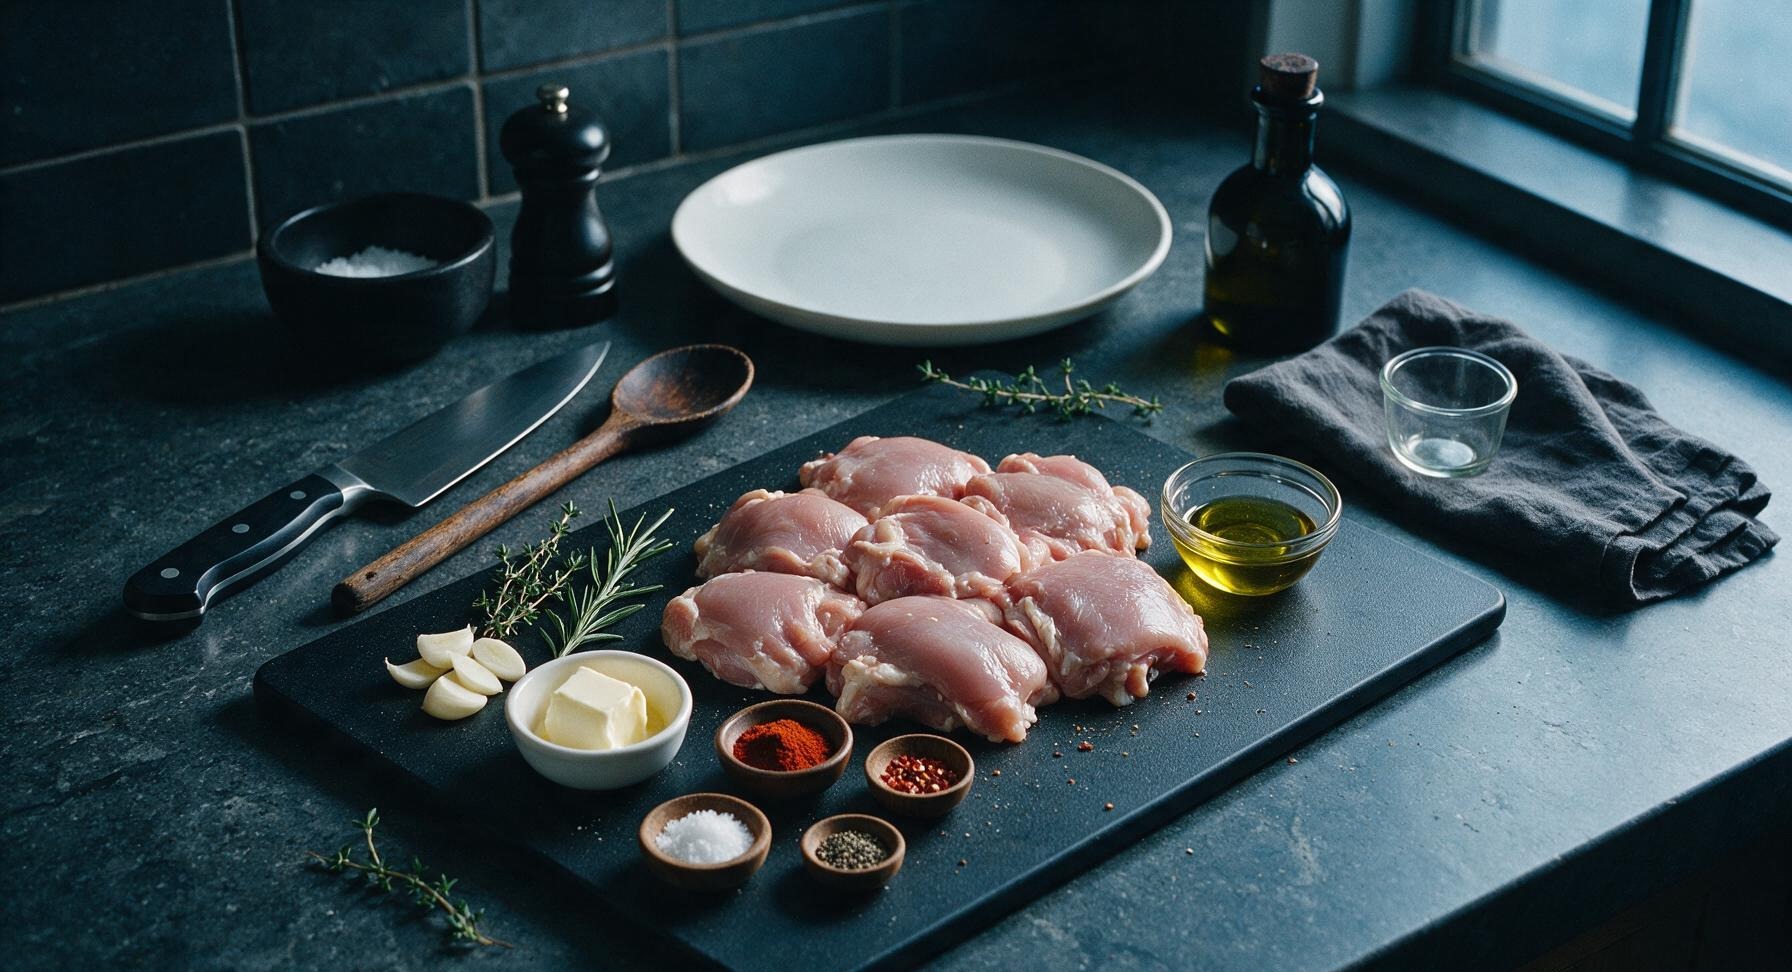
Ingredients
Steps
Prep Chicken Thighs
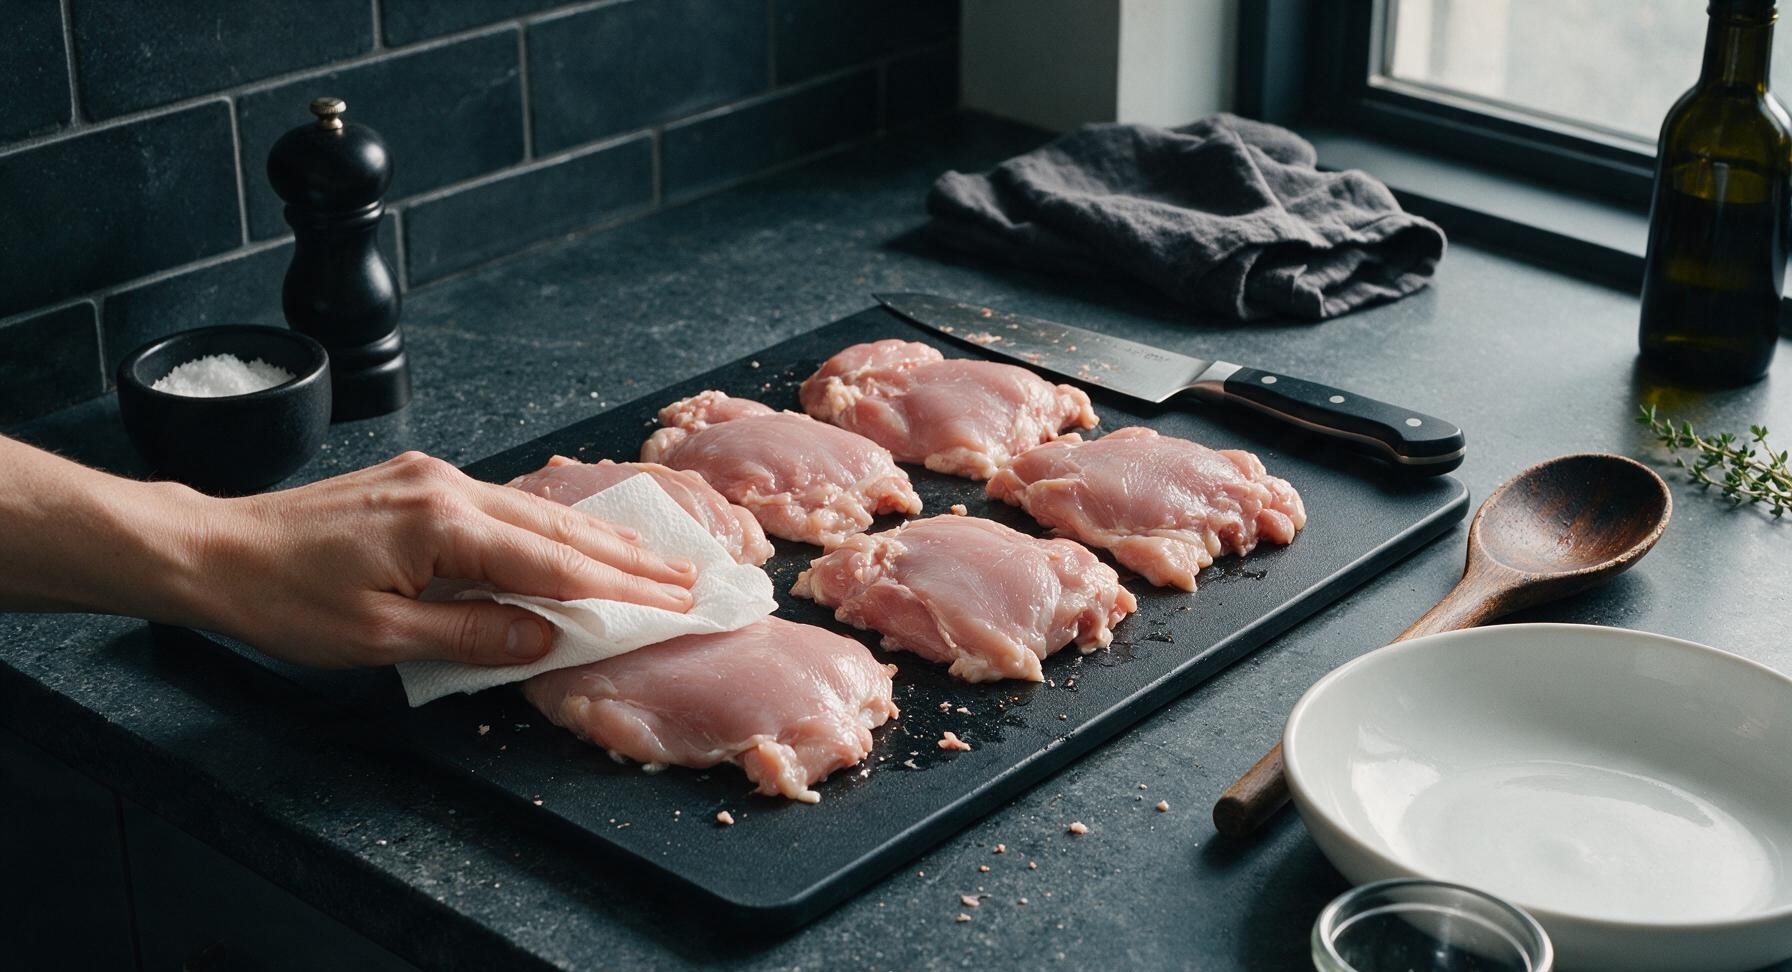
Place the 6 raw boneless skinless chicken thighs on the black resin cutting board. Use the 8-inch chef knife to trim any visible excess fat or loose connective tissue from the edges of each thigh. Pat every surface of the chicken completely dry with paper towels (discard used towels off-frame) — a fully dry surface is critical for a good sear. Season all sides evenly with 1 teaspoon kosher salt and ½ teaspoon freshly ground black pepper, pressing the seasoning gently to adhere to the meat.
Preheat Cooking Skillet
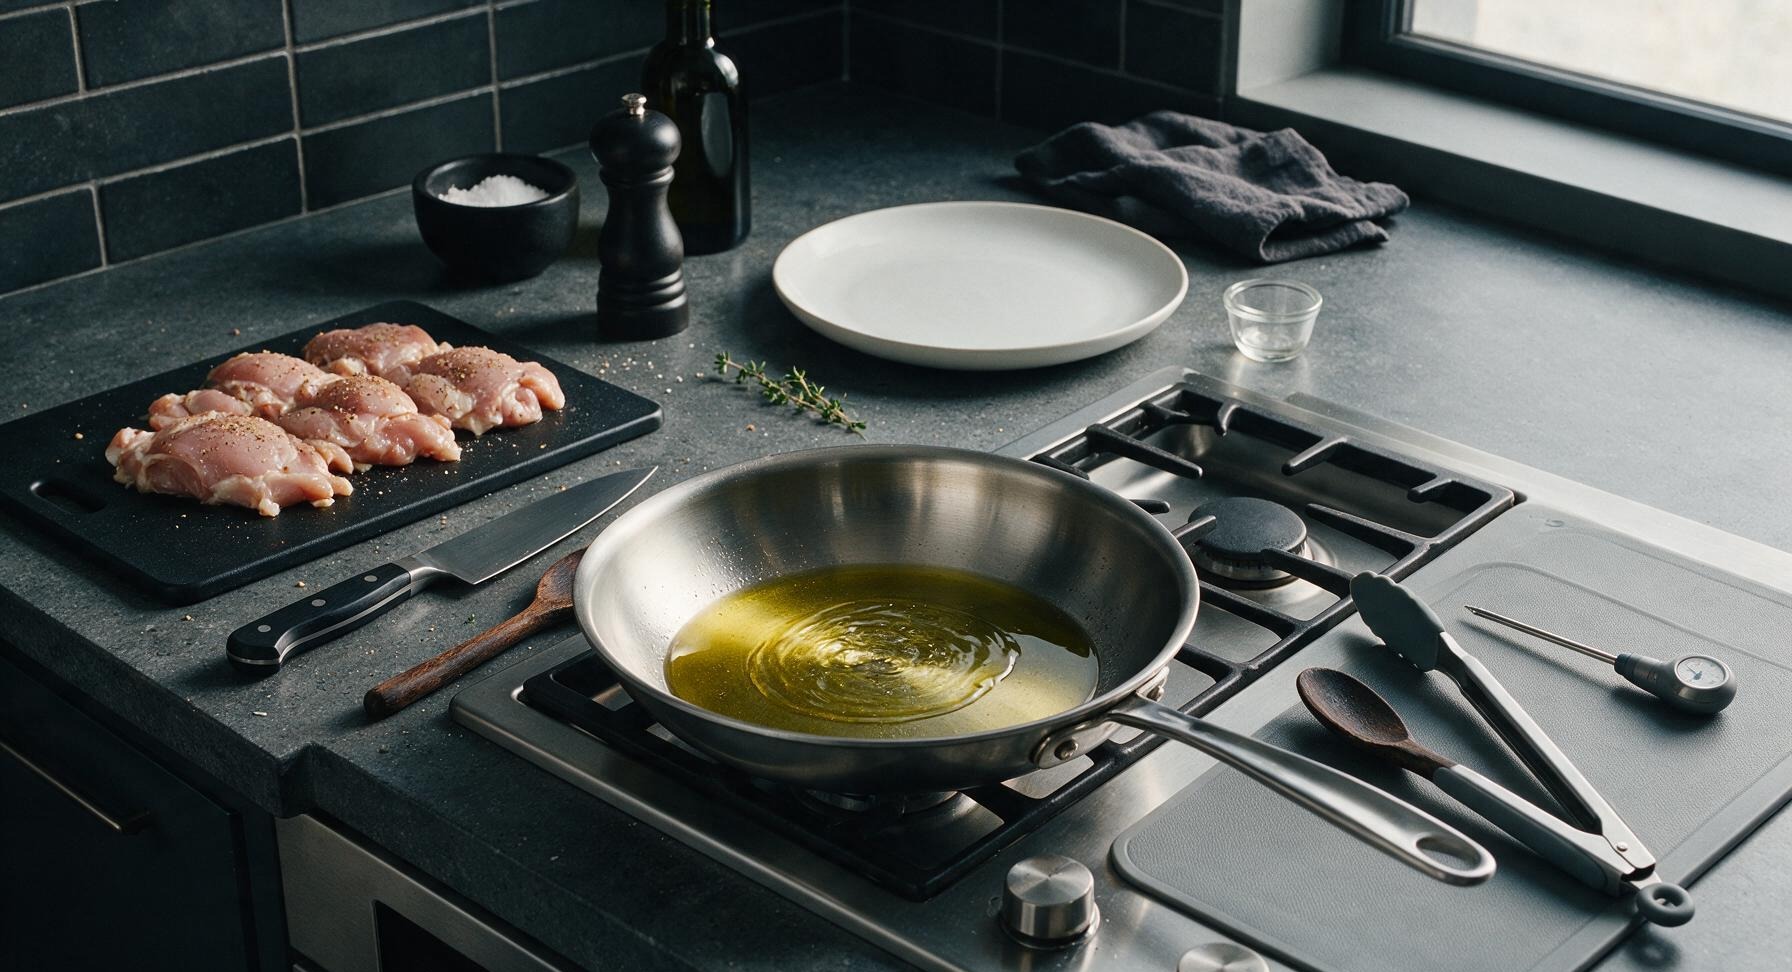
Place the 28cm stainless steel skillet on the front-left stovetop burner. Turn heat to medium-high, add 1 tablespoon extra virgin olive oil, and heat for 2-3 minutes until the oil shimmers and just begins to send up thin wispy trails of smoke. Do not let the oil burn or turn dark.
Sear First Chicken Side
Working in two batches of 3 thighs each to avoid crowding the pan (crowding causes steaming instead of searing), use the silicone-tipped tongs to place half the chicken thighs in the hot skillet smooth-side down. Do not move the chicken for 6 minutes, until the bottom develops a deep golden-brown, slightly crisp crust. Adjust heat to medium if the oil starts to smoke excessively.
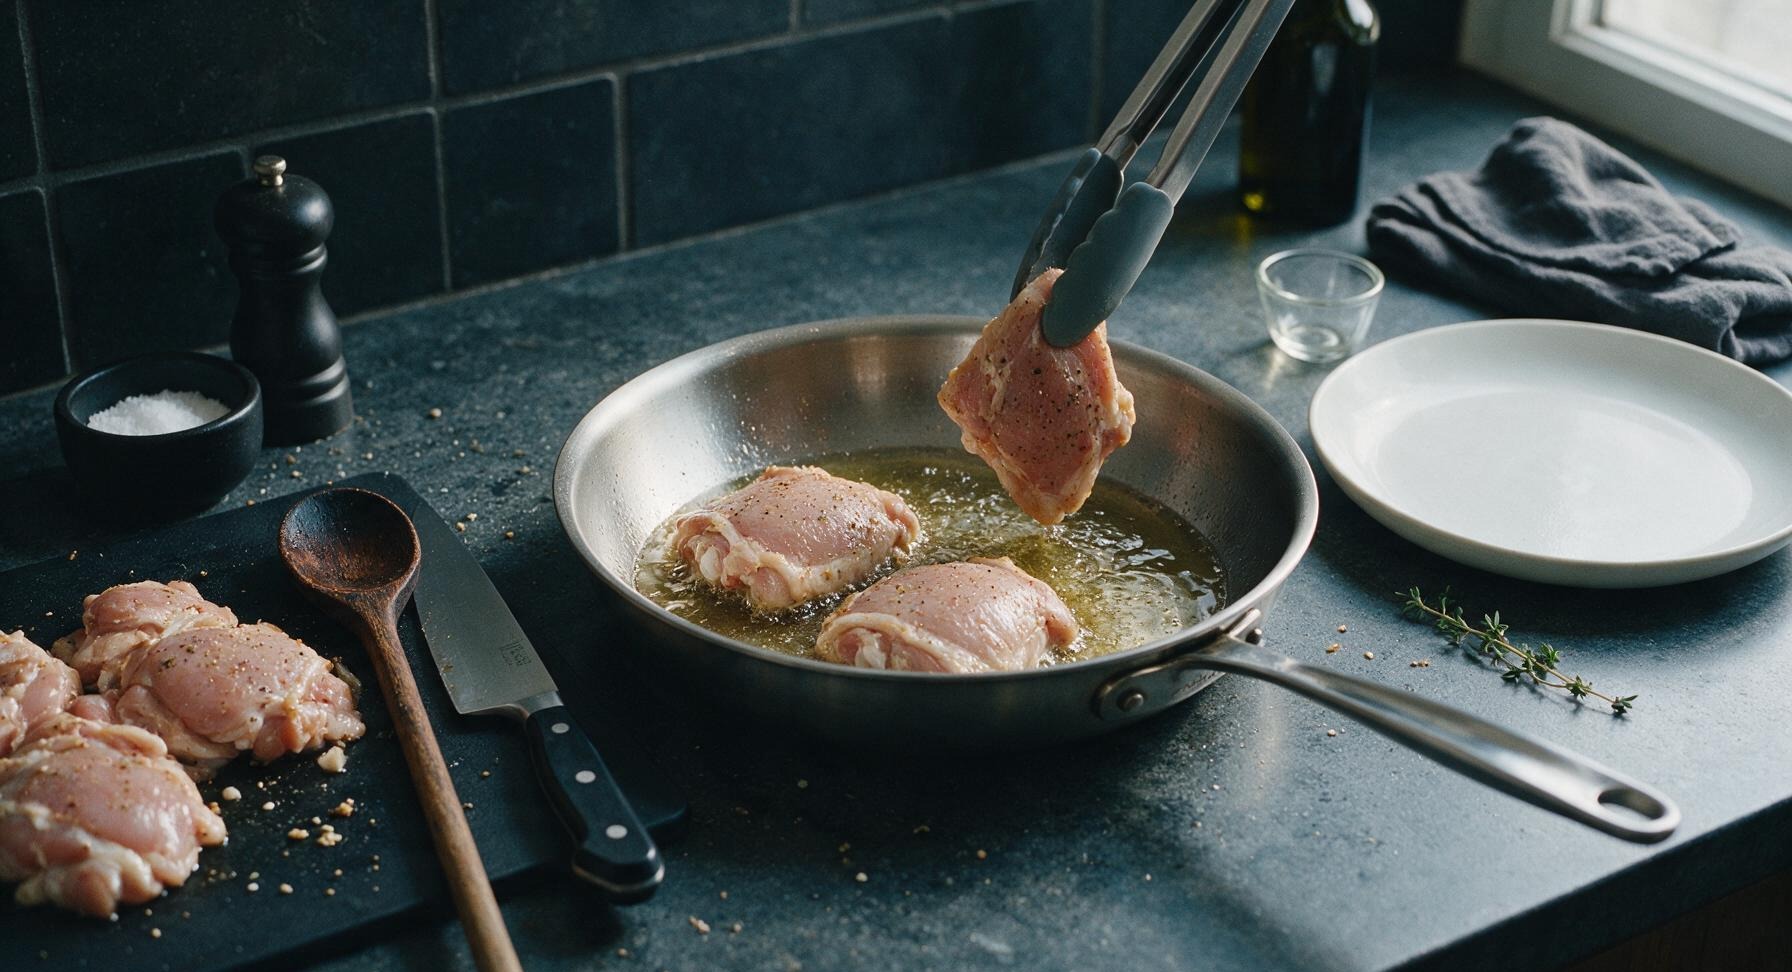
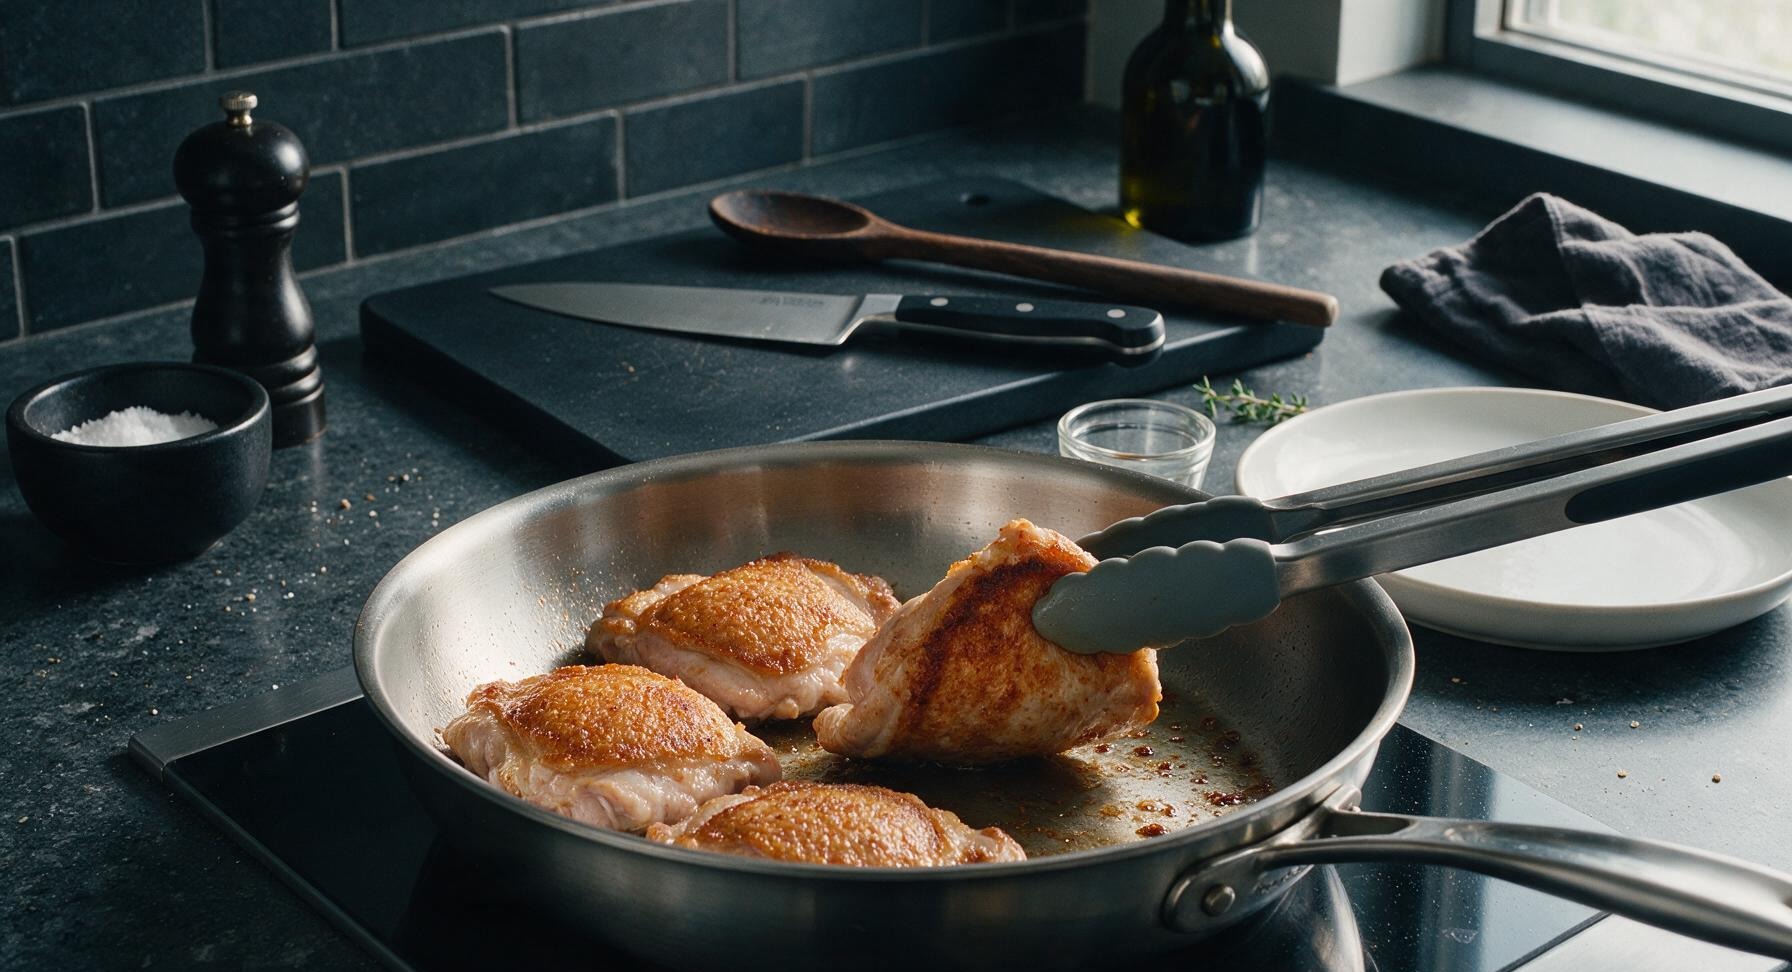
Flip and Sear Second Side
Use the silicone-tipped tongs to flip all chicken thighs to the second, smoother side. Sear for an additional 4-5 minutes per batch, until the second side develops a light golden crust and the chicken reaches an internal temperature of 160°F (71°C) when checked with the instant-read thermometer (temperature will rise 5°F during resting, so pulling early prevents overcooking). Transfer seared chicken to a clean matte cream white stoneware plate, set aside loosely tented with a small piece of aluminum foil (kept off-frame) while you prepare the pan sauce. After the second batch is seared and transferred to the plate, move the black resin cutting board and chef knife to under-counter storage, as prep is complete.
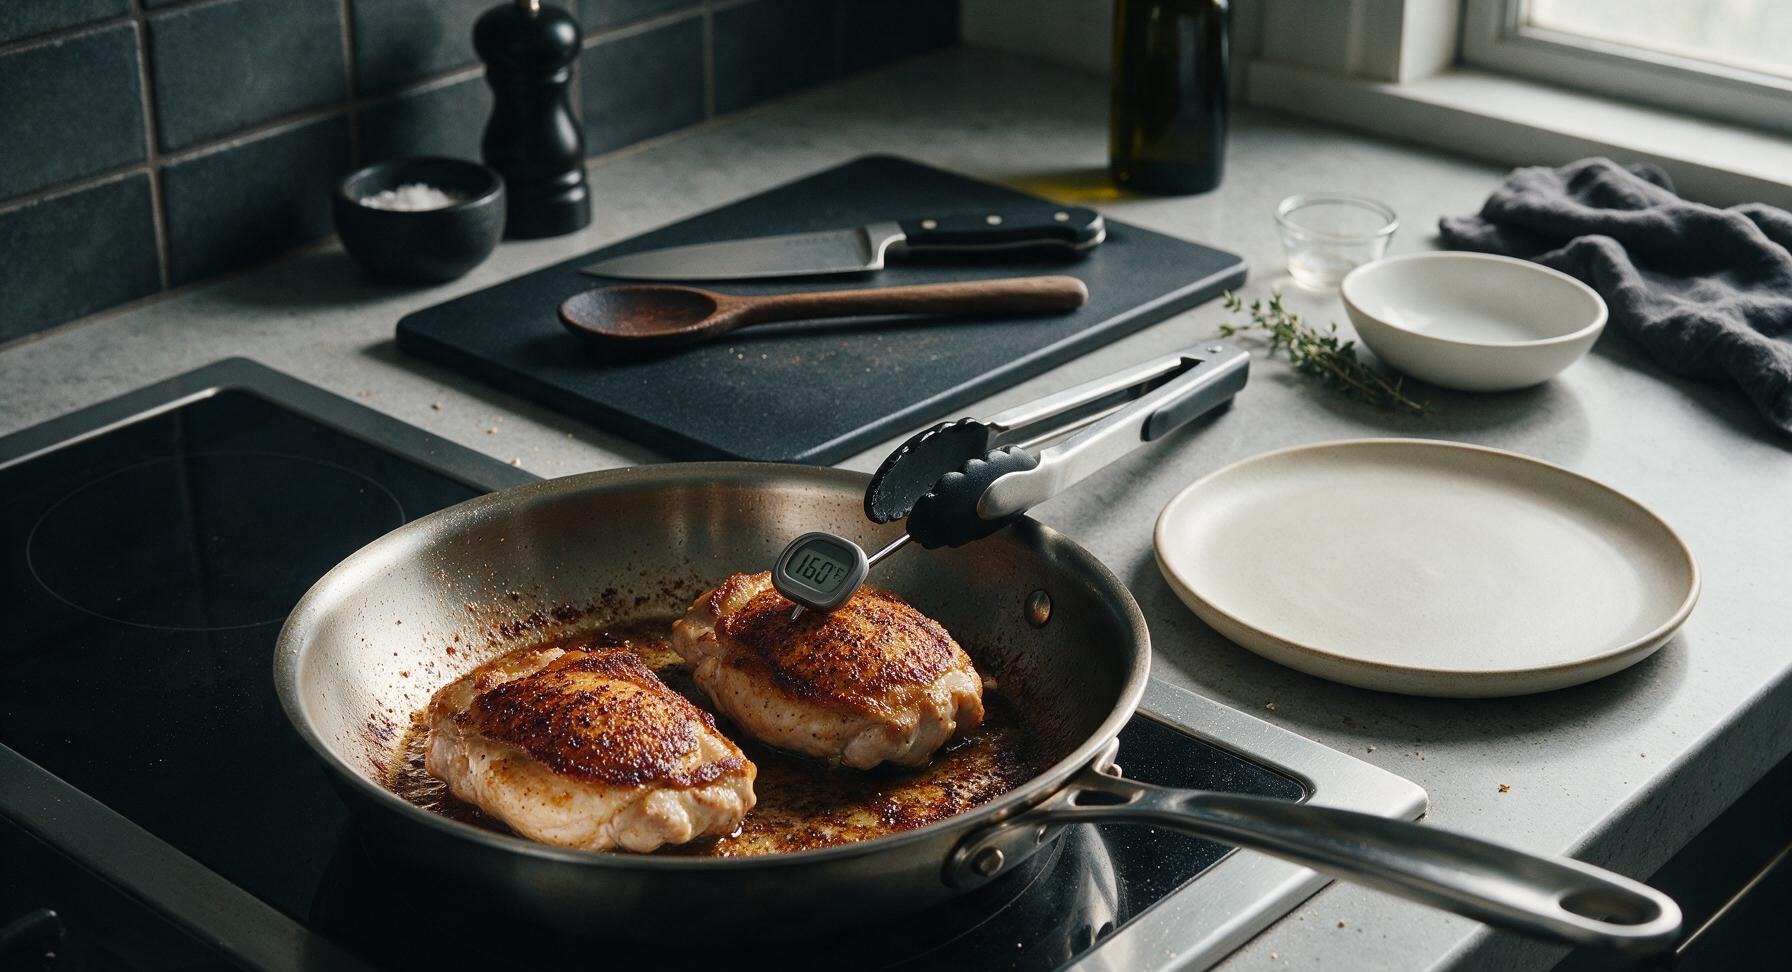
Make Garlic Herb Sauce
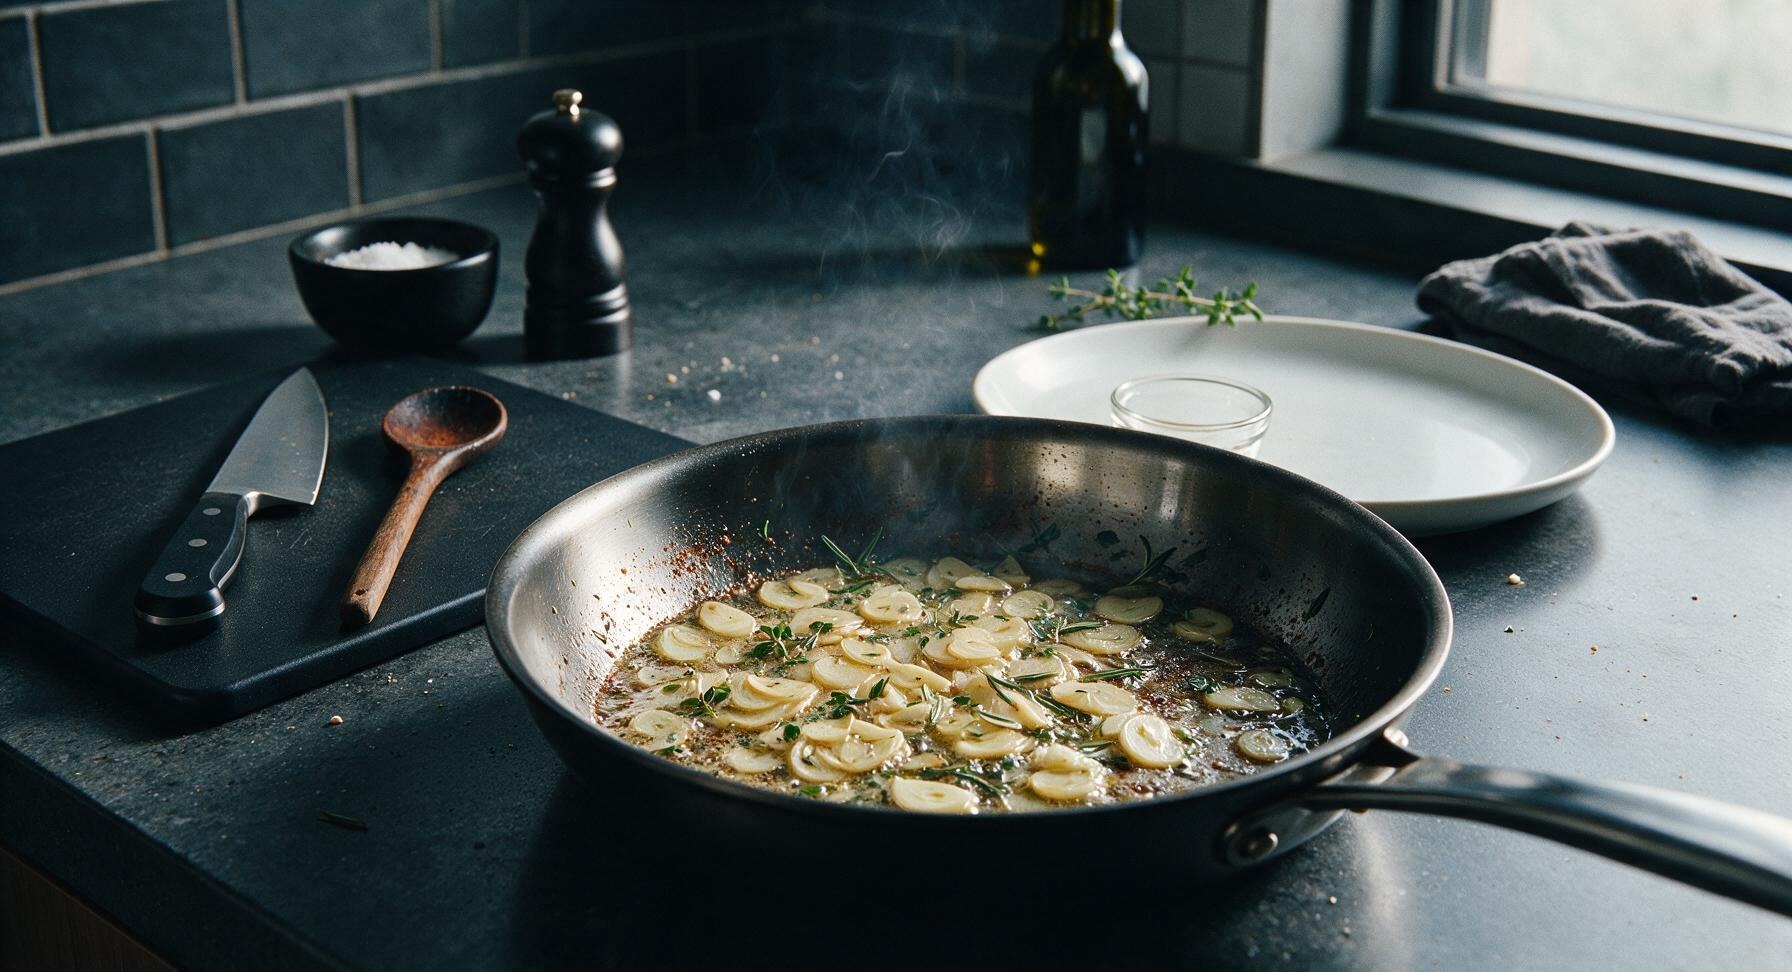
Reduce stovetop heat to medium-low. Add the 1 tablespoon unsalted butter to the skillet, swirling to melt into the remaining olive oil and dark pan fond. Add the thinly sliced garlic (from the fixed cream garlic bowl), 1 teaspoon smoked paprika, and ¼ teaspoon red pepper flakes, stirring constantly with the acacia wood spoon for 30 seconds until the garlic turns pale golden and releases a nutty, aromatic scent — do not let the garlic turn dark brown, as burnt garlic develops a harsh, bitter flavor. Add the fresh thyme and rosemary sprigs (from the fixed bunch next to the oil bottle), stirring to coat in the butter for 10 seconds until the herbs release their fragrance.
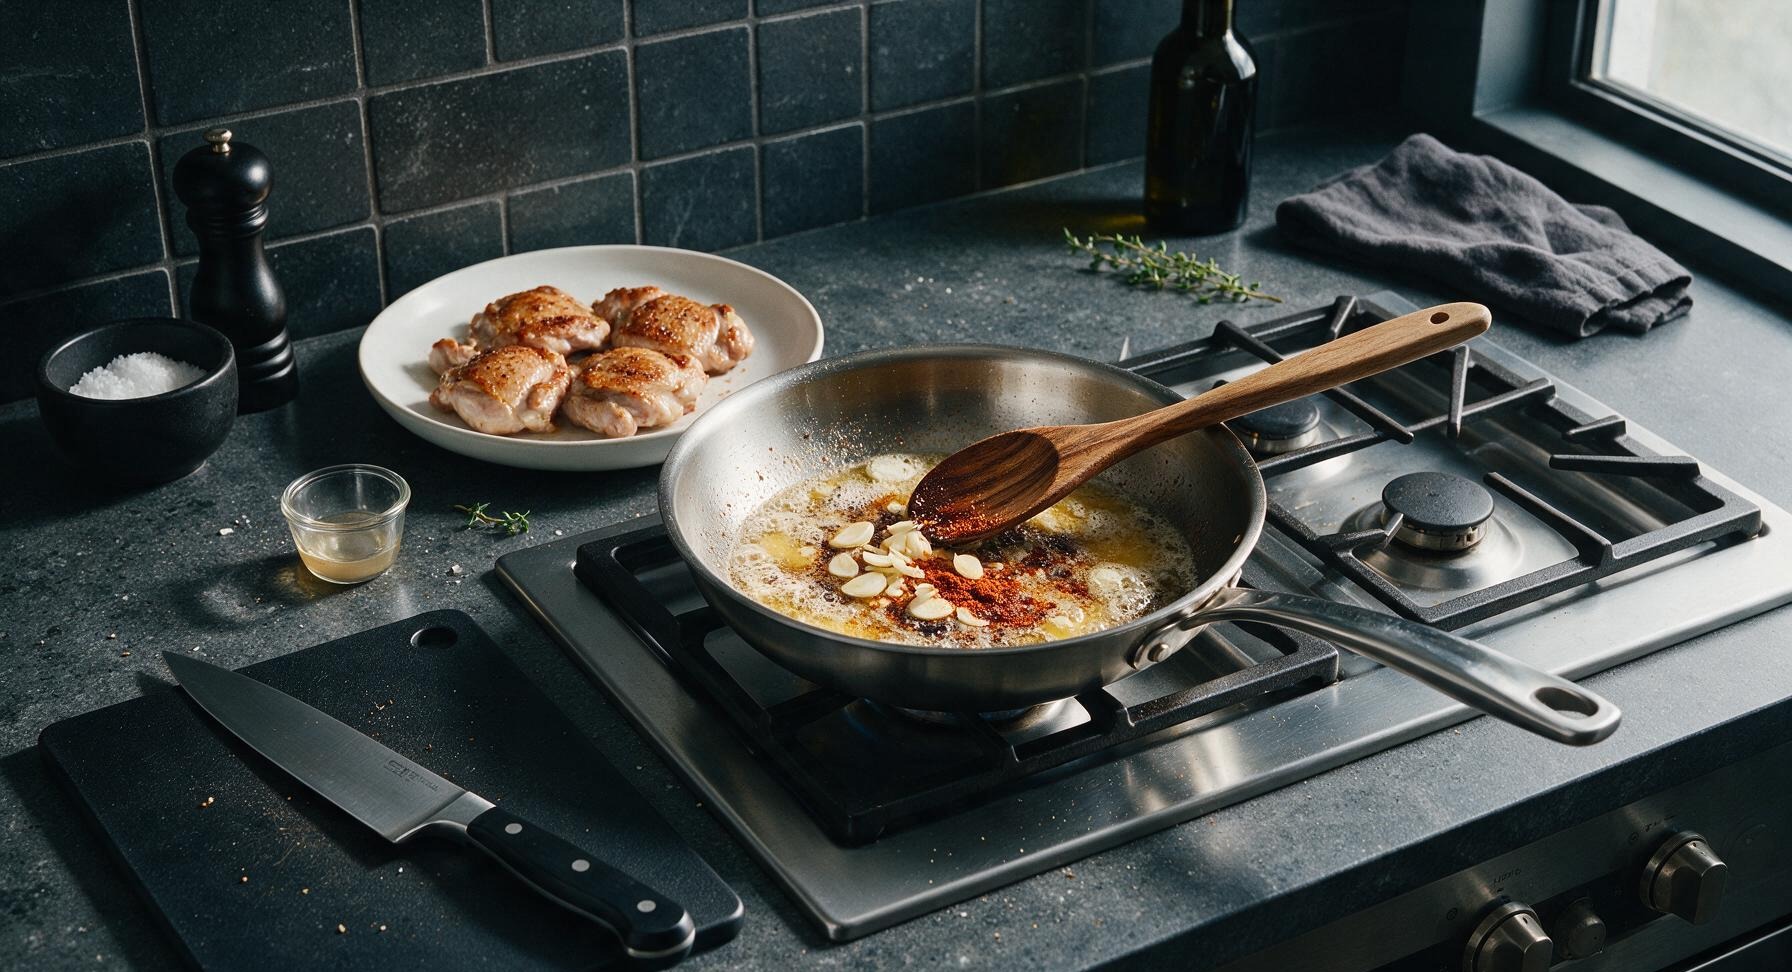
Coat Chicken in Sauce
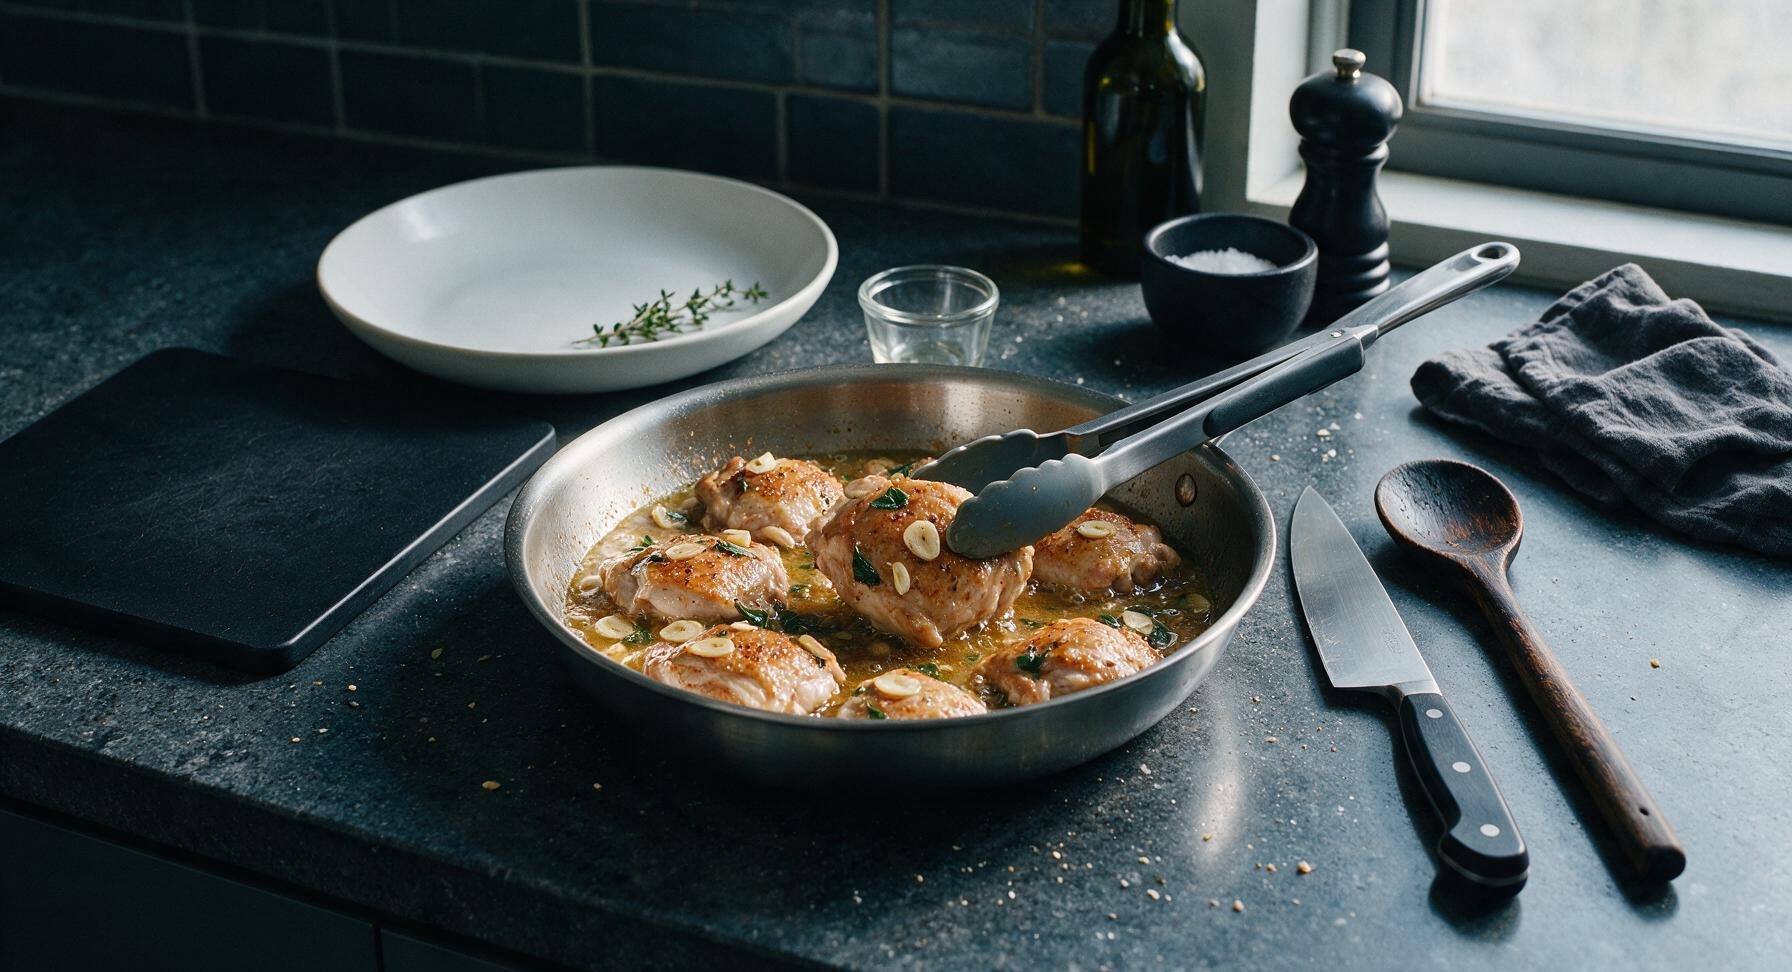
Use the silicone-tipped tongs to return all seared chicken thighs to the skillet, turning each piece 2-3 times to coat every surface in the garlic-herb pan sauce. Simmer for 1 full minute, basting the top of each thigh continuously with spoonfuls of the pan sauce, until the chicken reaches a final internal temperature of 165°F (74°C) at the thickest point.
Rest Before Serving
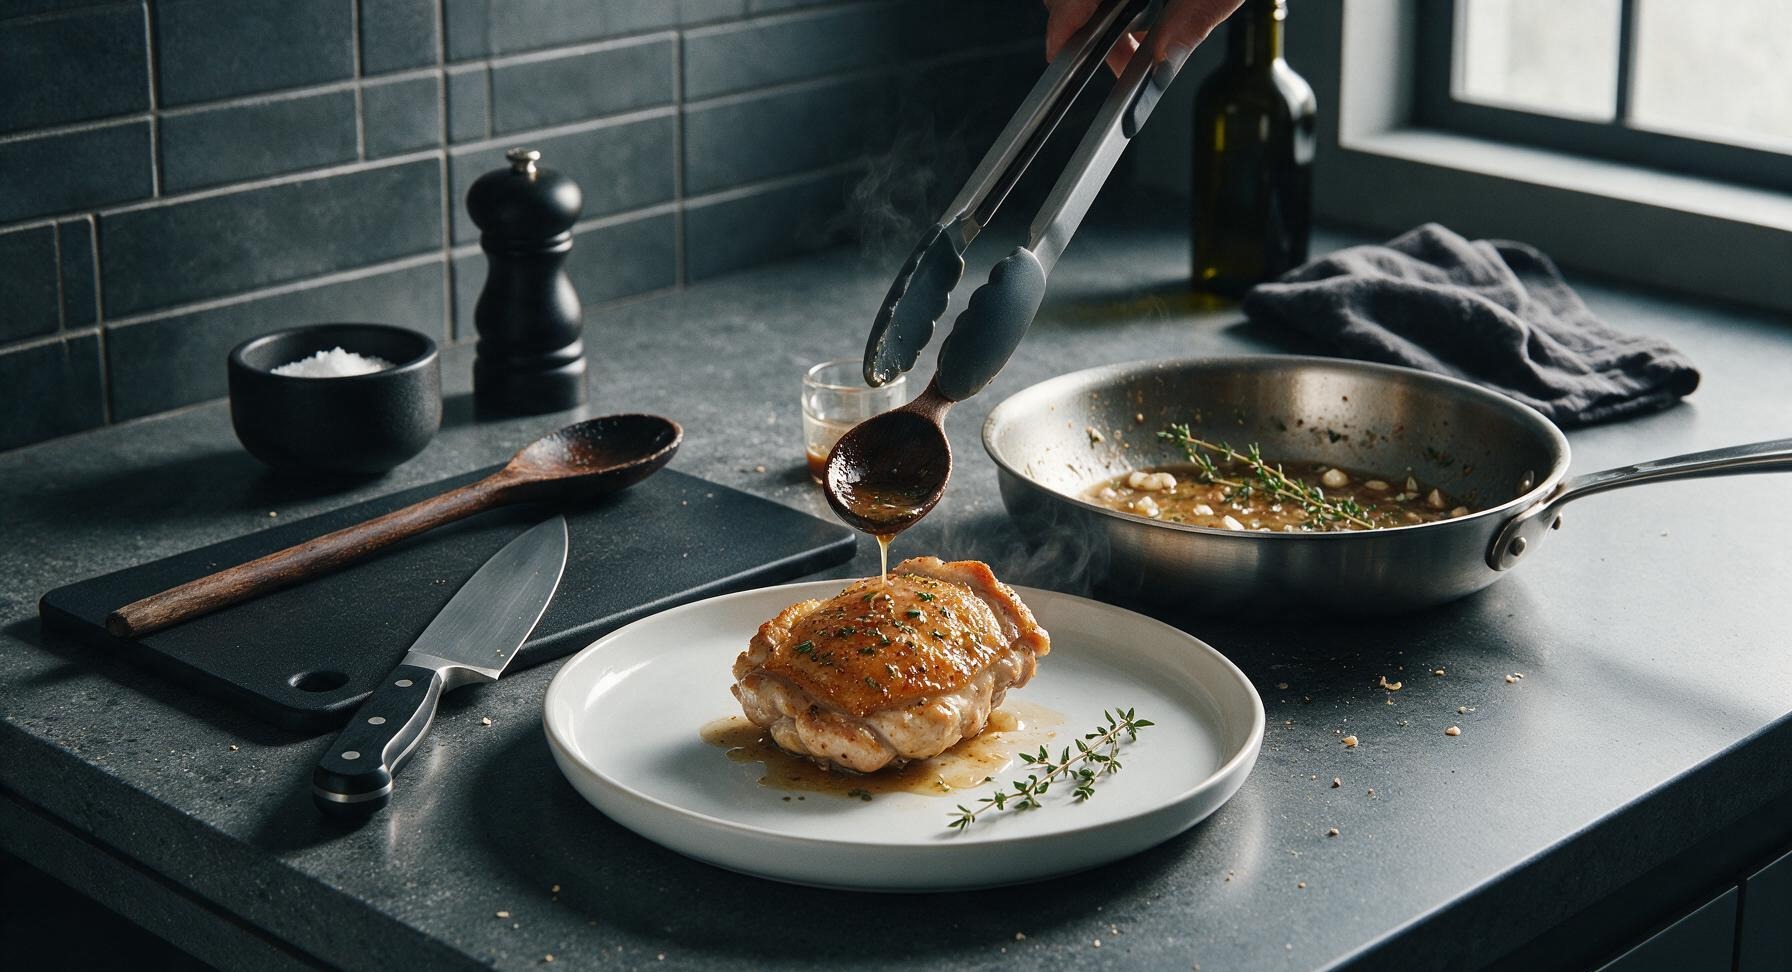
Turn off the stovetop heat. Let the chicken rest in the warm skillet for 3 minutes to allow the muscle fibers to relax and redistribute juices — cutting immediately will cause all the flavorful juices to run out onto the plate, leaving dry chicken. Transfer the chicken to serving plates, spoon any remaining pan sauce, garlic bits, and herbs over the top, and garnish with a few extra fresh thyme leaves if desired.
Tips
2.Sear in batches to avoid crowding the pan: overcrowding drops the pan temperature rapidly, leading to steamed, rubbery chicken instead of crisp, juicy seared pieces with rich pan fond for the sauce.
3.Let chicken rest for 3 minutes before serving: cutting into hot chicken immediately causes the flavorful internal juices to run out onto the plate, resulting in dry, less tasty meat, while resting lets fibers reabsorb those juices.






OMG this recipe is such a game changer! I’ve been struggling to find quick weeknight dinners my picky 8 and 10 year old will actually eat without complaining, and they both asked for SECONDS. The garlic herb crust is so flavorful even without the skin, I didn’t even miss it! Cooked up in exactly 20 minutes like the recipe said, perfect for our chaotic soccer practice nights. Will 100% be adding this to our regular meal prep rotation!
Was super skeptical skinless chicken thighs wouldn’t dry out when pan-seared, since I usually only make them with the skin on for extra fat and flavor. But these came out perfectly juicy every single bite! Threw a little extra grated parmesan on top right when they finished cooking and served them with roasted broccoli for date night last night. SO good, my girlfriend said it tasted like something from a nice downtown bistro. I’m definitely not a confident cook and I didn’t mess this up at all, which says a lot for how easy the instructions are.
Made a big batch of these on Sunday for my weekly work lunches, and they held up perfectly all week! I added a tiny squeeze of fresh lemon at the end like I do with most chicken recipes, but the garlic and herb ratio is totally spot on. Quick question — has anyone tried freezing these after cooking? I want to make a double batch next month to stock up the freezer for when my new baby arrives, since easy meals will be a lifesaver!