
dairy free pudding
intro
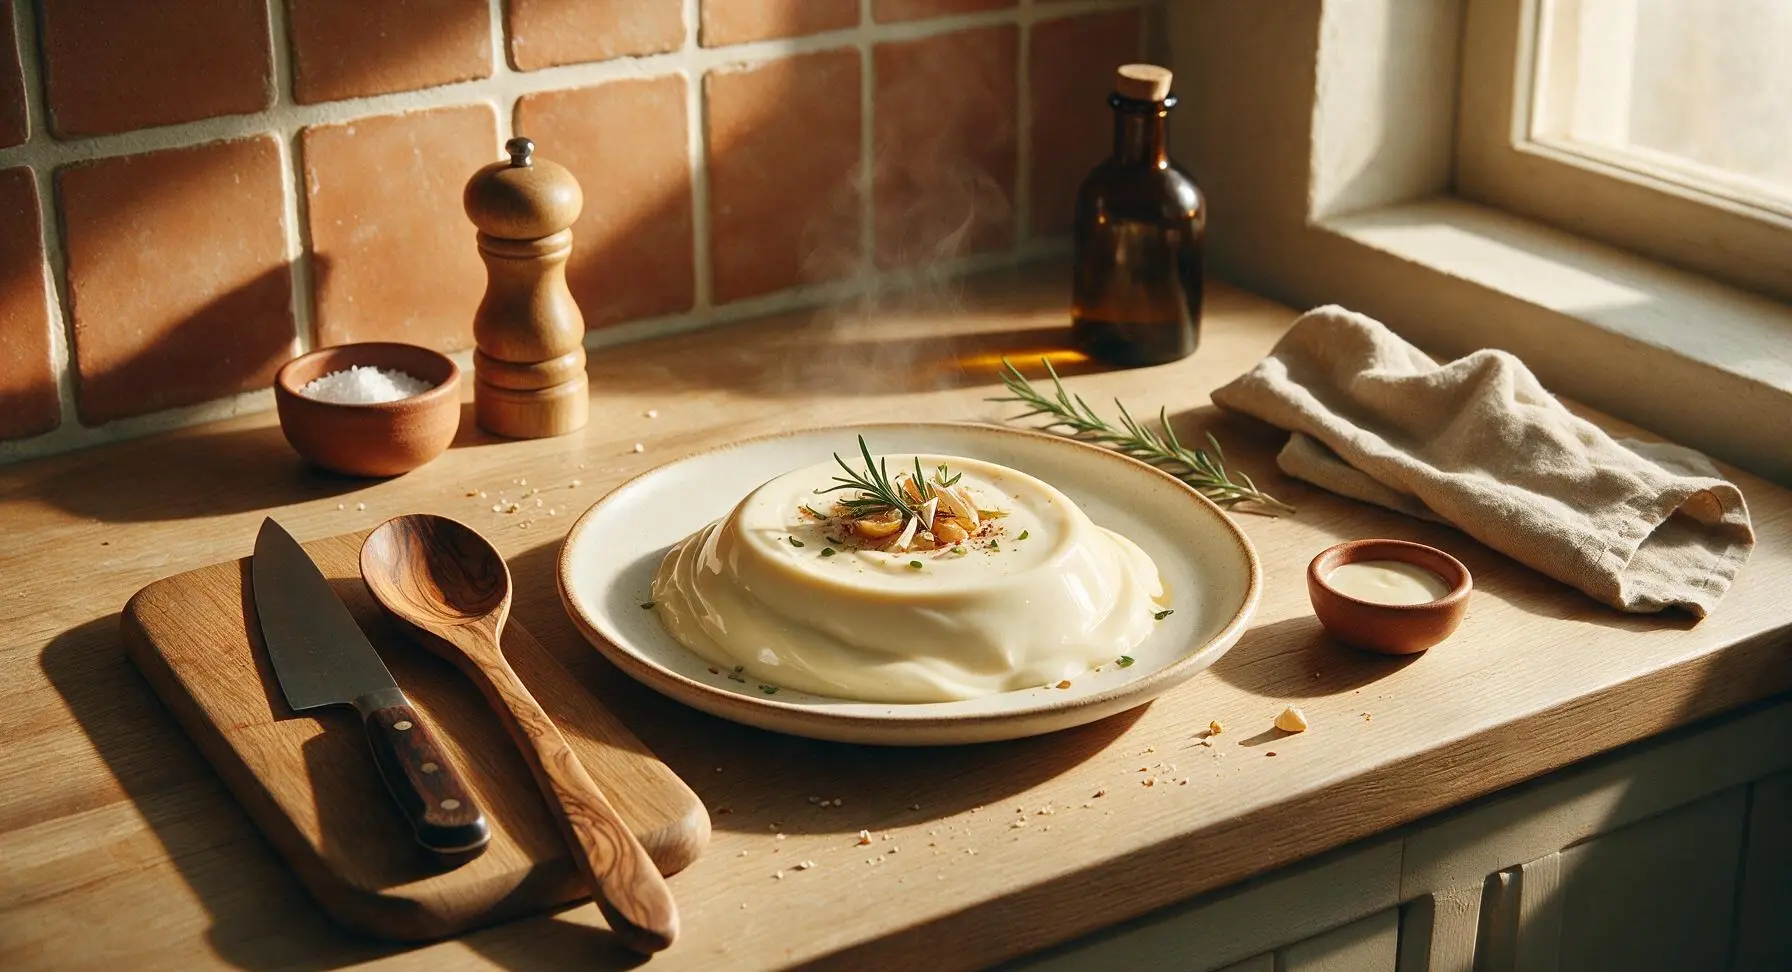
Silky, luxuriously thick vanilla pudding made entirely without dairy, with a smooth texture that rivals traditional recipes. Lightly sweet, perfectly chilled, and suitable for most dietary needs.
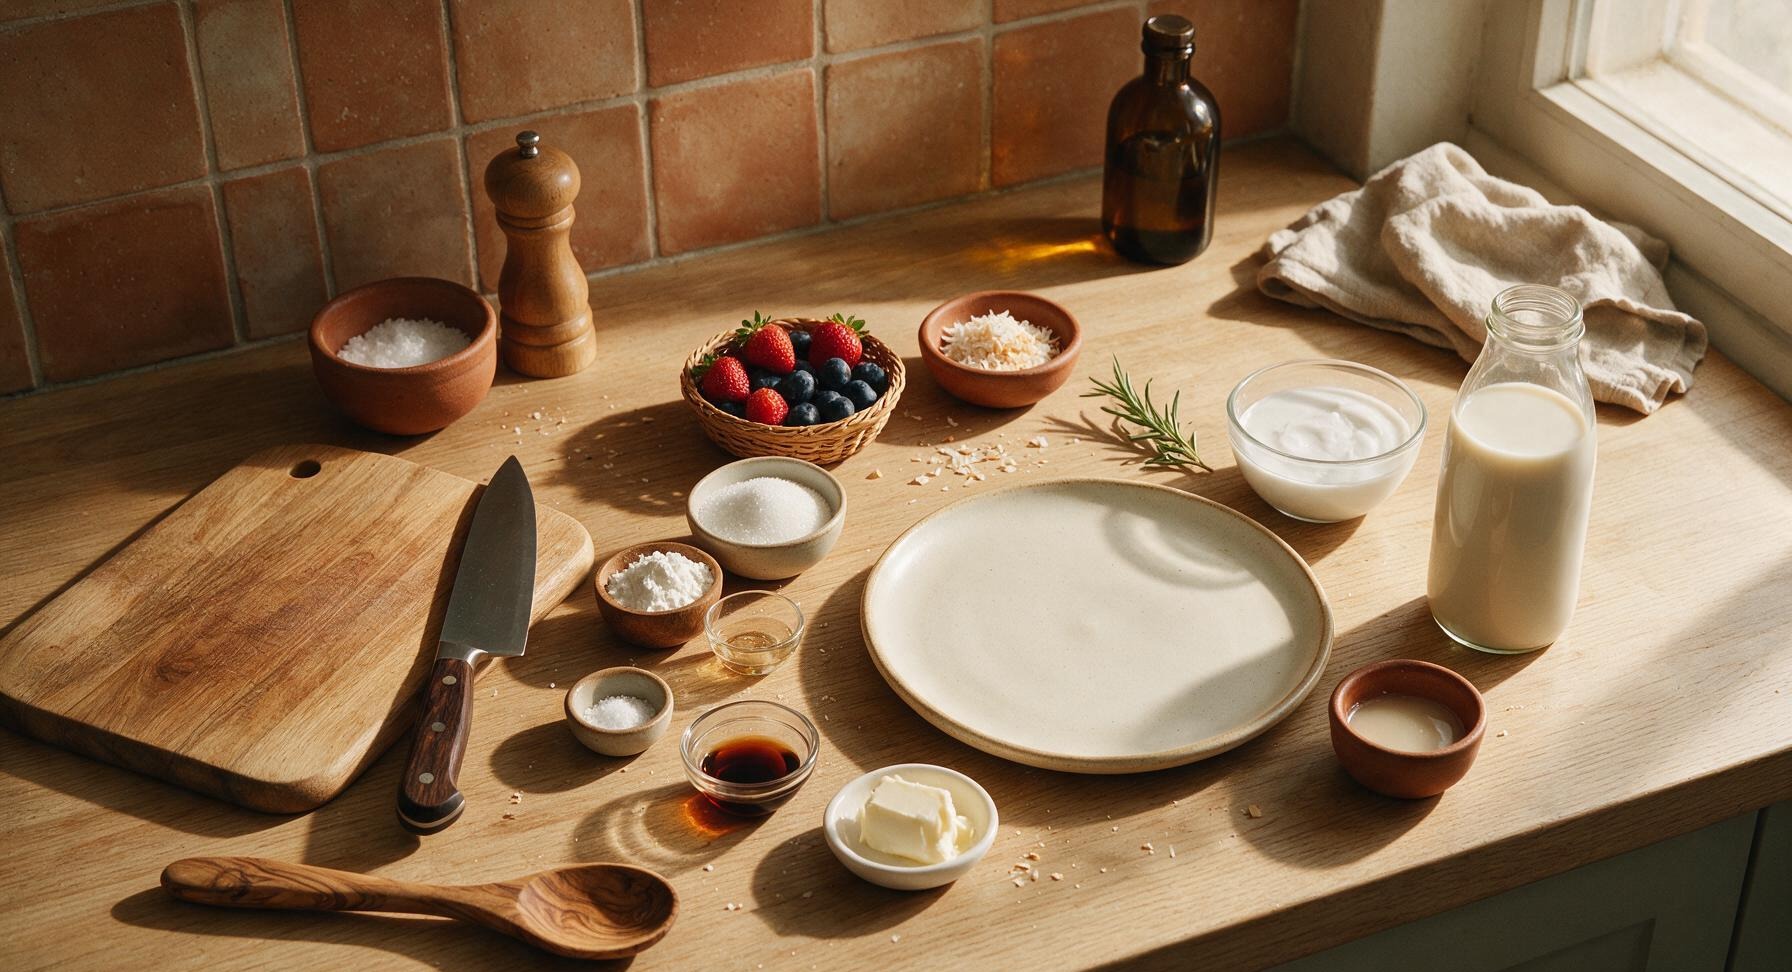
Ingredients
Steps
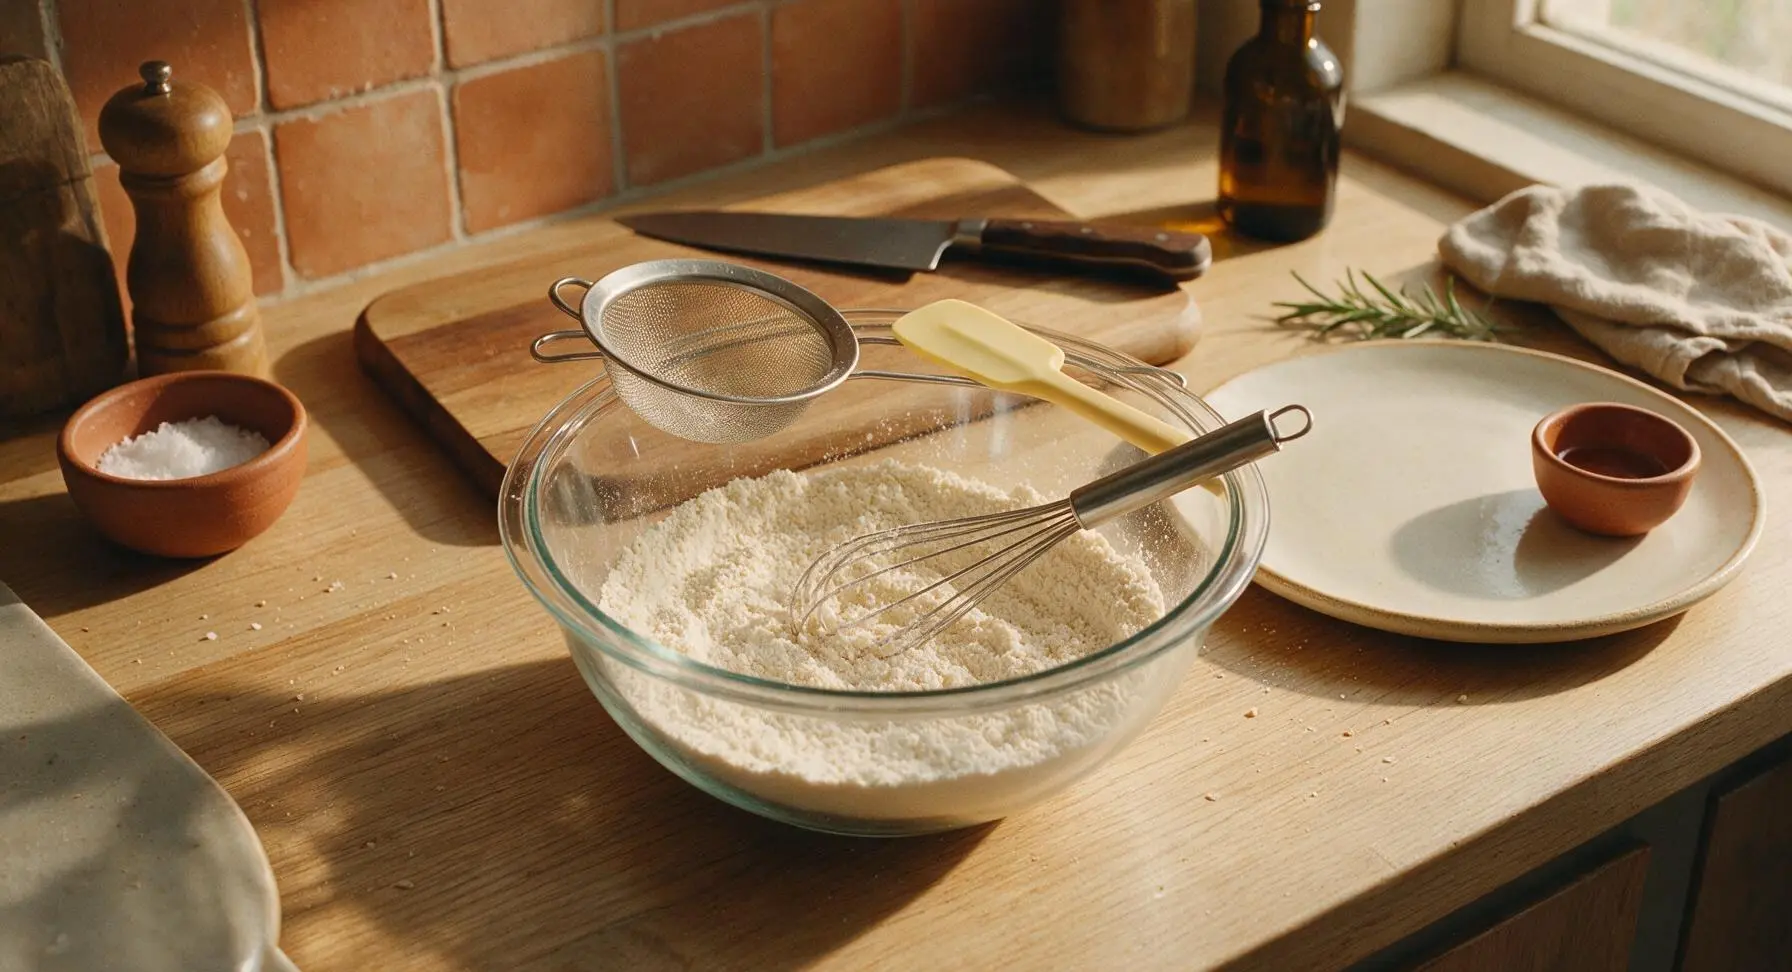
Whisk Dry Pudding Base
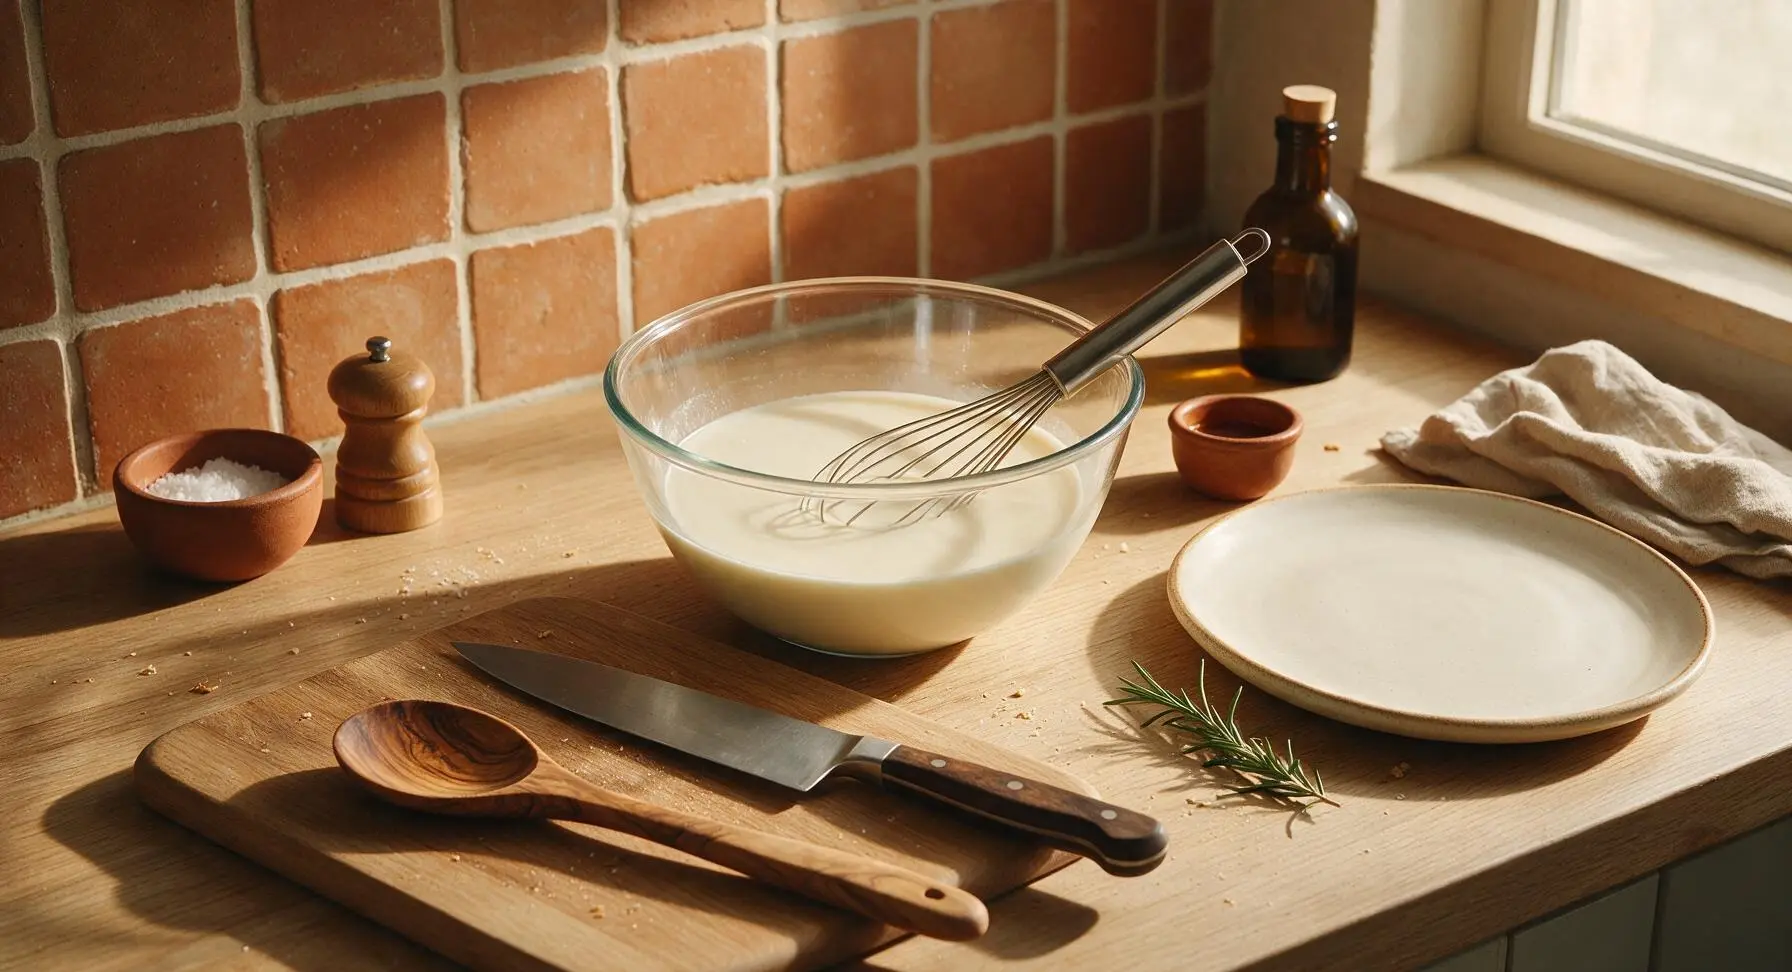
Add the 3 tablespoons cornstarch, 1/3 cup granulated sugar, and 1/4 teaspoon fine sea salt to the clear borosilicate glass mixing bowl. Use the small stainless steel whisk to stir the dry ingredients together for 30 seconds until fully combined, with no visible clumps of cornstarch. Mixing dry ingredients first prevents lumps from forming when liquid is added.
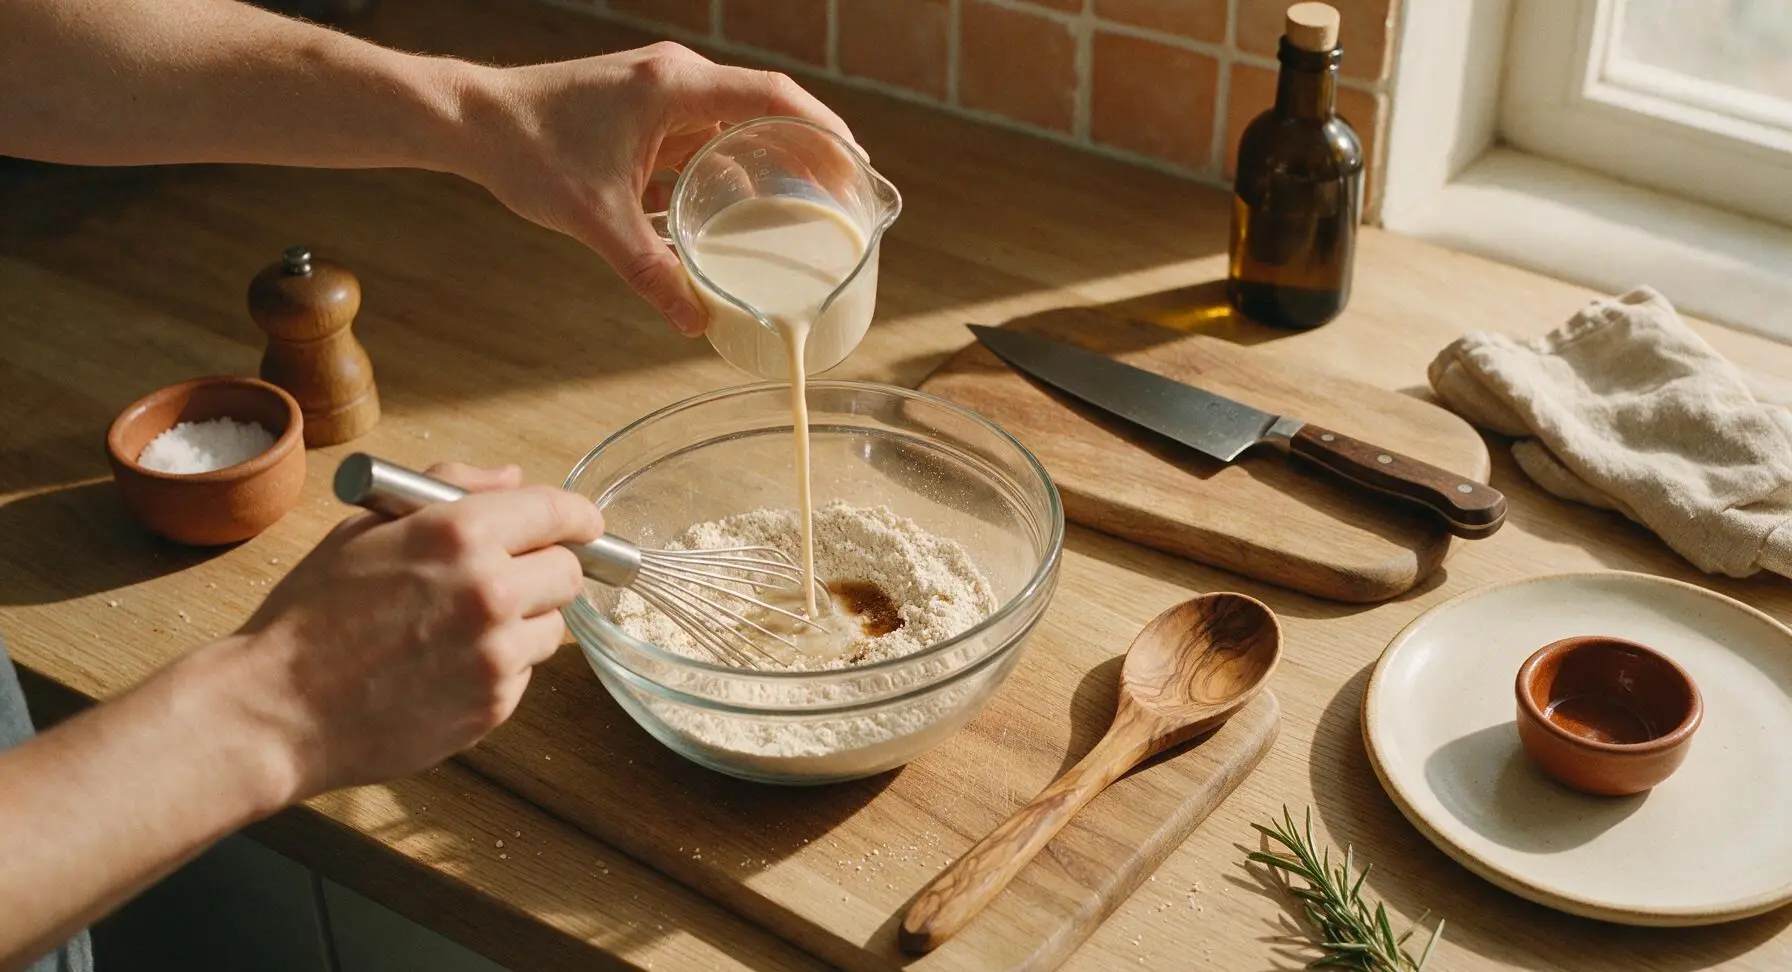
Combine with Plant Milks
Slowly pour 1/2 cup of the oat milk into the dry ingredient mixture, whisking constantly until a smooth, thick, lump-free slurry forms. Once the slurry is completely smooth with no dry powder pockets, pour in the remaining 1.5 cups oat milk and 1 cup shaken full-fat coconut milk, whisking steadily for 1 minute until the mixture is fully uniform, with no dry sediment settled at the bottom of the bowl.
Cook Until Thickened
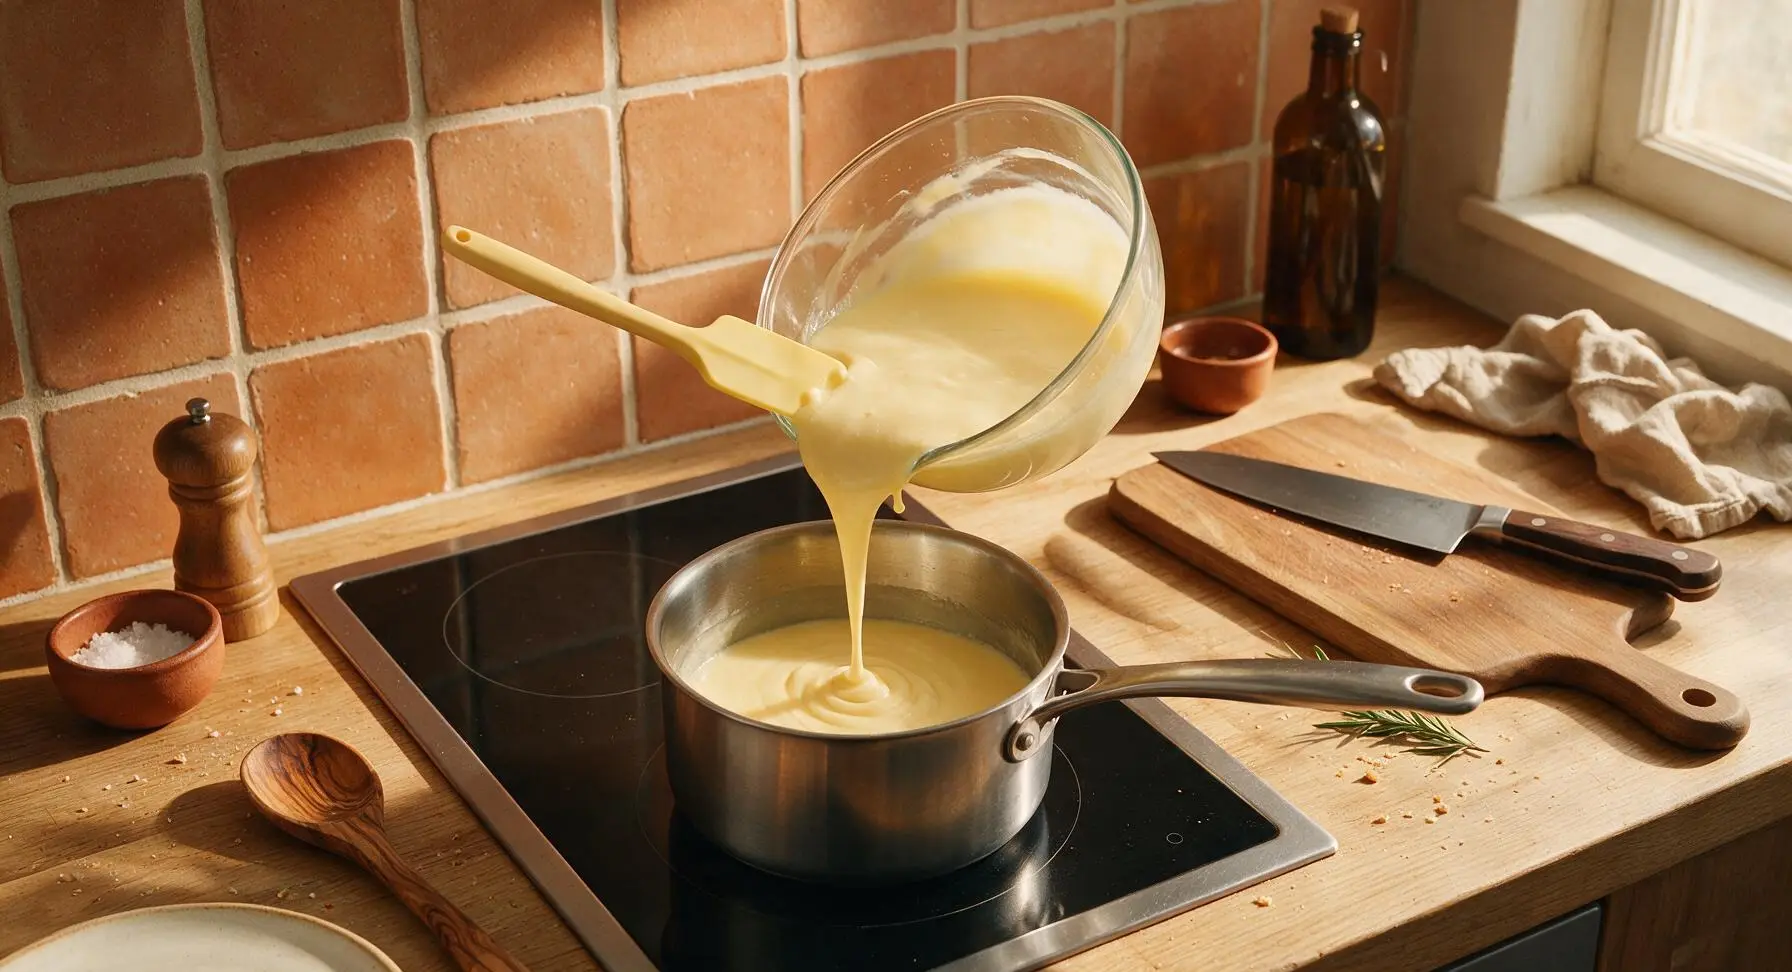
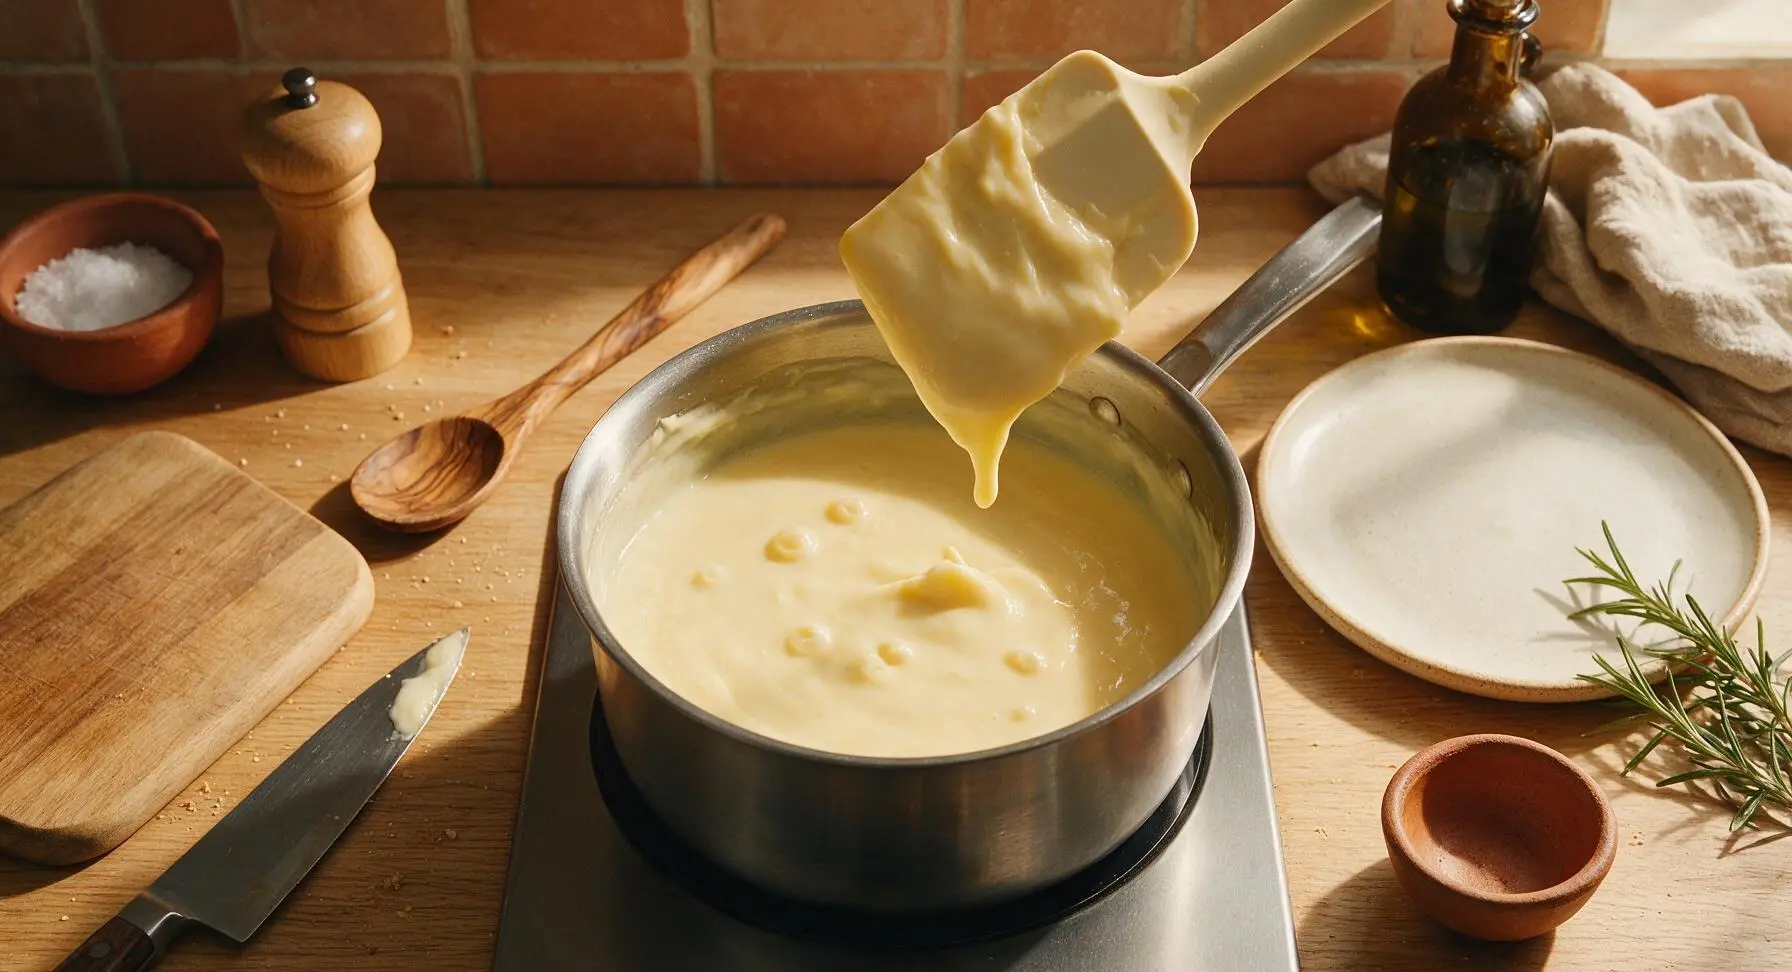
Pour the smooth pudding mixture from the mixing bowl into the 2-quart stainless steel saucepan, moving the pan from its center-back storage position to the center of the induction burner. Turn the burner to medium-low heat (300°F / 150°C). Cook the mixture, stirring constantly with the pale yellow silicone spatula and scraping the full bottom and corners of the pan continuously for 6-8 minutes, until the pudding thickens to a consistency that heavily coats the back of the spatula, and the first slow, rolling bubble breaks on the surface. Do not let the mixture boil rapidly, as high heat breaks down cornstarch and leads to a runny final texture.
Stir in Butter and Vanilla
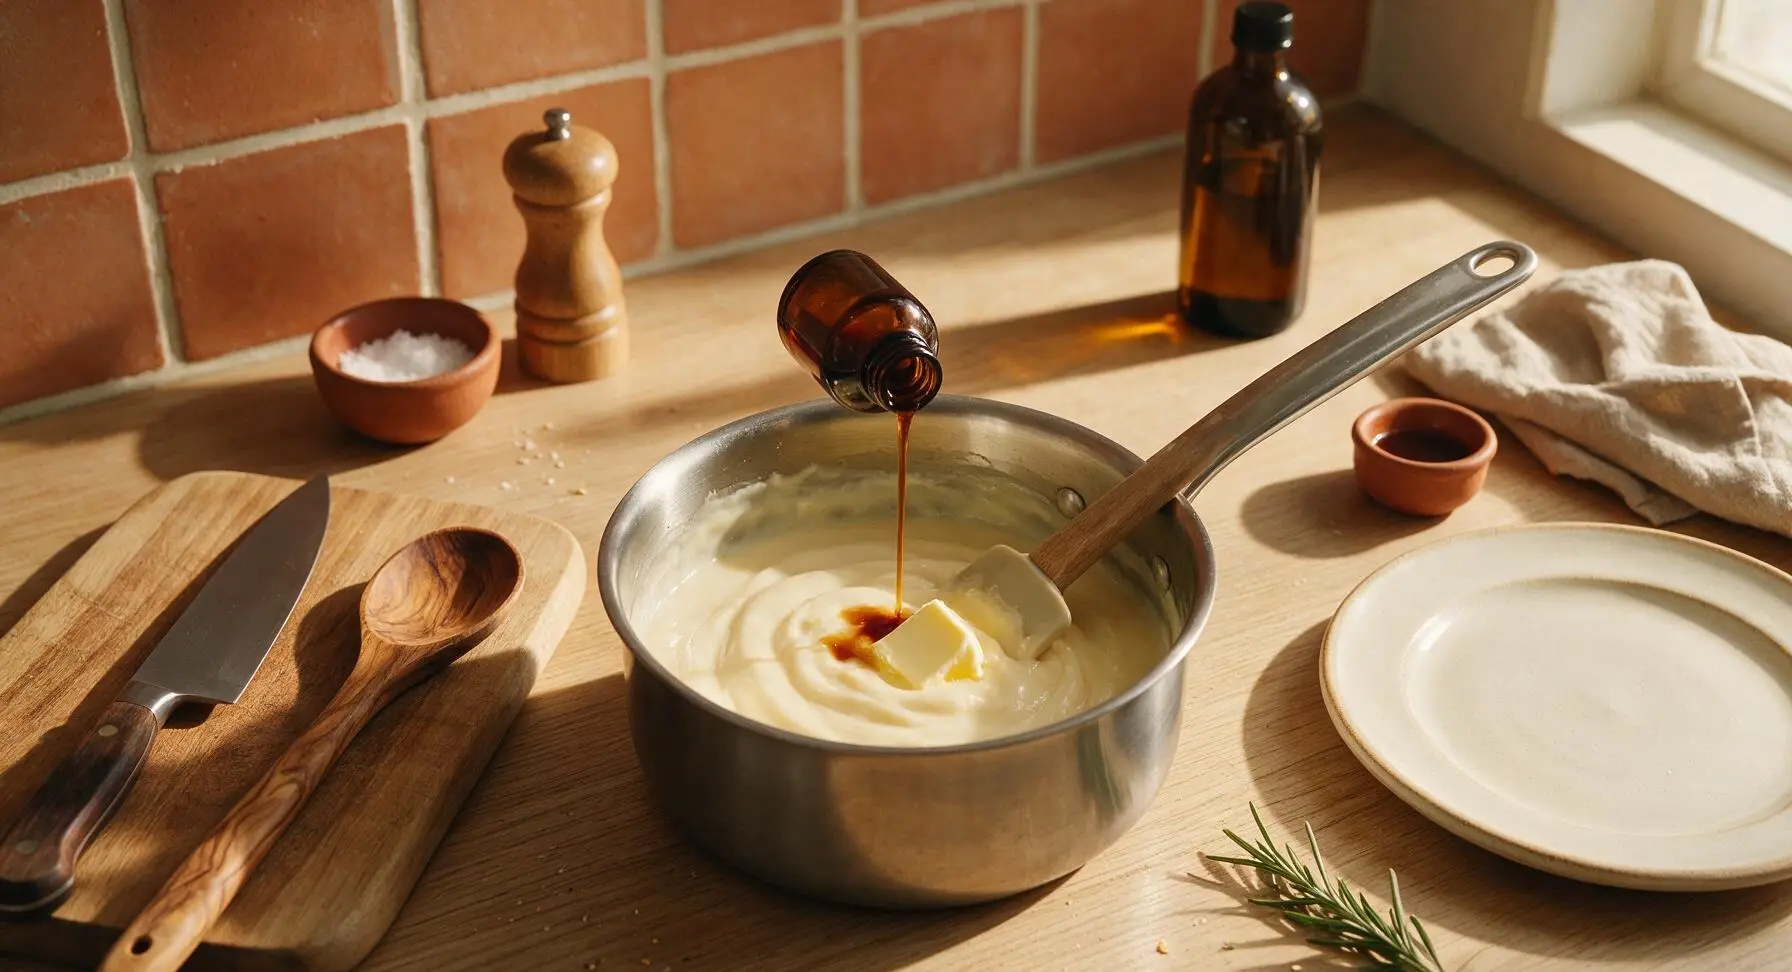
Once the pudding reaches the correct thick consistency, turn off the induction burner. Immediately add the 1 tablespoon vegan butter and 2 teaspoons pure vanilla extract to the hot pudding, stirring gently with the silicone spatula for 1 minute until the butter is fully melted and the vanilla is evenly incorporated, giving the pudding a glossy, luminous sheen.
Strain for Silky Texture
Place the fine-mesh stainless steel sieve over the now-empty clean glass mixing bowl. Pour the hot pudding through the sieve, using the silicone spatula to gently press the pudding through the mesh, catching any small lumps of cooked cornstarch or overcooked bits in the sieve. This step creates an ultra-silky, restaurant-quality texture with no grainy bits.
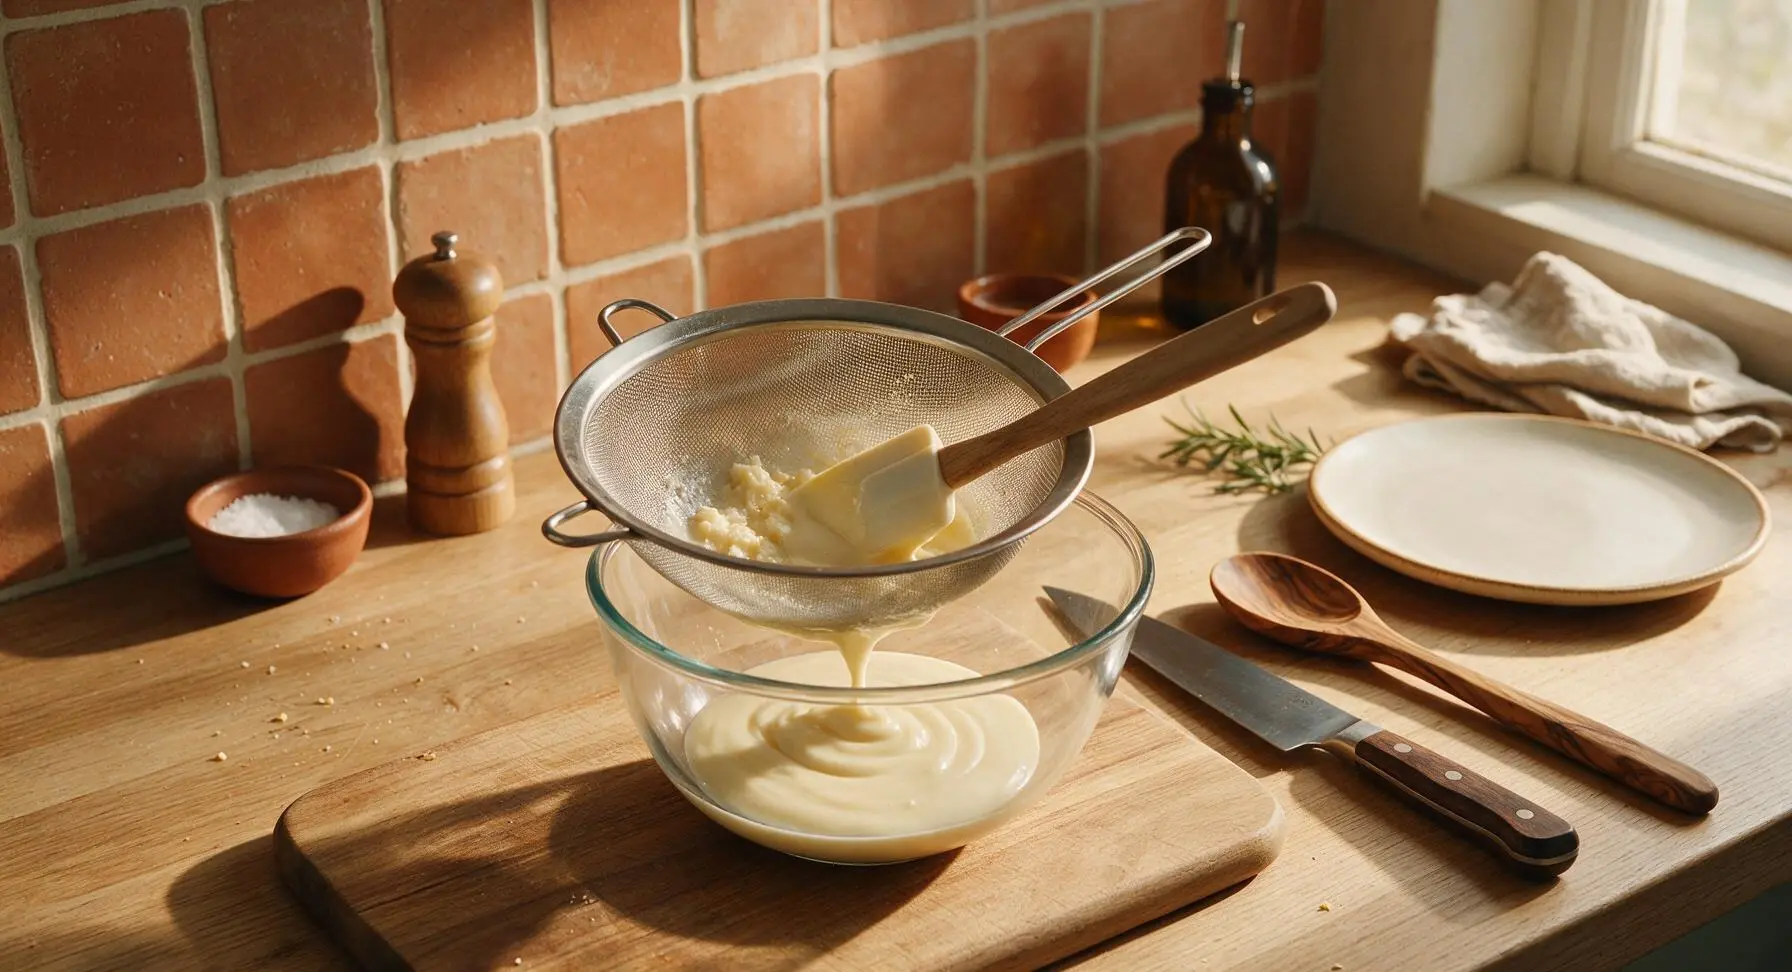
Portion into Serving Cups
Lift the sieve off the mixing bowl and set it aside. Carefully pour the smooth strained pudding evenly between the four clear footed glass dessert cups, using the light bamboo spoon to guide the flow and prevent drips, filling each to 1/4 inch below the rim. Wipe any stray drips from the outside of the cups with a corner of the cream cotton kitchen towel.
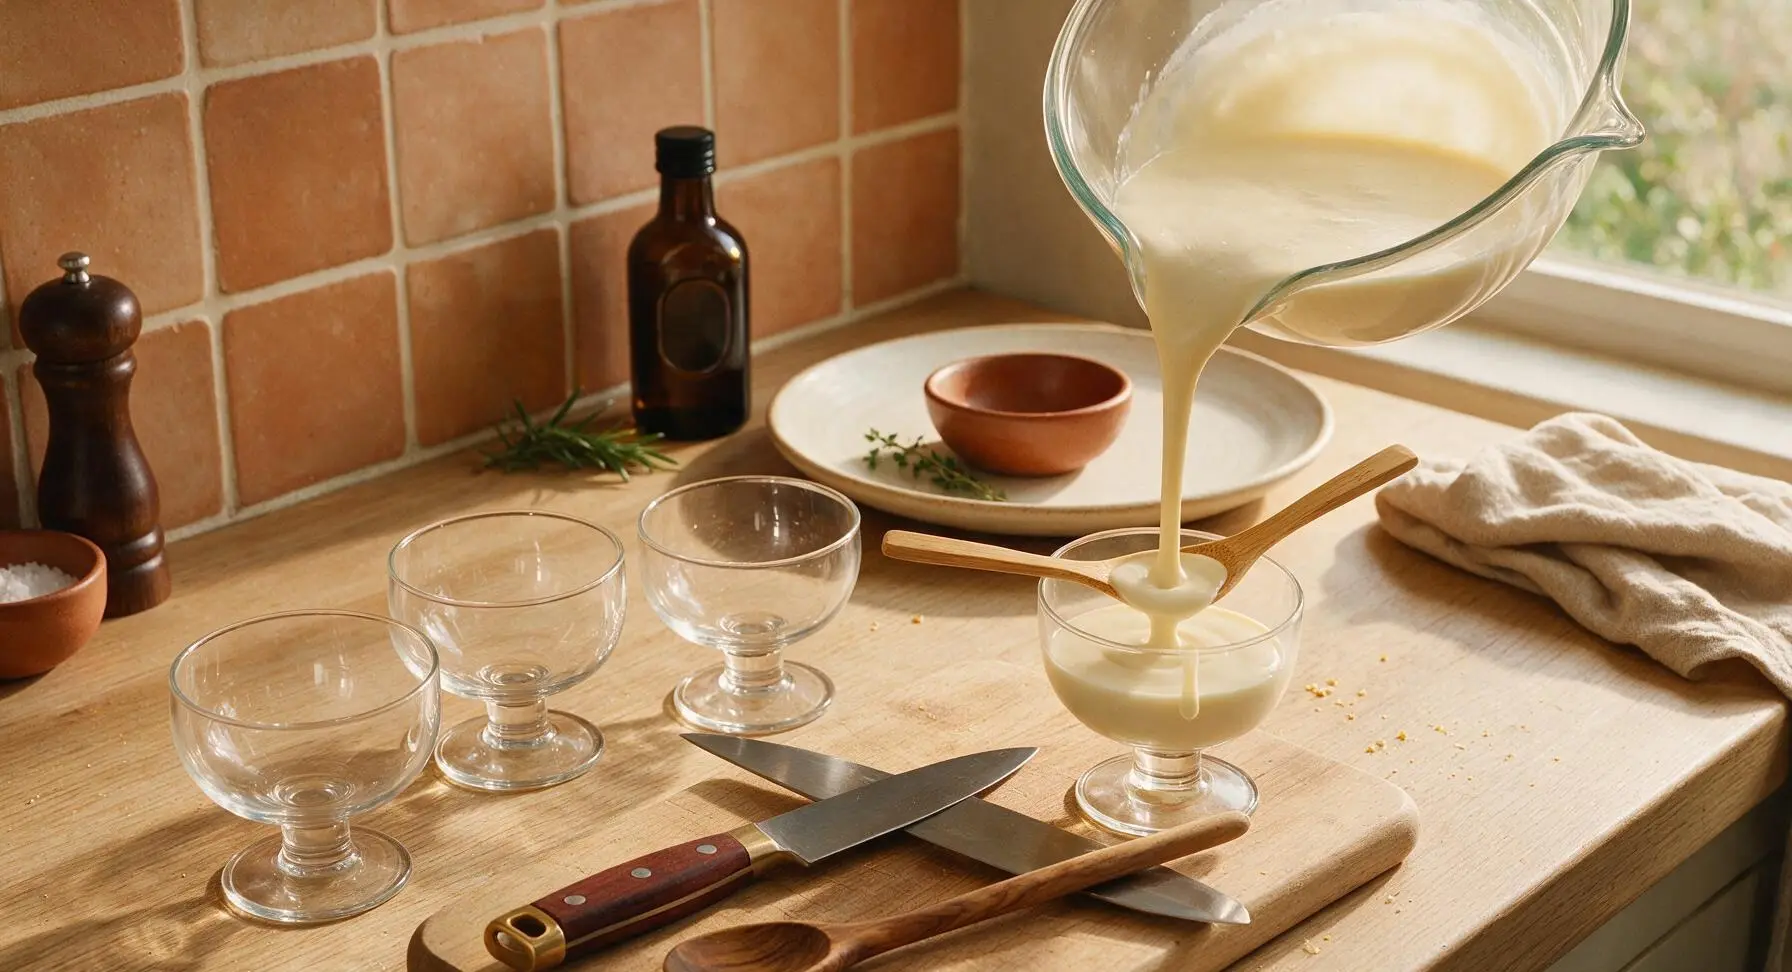
Chill Until Fully Set
Tear four 10cm squares of parchment paper from the roll on the right counter. Lightly press one square directly onto the surface of the pudding in each cup to prevent a tough, chewy skin from forming as it cools. Transfer the cups to the refrigerator, and chill for a minimum of 2 hours, until the pudding is completely cold and firm to the touch, with a soft, wobbly jiggle when the cup is gently tapped.
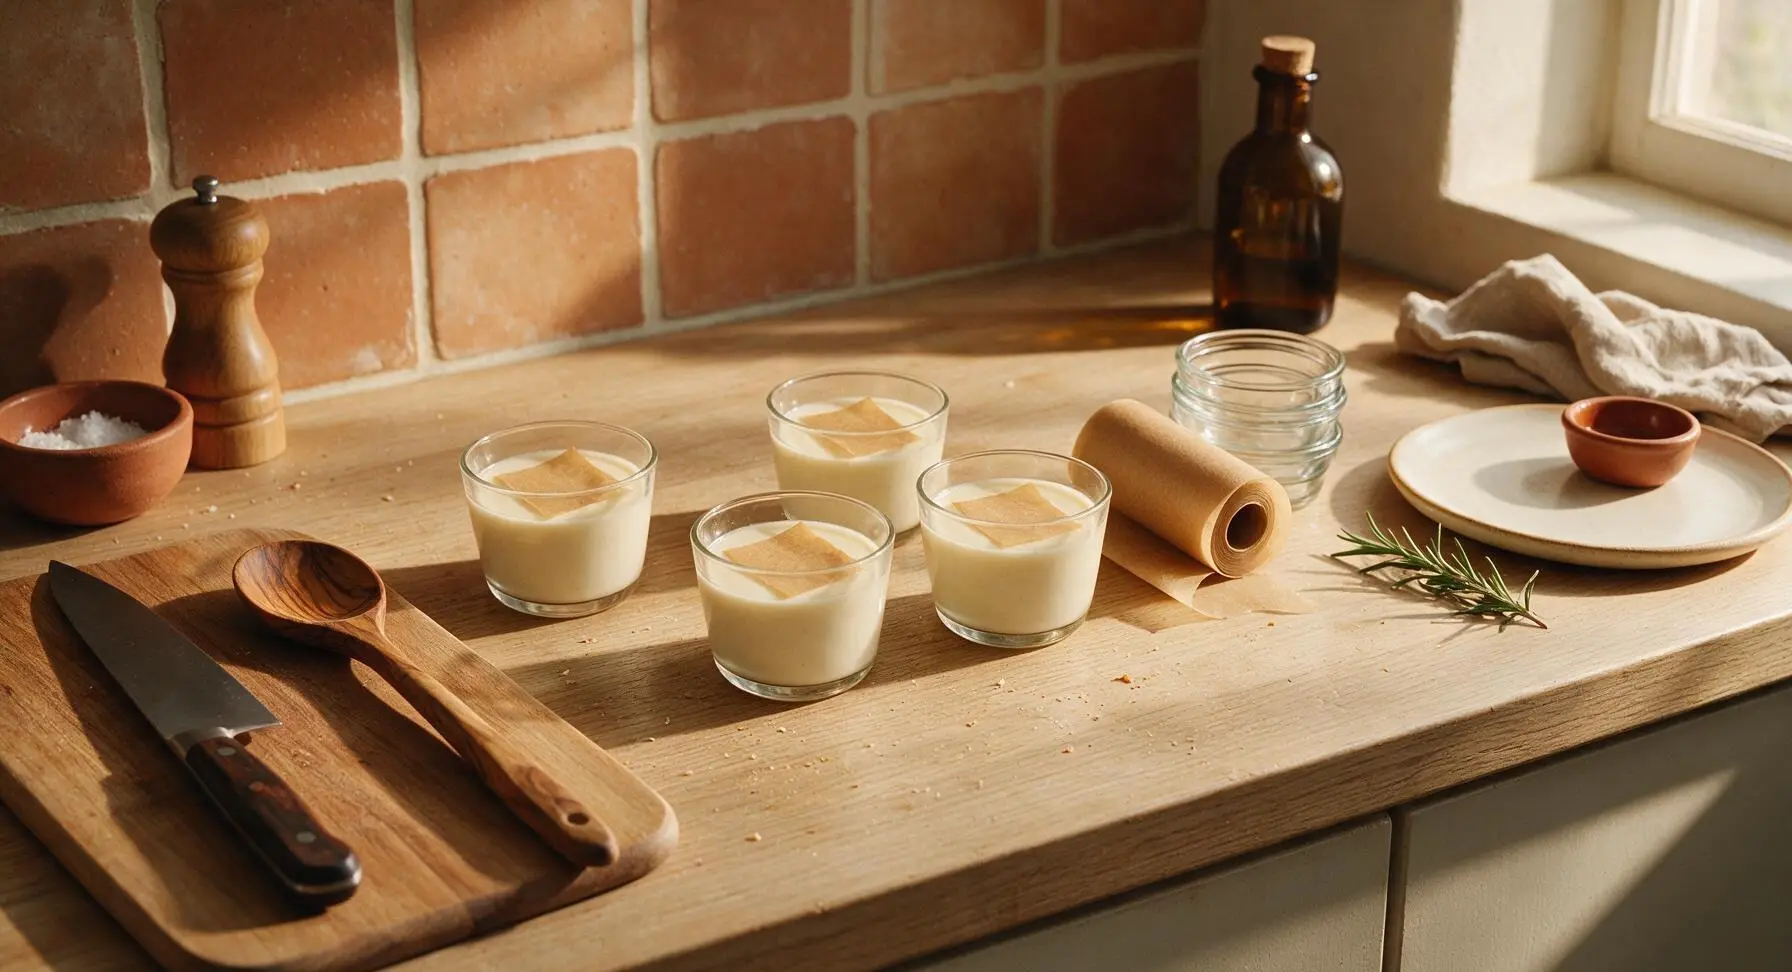
Garnish and Serve
Once the pudding is fully chilled, remove the cups from the refrigerator and peel off the parchment paper squares. Top each pudding with 2-3 fresh berry pieces and a light pinch of toasted coconut flakes for added texture and bright color. Serve immediately while cold.
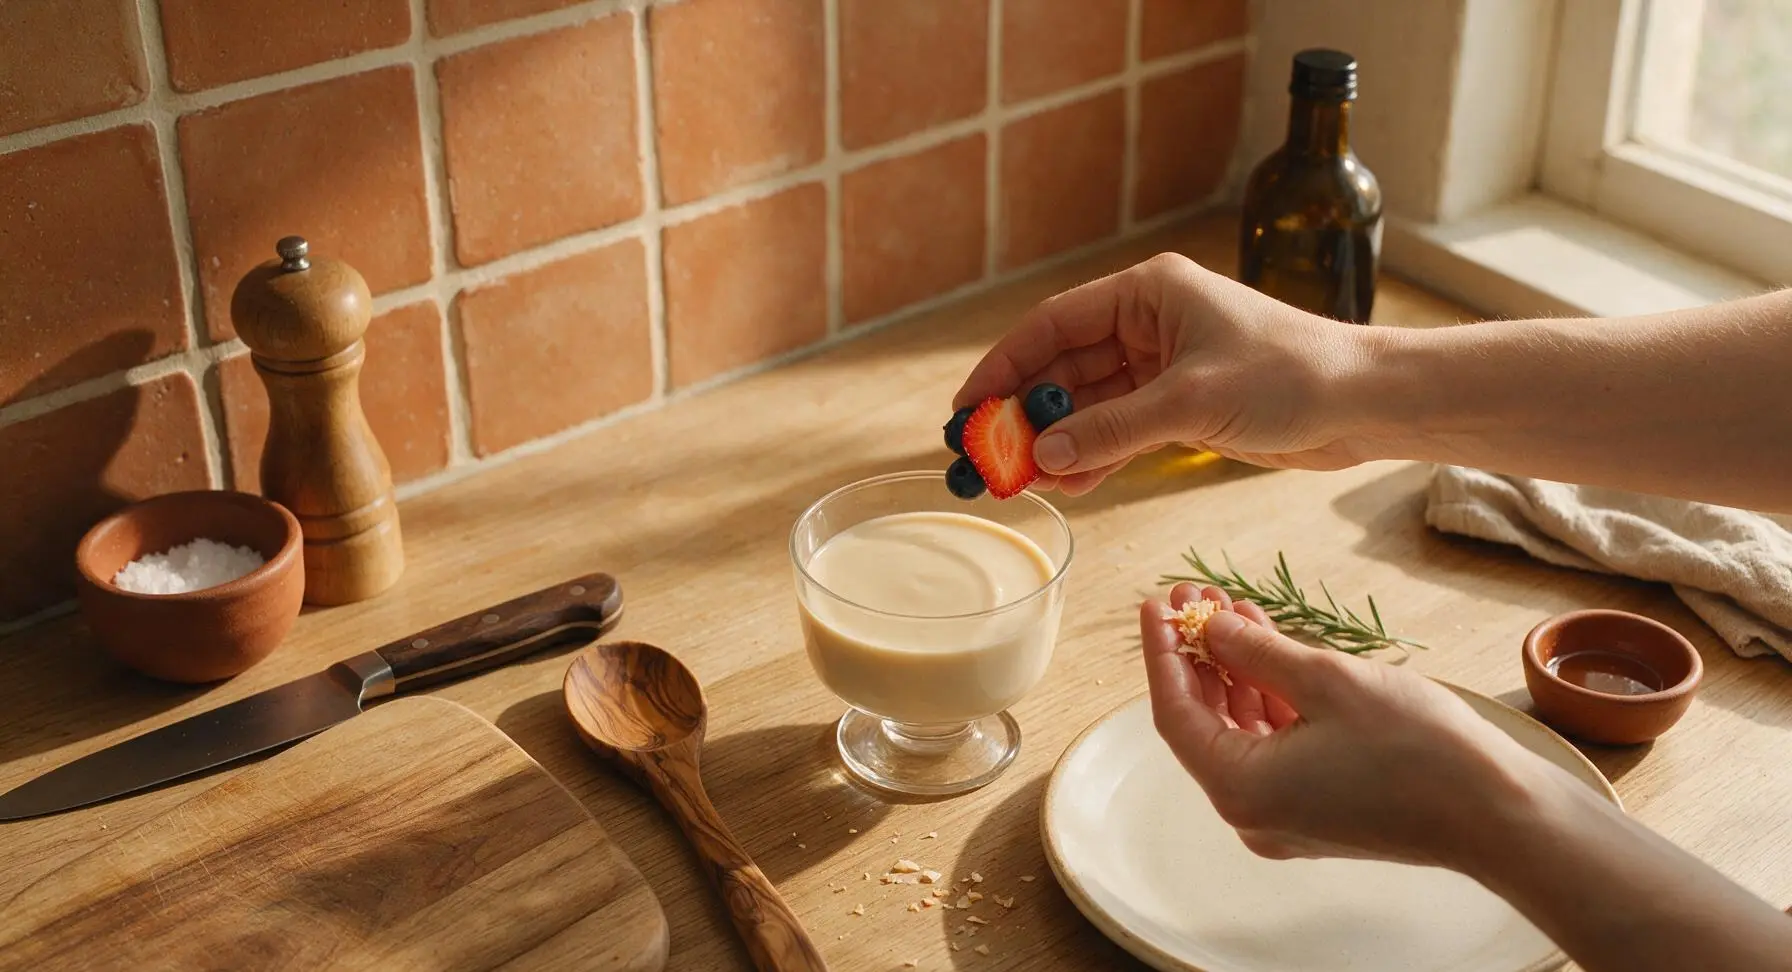
Tips
2.Stir constantly while cooking the pudding, making sure to scrape the corners and bottom of the saucepan: cornstarch thickens very quickly when heated, and missed spots can burn or form hard lumps that ruin the smooth texture.
3.Do not skip pressing parchment directly to the pudding surface while chilling: if left uncovered, a thick, chewy skin will form on the top of the pudding as moisture evaporates; direct parchment contact prevents skin formation without trapping excess condensation that can make the pudding watery.






OMG this pudding is a total game changer for our house! I have two kids with dairy allergies and I’ve been searching forever for a pudding that doesn’t taste like weird coconut aftertaste. This was so creamy, took 10 minutes flat, and my kids begged for seconds before they even finished their first bowl. 10/10 will be making this for our next family potluck!
SO good! I made a big batch on Sunday for weekday snack prep and it held up perfectly all week in the fridge. I topped mine with fresh berries and a sprinkle of granola for a quick workday breakfast too, who says pudding is just for dessert? Will absolutely be adding this to my regular rotation.
Really solid recipe! Super easy even for someone like me who burns toast half the time lol. Only reason I’m not giving 5 stars is I thought it was a *little* too sweet for my taste, next time I’ll cut the maple syrup by a tablespoon. The texture is perfect though, no weird grainy bits like other dairy free puddings I’ve tried.
I brought this to my neighborhood block party last weekend and people were hounding me for the recipe all night! Literally no one could believe it was dairy free, multiple people asked if I made it from the fancy grocery store bakery. I added a little dash of cinnamon on top for extra warmth and it was chef’s kiss.
Just finished making this and I’m literally eating it warm straight from the pot, no regrets. I’ve been missing vanilla pudding so bad since cutting out dairy and this tastes exactly like the Jell-O vanilla pudding I grew up eating, but creamier? Wild. 10/10 no notes.
As a broke college student with a tiny dorm kitchen and a dairy sensitivity, this is perfect. No fancy equipment needed, only a handful of cheap ingredients, and it takes 10 minutes? I don’t think I’m ever buying store bought pudding cups again. Saved me so much money already.
Really tasty! I used arrowroot starch instead of cornstarch because that’s what I had in the pantry and it thickened up perfectly. My only tiny complaint is that the vanilla flavor was a little subtle for me, so next time I’ll use a whole vanilla bean instead of extract. Otherwise super easy and creamy!
Made this for my daughter’s birthday dinner since her cousin has a dairy allergy, and I swear I ate more of it than the kids did. My wife said I need to make a double batch next time because I didn’t leave enough for everyone else. Oops. Easy to make, zero weird ingredients, huge crowd pleaser.
I’ve tried so many bad vegan pudding recipes over the years that I went into this with super low expectations, but wow. Silky, rich, actually tastes like vanilla instead of artificial sweetener or coconut. I topped mine with dark chocolate shavings and it felt like a fancy restaurant dessert. So impressed.
Taste was good! But mine came out a little lumpy? I think I stirred too slow when I added the starch? Not sure, I’ll give it another shot next week because the flavor was there, just messed up the texture on my first try.
Just made this for my midnight snack and it’s SO good. I didn’t even chill it, just ate it warm after cooking, and it’s still the creamiest dairy free dessert I’ve ever made. Obsessed.
I’ve been making cooked vanilla pudding for 40 years, and since my granddaughter developed a dairy allergy I’ve been tinkering with dairy free versions for months. This recipe is dead simple, has the perfect consistency, and doesn’t rely on a million fancy additives. Great work on this one, it’s now our go-to family recipe.
Great macro-friendly dessert option! I swapped the maple syrup for a little monk fruit sweetener to cut the sugar a bit and it still turned out awesome. Perfect for when I’m craving something sweet after a workout but don’t want to blow my calorie goals. Will make again.
Made this for my brunch last weekend served in little mini cups with fresh strawberry slices on top, and my guests went crazy for it. It’s light enough not to feel heavy before noon, but sweet enough to feel like a treat. So easy to throw together the night before too, which is a win for hosting.