
dairy free pudding mix

title 1
dairy free pudding mix
⏱️ cook time 5 minutes
🍽️ servings 4
⚡ Difficulty easy

intro

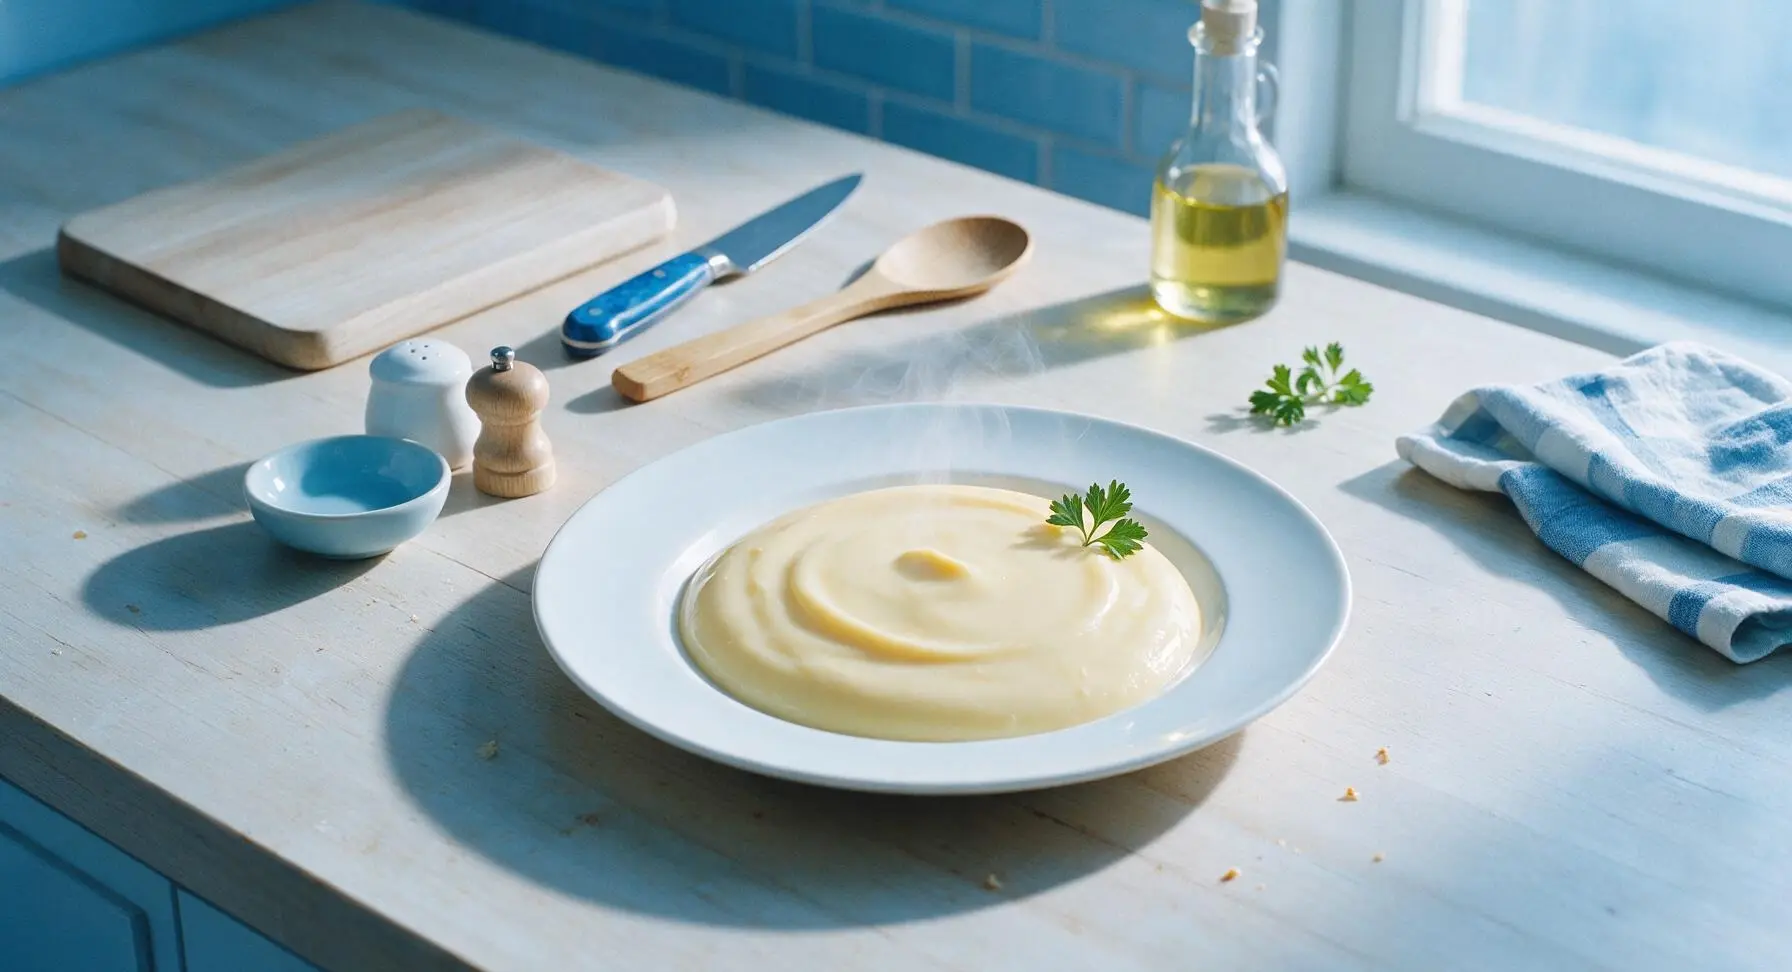
This shelf-stable dairy-free pudding mix makes rich, silky vanilla pudding in minutes, with no artificial additives. It’s perfect for quick weeknight desserts, homemade jar gifts, or holiday baking prep.

Ingredients
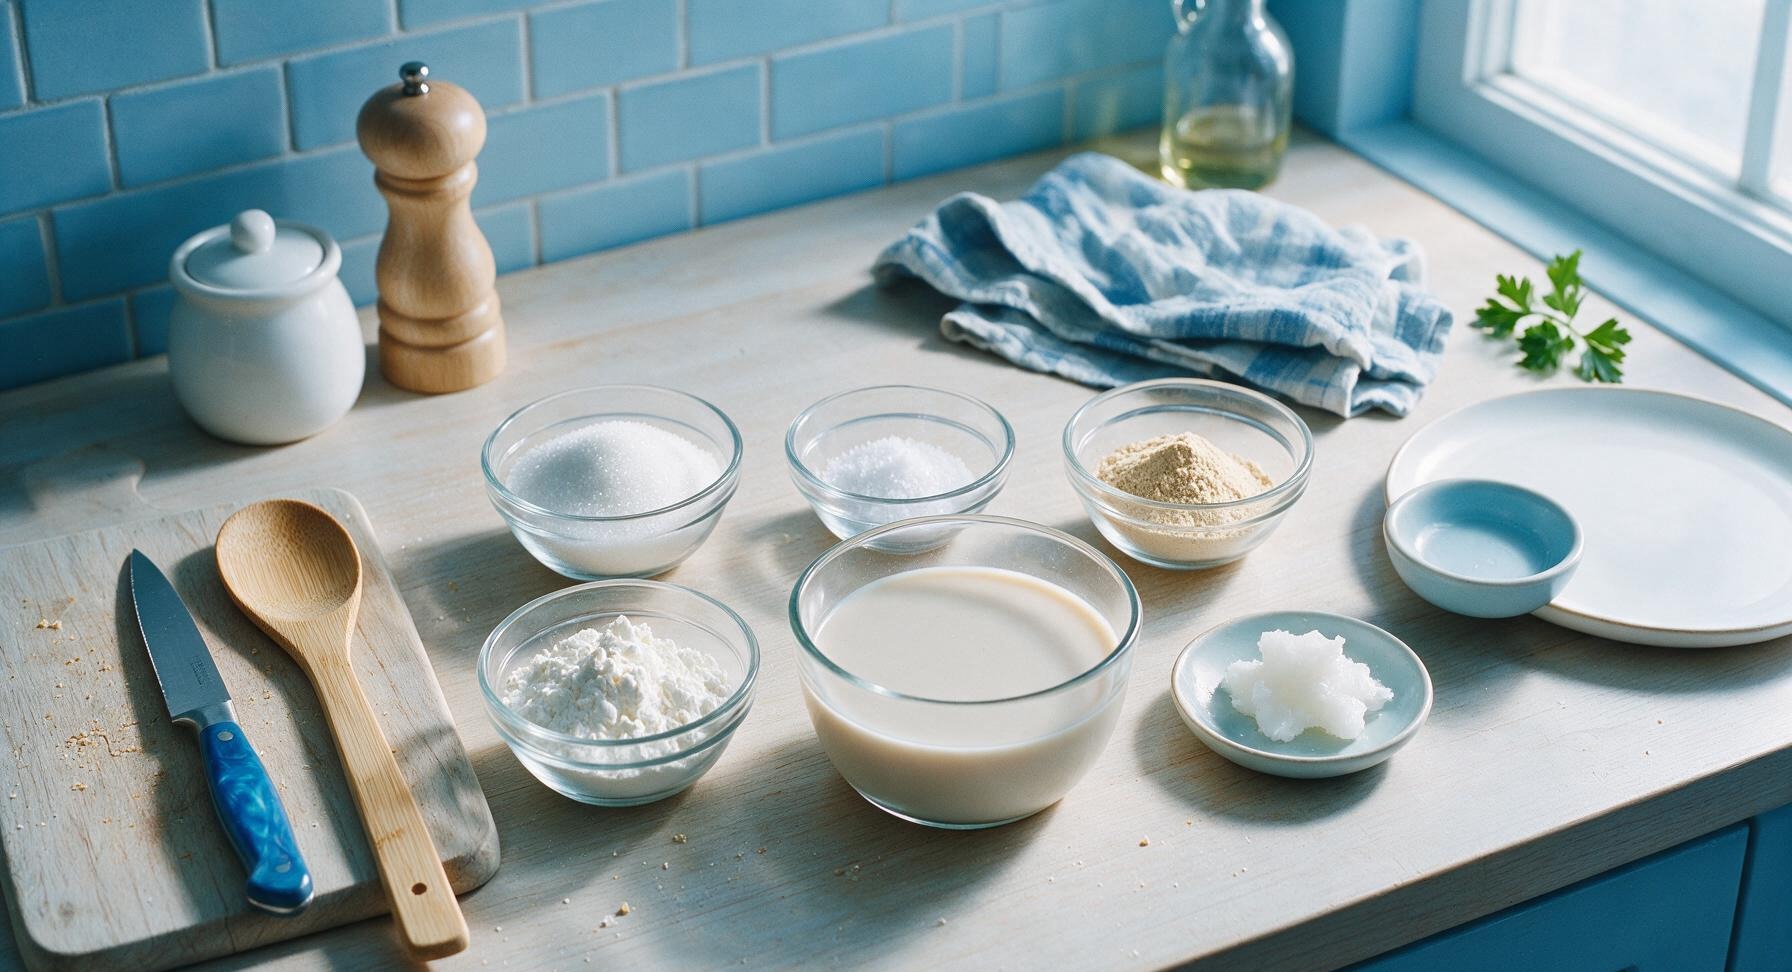
Granulated white sugar 1/2 cup (100g)
Cornstarch 1/3 cup (40g)
Fine sea salt 1/4 tsp
Pure vanilla powder 1 tsp
Unsweetened plain oat milk 2 cups (480ml)
Refined coconut oil 1 tbsp (14g)

Steps

1

Measure Dry Ingredients

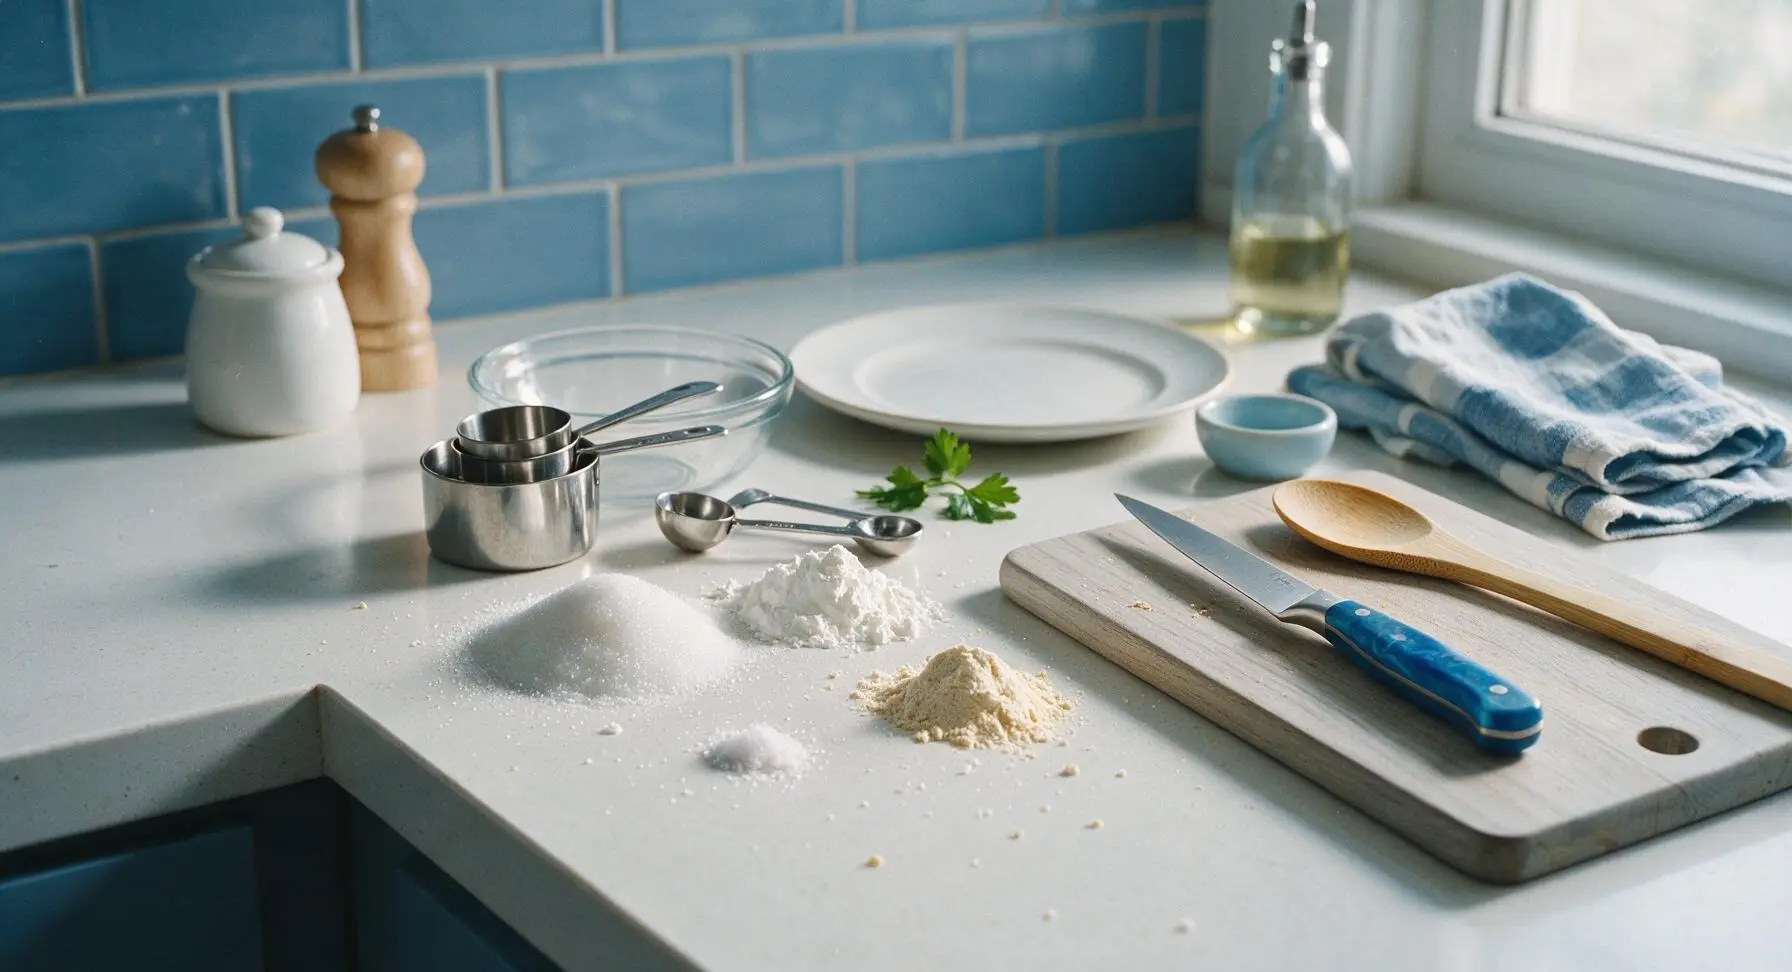
Use the polished stainless steel measuring cups and spoons to portion 1/2 cup (100g) granulated sugar, 1/3 cup (40g) cornstarch, 1/4 tsp fine sea salt, and 1 tsp pure vanilla powder into separate small piles on the clean counter. Brush any stray sugar or starch granules into a small pile for easy cleanup as you go.
Step 1
step1:Measure Dry Ingredients
2

Sift Dry Components

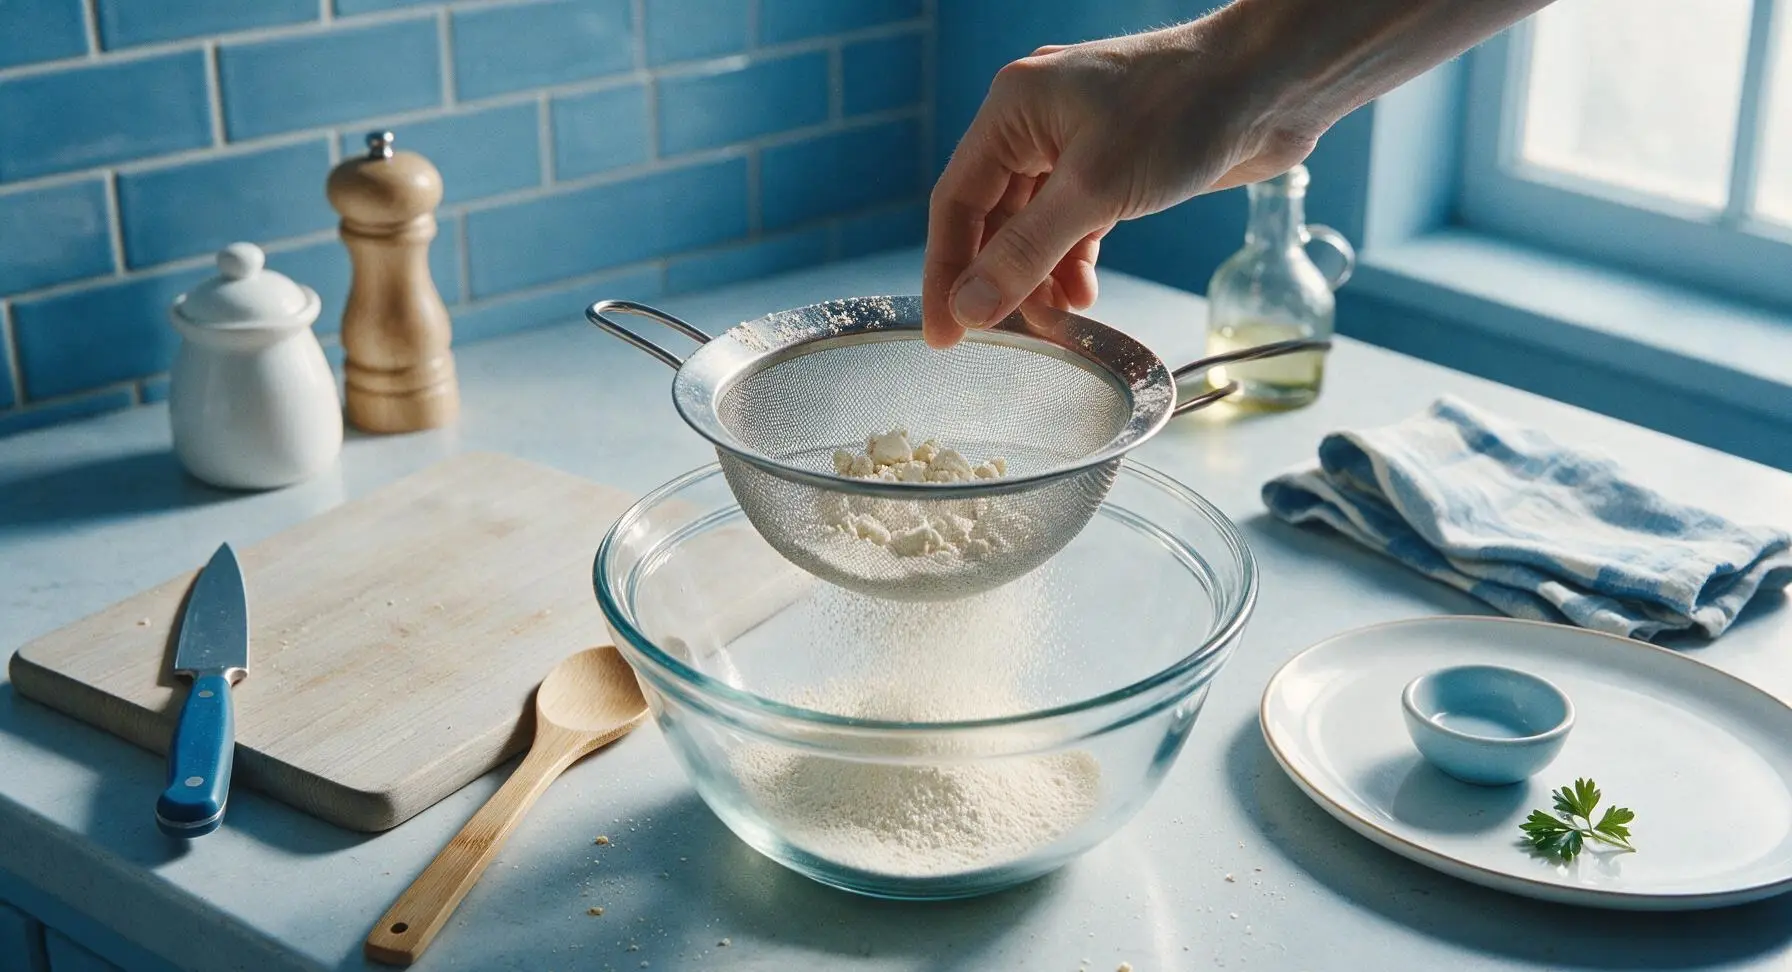
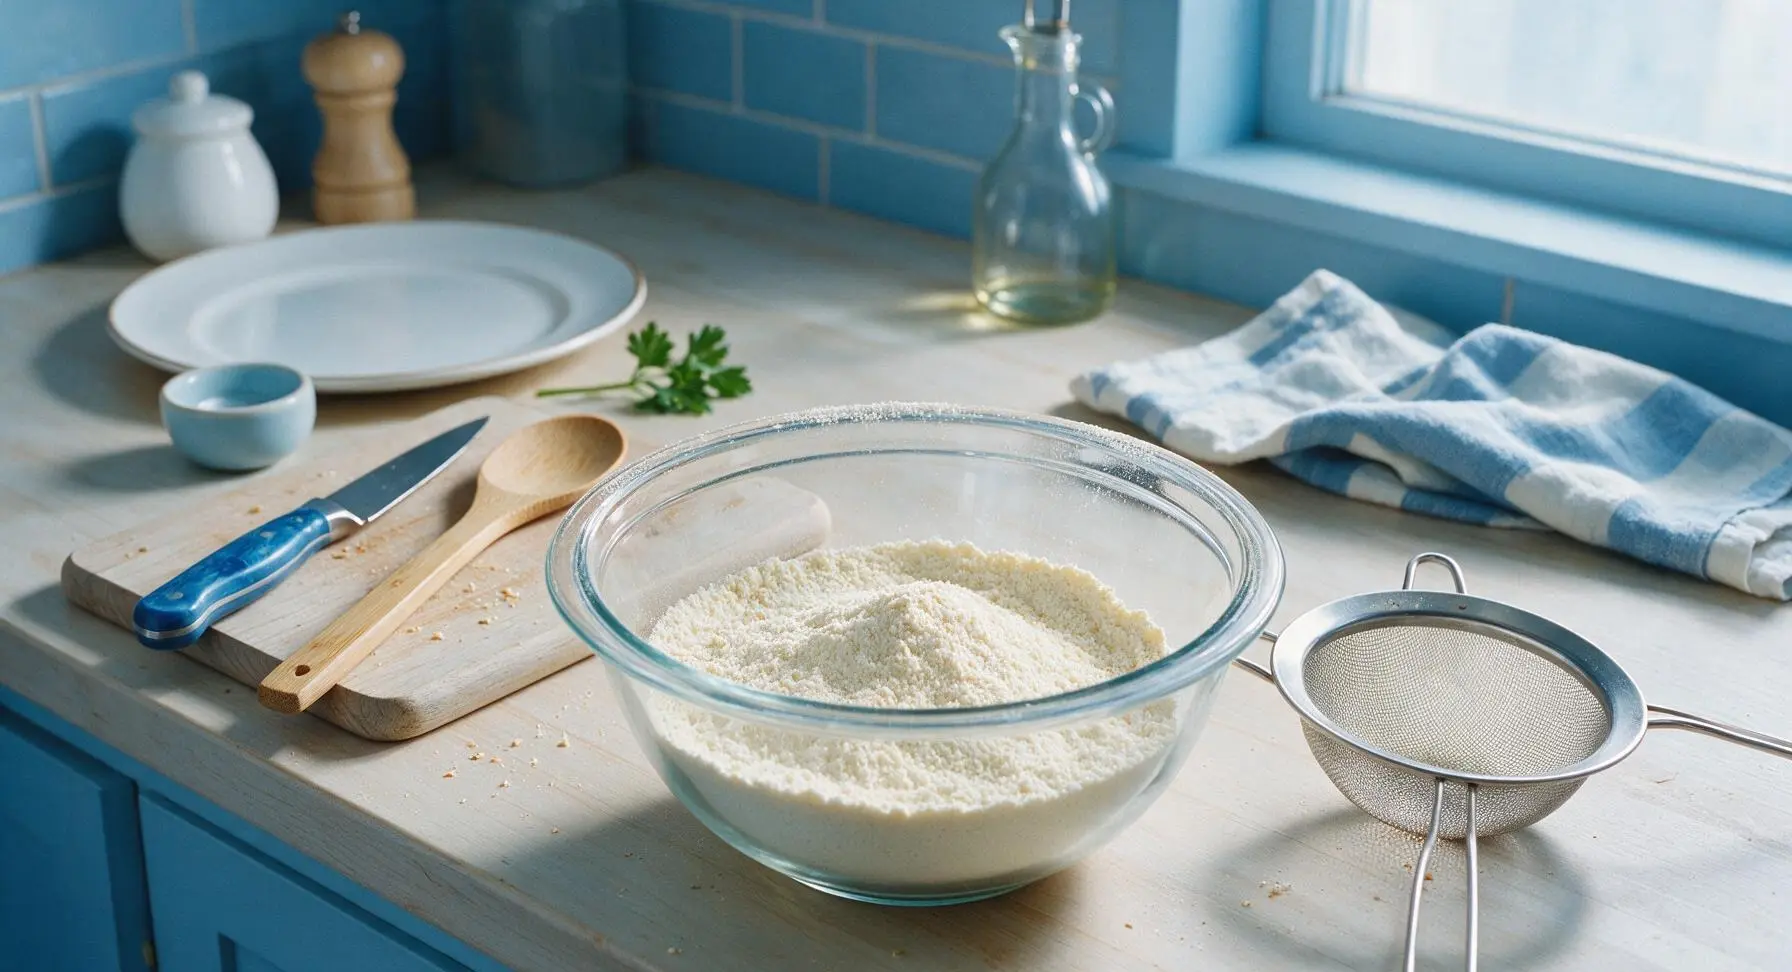
Set the 15cm stainless steel fine-mesh sieve over the 1-quart clear glass mixing bowl. Add all measured dry ingredients to the sieve, and tap the sieve edge gently with your hand to sift the powders into the bowl below, pressing any small lumps of cornstarch or vanilla powder through the mesh with the silicone spatula. Sifting eliminates lumps that would cause clumpy pudding later.
Step 2
step2:Sift Dry Components
Step 2
step2:Sift Dry Components
3

Whisk for Even Blend

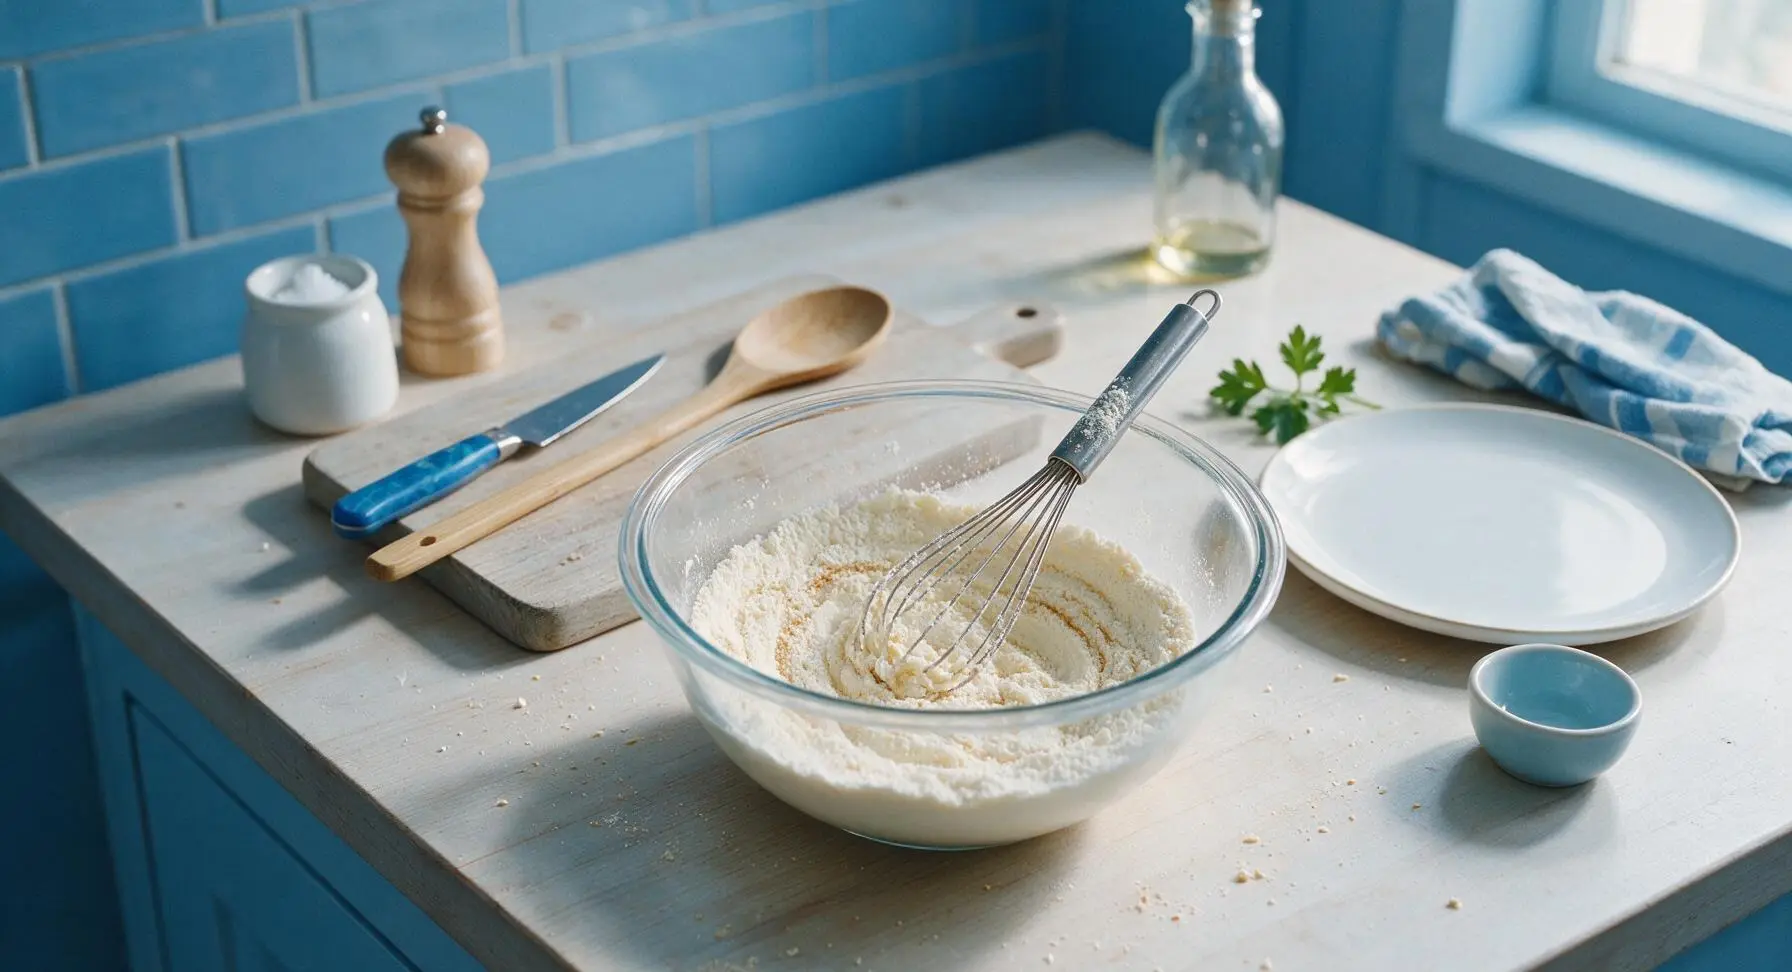
Use the 20cm small stainless steel whisk to stir the sifted dry ingredients for 30-45 seconds, until the slightly darker vanilla powder is fully and evenly distributed throughout the sugar and cornstarch. The finished mix will be a consistent pale cream color with no darker streaks.
Step 3
step3:Whisk for Even Blend
4

Transfer Mix to Storage

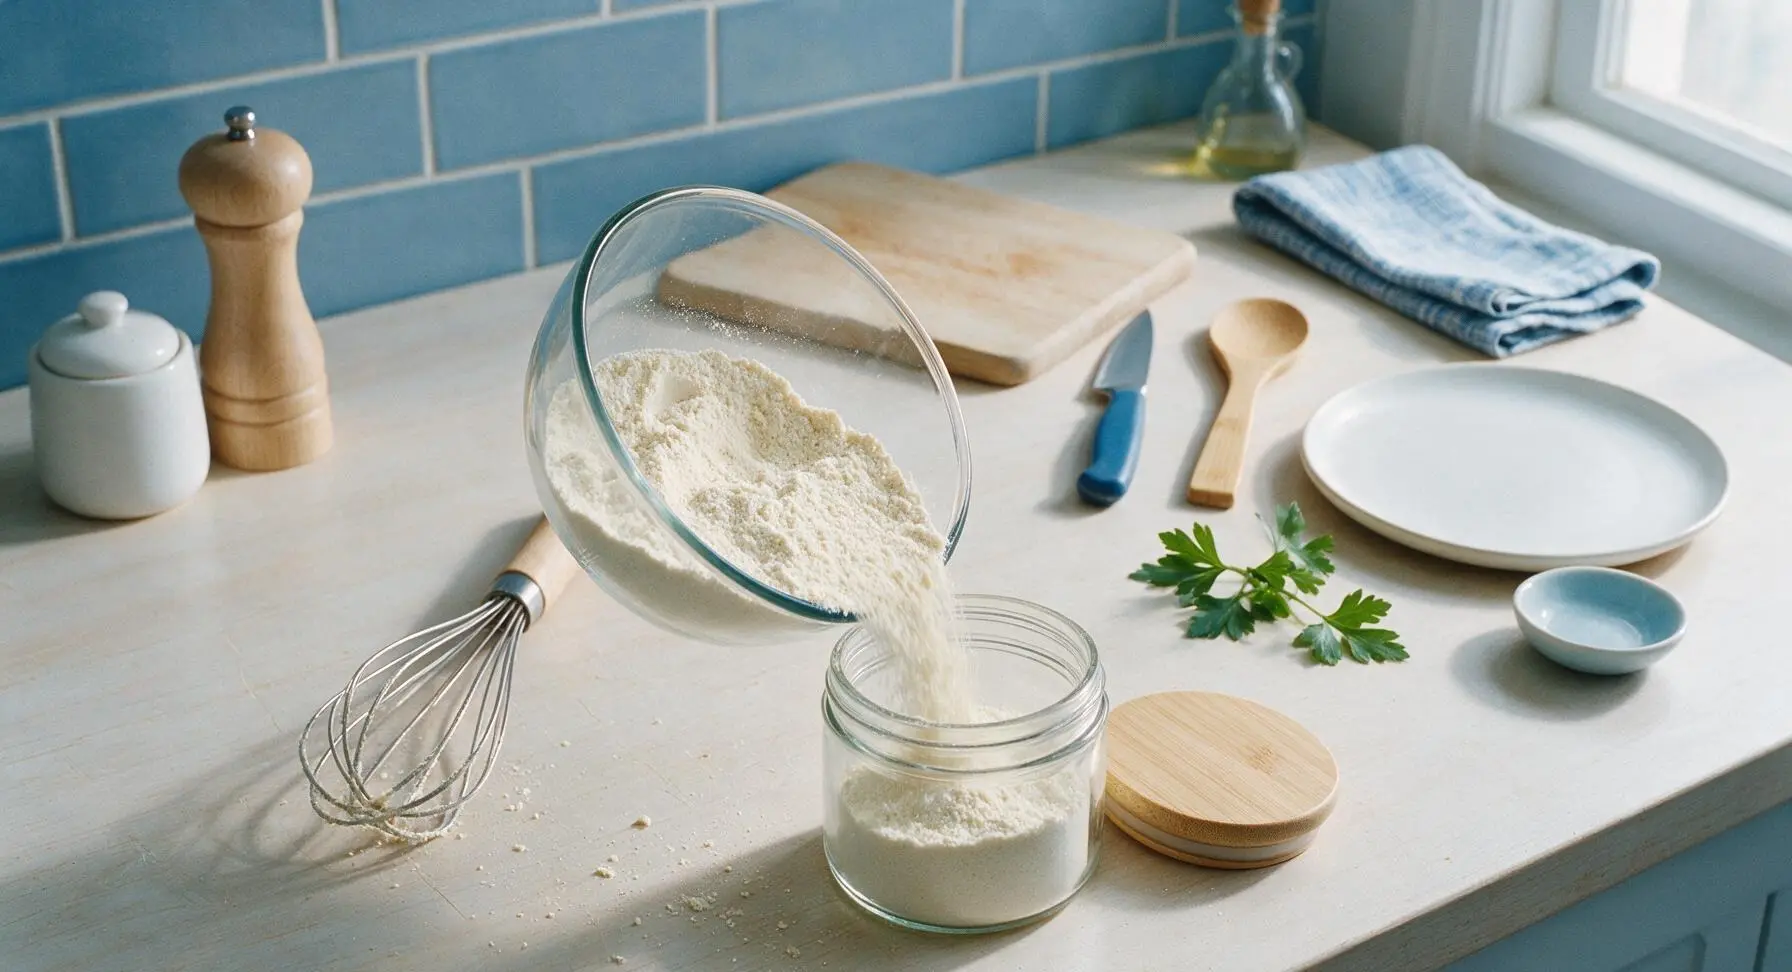
If not making pudding immediately, carefully pour the fully blended dry pudding mix into the 1-pint clear glass storage jar with the tight-sealing bamboo lid. Wipe any stray powder from the jar rim, seal tightly, and store in a cool, dark pantry for up to 6 months. This full batch of mix makes 4 servings of finished pudding.
Step 4
step4:Transfer Mix to Storage
5

Blend Mix with Oat Milk

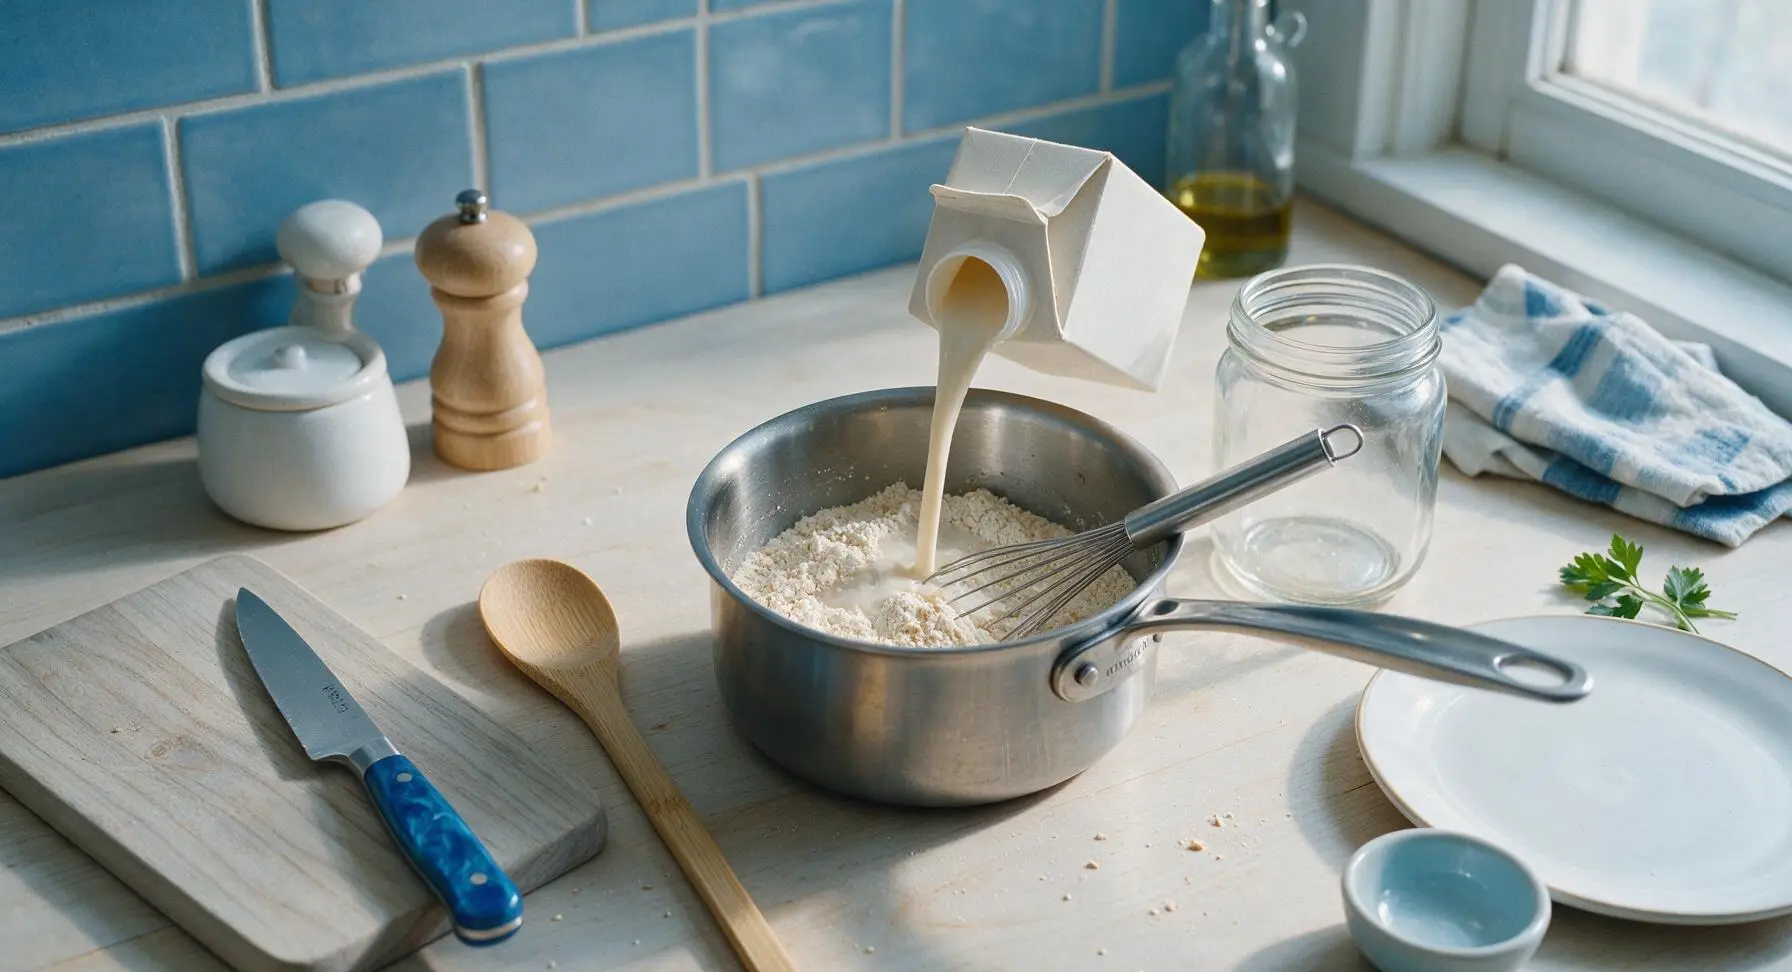
When ready to prepare pudding, pour the full batch of dry mix into the 1.5-quart stainless steel saucepan set on the cool counter. Slowly pour in 2 cups (480ml) of unsweetened plain oat milk (or your preferred unsweetened dairy free milk: soy, almond, or coconut beverage all work well), whisking constantly with the small stainless steel whisk to fully dissolve the dry mix, with no remaining clumps of powder at the bottom of the pan.
Step 5
step5:Blend Mix with Oat Milk
6

Cook Until Thickened

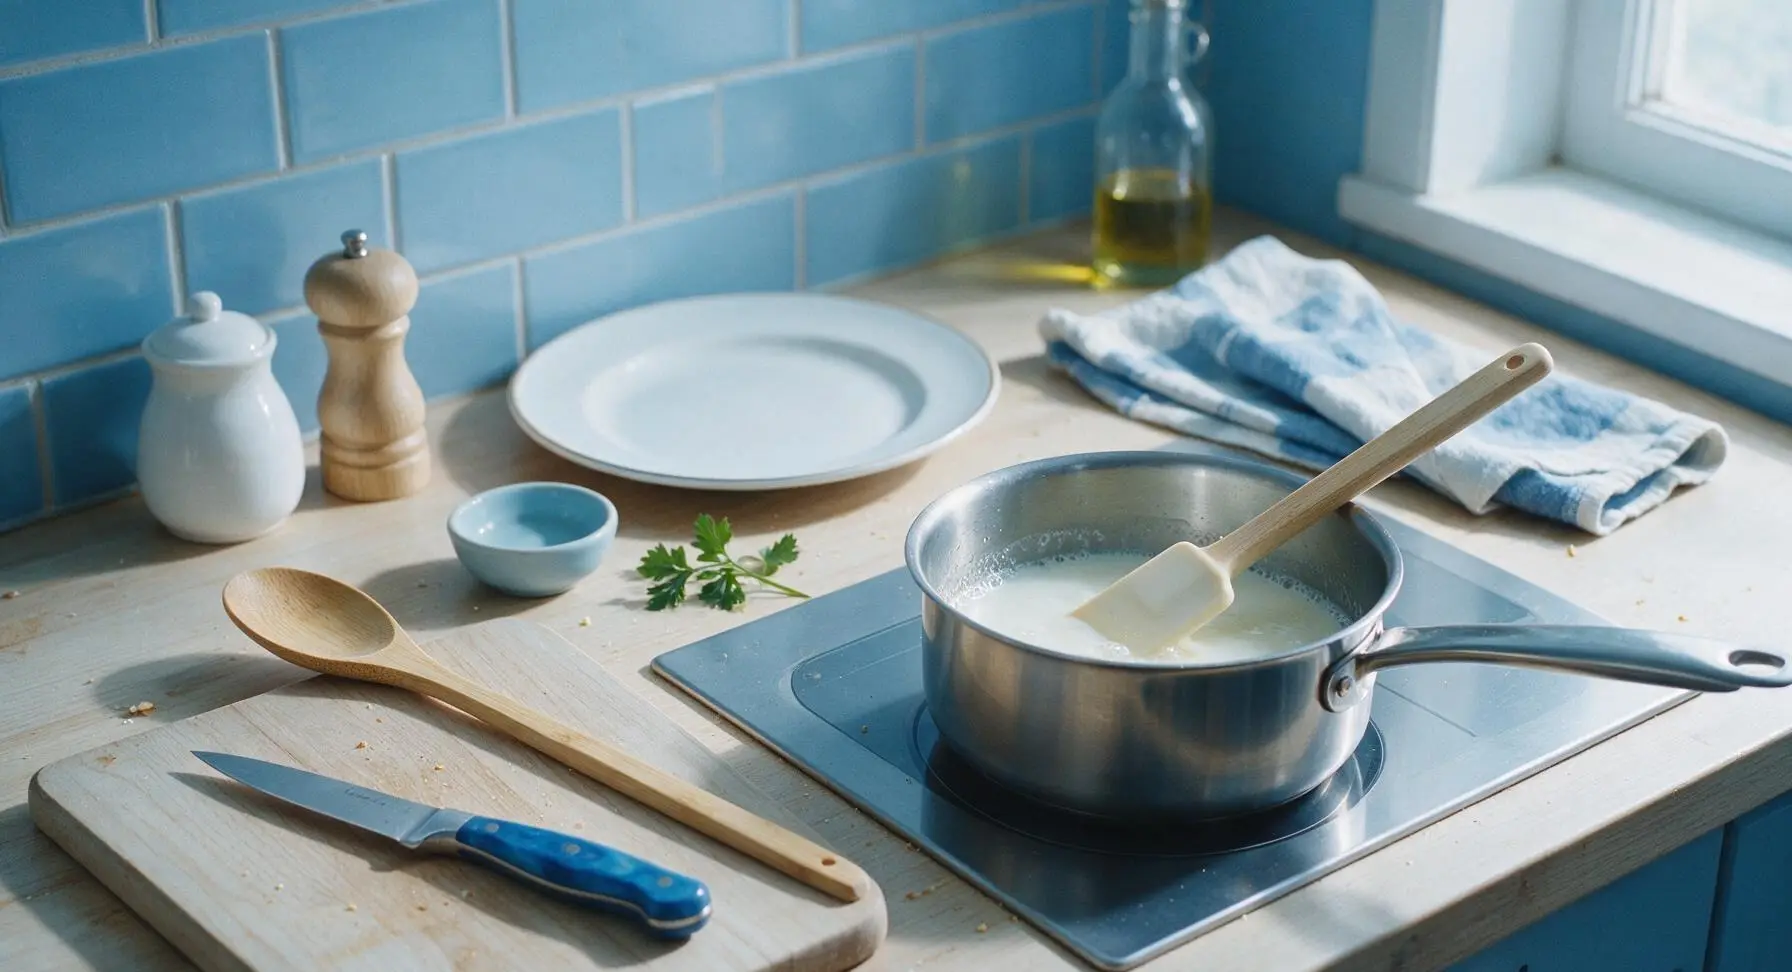
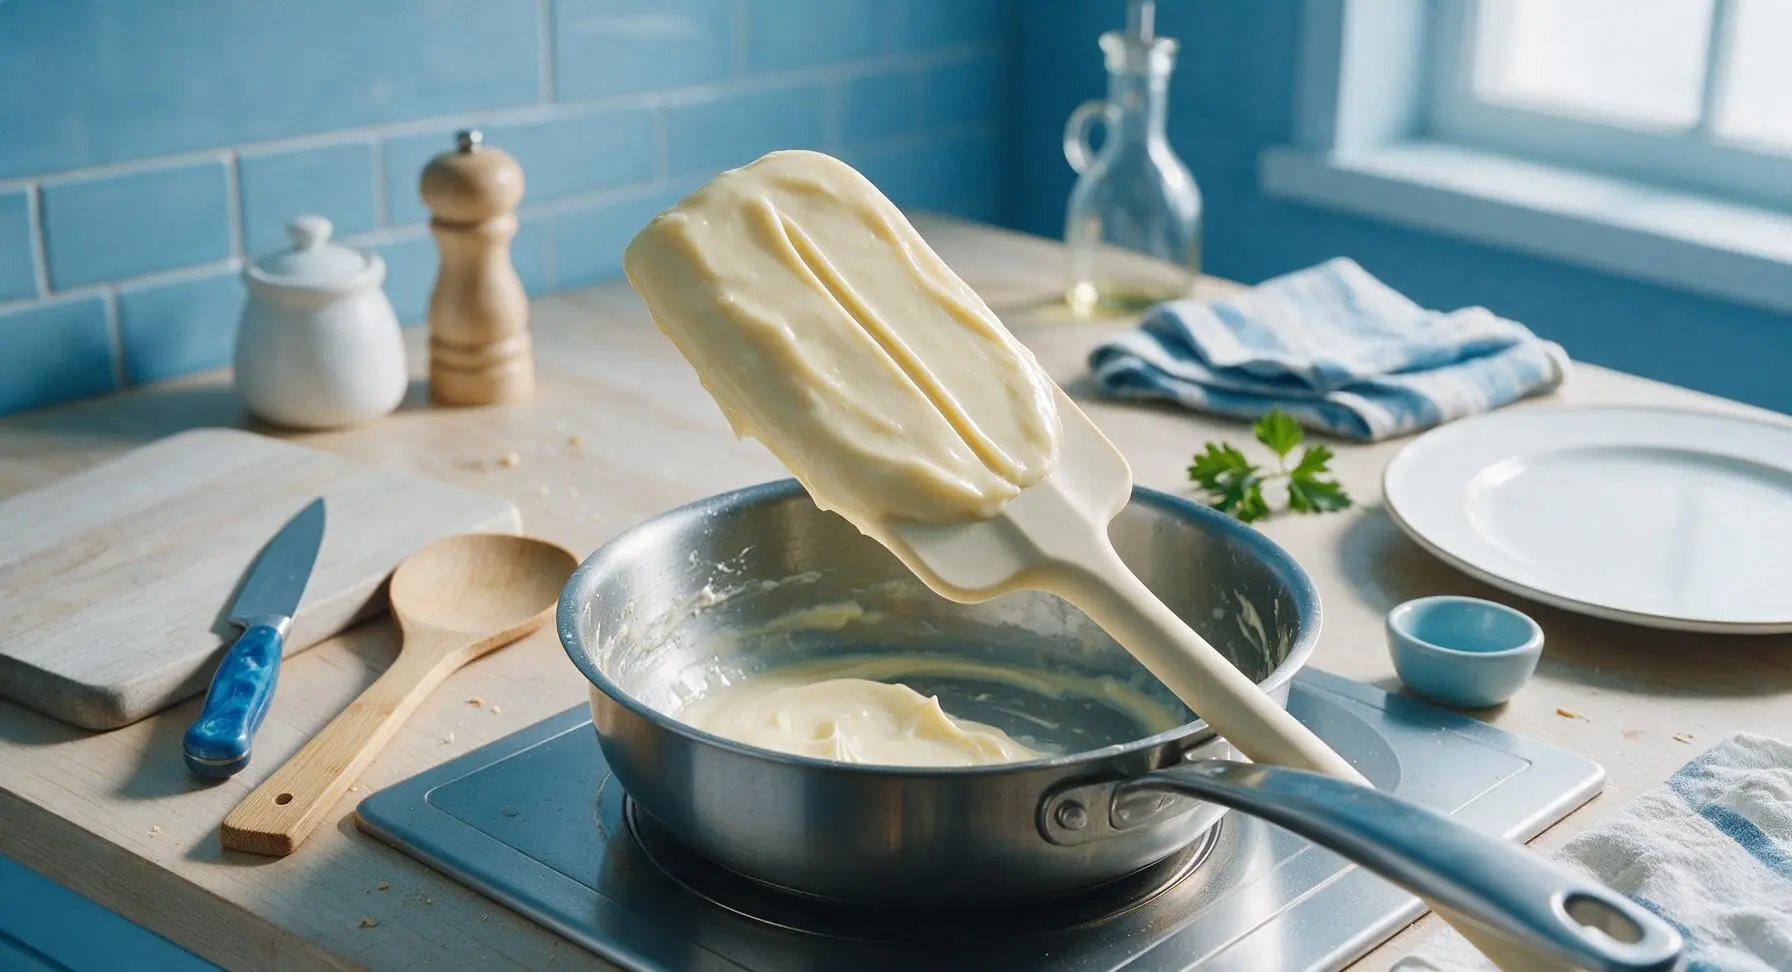
Turn the flush-mounted induction burner to medium-low heat. Cook the pudding mixture, stirring constantly with the matte cream silicone spatula and scraping the entire bottom and corners of the pan to prevent scorching, for 3-4 minutes. The pudding is done when it reaches a gentle, rolling bubble and thickens enough to coat the back of the spatula; a line drawn through the coating with your finger will hold its shape cleanly without running.
Step 6
step6:Cook Until Thickened
Step 6
step6:Cook Until Thickened
7

Stir in Coconut Oil

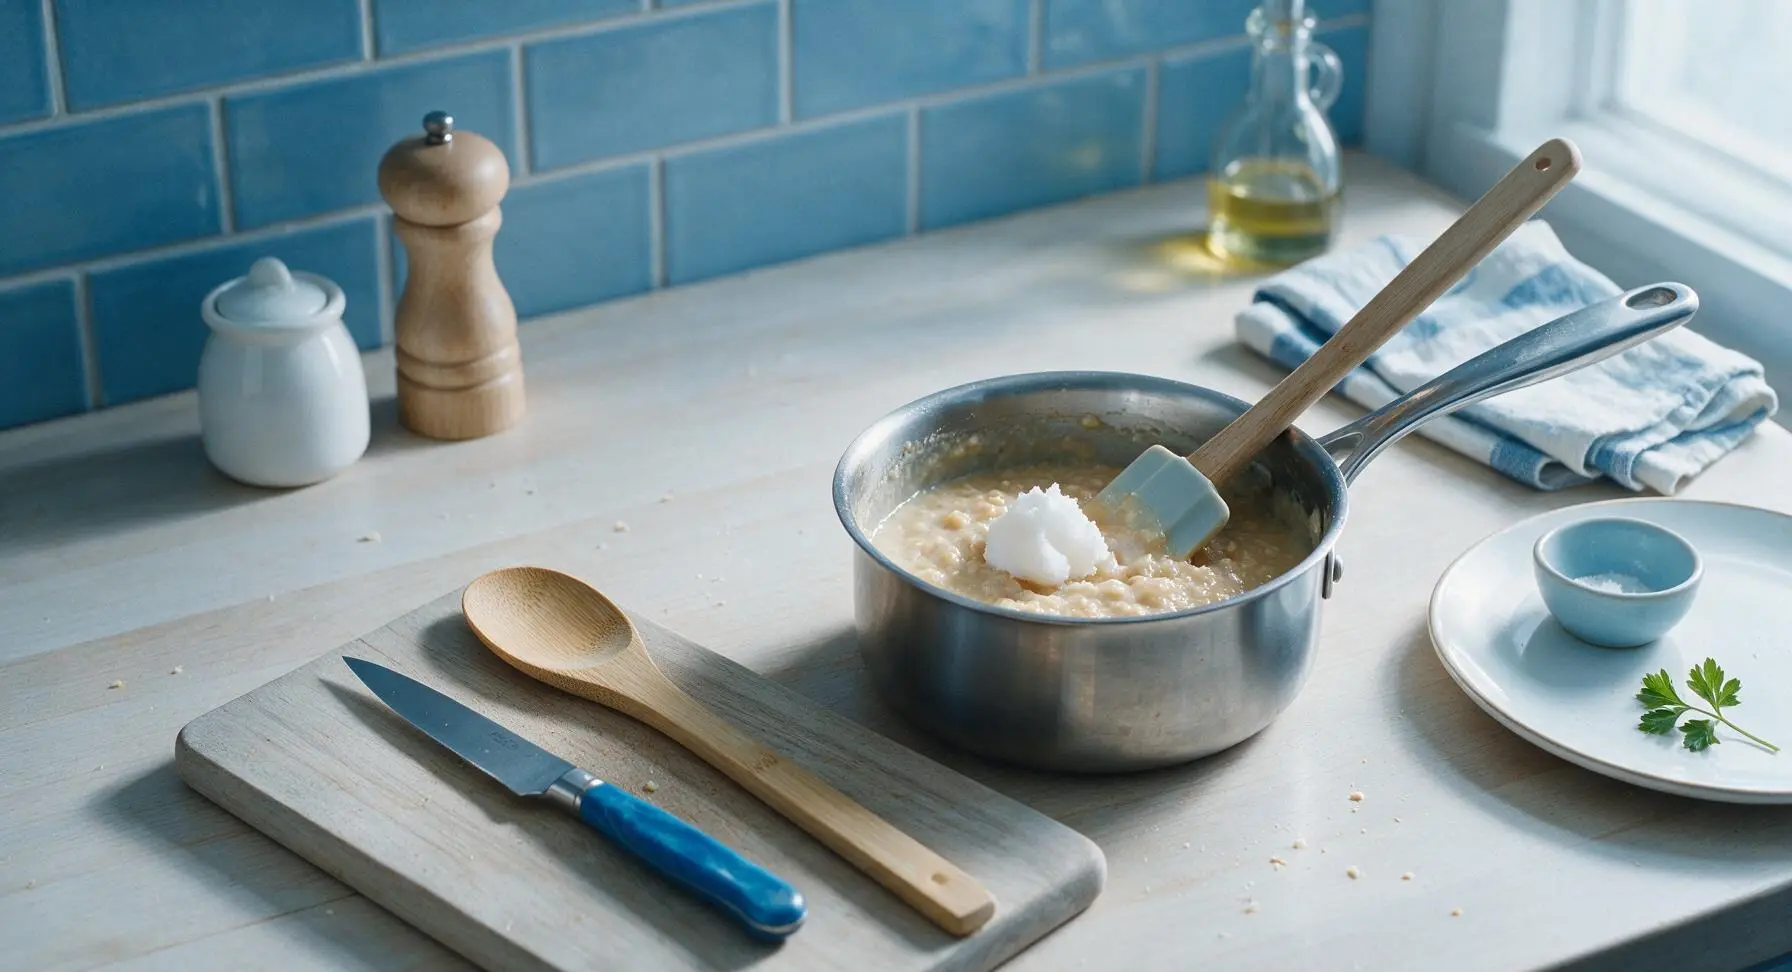
Turn off the heat and move the saucepan off the burner to the cool section of the counter. Add 1 tablespoon (14g) of refined coconut oil (or neutral-flavored dairy free butter substitute) to the hot pudding, stirring gently with the spatula until the oil is fully melted and incorporated, which creates a rich, silky, non-grainy mouthfeel without any dairy.
Step 7
step7:Stir in Coconut Oil
8

Chill and Set Pudding

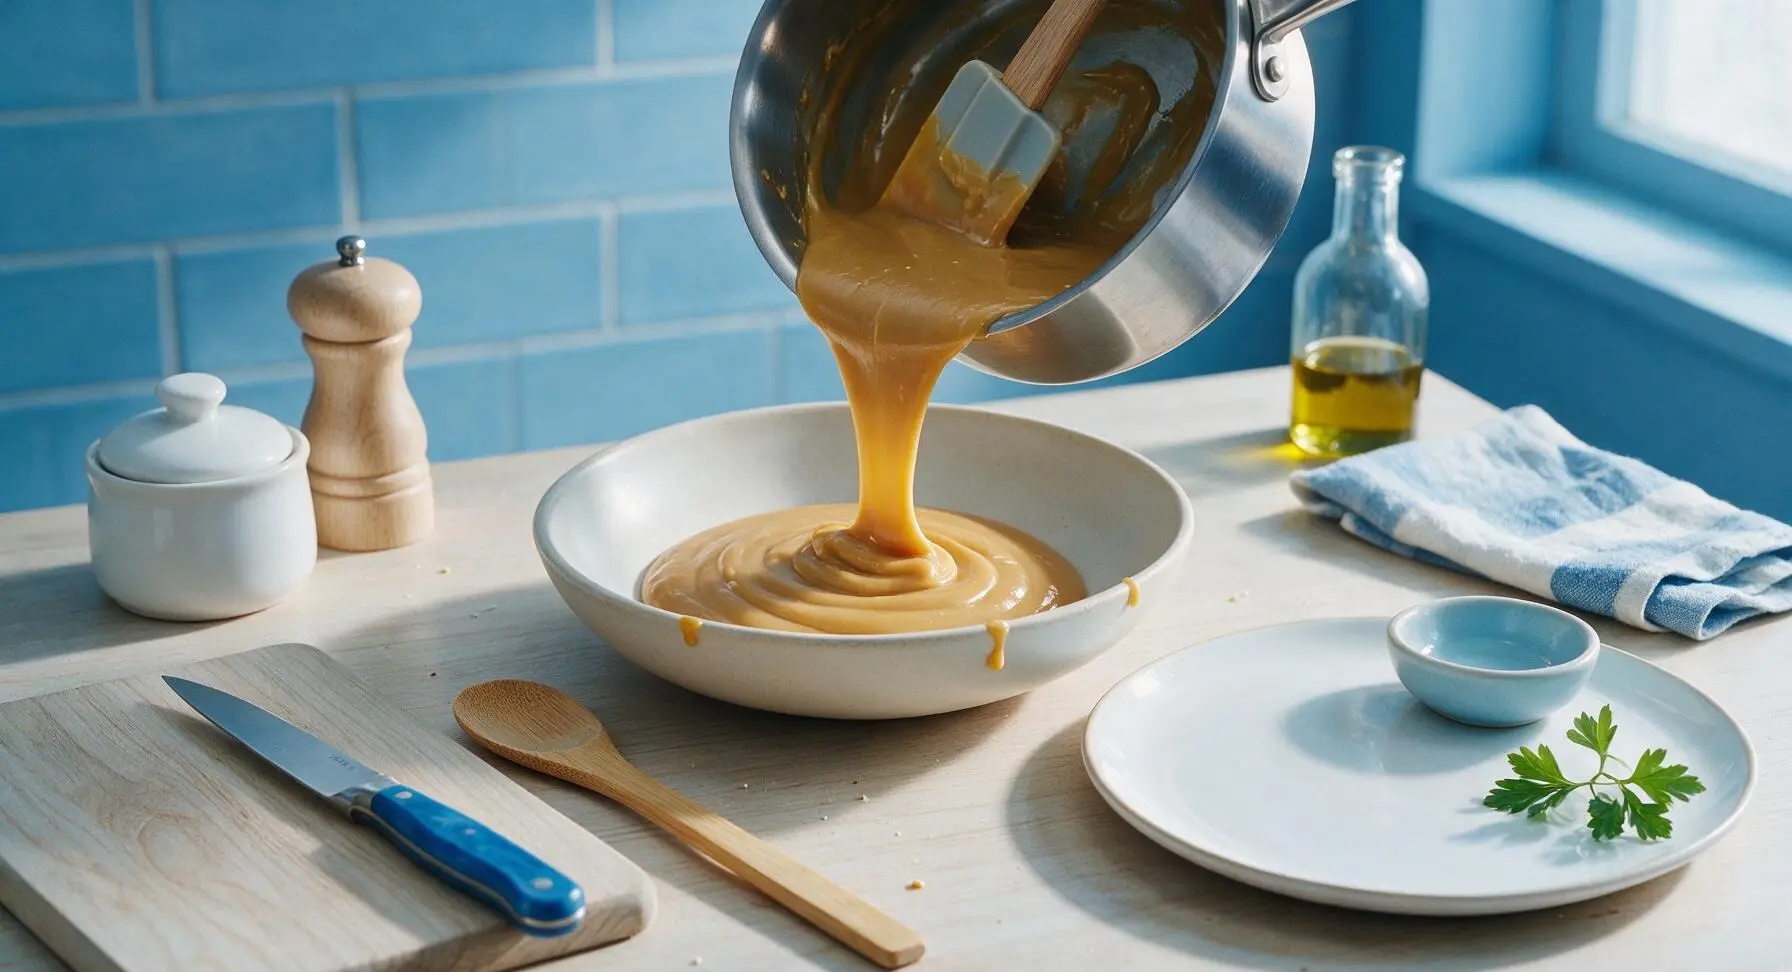
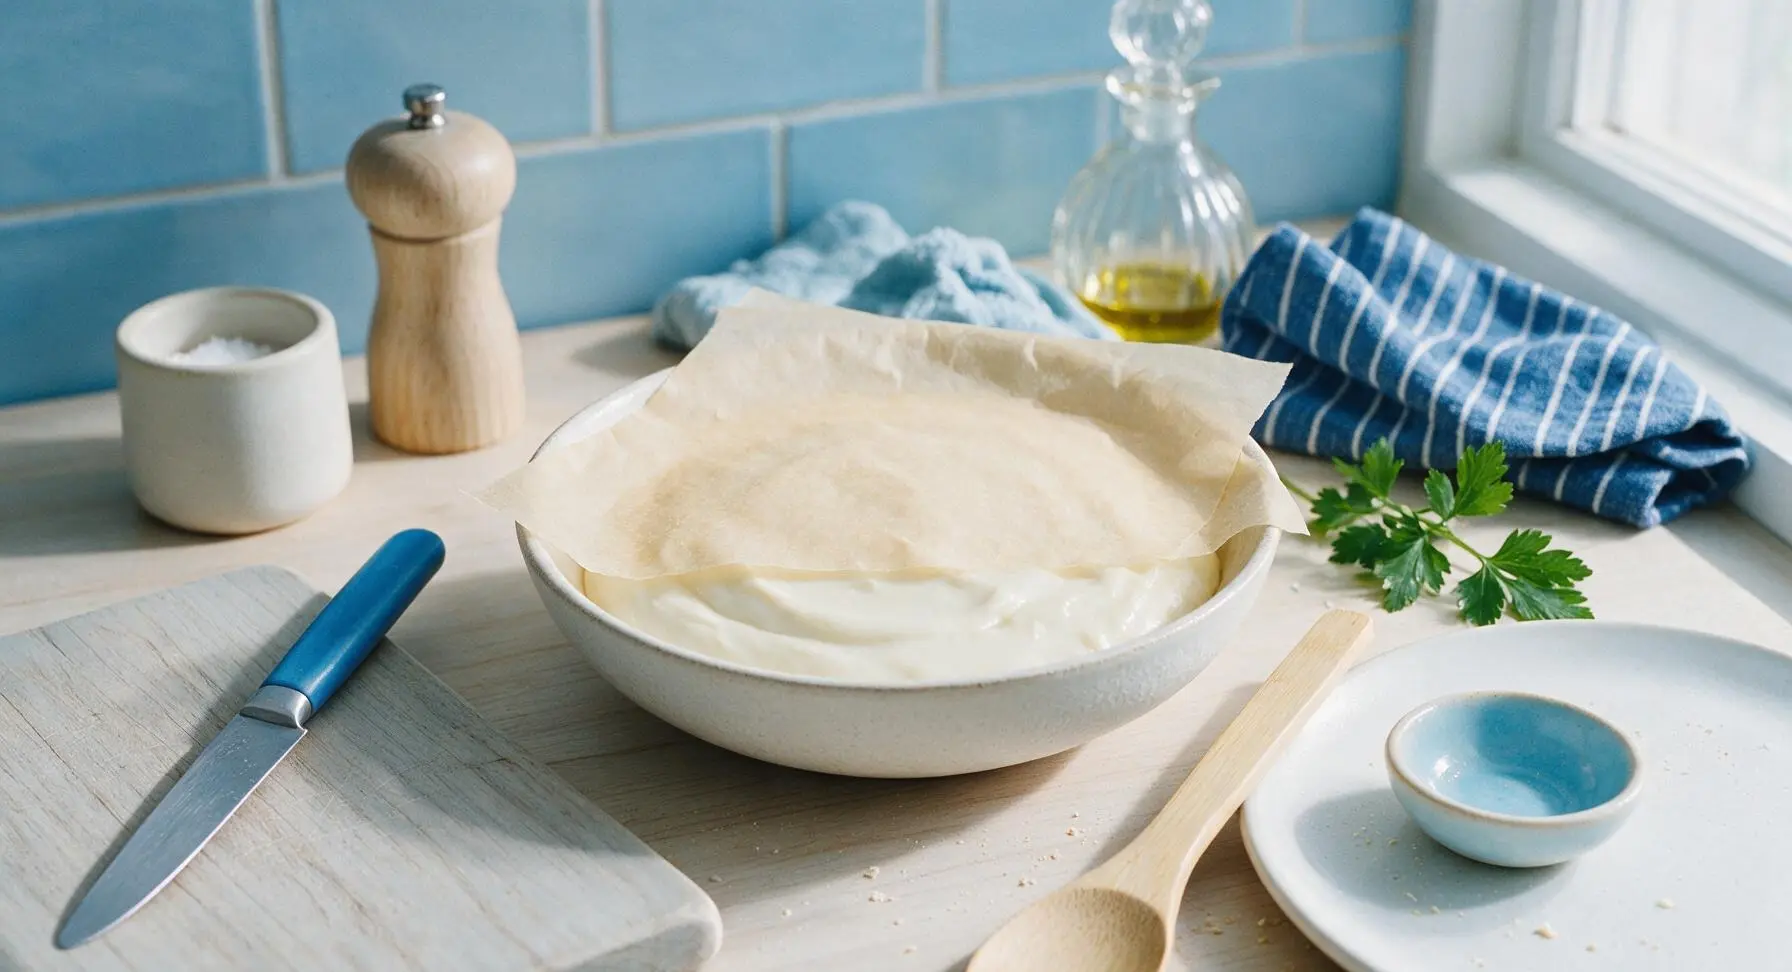
Pour the warm, thick pudding into the 22cm matte off-white ceramic shallow serving bowl. Pull a sheet of unbleached parchment paper from the roll in the utensil holder, and press it directly against the entire exposed surface of the pudding (this prevents a tough, rubbery skin from forming as it cools). Refrigerate for 2 full hours, until the pudding is firm to the touch and fully set to a soft, scoopable consistency. Remove the parchment before serving.
Step 8
step8:Chill and Set Pudding
Step 8
step8:Chill and Set Pudding

Tips

1.For chocolate pudding mix, add 3 tbsp (18g) of unsweetened Dutch-process cocoa powder to the dry ingredients before sifting; the cocoa replaces an equal volume of cornstarch to keep the thickening power consistent, so you won’t end up with runny chocolate pudding.
2.Avoid using homemade or barista-blend oat milk for this recipe, as these often contain added gums or stabilizers that can cause the pudding to turn slimy or grainy when heated; regular shelf-stable unsweetened plain oat milk gives the creamiest, most consistent texture.
3.If you prefer a firmer pudding for parfaits or pie filling, increase the cornstarch to 1/2 cup (60g) in the dry mix; the extra starch creates a sliceable consistency that holds its shape when layered with fruit or cookie crumbs, without becoming gummy.


✨ You May Also Like

Desserts & Baking
🍜 Italy

Creamy, coffee-kissed classic Northern Italian no-bake dessert, with layers of rum-spiked mascarpone cream, soft ladyfingers, and a rich cocoa dusting.

⏱️ 4 hours 3Desserts & Baking ★ 4.7
Desserts & Baking
🍜 France

Flaky, shatteringly crisp, buttery French croissants with golden exteriors and soft, airy layered interiors, perfect for pairing with coffee for a special morning treat.

⏱️ 12 hours Desserts & Baking ★ 4.5
Desserts & Baking
🍜 United States

Warm, spiced baked apples topped with a fluffy golden biscuit crust, this cozy dessert pairs perfectly with vanilla ice cream for cool-weather comfort.

⏱️ 55 minuteDesserts & Baking ★ 4.6
Desserts & Baking
🍜 United States

A star-spangled classic American blueberry pie with buttery flaky crust and bright sweet-tart filling, perfect for summer patriotic gatherings.

⏱️ 1 hour 25Desserts & Baking ★ 4.7
Desserts & Baking
🍜 United States

A beloved no-bake regional Maine candy with a chewy coconut-potato center coated in rich dark chocolate, a New England holiday staple since the 1870s.

⏱️ 2 hours 3Desserts & Baking ★ 4.8
Desserts & Baking
🍜 France

Luxuriously creamy, floral frozen custard made with aromatic Tahitian vanilla beans, boasting a smooth, rich texture that melts slowly on the tongue.

⏱️ 3 hours 3Desserts & Baking ★ 4.5

dairy free pudding mix:Frequently Asked Questions

1.How long does the dry homemade dairy-free pudding mix stay fresh in the pantry? ▾
When sealed in an airtight, moisture-proof container in a cool, dark pantry away from stove heat or direct sun, the dry mix stays fresh for up to 6 months. Always use a completely dry measuring scoop to dip into the mix to avoid introducing moisture that causes clumping or early spoilage. Give the jar a quick shake before each use to evenly redistribute the fine vanilla powder.
2.Can I use a non-dairy milk other than unsweetened plain oat milk to make the pudding? ▾
Absolutely! Unsweetened soy milk works almost identically to oat milk for a rich, silky texture, as it has a similar protein and fat content. Almond, coconut, or cashew milk work too, but note that lighter, lower-fat milks will produce slightly thinner, less creamy pudding, so add 1 extra teaspoon of cornstarch per serving to compensate.
3.What are the basic steps to turn the dry mix into finished vanilla pudding? ▾
For 4 servings, whisk 1 cup of the dry mix with 4 cups of cold oat milk in a small saucepan until completely smooth. Cook over medium heat, whisking constantly, until the mixture comes to a gentle rolling boil, then boil for 1 full minute to activate the cornstarch. Remove from heat, pour into serving dishes, and chill for 2 hours before serving.
4.Can I make this mix with a sugar substitute for lower-sugar diets? ▾
Yes, you can swap the granulated white sugar for a 1:1 granulated baking sugar substitute, like an erythritol blend or allulose. Skip liquid sweeteners entirely, as they will add moisture to the dry mix and ruin its shelf stability. Note that sugar-free pudding made with these substitutes may have a slightly firmer set than the original recipe.
5.Why is my finished pudding lumpy instead of smooth and silky? ▾
Lumps almost always happen when you don’t fully whisk the dry mix into cold milk before turning on the heat, or when you pause whisking as the pudding cooks. To fix lumpy pudding, pour it through a fine-mesh sieve into your serving dishes immediately after cooking, pressing gently with a spatula to catch and discard clumps before chilling.
6.Can I use vanilla extract instead of pure vanilla powder in the dry mix? ▾
Skip adding vanilla extract to the dry mix, as its liquid content will introduce moisture, cause clumping, and cut the mix’s shelf life dramatically. If you only have vanilla extract on hand, leave vanilla out of the dry mix entirely, and stir 2 teaspoons of pure vanilla extract into the cooked pudding right after you remove it from the heat.
7.Is this pudding mix suitable for homemade jar gifts? ▾
It makes a fantastic homemade jar gift! Layer the measured dry ingredients in a clean, completely dry 1-pint mason jar, tap gently to settle each layer, and seal with a tight lid. Attach a small tag with cooking instructions, noting the recipient will need their own non-dairy milk to make the pudding. The sealed mix stays gift-ready for up to 4 months.
8.Can I adjust the mix to make chocolate dairy-free pudding? ▾
Definitely! For a chocolate version of the mix, add ½ cup of unsweetened Dutch-process cocoa powder to the dry ingredient blend, and whisk thoroughly to combine it evenly with the sugar, cornstarch, salt, and vanilla powder. The finished chocolate pudding will have the same rich, silky texture and cook time as the vanilla version, with no extra adjustments needed.
9.My pudding didn’t set properly—what went wrong? ▾
Pudding fails to set most often because the cornstarch wasn’t fully cooked. You need to bring the pudding to a full, gentle rolling boil (where bubbles break across the whole surface) and hold it there for 60 seconds of constant whisking to activate cornstarch’s thickening power. If you used very low-fat milk, add 1 extra tablespoon of cornstarch to the mix next time.
10.Can I use this mix in baking recipes that call for commercial instant vanilla pudding mix? ▾
Yes, it works beautifully as a 1:1 replacement for commercial dairy-free instant pudding mix in no-bake pies, cookie fillings, or pudding pops. Just cook the pudding as directed, let it cool to room temperature with plastic wrap pressed directly to the surface to prevent a skin, then use as directed in your holiday baking recipe.
11.Do I need to refrigerate finished pudding made from this mix? ▾
Yes, any prepared pudding made from this mix should be stored in a sealed container in the refrigerator for up to 4 days. Press a piece of plastic wrap directly to the surface of the pudding before putting the lid on to prevent a thick, rubbery skin from forming as it chills. Do not leave prepared pudding out at room temperature for more than 2 hours for food safety.
12.Is this pudding mix naturally gluten-free? ▾
The base mix is naturally gluten-free as written, as long as you confirm your cornstarch, vanilla powder, and salt are certified gluten-free to avoid cross-contamination from shared manufacturing equipment. Double-check that the non-dairy milk you use to prepare the pudding is also labeled gluten-free, as some oat milks contain trace gluten from cross-contact with wheat.
13.What’s the purpose of the fine sea salt in the sweet pudding mix? ▾
The small amount of fine sea salt doesn’t make the pudding taste salty—it actually amplifies the sweetness of the sugar and the warm, rich flavor of the vanilla, cutting through the starchy blandness that can come from cornstarch-thickened desserts. If you only have regular table salt on hand, use half the measured amount, as table salt is denser and sharper.
14.Can I make a single serving of pudding instead of a whole batch? ▾
Absolutely! To make one quick serving, whisk ¼ cup of the dry mix with 1 cup of cold oat milk in a small microwave-safe bowl. Microwave in 30-second bursts, whisking well between each, until the pudding thickens and comes to a gentle boil, then let it chill for 30 minutes before eating. This is perfect for fast weeknight dessert cravings.
15.How do I prevent a thick skin from forming on top of the pudding as it chills? ▾
A skin forms when the top layer of pudding is exposed to air and evaporates as it cools. You can prevent this entirely by pressing a piece of plastic wrap or parchment paper directly onto the surface of the warm pudding right after you pour it into serving dishes, making sure there are no air gaps between the wrap and the pudding. Peel the wrap off right before serving.
16.Can I swap cornstarch for arrowroot starch to make a corn-free mix? ▾
Yes, you can swap cornstarch for an equal amount of arrowroot starch to make a corn-free mix that works almost identically. Note that arrowroot thickens at a slightly lower temperature than cornstarch, so don’t boil the pudding for a full minute once it thickens—remove it from heat as soon as it reaches a gentle simmer to avoid a gummy, slimy texture.
17.How do I avoid a starchy, raw cornstarch aftertaste in my finished pudding? ▾
That starchy aftertaste happens when you don’t cook the cornstarch long enough to break down its raw starch molecules. Make sure you bring the pudding to a full rolling boil for a full minute, as the high heat cooks out that raw starch flavor. Using pure vanilla powder (not imitation vanilla) also helps mask faint starchy notes for a richer, rounded flavor.
18.Can I stir in mix-ins like fruit or chocolate chips to the pudding? ▾
Absolutely! Wait to add mix-ins until after the pudding is done cooking and has cooled for about 10 minutes, so they don’t sink or melt unevenly. Fresh berries, crushed dairy-free chocolate chips, toasted coconut flakes, chopped nuts, or a dash of cinnamon all work beautifully. Drain wet mix-ins like canned fruit first to avoid thinning the pudding’s set.
19.Why did my pudding turn out rubbery and overly firm after chilling? ▾
A rubbery, overly firm texture usually means you used too much cornstarch, or you cooked the pudding for too long after it reached a boil, which over-concentrates the starch. Next time, measure your cornstarch precisely with a level measuring cup, and start timing your 1-minute boil as soon as consistent rolling bubbles appear across the whole pan surface.
20.Can I use this mix to make creamy frozen dairy-free pudding pops? ▾
Yes, it makes incredibly creamy, smooth dairy-free pudding pops with no gritty icy texture. Cook the pudding as directed, let it cool to room temperature, then pour it into popsicle molds, add sticks, and freeze for 4 to 6 hours until solid. For extra fun, swirl in a spoonful of dairy-free chocolate spread or fruit jam before freezing for a flavored center.

Comments (13)

2 days ago

OMG I’ve been buying overpriced dairy-free pudding cups for my son’s lunchbox for months, and this recipe is such a game changer! It only took 5 minutes to mix up the dry batch, and I can stir up fresh pudding in 2 minutes whenever he wants a sweet treat. SO good too — no weird chemical aftertaste like the store-bought dairy-free mixes have. Easy 5-star rating from us! Quick question: is there a way to make this chocolate flavored without messing up the thickening ratios?

yesterday

So glad your family is loving the mix! For chocolate flavor, just whisk 1/3 cup of unsweetened cocoa powder into the dry base — it works perfectly and won’t throw off the thickening texture at all!

2 hours ago

I did the cocoa add-in last week and my kids went absolutely wild for it! I topped bowls with a handful of mini dairy-free chocolate chips for after-school snacks, 10/10 would recommend.

3 days ago

So easy to make in my tiny dorm kitchen! I keep a mason jar of the dry mix on my shelf and just stir it with oat milk when I’m craving something sweet after late study sessions. It’s way cheaper than buying premade pudding cups, and I don’t even have to trek to the dining hall for dessert. 10/10, I’ll be making this all semester long.

1 week ago

Made a big batch of this for our neighborhood block party potluck last weekend! I did vanilla flavor, topped it with fresh strawberries and crushed dairy-free graham crackers for a little crunch, and literally every single person asked me for the recipe. Half the group didn’t even realize it was dairy-free, that’s how rich and creamy it is.

5 days ago

That sounds like the absolute perfect potluck serving idea! Topping with fresh fruit and graham cracker crumble is such a fun, easy upgrade — I’ll have to try that for my next backyard gathering.

5 days ago

Quick question before I make this — does this mix work well with almond milk? I’ve tried other homemade pudding mixes before and they turned out super runny when I used thinner plant milks, and I don’t want to waste a bunch of ingredients if it won’t set right. Fingers crossed it works, this sounds amazing!

3 days ago

I used unsweetened plain almond milk when I made mine last week and it set perfectly! The trick is to make sure you bring it to a gentle simmer while stirring constantly, don’t just mix it with cold milk — that’s where I messed up my first batch of homemade pudding years ago!

2 days ago

Great question! It works beautifully with almond milk — as the previous commenter mentioned, heating it to a light simmer while whisking nonstop will help it thicken up perfectly, no runny, watery texture to worry about.

2 weeks ago

I portioned out single-serve bags of the dry mix to take on my backpacking trips! All I have to do is add hot water from my camp stove, stir for a minute, and I’ve got a warm, creamy treat at the end of a long day on the trail. It’s way lighter than carrying pre-made pudding cups, and the dry mix doesn’t need refrigeration at all. Absolute win for backcountry snacks.

yesterday

My youngest is lactose intolerant and has been so sad lately that he can’t have the same vanilla pudding cups his friends get in their school lunches. I whipped up a batch of this mix last night, let it chill for a couple hours, and he ate two full bowls straight up! Said it tasted even better than the regular kind his friends have. Total dad win over here.

2 hours ago

That’s so sweet! My daughter is also lactose intolerant and I’ve been making this mix for her for months — I love that I can control how much sugar goes into it too, it’s way lower sugar than the store-bought stuff with all the weird additives.

30 minutes ago

How long does the dry mix stay good in the pantry? I want to mix up a huge batch to keep on hand for quick weeknight desserts after work, but I don’t want it to go stale or lose its thickening power before I can use it all up.

5 minutes ago

Great question! Stored in an airtight container in a cool, dry spot in your pantry, the dry mix will stay fresh for up to 3 months. Just give the jar a quick shake before scooping to make sure all the ingredients are evenly mixed every time you use it.

just now

I’ve had a batch in my pantry for two and a half months now, and I used some last night to make butterscotch pudding (just added a teaspoon of butterscotch extract!) and it turned out perfect — no stale taste at all, thick and creamy just like the first day I mixed it up.

5 days ago

Tried making this with full-fat canned coconut milk for our weekly taco night dessert, topped each bowl with a little cinnamon and toasted coconut flakes, and my whole family lost their minds. It was so rich and creamy, and you couldn’t even taste that strong coconut flavor if you’re not a huge coconut fan — the milk just made it extra silky. This is going to be a regular on our taco Tuesday menu from now on.

2 hours ago

This was so much easier than I thought it would be! I’ve always been intimidated to make homemade pudding from scratch, I thought it required a million fancy ingredients and constant stirring for ages, but the dry mix comes together in literally 5 minutes like the recipe says, no special tools needed. I served it after our Sunday roast dinner last night and every single person at the table raved about it.

30 minutes ago

So happy it was approachable for you! A lot of people overcomplicate homemade pudding, but having the pre-mixed dry base on hand cuts out so much of the prep work, making it perfect for quick weeknight treats or lazy Sunday dinners.

1 week ago

Quick heads up for anyone with corn allergies! I swapped the cornstarch for arrowroot starch at a 1:1 ratio and it worked perfectly — same thick, smooth texture, no weird gritty aftertaste. I made a vanilla batch with coconut whipped cream on top for my daughter’s birthday dinner, and zero people at the party guessed it was dairy-free, let alone corn-free.

5 days ago

Oh thank you so much for sharing this tip! My kid has a corn sensitivity too, and I was wondering if arrowroot would work as a swap — this saves me so much trial and error, I can’t wait to make a batch this weekend.

3 days ago

Thanks so much for sharing that helpful swap! Arrowroot is a fantastic corn-free substitute, and I’m so glad it worked out well for your daughter’s birthday celebration. I’ll add that note to the recipe tips section for other folks navigating corn allergies.

5 minutes ago

Y’all, the cost savings on this are insane. I did the math, and a full batch of this mix costs less than a quarter of what I was spending on name-brand dairy-free pudding mix at the grocery store, and it tastes way better too. I already sent the recipe to all my friends in my budget grocery group chat, everyone needs to know about this.

just now

Right?! I crunched the numbers too, it’s like 70% cheaper than store-bought, plus there are none of those weird preservatives I can’t even pronounce. Total no-brainer to keep a jar in the pantry.

2 days ago

I made the vanilla base then split it into three separate portions to test out different flavors: one with matcha powder, one with fresh strawberry puree, one with a little peanut butter swirl. All three were absolute chef’s kiss. I’m never buying pre-made pudding mix again, this is so customizable for whatever flavor I’m craving on any given day.

1 week ago

As someone who burns toast about 50% of the time, I can confirm this recipe is actually easy enough for total cooking newbies. I didn’t mess it up at all! It came out creamy, totally smooth, no lumps, and my roommate thought I picked it up from the fancy vegan bakery down the street. Massive win in my book.

5 days ago

Love to hear that! This recipe is designed to be totally foolproof, even if you’re just getting started in the kitchen. So stoked it turned out great for you and impressed your roommate — that’s the best kind of win!



