
Danish Pastry

intro
Flaky, buttery laminated almond pastries with vanilla glaze, a beloved American bakery staple perfect for holiday breakfast spreads.
Ingredients
Steps
Mix the base dough
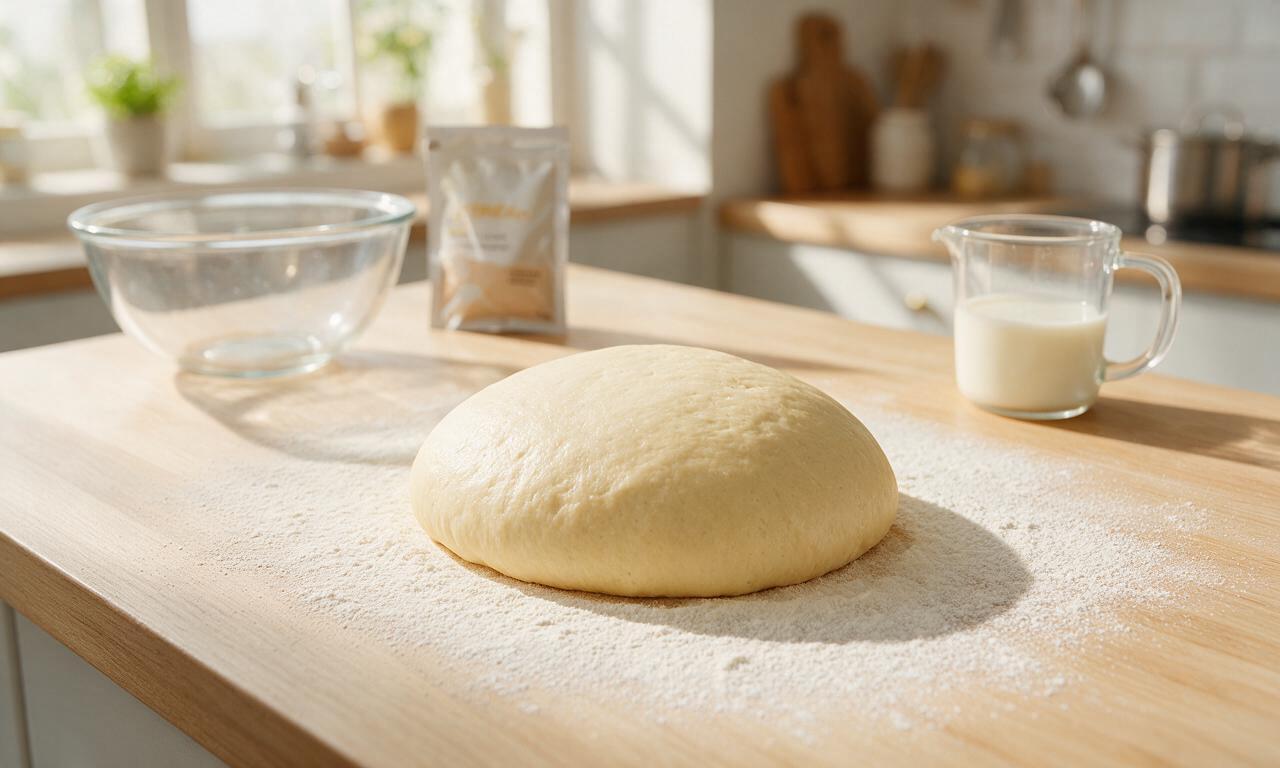
In a large mixing bowl, combine 240ml warmed whole milk (heated to 38°C/100°F), 7g active dry yeast, and 1 teaspoon of the granulated sugar; let rest 5 minutes until foamy to confirm yeast is active. Add remaining granulated sugar, 2 room-temperature large eggs, 30g melted and cooled unsalted butter, 1 teaspoon fine sea salt, and 500g all-purpose flour. Mix with a stand mixer dough hook on low speed for 4 minutes until a smooth, soft, non-sticky dough forms. Shape dough into a 15cm (6-inch) square, wrap tightly in plastic wrap, and chill in the refrigerator for 30 minutes at 4°C/39°F.
Shape cold butter block
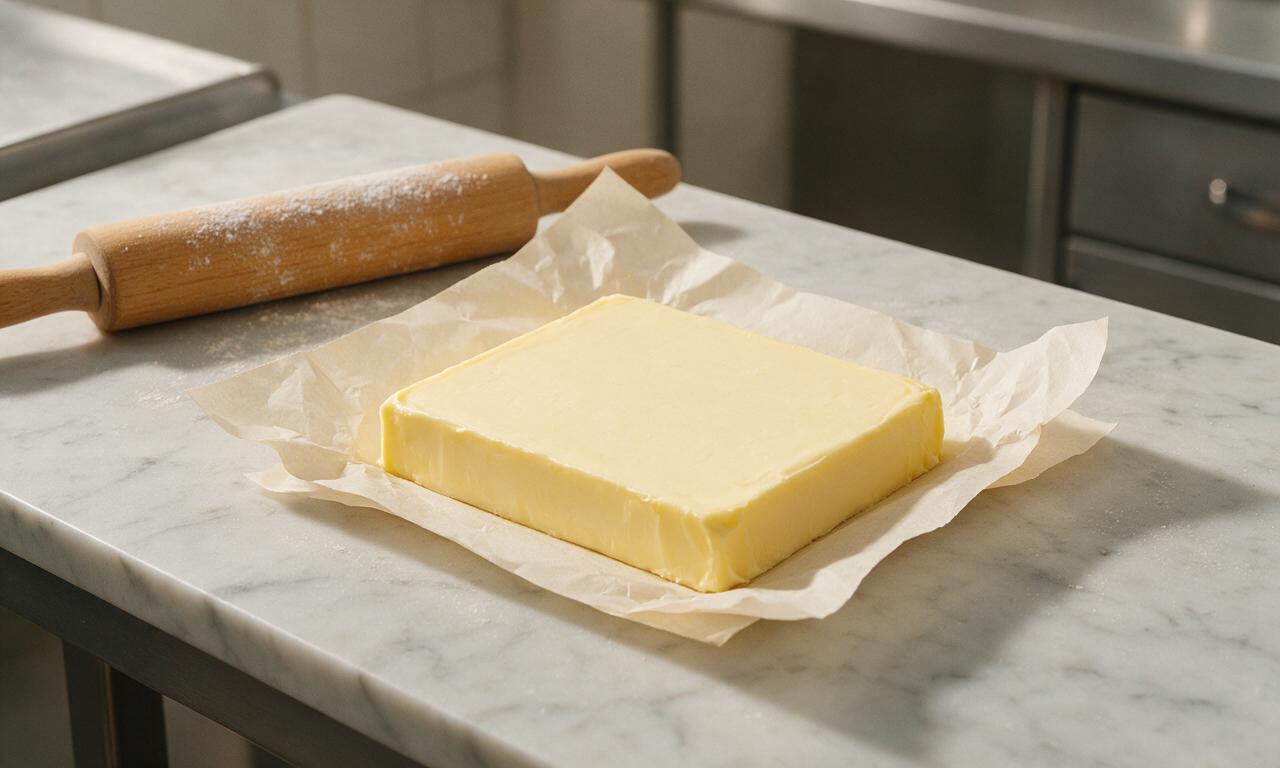
While the dough chills, place 250g cold unsalted butter between two sheets of parchment paper. Use a rolling pin to pound and roll the butter into a uniform 20cm (8-inch) square, roughly 1cm (1/2-inch) thick. Return the butter square to the refrigerator to chill until the dough is ready, ensuring it stays firm but malleable—soft enough to roll without cracking, but hard enough not to ooze when pressed.
Enclose butter for lamination
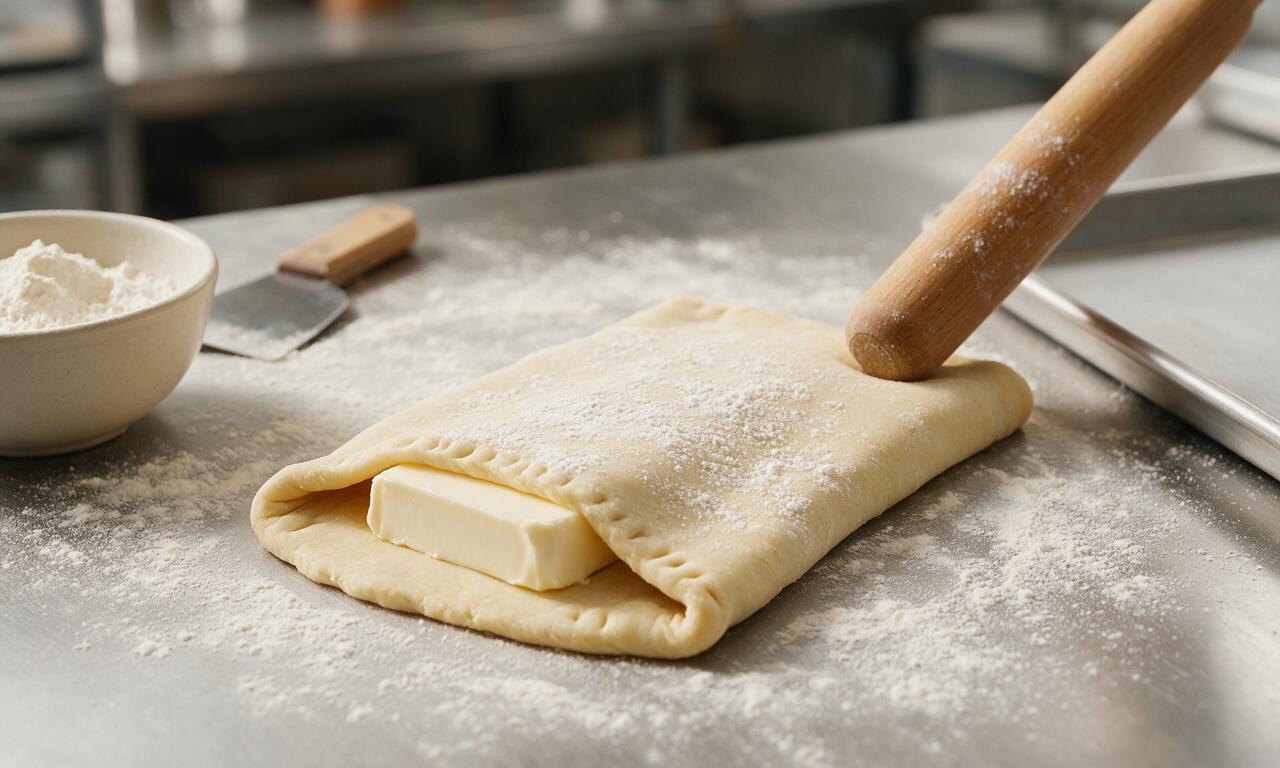
Remove chilled dough from the fridge and roll it on a lightly floured surface to a uniform 30cm (12-inch) square. Place the cold butter square diagonally in the center of the dough, so butter corners point to the midpoints of each dough edge. Fold each dough corner over the butter to meet in the center, pinching all seams tightly to fully seal the butter inside with no gaps. Roll the sealed dough packet out to a 20cm x 60cm (8x24 inch) rectangle, then fold it into thirds like a business letter to complete the first lamination turn. Wrap tightly and chill for 30 minutes.
Complete remaining dough folds
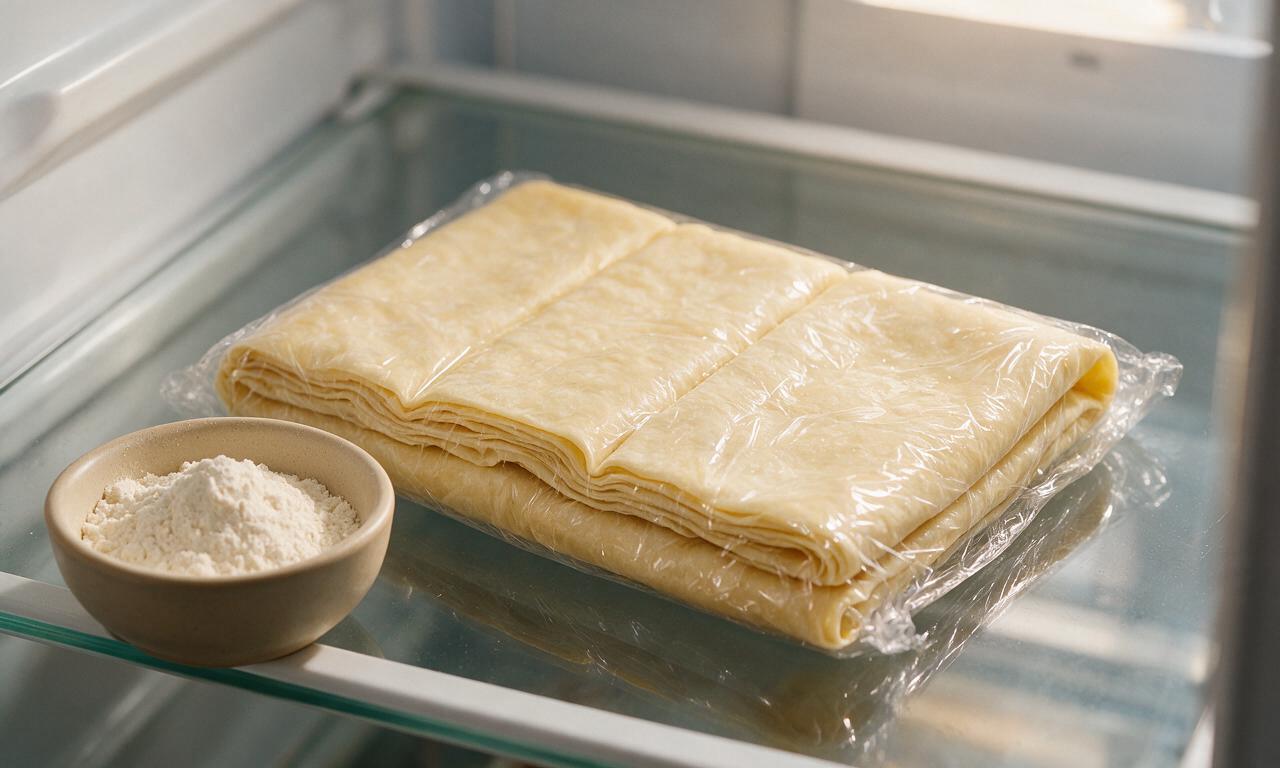
Remove chilled dough from the fridge and set it on the floured surface so the open, cut edges of the fold face left and right (not top and bottom). Roll again to a 20cm x 60cm (8x24 inch) rectangle, fold into thirds, wrap tightly, and chill for 30 minutes. Repeat this rolling, folding, and 30-minute chill process two more times for a total of 3 full lamination turns. After the final fold, wrap the dough tightly and chill for 1 full hour to relax gluten and keep butter firm, preventing shrinkage during baking.
Shape and fill pastries
Roll the fully chilled laminated dough out to a uniform 3mm (1/8-inch) thick sheet, then cut into eight 10cm (4-inch) even squares. For each square, cut a 2.5cm (1-inch) slit from each corner diagonally toward the center, being careful not to cut all the way to the middle. Stir together 150g almond paste, 30g powdered sugar, and 1 teaspoon vanilla until smooth to make the almond filling. Place 1 heaped tablespoon (roughly 18g) of filling in the center of each dough square, then fold every other corner tip into the center, pressing firmly to seal into the classic pinwheel Danish shape. Arrange shaped pastries 5cm (2 inches) apart on parchment-lined baking sheets.

Proof and bake pastries
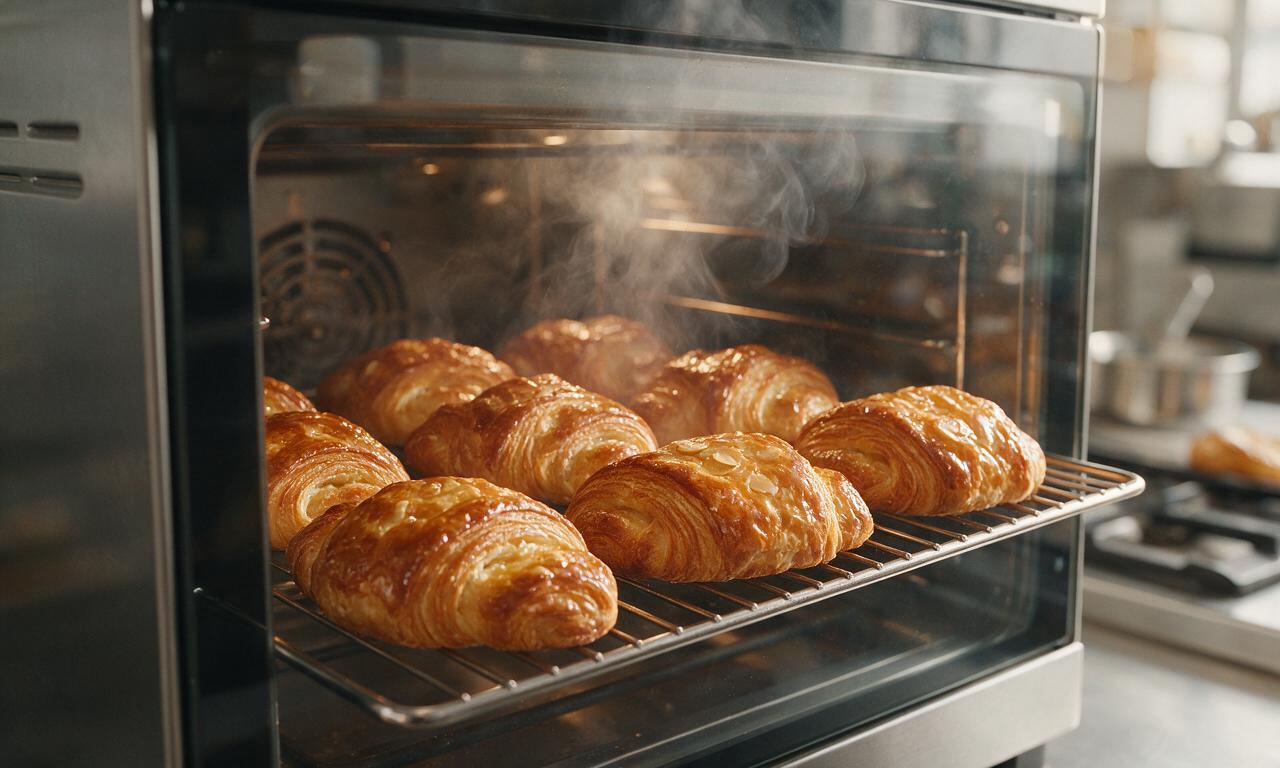
Cover shaped pastries loosely with oiled plastic wrap and let them proof in a warm, draft-free spot (24°C/75°F) for 45 minutes, until visibly puffed and slightly jiggly when the tray is gently tapped. While pastries finish proofing, preheat oven to 190°C/375°F. Beat 1 remaining large egg with 15ml (1 tablespoon) whole milk to make egg wash, then brush a thin, even coat over the top of each proofed pastry. Bake for 18-20 minutes, rotating baking trays halfway through cook time, until pastries are deep golden brown with crisp, flaky edges and no raw dough visible in crevices. Transfer baked pastries to a wire rack to cool for 10 minutes.
Glaze and top pastries
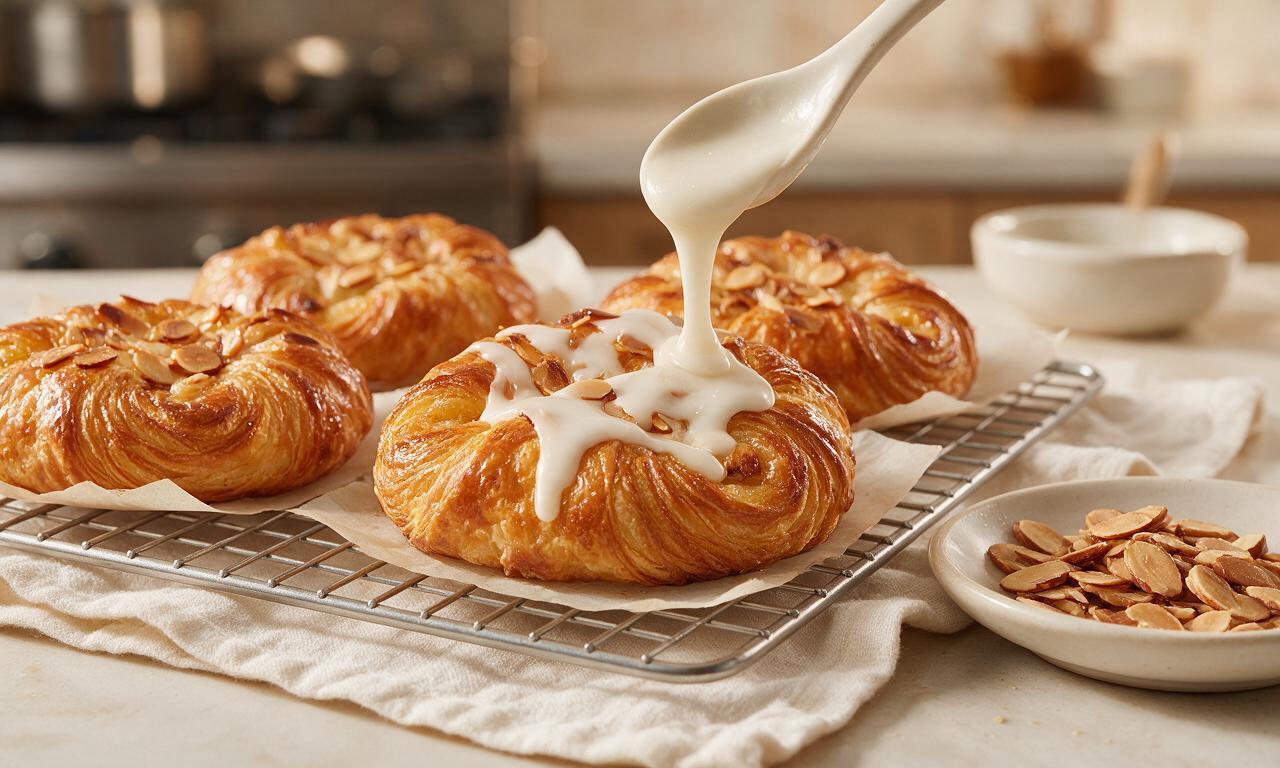
While pastries cool, whisk 120g powdered sugar, 1/2 teaspoon vanilla extract, and 30ml whole milk until completely smooth, adding 1 extra teaspoon of milk if needed to create a thick, pourable glaze consistency. Drizzle the glaze evenly over the warm (not piping hot) pastries, then sprinkle with 30g toasted sliced almonds. Let glaze set for 10 minutes before serving.
Tips
2.Always position dough so the open, cut edges of the previous fold face left and right before each rolling pass—this ensures even layer formation and prevents lopsided rising during baking.
3.Swap the almond filling for 1 tablespoon of sweetened cream cheese or thick seedless jam per pastry for classic flavor variations, taking care not to overfill to prevent sugary leaks during baking.






OMG, I made this for my weekend brunch potluck last week and people were begging me for the recipe! The almond filling is perfectly sweet, not cloying at all, and the flaky layers? *Chef’s kiss* Yes it takes forever, but it’s 100% worth the chill and proof time. My picky 7 year old ate two pastries before I could even get the platter on the table. SO good, will be making this for every holiday brunch from now on!
Full transparency: I’ve never attempted laminated dough before, and this kicked my butt the first go-round. I rushed the first chill step and my butter oozed out everywhere when I rolled it out. Tried again two days later, took my time, followed every single instruction to the letter, and wow? It actually tasted like the Danish I get from my favorite fancy bakery downtown. Total game changer, I feel like an actual pastry chef now lmao. Only knocked a star because the first attempt was such a messy fail, but that’s 100% on me, not the recipe.
I’ve tried so many almond Danish recipes over the years, and this is by far the closest to the ones my mormor (that’s grandma in Norwegian) used to make when I was little. The hint of lemon zest in the filling? Genius, it cuts the richness so well. I know it’s a labor of love, but pulling that golden, flaky pastry out of the oven after all that waiting? Better than any store-bought version, hands down. Already made it twice in two weeks.
Wait, quick question for anyone who’s made this — can I use store-bought almond paste instead of making my own for the filling? I made these last weekend with homemade filling and they were incredible, but I’m crunched for time this weekend and want to make them for my sister’s baby shower brunch, so I’m curious if the shortcut works without ruining that perfect texture.
Brought these to my office potluck earlier this week and I swear half my team asked if I bought them from the fancy French bakery downtown! The only issue I had was my dough didn’t puff up as much as I wanted during the final proof — did I overwork it maybe? It still tasted incredible, just wasn’t as tall and fluffy as the photos here.
Okay so I’m a broke college senior with barely any counter space and I still pulled this off? Granted it took me literally all Sunday and I made a huge mess in my tiny apartment kitchen, but my roommates lost their minds when they tried it. We ate the whole batch in 10 minutes while we studied for midterms. Worth every minute of cleanup, 10/10.
I’ve made this three times already and it’s always a hit, but can I substitute all-purpose flour for a high-quality gluten-free all-purpose blend to make this for my cousin who has celiac? I don’t want to mess up the lamination since I know gluten development is key for those flaky layers, but I’d love for her to be able to enjoy these at our family brunch next month.
Made these with my 10 year old daughter for our father-daughter baking day, and we had a blast! The steps were easy to follow even with a kid “helping” (read: spilling almond filling all over the counter and sneaking spoonfuls of it when I wasn’t looking). The final pastries were so buttery and delicious, my wife said they’re better than the ones we get on our annual trip to Copenhagen. Only note: we doubled the almond filling because we love that nutty center, no regrets.
These are the perfect pairing with my morning oat milk latte, I swear. I keep a batch of the pre-shaped, frozen pastries in my freezer now so I can just pop one in the oven on busy work mornings — total meal prep win! It feels like a fancy coffee shop treat without the $6 price tag. Pro tip: sprinkle a little sliced almond on top before baking for extra crunch!
I was so intimidated by this recipe because I’ve only ever made sourdough bread, no laminated pastries, but the instructions were so clear and step-by-step that I didn’t mess up once! The layers were perfectly flaky, the filling was balanced, even my super critical mother-in-law was impressed when she came over for dinner. I will say, make sure you clear your schedule for the afternoon because it really does take almost 5 hours start to finish, so don’t try to rush it like I almost did.
Okay full transparency: I messed this up so bad. I didn’t read the full recipe first and didn’t realize how much chill time was needed, so I tried to rush it and ended up with a buttery, almond-flavored blob instead of flaky Danish. It still tasted good, don’t get me wrong, but it looked nothing like the photos. I’m gonna try again this weekend when I have a full free day to actually follow the steps properly, because the flavor was there even when I messed it up, so I can only imagine how good it is when you do it right.
Made these for our family Christmas breakfast last year and they were such a hit that my family has already requested them again this year! I added a little extra cardamom to the dough like my grandma used to, and it gave it that warm, cozy spice that pairs so well with the almond filling. If you’re on the fence about making these because they’re marked hard, just do it — the payoff is unreal.