
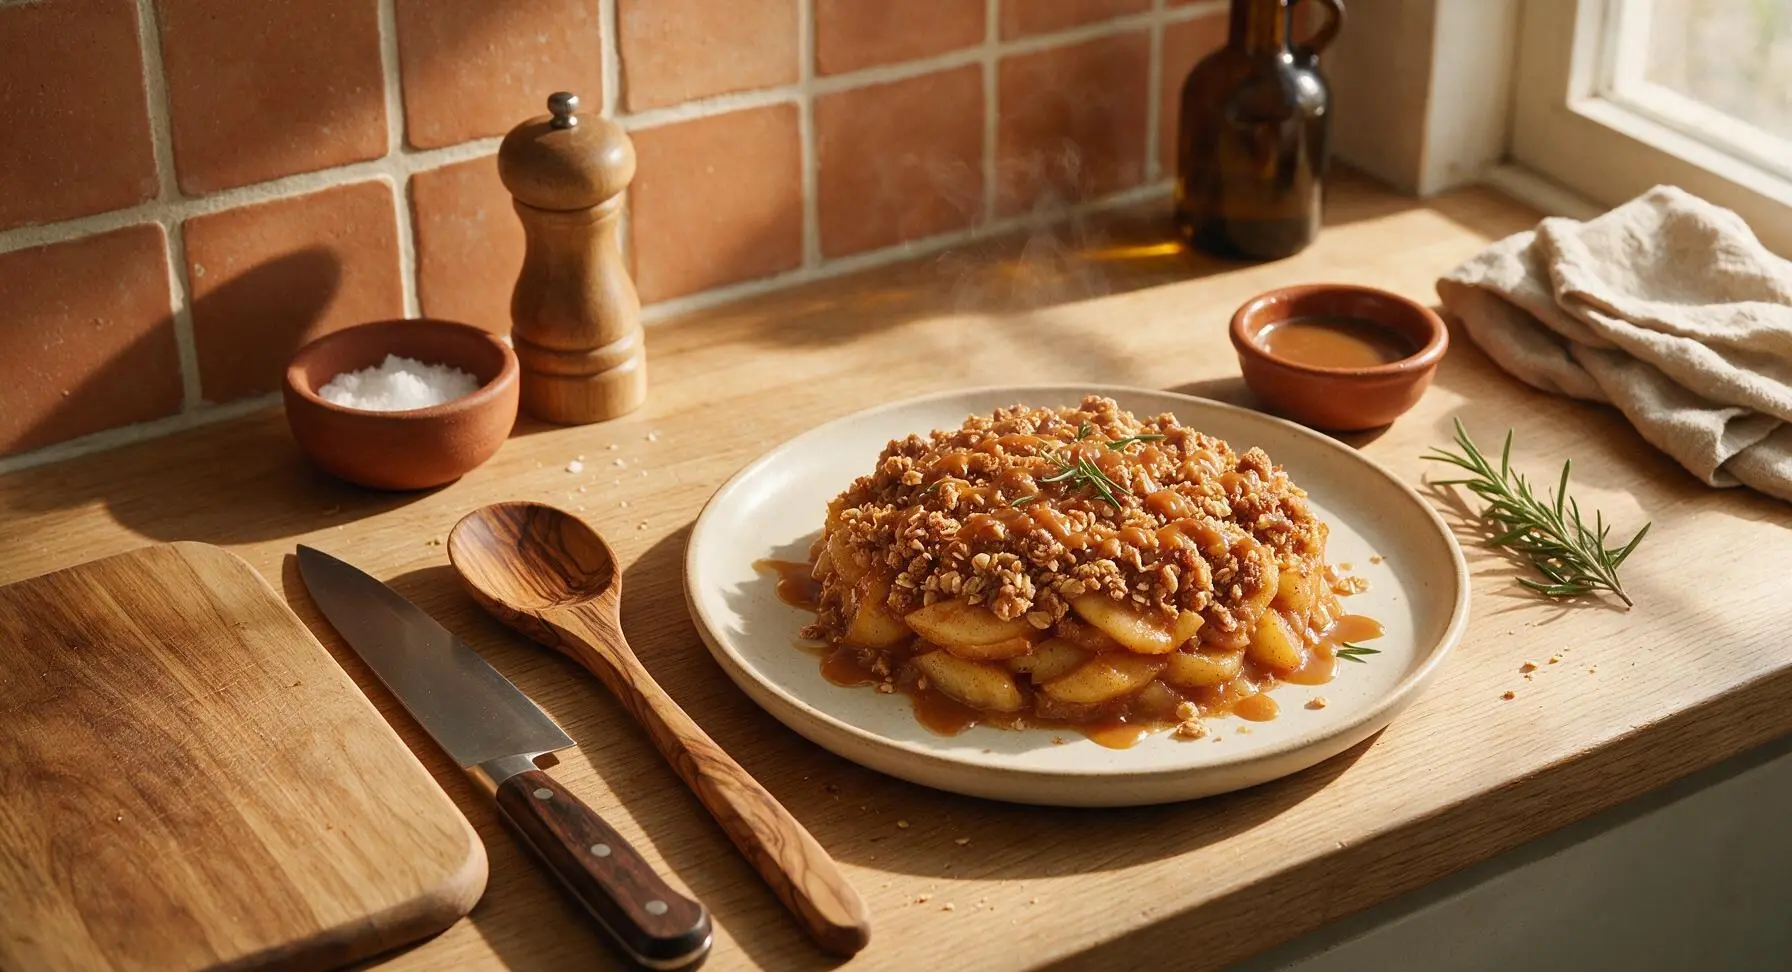
dessert casserole

title 1
dessert casserole
⏱️ cook time 40 minutes
🍽️ servings 8
⚡ Difficulty easy

intro

Warm, spiced apple layers baked under a buttery oat crumble top, drizzled with salted caramel—this cozy shareable casserole is the ultimate crowd-pleasing fall treat.

Ingredients
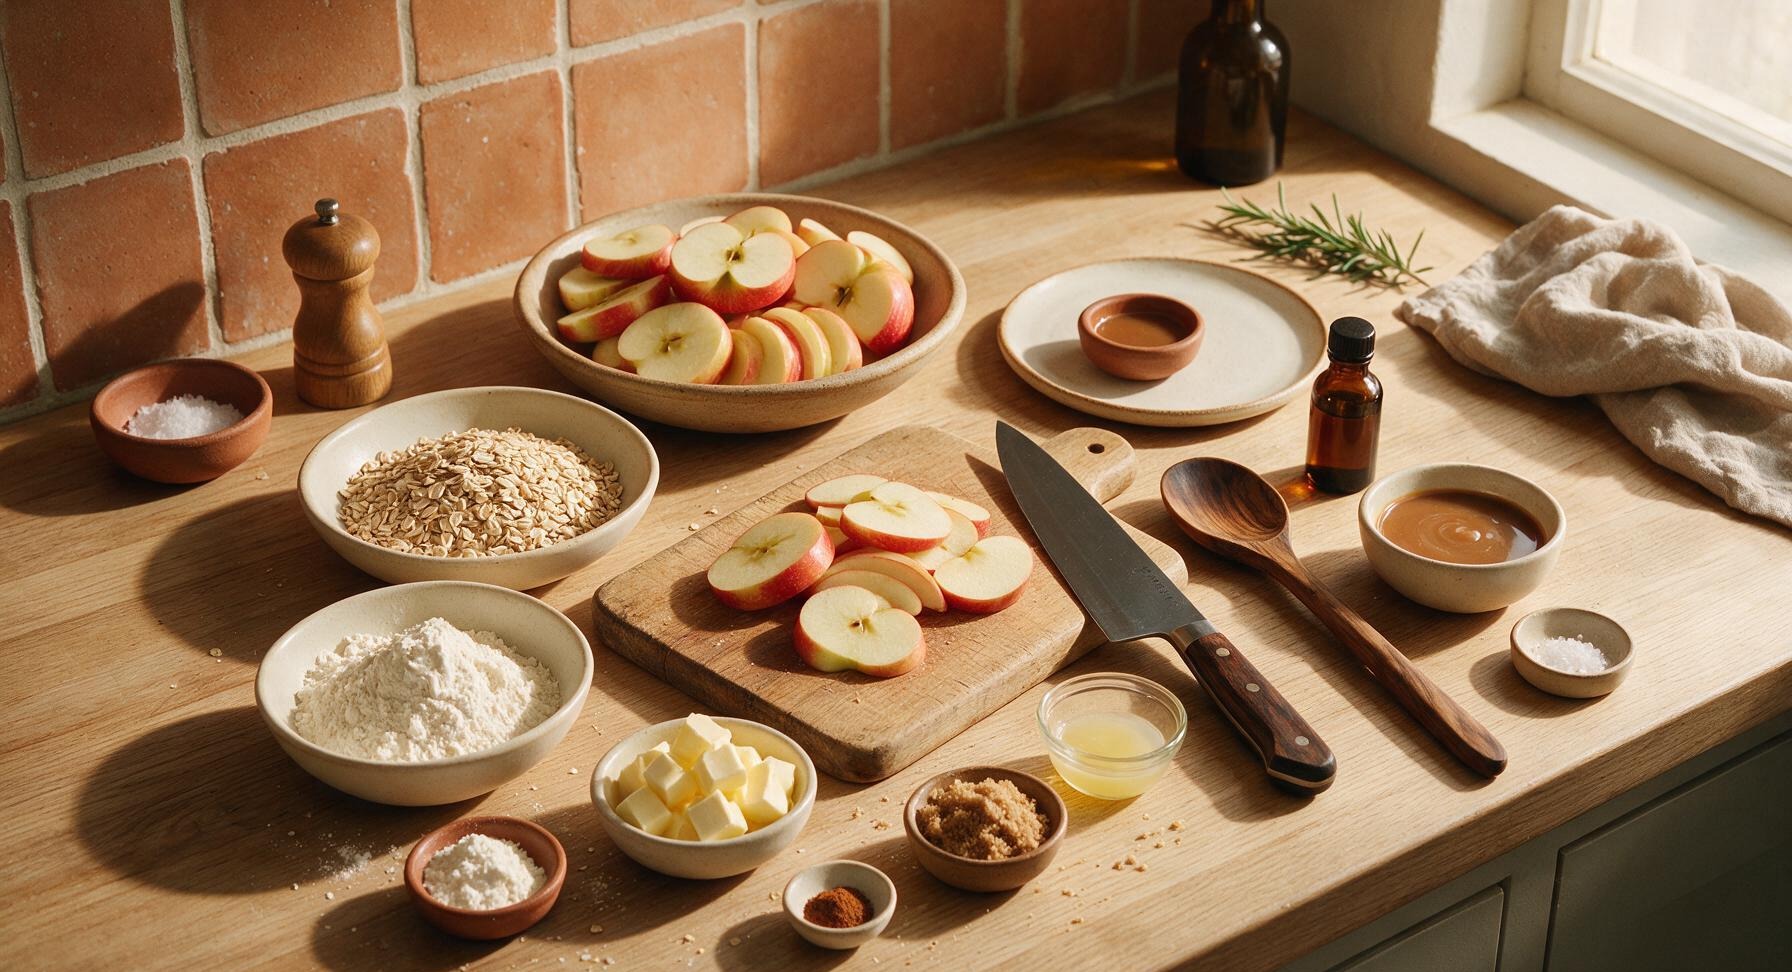
Honeycrisp apples 900g (6 medium, cored, skins on, sliced 1/4-inch thick)
Rolled old-fashioned oats 150g (1.5 cups)
All-purpose flour 100g (3/4 cup, divided)
Cold unsalted butter 113g (1 stick, cut into 1cm cubes)
Packed light brown sugar 120g (1/2 cup)
Ground cinnamon 1.5 tsp
Freshly grated nutmeg 1/4 tsp
Fresh lemon juice 1 tbsp
Pure vanilla extract 1 tsp
Salted caramel sauce 120ml (1/2 cup, divided)
Flaky sea salt 1 tsp

Steps

1

Prep and Slice Apples

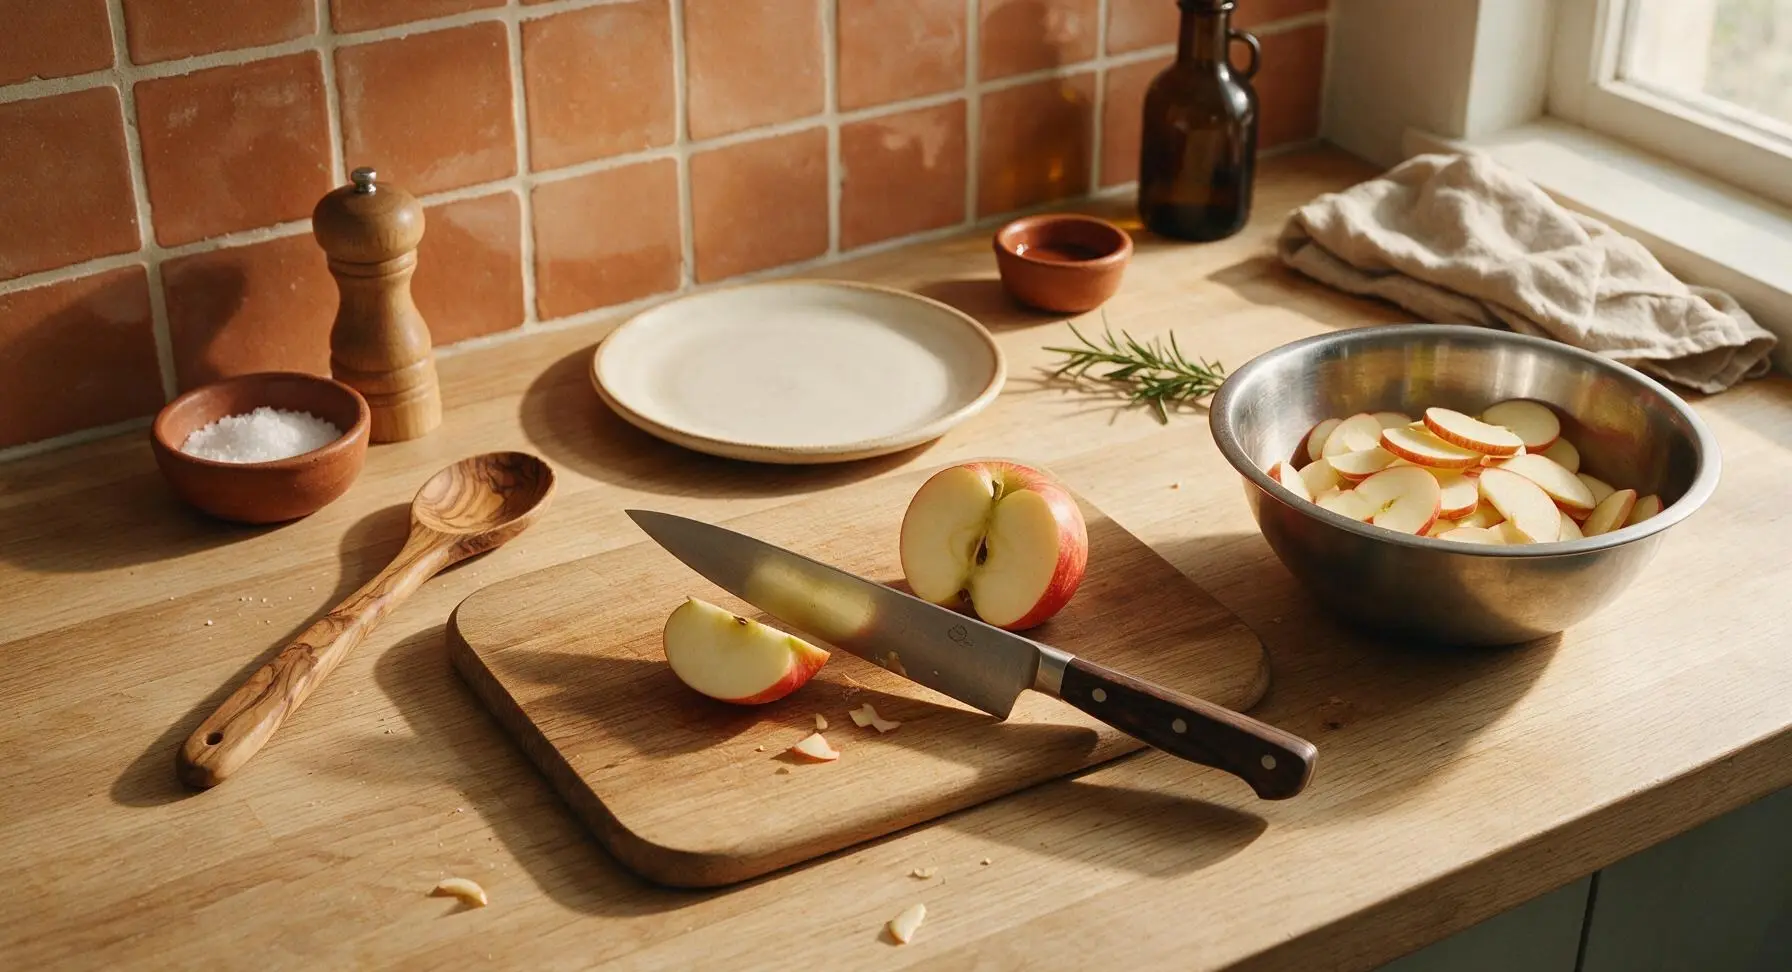
Place the acacia wood cutting board on the center of the counter. Working one apple at a time, use the walnut-handled chef knife to core and slice apples into uniform 1/4-inch thick wedges, leaving skins on for color and texture. Toss sliced apples with 1 tablespoon lemon juice in the stainless steel mixing bowl as you work to prevent browning. The slices should be evenly thick so they cook at the same rate, with no chunks thicker than 1/4 inch.
Step 1
step1:Prep and Slice Apples
2

Toss Apple Filling

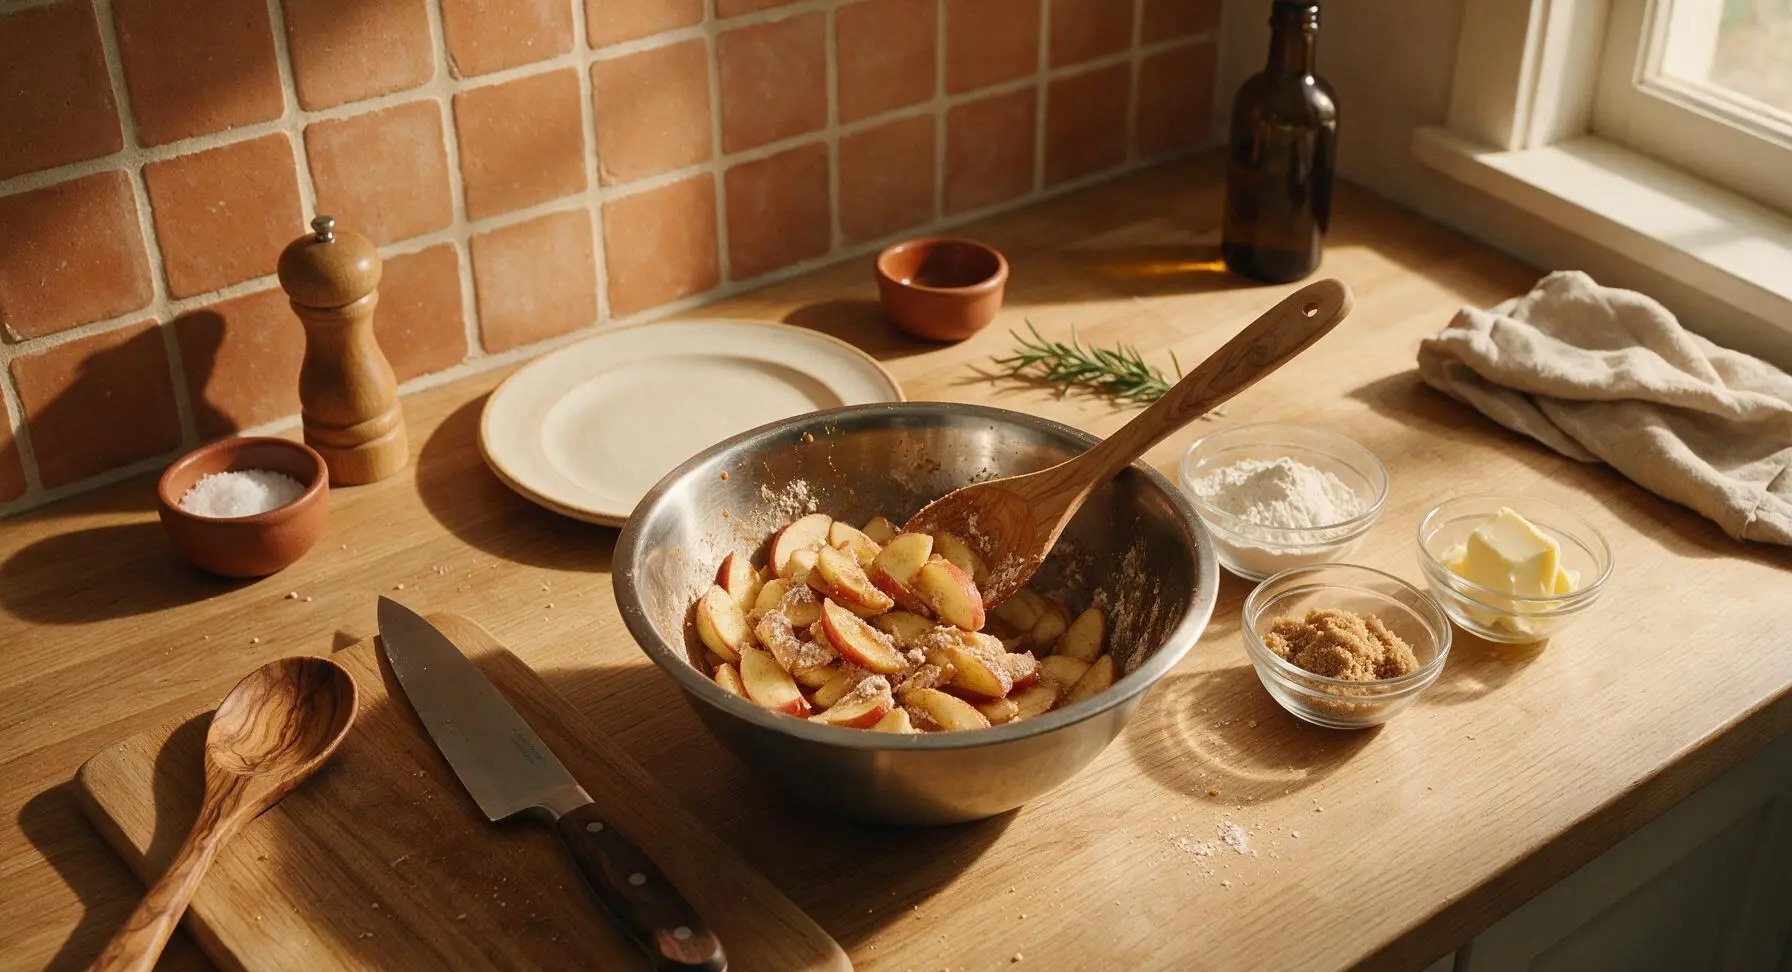
To the mixing bowl of sliced apples, add 2 tablespoons of the all-purpose flour, 1 teaspoon ground cinnamon, all of the grated nutmeg, 1 teaspoon vanilla extract, and 1/4 cup (60ml) of the salted caramel sauce. Toss thoroughly with the maple wooden spoon until every apple slice is evenly coated in the spiced caramel-flour mixture, with no dry flour pockets remaining at the bottom of the bowl.
Step 2
step2:Toss Apple Filling
3

Layer Apples in Casserole

Retrieve the 9x13 inch matte cream ceramic casserole dish and place it at center counter. Pour the entire coated apple mixture into the dish, spreading it into an even flat layer with the wooden spoon. Drizzle the remaining 1/4 cup (60ml) of salted caramel sauce over the top of the apple layer, leaving a 1/2-inch border around the edge of the dish to prevent bubbling over while baking.
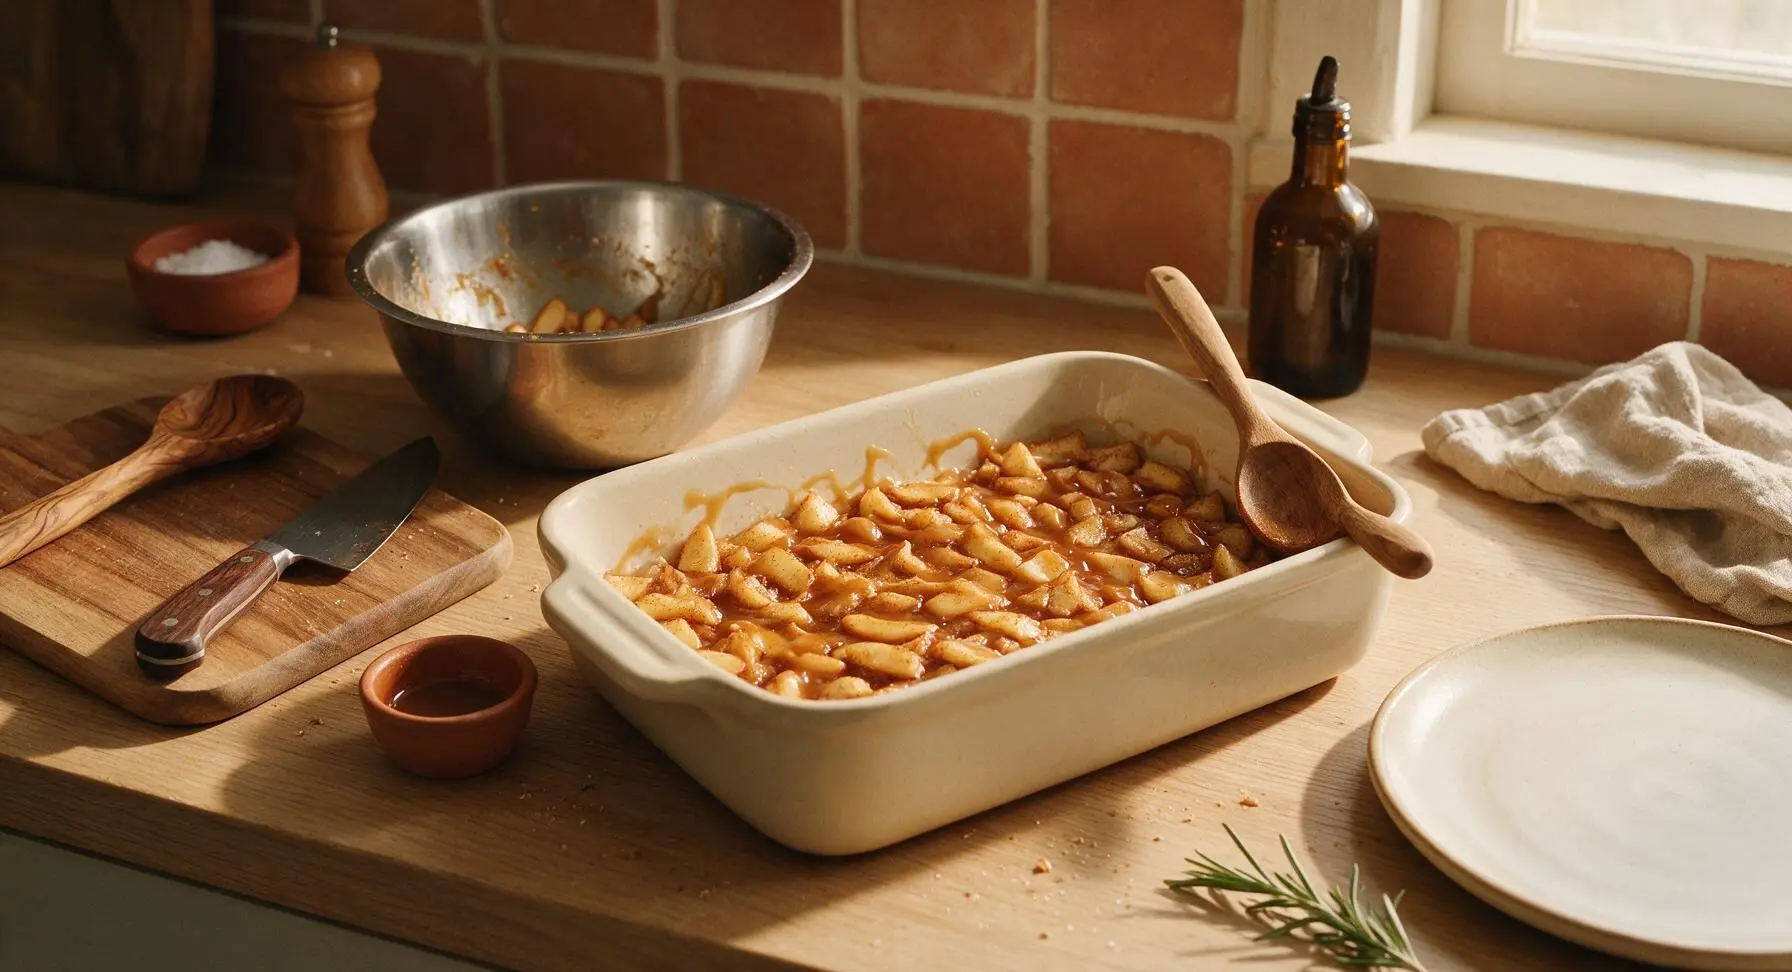
Step 3
step3:Layer Apples in Casserole
4

Mix Crumble Topping

In the now-empty stainless steel mixing bowl, combine the remaining all-purpose flour, rolled oats, packed light brown sugar, remaining 1/2 teaspoon ground cinnamon, and cold cubed butter. Use the pastry cutter to cut the butter into the dry ingredients, pressing and twisting until the mixture forms coarse, pea-sized crumbs. Do not overmix—you should still see visible small chunks of butter throughout, which will create a flaky, crisp top as it bakes.
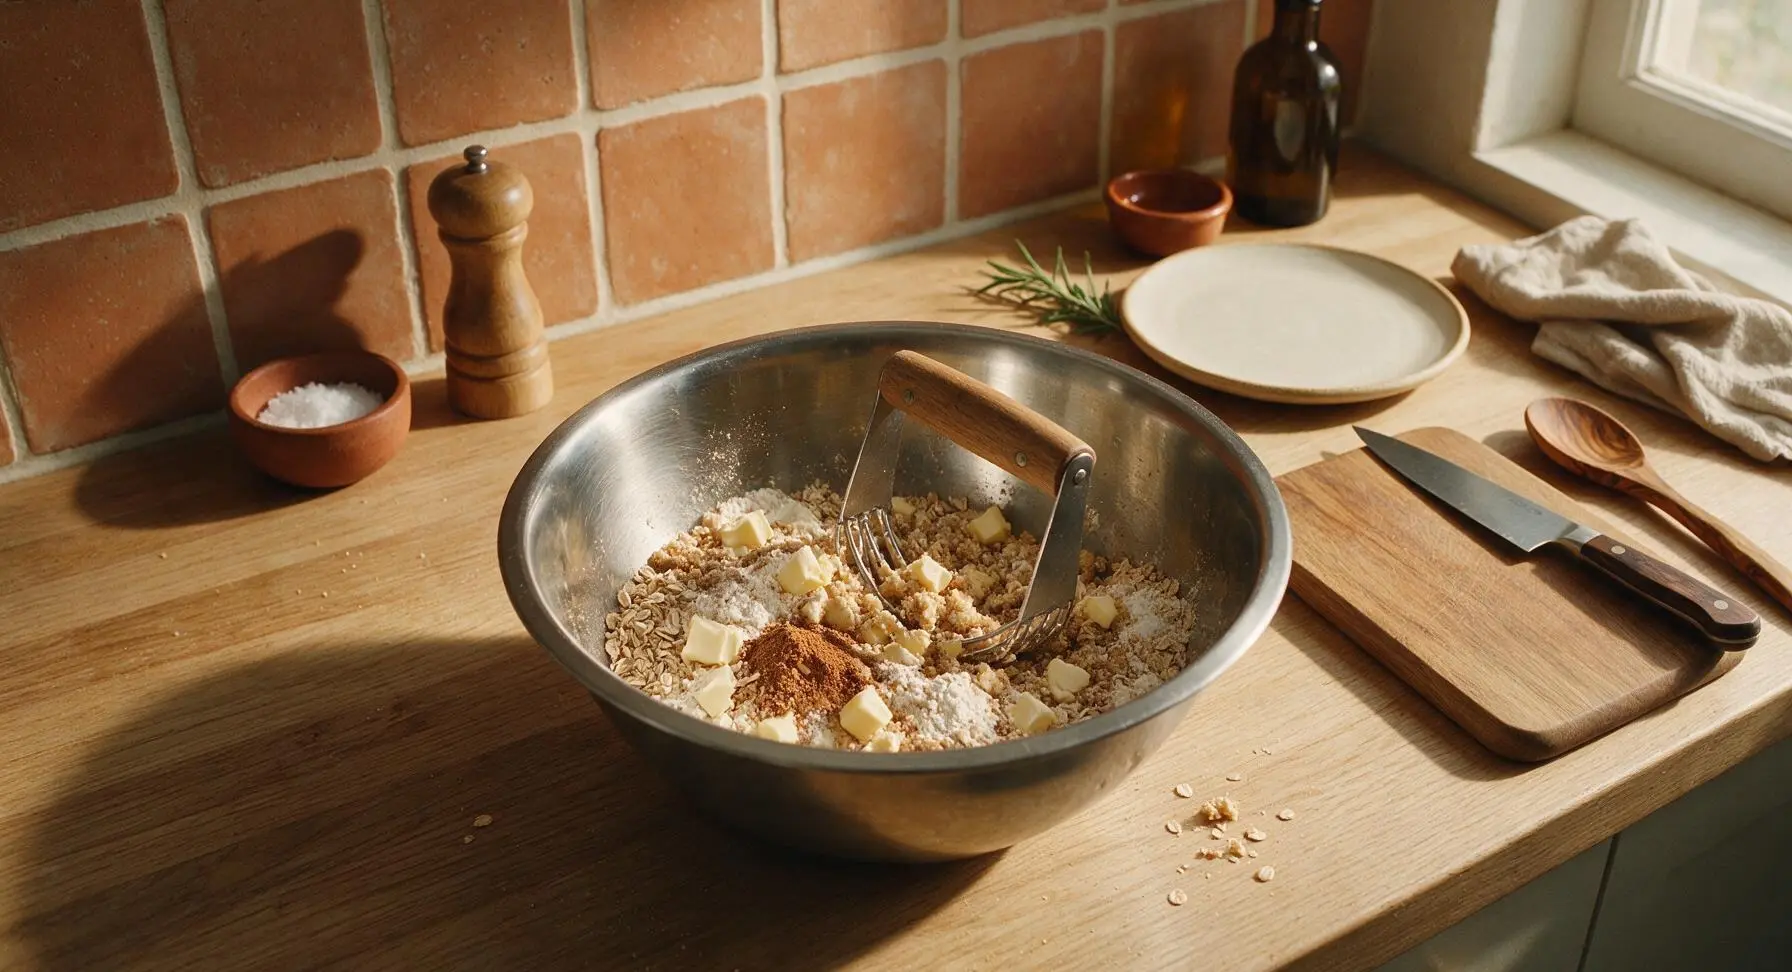
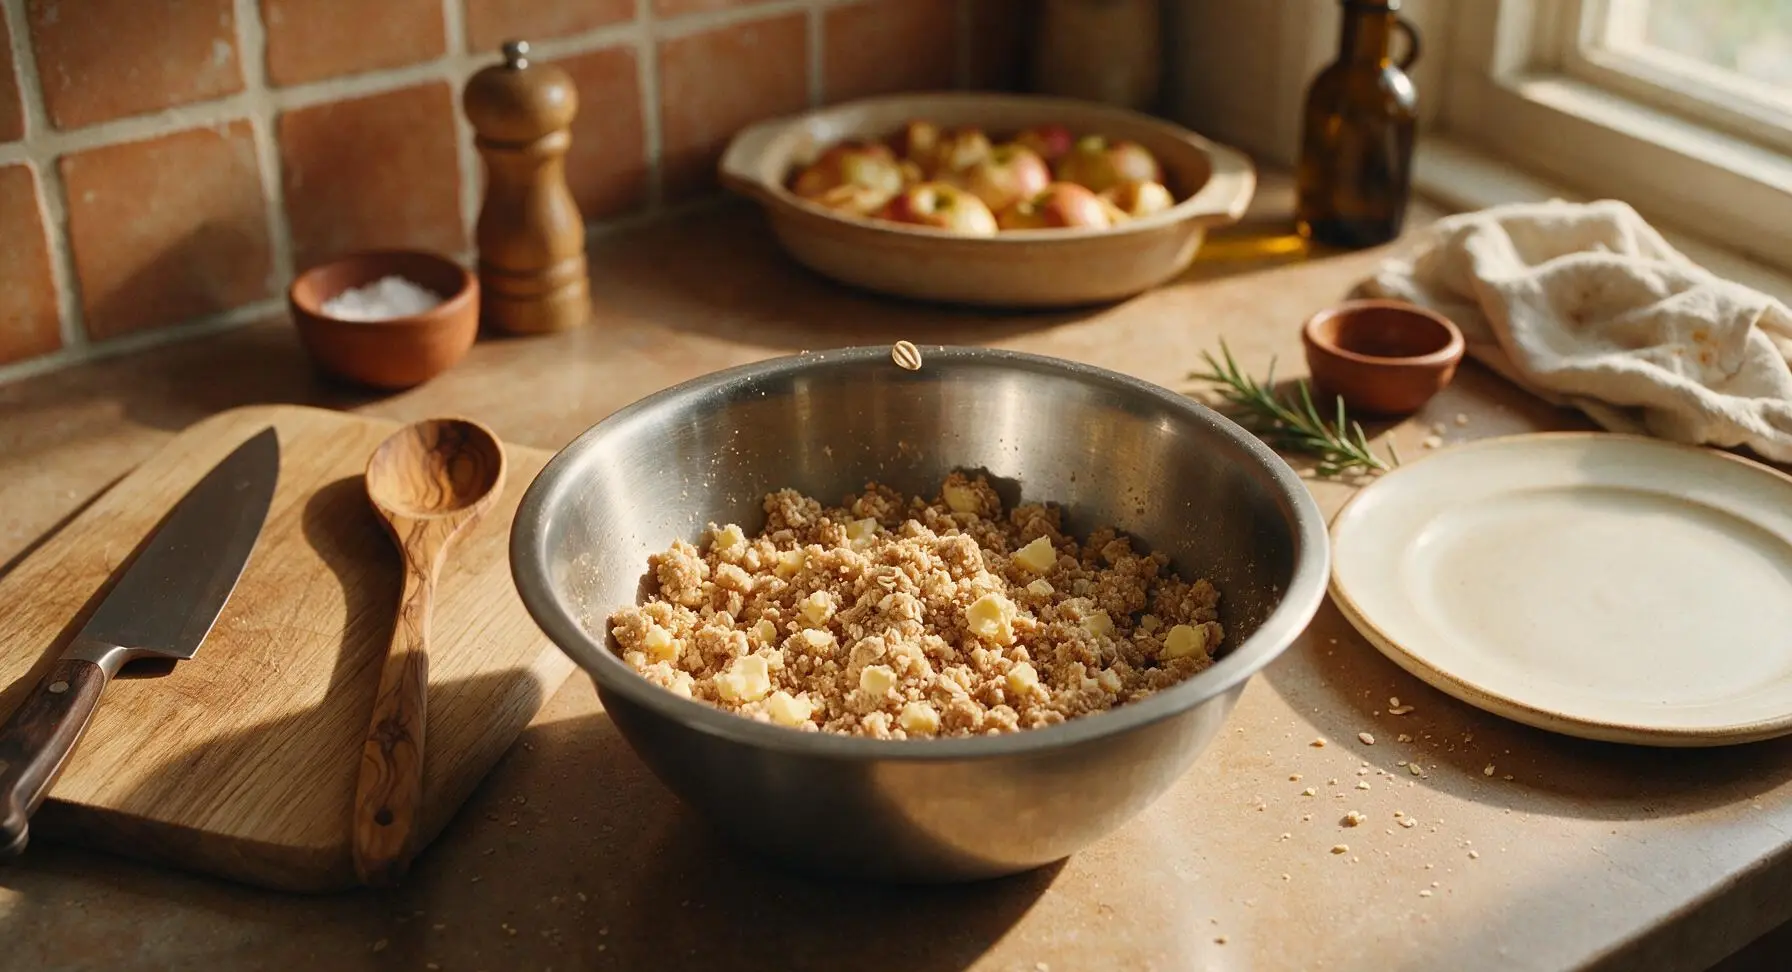
Step 4
step4:Mix Crumble Topping
Step 4
step4:Mix Crumble Topping
5

Add Crumble Topping

Sprinkle the crumble mixture evenly over the entire top of the apple layer in the casserole dish, covering all the fruit completely. Do not press the crumbs down firmly—keep the topping loose to allow air flow, which creates a light, crisp crust rather than a dense, hard top.
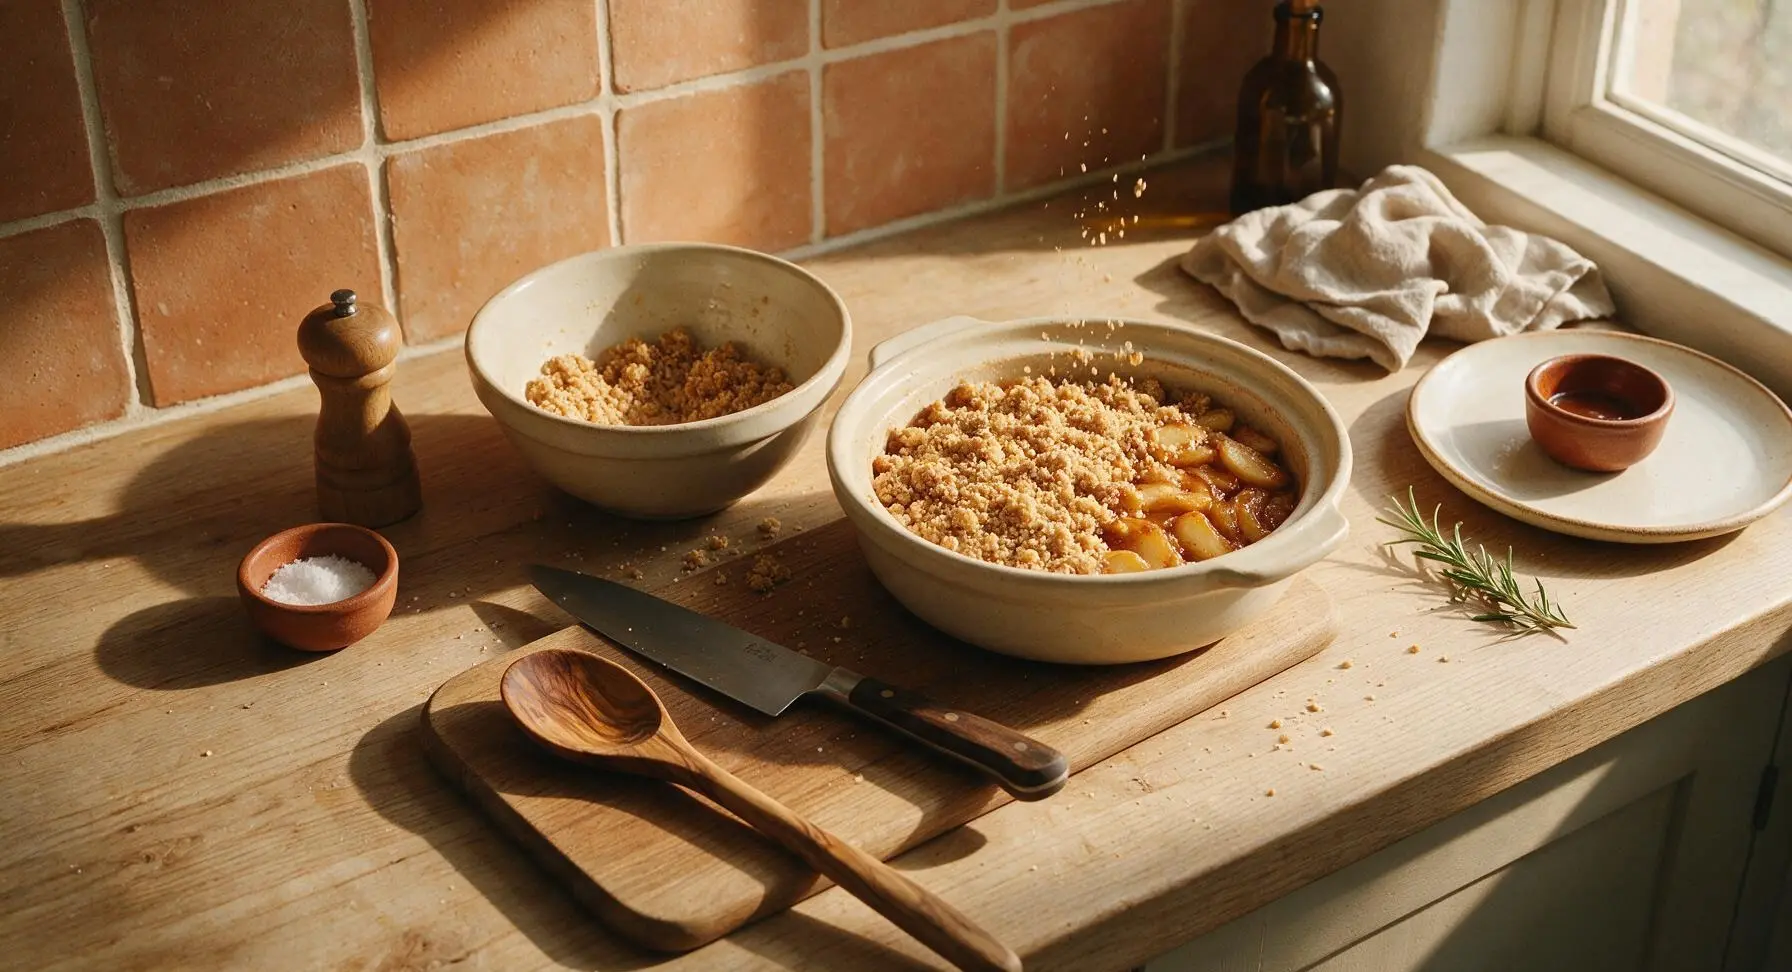
Step 5
step5:Add Crumble Topping
6

Bake Until Golden

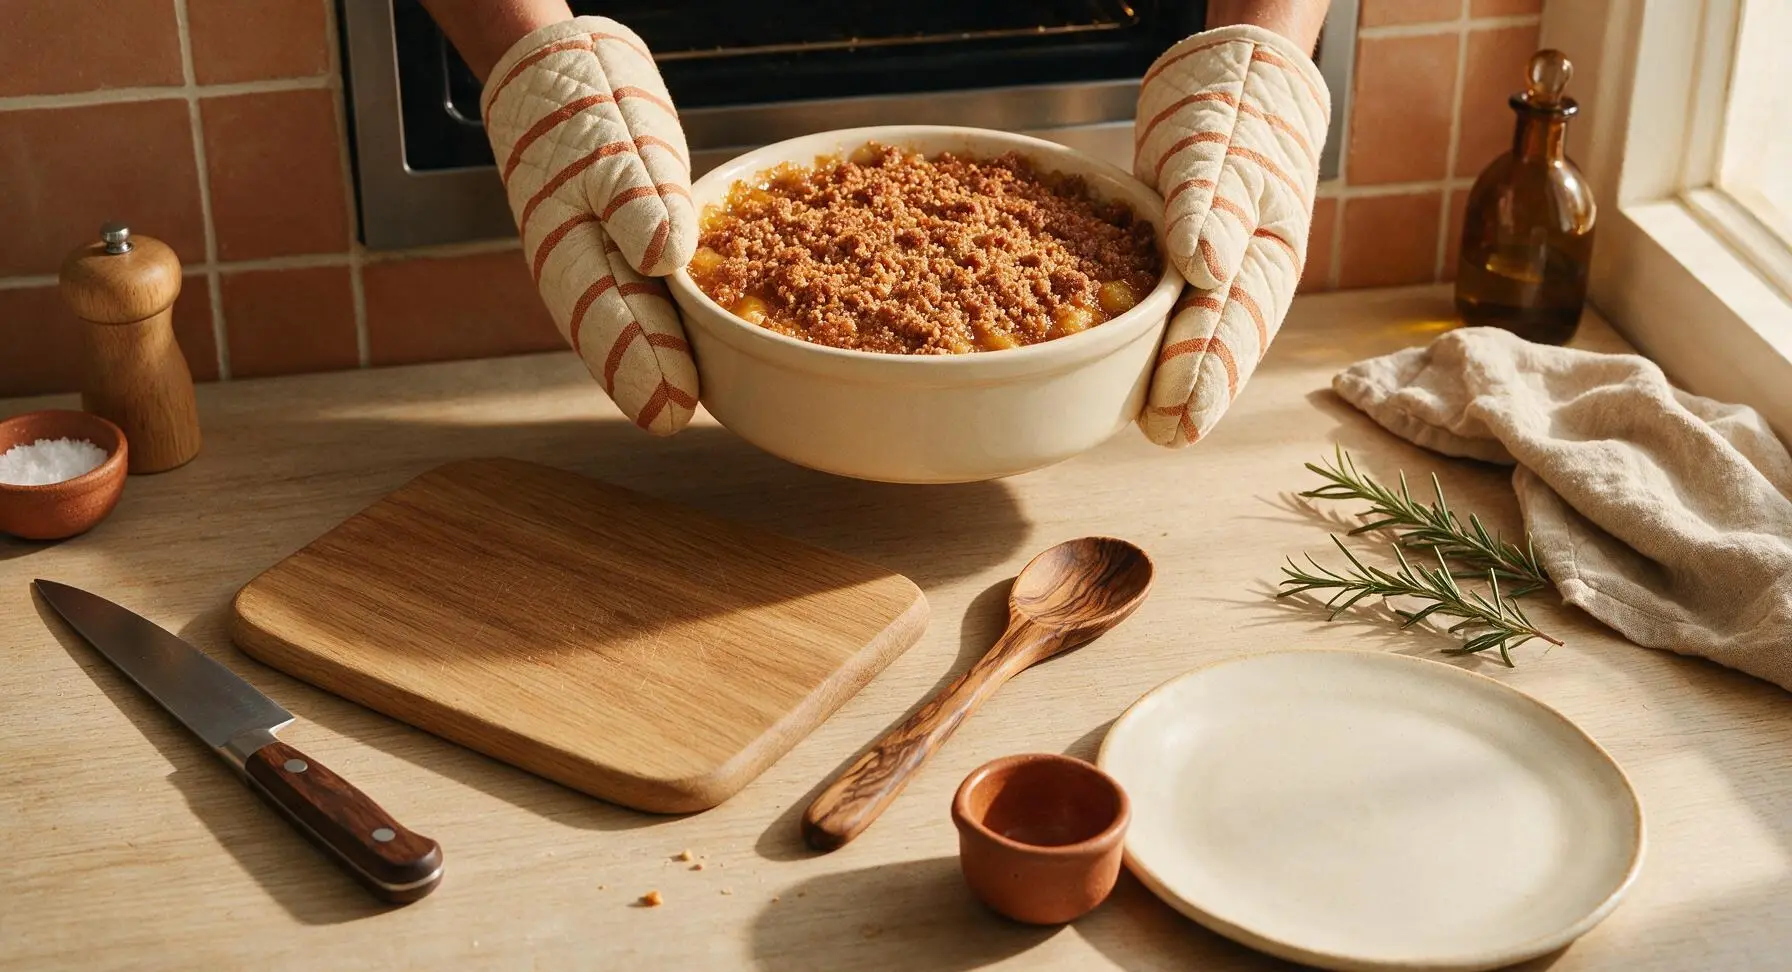
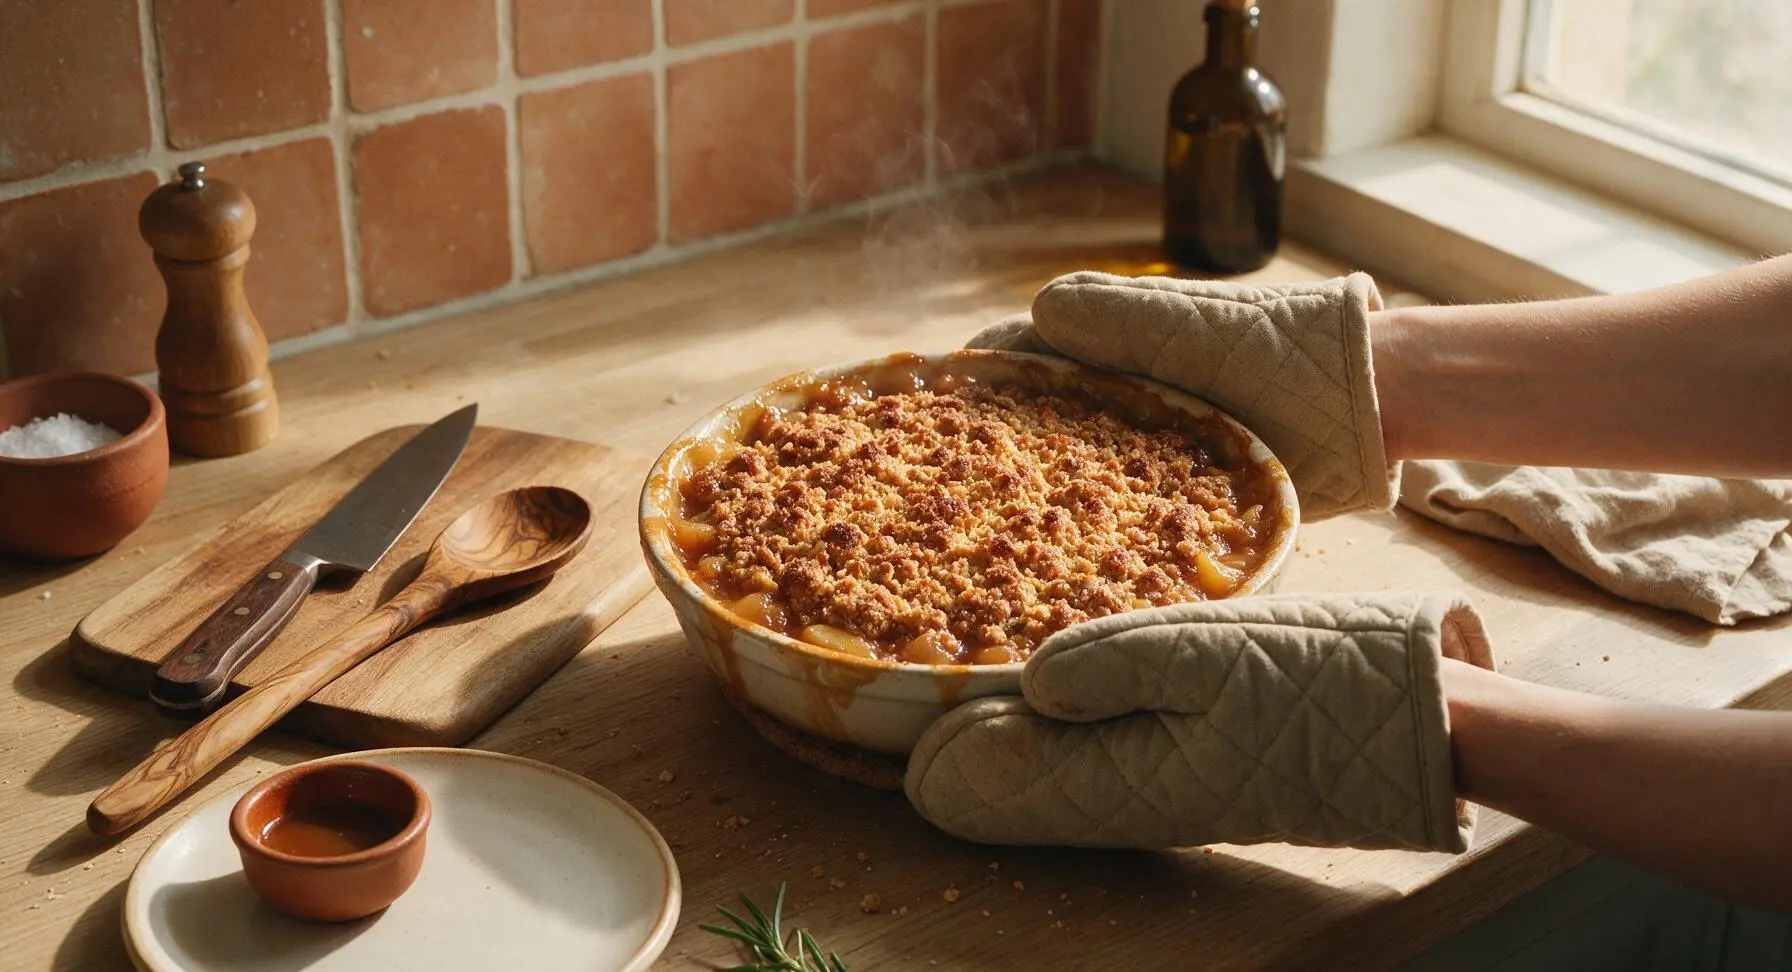
Retrieve the oven mitts from the wall rail, then carefully place the casserole dish in a preheated 180°C (350°F) oven. Bake for 40 minutes, until the crumble top is deep golden brown, the apple filling is bubbling vigorously around the edges of the dish, and the apples are tender when pierced with a knife tip. If the top starts to darken too quickly after 30 minutes, tent loosely with a sheet of aluminum foil to prevent burning.
Step 6
step6:Bake Until Golden
Step 6
step6:Bake Until Golden
7

Cool and Garnish

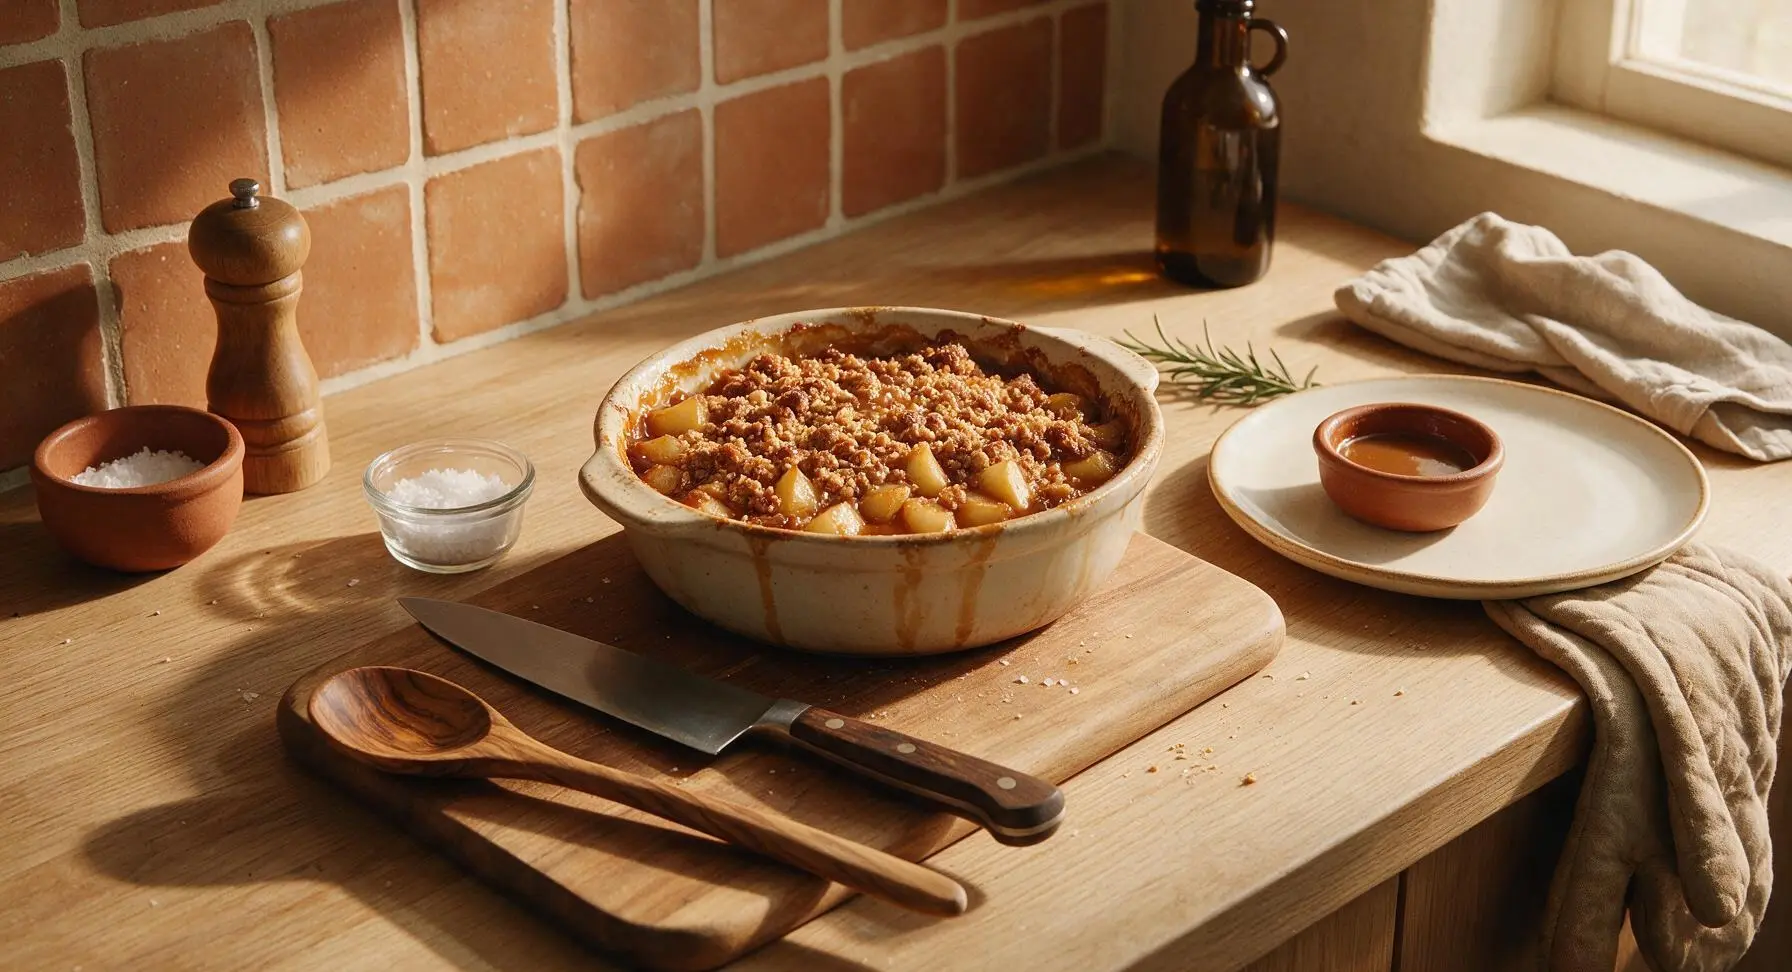
Use the oven mitts to transfer the baked casserole to a wire rack on the counter to cool for 10 minutes before serving—this allows the filling to set so scoops hold their shape. Sprinkle the top evenly with flaky sea salt right before serving to cut through the sweetness and enhance the caramel and apple flavors.
Step 7
step7:Cool and Garnish

Tips

1.Keep butter ice-cold for the crumble topping: Warm butter melts too quickly in the oven and creates a dense, soggy crumb, while cold butter chunks melt slowly to create light, crispy, flaky pockets in the topping. For extra insurance, pop the cubed butter in the freezer for 10 minutes before making the crumble.
2.Leave apple skins on for color and texture: Not only does this cut down on prep time, but the deep red skins add warm color contrast, extra fiber, and a bright tart flavor that balances the sweet caramel and buttery crumble. There is no need to peel apples for this rustic casserole.
3.Let the casserole rest the full 10 minutes after baking: Straight out of the oven, the apple filling is thin and runny, so scoops will slide apart and make a mess. The short rest allows the flour-thickened caramel to set into a silky, cohesive filling that holds its shape when served, without losing its warm, comforting temperature.


✨ You May Also Like

Desserts & Baking
🍜 Italy

Creamy, coffee-kissed classic Northern Italian no-bake dessert, with layers of rum-spiked mascarpone cream, soft ladyfingers, and a rich cocoa dusting.

⏱️ 4 hours 3Desserts & Baking ★ 4.7
Desserts & Baking
🍜 France

Flaky, shatteringly crisp, buttery French croissants with golden exteriors and soft, airy layered interiors, perfect for pairing with coffee for a special morning treat.

⏱️ 12 hours Desserts & Baking ★ 4.5
Desserts & Baking
🍜 United States

Warm, spiced baked apples topped with a fluffy golden biscuit crust, this cozy dessert pairs perfectly with vanilla ice cream for cool-weather comfort.

⏱️ 55 minuteDesserts & Baking ★ 4.6
Desserts & Baking
🍜 United States

A star-spangled classic American blueberry pie with buttery flaky crust and bright sweet-tart filling, perfect for summer patriotic gatherings.

⏱️ 1 hour 25Desserts & Baking ★ 4.7
Desserts & Baking
🍜 United States

A beloved no-bake regional Maine candy with a chewy coconut-potato center coated in rich dark chocolate, a New England holiday staple since the 1870s.

⏱️ 2 hours 3Desserts & Baking ★ 4.8
Desserts & Baking
🍜 France

Luxuriously creamy, floral frozen custard made with aromatic Tahitian vanilla beans, boasting a smooth, rich texture that melts slowly on the tongue.

⏱️ 3 hours 3Desserts & Baking ★ 4.5

dessert casserole:Frequently Asked Questions

1.What type of apples work best for this casserole, and can I use a different variety if I don’t have Honeycrisp? ▾
Honeycrisp apples are ideal here because they hold their shape perfectly during baking, with a balanced sweet-tart flavor that doesn’t turn mushy. If you don’t have them, swap for Granny Smith, Fuji, or Braeburn—just skip ultra-soft varieties like Red Delicious, which turn mealy and watery when baked.
2.Can I make this crumble casserole ahead of time for a fall party or potluck? ▾
Absolutely! You can assemble the apple layer and crumble topping separately, store them covered in the fridge for up to 24 hours, then bake right before serving. If you bake it fully ahead, reheat slices at 325°F for 10 minutes to crisp the topping back up before adding caramel.
3.Why does my crumble topping sometimes turn out soggy instead of crisp? ▾
Soggy topping almost always stems from using room-temperature butter instead of cold, or packing the crumble too tightly over the apples. Cut cold butter into the dry mix of oats, flour, and light brown sugar until you have pea-sized clumps, and sprinkle the topping loosely (don’t press it down) for that perfect buttery, crisp bite.
4.Do I need to peel the apples before layering them in the casserole? ▾
This is totally a personal preference! Peeling gives you a smoother, more uniform apple layer that feels extra indulgent. If you leave skins on, scrub apples thoroughly first; the skins add nice color, extra fiber, and a subtle chewy texture that pairs beautifully with the buttery crumble.
5.Can I use quick oats instead of old-fashioned rolled oats for the crumble topping? ▾
I don’t recommend quick oats as a direct swap, because they’re cut much finer and will turn soft and mushy during baking instead of creating that signature hearty, chewy crumble. If you only have quick oats, cut the oat amount by 2 tablespoons and add 2 extra tablespoons of flour to help the topping hold structure.
6.How do I keep the apple filling from turning out watery when I bake this? ▾
Watery filling happens when apples release excess juice that doesn’t thicken as it bakes. Toss your sliced apples with 1 tablespoon of all-purpose flour (or cornstarch for a gluten-free swap) before layering them in the dish; this absorbs extra juice for a thick, perfectly spiced filling that doesn’t run when served.
7.When should I add the salted caramel, and what kind works best? ▾
You can use high-quality store-bought salted caramel sauce to save time, or make homemade if you prefer. Wait until the casserole comes out of the oven and cools for 5 to 10 minutes before drizzling—adding it too early makes caramel run off the hot crumble and sink into the filling instead of sitting on top.
8.Can I adapt this recipe to be gluten-free for guests with dietary restrictions? ▾
Yes, this recipe is super easy to make gluten-free! Simply swap the all-purpose flour in both the crumble topping and apple thickener for a 1:1 gluten-free all-purpose baking blend, and double-check that your rolled oats are certified gluten-free to avoid cross-contamination. All other ingredients work as written.
9.What’s the best way to serve this casserole for a crowd? ▾
This shareable casserole is made for group gatherings! Let it cool for 10 minutes after baking so the filling sets, then serve straight from the dish with a scoop of vanilla bean ice cream, a dollop of freshly whipped cream, or an extra drizzle of salted caramel on each portion for a cozy, crowd-pleasing treat.
10.How should I store leftovers, and how long will they stay fresh? ▾
Let leftover crumble cool completely to room temperature, then cover the casserole dish tightly with plastic wrap or foil and store it in the fridge for up to 4 days. Reheat individual portions in the microwave for 30 seconds, or in a 325°F oven for 8 minutes to crisp the topping back up before eating.

Comments (8)

2 weeks ago

OMG this was the star of our Sunday family dinner two weeks ago! I brought it out after the pot roast and every single person went back for seconds. The salted caramel cuts the sweetness of the apples perfectly, and the crumble topping is so buttery and crunchy? Total game changer. Even my super picky 7 year old asked for thirds, which never happens. So easy to throw together too, I prepped the apples while the roast was resting and it was in the oven in 10 minutes flat. I’ve already gotten three texts from family asking for the recipe!

1 week ago

Wait did you use storebought salted caramel or make your own? I’m making this for my book club tomorrow and debating if I have time to whip up homemade!

1 week ago

So glad your family loved it! For what it’s worth, a good quality storebought salted caramel works perfectly here if you’re short on time — no judgment at all! Just warm it up slightly before drizzling so it spreads evenly over the apples.

3 days ago

Dude this is so easy even I didn’t mess it up. I live in a tiny dorm with a toaster oven and I was able to make this for my floor mates last weekend. Only change I made was adding a handful of crushed pretzels to the crumble top for extra salt and crunch, and everyone lost their minds. 10/10, will be making this all fall semester.

2 days ago

Love the pretzel addition! That salty, crunchy twist sounds absolutely perfect — I might have to steal that idea for my next batch. So glad your floor mates enjoyed it!

just now

Obsessed! I swapped the all purpose flour in the crumble for a 1:1 gluten free baking flour and it turned out exactly like the photos, no weird texture at all. The 40 minute cook time is spot on too — my apples were tender but not mushy, and the top was perfectly golden. SO good, I already have the ingredients on my grocery list to make it again next week.

1 week ago

Wait is there any way to make this ahead for meal prep? I want to have it prepped in the fridge so I can just pop it in the oven when I get home from work on Wednesday, but I don’t want the crumble to get soggy. Has anyone tried prepping it the night before?

5 days ago

I did this last week! I prepped the apple layer and the crumble separately, kept the crumble in a sealed bag in the fridge, then sprinkled it on right before baking. Came out perfect, no sogginess at all!

5 days ago

Great question! Like MidwestMealPrepper mentioned, prepping the components separately works perfectly if you’re making it ahead. You can also assemble the whole thing 24 hours in advance and keep it covered in the fridge — just add 3-5 minutes to the bake time if it’s cold going into the oven!

5 days ago

I never make desserts, usually I’m stuck manning the grill for all our family cookouts, but my wife asked me to make something sweet for our Labor Day get together and this recipe did not disappoint. So straightforward, no fancy ingredients, and everyone raved about it. Even my brother in law who ‘hates fruit desserts’ had two helpings. Wild.

3 days ago

Same! My husband swears he doesn’t like sweet stuff but he ate half the pan when I made this last month. The salted caramel really balances it out so it’s not cloyingly sweet, right?

5 minutes ago

I made this last night with apples we picked at the orchard over the weekend and it was *chef’s kiss*. I added a tiny dash of cinnamon and nutmeg to the apple filling because I can’t help myself, and it paired so well with the salted caramel. Served it warm with a scoop of vanilla bean ice cream on top and I swear I heard angels singing. 10/10 no notes.

2 days ago

Wow, this is way cheaper to make than picking up a fancy apple crumble from the bakery down the street! All the ingredients were stuff I already had in my pantry except the caramel, which was like $3 at the grocery store. Cooked in exactly 40 minutes like the recipe said, no guessing games. My roommate already asked me to make it again for her birthday next month.

yesterday

Love that this works for budget baking! No fancy, hard-to-find ingredients required — just cozy, delicious fall flavor. Happy early birthday to your roommate!

yesterday

Quick question — how well do the leftovers keep? I’m making this for just me and my partner tonight, so I know we won’t finish the whole pan in one sitting. Can I keep it in the fridge and reheat it, or does the crumble get weird after a day or two?

2 hours ago

Mine kept for 4 days in the fridge! I just reheated single servings in the microwave for 30 seconds and it was just as good as night one. The crumble stayed crunchy, no sogginess. Just don’t cover it super tight while it’s still warm, that makes it soggy!

30 minutes ago

Great question! Leftovers keep great in an airtight container in the fridge for 3-4 days, just like CasseroleQueen22 said. You can reheat in the microwave or pop it back in the oven at 350 for 10 minutes to crisp the topping back up if you prefer!



