
desserts with cocoa powder

title 1
desserts with cocoa powder
⏱️ cook time 25 minutes
🍽️ servings 9
⚡ Difficulty easy

intro

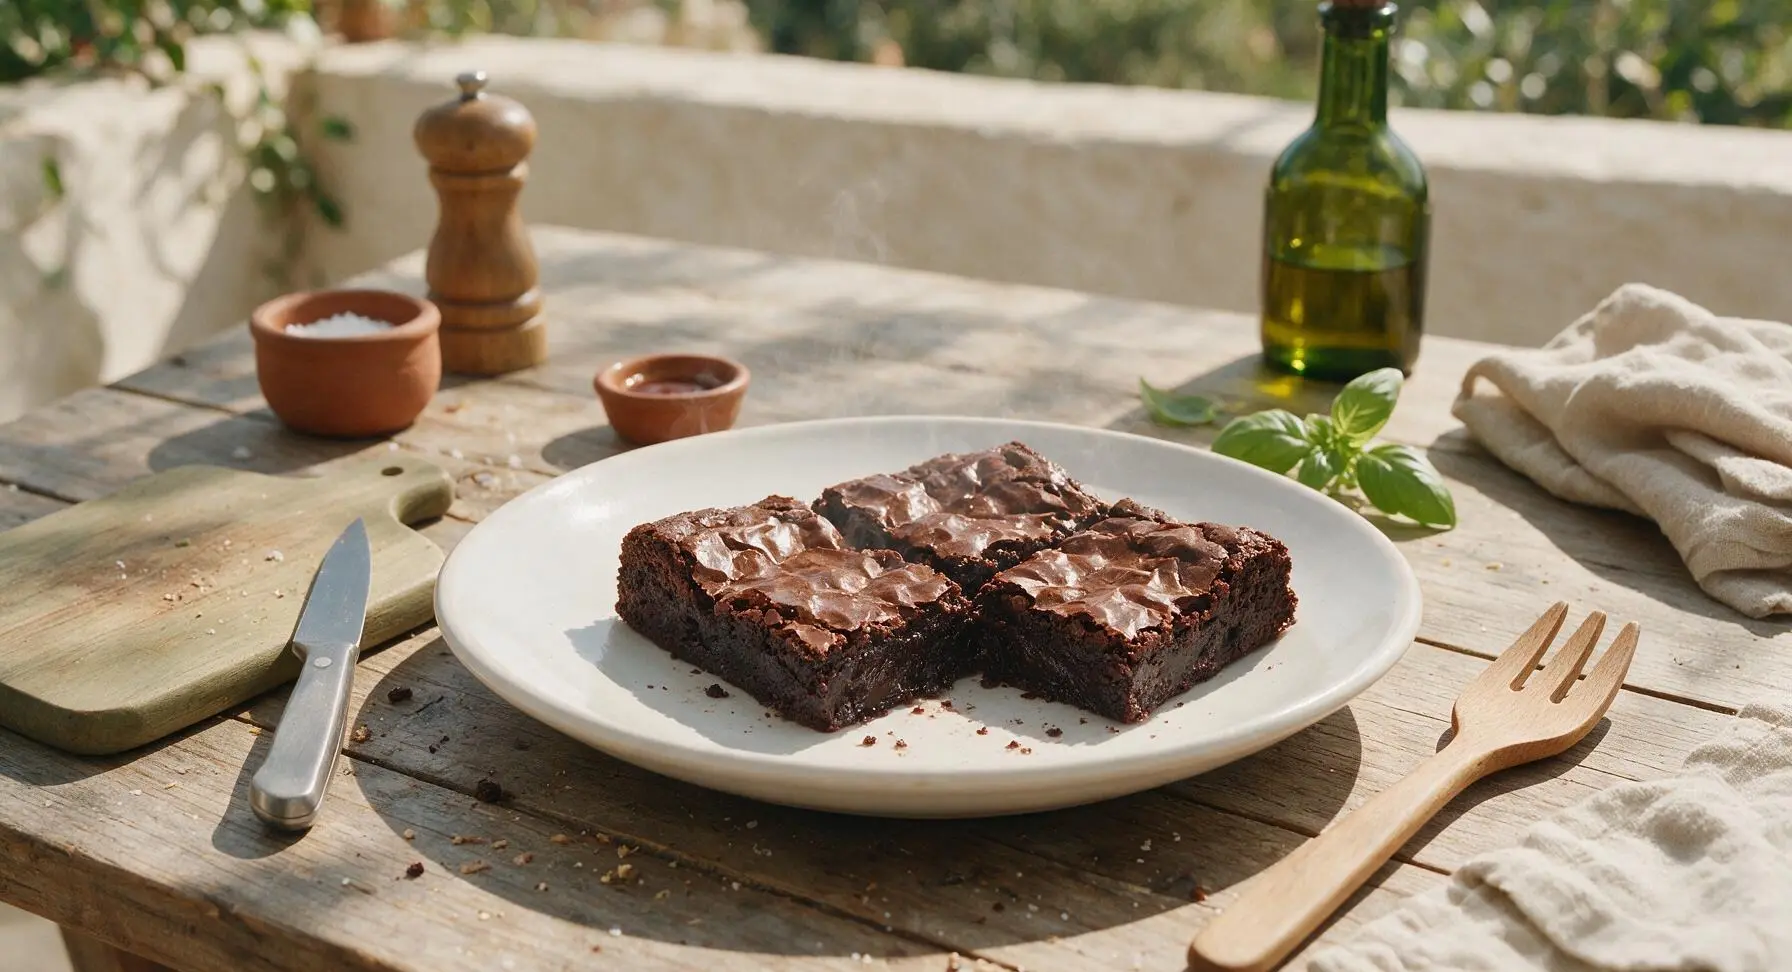
Ultra-fudgy dark cocoa brownies with a shiny crinkled top, deep chocolate flavor, and chewy, melt-in-your-mouth center—made with simple pantry staples, no fancy chocolate required.

Ingredients
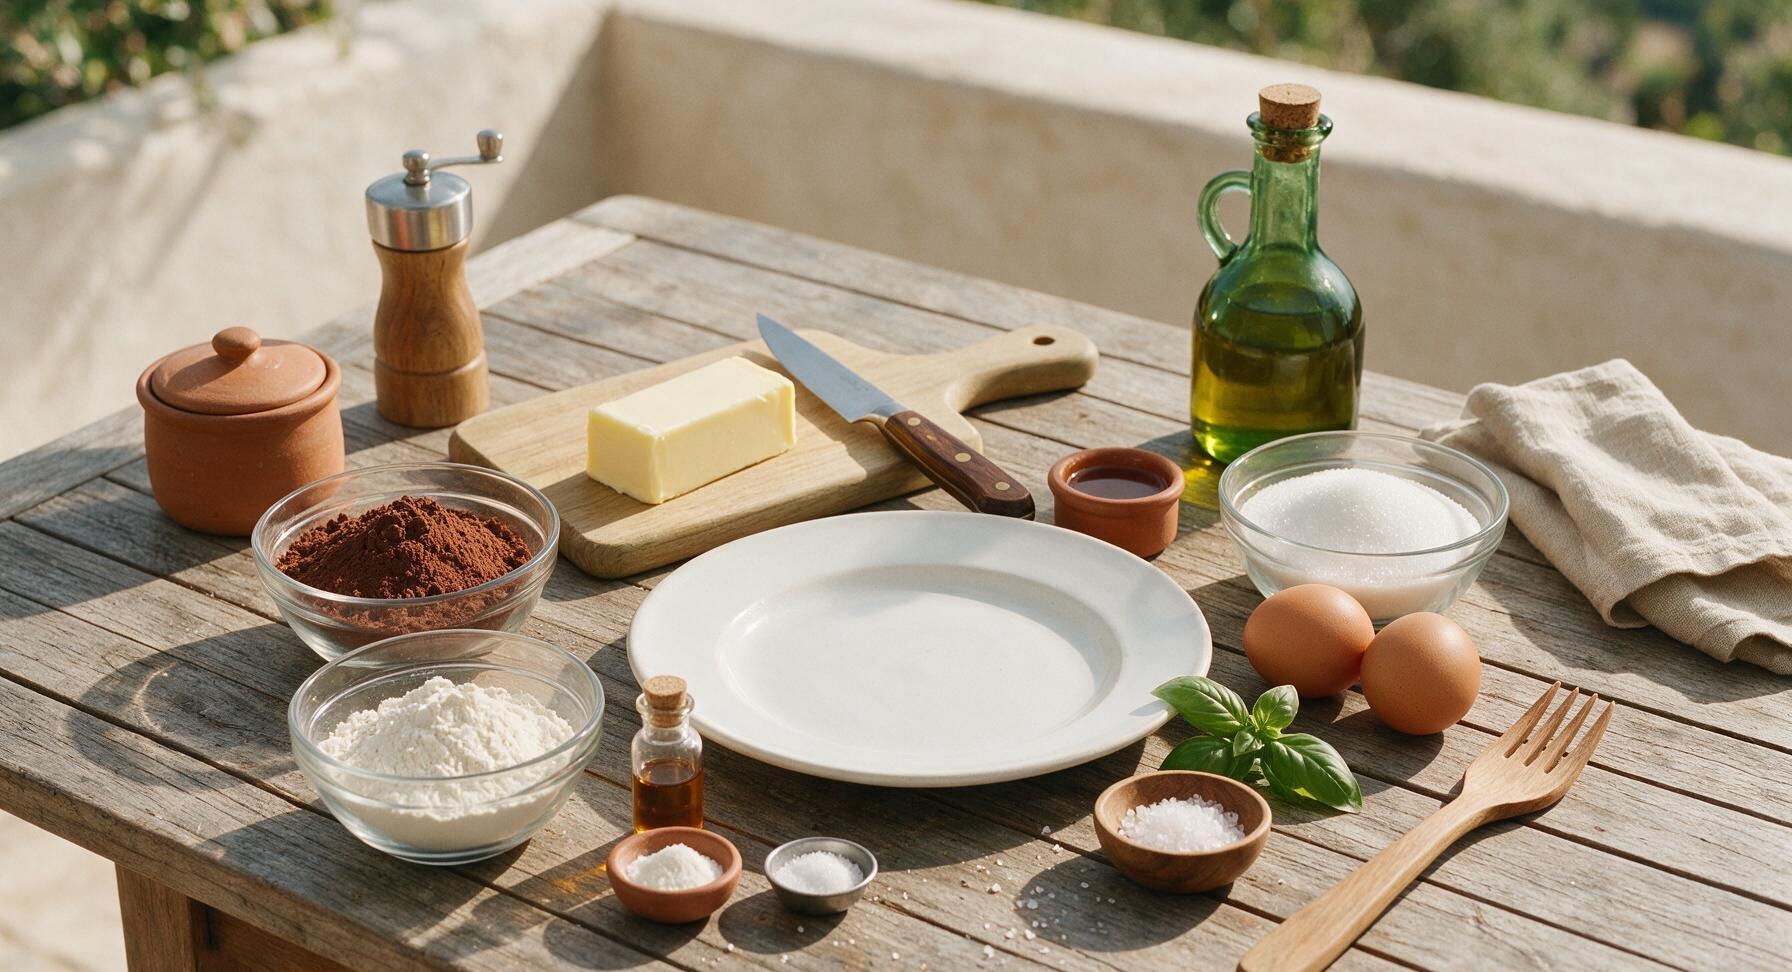
Unsweetened natural cocoa powder 3/4 cup (75g)
Unsalted butter 1/2 cup (113g, 1 stick)
Granulated white sugar 1 cup (200g)
Large eggs 2, room temperature
All-purpose flour 1/2 cup (60g)
Pure vanilla extract 1 tsp (5ml)
Baking powder 1/4 tsp
Fine table salt 1/4 tsp
Flaky sea salt 1 tsp, for topping

Steps

1

Preheat Oven and Prep Pan

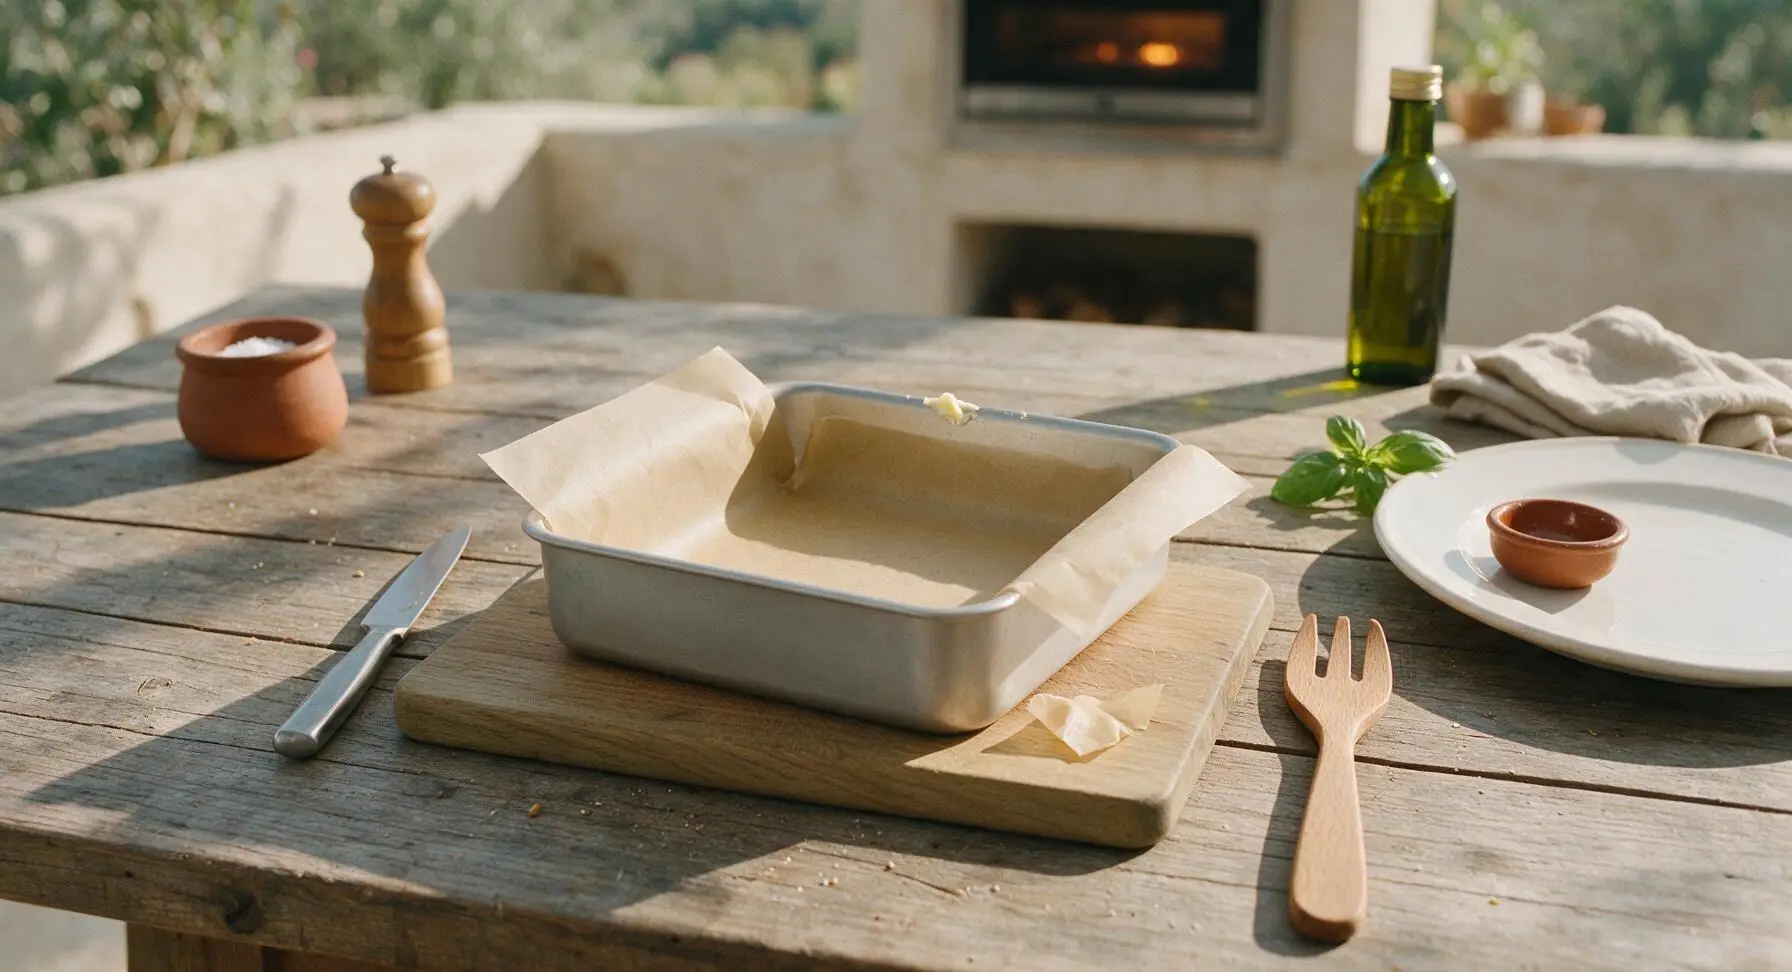
Preheat your oven to 175°C (350°F). Line the 20cm square matte silver baking pan with a strip of unbleached parchment paper that overhangs two opposite sides by 5cm (this acts as a sling to easily lift cooked brownies out later). Lightly grease the exposed pan sides with a small dab of butter to prevent sticking. The pan should be fully lined before you begin mixing batter.
Step 1
step1:Preheat Oven and Prep Pan
2

Melt Butter and Mix Cocoa

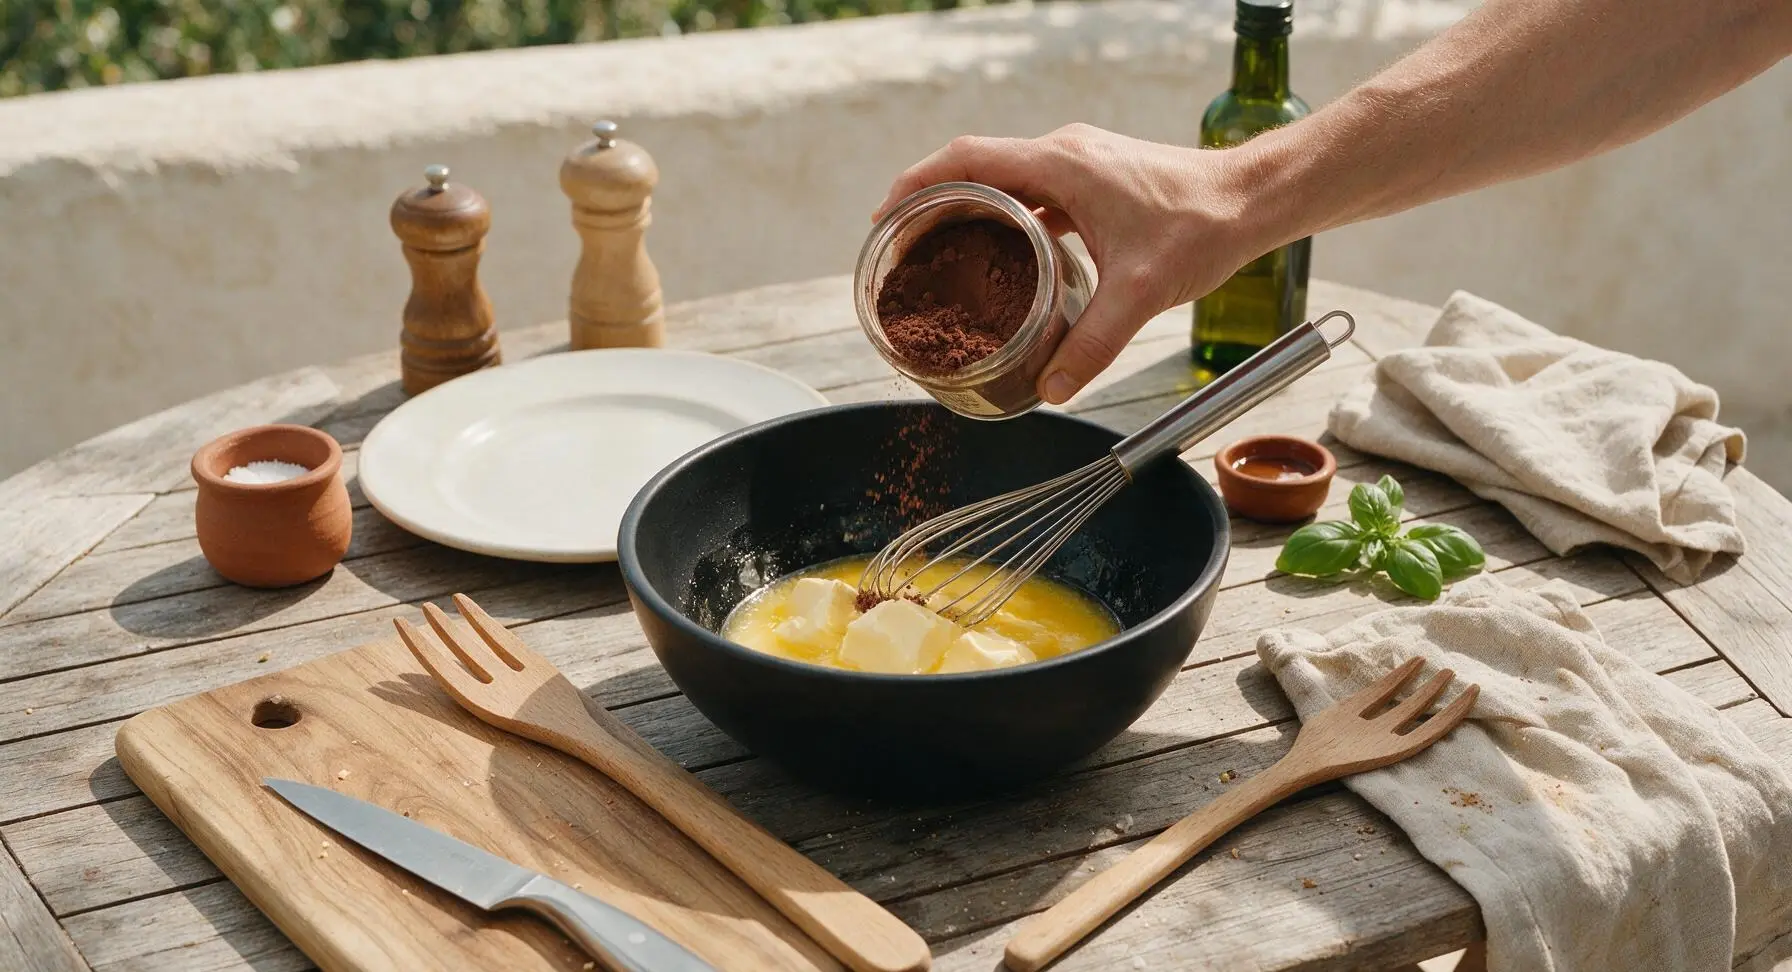
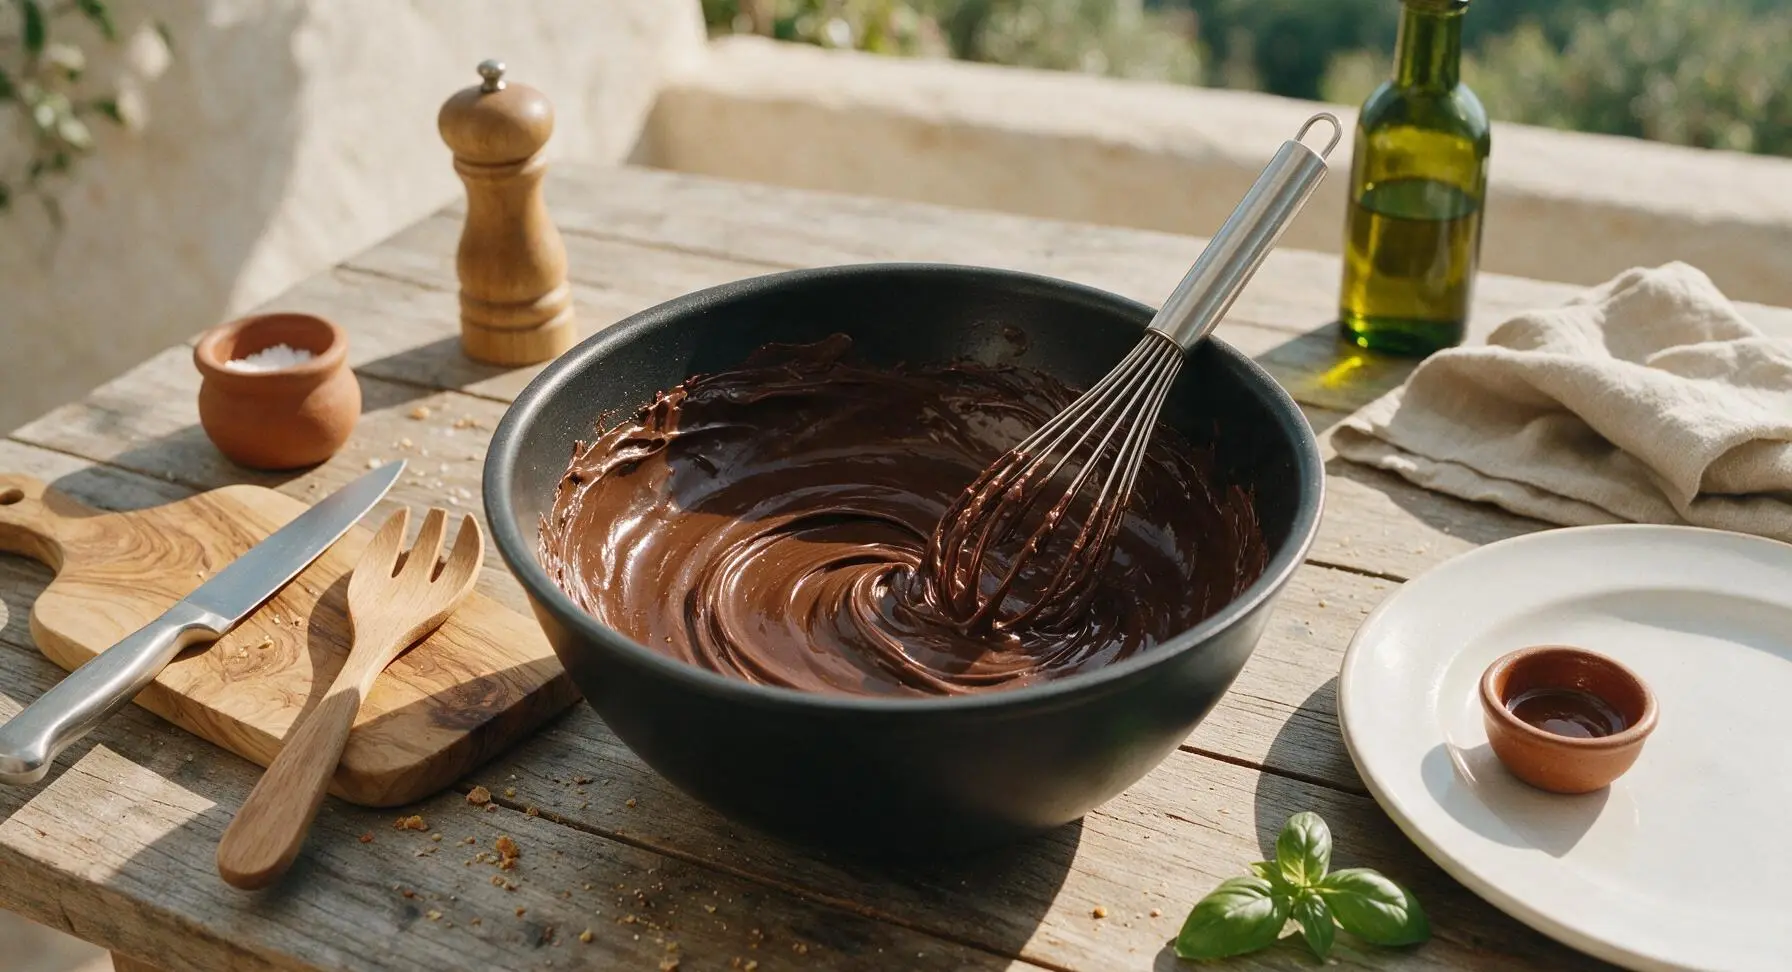
Place the 113g of unsalted butter in the matte black mixing bowl, and microwave in 30-second bursts until fully melted (about 1 minute total, do not let it bubble over). Add the 3/4 cup unsweetened cocoa powder to the melted butter, whisking with the stainless steel whisk until the mixture is smooth, glossy, and free of dry cocoa lumps, about 1 minute. Let the mixture cool for 3 minutes so it does not cook the eggs when added.
Step 2
step2:Melt Butter and Mix Cocoa
Step 2
step2:Melt Butter and Mix Cocoa
3

Whisk in Sugar and Eggs

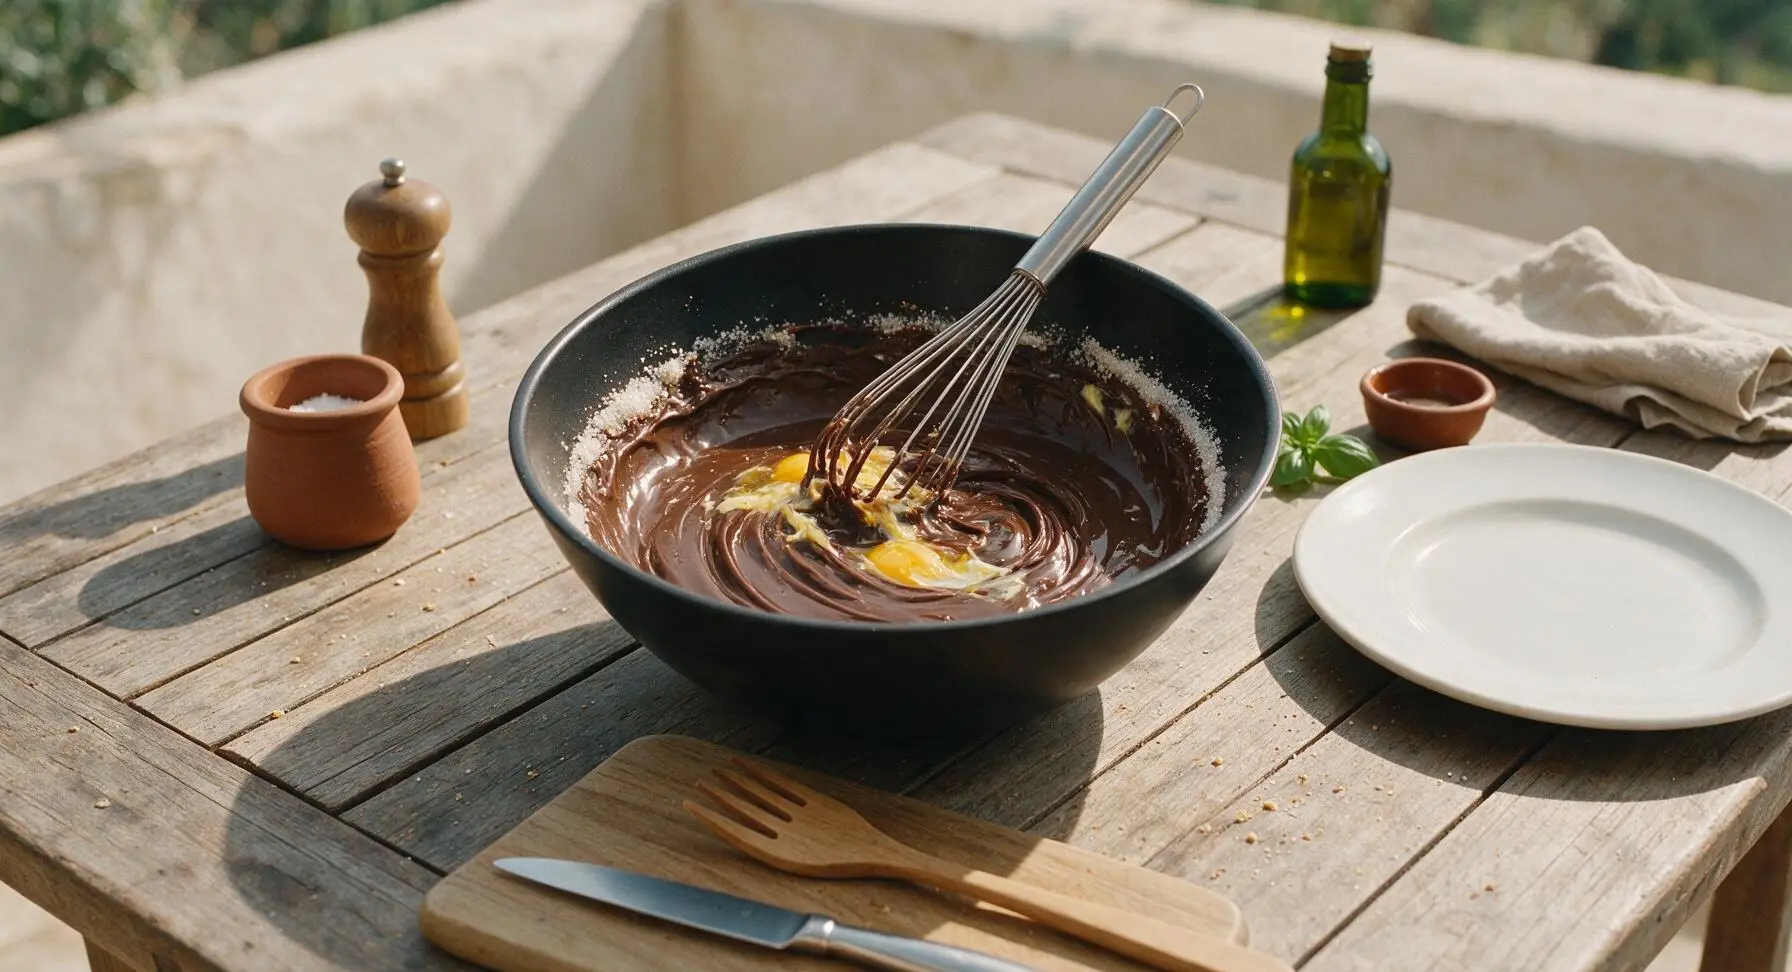
Add the 1 cup granulated sugar to the warm cocoa-butter mixture, whisking vigorously for 30 seconds until fully combined. Add the two room-temperature eggs one at a time, whisking for 20 seconds after each addition, until the batter is thick, shiny, and pulls away from the bowl sides slightly when you lift the whisk. Stir in the 1 tsp vanilla extract until evenly mixed.
Step 3
step3:Whisk in Sugar and Eggs
4

Fold in Dry Ingredients

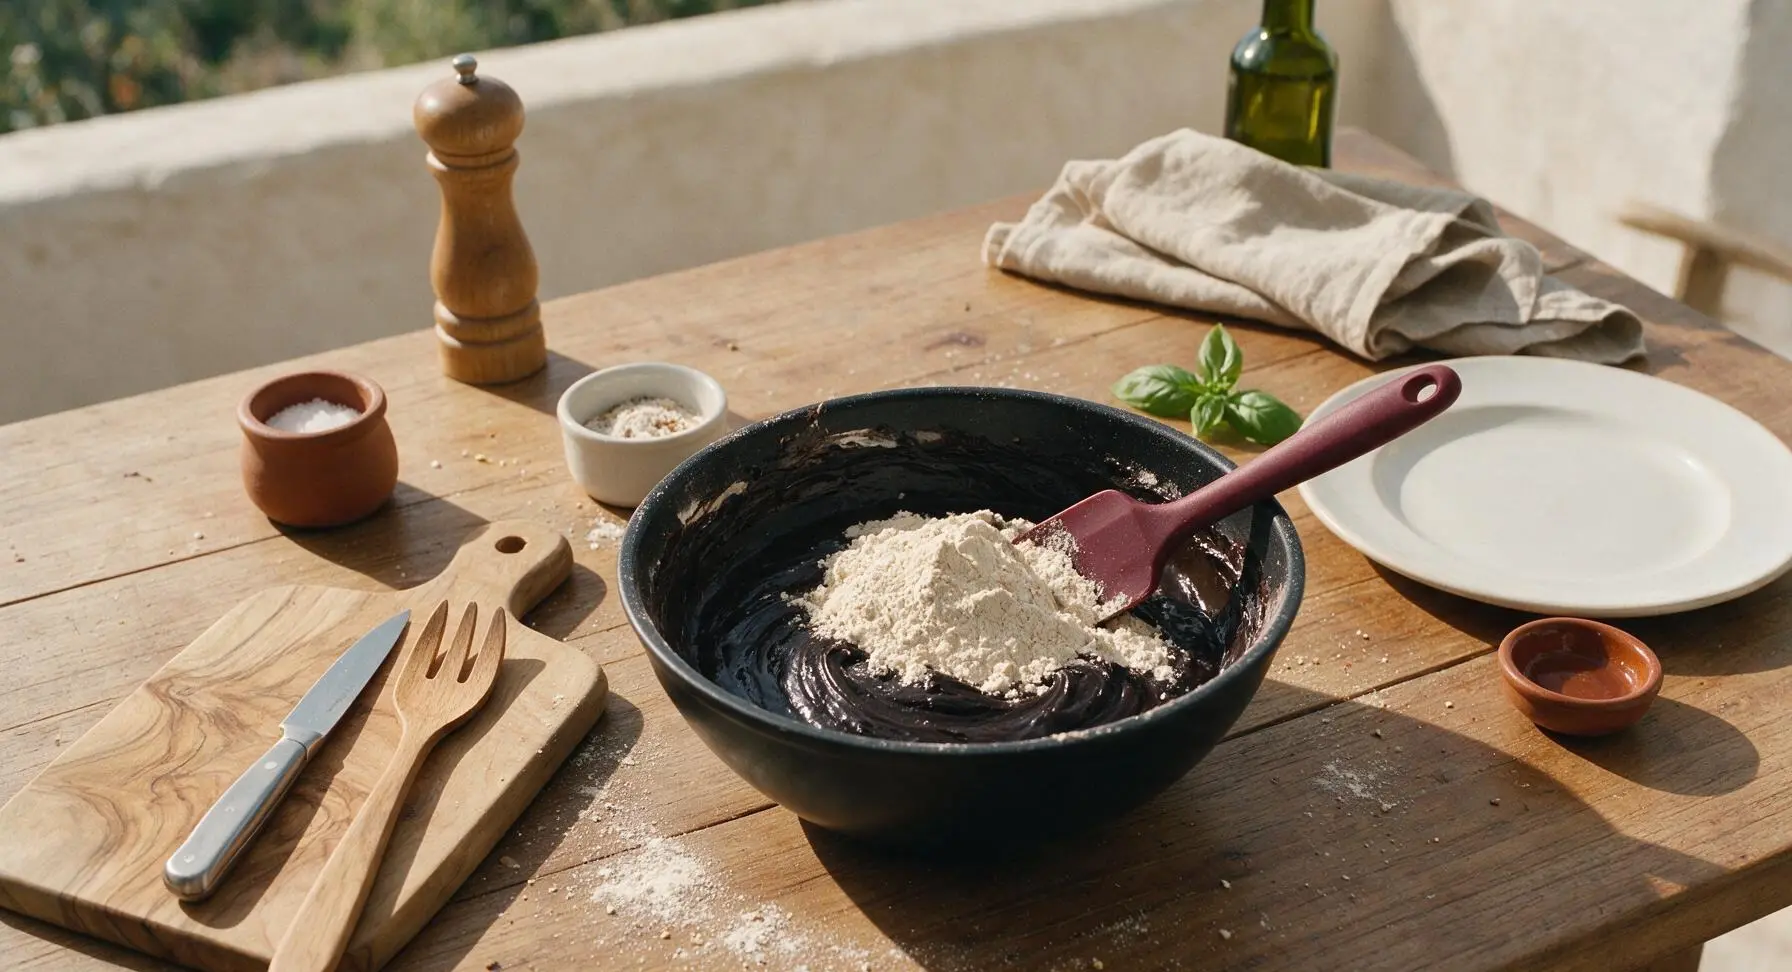
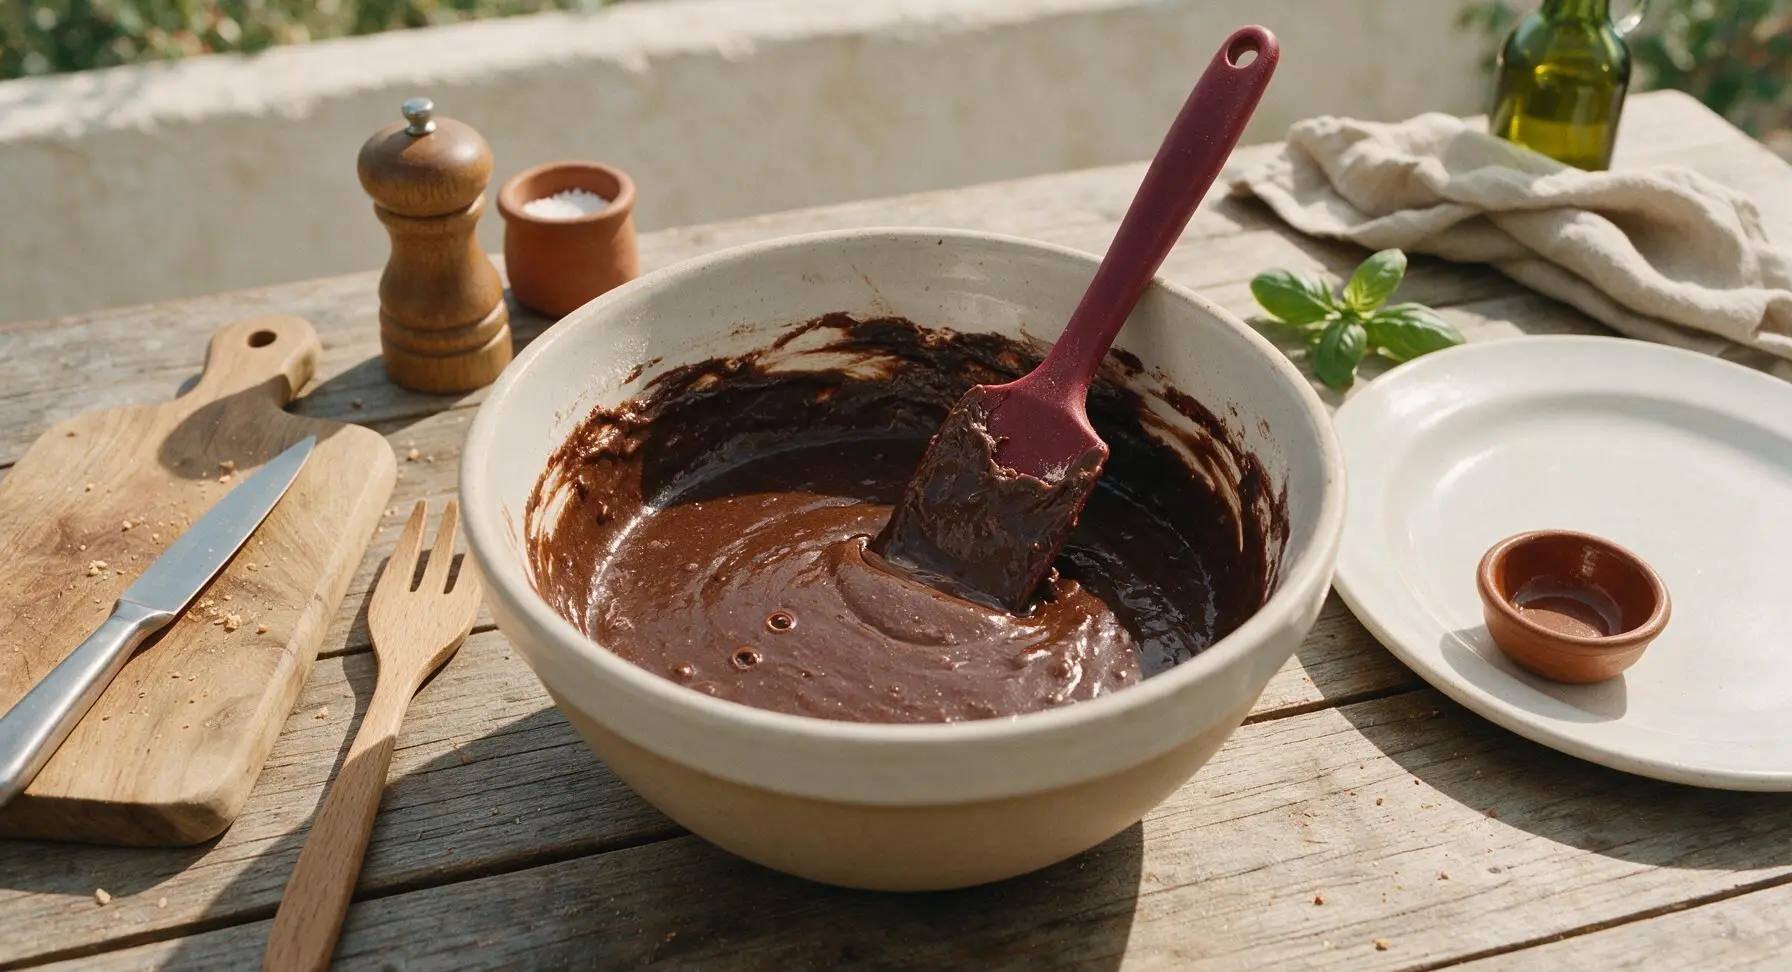
In a small white ceramic ramekin, combine the 1/2 cup all-purpose flour, 1/4 tsp baking powder, and 1/4 tsp fine table salt, stirring lightly to mix. Add the dry ingredient mix to the wet batter, using the burgundy silicone spatula to fold gently just until no white flour streaks remain—do not overmix, as this will make brownies tough instead of fudgy. The batter will be thick and dense, not runny.
Step 4
step4:Fold in Dry Ingredients
Step 4
step4:Fold in Dry Ingredients
5

Spread Batter in Pan

Pour all of the thick brownie batter into the parchment-lined square baking pan. Use the burgundy silicone spatula to spread the batter evenly into all corners of the pan, smoothing the top so it is level across the entire surface. Tap the pan firmly on the counter 2-3 times to release any trapped air bubbles, which prevents large holes in the finished brownies.
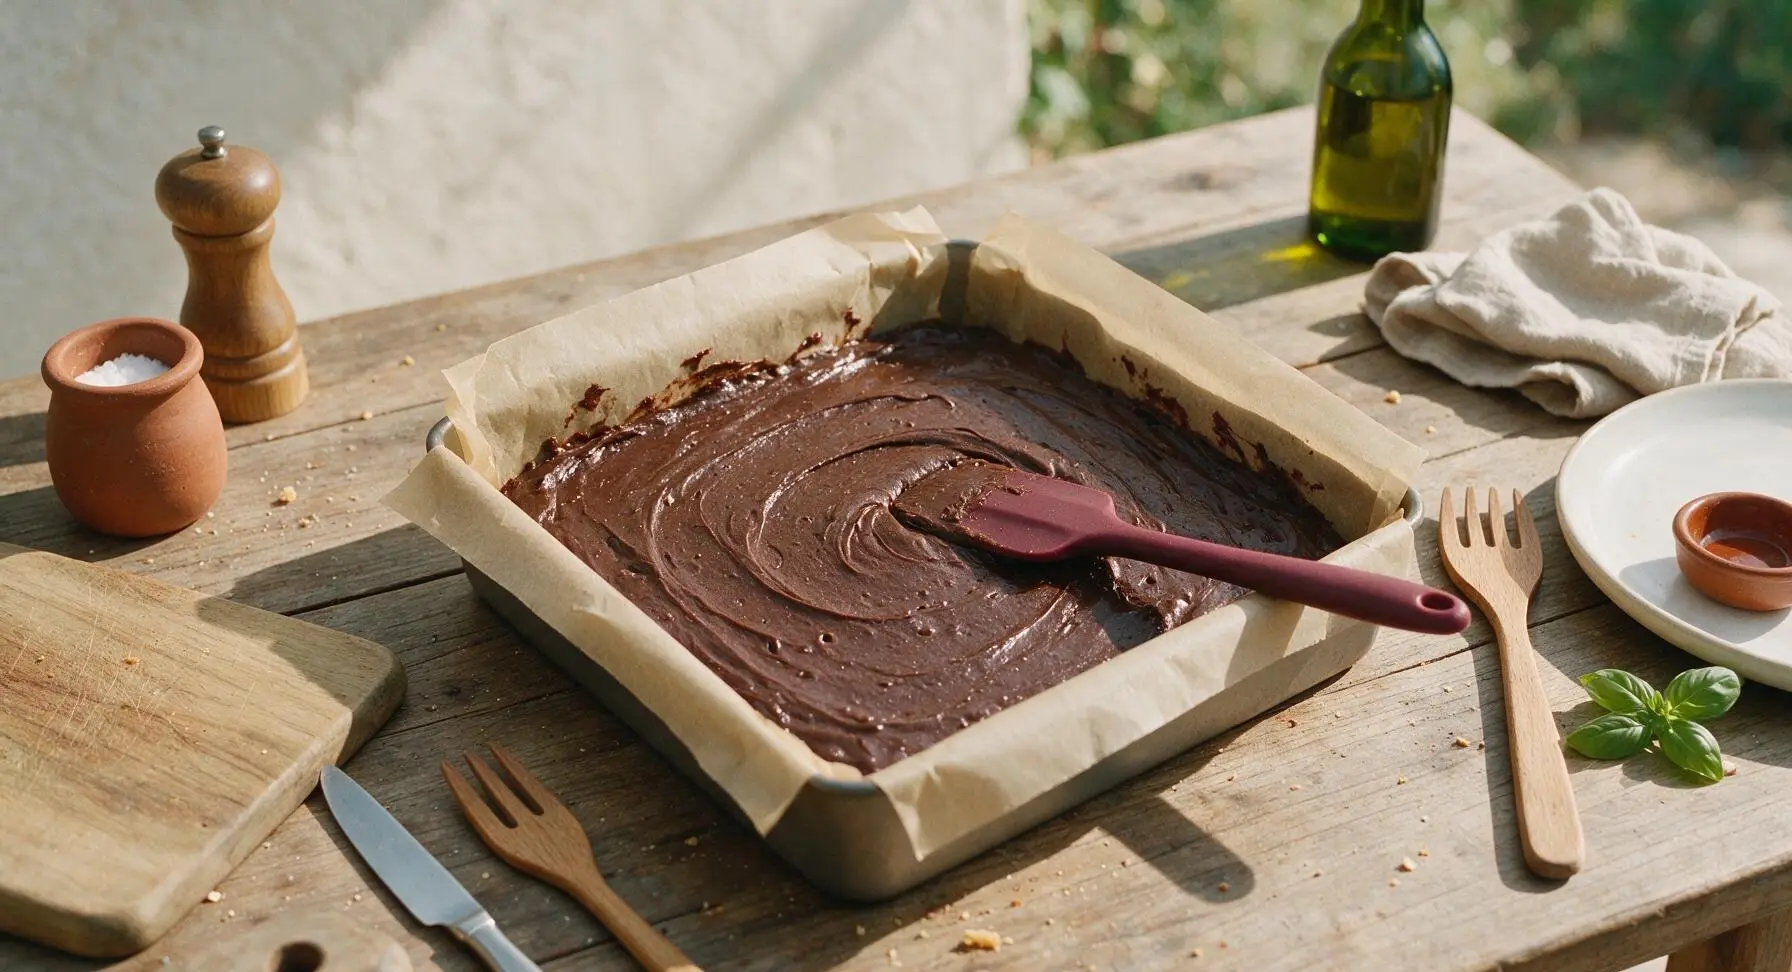
Step 5
step5:Spread Batter in Pan
6

Bake to Fudgy Doneness

Place the pan on the middle rack of the preheated 175°C (350°F) oven. Bake for exactly 22-25 minutes. Test doneness by inserting a toothpick into the center: it should come out with a few moist, fudgy crumbs attached, not wet batter, and not completely clean (which means overbaked, cakey brownies). Remove the pan from the oven, set it on the chrome wire cooling rack, and immediately sprinkle the top evenly with 1 tsp flaky sea salt.
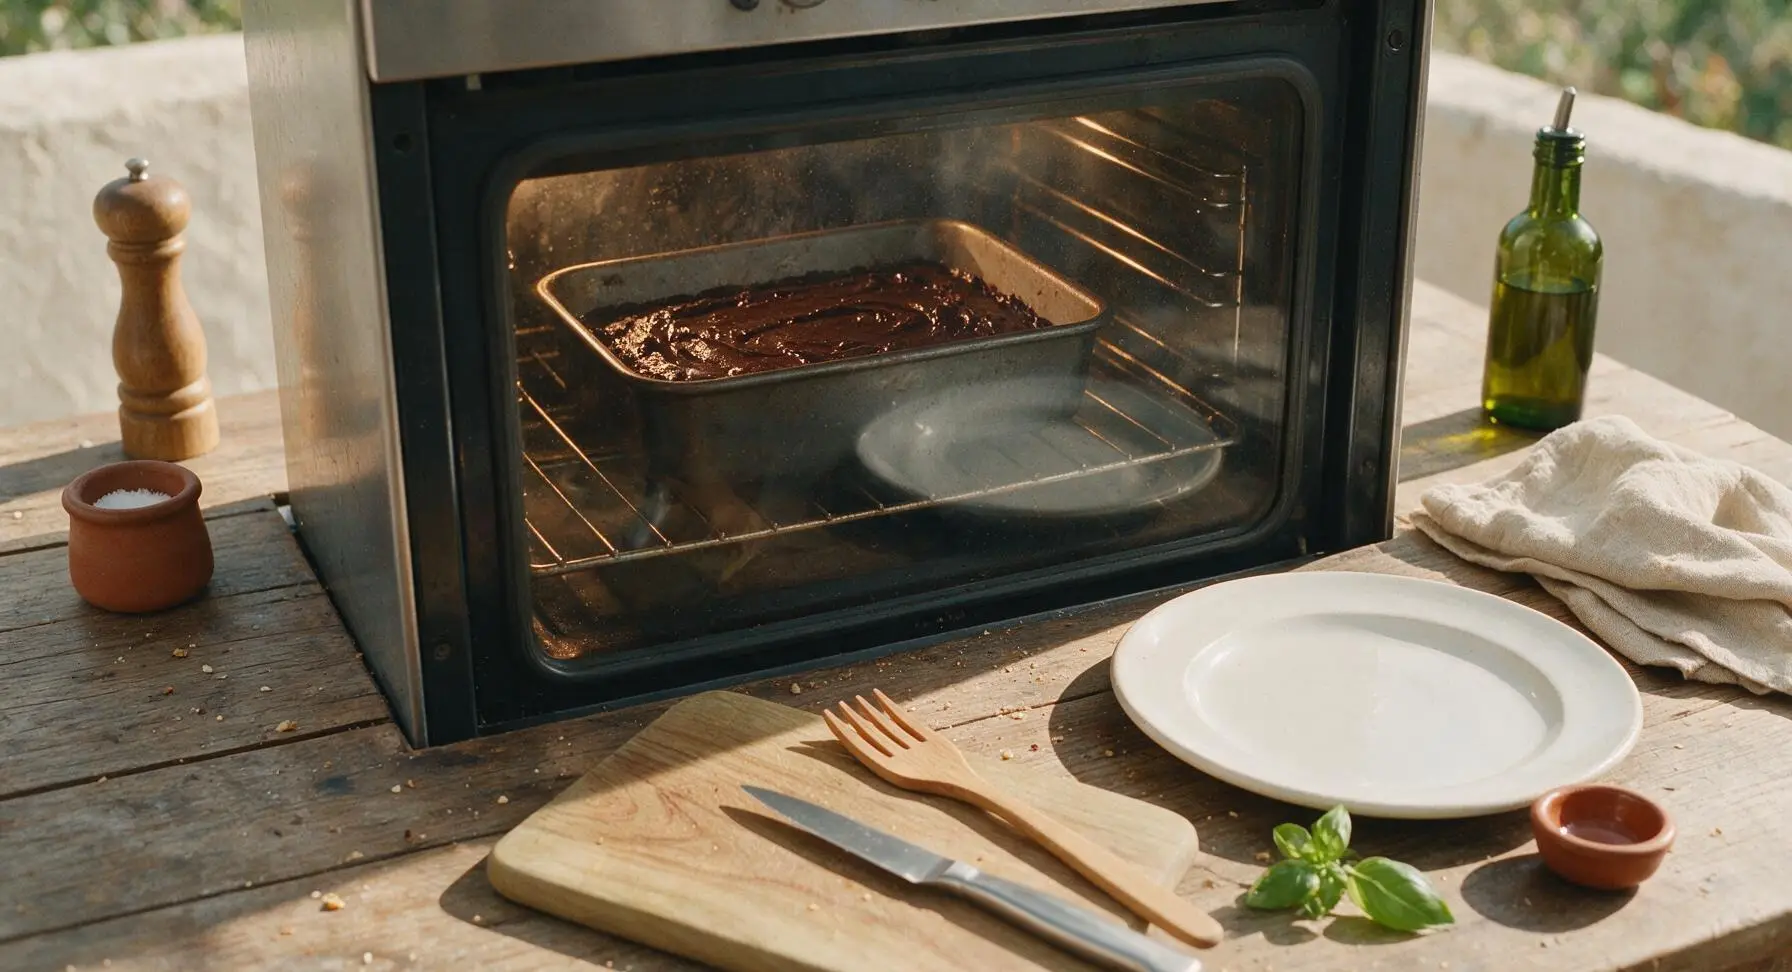
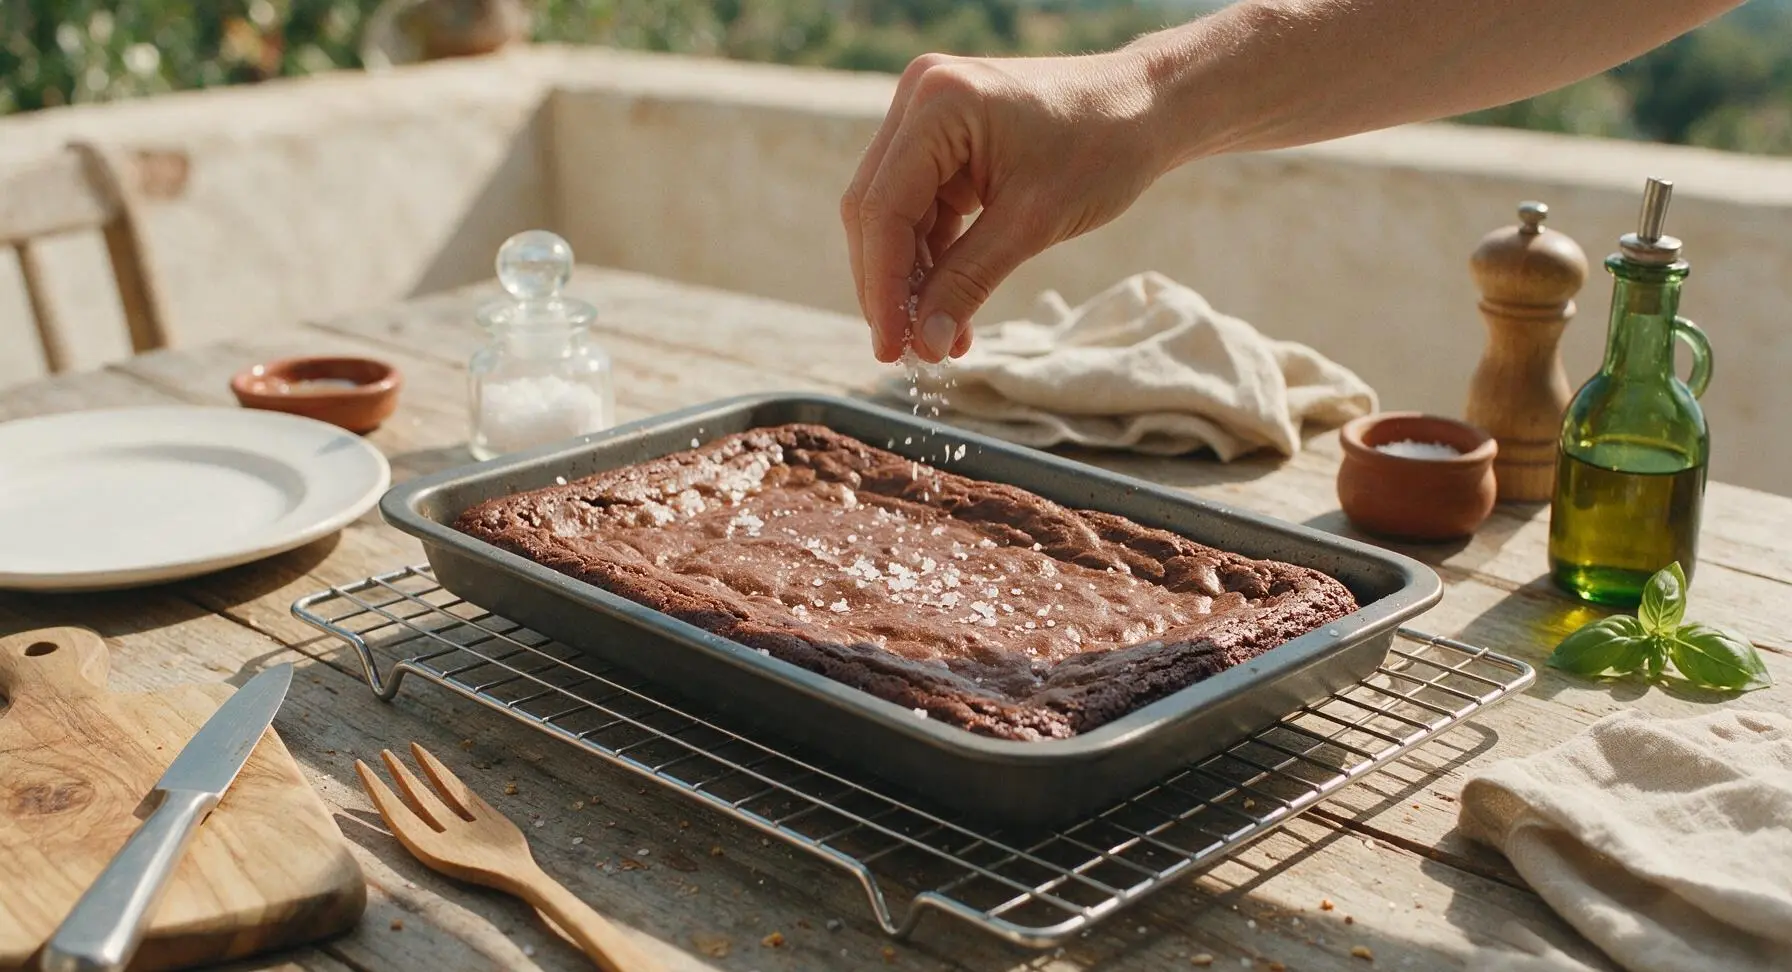
Step 6
step6:Bake to Fudgy Doneness
Step 6
step6:Bake to Fudgy Doneness
7

Cool and Lift Brownies

Let the brownies cool fully in the pan on the wire rack for 1 full hour (do not cut warm, as they will fall apart). Once cool, grasp the overhanging parchment paper slings to lift the entire brownie slab out of the pan and onto the dark walnut cutting board. Peel the parchment paper away from the sides of the slab.
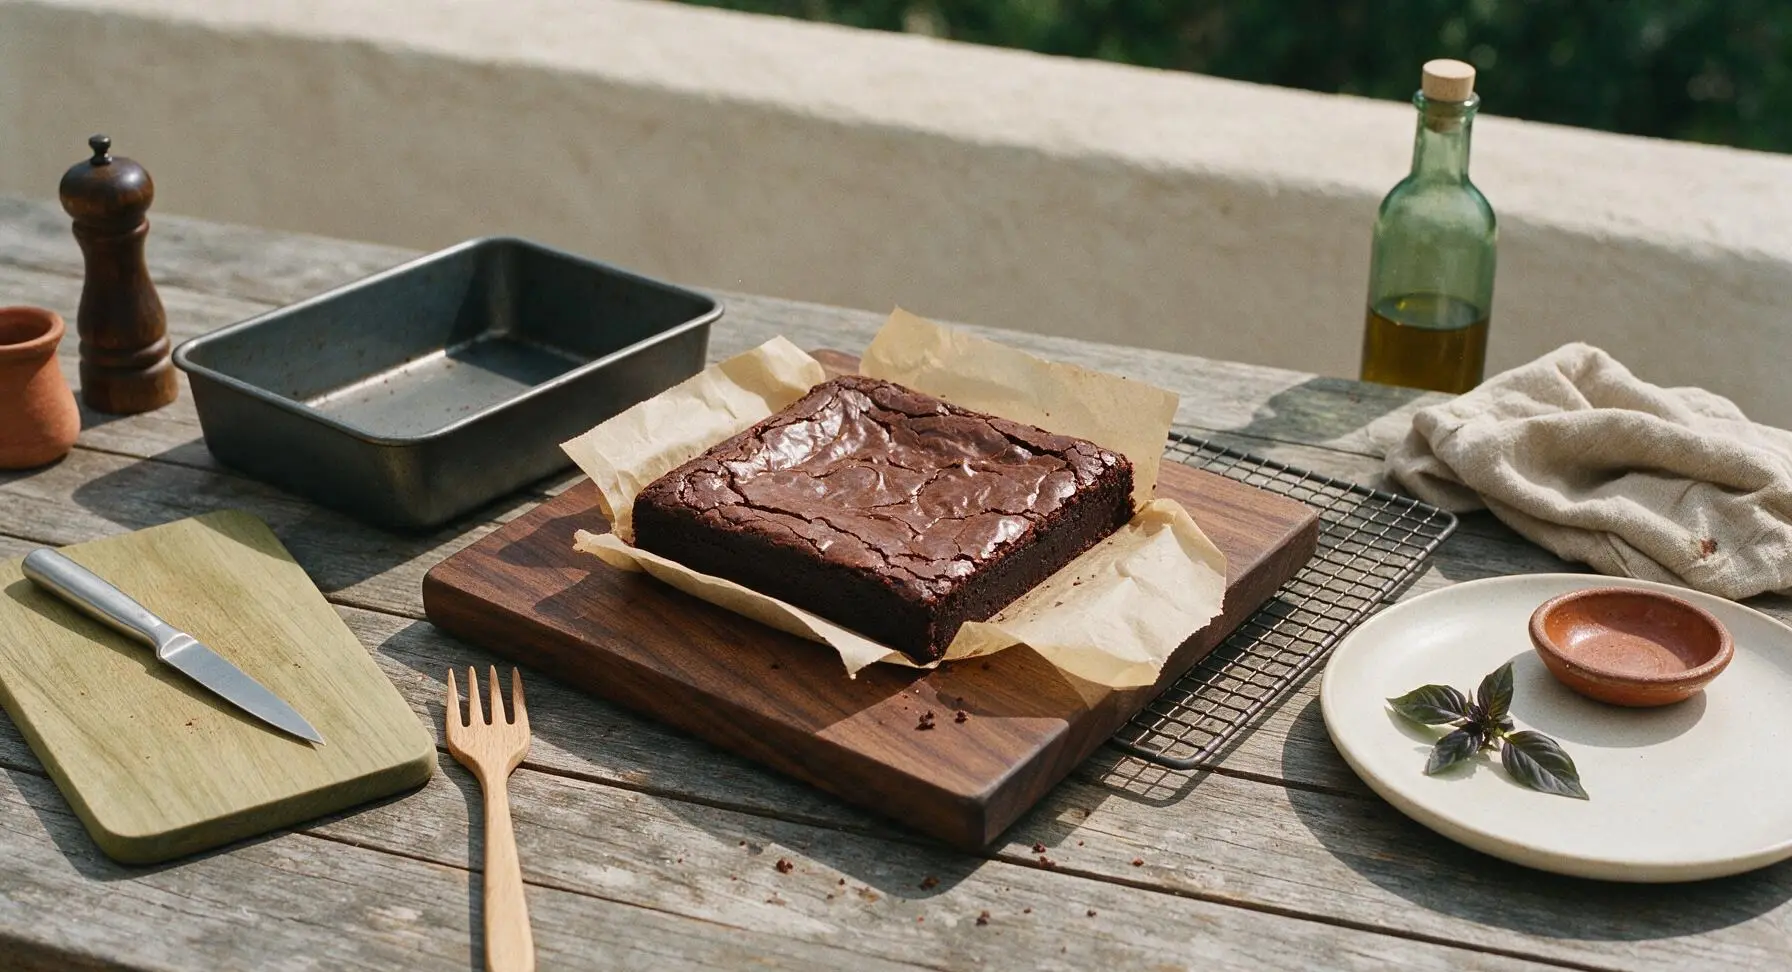
Step 7
step7:Cool and Lift Brownies
8

Cut and Plate Brownies

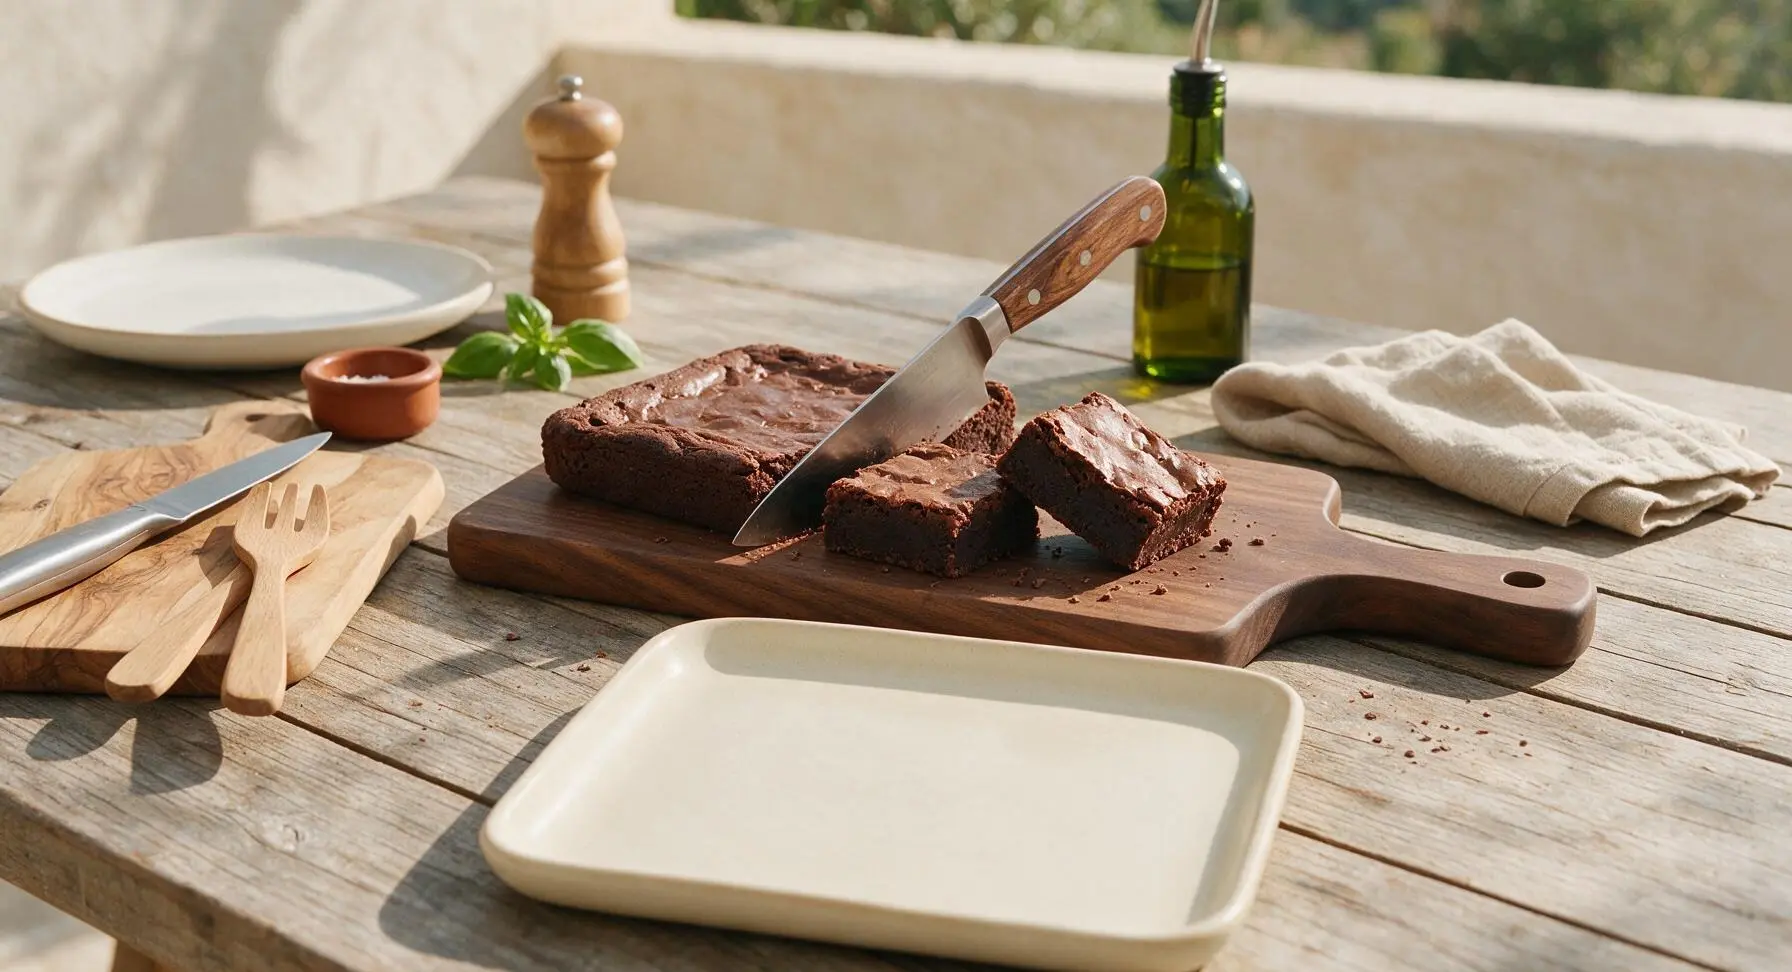
Using the sharp walnut-handled chef's knife, cut the brownie slab into 9 equal 5cm squares, wiping the knife blade clean between cuts for neat, clean edges. Arrange the cut brownies on the matte cream ceramic square serving platter, tilting one brownie to show the fudgy interior.
Step 8
step8:Cut and Plate Brownies

Tips

1.Use natural unsweetened cocoa powder instead of Dutch-processed for this recipe: natural cocoa has a brighter, deeper chocolate tang that balances the sweet sugar and rich butter, and its higher acidity reacts with the small amount of baking powder to create the signature shiny, crinkled brownie top.
2.Always let your eggs come to room temperature for 30 minutes before mixing: cold eggs will seize the warm melted butter, creating a lumpy batter that results in dense, uneven brownies instead of a smooth, consistent fudgy crumb.
3.Do not overbake the brownies: the center will look slightly under-set when you pull them from the oven, but residual pan heat will continue to cook the batter as it cools. Overbaking is the number one cause of dry, cakey brownies instead of the desired rich, melt-in-your-mouth texture.


✨ You May Also Like

Desserts & Baking
🍜 Italy

Creamy, coffee-kissed classic Northern Italian no-bake dessert, with layers of rum-spiked mascarpone cream, soft ladyfingers, and a rich cocoa dusting.

⏱️ 4 hours 3Desserts & Baking ★ 4.7
Desserts & Baking
🍜 France

Flaky, shatteringly crisp, buttery French croissants with golden exteriors and soft, airy layered interiors, perfect for pairing with coffee for a special morning treat.

⏱️ 12 hours Desserts & Baking ★ 4.5
Desserts & Baking
🍜 United States

Warm, spiced baked apples topped with a fluffy golden biscuit crust, this cozy dessert pairs perfectly with vanilla ice cream for cool-weather comfort.

⏱️ 55 minuteDesserts & Baking ★ 4.6
Desserts & Baking
🍜 United States

A star-spangled classic American blueberry pie with buttery flaky crust and bright sweet-tart filling, perfect for summer patriotic gatherings.

⏱️ 1 hour 25Desserts & Baking ★ 4.7
Desserts & Baking
🍜 United States

A beloved no-bake regional Maine candy with a chewy coconut-potato center coated in rich dark chocolate, a New England holiday staple since the 1870s.

⏱️ 2 hours 3Desserts & Baking ★ 4.8
Desserts & Baking
🍜 France

Luxuriously creamy, floral frozen custard made with aromatic Tahitian vanilla beans, boasting a smooth, rich texture that melts slowly on the tongue.

⏱️ 3 hours 3Desserts & Baking ★ 4.5

desserts with cocoa powder:Frequently Asked Questions

1.Why don’t my brownies get that signature shiny, crinkled top? ▾
That iconic shiny crust forms when granulated sugar fully dissolves into warm melted butter before you add eggs, creating a thin, crisp sugar layer that sets as it bakes. Stir the sugar and warm butter for 1 to 2 minutes until the mixture feels smooth, not gritty, when you rub a pinch between your fingers. Avoid overbeating eggs after adding them, which creates a dull, cakey top instead.
2.Can I use Dutch-processed cocoa instead of natural unsweetened cocoa here? ▾
You can, but it will slightly change the flavor and rise. Natural cocoa has a bright, deep chocolate tang that pairs perfectly with the sweet, fudgy base, and its natural acidity reacts with eggs to create the ideal chewy texture. If you only have Dutch-processed, add 1/8 teaspoon of baking soda to the dry ingredients to mimic that lift and flavor balance.
3.How do I make sure my brownies stay fudgy instead of turning out cakey? ▾
The two biggest culprits for cakey brownies are overmeasured flour and overmixed batter. Spoon all-purpose flour into your measuring cup and level it with a knife instead of scooping directly from the bag, which packs it down. Stir flour in just until no dry streaks remain—overmixing develops gluten that creates a light, cakey crumb instead of that dense, fudgy bite.
4.Do I need fancy melted chocolate to get rich, deep-flavored brownies? ▾
Nope, that’s the best part of this recipe! High-quality unsweetened natural cocoa powder delivers concentrated, robust chocolate flavor without chopping or melting specialty chocolate bars. The tested ratio of butter, sugar, and eggs creates that melt-in-your-mouth fudgy texture all on its own, so you can whip these up with regular pantry staples any time a craving hits.
5.Can I use salted butter instead of unsalted for this recipe? ▾
You can absolutely swap in salted butter if that’s what you have on hand—just skip any added fine salt called for in the recipe to keep the flavor balanced. Unsalted butter lets you control exactly how much salt goes into the batter to let deep chocolate flavor shine, but salted butter works seamlessly with that small adjustment to avoid an overly salty final batch.
6.What size pan works best for these brownies? ▾
An 8x8 inch square light-colored metal baking pan is ideal for the perfect thickness, chewy edges, and fudgy center. If you use a 9x9 inch pan, your brownies will be thinner and bake 3 to 5 minutes faster, so start checking for doneness early. Line the pan with overhanging parchment paper to easily lift the whole slab out for clean, even cuts after cooling.
7.How do I know when the brownies are done baking so they don’t dry out? ▾
Fudgy brownies will look slightly underdone in the very center when you pull them from the oven. Stick a toothpick 2 inches from the pan edge—it should come out with moist, fudgy crumbs attached, not wet batter and not completely clean. The center will set fully as the brownies cool in the pan, so don’t wait for a clean toothpick or you’ll get dry, crumbly bars.
8.Can I add mix-ins like nuts or chocolate chips to these brownies? ▾
Absolutely! Fold in up to 1 cup of add-ins right after you stir in the flour, so they stay evenly distributed instead of sinking to the bottom. Chopped walnuts, semisweet chocolate chips, toasted pecans, or even dried tart cherries work beautifully. Just don’t add more than 1 cup total, or you’ll weigh down the fudgy batter and disrupt that shiny top crust.
9.Why did my brownies turn out hard and crunchy all the way through? ▾
Overbaking is almost always the cause of tough, crunchy brownies. Remember that these continue to cook in the hot pan for 10 to 15 minutes after you pull them out of the oven, so pulling them when the center is slightly jiggly is key. Also, verify your oven temperature—an oven running 25°F too hot can overcook brownies long before the recommended bake time is up.
10.Do I need to bring my eggs to room temperature before making the batter? ▾
Room temperature eggs mix more smoothly into the butter and sugar mixture, which helps create stable batter for the shiny top and even fudgy texture. If you’re short on time, submerge cold eggs in a bowl of warm tap water for 5 minutes to take the chill off. Cold eggs can cause melted butter to seize up, creating lumpy batter and a dull, uneven top crust.
11.How do I cut clean, neat brownie squares without them squishing? ▾
Let the brownies cool completely in the pan for at least 1 hour, then lift them out using the parchment paper overhang and transfer to a cutting board. Run a sharp chef’s knife under hot water, wipe it dry, and make a single cut—repeat the hot water wipe between every cut. This prevents the fudgy center from sticking to the knife and squishing as you slice.
12.Can I use brown sugar instead of granulated white sugar here? ▾
Swapping some or all of the granulated sugar for brown sugar will give you a chewier, molasses-tinged brownie, but it will prevent that shiny, crinkled top from forming. Brown sugar has extra moisture that disrupts the crisp sugar crust you’re after. If you love that brown sugar flavor, swap ¼ cup of granulated sugar for light brown sugar at most to keep the shiny top intact.
13.How should I store these brownies to keep them fudgy? ▾
Store cut brownie squares in an airtight container at room temperature for up to 4 days, layered between sheets of parchment paper to prevent sticking. You don’t need to refrigerate them—cold temperatures make butter firm up and turn the fudgy texture dense and hard. For longer storage, wrap individual squares tightly in plastic wrap and freeze for up to 3 months.
14.Why did my shiny top crack and flake off completely? ▾
That usually happens if you beat too much air into the batter after adding eggs, or if you open the oven door too early in the bake time. The delicate sugar crust needs stable, even heat to set properly, so avoid opening the oven for the first 20 minutes of baking. Fold eggs into the butter-sugar mixture just until combined, rather than whisking vigorously, to keep the crust intact.
15.Is there a way to make these brownies gluten-free? ▾
Yes, you can swap the all-purpose flour for a 1:1 gluten-free all-purpose baking blend that contains xanthan gum for best results. Measure it the same way you would regular flour—spoon and level, don’t pack—and mix just until no dry streaks remain. The fudgy texture and shiny top will turn out nearly identical to the original recipe, with no extra adjustments needed.
16.Why are the edges of my brownies done long before the center? ▾
This is common with dark metal or glass pans, which conduct heat much faster than light-colored metal pans. If you’re using a glass or dark nonstick pan, lower your oven temperature by 25°F to slow edge browning, and start checking for doneness 5 minutes earlier than recommended. You can also wrap the outside of the pan in a damp baking strip for more even heat distribution.
17.Can I double this recipe to make brownies for a crowd? ▾
Absolutely! Double all the ingredients and bake the batter in a 9x13 inch metal baking pan, adding 8 to 10 minutes to the total bake time. Stick to the same doneness cues: look for a set shiny top, slightly jiggly center, and moist crumbs on a toothpick inserted near the edge. Let the full pan cool completely for 2 hours before slicing to let the fudgy center set properly.

Comments (19)

2 days ago

OMG these brownies are INSANE. I’ve been chasing that perfect shiny crinkly top for YEARS and this recipe nailed it on the first try? Used regular unsweetened cocoa, didn’t even have Dutch process, and they were still so fudgy, not cakey at all. My kids devoured half the pan before dinner last night, 10/10 will make again for the school potluck next week.

yesterday

Wait did you line the pan with parchment? I always skip that and wonder if that messes up the top? I’m making these for my work potluck Friday so I don’t wanna mess it up!

yesterday

So glad your family loved them! Parchment is totally optional but it does make lifting the whole slab out to cut clean squares way easier, which is perfect for potlucks. If you don’t have it, just grease the pan really well and they’ll turn out great!

3 days ago

Game. Changer. I’ve made boxed brownies my whole adult life because I thought from-scratch was too fussy, but 25 minutes cook time? No fancy equipment? The shiny top is no joke, my roommate thought I picked these up from a fancy bakery. Only note: I added a handful of semi-sweet chocolate chips on top before baking, chef’s kiss.

2 days ago

Love the chocolate chip add-in, that’s such a good call! So happy you gave from-scratch a shot, these are designed to be just as easy as boxed but way more flavorful.

1 week ago

Made these with a 1:1 gluten free all purpose flour blend and they came out PERFECTLY. No gritty texture, same fudgy center, same shiny top. I was so nervous swapping flour would ruin it but I served these to my gluten-eating in-laws and none of them could tell. Will be adding this to my weekly meal prep rotation for sure.

2 hours ago

Uh, help? I followed the recipe exactly but my top came out dull and matte, no shine at all. They still taste fudgy and good, but I was really looking forward to that pretty crinkly top everyone is talking about. Did I do something wrong with the sugar? I used regular granulated like it said.

30 minutes ago

I had this happen my first try too! Turns out I didn’t mix the sugar and eggs long enough. You gotta whisk ’em until they’re really pale and thick, that’s what makes that shiny top crust form, I swear. Second try I mixed for a full minute longer and it was perfect.

5 minutes ago

Great tip from BakingNerdKate! That matte top almost always comes from not whisking the egg and sugar mixture long enough to fully dissolve the sugar, or from letting the batter sit too long before popping it in the oven. They’ll still taste delicious even without the shine, promise!

yesterday

Made these for my daughter’s soccer team snack after practice yesterday and every single kid asked for seconds. Even the coach asked for the recipe! I cut them into little bite-sized squares so they were easy to pass out, and they held their shape perfectly, no crumbly mess. SO good.

yesterday

Love that these were a team hit! Bite-sized squares are such a smart call for post-practice snacks, so much easier than handing out whole big brownies to wiggly kids.

2 weeks ago

Added a teaspoon of instant espresso powder to the cocoa mix and oh my god, it makes the chocolate flavor so much deeper. These are the perfect late night snack with a glass of cold milk. Cooked mine for exactly 25 minutes and the edges were chewy, center was perfectly gooey, no raw batter at all. Perfect recipe.

1 week ago

Love that this uses regular pantry staples, no fancy dark chocolate bars required. I’m a college student on a super tight meal plan and I already had all the ingredients in my dorm kitchen. They turned out way better than the $5 brownie bites they sell at the campus café, no cap.

5 days ago

Wait do these work in those little countertop toaster ovens? My dorm doesn’t have a full size oven and I’ve been dying to make brownies!

5 days ago

I was so sure I messed these up! I accidentally used salted butter instead of unsalted, and then forgot to add the vanilla until the very last second, and somehow they still came out incredible? That’s how easy this recipe is, even people who mess up every baking project can nail it. 10/10, foolproof.

3 days ago

Wait salted butter is my go-to for brownies anyway! It adds that extra little salty kick that cuts the sweetness so well, I don’t even add extra salt when I use it.

3 days ago

Love that these came out great even with the little swaps! You’re totally right, this recipe is super forgiving, which is why it’s such a great easy option for new bakers. The salted butter swap is actually chef’s kiss, we’re big fans of that salty-sweet balance too.

2 weeks ago

Made these on Sunday for the week’s snack prep and they stayed fudgy in an airtight container for 4 whole days! I was worried they’d get dry and crumbly by midweek but they were just as good as the day I baked them. Way better than the store bought granola bars I usually pack for work.

1 week ago

So great to hear they hold up well for meal prep! Pro tip: if you want them to last even longer, you can wrap individual squares in plastic wrap and freeze them for up to 3 months, they thaw in like 10 minutes at room temp.

1 week ago

Tested these with flax eggs (1 tbsp ground flax + 3 tbsp water per egg) and vegan butter, and they worked perfectly! Still got that shiny top, still super fudgy, my vegan roomie was obsessed. I was sure the egg swap would kill the texture but it didn’t at all. Will be making these for all our future game nights.

3 days ago

I brought these to our neighborhood block party last weekend and people were literally coming up to me all night asking for the recipe. I’ve made a lot of brownie recipes over the years but this one is by far the most reliable, and people lose their minds over that shiny top. It looks way fancier than it is, which is my favorite kind of recipe.

2 days ago

Wait were you the one who brought the brownies by the fire pit? I had two of those and spent all week trying to find a recipe that looked like them! So excited to try these this weekend.

yesterday

Quick question! I need to make these for a birthday party tomorrow, can I make the batter tonight and keep it in the fridge to bake tomorrow? I won’t have time to mix it up between work and the party, so I’m trying to prep ahead.

yesterday

I did that last month for my son’s birthday! I will say, the top wasn’t quite as shiny as when I bake it right after mixing, but they were still super fudgy and everyone loved them. I’d just let the batter sit on the counter for 10 minutes before popping it in the oven so it’s not ice cold.

yesterday

Great tip from PrepAheadPro! For the shiniest top we recommend baking right after mixing, but if you need to prep ahead, storing the batter in the fridge overnight will still give you delicious brownies, just with a slightly less crisp top. Let the batter come up to room temp for 10-15 minutes before baking for even cooking!

5 days ago

I used dark cocoa powder for this and it was so rich and decadent, exactly what I want in a brownie. I cut back the sugar by 2 tablespoons because I don’t like super sweet desserts and it was perfect. If you love extra dark chocolate, this swap is a must. Cooked for 23 minutes so the center was extra gooey, chef’s kiss.

2 weeks ago

Made these for my husband for our first married Valentine’s Day dinner and he said they’re better than the brownies his grandma used to make. High praise, let me tell you, because he worships his grandma’s baking. We had them warm with a scoop of vanilla ice cream on top, it was the perfect easy dessert for a weeknight date night.

2 weeks ago

That is such high praise! Warm brownies with vanilla ice cream is our favorite way to serve them too, such a classic cozy date night treat. Congrats on the marriage, by the way!

3 days ago

These are great, but I wish the edges were a little chewier for my taste. I followed the cook time exactly, and the center was perfect fudgy, but the edges were a little softer than I like. Any tips for getting that crispy chewy edge all around?

2 days ago

Get a metal brownie pan! I used to use glass Pyrex and the edges never got crispy, swapped for a light metal 9x9 and the edges are perfectly chewy every time. Also, you can add 2 minutes to the cook time if you like them firmer, just watch the center so it doesn’t overcook.

2 days ago

Solid advice from CrispyEdgeStan! Metal pans conduct heat way faster than glass or ceramic, so they’ll give you those chewy crisp edges much better. If you only have a glass pan, add 3-4 minutes to the cook time and keep a close eye on them, and you’ll get that texture you’re after!

5 days ago

Y’all. I made these at 1am when I had a random chocolate craving and they were done before my show finished its next episode. No weird steps, no waiting forever for butter to soften, I just melted it in the microwave, mixed everything up, baked for 25 minutes, and had warm fudgy brownies. No regrets, even if I ate two slices right before bed.

3 days ago

Late night brownie cravings are the exact reason we made this recipe so quick and easy! No judgment at all for eating two warm slices straight out of the pan, we’ve all been there.

1 week ago

Tossed in a half cup of toasted chopped walnuts before baking and the crunch was the perfect addition to the fudgy texture. I brought a batch into work and my coworkers kept hovering by the break room to grab another piece. Next time I’m gonna try adding a swirl of peanut butter, I bet that would slap.

30 minutes ago

I baked these for 30 minutes because I was scared the center would be raw, and they ended up a little more cakey than fudgy, but they still tasted amazing! The top was still shiny and crackly, and my little cousin ate three pieces in a row when she came over. Next time I’ll stick to the 25 minute cook time for sure.

just now

So glad they still tasted great even with the extra couple minutes in the oven! Oven temps can vary a lot, so next time you can stick a toothpick in the center 1-2 inches from the edge—if it comes out with a couple moist crumbs (not wet batter, not totally clean), they’re good to pull out!

2 weeks ago

I’ve been making brownies for potlucks and family dinners for over 20 years, and this recipe just earned a permanent spot in my recipe box. The shiny top is no gimmick, the fudgy texture is exactly what people want in a brownie, and it’s so hard to mess up. I’ve already passed the recipe along to three of my cousins who asked for it after our family cookout last weekend.



