
devil's on horseback
intro
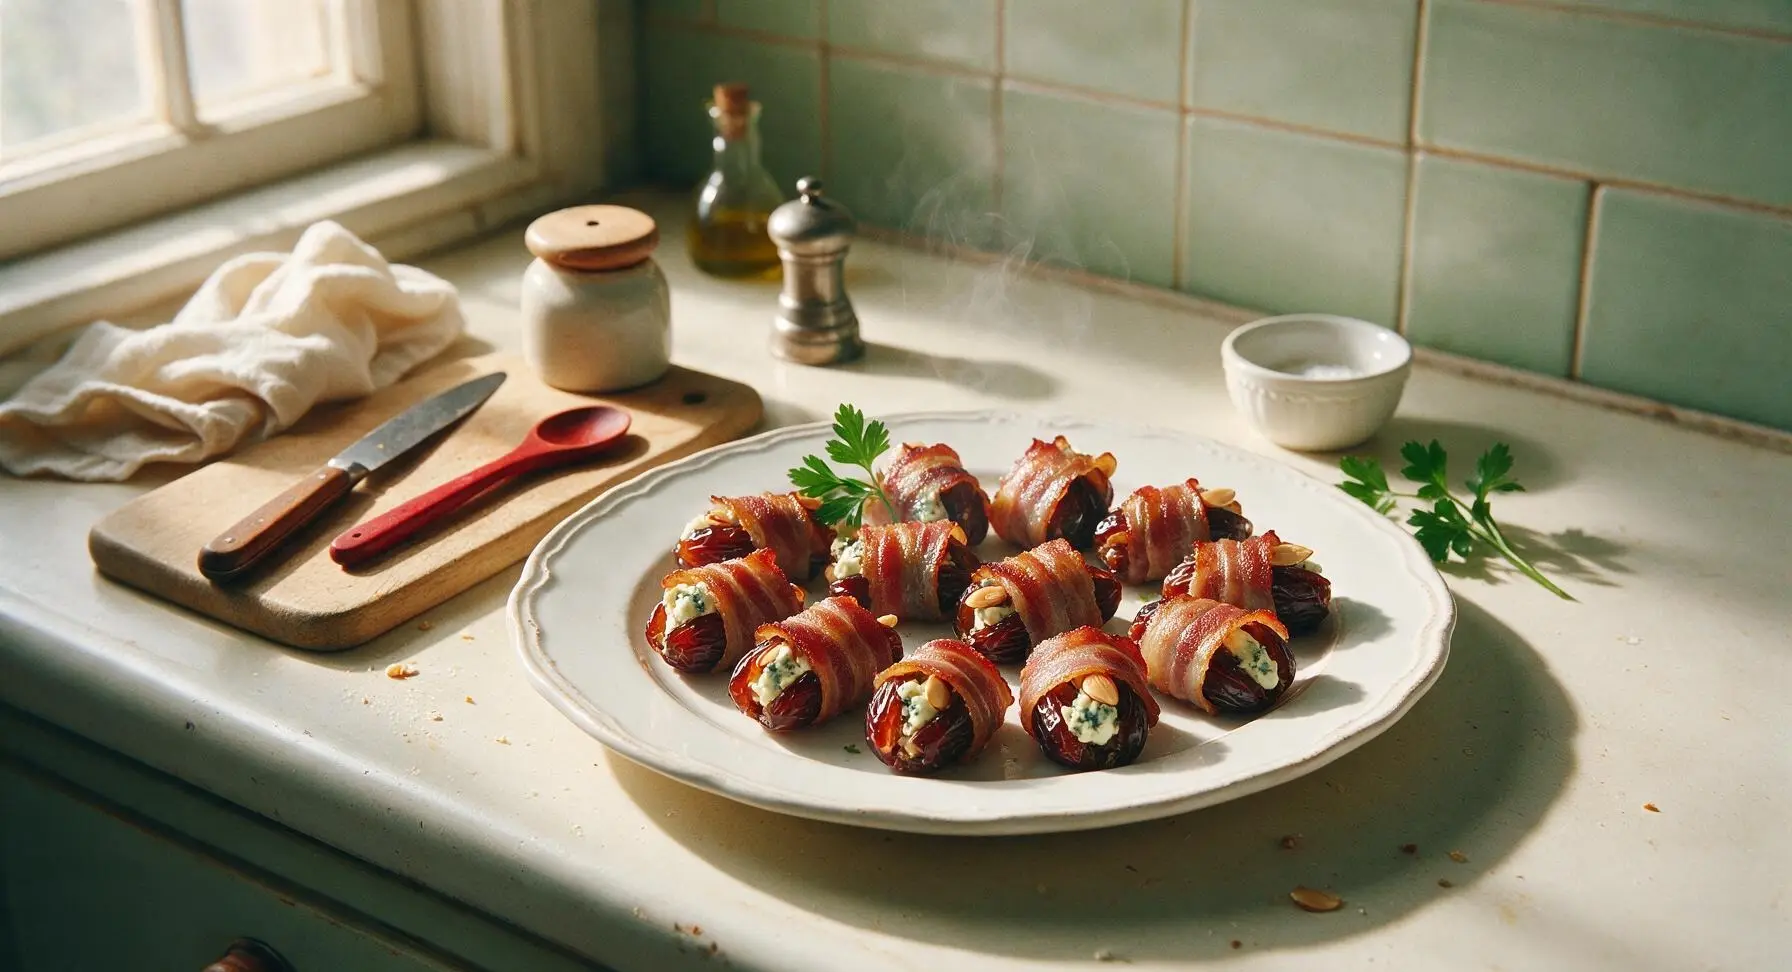
Salty, crispy bacon wraps sweet, tender Medjool dates stuffed with tangy blue cheese and toasted almonds, baked to golden perfection for an irresistible bite-sized party appetizer.
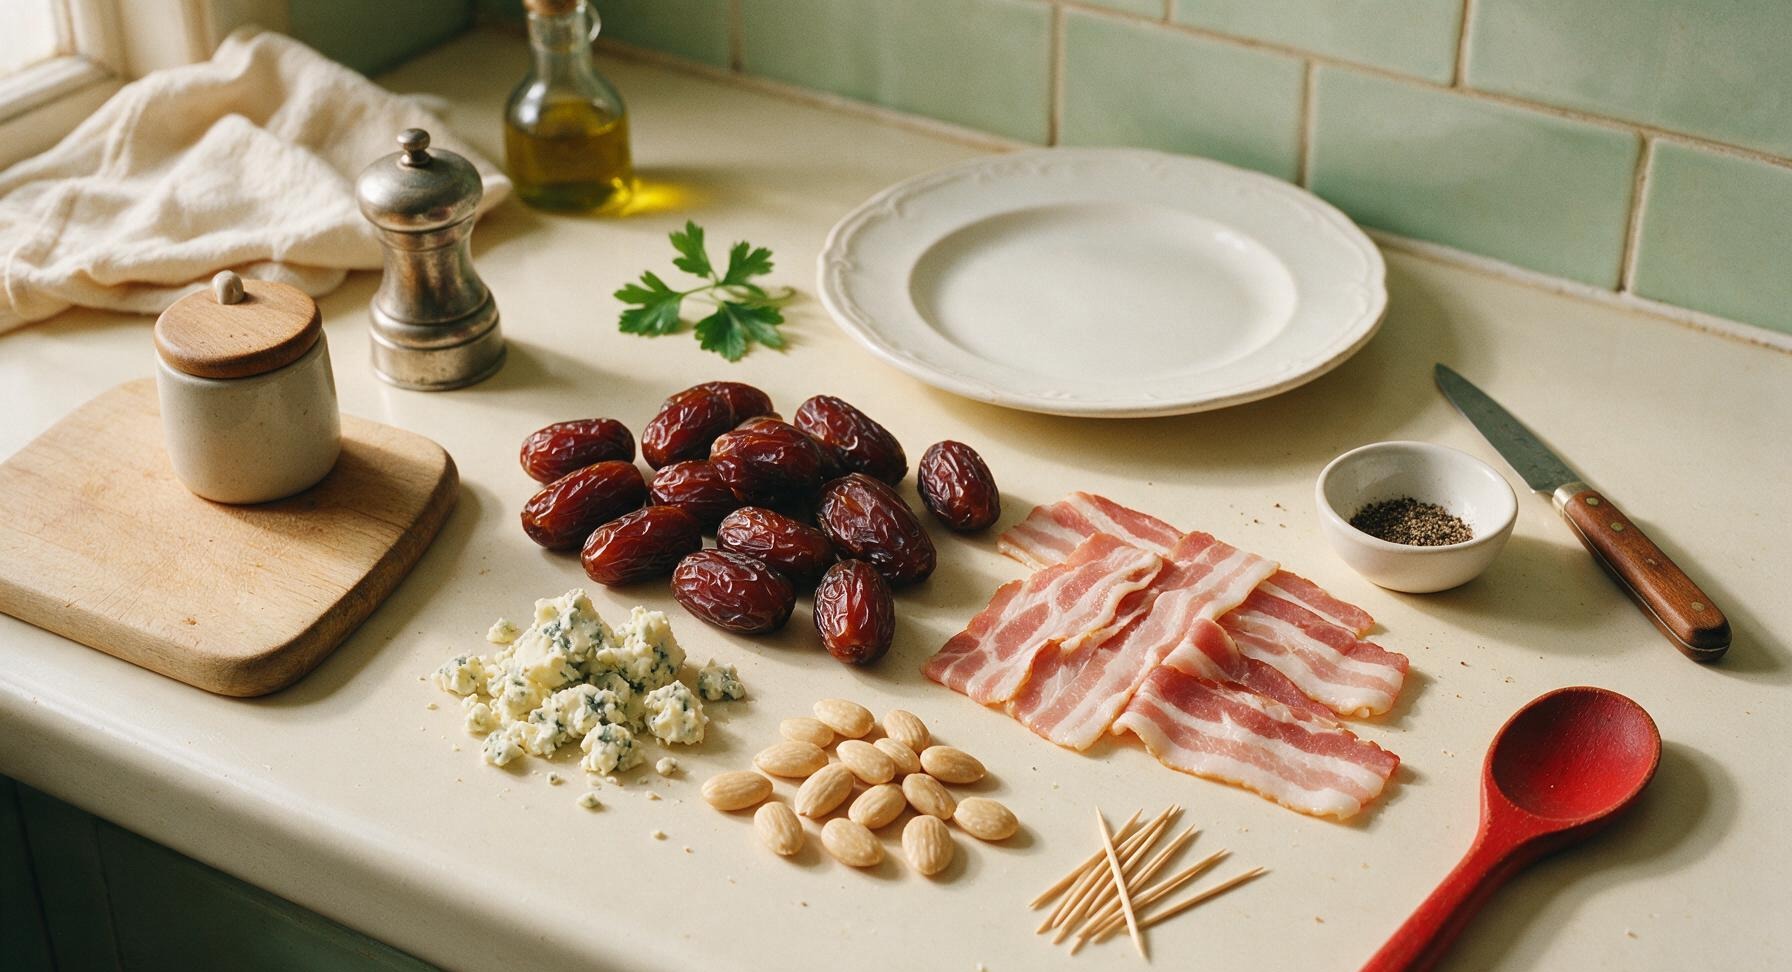
Ingredients
Steps
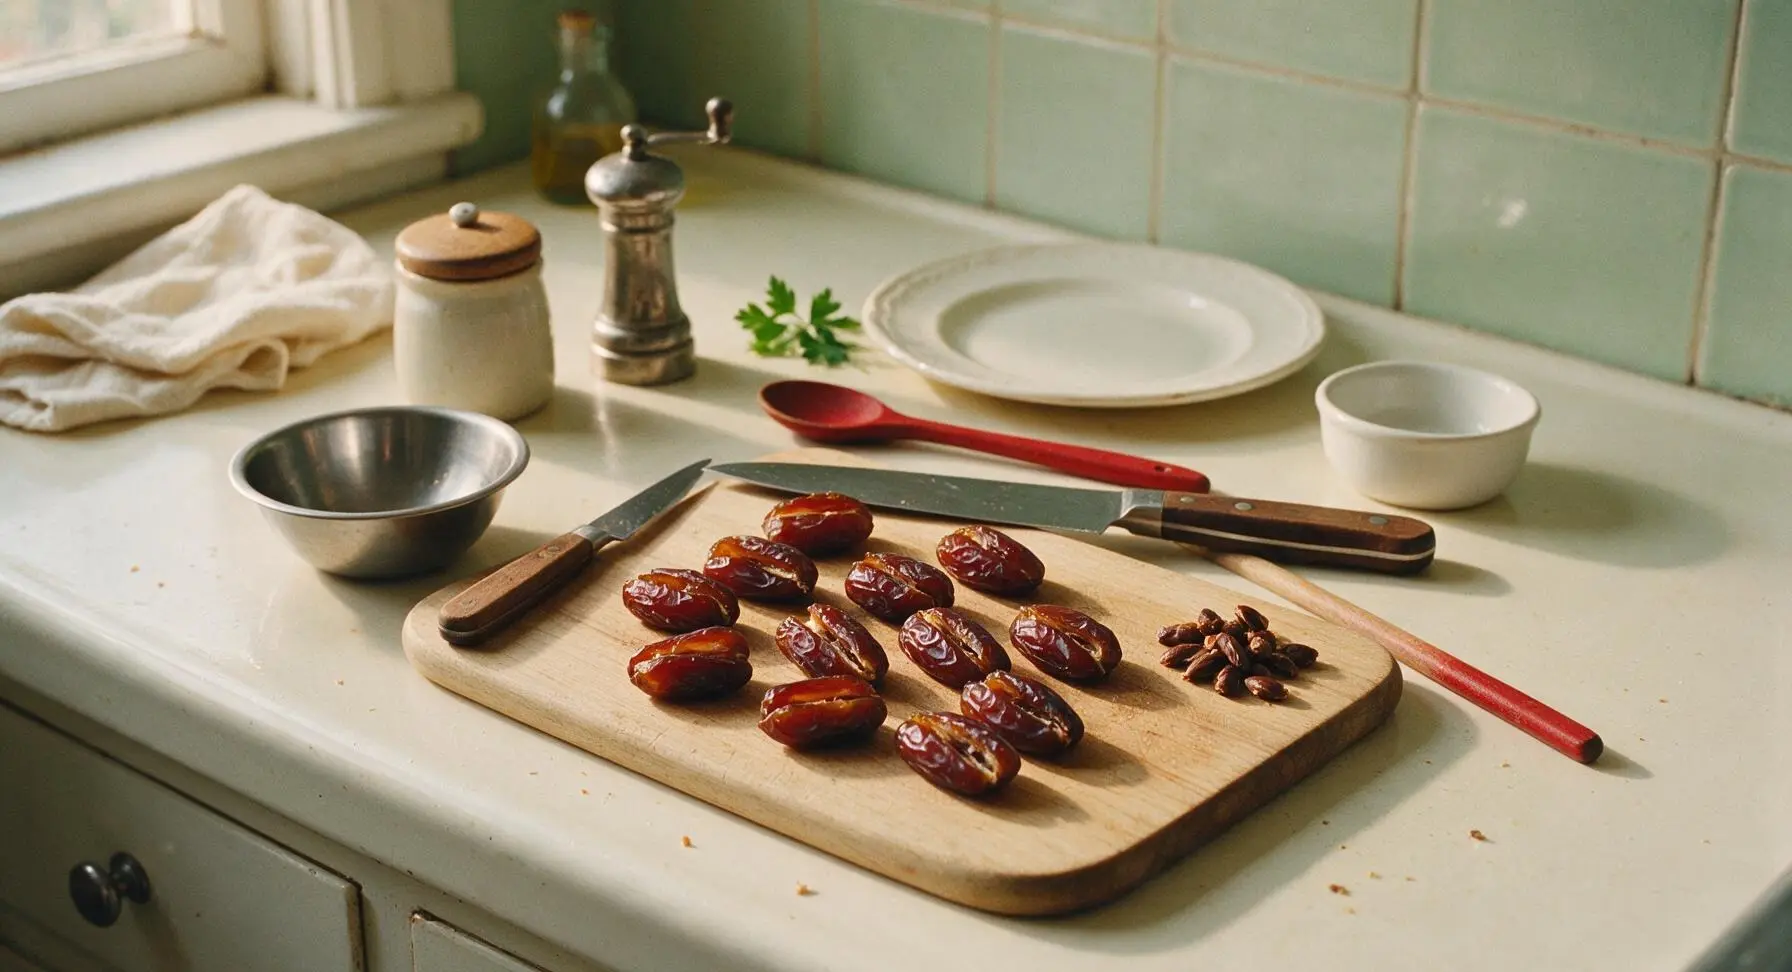
Pit the Medjool dates
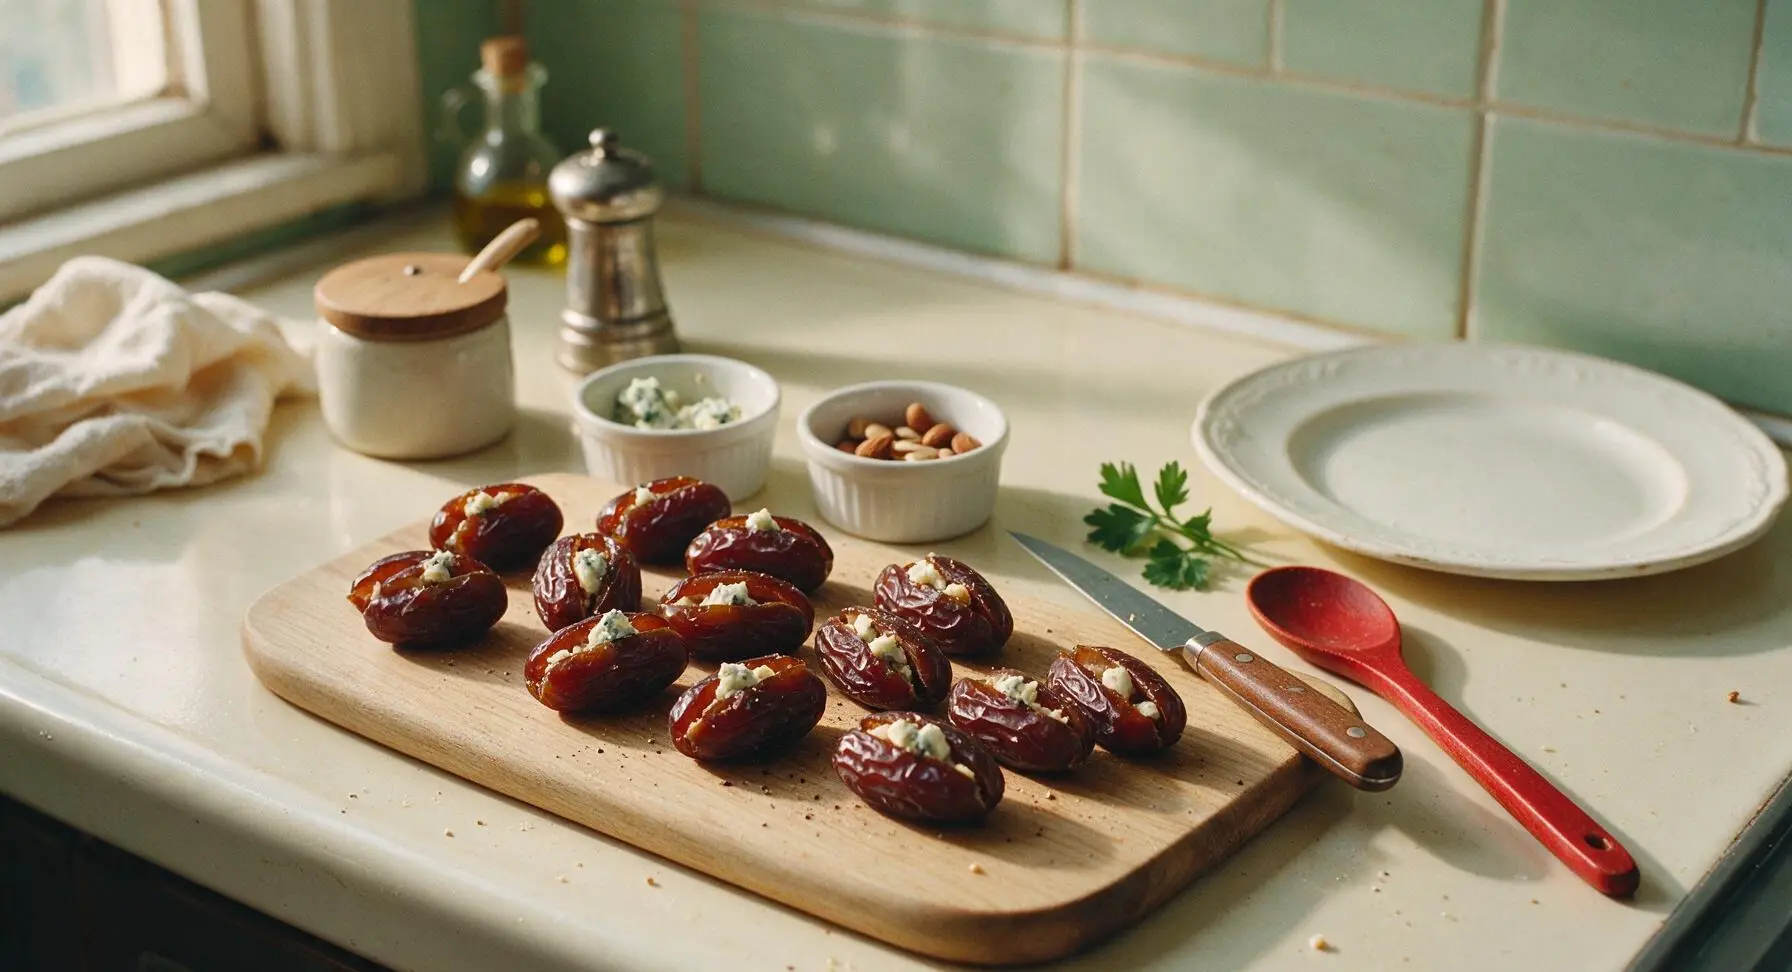
Place all 12 Medjool dates on the walnut cutting board. Use the 8-inch chef knife to make a single lengthwise slit down the side of each date, being careful not to cut all the way through. Pry each slit open gently and remove the hard, oblong inner pit from every date, leaving a hollow pocket for stuffing. Pile discarded pits in a small scrap pile at the top corner of the cutting board.
Stuff dates with fillings
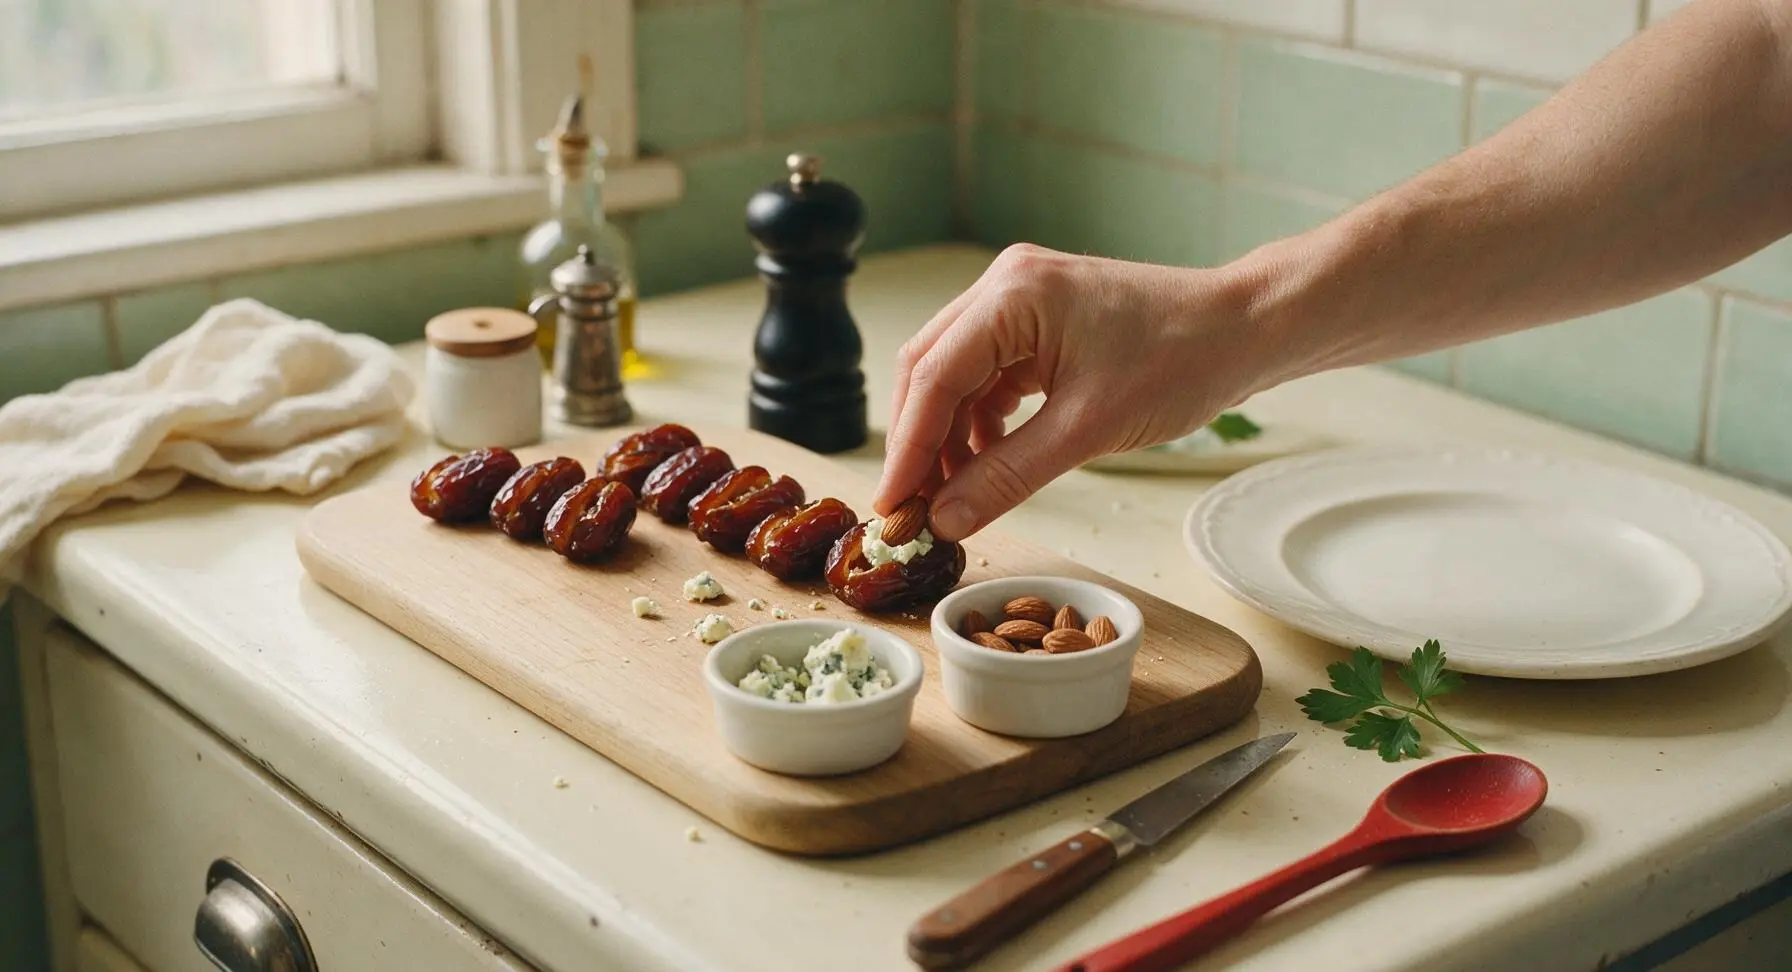
Scoop 1 teaspoon of crumbled room-temperature blue cheese into the hollow pocket of each pitted date, then press one whole toasted almond into the center of the cheese in every date. Gently squeeze the date slit closed to hold the filling inside, taking care not to squeeze cheese out the sides. Lightly season the outside of all stuffed dates with a pinch of freshly ground black pepper from the matte black pepper grinder.
Cut and prep bacon
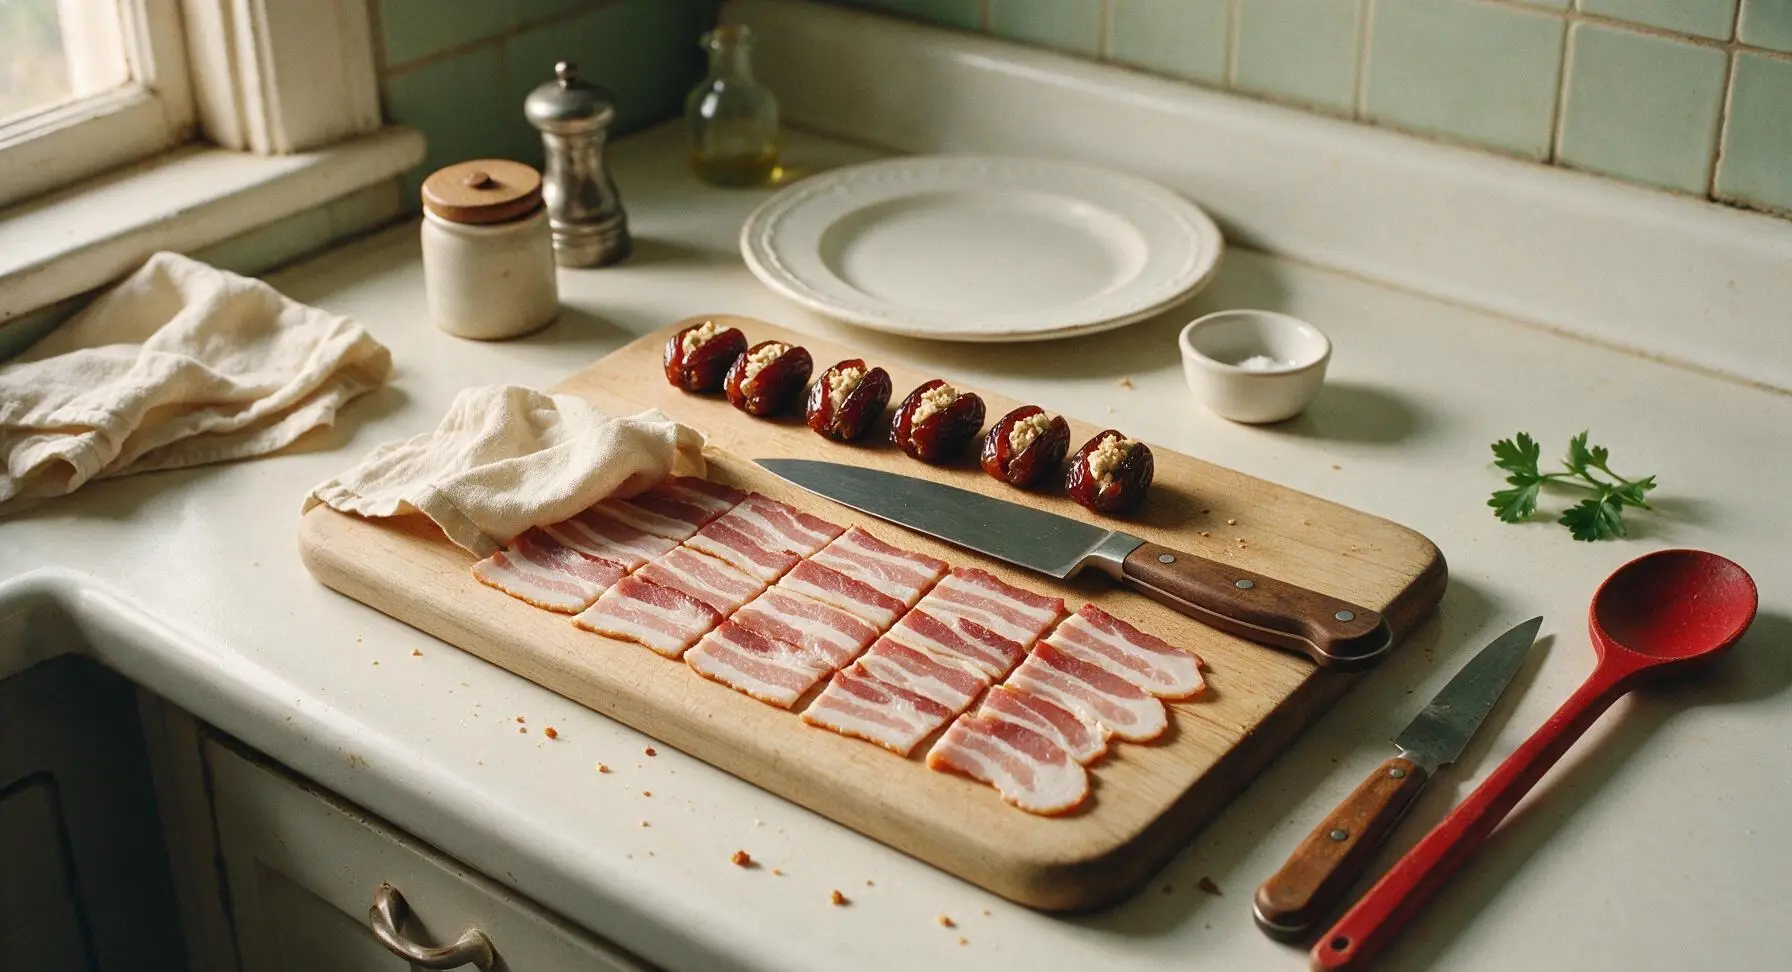
Lay the 6 thin-cut streaky bacon slices flat on the empty lower section of the walnut cutting board. Use the 8-inch chef knife to cut each slice exactly in half crosswise, creating 12 shorter bacon strips perfectly sized to wrap around one stuffed date each. Pat the bacon strips lightly with a corner of the cream linen towel to remove any excess surface moisture, which helps the bacon crisp evenly instead of steaming in the oven.
Wrap dates in bacon
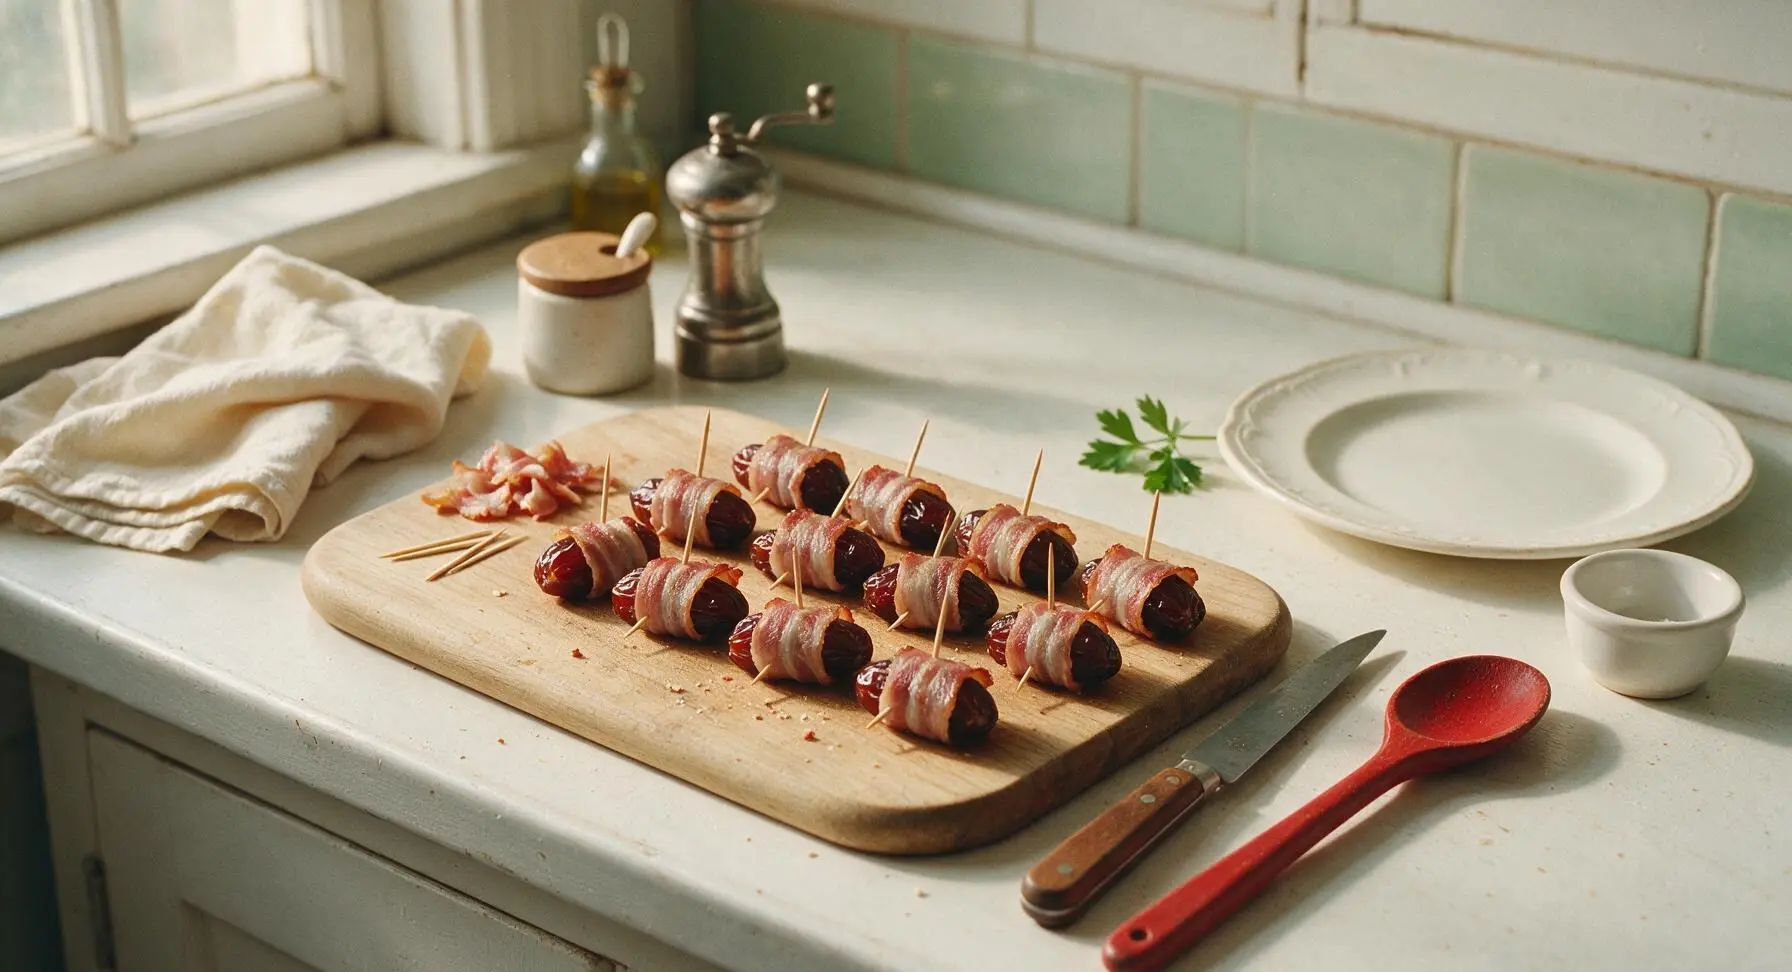
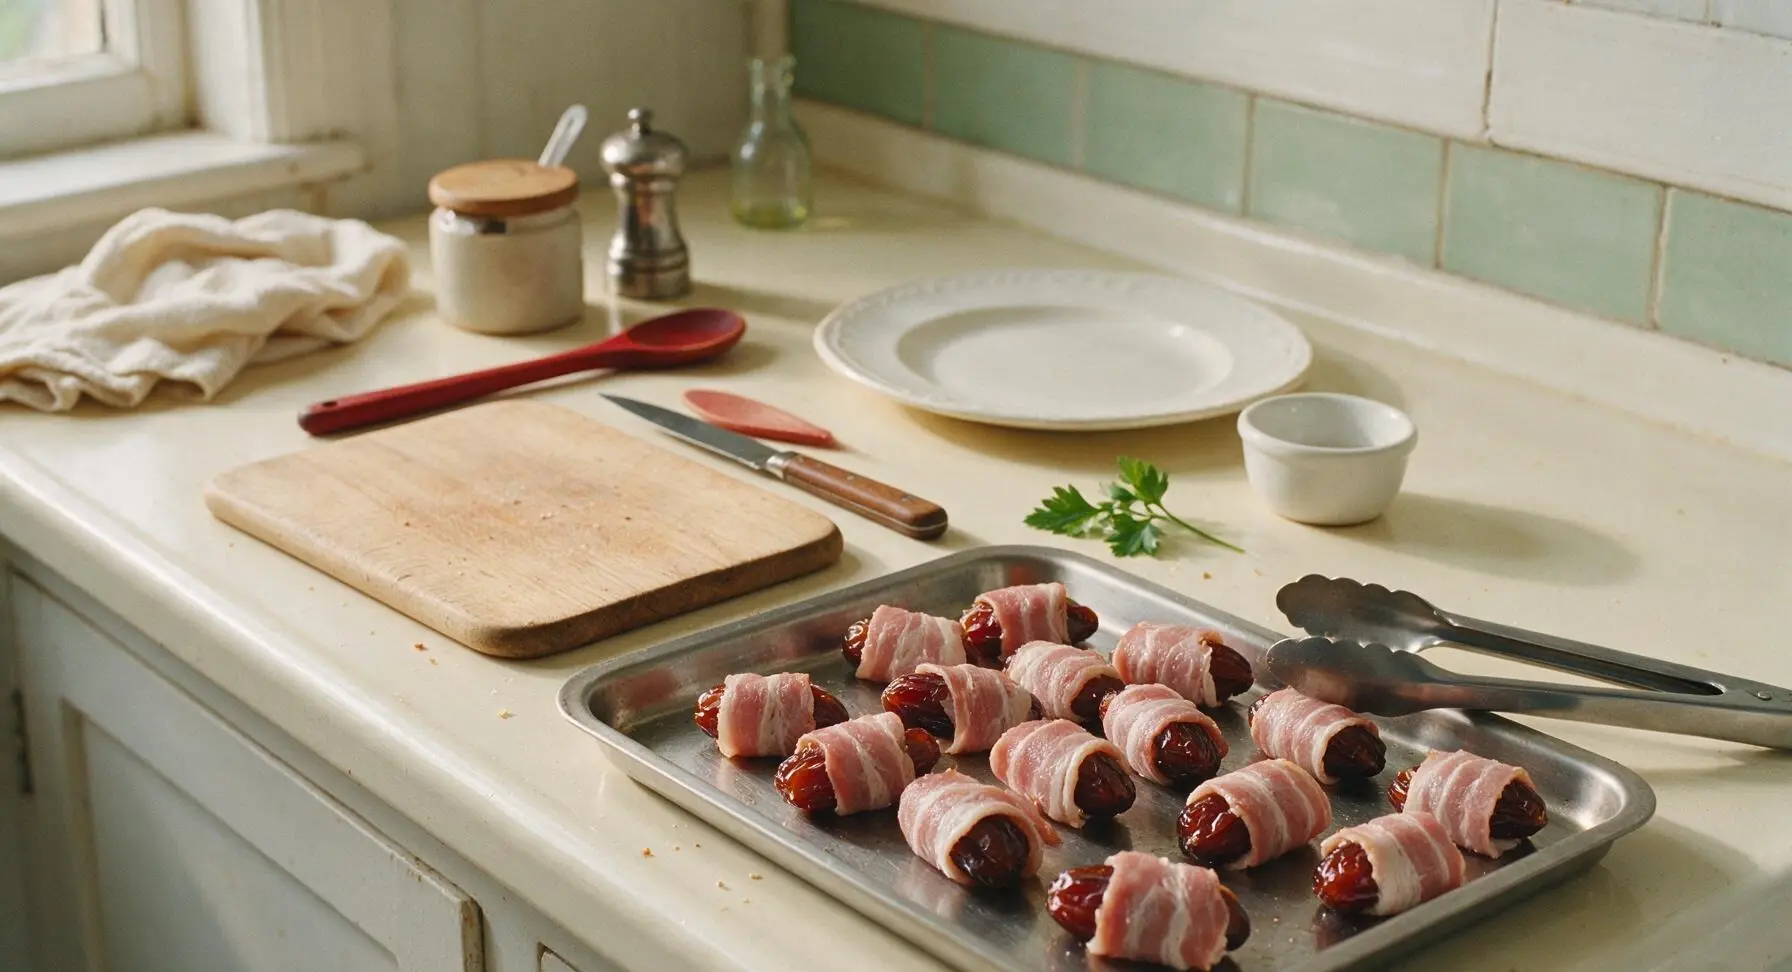
Take one stuffed date and place it at the narrow end of one half-slice of bacon. Roll the bacon tightly around the date, overlapping the ends slightly so the seam sits flat against the date. Secure the bacon seam with one wooden toothpick, pushed all the way through the date to hold the bacon in place and prevent uncurling during baking. Repeat for all 12 stuffed dates.

Arrange on baking sheet
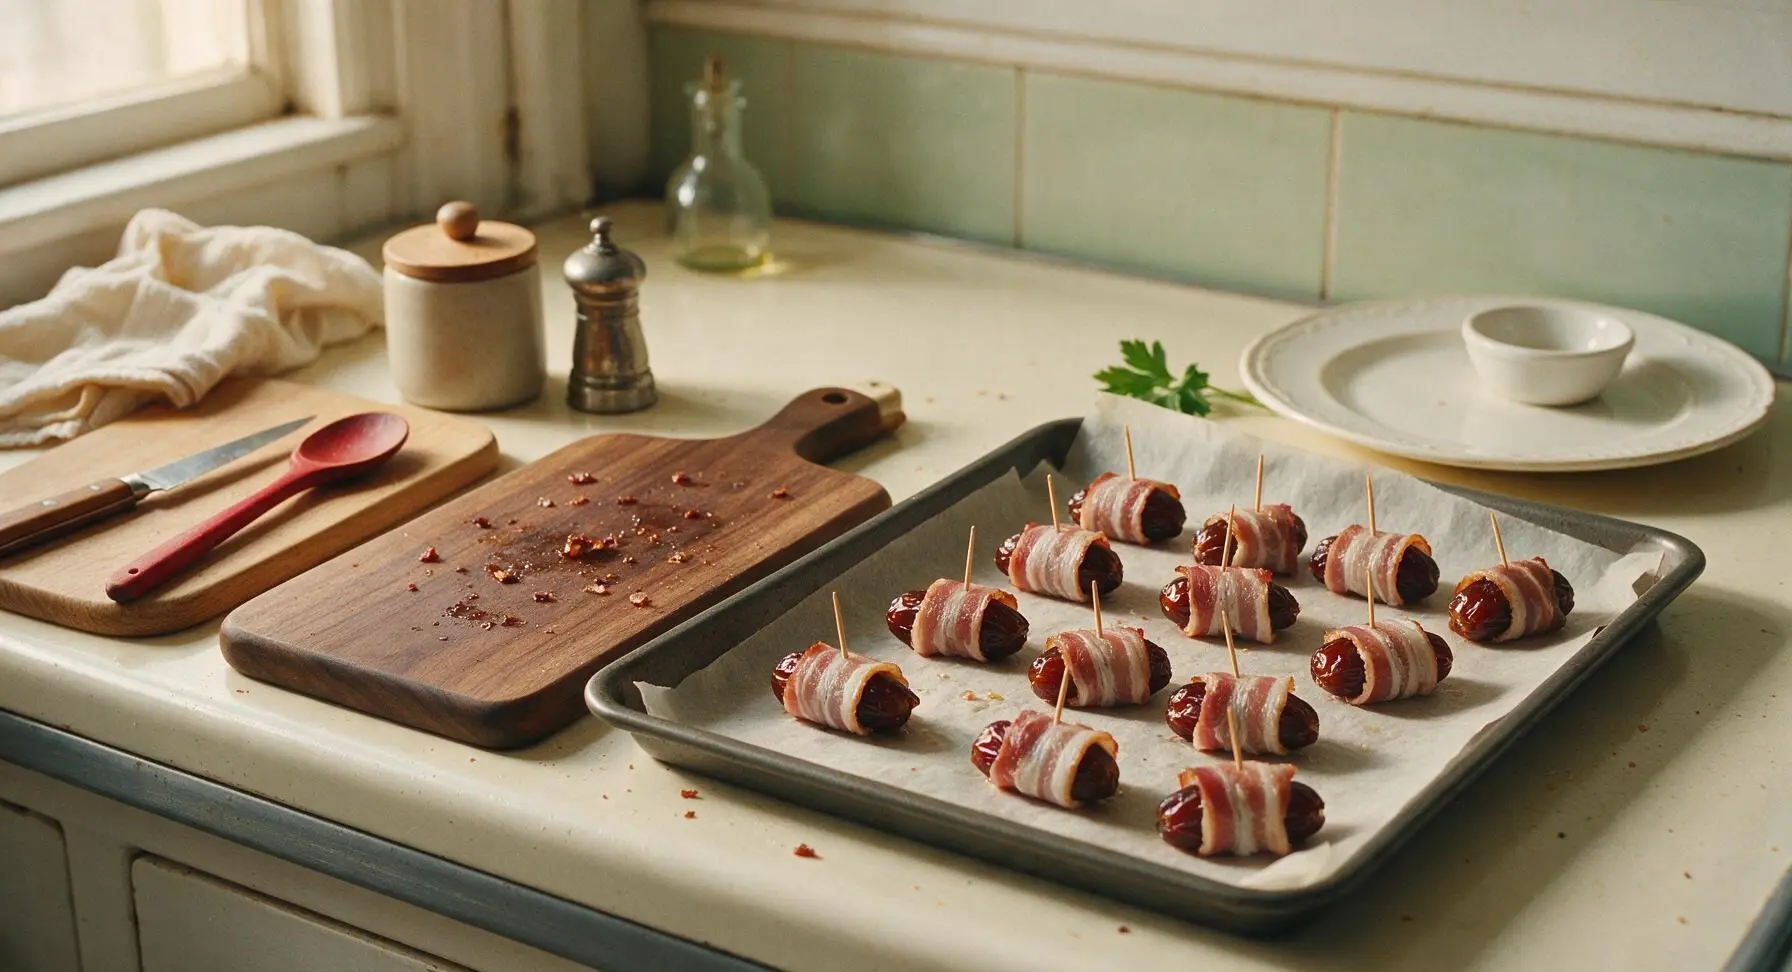
Move the secured bacon-wrapped dates to the parchment-lined dark gray baking sheet, spacing them 2cm apart so hot oven air can circulate evenly around each bite. Ensure the bacon seam faces down on the parchment for every piece, to weigh the seam down and prevent the bacon from uncurling as it cooks. Do not crowd the pan, as trapped steam will make the bacon soggy instead of crisp.
Bake until bacon crisps
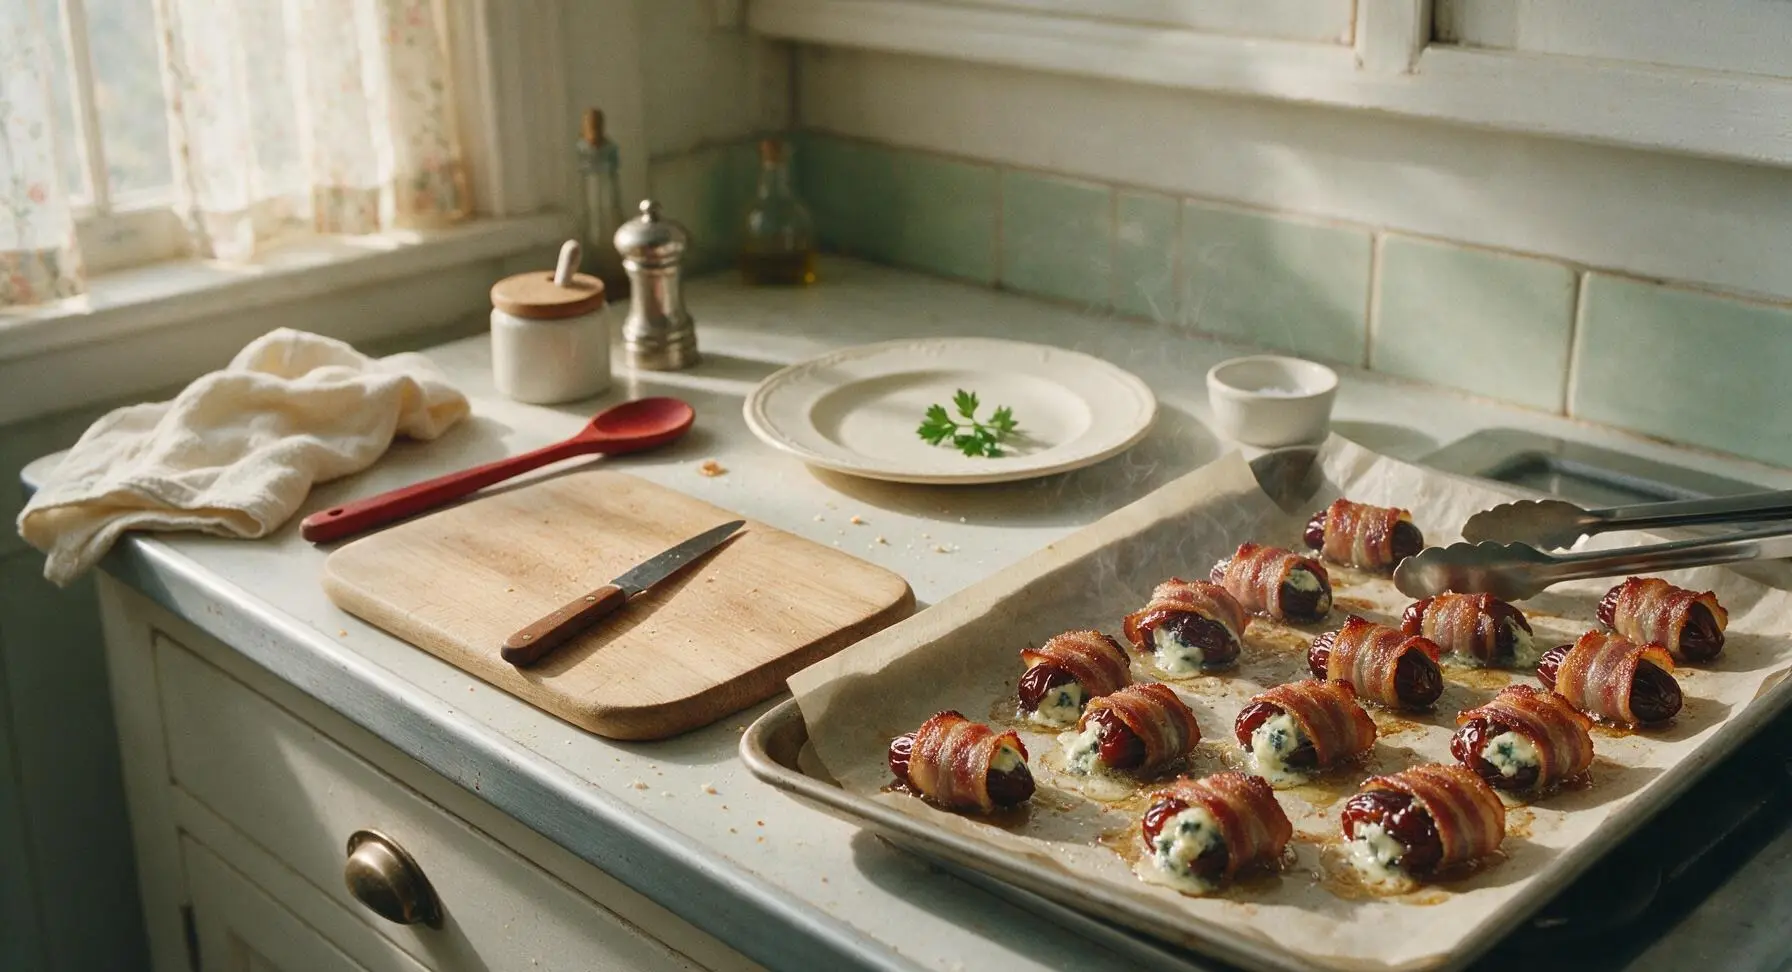
Place the baking sheet on the middle rack of an oven preheated to 200C (400F). Bake for 18-20 minutes total, until the bacon is deep golden brown and crispy around the edges, and the blue cheese is fully melted and bubbling slightly out of the date slits. Halfway through baking (at the 10 minute mark), use the stainless steel tongs to flip each bite gently to ensure even crisping on all sides. Watch closely during the final 3 minutes of baking to prevent the thin bacon from burning.
Rest and plate bites
Let the baked bites rest on the baking sheet for 2 minutes to allow the rendered bacon fat to set slightly, and the hot cheese to cool just enough to eat without burning. Use the tongs to transfer the bites to the matte off-white hand-thrown ceramic serving platter, arranging them in a loose, inviting circle. Garnish with a single small sprig of fresh flat-leaf parsley before serving.

Tips
2.Toast the almonds for 5 minutes at 180C (350F) before stuffing the dates: toasting brings out the nuts' rich, nutty aroma and adds a satisfying crunchy contrast to the soft, sweet date and melted creamy cheese, rather than using flat-tasting raw almonds.
3.Prep these bites up to 1 day in advance for easy party hosting: assemble the uncooked, bacon-wrapped dates on the parchment-lined baking sheet, cover tightly with plastic wrap, and refrigerate. Pull the sheet out 20 minutes before baking to take the chill off, then bake as directed — no last-minute assembly required when guests arrive.






I’ve been making a version of these for years but never thought to add that little dash of cayenne the recipe mentions! That tiny bit of heat cuts the sweetness of the date so perfectly, I’ll never make them without it again. Took these to my office potluck last week and not a single one was left on the platter.
Made these for our Sunday football watch party and they were the undisputed hit of the spread! Way easier than the loaded potato skins I usually make, and way less messy to eat while yelling at the TV too. Only note: make double what you think you need, people will go back for seconds (and thirds).
I was so intimidated to make appetizers for my first dinner party as an adult, but these were so straightforward! I did burn the first two bacon strips because my tiny apartment oven runs super hot, but after turning the temp down 25 degrees they came out perfect. SO good, even my super picky roommate who hates “fancy food” loved them.
Game changer for weeknight appetizer nights! My kids normally turn their nose up at anything with dates, but they ate 4 each and asked when I’m making them again. I skipped the blue cheese for them and used a little almond butter instead since one of them has a dairy sensitivity, and it worked perfectly. Only took me 20 minutes total, zero stress.
OMG I made these for my book club potluck last night and they were gone in 10 minutes flat!!! I used a little extra blue cheese in the dates because that’s my favorite, and the crispy bacon was *chef’s kiss*. So easy to throw together even after a long day at work, will 100% be making these for every holiday gathering from now on.
First time making these for my wife’s birthday dinner and she said they’re better than the ones we got at our favorite tapas place downtown! The only mistake I made was not buying enough bacon, I ran out halfway through prepping and had to run to the corner store mid-cook. 10/10 will be a regular in our date night rotation.
I’ve made hundreds of appetizer recipes over my 40 years in catering and this classic version is just unbeatable. No weird fussy add-ins, just the perfect ratio of sweet date, tangy cheese, and crispy salty bacon. It’s especially great for new cooks too since the steps are so straightforward, no fancy knife skills or equipment needed.
These are my new go-to weekly meal prep snack! I make a big batch on Sunday and keep them in the fridge for a quick salty-sweet pick me up during my work from home days. They crisp right back up in the air fryer in 2 minutes and taste just as good as when they first came out of the oven. Total game changer for beating that 3pm slump.
Super easy to make, which is perfect for someone like me who burns toast half the time. I wish I’d checked the oven a couple minutes earlier because the edges of my bacon got a little crispier than I like, but that’s totally my bad. Still tasted great, will definitely make again for my next movie night with roommates.