
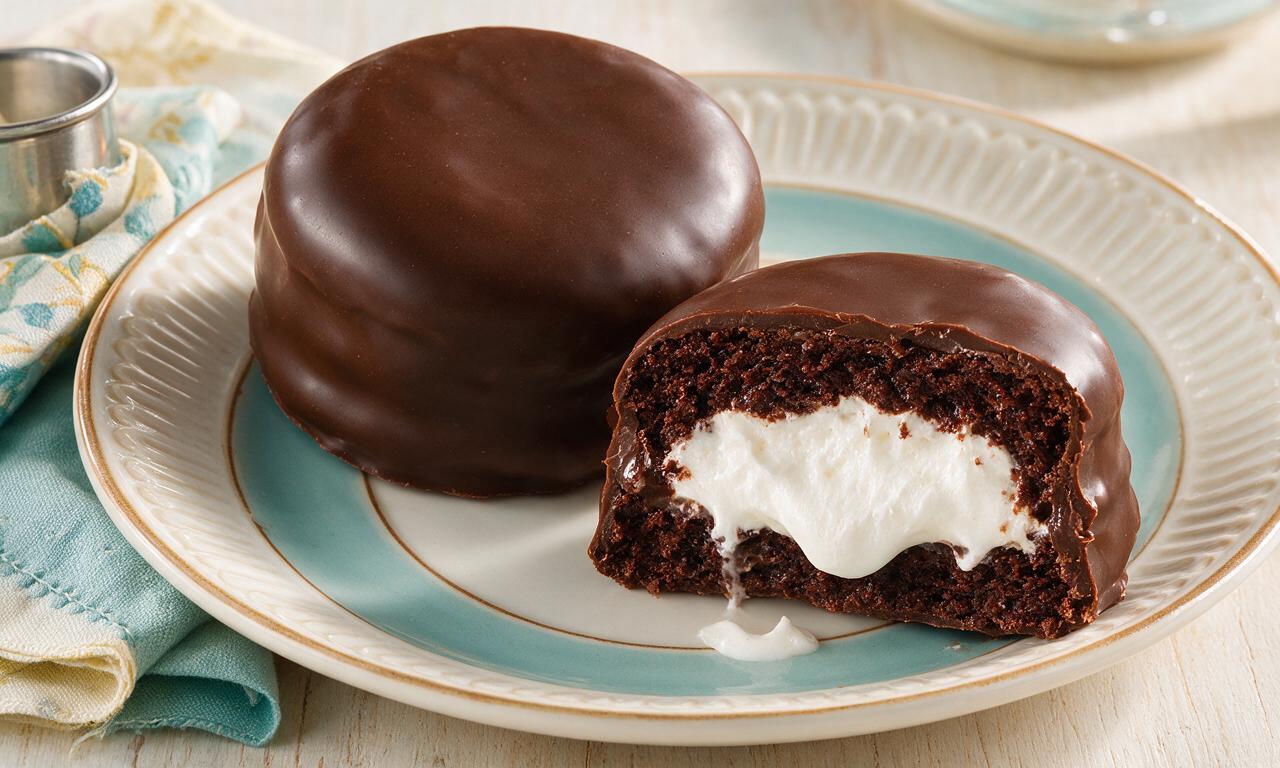
Ding Dong

Ding Dong
⏱️ cook time 2 hours
🍽️ servings 8
⚡ Difficulty medium

intro

Rich, moist mini chocolate cakes filled with fluffy vanilla marshmallow creme and coated in a snappy chocolate shell: the nostalgic, handheld American snack cake made fresh from scratch.

Ingredients

Dutch-processed unsweetened cocoa powder ¾ cup (75g)
All-purpose flour 1 ½ cups (180g)
Marshmallow creme (fluff) 1 ½ cups (150g)
Semi-sweet baking chocolate 2 cups (340g, chopped)
Granulated sugar 1 cup (200g)
Large eggs 2 units, room temperature
Whole milk 1 cup (240ml, room temperature)
Unsalted butter ¾ cup (170g total, divided: 113g melted for cake, 57g softened for filling)
Baking soda 1 teaspoon
Pure vanilla extract 2 teaspoons, divided (1 teaspoon for cake, 1 teaspoon for filling)
Fine sea salt ½ teaspoon
Powdered sugar 1 cup (120g)
Refined coconut oil 2 tablespoons (28g)

Steps

1

Bake chocolate cake base

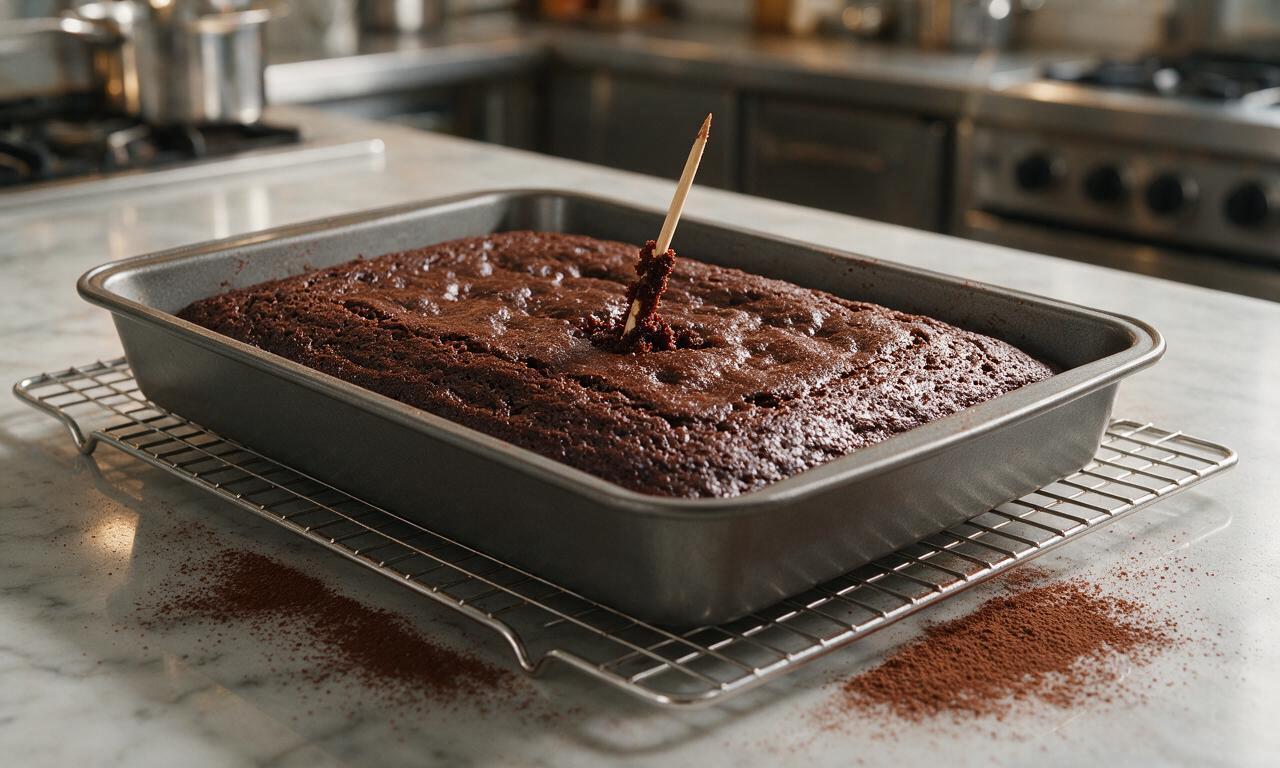
Preheat oven to 180°C (350°F), then grease a 9x13 inch rectangular baking pan. In a large bowl, whisk flour, cocoa powder, granulated sugar, baking soda, and salt until evenly combined. Add melted butter, room temperature milk, eggs, and 1 teaspoon vanilla, then mix with a hand mixer on medium speed for 2 minutes until smooth with no remaining lumps. Pour batter into the prepared pan, spread evenly, and bake for 18-20 minutes until a toothpick inserted in the center comes out with a few moist crumbs. Let the cake cool completely in the pan for 30 minutes on a wire rack before assembling.
Step 1
step1:Bake chocolate cake base
2

Cut individual cake rounds

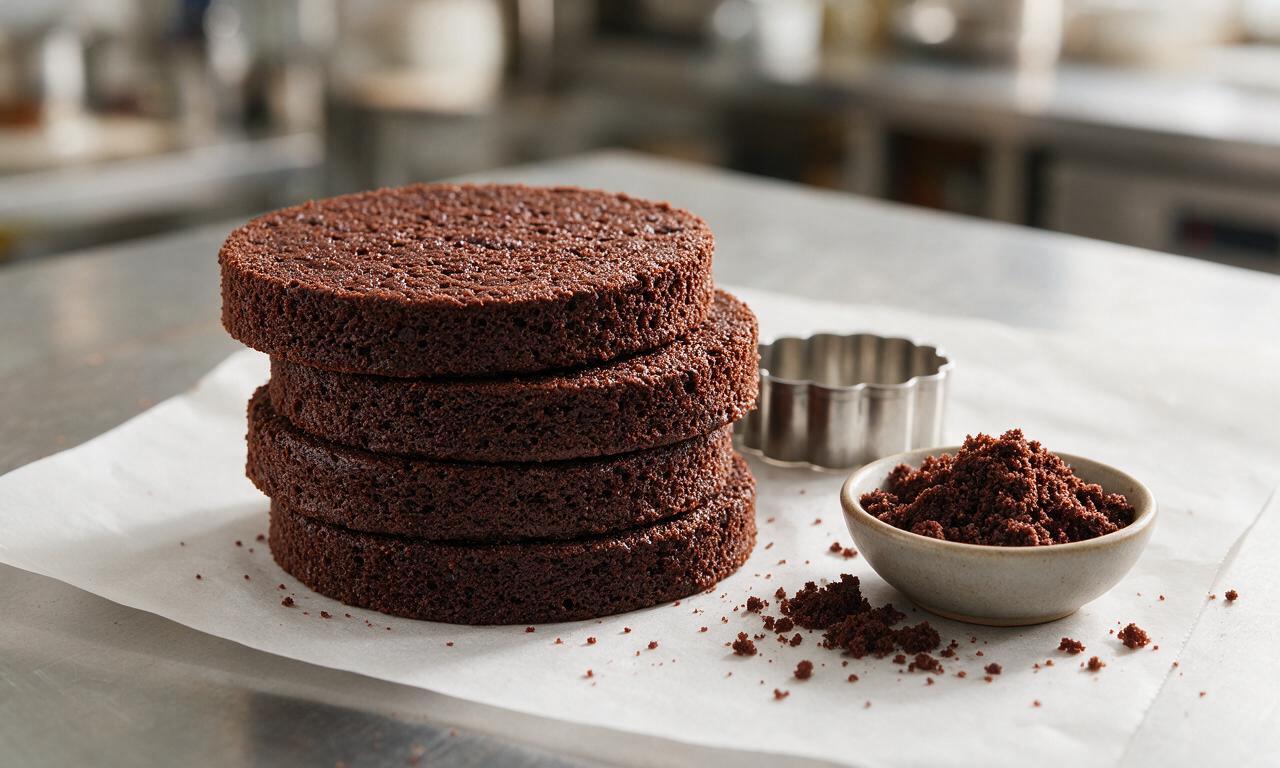
Once the cake is fully cooled, use a 2.5 inch (6cm) round cookie cutter to punch out 16 even circular cake discs; reserve leftover cake edges for snacking. Carefully slice each disc horizontally through the middle to make two thin, equal cake layers, then set all layers on a parchment-lined baking sheet.
Step 2
step2:Cut individual cake rounds
3

Whip vanilla creme filling

In a medium bowl, beat the 57g of softened butter with a hand mixer on medium-high speed for 2 minutes until pale and fluffy. Add marshmallow creme, remaining 1 teaspoon vanilla, and powdered sugar, then beat on low speed for 1 minute before increasing to medium speed for 2 more minutes, until the filling is smooth, light, and holds soft peaks. Transfer the finished filling to a piping bag fitted with a ½ inch round tip.

Step 3
step3:Whip vanilla creme filling
4

Assemble filled cake stacks

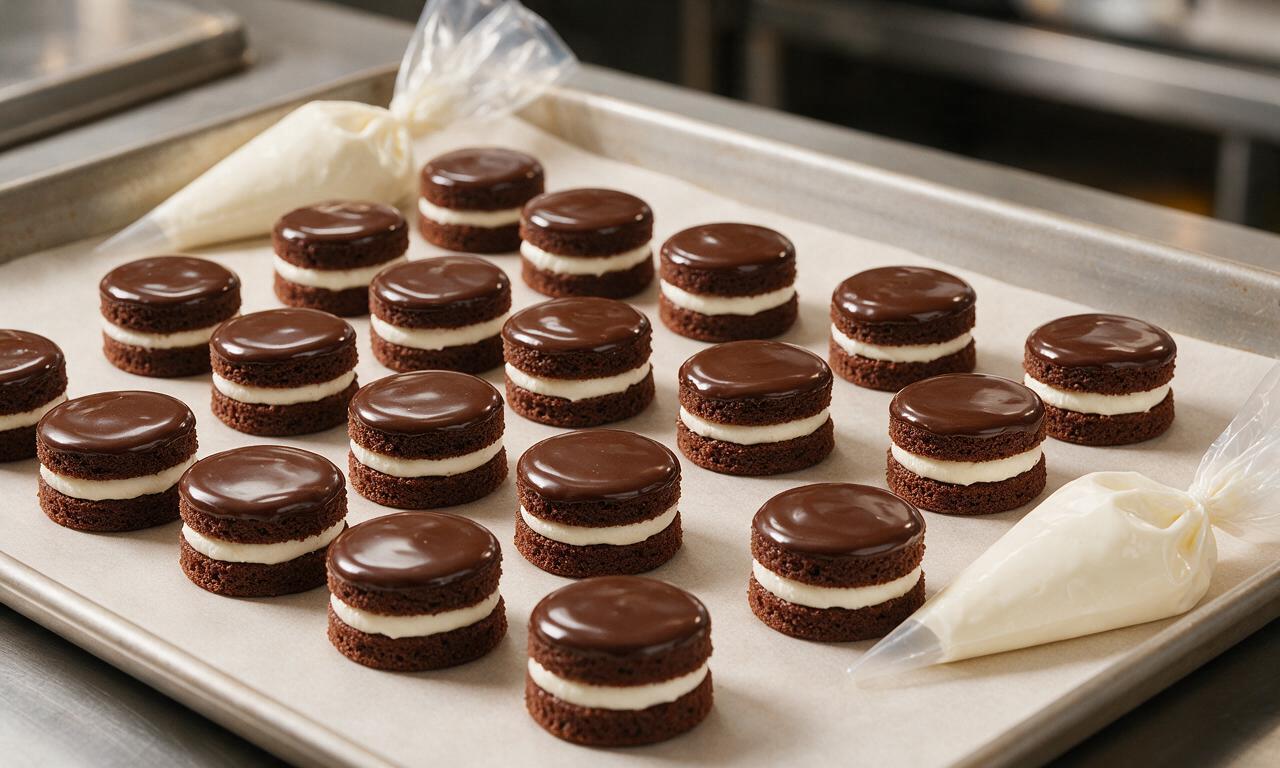
Pipe 1 tablespoon of creme filling evenly onto the center of 8 of the thin cake layers, leaving a ¼ inch border around the edge. Top each filled layer with a second thin cake layer, press gently to spread the filling almost to the edges without oozing out the sides. Place the assembled cake stacks on the parchment-lined tray, then freeze for 15 minutes to firm up before coating.
Step 4
step4:Assemble filled cake stacks
5

Melt chocolate coating

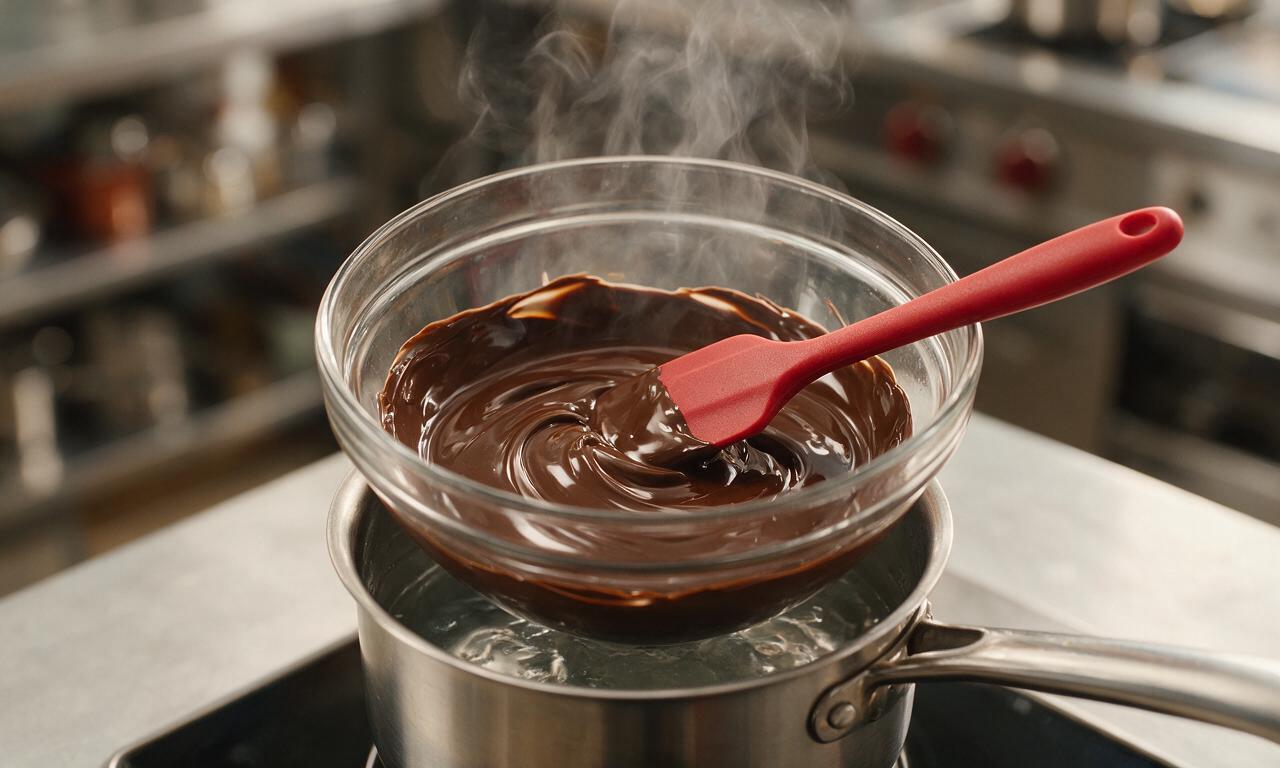
While the cake stacks chill, combine chopped semi-sweet chocolate and coconut oil in a heatproof bowl set over a pot of gently simmering water (double boiler, ensure no water touches the bottom of the bowl). Stir constantly over medium-low heat for 3-4 minutes until the chocolate is fully smooth with no lumps, and reaches 32°C (90°F). Remove from heat and let cool for 5 minutes before using.
Step 5
step5:Melt chocolate coating
6

Coat cakes in chocolate

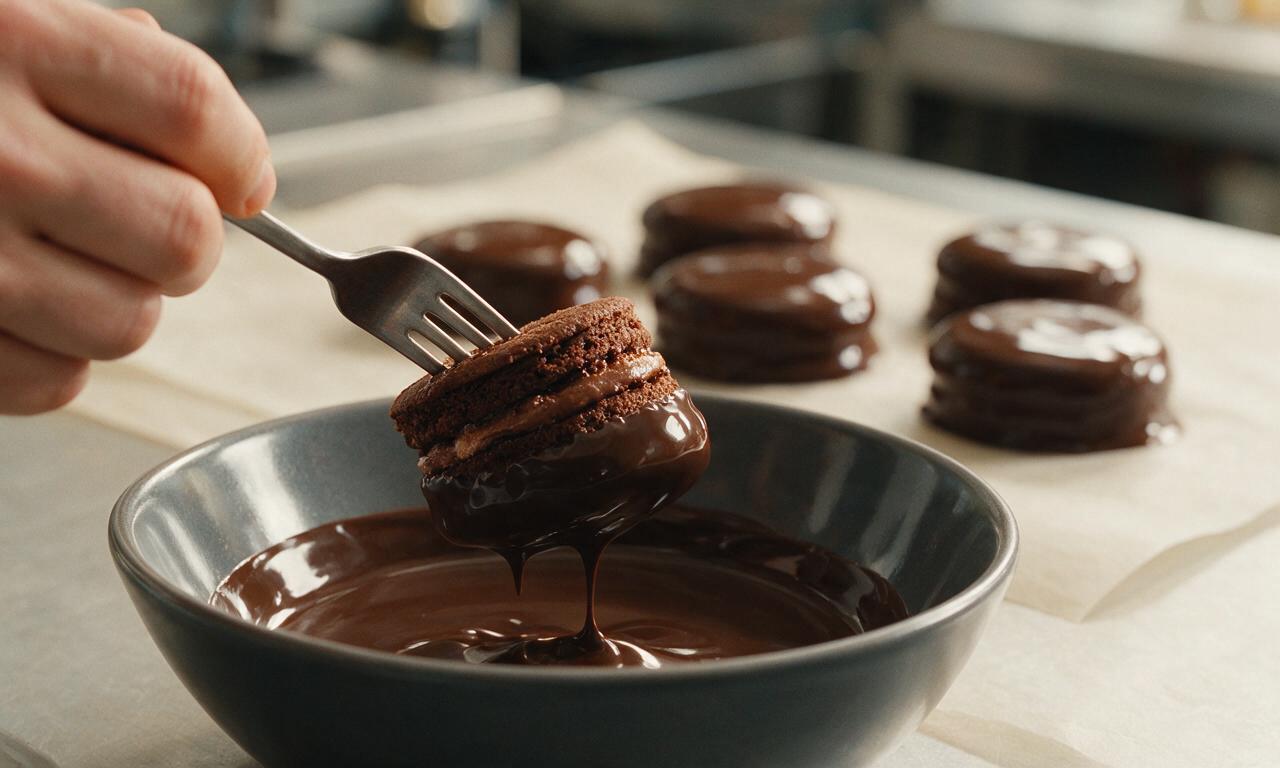
Remove chilled cake stacks from the freezer. Working one at a time, place a cake stack on a fork, lower it fully into the melted chocolate to coat every side, then lift and let excess chocolate drip off for 10 seconds. Place the coated cake back on the parchment-lined tray. Once all cakes are coated, refrigerate for 20 minutes until the chocolate shell is fully set and firm to the touch. For the classic look, pipe a thin 1-inch zigzag of leftover creme filling across the top of each cake, then chill 5 more minutes to set.
Step 6
step6:Coat cakes in chocolate

Tips

1.Never skip freezing the filled cake stacks before coating: soft, room-temperature cakes will crumble into warm chocolate, creating lumpy, uneven shells.
2.Use refined coconut oil for the chocolate coating instead of unrefined to avoid a strong coconut flavor that overpowers the chocolate and vanilla creme.
3.Store finished Ding Dongs in an airtight container in the refrigerator for up to 5 days, or freeze for up to 1 month for an easy, make-ahead treat.


✨ You May Also Like

Desserts & Baking
🍜 Italy

Creamy, coffee-kissed classic Northern Italian no-bake dessert, with layers of rum-spiked mascarpone cream, soft ladyfingers, and a rich cocoa dusting.

⏱️ 4 hours 3Desserts & Baking ★ 4.8
Desserts & Baking
🍜 France

Flaky, shatteringly crisp, buttery French croissants with golden exteriors and soft, airy layered interiors, perfect for pairing with coffee for a special morning treat.

⏱️ 12 hours Desserts & Baking ★ 4.7
Desserts & Baking
🍜 United States

Warm, spiced baked apples topped with a fluffy golden biscuit crust, this cozy dessert pairs perfectly with vanilla ice cream for cool-weather comfort.

⏱️ 55 minuteDesserts & Baking ★ 4.7
Desserts & Baking
🍜 United States

A star-spangled classic American blueberry pie with buttery flaky crust and bright sweet-tart filling, perfect for summer patriotic gatherings.

⏱️ 1 hour 25Desserts & Baking ★ 4.8
Desserts & Baking
🍜 United States

A beloved no-bake regional Maine candy with a chewy coconut-potato center coated in rich dark chocolate, a New England holiday staple since the 1870s.

⏱️ 2 hours 3Desserts & Baking ★ 4.9
Desserts & Baking
🍜 France

Luxuriously creamy, floral frozen custard made with aromatic Tahitian vanilla beans, boasting a smooth, rich texture that melts slowly on the tongue.

⏱️ 3 hours 3Desserts & Baking ★ 4.6

Ding Dong:Frequently Asked Questions

1.Why does this recipe call for Dutch-processed unsweetened cocoa instead of regular natural cocoa?
Dutch-processed cocoa delivers a smoother, deeper, less bitter chocolate flavor that perfectly balances the sweet marshmallow filling and snappy chocolate shell for that classic Ding Dong taste. If you only have natural cocoa, swap it 1:1, but replace 1/8 teaspoon of the recipe’s baking powder with baking soda per 3 tablespoons of cocoa to balance acidity and keep the cake crumb tender.
2.Can I bake the mini chocolate cake rounds ahead of time before assembling the Ding Dongs?
Absolutely! Bake the rounds, let them cool completely, then store them in an airtight container in the fridge for up to 3 days, or freeze for up to 1 month. Just make sure they’re fully thawed and slightly cool (not ice cold) before adding filling, so the marshmallow creme adheres evenly without sliding off.
3.Why does my chocolate coating crack when I bite into the finished Ding Dongs?
Cracking usually happens if your coating is too thick, or if the filled cakes are frozen solid when you dip them. For that perfect snappy, crack-free shell, temper your semi-sweet baking chocolate properly, thin it with 1 teaspoon of neutral refined coconut oil per 4 ounces of chocolate if needed, and dip chilled (not frozen) filled cakes for best results.
4.Do I need to make homemade marshmallow creme, or can I use store-bought marshmallow fluff?
You can absolutely use straight-from-the-jar store-bought marshmallow fluff for that exact nostalgic Ding Dong flavor, no extra prep required. If you find it too sticky to pipe neatly, beat it with 2 tablespoons of softened unsalted butter for 30 seconds to lighten it so it holds its shape perfectly between cake layers.
5.How do I stop the marshmallow creme filling from oozing out when I dip the cakes in chocolate?
The simple trick is to chill the filled cake sandwiches for at least 30 minutes before dipping. After piping a dollop of creme between two cake rounds, press gently to spread the filling evenly to the edges, then set them on a parchment-lined tray in the fridge. The cold will set the creme so it stays put during dipping.
6.Can I swap the all-purpose flour for a gluten-free alternative?
Yes, you can replace the all-purpose flour with a 1:1 gluten-free baking blend that includes xanthan gum for the closest texture match. Keep in mind gluten-free batters may need 1 to 2 extra minutes of baking time, and the finished cakes will be slightly more delicate, so handle them gently when filling and dipping to avoid breakage.
7.Can I cut back on the granulated sugar in the cake to make these less sweet?
I don’t recommend cutting the granulated sugar by more than 2 tablespoons per batch, as sugar doesn’t just add sweetness — it locks in moisture to keep the chocolate cake tender, and helps the crumb set soft rather than tough. If you prefer less sweetness, use 60% cacao semi-sweet chocolate for the shell instead of trimming cake sugar, to keep texture perfect.
8.How should I store finished homemade Ding Dongs, and how long do they stay fresh?
Store fully coated Ding Dongs in an airtight container in the refrigerator for up to 4 days, with small squares of parchment between layers if stacking to prevent sticking. The chocolate shell will stay snappy, the cake will remain moist, and the filling will stay light and fluffy. Let them sit at room temperature for 10 minutes before serving for that perfect, nostalgic snack cake texture and flavor.

Comments (17)

2 days ago

OMG, these homemade ding dongs are a GAME CHANGER! I made them for my son’s 4th grade class party and every single kid asked for seconds, even the picky eaters who turn down every store-bought treat. The creamy filling is way better than the original, no weird aftertaste at all. Took me a little over 2 hours total, totally worth the effort.

yesterday

So happy the class loved them! Pro tip for next time: you can chill the filling for 20 minutes before piping to make it extra firm and less messy for little hands, works like a charm!

3 days ago

Tried these last weekend for a football watch party with the guys, and they were gone in 10 minutes flat. I messed up the chocolate glaze the first time (heated it too fast, seized up) but the second batch came out perfect. Will definitely make again, even if it’s a little more work than picking up a box at the gas station.

2 hours ago

SO excited to try this recipe! Quick question before I dive in this weekend—has anyone swapped the all purpose flour for a 1:1 gluten free blend with success? My sister has celiac and is coming for a visit, I’d love to surprise her with these since ding dongs were her favorite snack as a kid.

30 minutes ago

I used Bob’s Red Mill 1:1 blend last month when I made these and they turned out perfect! No weird gritty texture, my whole family didn’t even notice they were GF. Just make sure you don’t overmix the batter, that’s my only tip.

just now

Gigi’s tip is spot on! We’ve tested this with Bob’s 1:1 GF blend and it works beautifully, just add an extra 1/4 tsp of xanthan gum if your blend doesn’t already include it for the best cake texture.

1 week ago

My kids loved it! I packed these in their lunch boxes all last week as a special treat and they said all their friends were jealous. I will say, the first time I tried piping the filling I made a huge mess, so next time I’m using a bigger piping tip.

5 days ago

Oh the piping mess is so real! I started using a disposable plastic bag with the corner cut extra wide when I don’t feel like digging out my fancy tips, works just as good for these!

2 weeks ago

I grew up eating ding dongs after school every day, so I was super skeptical a homemade version could live up to the nostalgia. Let me tell you—this is BETTER than the ones I remember. The chocolate shell has that perfect snap, the filling is fluffy not overly sweet, and the cake is so moist. 10/10, no notes.

30 minutes ago

Uh oh, I’m a total beginner and this is marked medium difficulty—should I even attempt this? I’ve only ever made boxed brownies before, but my boyfriend is obsessed with ding dongs and I want to make them for his birthday.

5 minutes ago

You’ve totally got this! The steps are broken down super clearly, and the hardest part is waiting for the cakes to cool before adding the filling and glaze. If you take it one step at a time, it’ll turn out great—tag us if you make them for his birthday, we’d love to see!

yesterday

Made these for my office potluck yesterday and I’m pretty sure I got 3 different job offers from people who loved them that much. Joking, but seriously, people were coming up to me for the recipe an hour after the potluck ended. I added a tiny pinch of sea salt to the chocolate glaze and it elevated everything so much, highly recommend that little tweak.

2 hours ago

The sea salt addition is genius! I always add flaky salt on top of chocolate desserts, it cuts the sweetness perfectly. Can’t wait to try that when I make these this weekend.

30 minutes ago

Love that sea salt hack! We’ve had a few readers test that too and it’s such a great add, it makes the chocolate flavor pop even more.

5 days ago

These pair SO good with a hot cup of black coffee in the morning, no shame. I made a batch on Sunday and have been grabbing one on my way out the door for work all week, they hold up really well in an airtight container in the fridge. Way better than the sad granola bars I usually keep for quick breakfasts.

3 days ago

Full transparency: I burned the first batch of cake circles because I got distracted watching my dog chase a squirrel in the backyard. Don’t be like me, set a timer! The second batch came out flawless though, and even the slightly burnt edges got eaten by my roommate who has zero standards for sweets.

2 days ago

This is so relatable, I can’t tell you how many baked goods I’ve ruined because my dog was doing something chaotic outside the kitchen window. Timer hack is non-negotiable for this recipe for sure!

1 week ago

Has anyone tried freezing these? I do big Sunday meal prep sessions for my family of 5 and would love to stash a bunch in the freezer for quick after school snacks if they freeze well.

5 days ago

I froze half my batch last month and they were perfect! I wrapped each one individually in plastic wrap then stuck them in a freezer bag, they thaw in like 20 minutes on the counter and taste just as fresh as the day I made them.

3 days ago

They freeze wonderfully! Just make sure the glaze is fully set before wrapping them up to freeze, and they’ll keep for up to 3 months in the freezer for easy snacking.

2 days ago

I used dark chocolate (70% cacao) for the glaze instead of semi-sweet and it was *chef’s kiss*. I’m not a huge fan of super sweet desserts, so this cut the sweetness perfectly and paired so well with the vanilla cream filling. Will absolutely be making these on repeat.

yesterday

Dark chocolate is such a great swap! We’ve had lots of readers do that for a richer, less sweet glaze, and it works perfectly with the fluffy filling. So glad you loved them!

1 week ago

I made mini versions of these for my daughter’s slumber party last weekend and the girls went wild. I used a 2-inch round cutter instead of the 3-inch the recipe calls for, and they were the perfect bite-sized snack for a bunch of hyper 12 year olds running around the house. Even the other moms were asking for the recipe!

5 days ago

I was so nervous to make these for my first ever dinner party, but they were a total hit! The only note I have is that my glaze was a little thinner than the photos in the recipe, did I do something wrong? It still tasted amazing, just dripped a little down the sides more than I expected.

3 days ago

I had the same issue my first time! Turns out I added a little too much heavy cream to the glaze. Next time just add an extra ounce of chopped chocolate to thicken it up if it looks too runny, it sets perfectly after that.

yesterday

Help! My filling came out runny no matter how long I whipped it. Did I use the wrong kind of shortening? I used butter instead because I didn’t have shortening on hand, maybe that’s the issue? They still tasted good, just oozed out the sides every time someone took a bite.

2 hours ago

Butter will make it softer at room temp for sure! If you don’t want to use shortening, try using half butter half marshmallow fluff, it sets up way firmer and tastes amazing. I do that every time now.

30 minutes ago

That’s exactly the issue! Butter has a lower melting point than the shortening called for, which is why the filling was runny. If you prefer to use butter, pop the assembled ding dongs in the fridge for 30 minutes before serving to help the filling firm up, it’ll hold its shape much better.

2 weeks ago

I swapped the dairy for coconut cream and vegan chocolate chips to make these vegan for my cousin’s birthday, and even the non-vegan people at the party said they were incredible. You couldn’t even tell they were dairy free! Definitely a make again recipe, even for people who don’t eat vegan.

2 days ago

I’ll be honest, I thought these would be way too fussy to make on a Saturday afternoon, but the steps are way simpler than I thought they’d be. The cake is so moist, the filling is fluffy, the chocolate coating has that perfect crunch just like the store bought ones but without all the weird preservatives. My wife said these are better than any dessert I’ve ever grilled (which is a high bar, let me tell you).

yesterday

That’s such a great compliment coming from a grill master! So glad you gave these a shot even though they seemed fussy, they’re totally worth the weekend effort.

3 days ago

These taste exactly like the ding dongs I used to trade my Lunchables for in middle school, I’m not even kidding. I was worried they wouldn’t live up to the hype, but the first bite took me straight back to 1998 sitting in the school cafeteria. I did add a little extra vanilla to the filling because I’m a vanilla fiend, and it was perfect.

2 days ago

Oh my gosh, I used to trade my fruit snacks for ding dongs every chance I got! I need to try the extra vanilla trick, that sounds like it would make the filling even better.

yesterday

Love the extra vanilla addition! We’re all for tweaking recipes to match your favorite nostalgic flavors, so glad these took you back to your middle school cafeteria days.



