1.Do I really need to bake any component for this Spooky Graveyard Dirt Cake?
▾
Nope, this is 100% no-bake, so you won’t need to turn on your oven at all! The only prep work involves crushing cookies, mixing the creamy pudding and cream cheese filling, layering the components, and letting the cake chill fully in the fridge before adding spooky graveyard decorations. It’s ideal for busy Halloween party prep when oven space is at a premium.
2.Why do the cream cheese and butter need to be softened to room temperature first?
▾
Cold full-fat cream cheese and unsalted butter won’t mix smoothly into the filling, leaving you with lumpy, uneven texture instead of that rich, silky creamy base we want. Let them sit on the counter for 30 to 45 minutes before mixing—they’re ready when you can press a soft dent into them easily with a finger, with no hard cold spots in the center.
3.Can I use low-fat cream cheese or skim milk to cut calories in this recipe?
▾
I don’t recommend it for the best, most stable texture. Full-fat cream cheese and cold whole milk create a thick, rich filling that holds its shape when layered and chilled. Low-fat or skim alternatives make the filling runny, watery, or oddly grainy, and it won’t set firmly enough to support your cookie crumb “dirt” and graveyard decorations.
4.How fine should I crush the chocolate sandwich cookies for the dirt layers?
▾
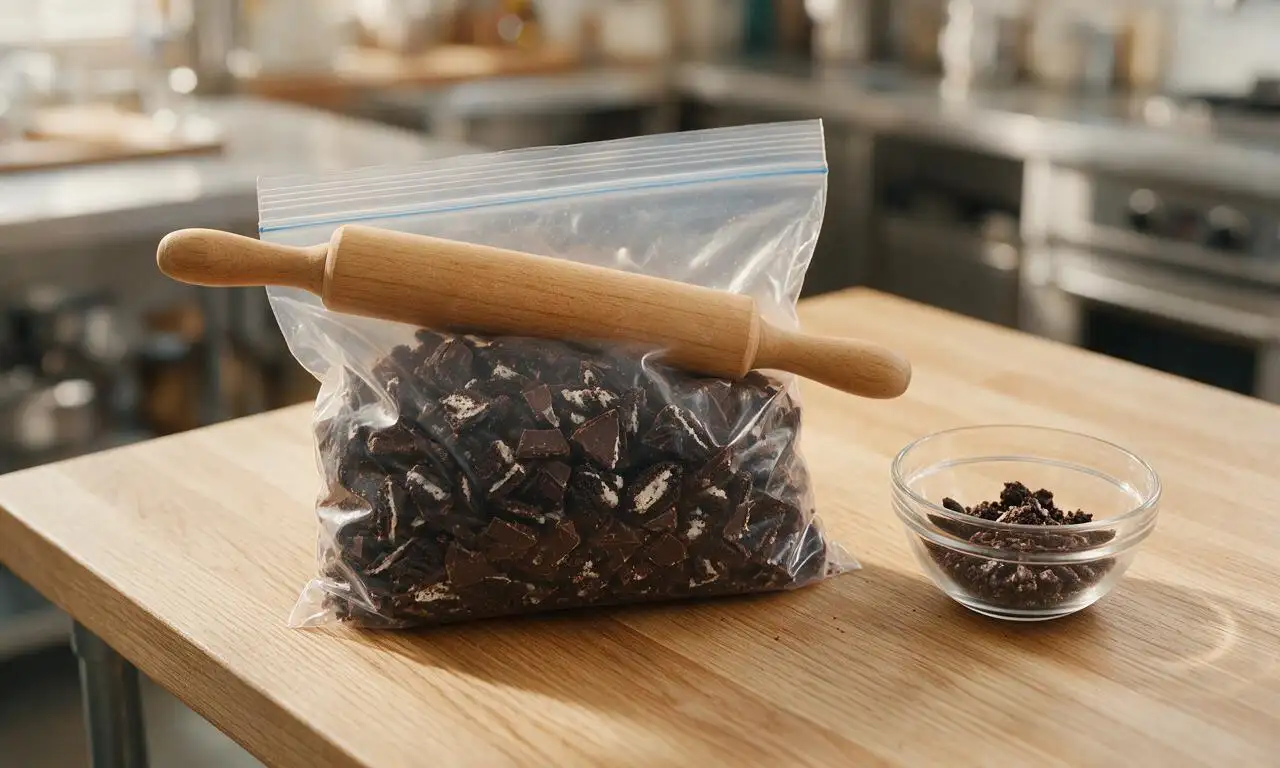
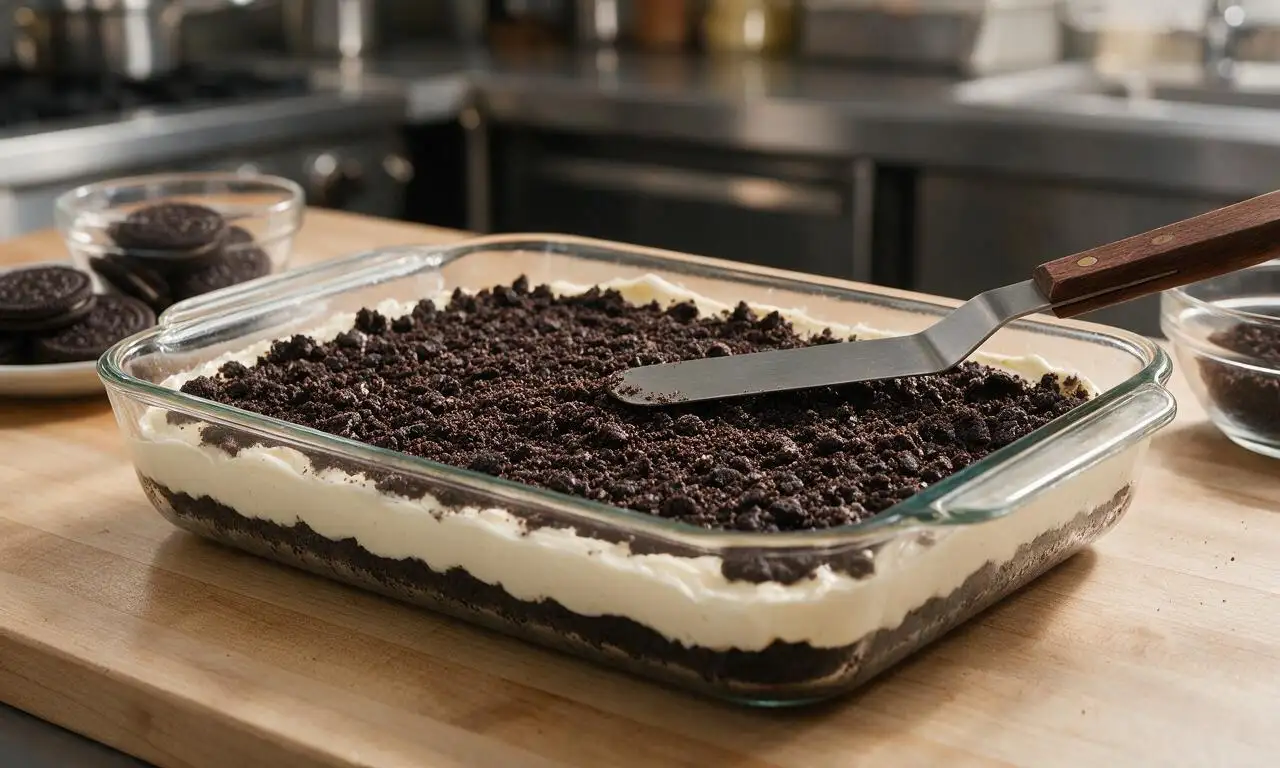
Aim for two textures for the most realistic dirt look! Crush about three-quarters of the cookies into fine, sand-like crumbs (a food processor works great for this, or a sealed zip-top bag with a rolling pin). Leave the remaining quarter in slightly larger, pebble-sized chunks to mix in for texture that looks just like loose, clumpy graveyard dirt.
5.How far in advance can I make this dirt cake before my Halloween party?
▾
You can assemble the base layers (cookie crumbs and creamy filling) up to 2 days ahead of your party, stored tightly covered in the fridge. Wait to add your graveyard decorations—like cookie tombstones, candy bones, or gummy worms—until 1 to 2 hours before serving, so decorations don’t get soggy or bleed color into the crumbs.
6.Do I have to use instant vanilla pudding, or can I use cook-and-serve pudding mix?
▾
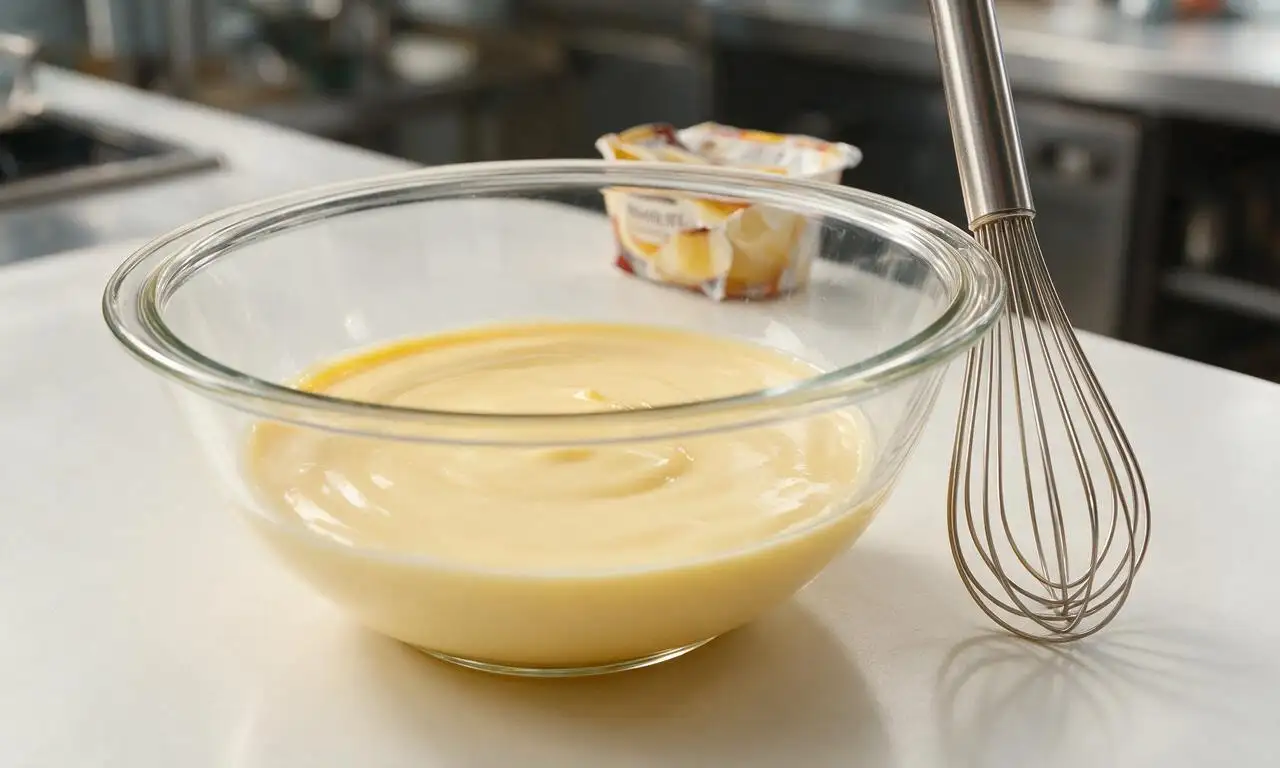
Stick with instant vanilla pudding for this recipe! Cook-and-serve pudding requires stovetop heating and sets to a much firmer, denser texture that doesn’t blend as smoothly with the cream cheese and butter base. Instant pudding mixes up cold in minutes, creates the perfect light, creamy consistency, and cuts down on total prep time too.
7.What size serving dish works best for this graveyard dirt cake?
▾
A 9x13 inch clear glass baking dish is ideal, because the deep sides let you create distinct, visible layers of cookie crumbs and creamy filling, and the clear glass shows off the fun “dirt” look from every angle. You can also use a clear plastic trifle bowl for a taller, more dramatic presentation if you’re serving it buffet-style.
8.Can I make this recipe gluten-free for guests with dietary restrictions?
▾
Absolutely! It’s super easy to adapt for gluten-free diets. Simply swap the regular chocolate sandwich cookies for your favorite certified gluten-free chocolate sandwich cookie variety, and double-check that your instant vanilla pudding mix is labeled gluten-free (most mainstream brands are, but it never hurts to confirm to avoid cross-contamination risks).
9.My filling turned out lumpy even after mixing—what did I do wrong?
▾
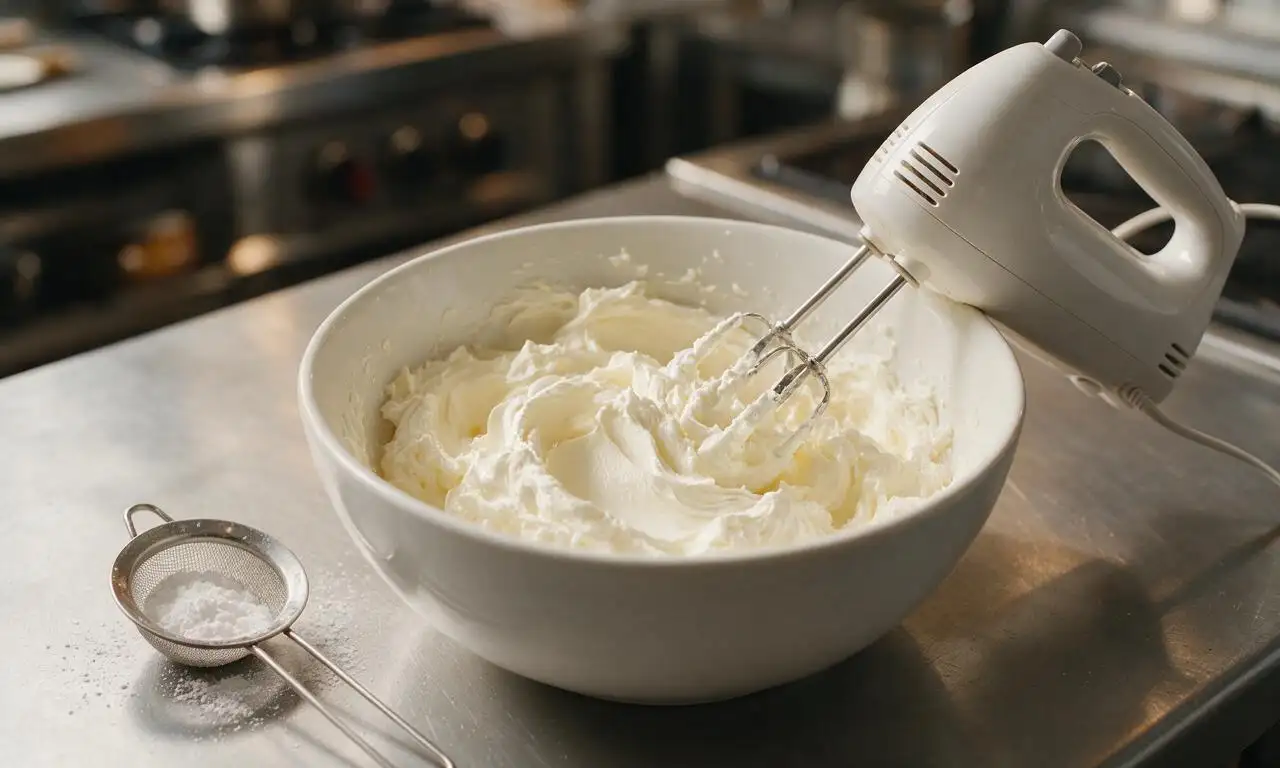
The most common culprit is cream cheese or butter that wasn’t fully softened to room temperature before mixing. If you’re short on time, you can fix small lumps by beating the filling on medium speed with an electric mixer for 2 to 3 extra minutes, then pressing it through a fine mesh sieve before layering for a silky finish.
10.What are easy, kid-friendly graveyard decorations I can add on top?
▾
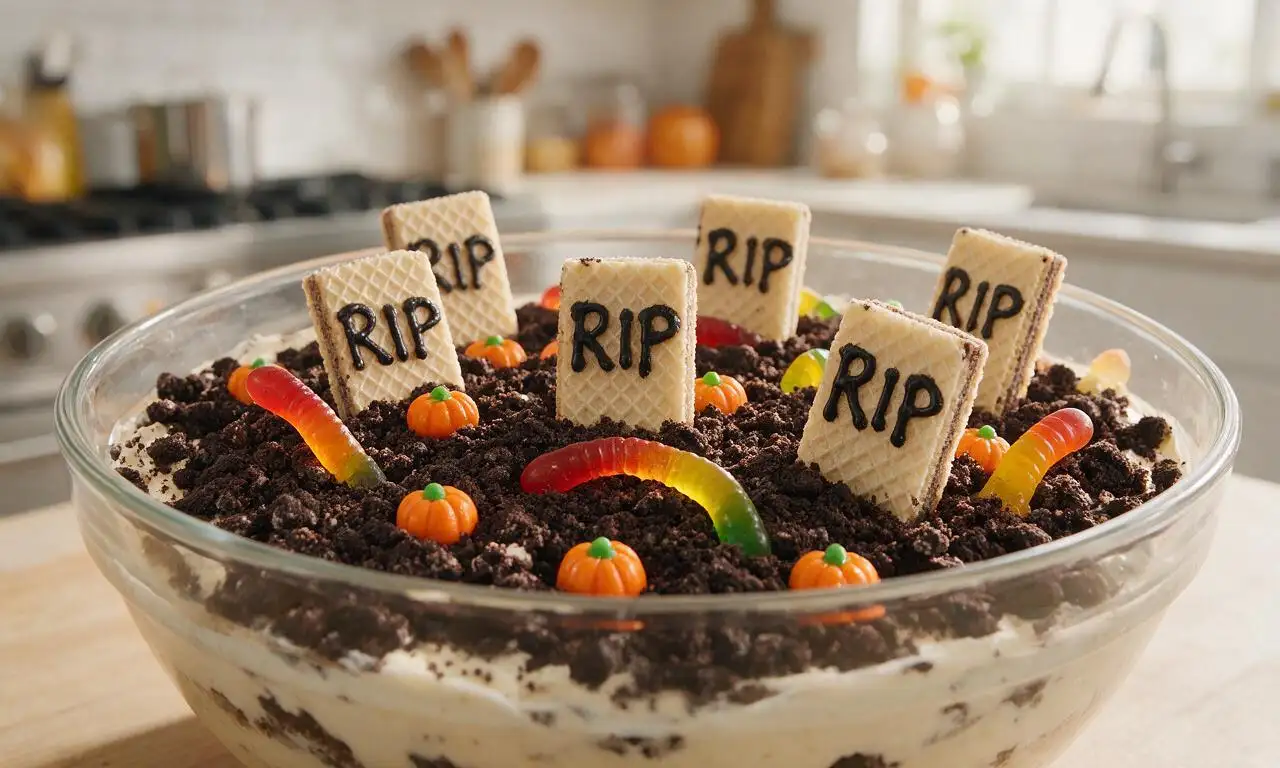
The options are endless and super low-effort! Use Milano cookies as upright tombstones (write “RIP” on them with a black edible marker), tuck gummy worms half-buried in the crumbs, add candy bones, plastic spider rings, or a handful of candy pumpkins. Kids love helping place these, so it’s a fun pre-party activity too.
11.How long does this dirt cake need to chill before it’s ready to serve?
▾
Plan for a minimum of 4 hours of chill time in the fridge, covered tightly, after you finish assembling the layers. Overnight chilling is even better, because it gives the flavors time to meld and the filling time to set fully, so scoops hold their neat shape instead of oozing when you serve guests.
12.Can I add a chocolate flavor boost to the filling instead of using all vanilla pudding?
▾
Of course! If you want an extra-chocolatey version, you can swap one box of instant vanilla pudding for instant chocolate pudding, or stir ¼ cup of unsweetened cocoa powder into the filling as you mix it. It won’t change the texture at all, and it pairs perfectly with the chocolate cookie “dirt” layers for extra richness.
13.How should I store leftover graveyard dirt cake, and how long will it keep?
▾
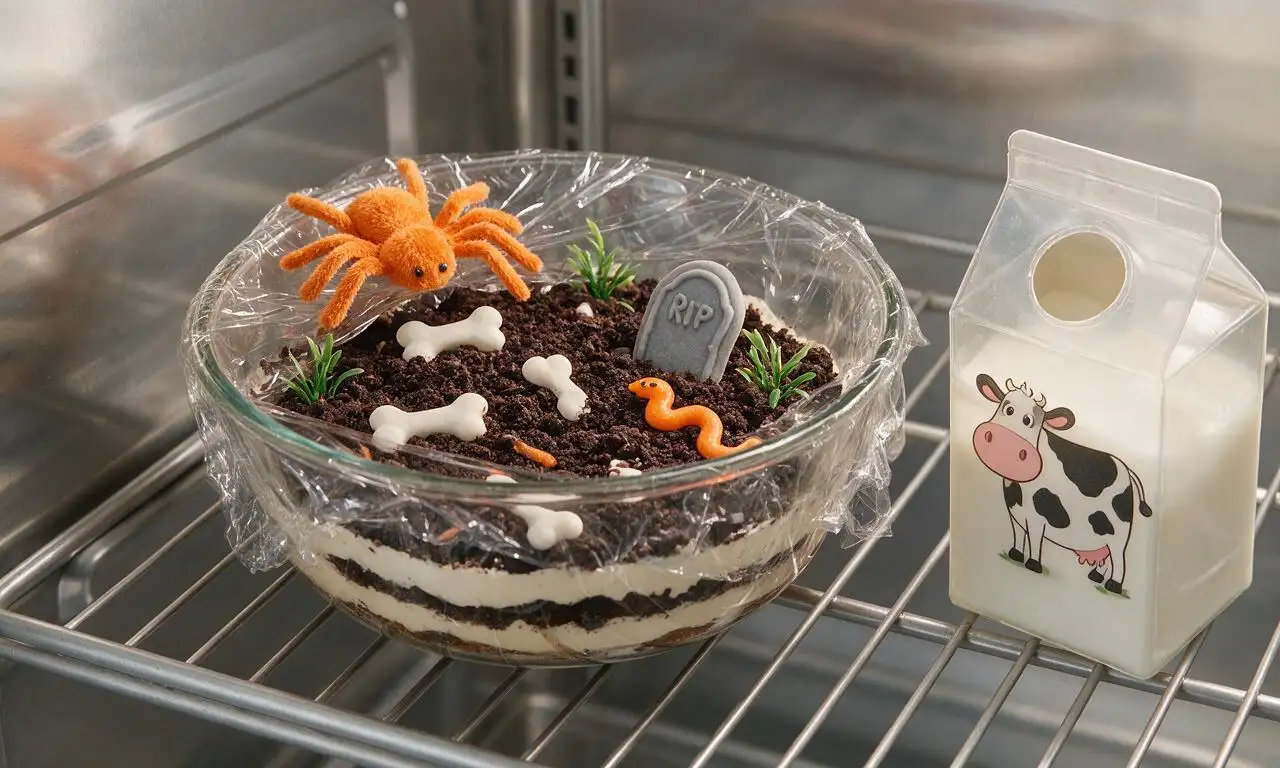
Store any leftovers tightly covered with plastic wrap in the fridge, and it will stay fresh for 3 to 4 days. Keep in mind that the cookie crumbs will soften a bit more the longer it sits, so the texture will be less crumbly and more fudgy after the first day, which is still totally delicious for a quick sweet treat.
14.Do I need an electric mixer to make the creamy filling, or can I mix it by hand?
▾
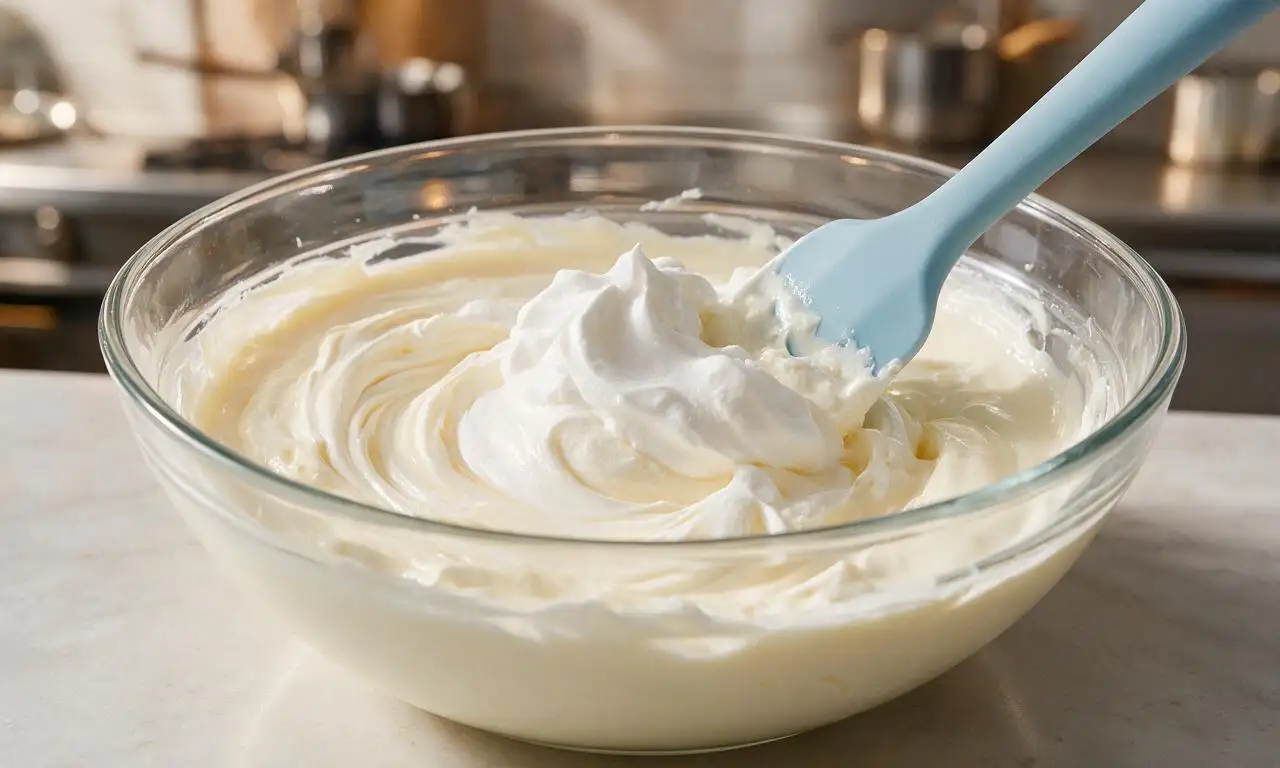
An electric hand mixer or stand mixer makes the job much faster and ensures a lump-free filling, but you can absolutely mix it by hand if that’s all you have. Just make sure your cream cheese and butter are extra soft, and use a sturdy silicone spatula to beat the mixture until completely smooth before adding pudding and milk.
15.Why do you recommend using cold whole milk specifically for the pudding?
▾
Cold milk helps the instant pudding set quickly and evenly, creating a thick, stable base that doesn’t turn runny when mixed with the cream cheese and butter. Whole milk has a higher fat content than reduced-fat or skim milk, which gives the filling a luxuriously creamy, rich mouthfeel instead of a thin, watery texture.
16.Can I make this as individual servings instead of one large shared dish?
▾
Definitely! Individual clear plastic cups are a fantastic option for Halloween parties, because guests can grab and go without needing to wait for someone to scoop. Layer the cookie crumbs and filling in 8 to 10 ounce clear cups, chill as directed, then add a tiny tombstone and gummy worm on top of each for a cute personal treat.
17.Should I remove the white cream filling from the chocolate sandwich cookies before crushing them?
▾
Don’t waste time scraping out the white cream filling! That creamy center mixes right in with the cookie crumbs to help them stick together slightly for a more realistic dirt texture, and it adds a little extra sweetness that balances the rich, tangy cream cheese filling perfectly. Just toss whole cookies right into your processor or bag to crush.

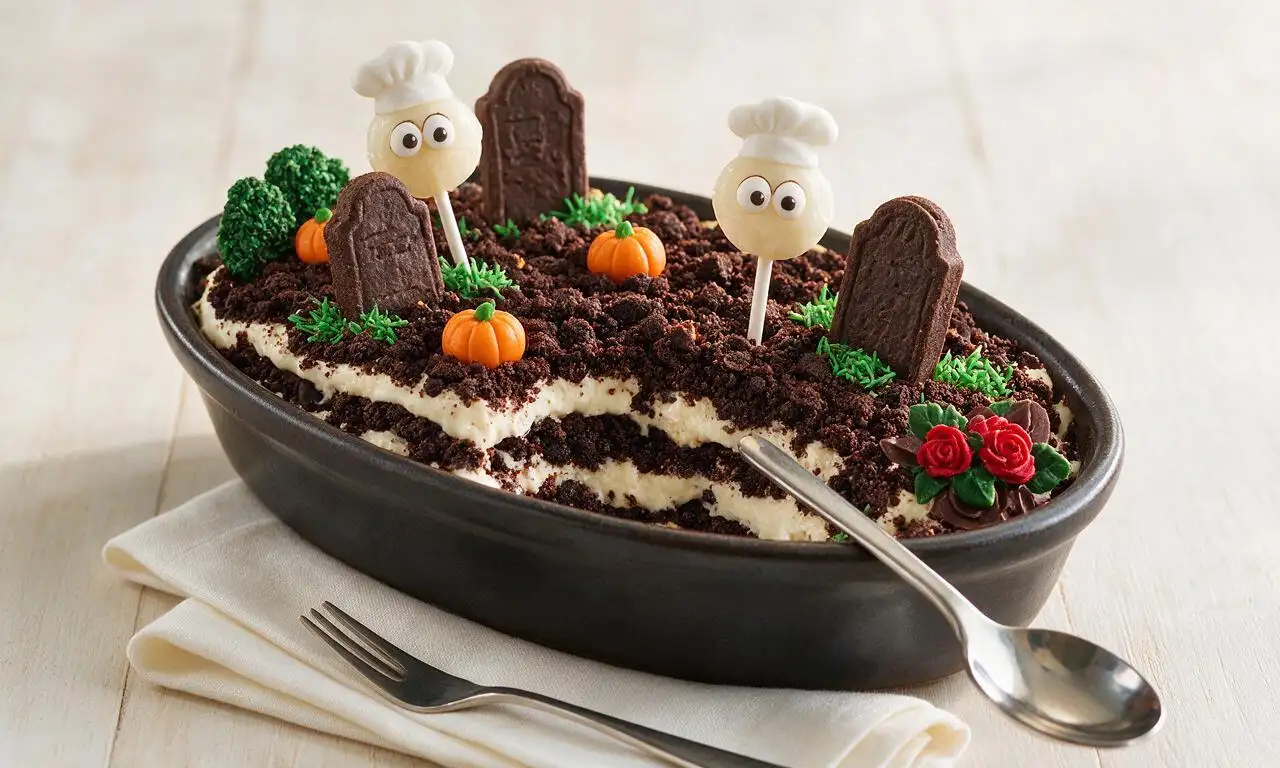






OMG I made this for my oldest kid’s 3rd grade Halloween class party and it was a total hit! It was so easy even my 7 year old helped crush the Oreos and stick the cookie tombstones on. My kids loved helping out and sneaking extra Oreo crumbs while we put it together! Everyone kept asking for the recipe, zero leftovers! SO good, will be making this every October for sure.
Wait quick question—can I make this a day ahead for my Halloween movie night with friends? I’m trying to knock out all my meal prep early so I don’t have to stress the day of, and this looks way too good to pass up. The easy difficulty rating is perfect for my chaotic work schedule right now.
Game changer. I was looking for a no-fuss Halloween dessert that didn’t require fancy baking skills and this checked every box. The 2 hour chill time was perfect because I was able to run out and grab my last-minute costume while it set in the fridge. Added little candy pumpkin decorations on the graves and my roommate thought I bought it from a fancy bakery lmao. 10/10, will absolutely make again.