
dirt cups
intro
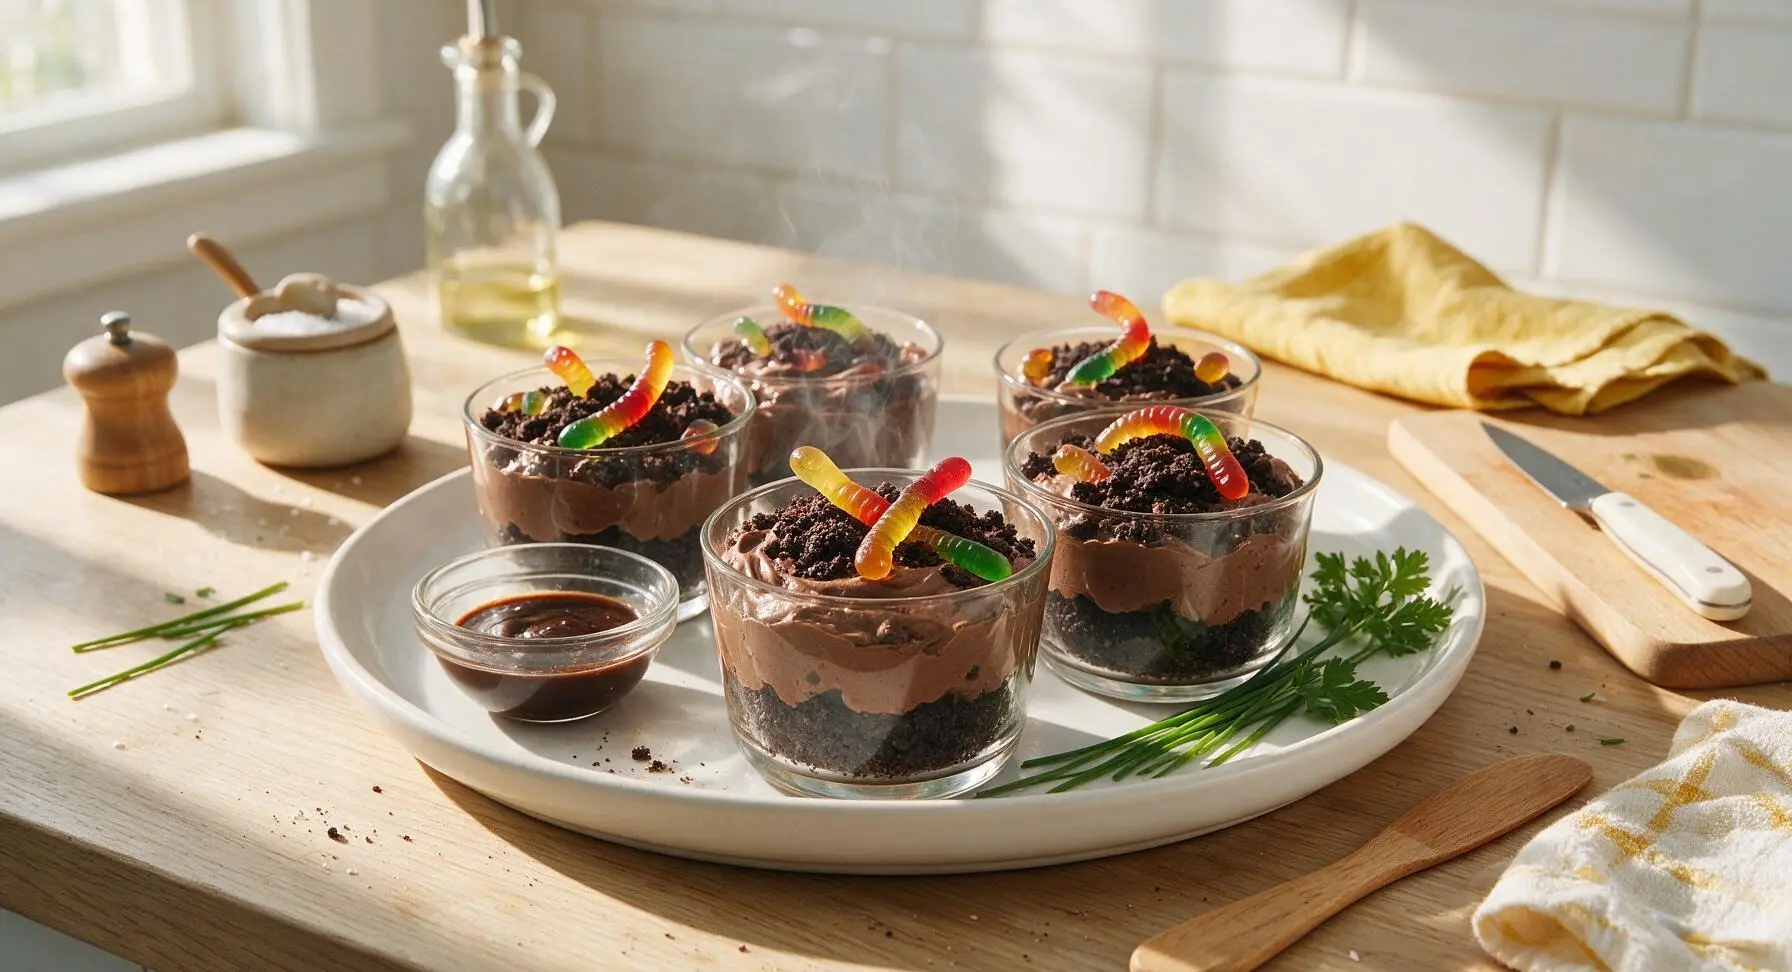
Playful, nostalgic no-bake chocolate treats layered with crushed cookie "dirt" and creamy fluffy pudding, topped with gummy worms for a whimsical, kid-friendly Halloween crowd-pleaser.
Ingredients
Steps
Crush Cookie Crumbs
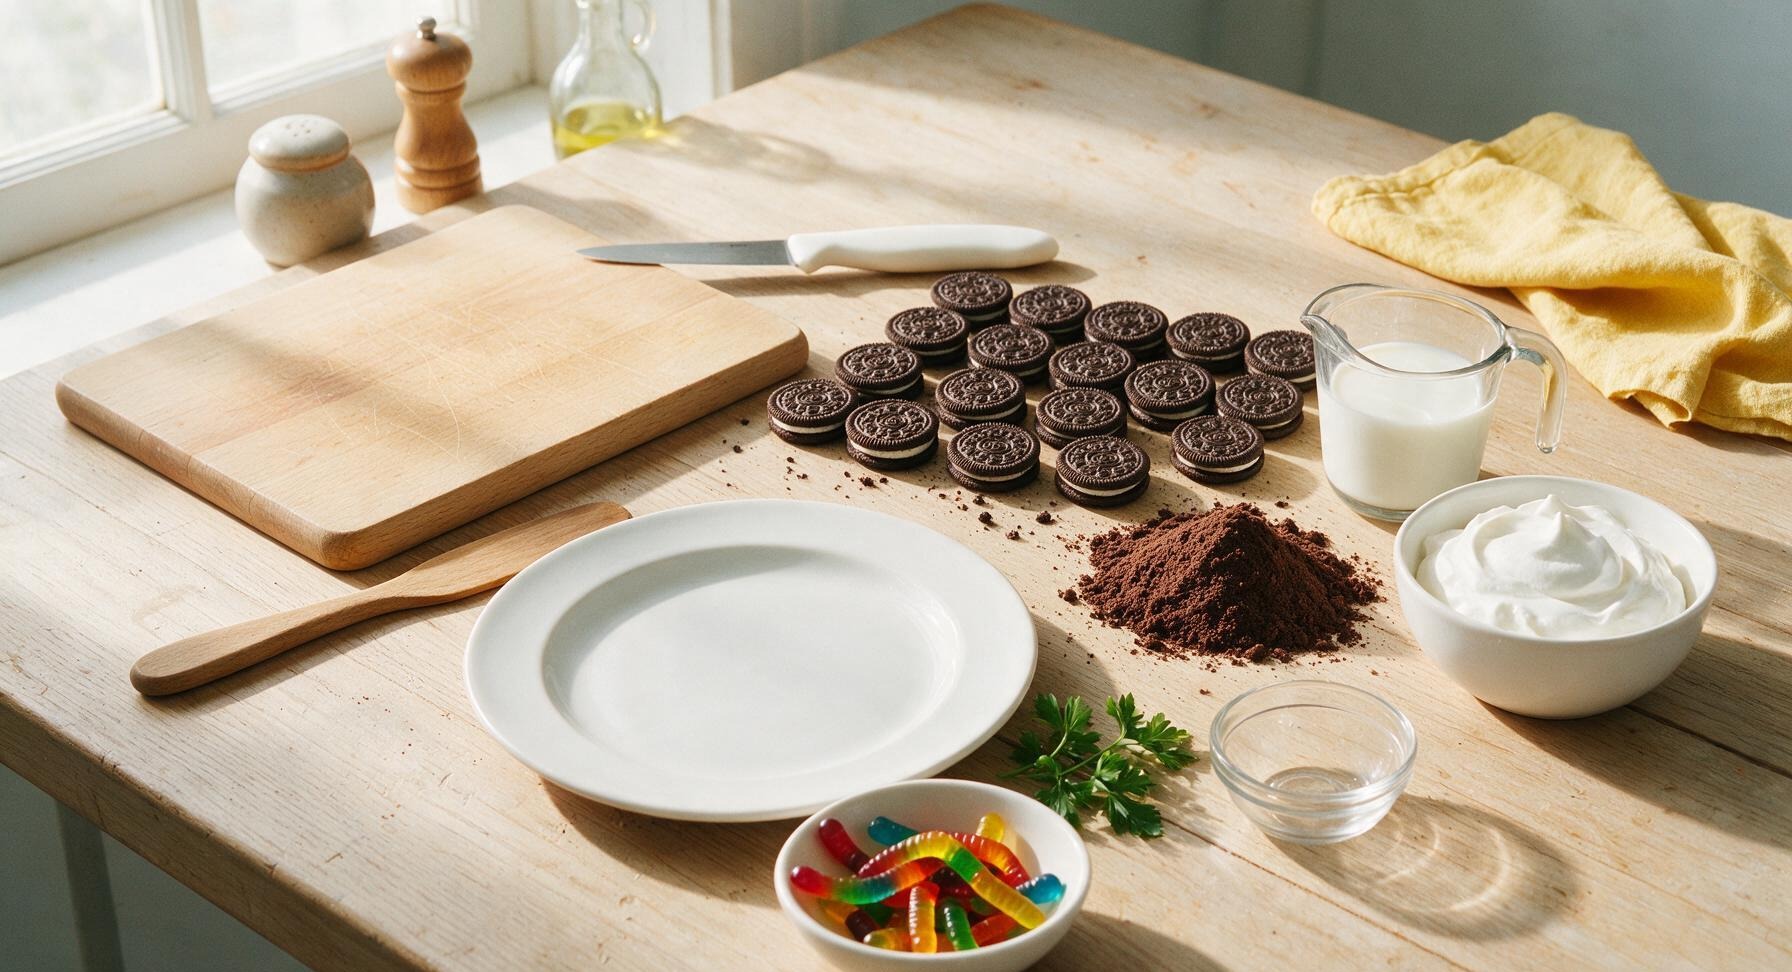
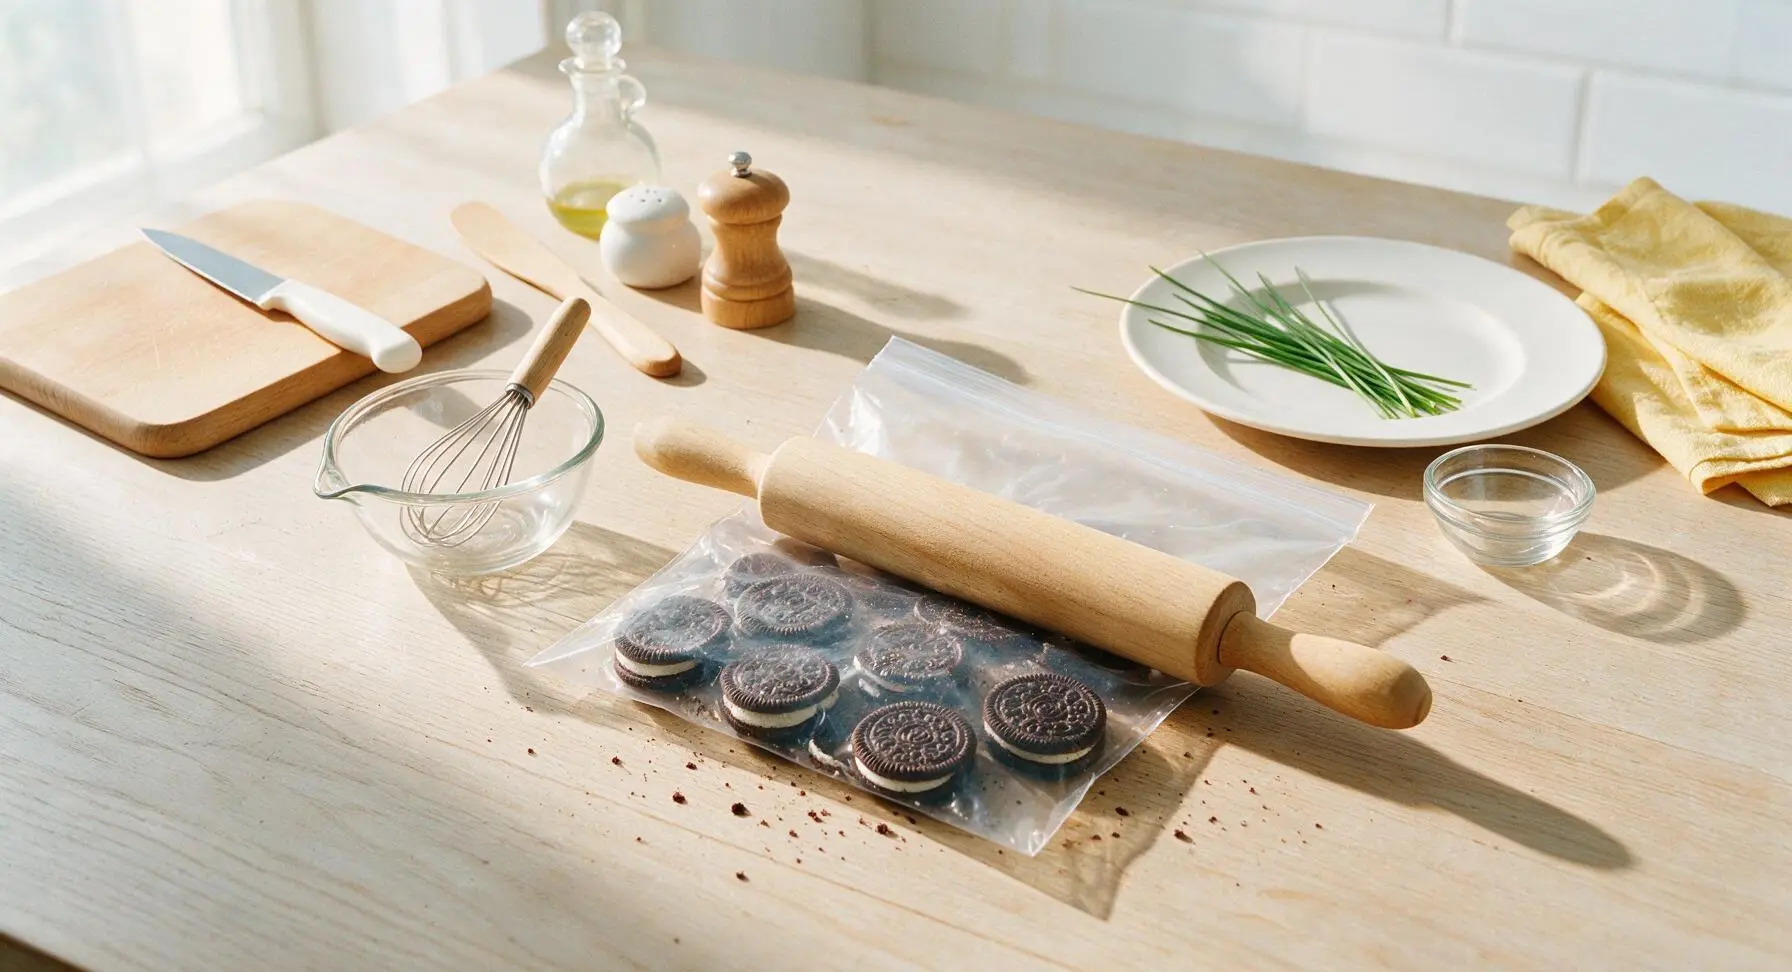
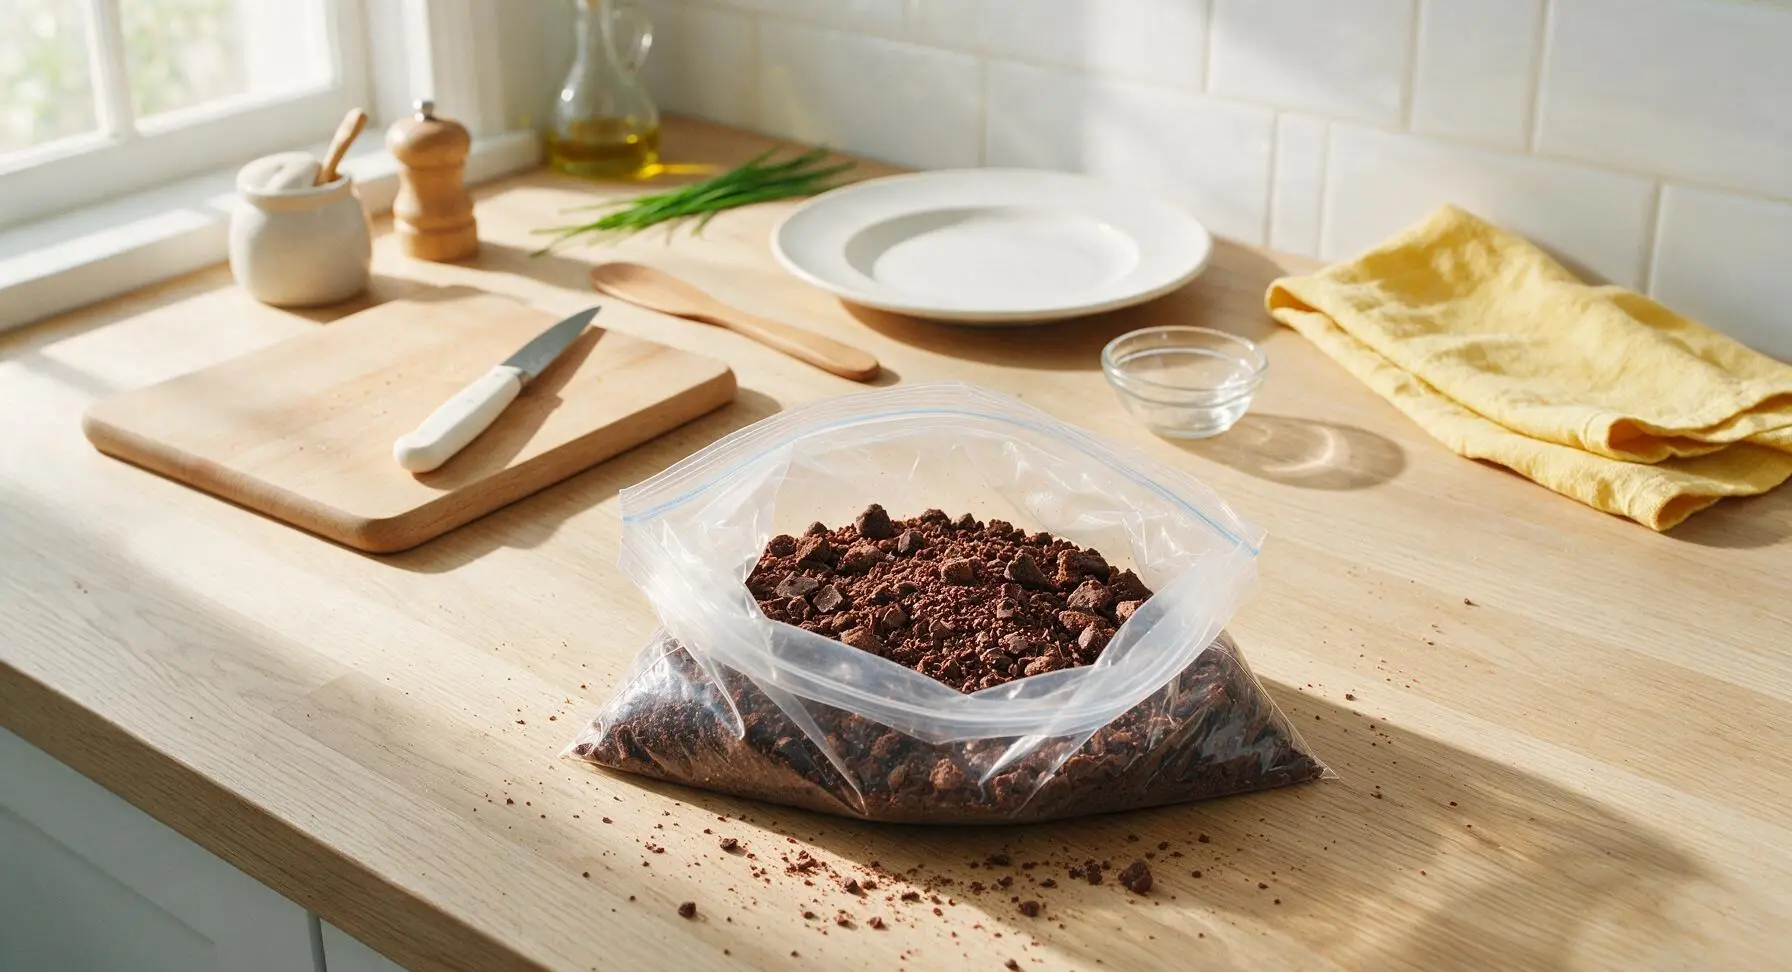
Place all 24 creme-filled chocolate sandwich cookies into the 1-gallon resealable zip-top bag, press out all excess air, and seal the bag tightly. Use the 12-inch beech wood rolling pin to roll firmly back and forth over the bag, crushing the cookies into a mixture of fine crumbs and small, pea-sized chunks. Avoid crushing all cookies into a fine powder—textured, irregular chunks create a more realistic garden dirt appearance. Set the sealed bag of crumbs aside once crushed.
Whisk Pudding Base
Pour 2 cups of cold whole milk into the 1-gallon clear glass mixing bowl. Add the full 3.9oz packet of instant chocolate pudding mix, then use the stainless steel wire whisk to beat the mixture continuously for 2 full minutes, until it is completely smooth, thick, and free of dry lumps. Let the pudding rest for 5 minutes at room temperature to set slightly; it will hold a soft, drooping peak when the whisk is lifted from the surface.
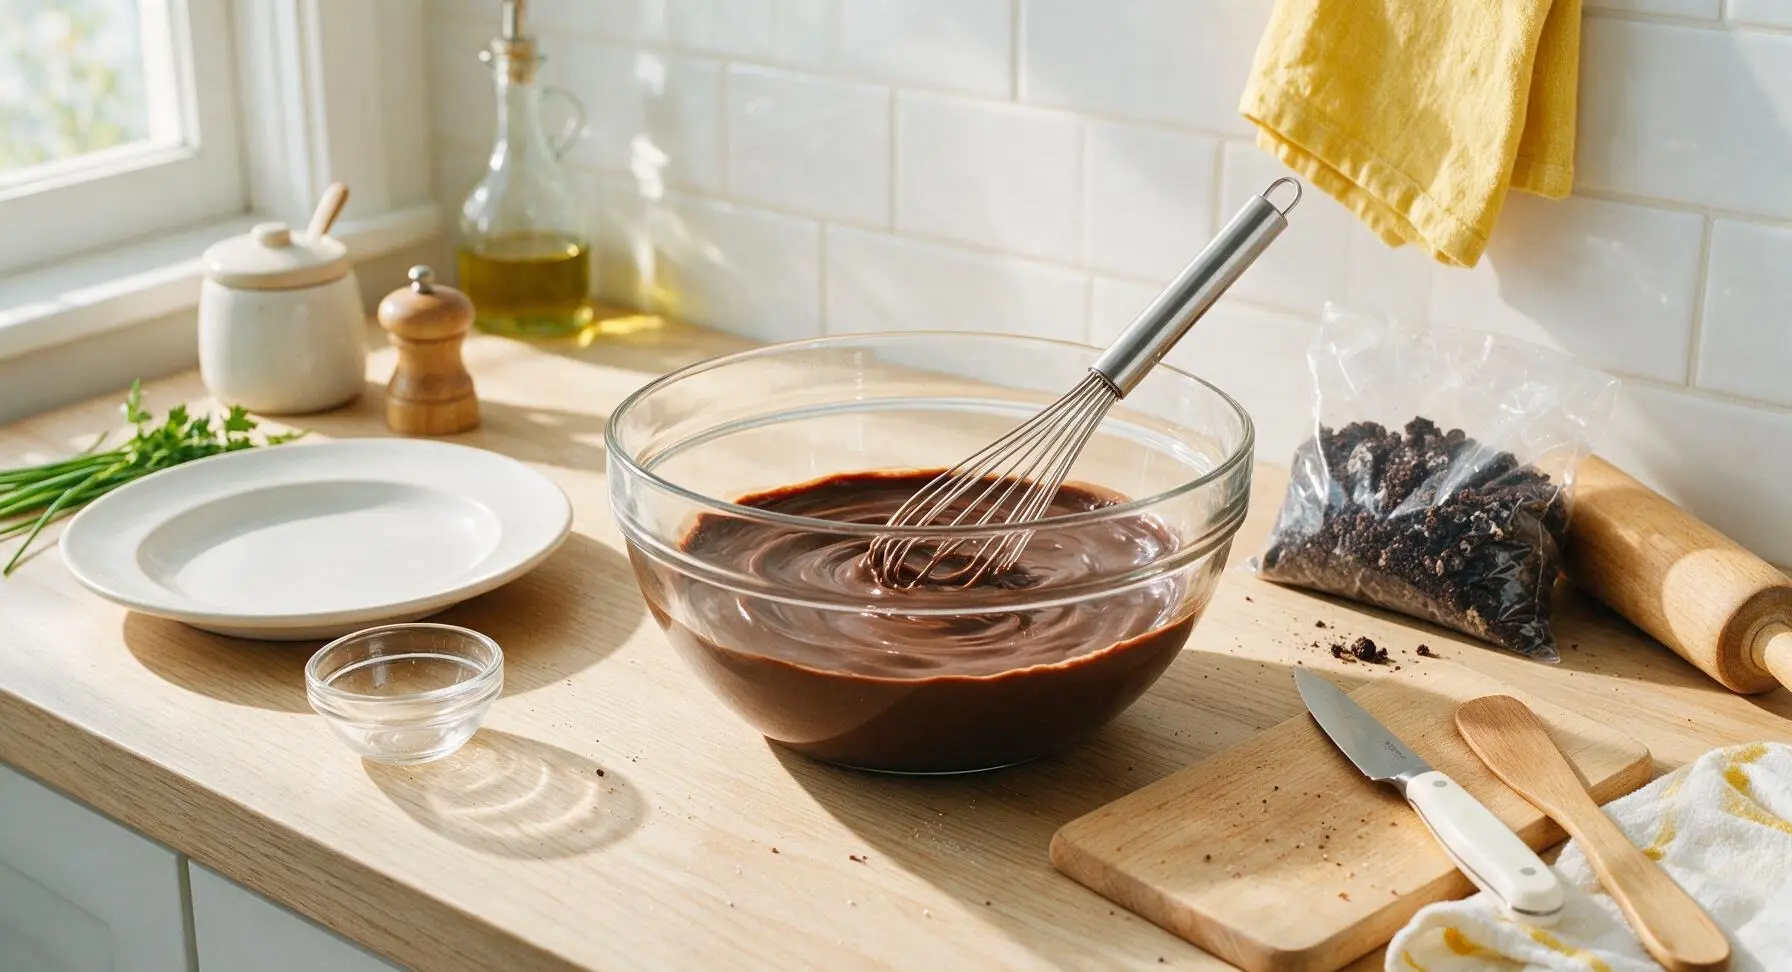
Fold in Whipped Topping
Scoop the full 8oz of thawed frozen whipped topping into the slightly set chocolate pudding. Use the navy blue silicone spatula to gently fold the topping into the pudding: cut straight down through the center of the mixture, scrape along the bottom of the bowl, and lift the pudding up over the topping, repeating until the mixture is a uniform light milk chocolate brown with no remaining white streaks. Do not stir vigorously or overmix, as this will deflate the whipped topping and result in a dense, heavy texture.
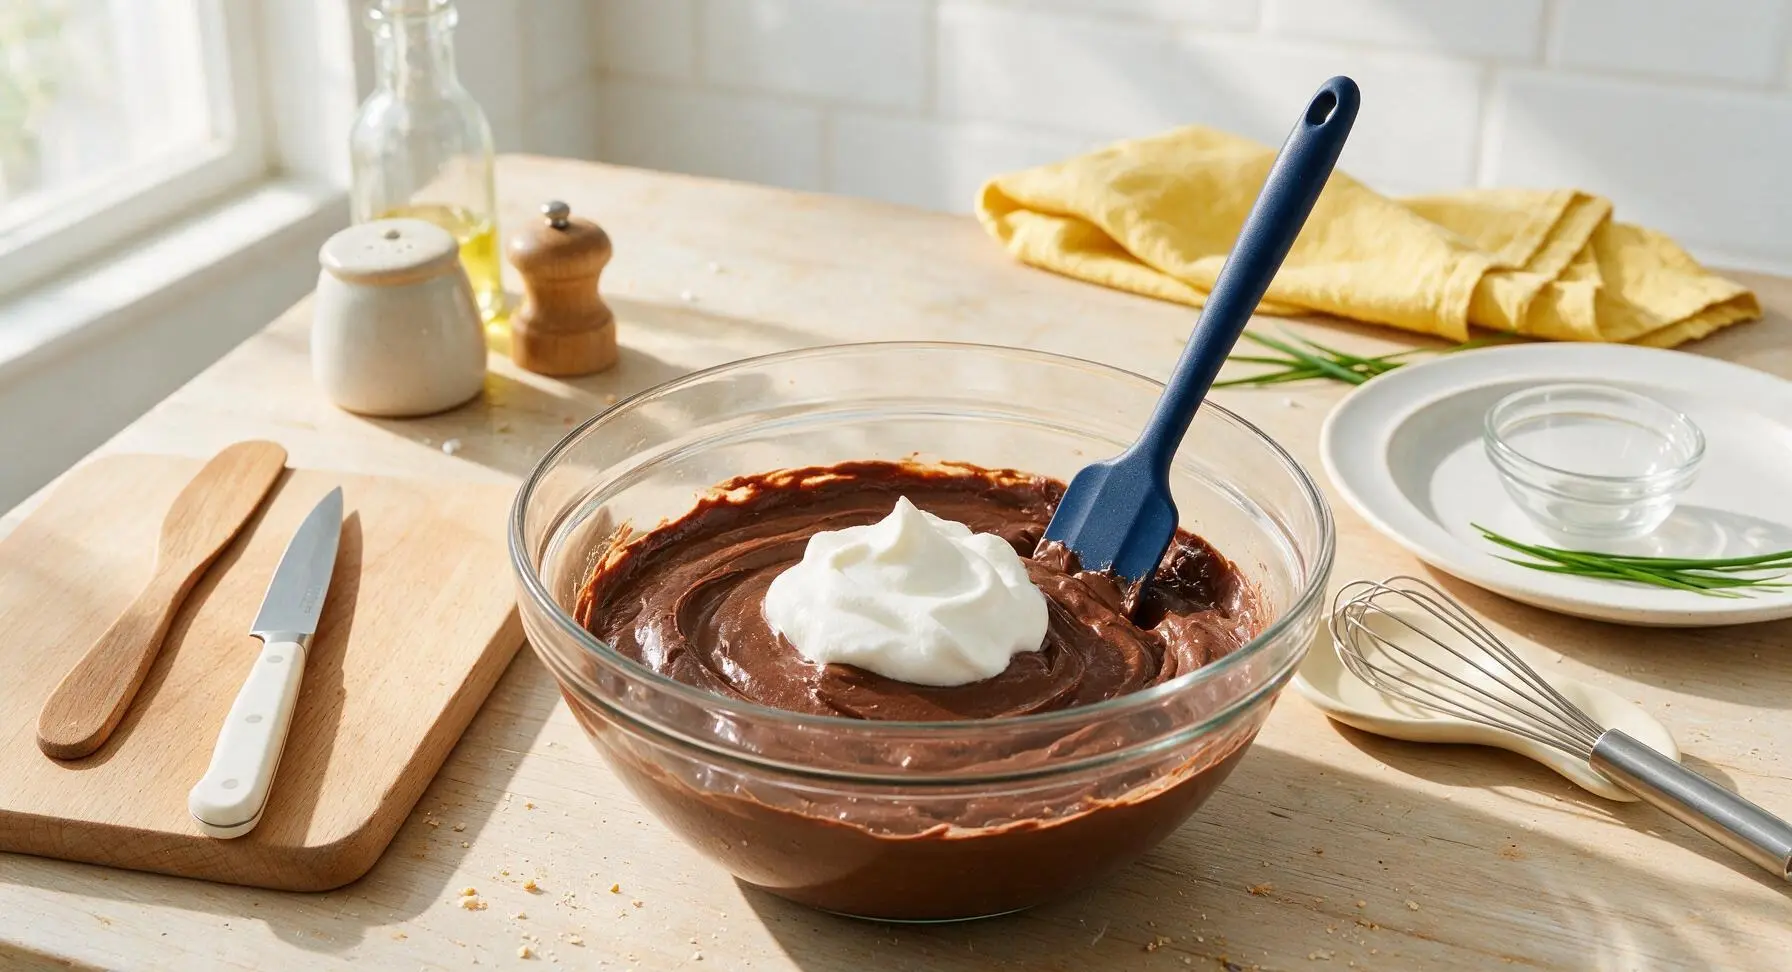
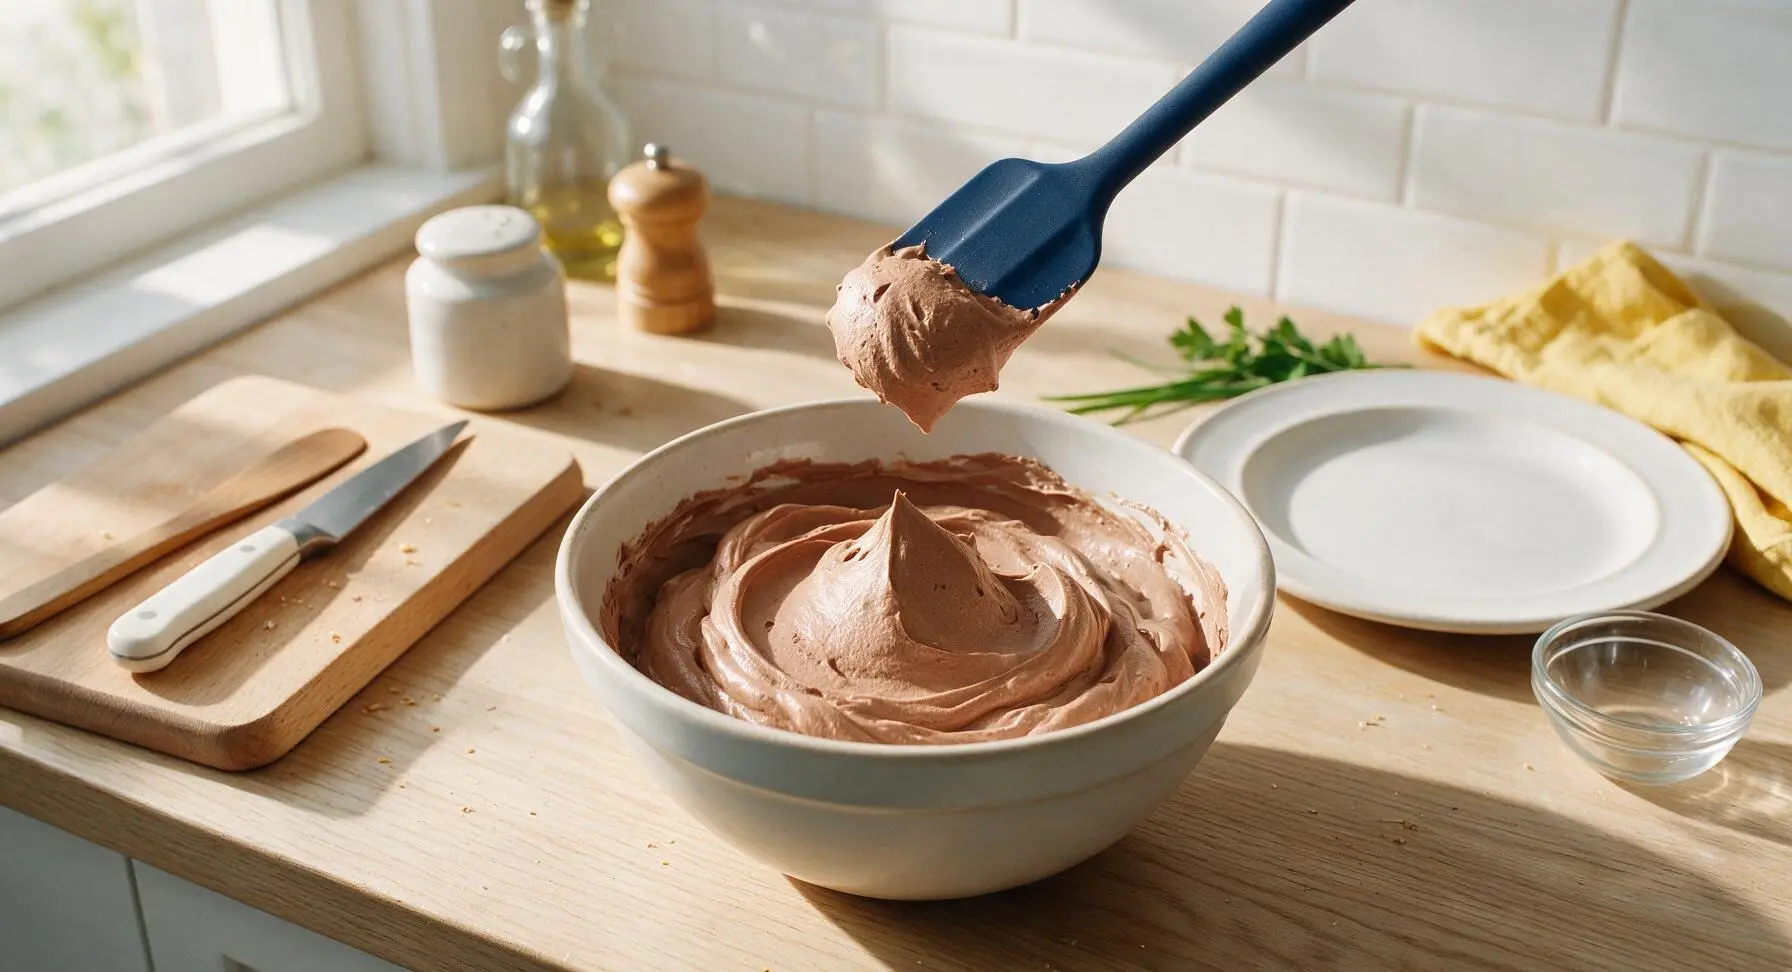
Arrange Serving Cups
Unstack the 6 straight-sided 9oz clear tempered glass tumblers and arrange them in a straight, evenly spaced row across the central work area, leaving 1 inch of space between each cup for easy layering. Open the bag of crushed cookie crumbs and scoop out ½ cup of crumbs, setting them aside in a small pile near the bag opening to reserve for the final top dirt layer.
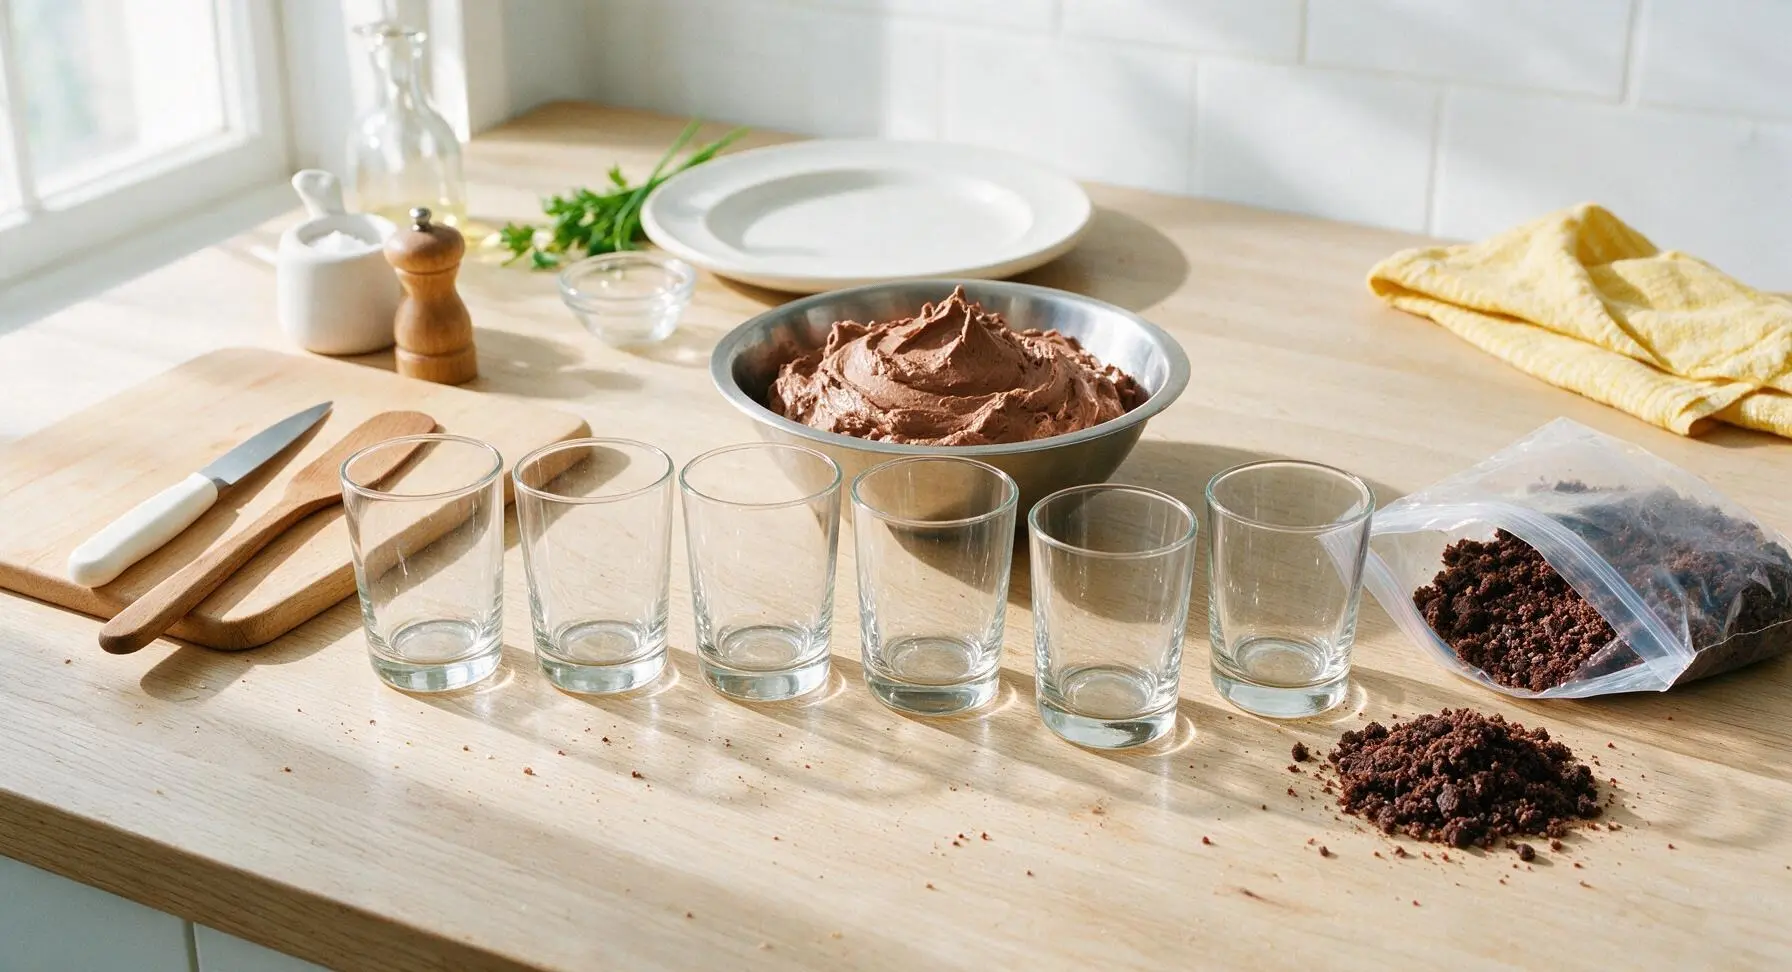
Layer Cups Evenly
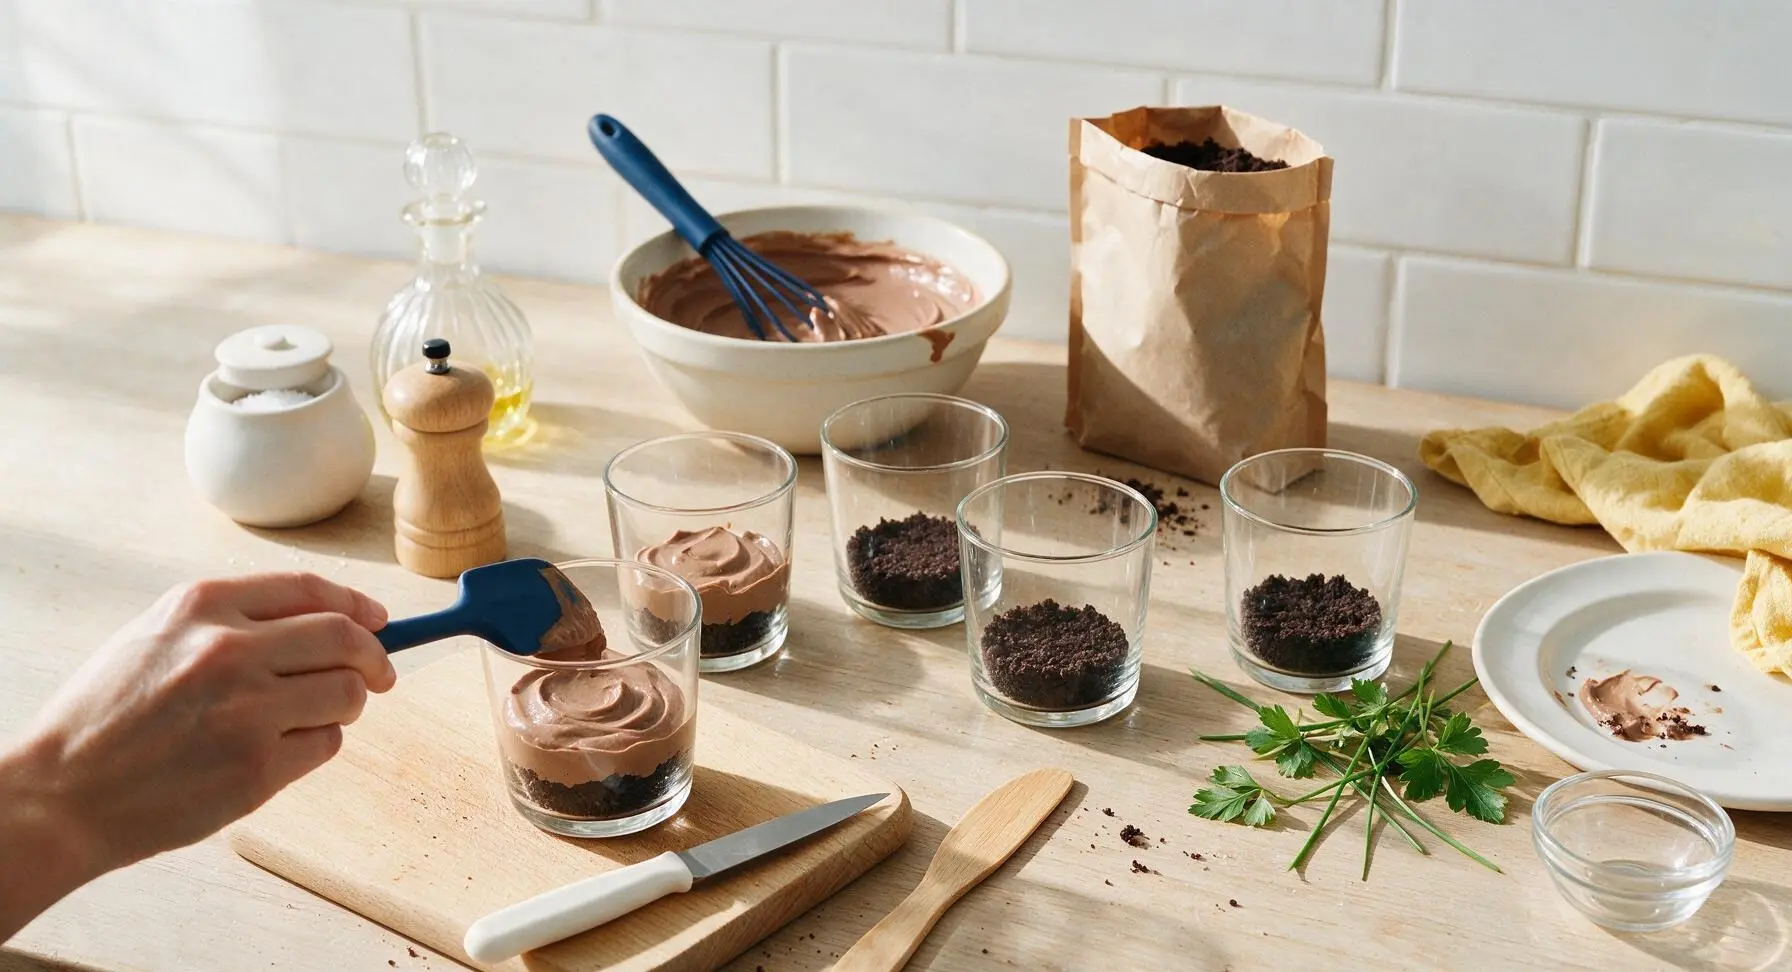
Scoop 1 tablespoon of crushed cookie crumbs into the bottom of each tumbler to form the first dirt layer, tapping the cup gently to settle the crumbs into an even base. Next, add ¼ cup of the light chocolate pudding mixture over the crumbs, spreading it gently with the silicone spatula to create a smooth, even layer that covers the crumbs completely. Repeat with a second 1-tablespoon crumb layer, followed by a second ¼ cup pudding layer, leaving ½ inch of empty space at the top of each cup for the final dirt topping.
Top with Cookie Dirt
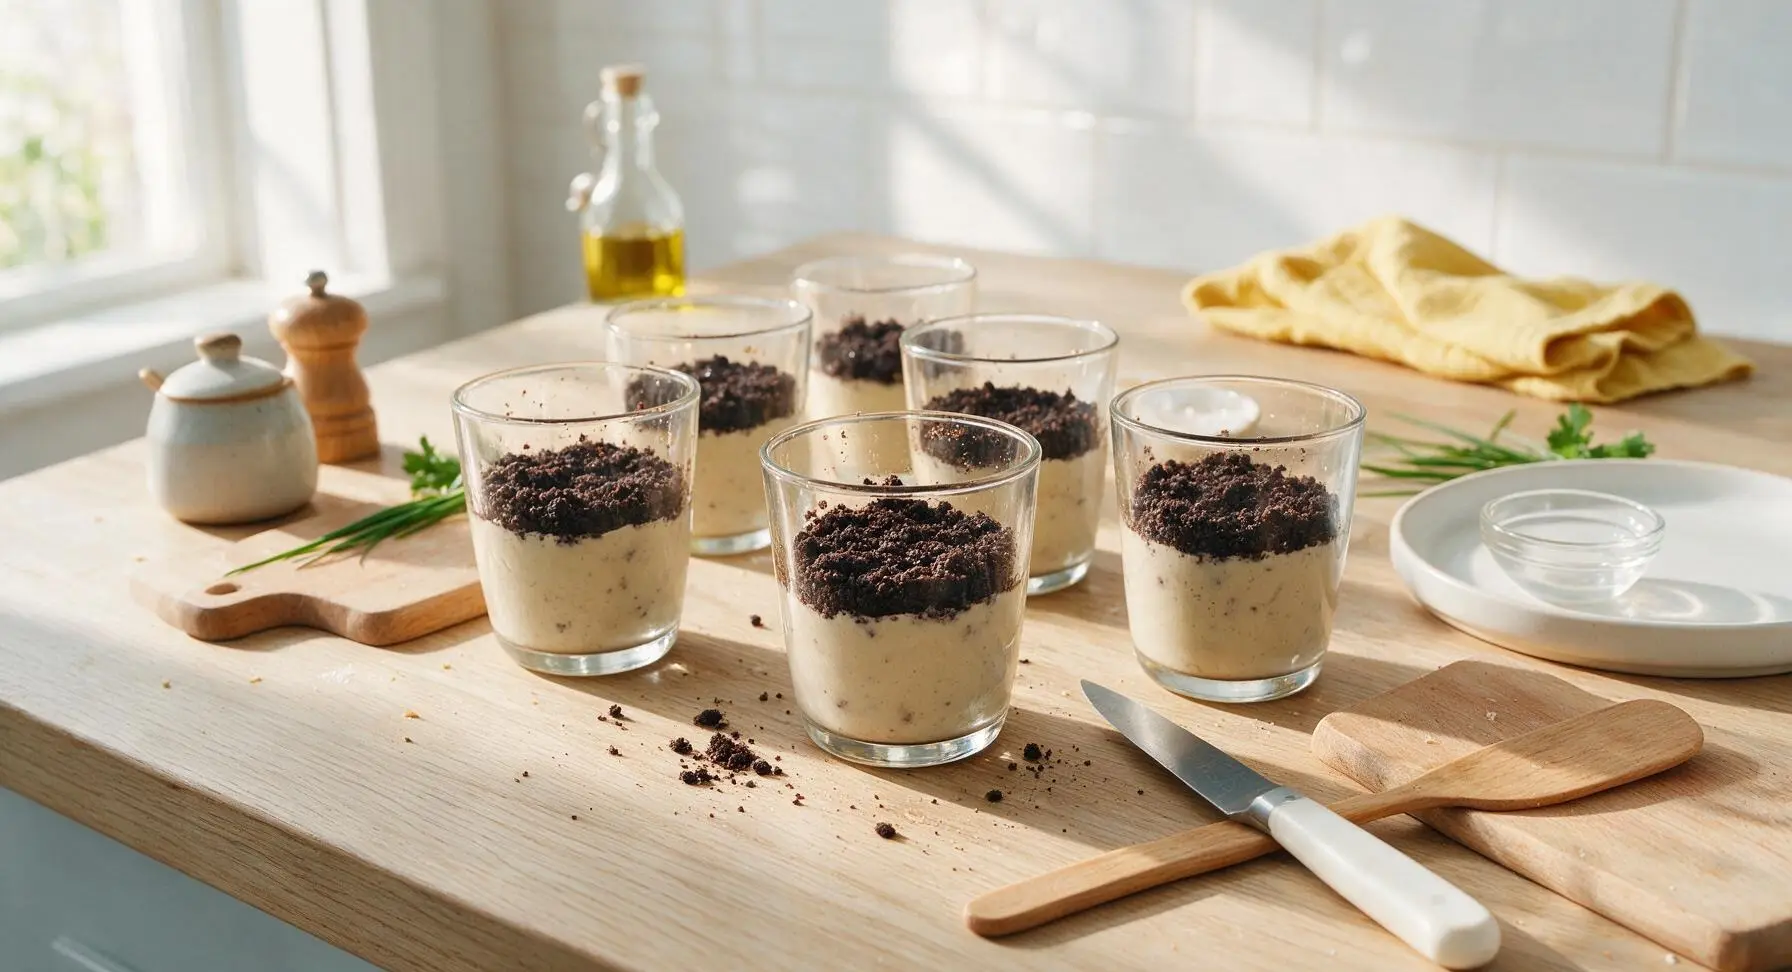
Sprinkle the reserved ½ cup of crushed cookie crumbs evenly over the top pudding layer of each cup, covering the pudding completely. Pat the crumbs very gently with the back of the spatula to create an uneven, loose soil texture—do not press down firmly, as compacted crumbs will look dense and unnatural rather than loose garden dirt. A few crumbs on the cup rims are fine and add to the casual, playful look.
Add Gummy Worm Garnish
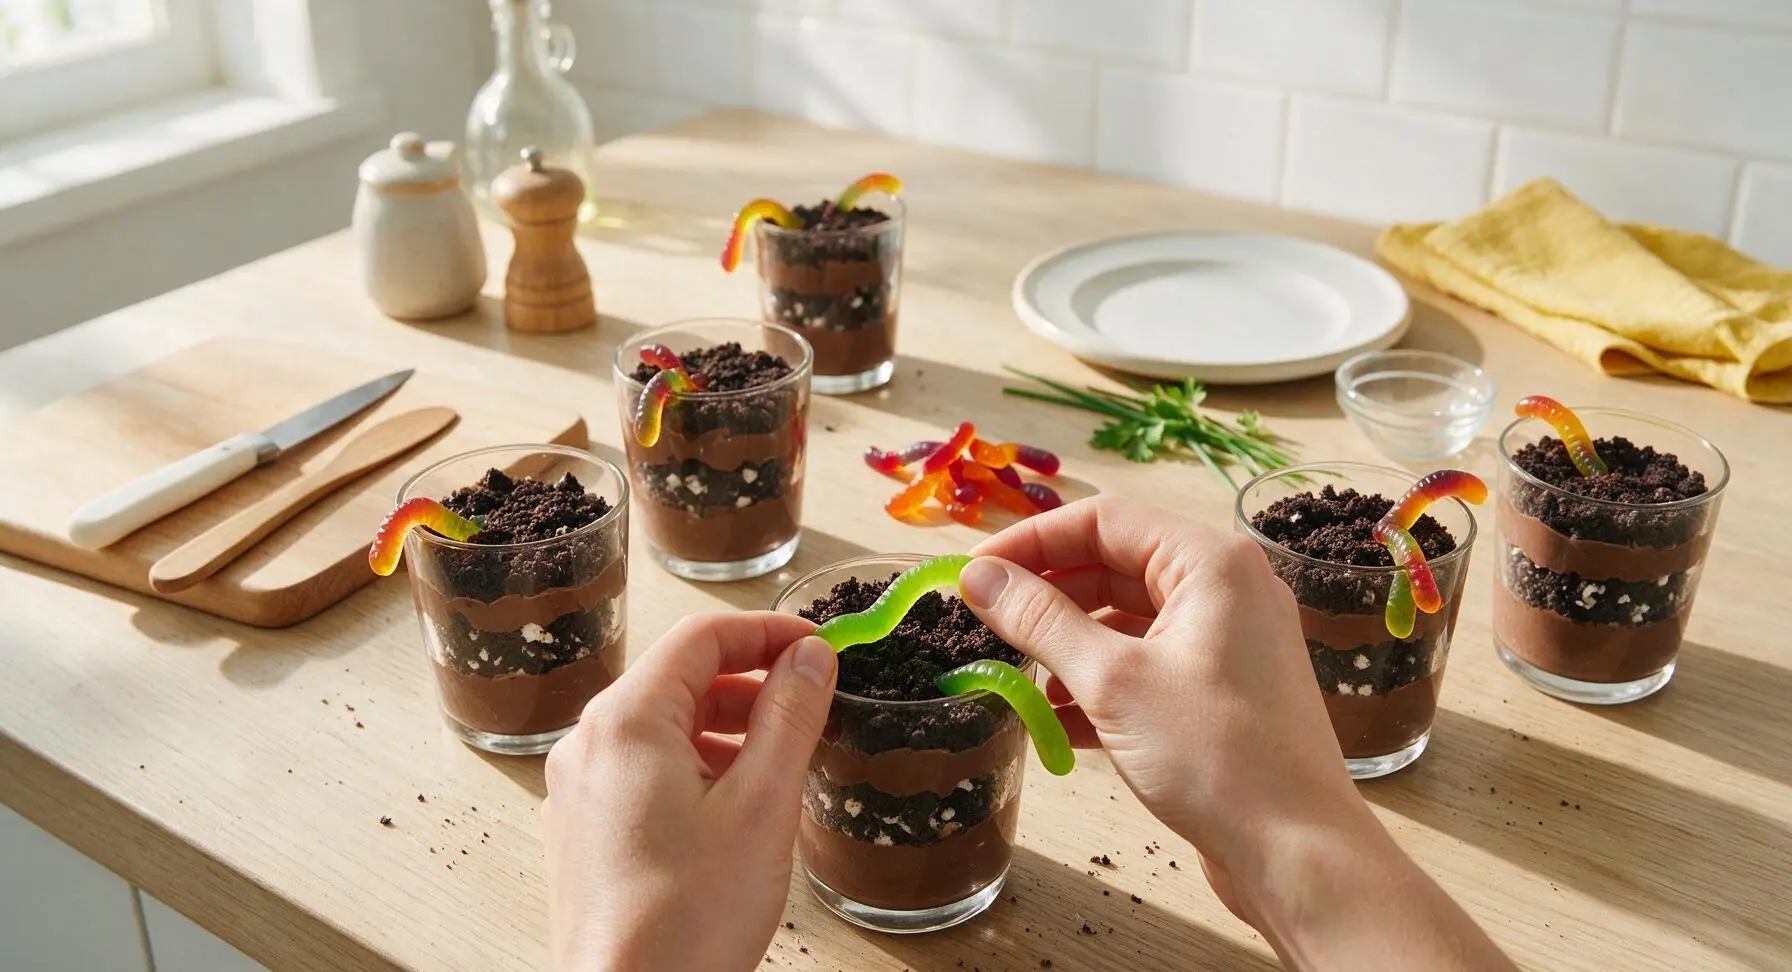
Tuck 2-3 multicolored gummy worms into the top crumb layer of each cup, burying half of each worm under the crumbs so they appear to be wriggling up out of the dirt. Let 1-2 segments of each worm drape casually over the edge of the tumbler for a playful, realistic effect. Mix neon and traditional colored worms for a fun, varied look.
Chill Before Serving
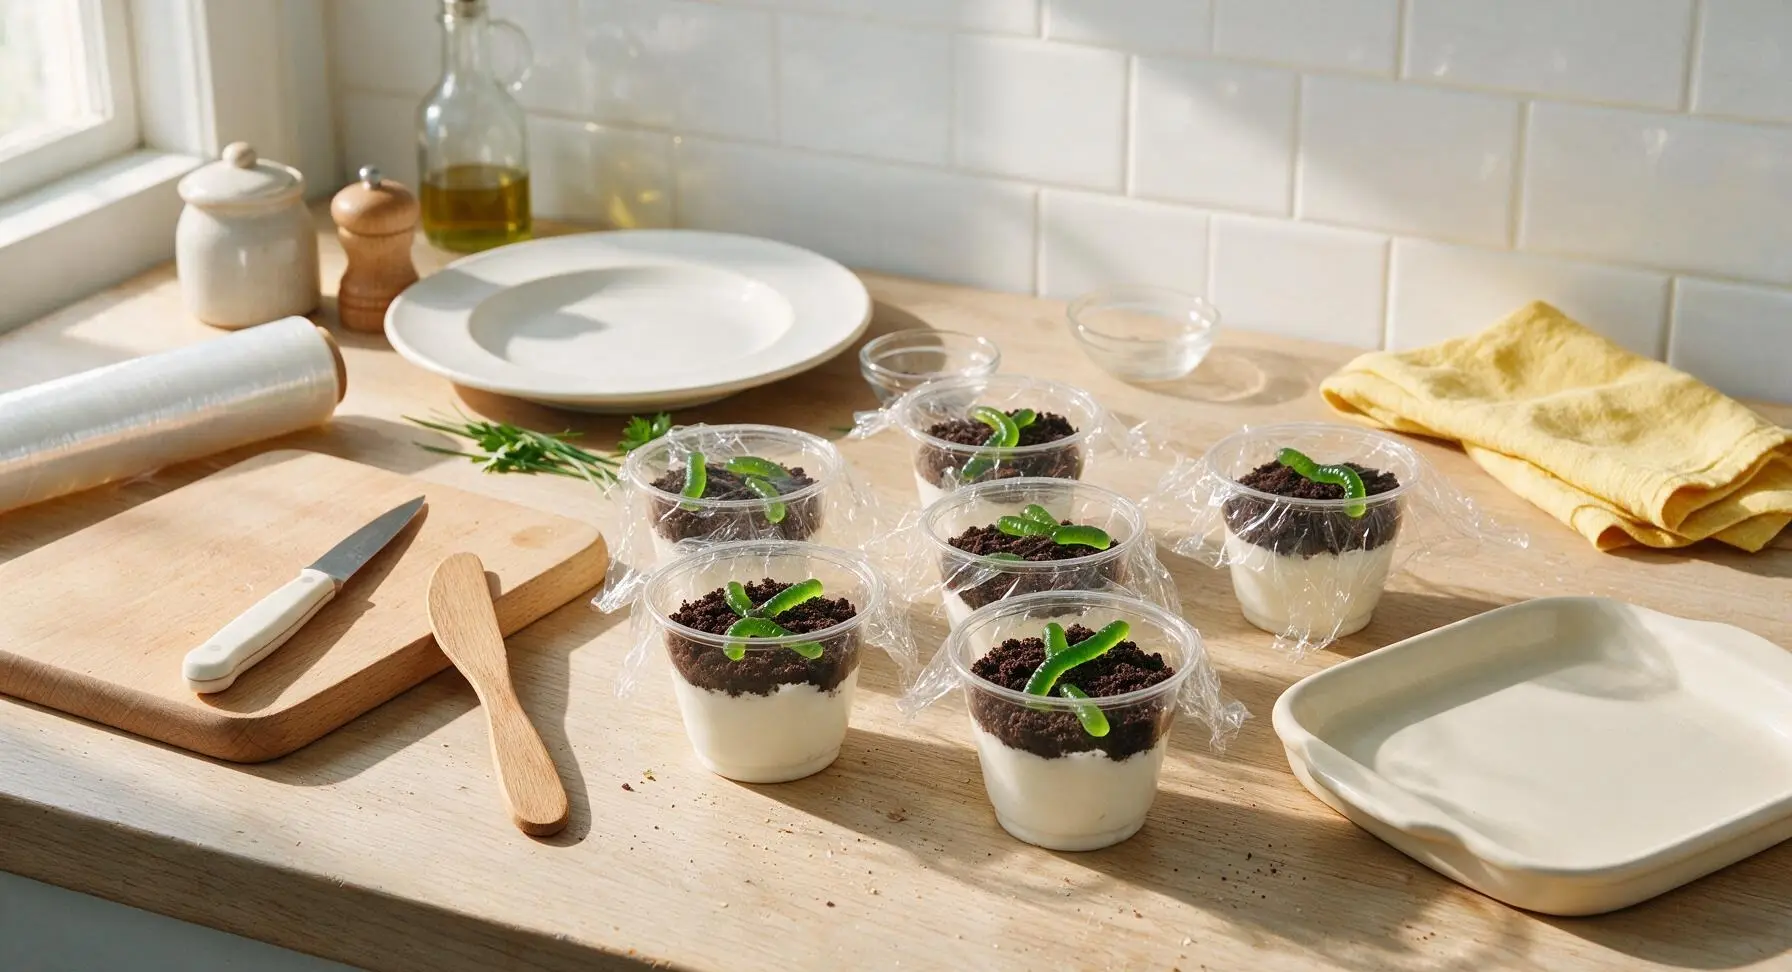
Loosely cover each assembled cup with a small square of clear plastic wrap, then transfer the cups to the refrigerator to chill for a minimum of 2 hours (and up to 24 hours) until the pudding is fully set and the cookie crumbs have softened slightly. When ready to serve, remove the plastic wrap, arrange the cups on the cream white ceramic serving tray, and add a tiny fresh mint sprig to 1-2 cups as a playful "weed" garnish if desired.
Tips
2.Use ice-cold whole milk for the pudding: Cold milk helps instant pudding set faster and creates a richer, thicker consistency that won't seep into the cookie crumb layers and make them soggy before serving. Skim or room-temperature milk will result in a runny, watery pudding.
3.Adjust gummy worm timing for texture: Add worms right before serving if you prefer firm, chewy gummies; tuck them into the crumbs before chilling if you like softer, slightly melt-in-your-mouth worms that blend with the pudding flavor. Avoid adding them more than 24 hours in advance, as they will break down and become mushy.






OMG these were such a game changer for my son’s 2nd grade Halloween class party! I didn’t have to turn the oven on at all, which was perfect because I was running 20 minutes late. The kids went crazy for the gummy worm toppings, even the picky eaters asked for seconds. Will 100% make these every year now!
Made these for my friend’s Halloween potluck last weekend and everyone kept asking who brought the dirt cups! I added extra crushed Oreos on top and a little candy pumpkin on each, so cute. Only thing is I wish I made double the batch, they were gone in 10 minutes flat lmao
Super easy to throw together after work, my 4 year old helped me stir the pudding layer and she was so proud of herself. The 2 hour chill time was perfect, we watched a Halloween movie while we waited and they were ready right when the movie ended. SO good, even I snuck an extra cup after she went to bed.
Wait, quick question—can I make these a full day ahead? I’m hosting a Halloween movie night tomorrow and don’t want to be rushing around right before people show up. Also, does the Oreo crust get soggy if it sits too long?
These were so easy to adapt for my vegan diet! I swapped the regular instant pudding for vegan vanilla pudding, used oat milk, and grabbed vegan gummy worms, they turned out exactly like the ones I had as a kid. My roommates had no idea they were vegan until I told them!
My kids begged me to make these after seeing them on their TikTok FYP, and I’m not gonna lie I was skeptical about no-bake desserts but these slap? I added a little cream cheese to the pudding layer to make it extra rich, total game changer. 10/10
Perfect dorm recipe! No oven needed, only like 5 ingredients, I made these in my mini fridge for my floor’s Halloween social and everyone lost their minds. Way cheaper than buying a pre-made dessert from the campus bakery, too.
Made these last night for family dinner and my husband said they’re better than the dirt cups his mom used to make when he was a kid lmao. I used chocolate pudding instead of vanilla and it was bomb. The only note is I’d maybe add more gummy worms next time, you can never have too many.
Brought these to the office Halloween potluck today and I already had three coworkers text me for the recipe before I even left work. So easy to transport in those little clear plastic cups, no messy serving required. Total win for anyone who hates slaving over potluck dishes.
I was looking for a super easy Halloween treat for my toddler’s playgroup and these were perfect. No weird ingredients, no baking, I even let the toddlers add their own gummy worm toppings which kept them occupied for 20 whole minutes. Worth every penny for the ingredients, will be making these again for sure.
Quick heads up for my GF folks—if you use gluten free chocolate sandwich cookies instead of regular Oreos, these are 100% gluten free! I made them for my celiac best friend’s Halloween party and everyone loved them, no one could tell the cookies were GF. So happy to have an easy Halloween treat I can eat too!
Y’all, I burned the last three Halloween treats I tried to make (don’t ask) so I was on the hunt for literally anything that didn’t require an oven. These were foolproof. Even I couldn’t mess them up. They look way fancier than they are, my girlfriend thought I spent hours on them lmao
I’ve been making dirt cups with my grandkids every Halloween for over 20 years, and this recipe is exactly the classic version I remember. No fancy extra steps, just simple, tasty fun. The grandkids loved adding spooky candy eyeballs to the tops this year, said the cups were 'watching them' while they ate.
I prepped these on Sunday for my kids’ after school snacks all week and they held up great! I kept them in individual sealed containers in the fridge, added the crumbs and worms the night before, and they were perfect every day. Way better than the processed pre-packaged snacks they usually beg for.