
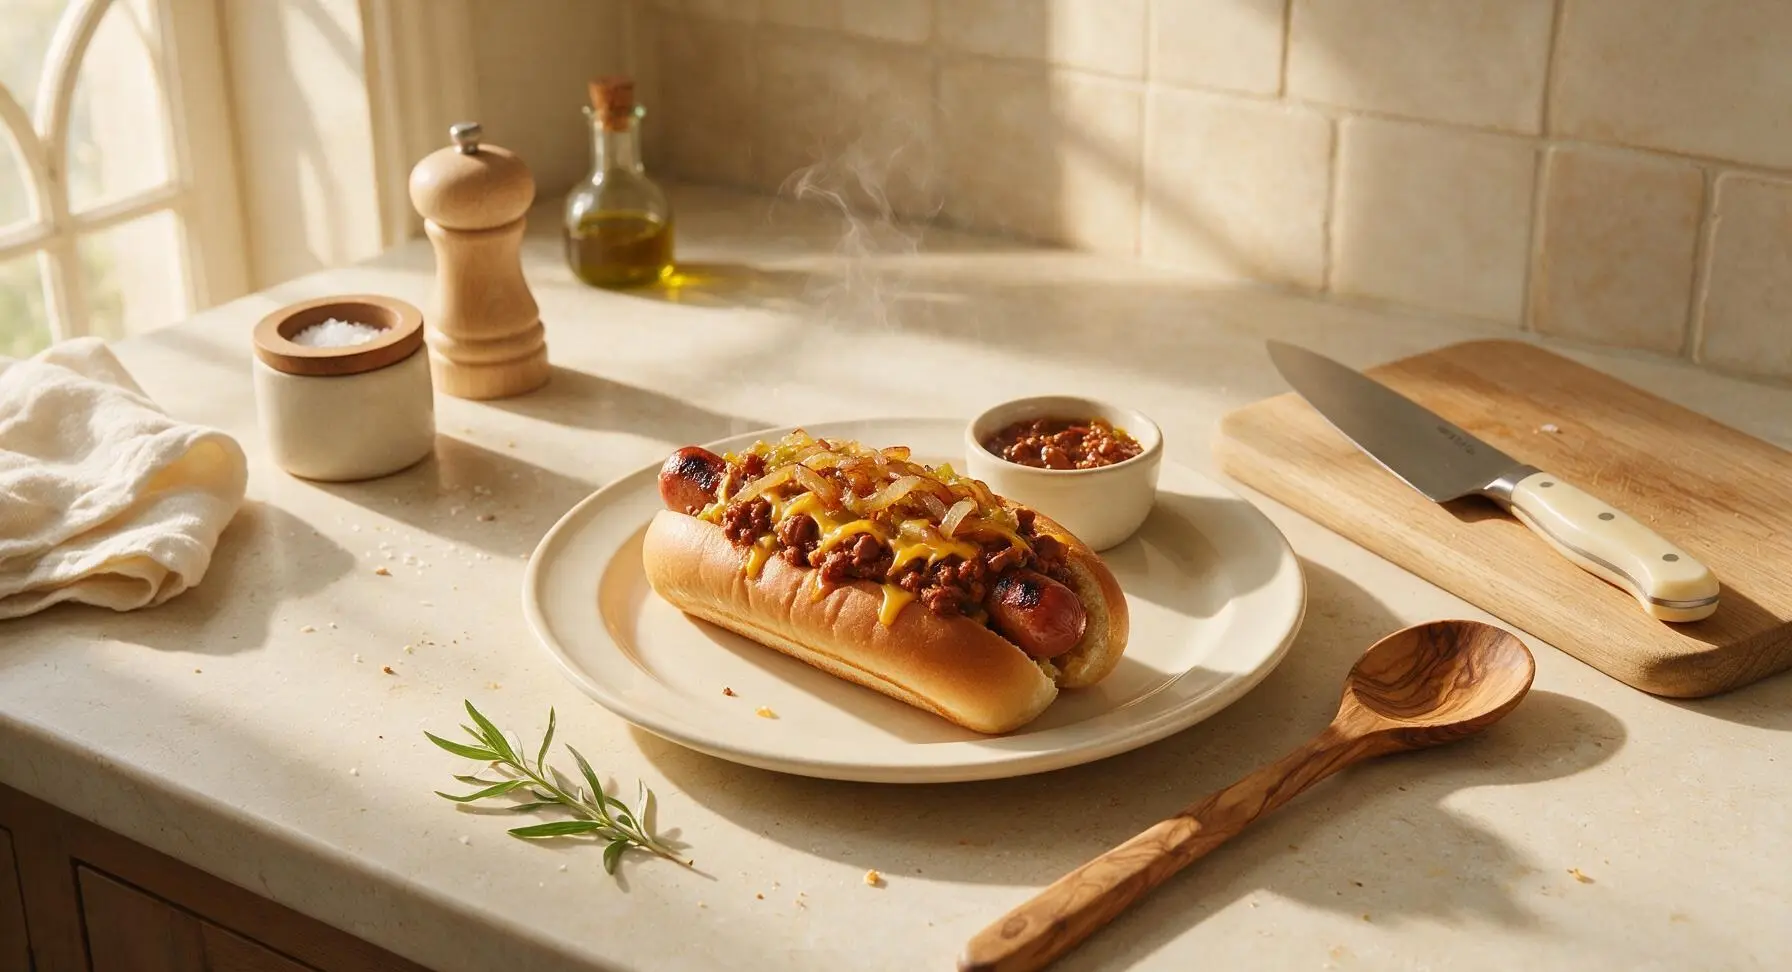
dirty hot dog

title 1
dirty hot dog
⏱️ cook time 20 minutes
🍽️ servings 4
⚡ Difficulty easy

intro

Juicy char-grilled all-beef hot dogs piled high with no-bean chili, melted cheddar, caramelized onions, and tangy relish: the messy, iconic street-style bite built for casual, hands-on eating.

Ingredients
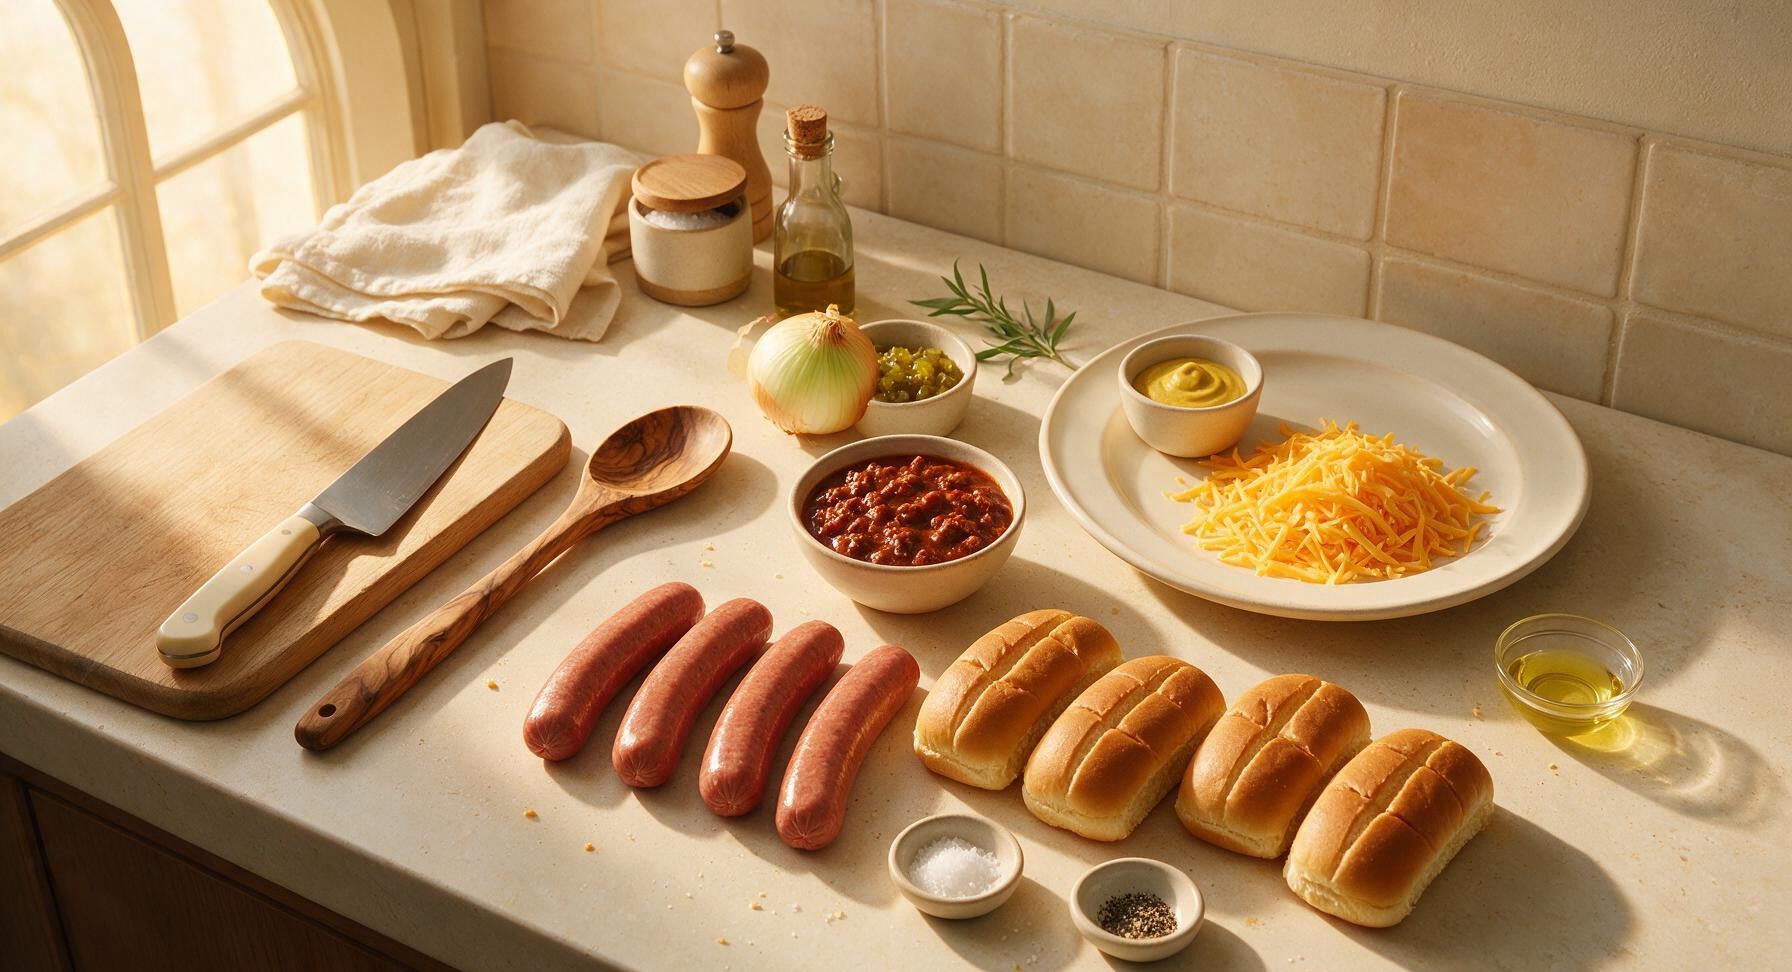
Natural-casing all-beef hot dogs 4 links (450g total)
Split-top brioche hot dog buns 4 count
No-bean beef chili 1.5 cups (360ml)
Sharp cheddar cheese, shredded 1 cup (110g)
Yellow onion 1 medium (150g)
Dill pickle relish 1/4 cup (60g)
Yellow mustard 2 tbsp
Kosher salt 1/2 tsp
Freshly ground black pepper 1/4 tsp
Neutral canola oil 1 tsp

Steps

1

Preheat Grill Pan

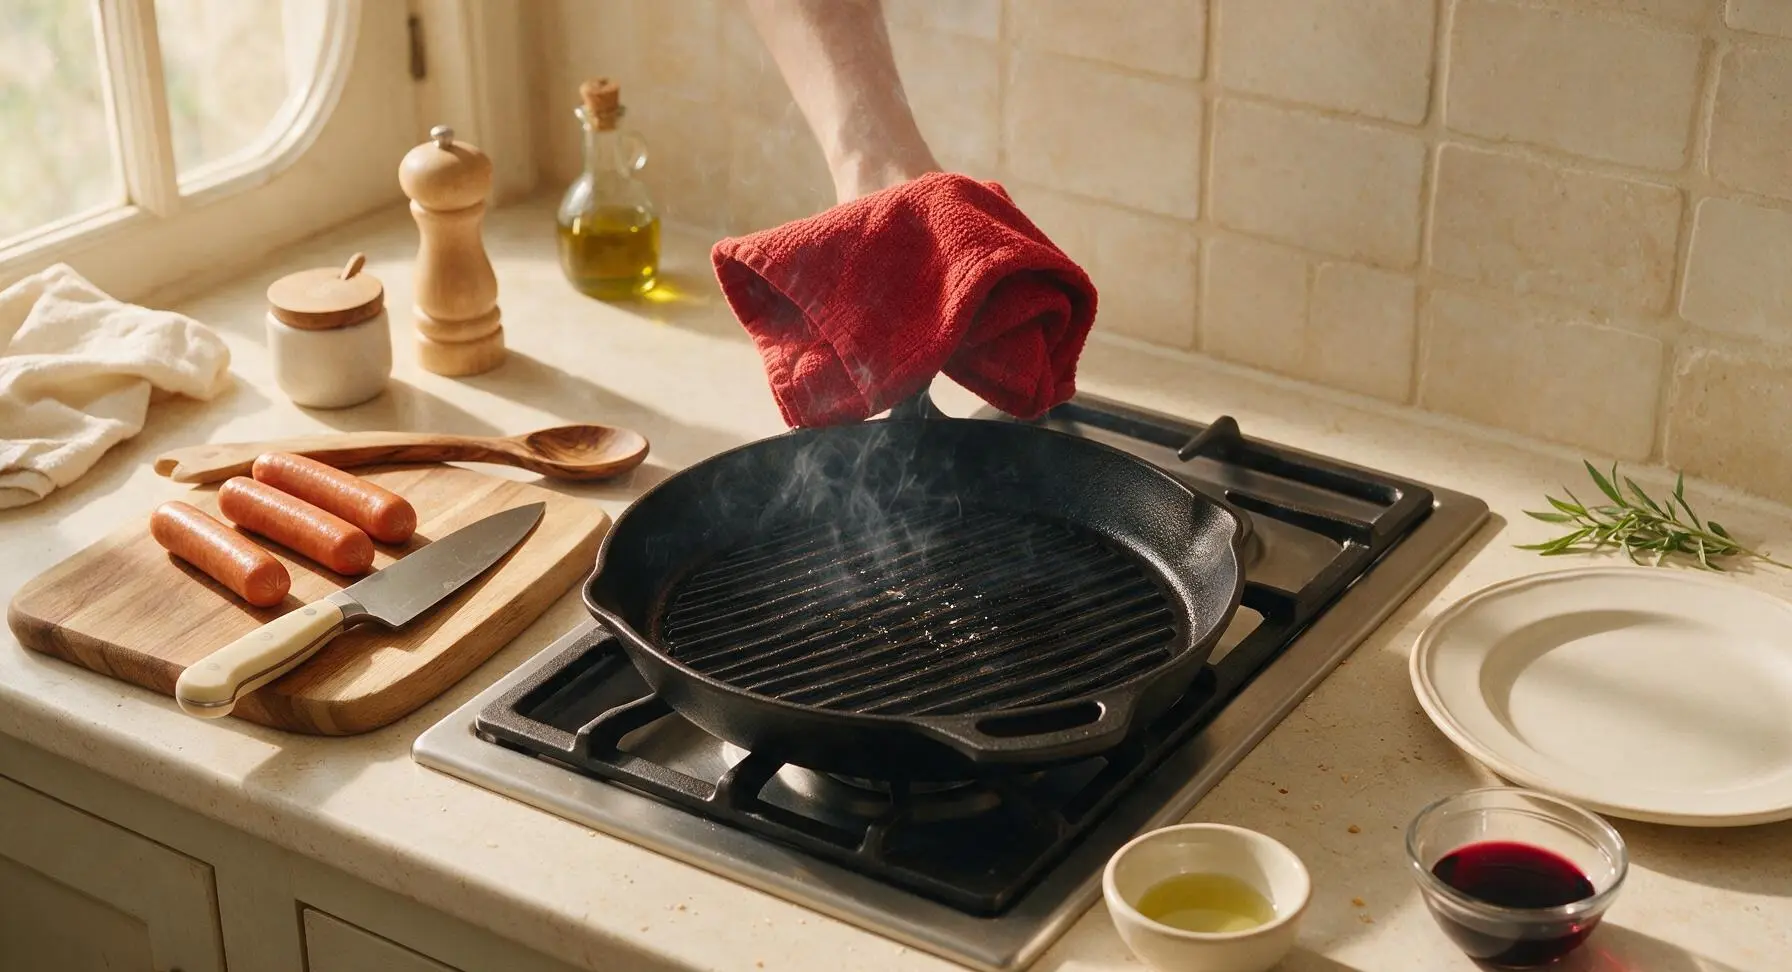
Place the 12-inch cast iron grill pan on the center stovetop burner, turn heat to medium-high, and let preheat for 5 minutes until the surface is faintly smoking. Add 1 tsp neutral canola oil, and use a folded corner of the red kitchen towel to wipe a thin, even coat across the pan ridges. The pan is ready when a drop of water sizzles and evaporates instantly on contact.
Step 1
step1:Preheat Grill Pan
2

Caramelize Sliced Onions

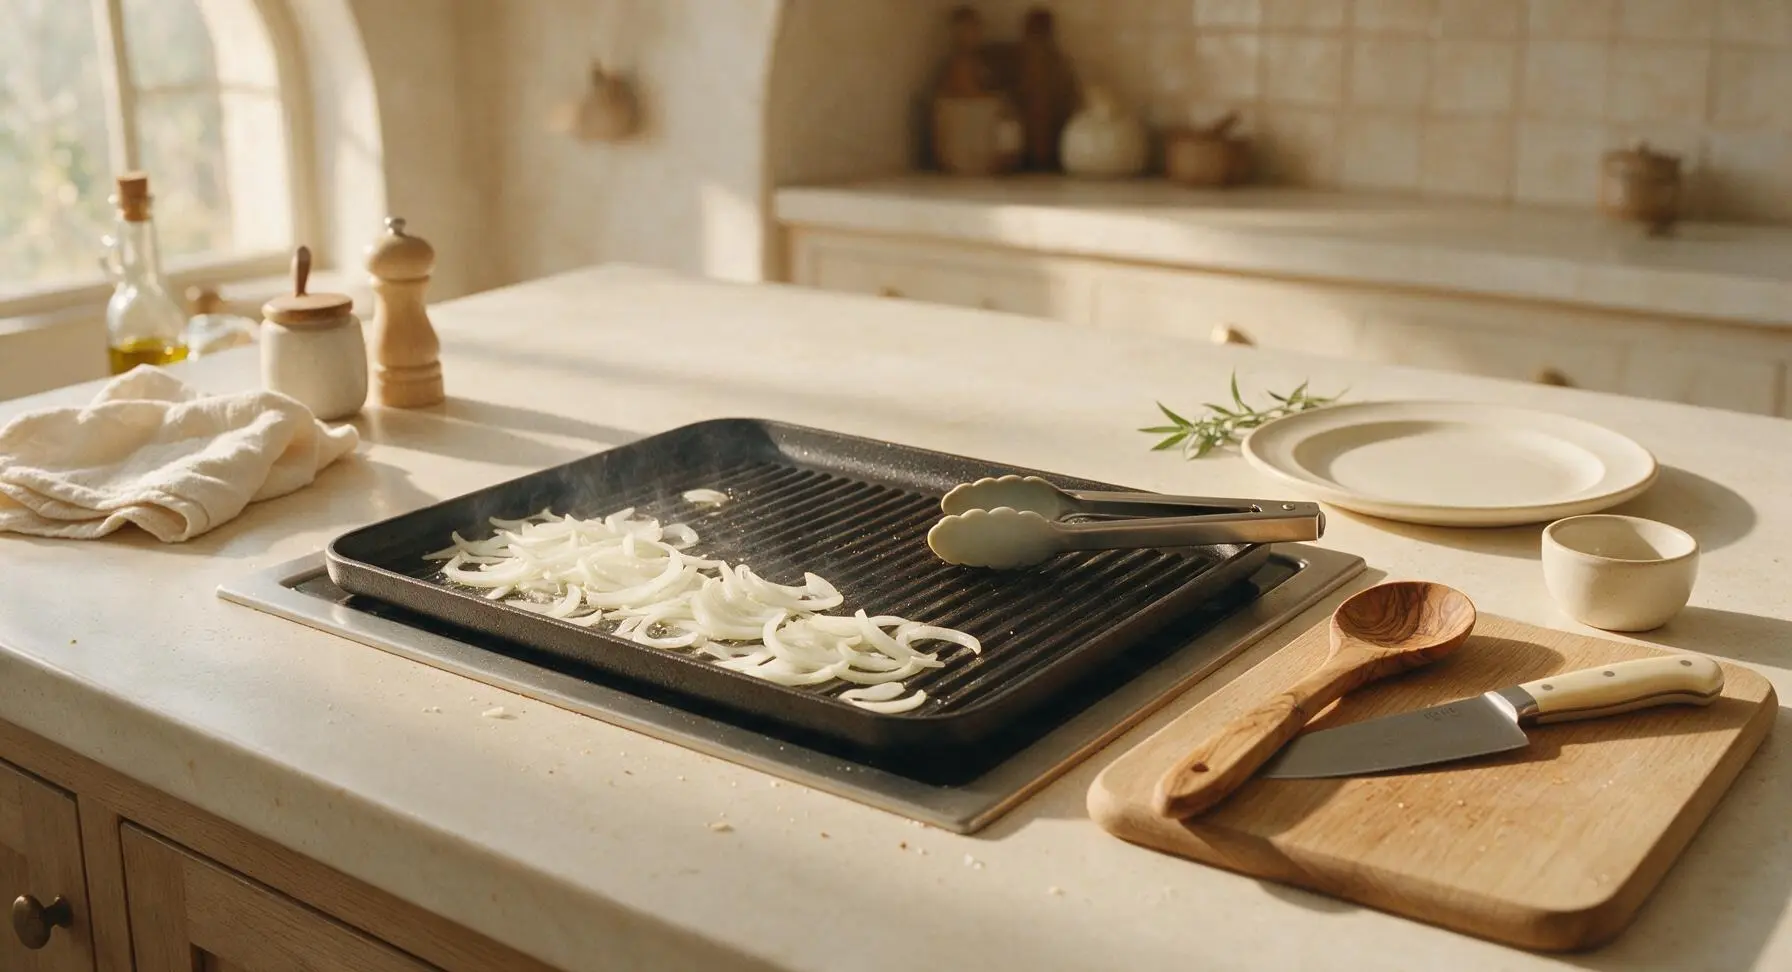
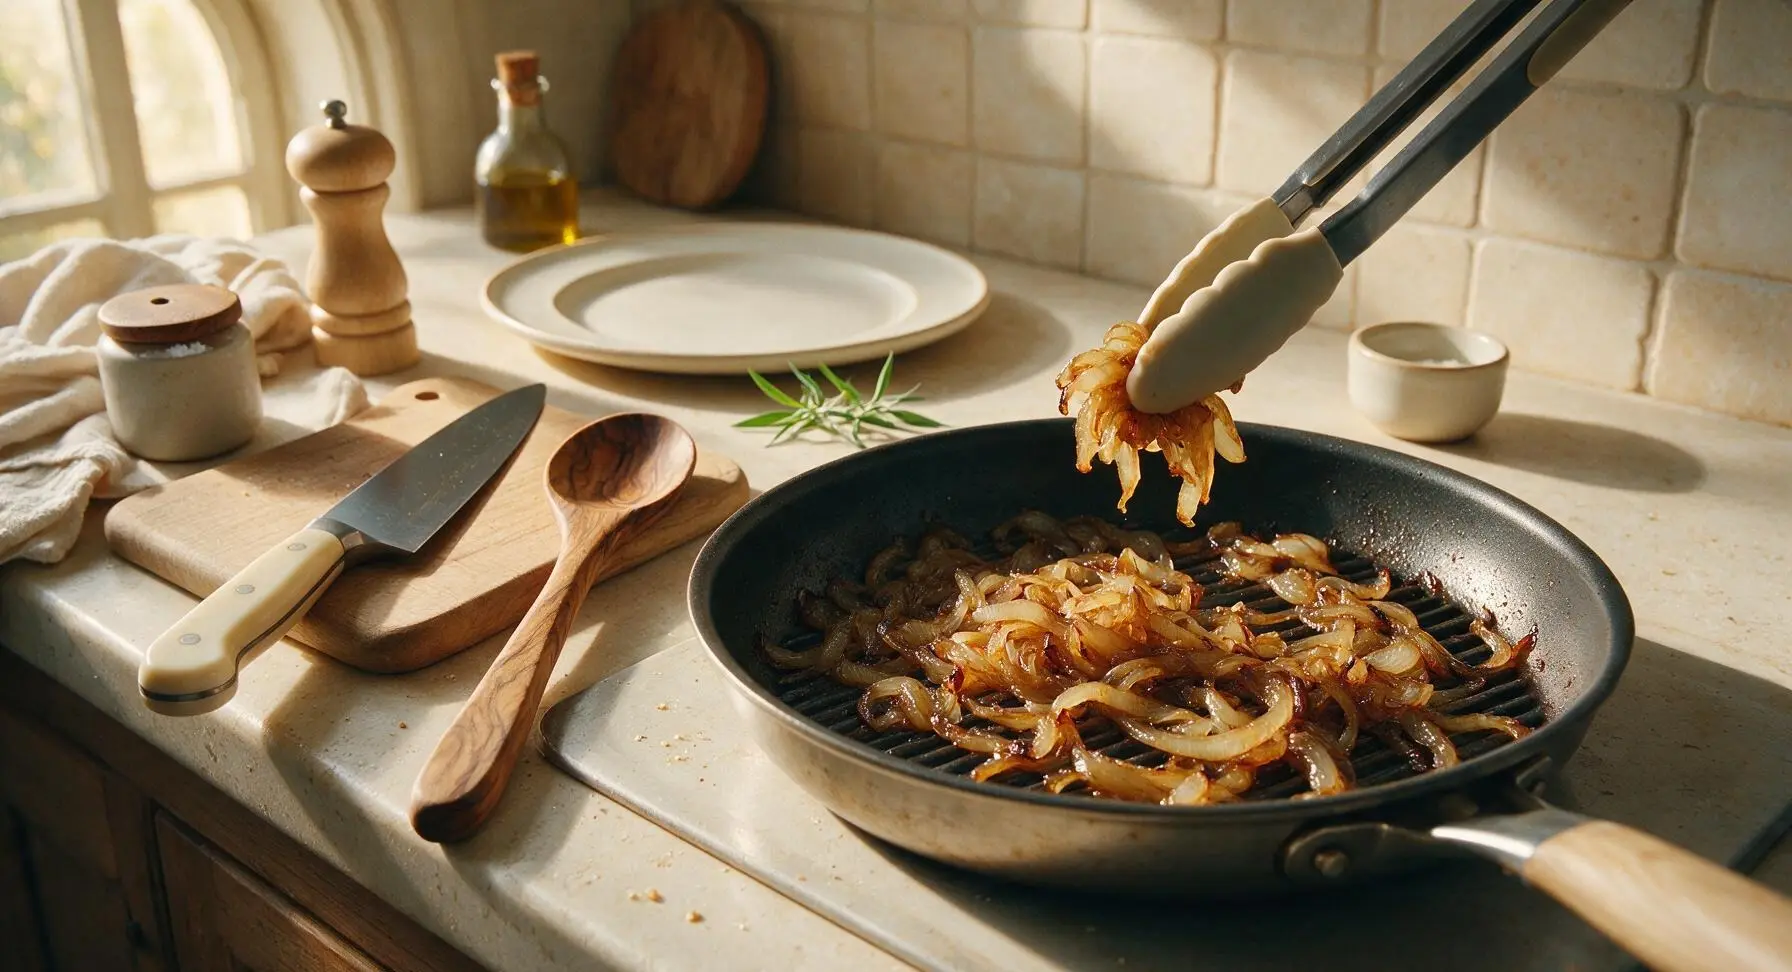
Push the preheated grill pan slightly to the right of the center burner to create a cooler cooking zone on the left side of the pan. Add the thinly sliced yellow onion (sliced during prep) to the cooler zone, season with 1/4 tsp kosher salt, and cook for 8 minutes over medium heat, stirring occasionally with the silicone-tipped tongs, until onions are soft, deep golden, and slightly crisp at the edges. Transfer cooked onions to a small glass bowl and set beside the cream-white serving plate.
Step 2
step2:Caramelize Sliced Onions
Step 2
step2:Caramelize Sliced Onions
3

Grill All-Beef Hot Dogs

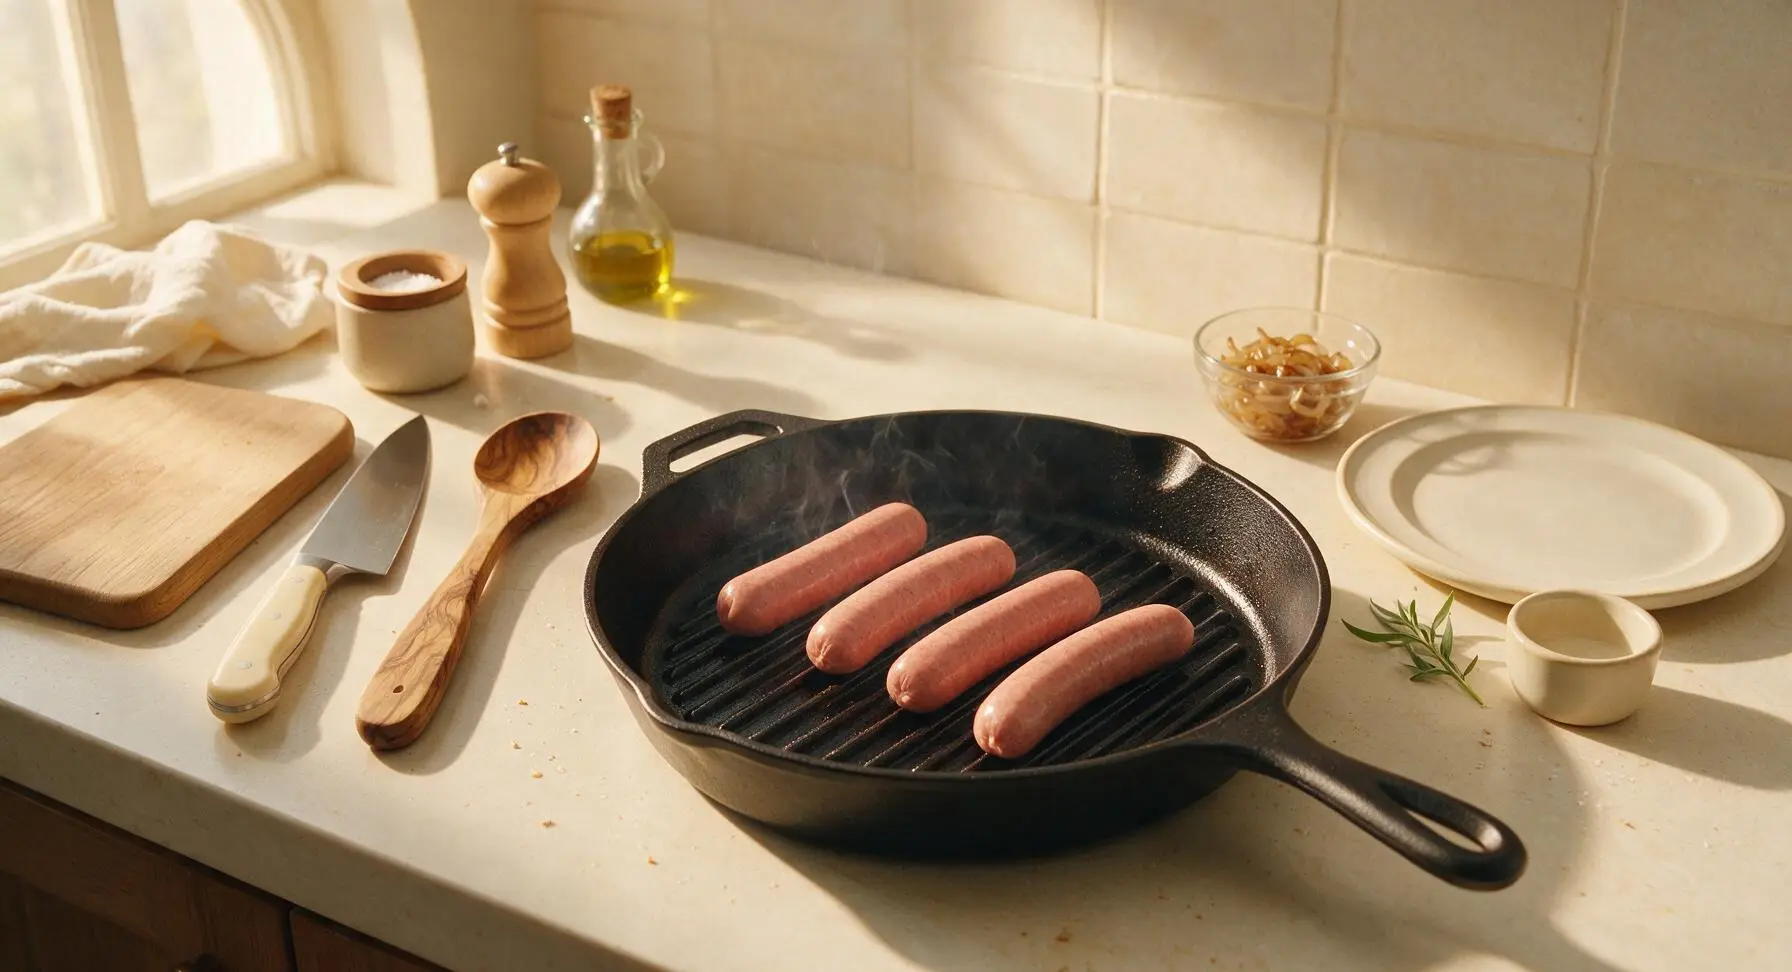
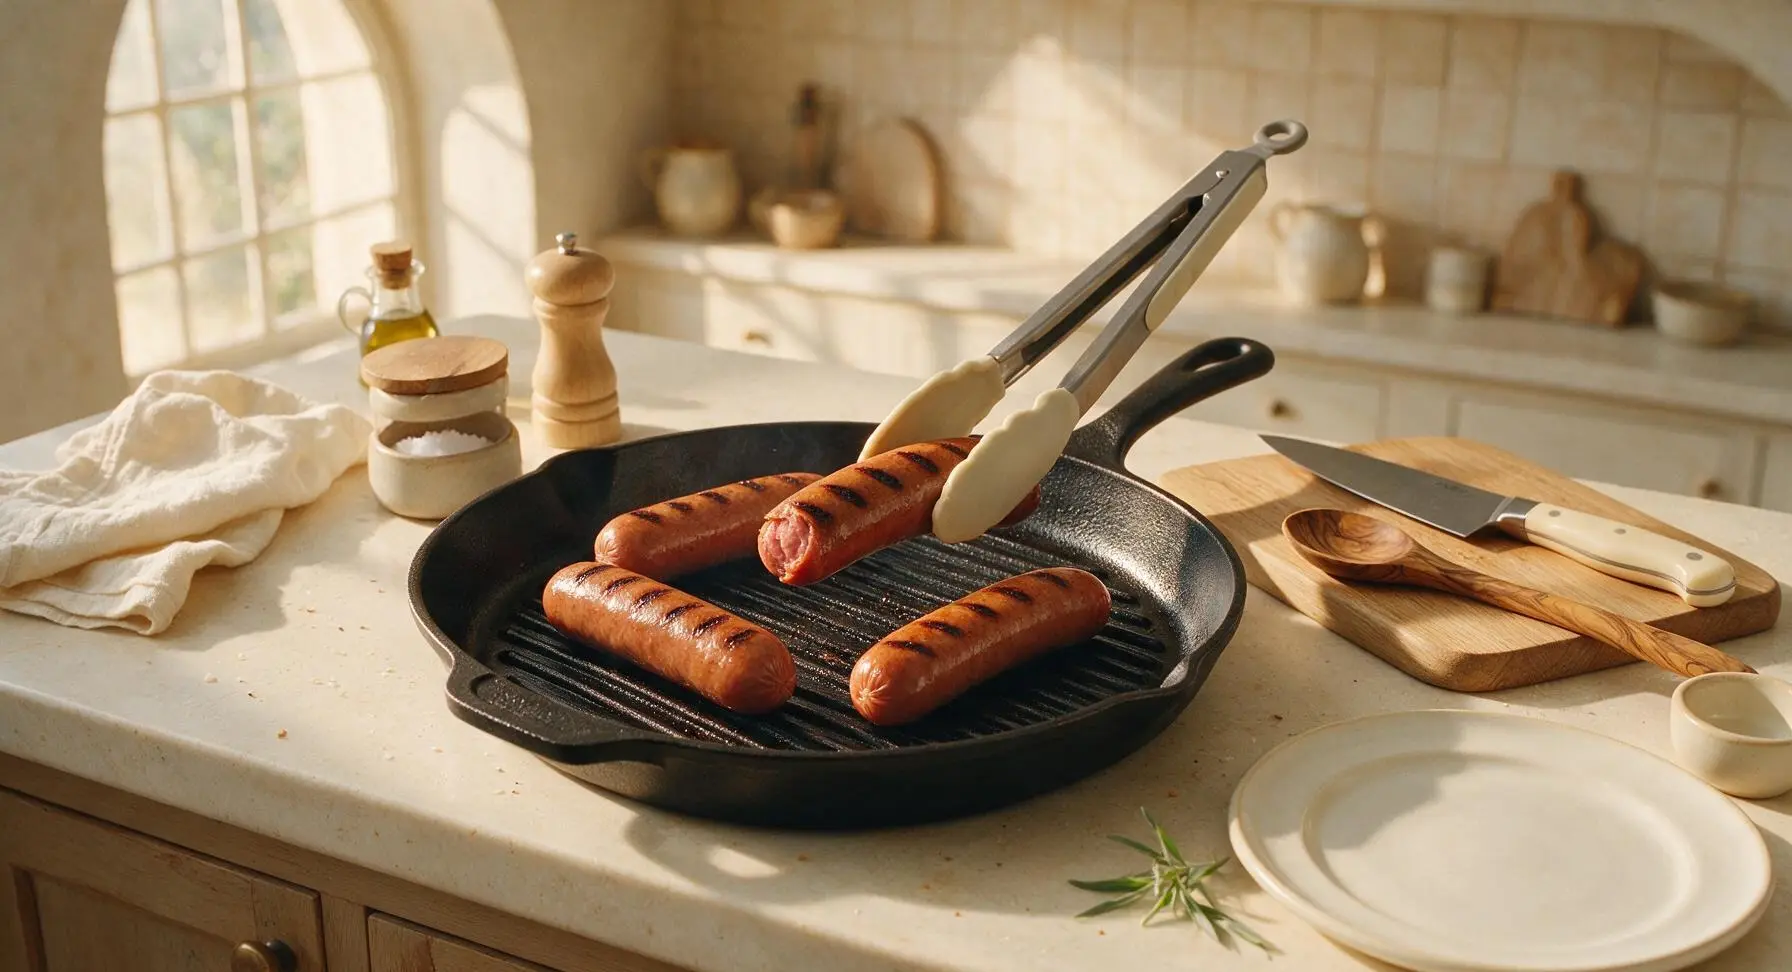
Return the grill pan to direct medium-high heat. Place the 4 natural-casing all-beef hot dogs directly on the hot ridged surface. Cook for 6 minutes total, turning every 90 seconds with the tongs, until the casings are crisp, deep golden char marks appear on all sides, and the hot dogs are plump and slightly split at the ends. Internal temperature should reach 160°F (71°C) for food safety.
Step 3
step3:Grill All-Beef Hot Dogs
Step 3
step3:Grill All-Beef Hot Dogs
4

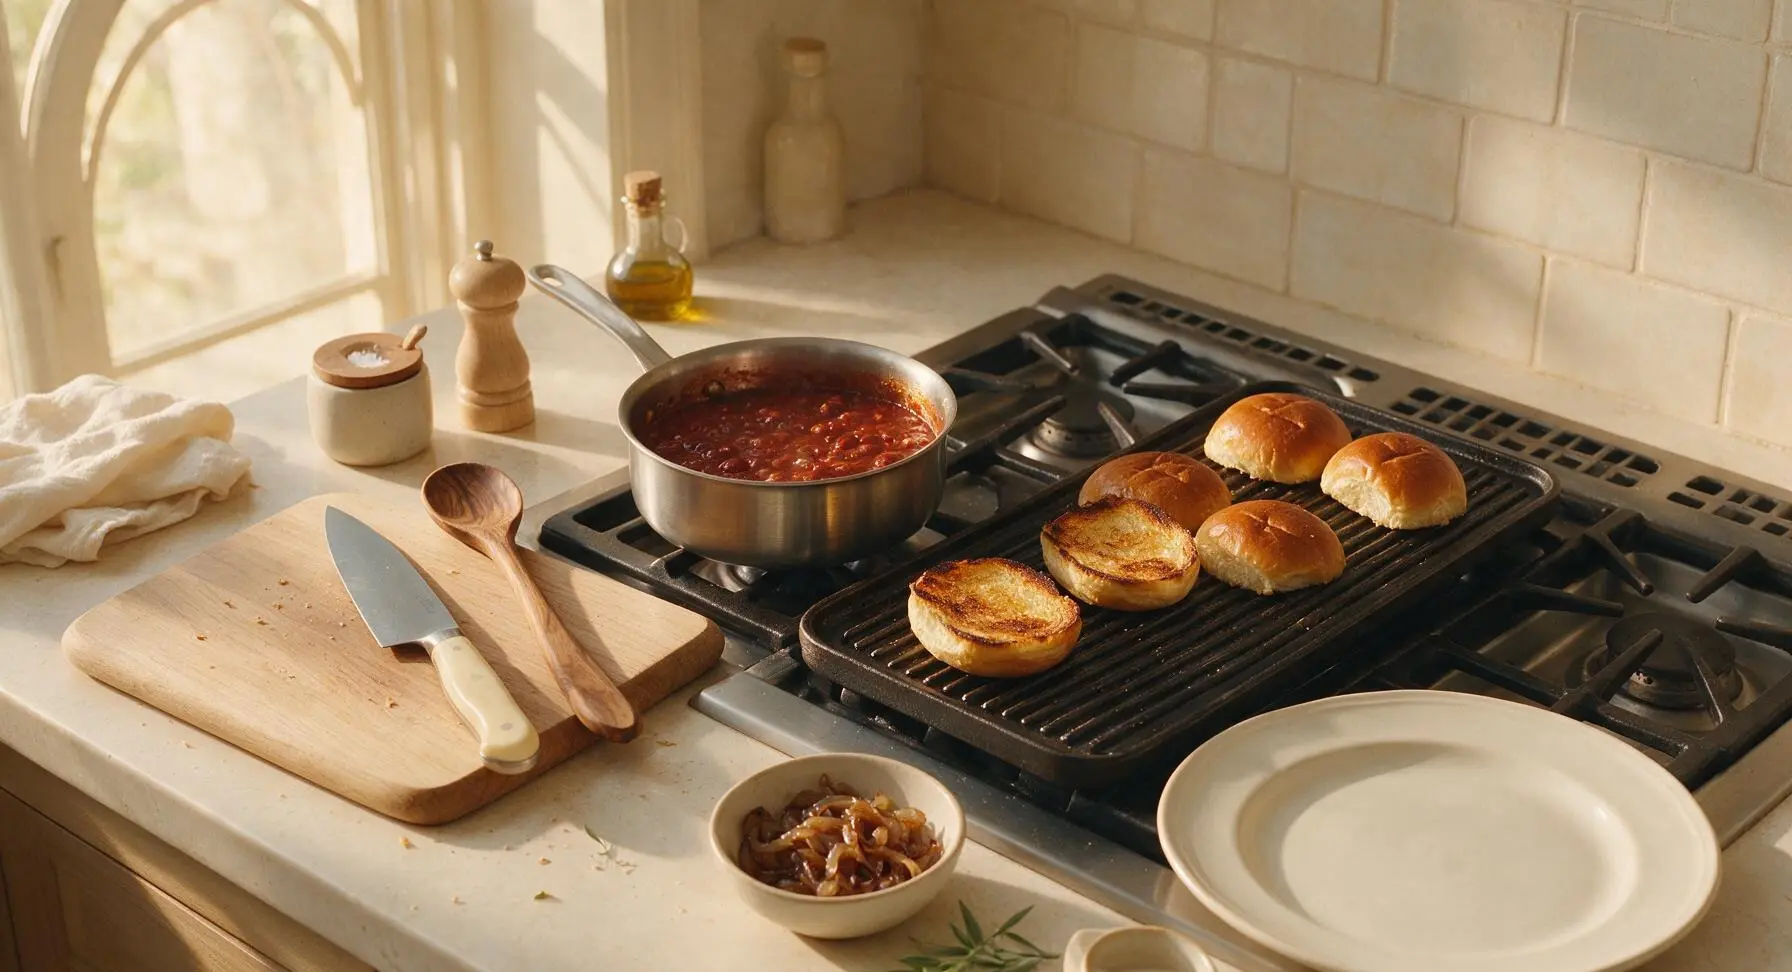
Toast Brioche Buns

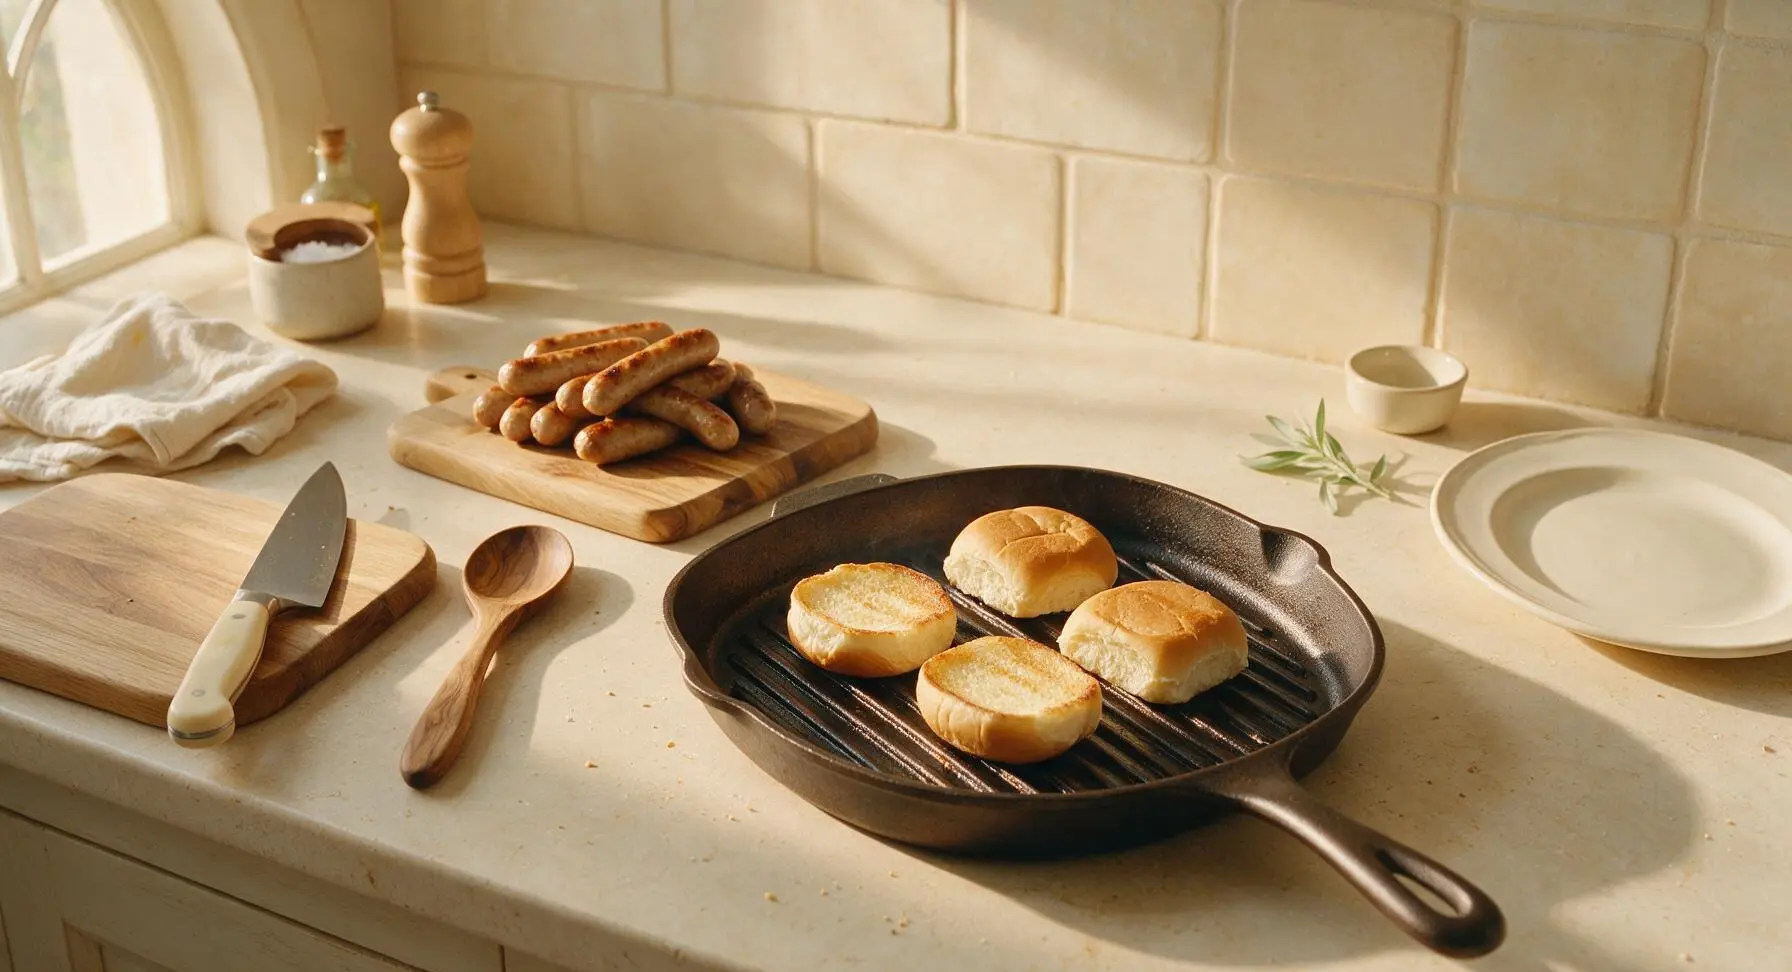
Once hot dogs are fully cooked, transfer them to the acacia cutting board temporarily. Place the split brioche buns cut-side down on the still-hot grill pan ridges, toasting for 45 to 60 seconds until the cut surface is light golden with faint grill marks, and the bun is warm and slightly crisp on the inside, still soft on the outer crust. Do not toast too long, or the buns will become hard and difficult to pile toppings on.
Step 4
step4:Toast Brioche Buns
5

Warm Beef Chili

While the buns toast, pour the no-bean beef chili into the small 16cm stainless steel saucepan, place on the left rear stovetop burner over medium-low heat. Cook for 3 minutes, stirring occasionally with the serving spoon, until the chili is bubbling gently around the edges and fully heated through, about 165°F (74°C). Stir in the remaining 1/4 tsp kosher salt and 1/4 tsp black pepper to taste.
Step 5
step5:Warm Beef Chili
6

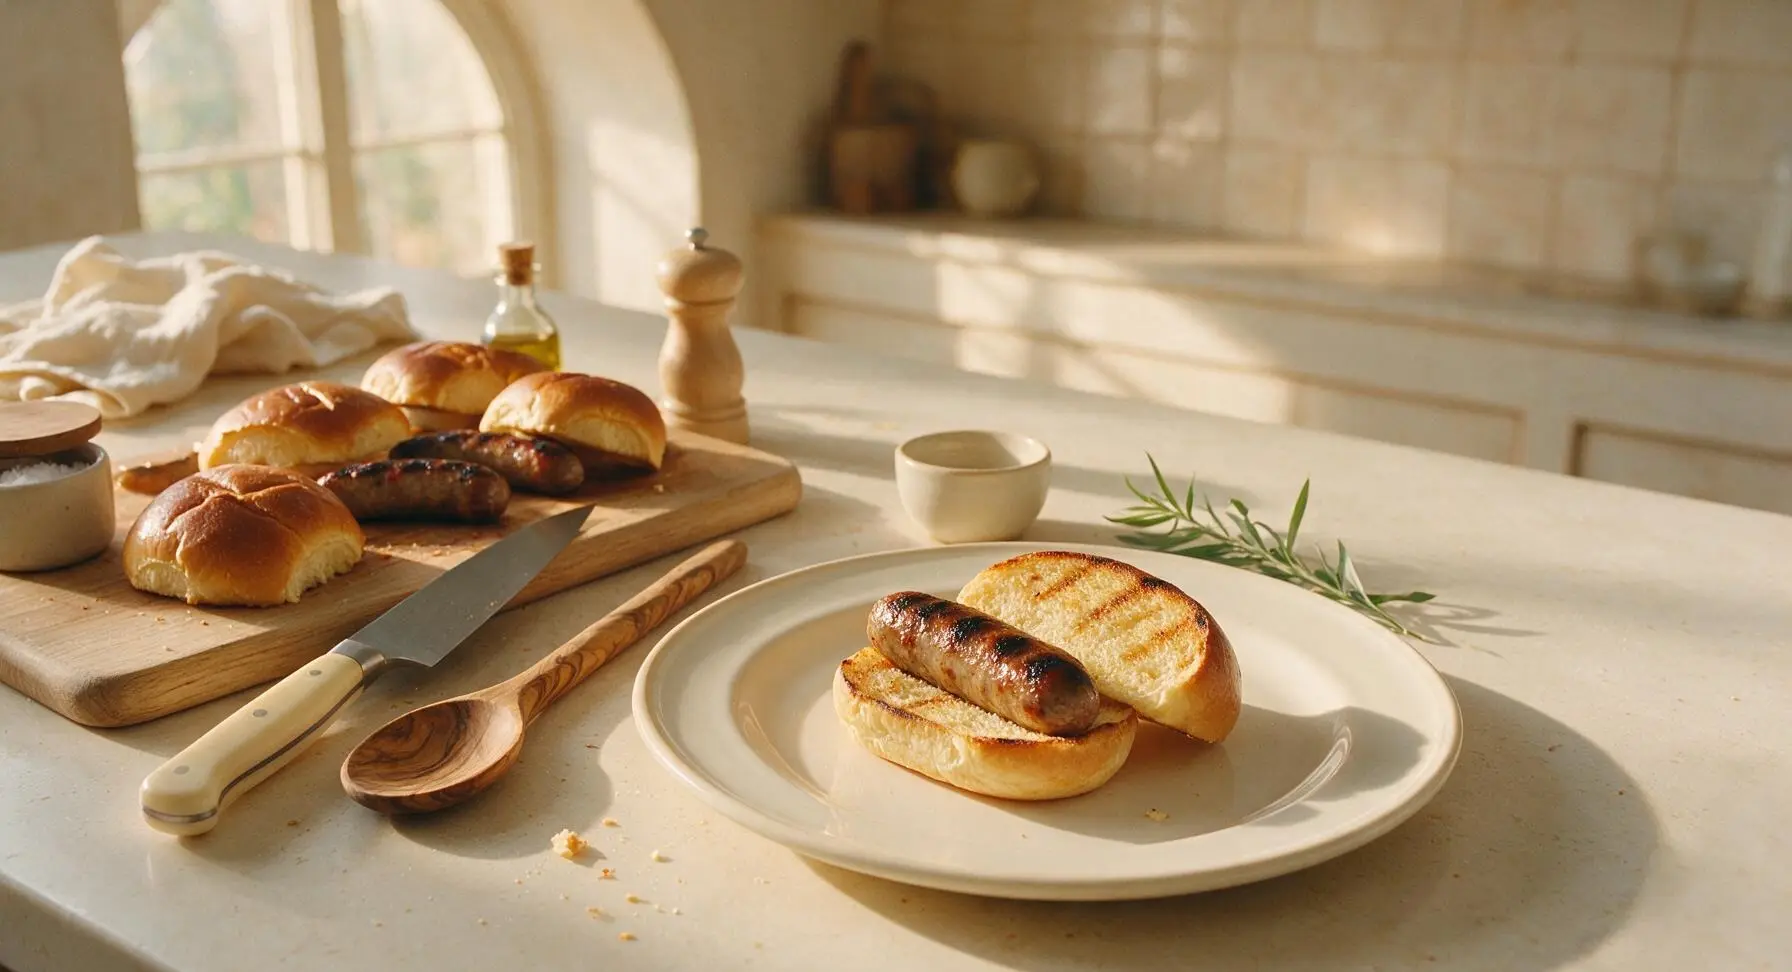
Assemble Hot Dog Base

Place one toasted brioche bun cut-side up on the matte cream-white oval hot dog plate. Nestle one char-grilled all-beef hot dog into the center of the bun, pressing gently into the soft bread to create a stable well for toppings, so ingredients do not slide off when eating.
Step 6
step6:Assemble Hot Dog Base
7

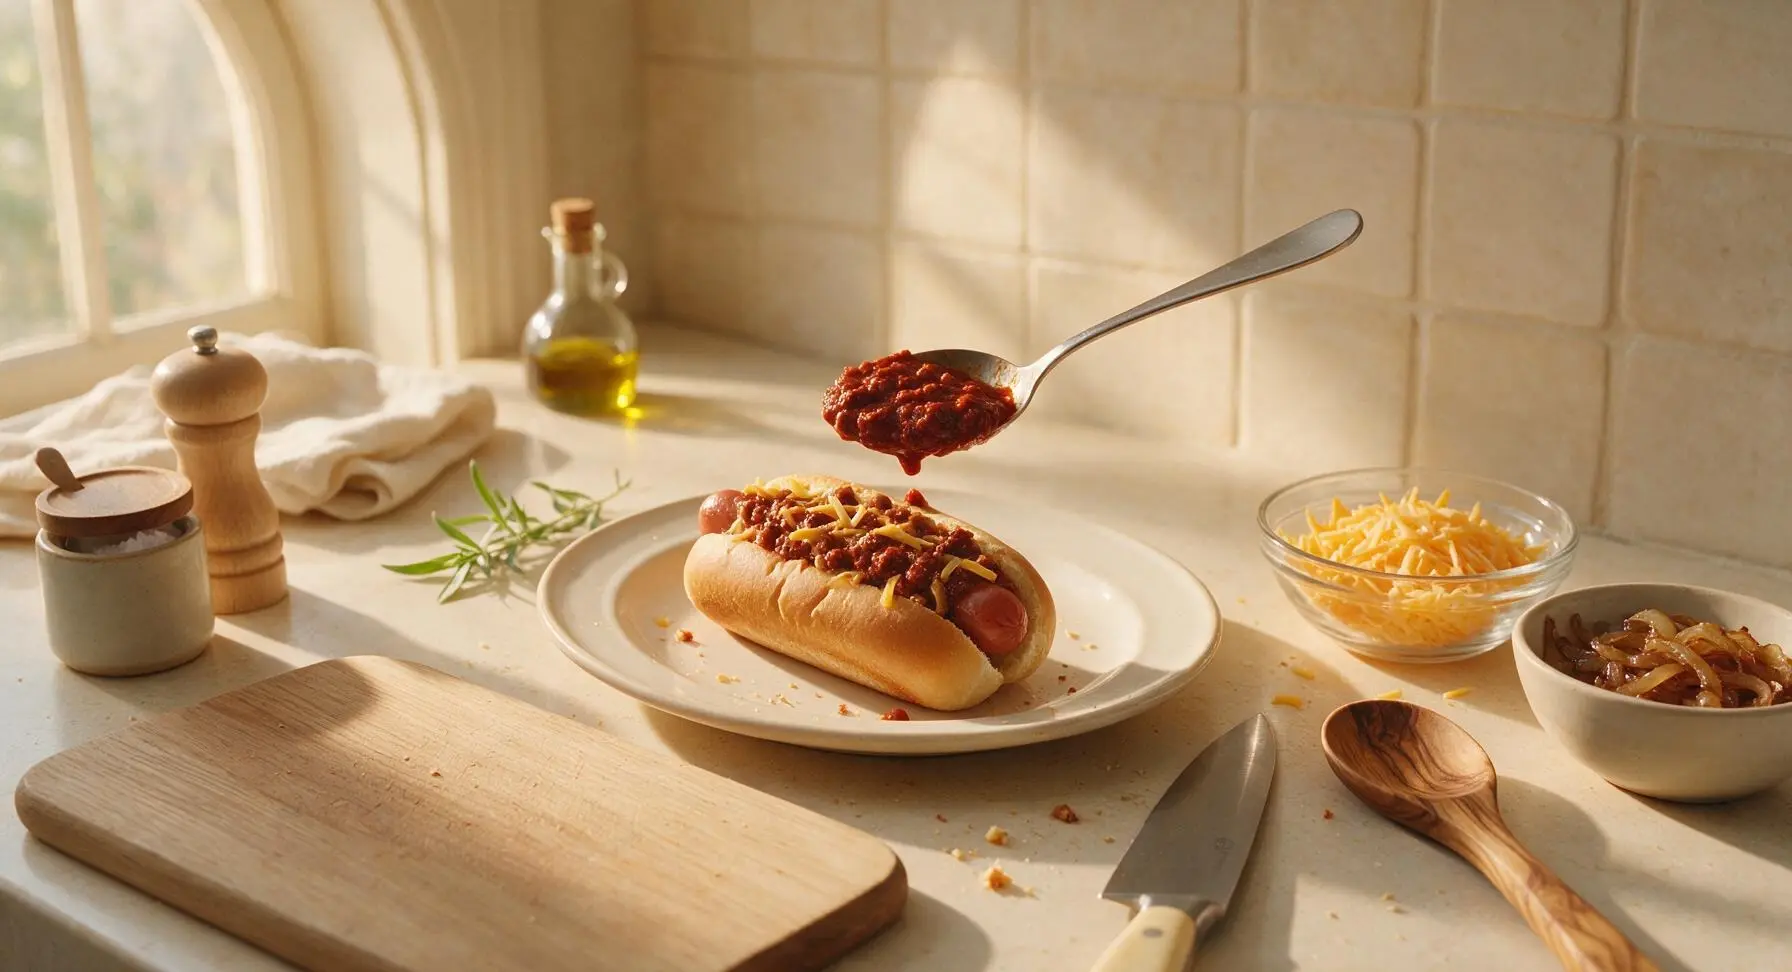
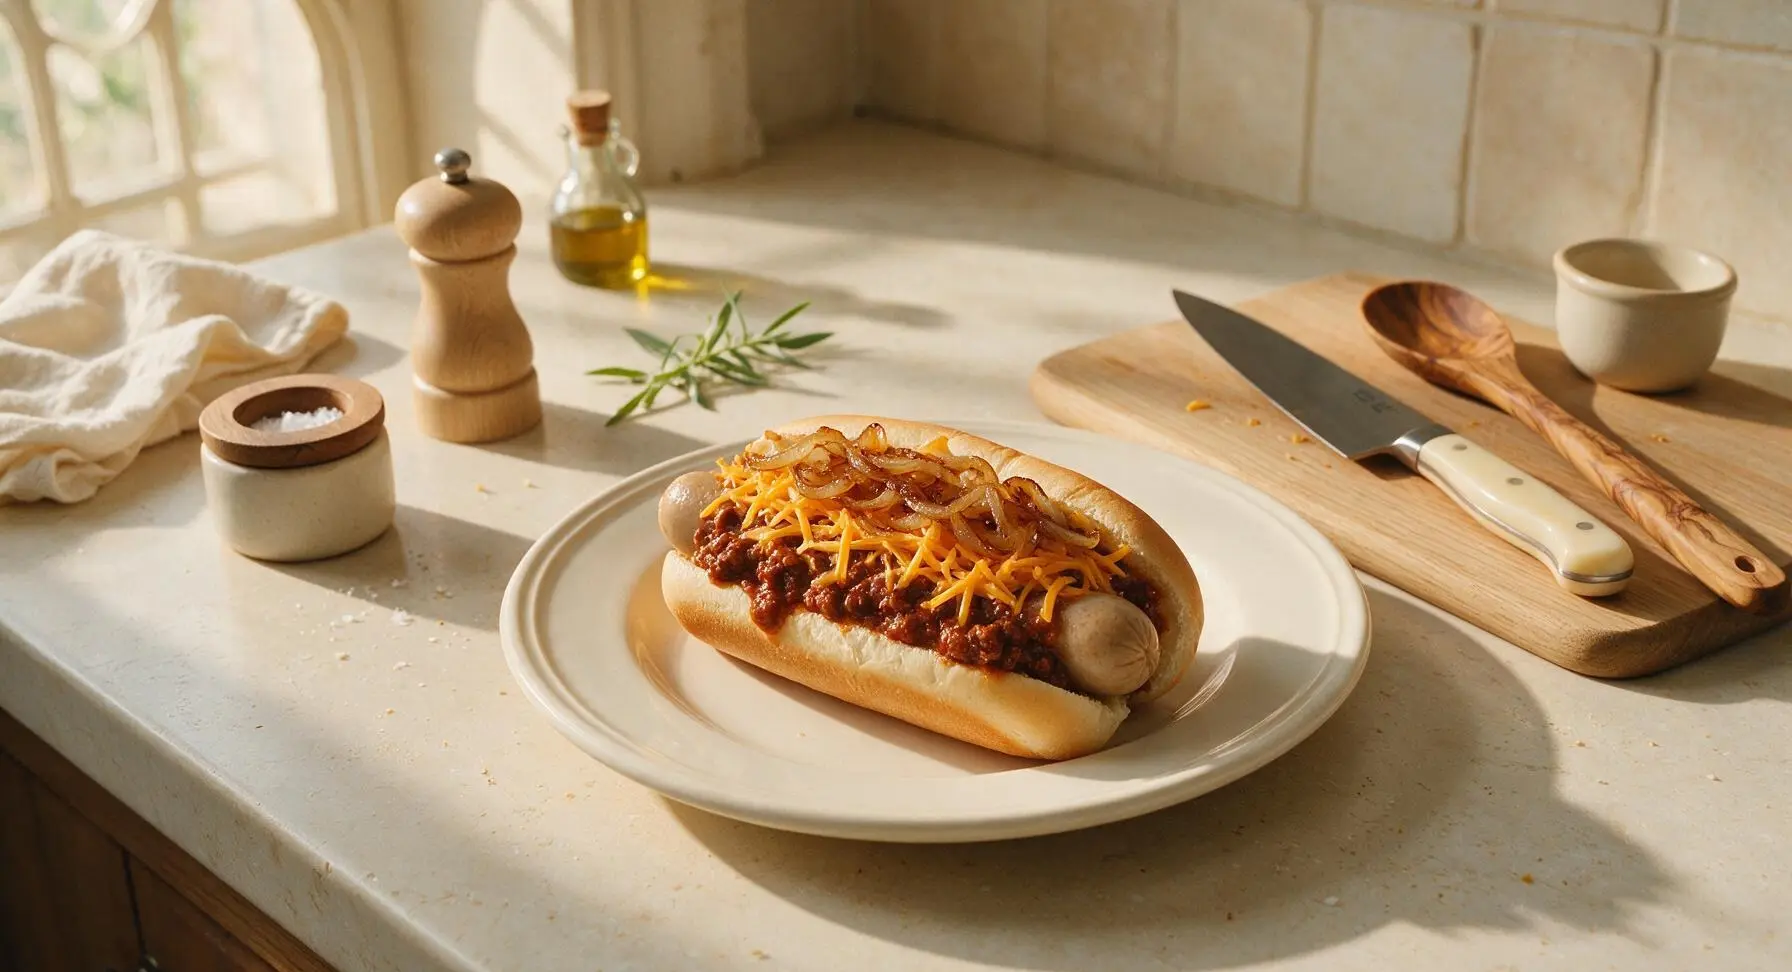
Pile On Savory Toppings

Use the stainless steel serving spoon to scoop 1/3 cup of warm beef chili evenly over the top of the hot dog, letting a small amount spill over the bun edges for the signature 'dirty' look. Sprinkle 1/4 cup of shredded sharp cheddar over the hot chili, so the cheese melts slightly from the chili heat. Top with 2 tbsp of caramelized onions, spreading them evenly across the cheese.
Step 7
step7:Pile On Savory Toppings
Step 7
step7:Pile On Savory Toppings
8

Add Finishing Condiments

Spoon 1 tbsp of bright green dill pickle relish across the top of the caramelized onions. Zigzag 1/2 tbsp of yellow mustard diagonally across the entire pile of toppings, creating a classic striped pattern. Do not over-mix toppings—let them stay piled high and messy for the signature dirty hot dog look. Let rest for 30 seconds so the cheese fully melts before serving.
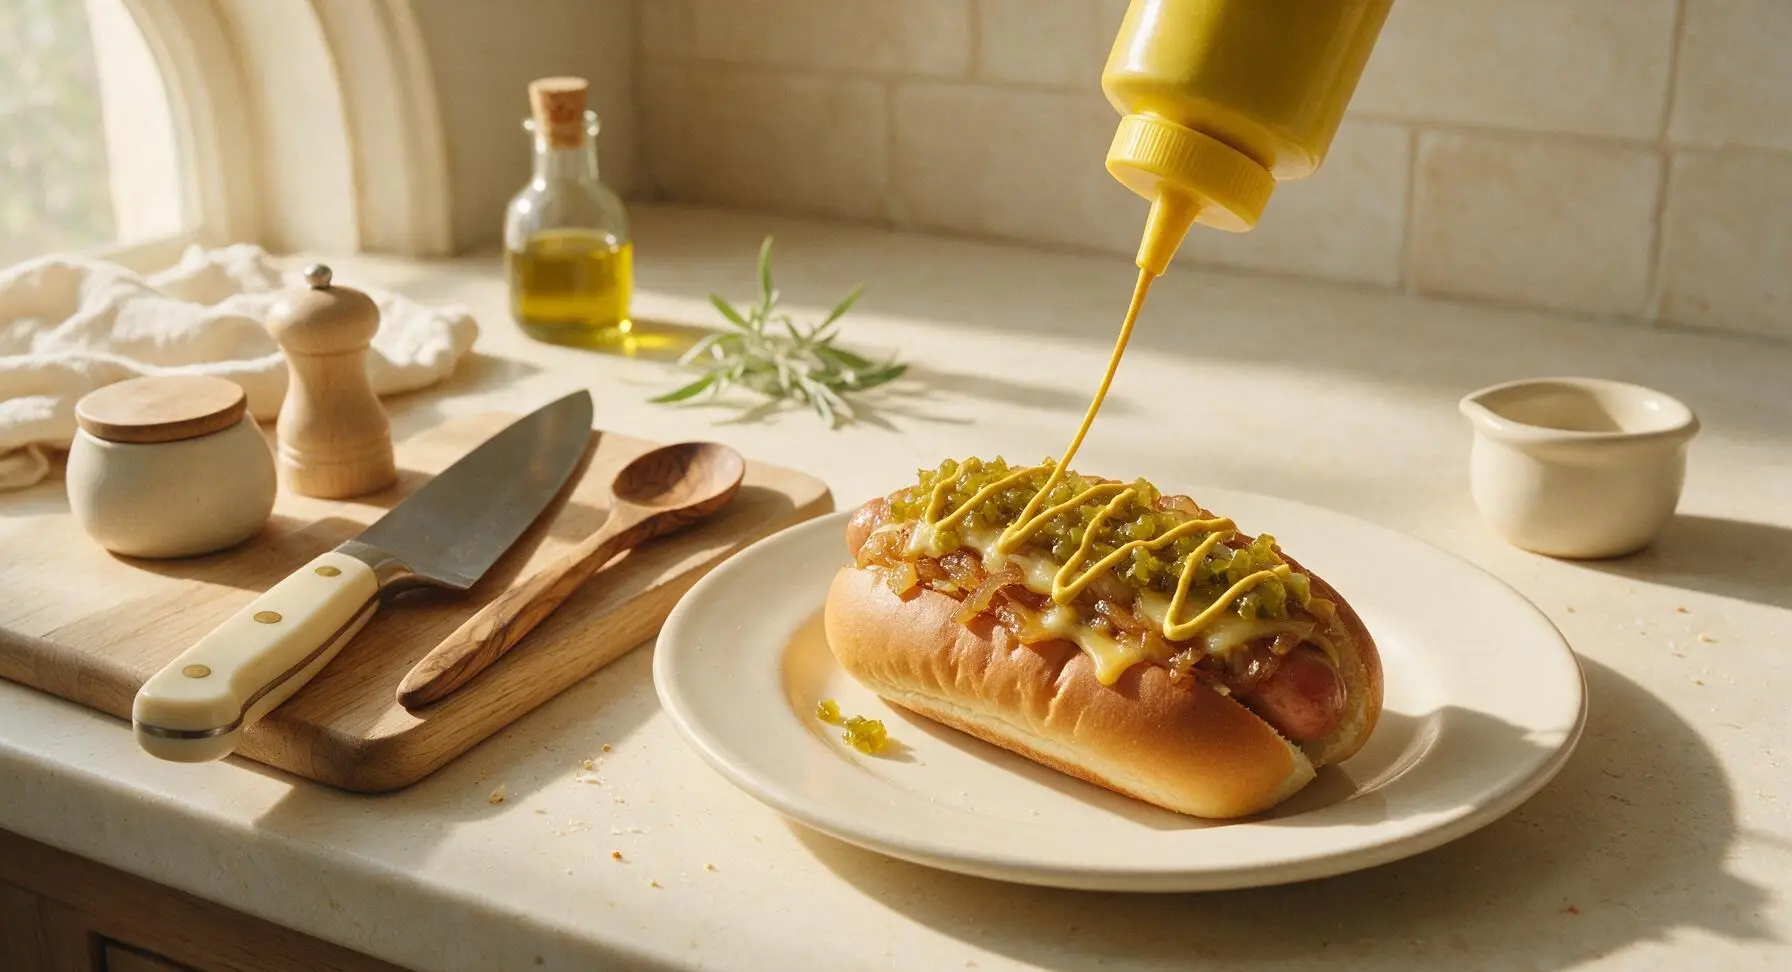
Step 8
step8:Add Finishing Condiments

Tips

1.Opt for natural-casing all-beef hot dogs instead of skinless varieties: natural casings crisp up on the grill to create a satisfying 'snap' when bitten, and hold their shape better under heavy, wet toppings without turning mushy.
2.Toast brioche buns cut-side down for no longer than 60 seconds: a light toast creates a subtle moisture barrier that prevents chili juices from soaking through the bun and causing it to fall apart mid-bite, while keeping the outer crust soft and pillowy.
3.Layer shredded cheddar directly on top of the hot chili, not under it: the residual heat from the chili melts the cheese into gooey, stretchy strands without extra cooking, and the melted cheese adds a second moisture barrier to keep the bun crisp longer.


✨ You May Also Like

BBQ & Grilling
🍜 United States

Tender, melt-in-your-mouth beef brisket with a crisp, spiced bark, slow-smoked to deep smoky perfection, the iconic centerpiece of Texas backyard barbecue.

⏱️ 12 hours BBQ & Grilling ★ 4.4
BBQ & Grilling
🍜 Korea

Tender, sweet-savory marinated beef short ribs, a beloved Korean BBQ staple with caramelized, slightly charred edges and deep umami flavor, perfect for outdoor summer gatherings.

⏱️ 4 hours 2BBQ & Grilling ★ 4.8
BBQ & Grilling
🍜 United States

Juicy grilled beef patties topped with smoky homemade chili, melted cheddar, and tangy pickles on toasted brioche buns for a hearty, flavor-packed handheld meal.

⏱️ 40 minuteBBQ & Grilling ★ 4.7
BBQ & Grilling
🍜 United States

A sweet, smoky, tangy BBQ sauce brightened with peak-season dark cherries, ideal for glazing grilled ribs, chicken, pork, or summer roasted veggies.

⏱️ 35 minuteBBQ & Grilling ★ 4.7
BBQ & Grilling
🍜 United States

Rich, smoky, slightly sweet homemade bourbon BBQ sauce with deep caramel notes, ideal for glazing grilled ribs, chicken, and burgers at cookouts.

⏱️ 25 minuteBBQ & Grilling ★ 4.7
BBQ & Grilling
🍜 United States

Iconic Alabama-style BBQ featuring tender hickory-smoked chicken slathered in tangy creamy white sauce, a beloved regional Southern cookout staple.

⏱️ 3 hoursBBQ & Grilling ★ 5

dirty hot dog:Frequently Asked Questions

1.What makes these hot dogs 'dirty' in the first place? ▾
The name refers to the gloriously messy, overloaded, drippy assembly that’s the opposite of a fussy, neat restaurant hot dog. Toppings spill over the bun edges, get on your fingers, and leave a little splotch on your napkin (or shirt) — it’s the unpolished, no-rules street cart charm that prioritizes bold flavor over tidy eating, just like iconic Northeast US street cart originals.
2.Do I have to use natural-casing all-beef hot dogs, or can I substitute? ▾
Natural-casing all-beef franks give that signature snappy bite and rich, beefy flavor street-style dogs are known for, but you can swap them if needed. Turkey or plant-based franks work, just skip skinless varieties if you can—they won’t get that crisp, charred exterior when grilled. Poach franks in simmering water for 2 minutes before grilling for extra juiciness.
3.Why does the recipe call for split-top brioche buns instead of regular side-split buns? ▾
Split-top brioche buns hold up way better to heavy, wet toppings like chili and melted cheese without falling apart mid-bite, and their soft, buttery sweetness balances the savoriness of chili and salty hot dog. Toast the cut sides lightly on the grill for 30 seconds before assembling to add crunch and create a moisture barrier that prevents sogginess.
4.My chili always makes the bun soggy — how do I fix that? ▾
Two quick pro tricks fix soggy buns every time: First, toast the inner sides of your bun on the grill or in a dry pan until lightly crisp, which creates a water-resistant barrier. Second, make sure your no-bean chili is thick, not watery—simmer it an extra 5-10 minutes if it’s runny, and drain off any excess loose liquid before piling it on the dog.
5.How do I make perfect caramelized onions for these dogs without burning them? ▾
Slice your yellow onion thin, then cook it low and slow over medium-low heat with a pat of butter and tiny pinch of salt for 18-22 minutes, stirring every couple of minutes. Resist the urge to crank the heat to speed it up—that causes burnt, bitter onions instead of soft, sweet, golden ones. A tiny splash of water at the end lifts tasty browned pan bits.
6.Can I make these ahead of time for a backyard cookout? ▾
You can prep all components ahead to make assembly lightning fast, but don’t fully build the dogs until right before serving. Grill the dogs, heat the chili, caramelize the onions, and shred the cheese 1-2 days early, storing everything in airtight fridge containers. Toast buns and add toppings right as guests are ready to eat to avoid soggy, lackluster dogs.
7.How do I get that signature street-cart char on my hot dogs? ▾
Skip boiling dogs the whole time—instead, cook them over medium-high direct grill heat, turning every minute, for 5-6 minutes total until you have dark, slightly crisp char marks all around. Never press down on the dogs with your spatula while they cook; that squeezes out all the juicy fat and leaves you with dry, bland franks.
8.Can I use chili with beans if I don’t have no-bean beef chili? ▾
Traditional street-style dirty dogs use thick no-bean chili so toppings don’t slide off and texture stays consistent, but you can use bean chili if that’s what you have. Just mash any large beans slightly with a spoon and simmer the chili to thicken it first, so it’s not loose and runny. Skip chili loaded with chunky veggies like peppers, which throw off the classic flavor.
9.Do I need to melt the cheddar, or can I add it cold right out of the bag? ▾
For that authentic, gooey street-style bite, melt the cheese right on top of the hot dog while it’s still hot off the grill. Residual heat from the dog and warm chili will melt cold shredded cheese a little, but for perfect pull-apart gooeyness, pop the bun, dog, and cheese under the broiler for 10 seconds before adding chili, onions, and tangy relish.
10.What extra toppings work well without straying from the classic recipe? ▾
Stick to the core lineup first, but classic street-cart add-ons that fit great include a squiggle of yellow mustard, a dash of celery salt, a spoonful of sauerkraut, or a few pickled jalapeño slices for a little heat. Skip heavy, wet toppings like ketchup (for purists, anyway) or creamy coleslaw, which make buns soggy and overpower the smoky, savory flavor.

Comments (4)

2 days ago

OMG these were SO good! I made them for my kid’s little league end-of-season cookout this weekend and every single parent asked for the recipe. The grilled onion and tangy mustard slaw topping is a total game changer, I’ll never make boring plain hot dogs for a cookout again!

yesterday

Seconding this! I brought these to my neighborhood block party potluck last week and people were going back for thirds. Quick question for anyone who’s made them—has anyone tried adding pickled jalapeños to the topping mix?

30 minutes ago

Love that block party win! Pickled jalapeños are a fantastic add, they cut through the richness of the dog and toppings perfectly. I’ve tossed them on a few times myself for an extra zesty kick!

3 days ago

Super easy to throw together on a busy weeknight! My only tiny note is I wish the signature sauce had a little more heat, so I added a dash of cayenne and extra hot sauce when I sautéed the onions. My 10 year old ate two in a row without complaining about veggies on top, so that’s a massive win in my book.

1 week ago

Tastes exactly like the dirty dogs I used to grab from the street cart outside my NYU dorm back in the day! I was worried I couldn’t replicate that iconic street cart flavor at home but this recipe nailed it. The 20 minute cook time is no joke, I had dinner on the table faster than Uber Eats would’ve showed up.

5 days ago

That late-night street cart nostalgia is exactly what we were going for! So glad it took you right back to those post-study snack runs—nothing beats that classic, messy, loaded dog flavor.

2 weeks ago

Total game changer for quick weekend meal prep! I pre-cooked the onion and relish topping ahead of time and stored it in the fridge, then all I had to do was pan-fry the dogs for 5 minutes for easy lunches all work week. Even my super picky partner said these are better than the loaded dogs we get at T-Mobile Park during Mariners games.

1 week ago

Oh that’s such a smart idea to prep the topping early! I’ve been scrambling for quick, no-fuss work lunch ideas, definitely gonna steal that hack when I make these for my Sunday cookout this weekend.



