
Do-si-dos / Peanut Butter Sandwich

Do-si-dos / Peanut Butter Sandwich
⏱️ cook time 40 minutes
🍽️ servings 12
⚡ Difficulty easy

intro

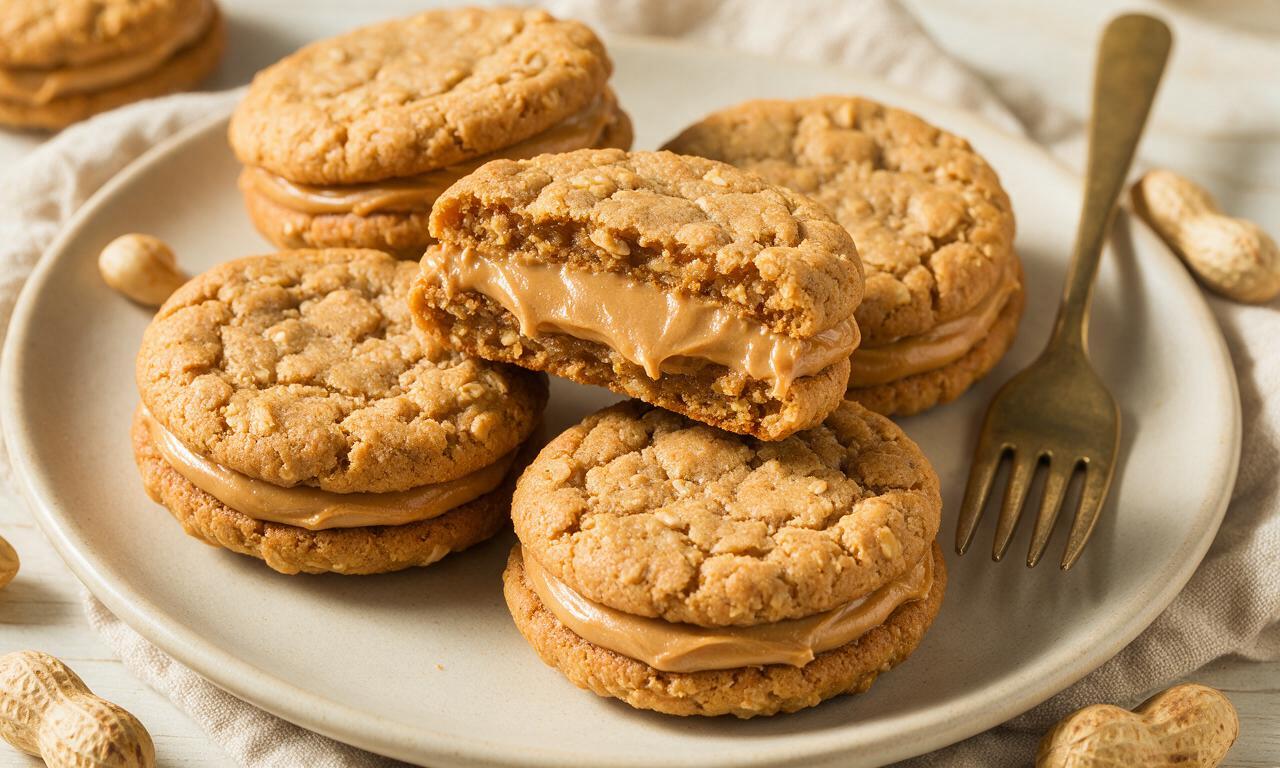
Crunchy, nutty copycat Do-si-dos: chewy oatmeal-peanut butter cookies sandwiched with smooth peanut butter filling, matching the iconic Girl Scout treat.

Ingredients

Old-fashioned rolled oats 180g (2 cups)
All-purpose flour 120g (1 cup)
Creamy peanut butter 250g (1 cup, divided for dough and filling)
Unsalted butter 170g (3/4 cup, divided, softened to room temperature)
Packed light brown sugar 100g (1/2 cup)
Granulated sugar 50g (1/4 cup)
Powdered sugar 130g (1 cup)
Large egg 1 (50g, room temperature)
Baking soda 1/2 teaspoon (2.5g)
Vanilla extract 1.5 teaspoons (7.5ml, divided for dough and filling)
Fine sea salt 3/8 teaspoon (2g, divided for dough and filling)

Steps

1

Prep oven and dry mix

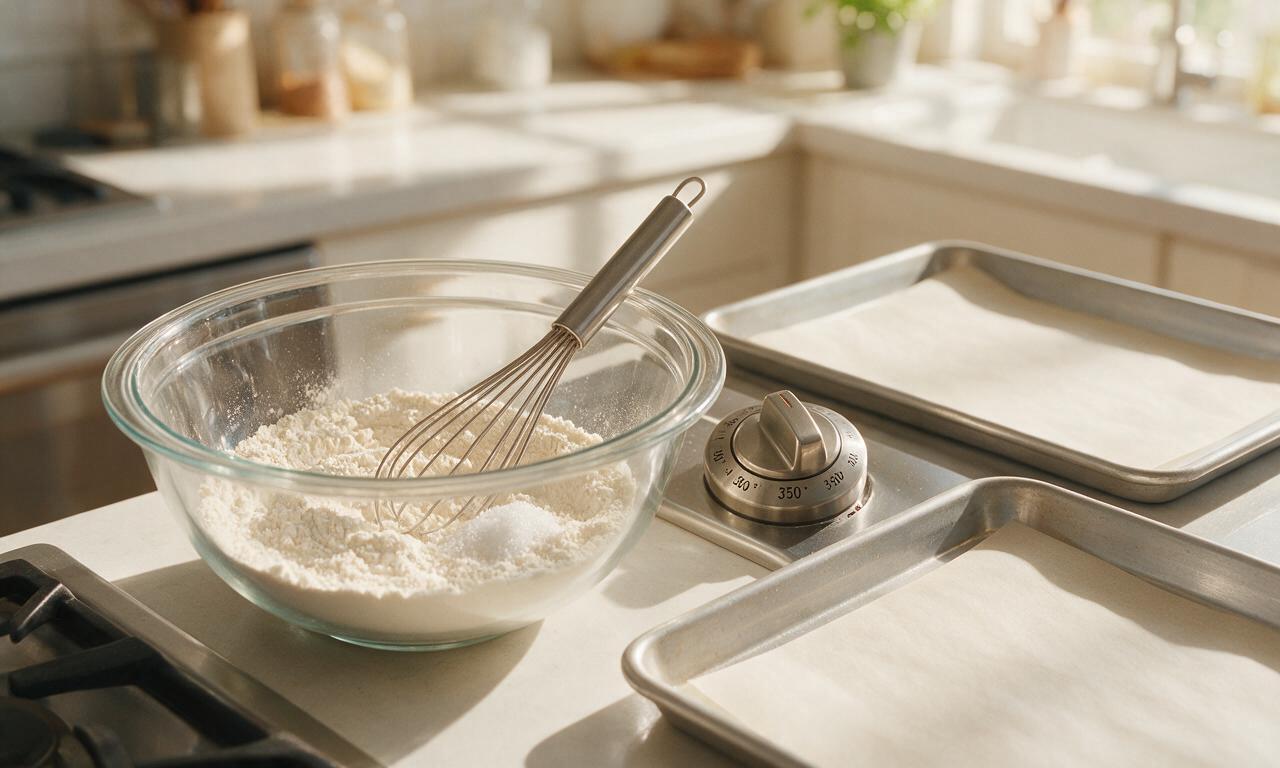
Preheat your oven to 175°C (350°F) and line two large rimmed baking sheets with unbleached parchment paper. In a medium mixing bowl, whisk together 120g (1 cup) all-purpose flour, 1/2 teaspoon (2.5g) baking soda, and 1/4 teaspoon (1.25g) fine sea salt until fully combined, then set the dry mix aside.
Step 1
step1:Prep oven and dry mix
2

Cream butter and sugars

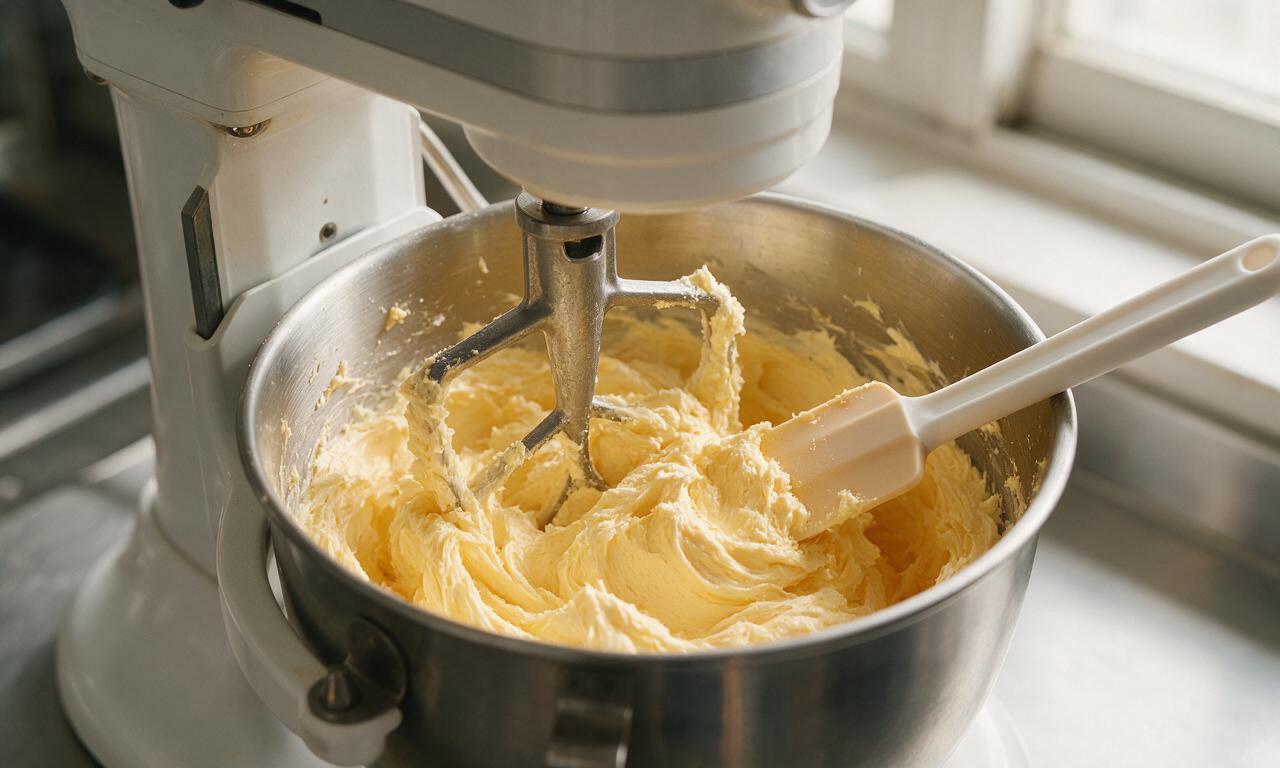
In a large stand mixer fitted with a paddle attachment (or using a handheld electric mixer on medium speed), beat 113g (1/2 cup) room-temperature unsalted butter, 100g (1/2 cup, packed) light brown sugar, and 50g (1/4 cup) granulated sugar for 2 full minutes until the mixture is light, fluffy, and pale golden tan. Scrape down the sides and bottom of the bowl halfway through mixing to eliminate lumps of unincorporated butter.
Step 2
step2:Cream butter and sugars
3

Finish cookie dough

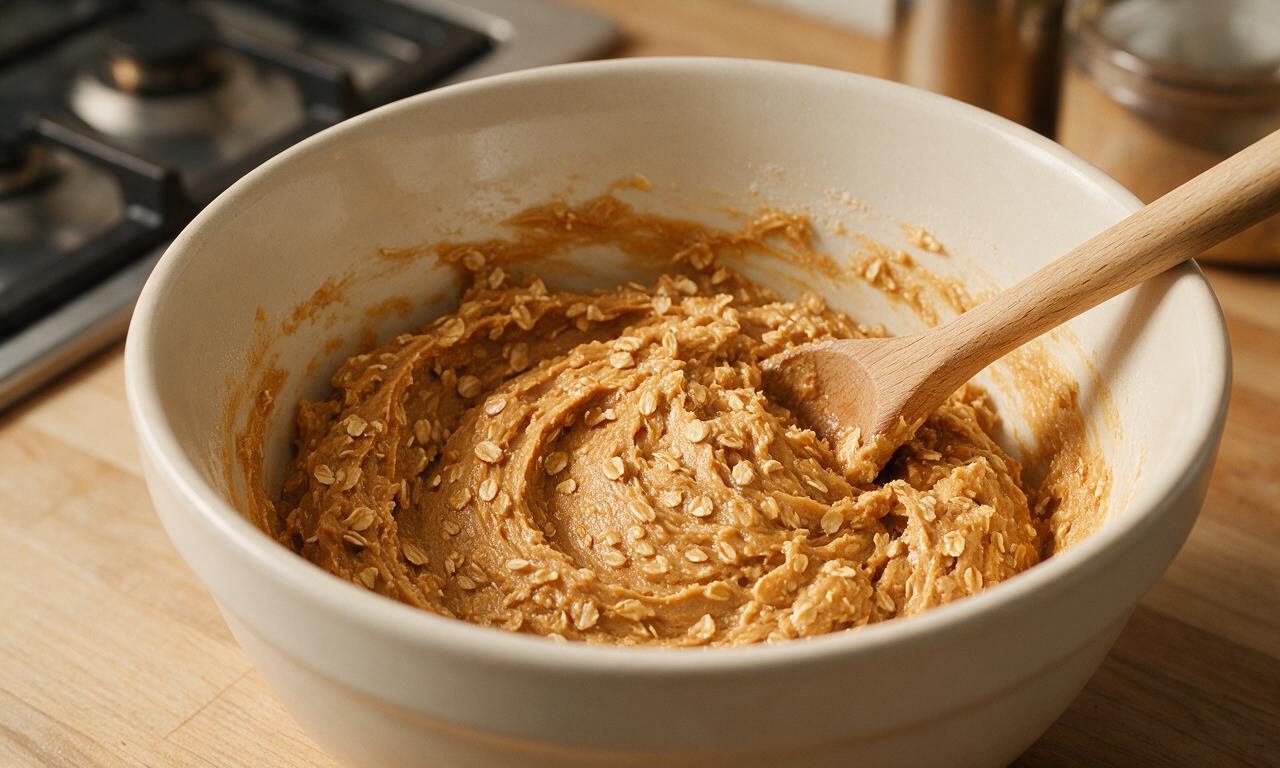
Add 1 large (50g) room-temperature egg, 1 teaspoon (5ml) vanilla extract, and 130g (1/2 cup) creamy peanut butter to the creamed butter mixture, beating on medium-low speed for 30 seconds until completely smooth. Gradually fold in the pre-mixed dry ingredients with a silicone spatula, then stir in 180g (2 cups) old-fashioned rolled oats until no streaks of dry flour remain. Do not overmix, as this will produce tough, dense cookies.
Step 3
step3:Finish cookie dough
4

Bake cookie rounds

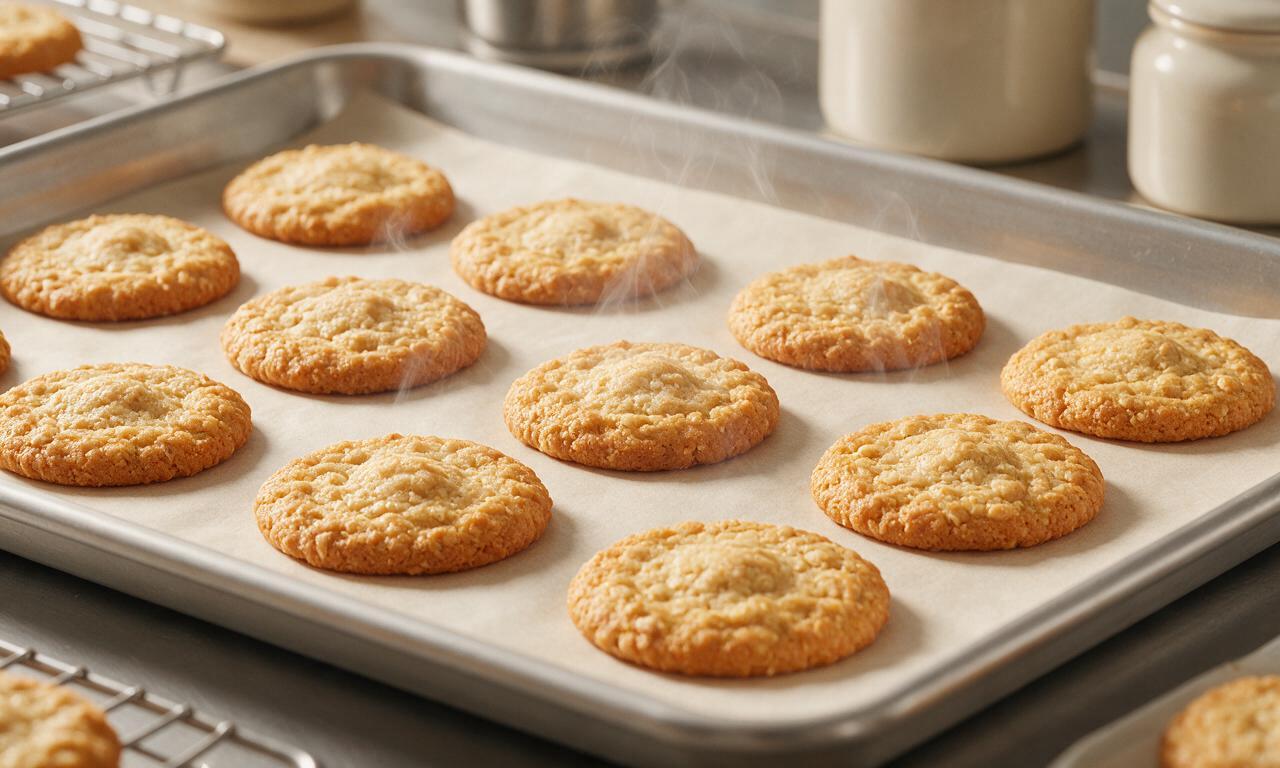
Scoop uniform 1-tablespoon (15g) balls of dough, spacing them 5cm (2 inches) apart on the prepared baking sheets to allow for spreading. Bake for 10 to 12 minutes at 175°C (350°F), until the cookie edges are deep golden brown and centers are just set (they will look slightly underbaked in the very middle). Let cookies cool completely on the hot baking sheets for 10 minutes before transferring to a wire rack to finish cooling; cookies will firm up as they rest.
Step 4
step4:Bake cookie rounds
5

Make peanut butter filling

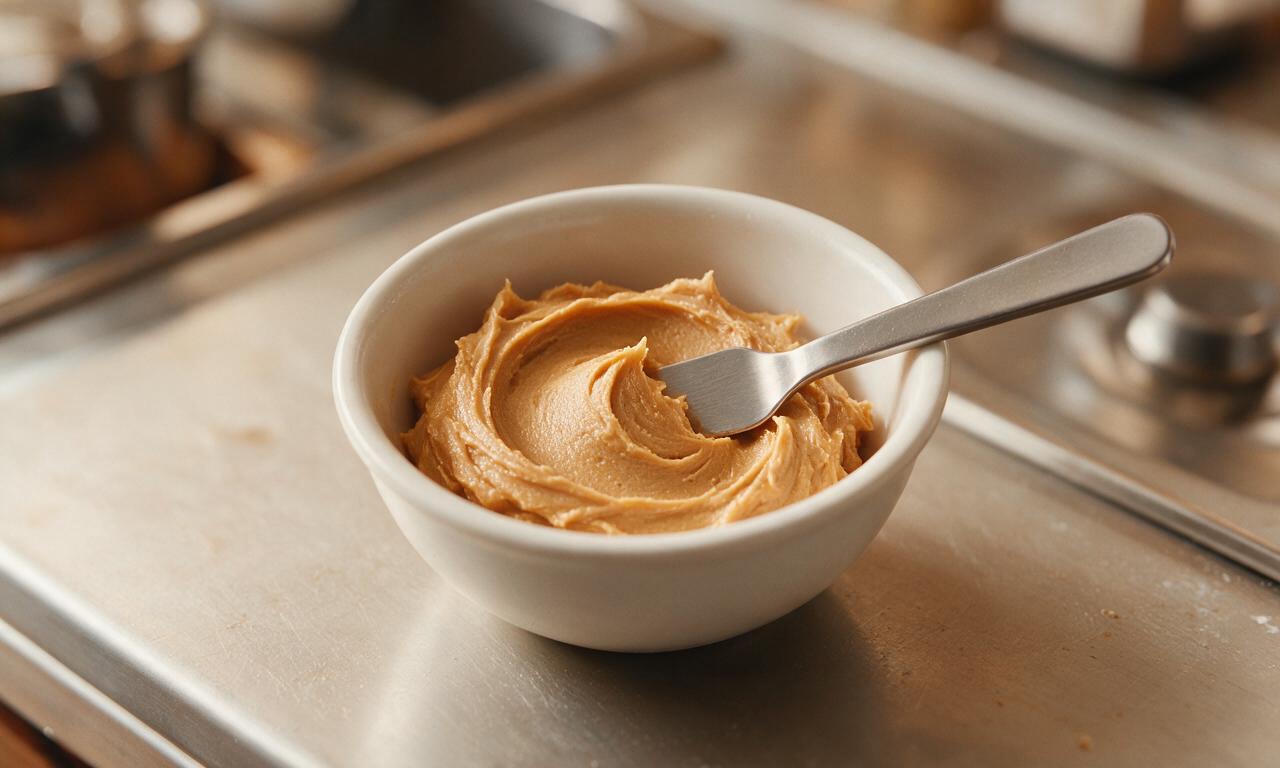
While cookies cool, prepare the filling: beat 57g (1/4 cup) room-temperature unsalted butter and 120g (1/2 cup) creamy peanut butter on medium speed for 1 minute until completely smooth and free of lumps. Add 130g (1 cup) powdered sugar, 1/2 teaspoon (2.5ml) vanilla extract, and 1/8 teaspoon (0.75g) fine sea salt, beating on low speed for 30 seconds to avoid powdered sugar clouds, then increase to medium speed for 1 more minute until the filling is light, fluffy, and easily spreadable.
Step 5
step5:Make peanut butter filling
6

Assemble sandwich cookies

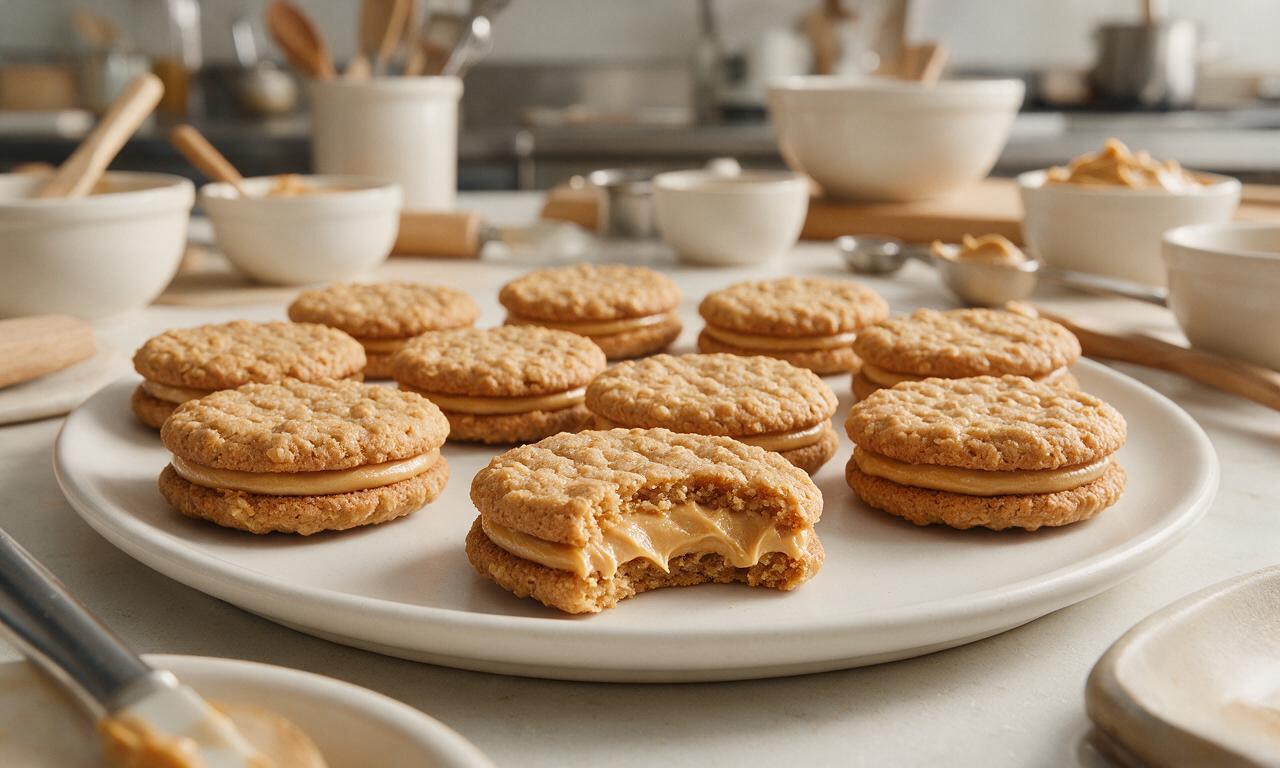
Once cookies are fully cool, match them into pairs of roughly equal size and shape. Scoop 1 level teaspoon (5g) of peanut butter filling onto the flat bottom side of one cookie per pair, then press the second cookie (flat side down) on top to spread the filling evenly all the way to the cookie edges. Serve immediately, or store in an airtight container at room temperature for up to 5 days.
Step 6
step6:Assemble sandwich cookies

Tips

1.Always use room-temperature butter and eggs for this recipe: cold ingredients will not cream properly, leading to dense, flat cookies instead of tender, chewy rounds with a slight crunch.
2.Resist the urge to overbake the cookies! If centers look slightly soft when you pull them from the oven, they will set fully as they rest on the hot baking sheet, resulting in the classic Do-si-do texture.
3.For a fun twist, swap 1/4 cup of the creamy peanut butter in the filling for crunchy peanut butter to add tiny, salty peanut bits for extra texture and flavor.


✨ You May Also Like

Desserts & Baking
🍜 Italy

Creamy, coffee-kissed classic Northern Italian no-bake dessert, with layers of rum-spiked mascarpone cream, soft ladyfingers, and a rich cocoa dusting.

⏱️ 4 hours 3Desserts & Baking ★ 4.8
Desserts & Baking
🍜 France

Flaky, shatteringly crisp, buttery French croissants with golden exteriors and soft, airy layered interiors, perfect for pairing with coffee for a special morning treat.

⏱️ 12 hours Desserts & Baking ★ 4.7
Desserts & Baking
🍜 United States

Warm, spiced baked apples topped with a fluffy golden biscuit crust, this cozy dessert pairs perfectly with vanilla ice cream for cool-weather comfort.

⏱️ 55 minuteDesserts & Baking ★ 4.7
Desserts & Baking
🍜 United States

A star-spangled classic American blueberry pie with buttery flaky crust and bright sweet-tart filling, perfect for summer patriotic gatherings.

⏱️ 1 hour 25Desserts & Baking ★ 4.8
Desserts & Baking
🍜 United States

A beloved no-bake regional Maine candy with a chewy coconut-potato center coated in rich dark chocolate, a New England holiday staple since the 1870s.

⏱️ 2 hours 3Desserts & Baking ★ 4.9
Desserts & Baking
🍜 France

Luxuriously creamy, floral frozen custard made with aromatic Tahitian vanilla beans, boasting a smooth, rich texture that melts slowly on the tongue.

⏱️ 3 hours 3Desserts & Baking ★ 4.6

Do-si-dos / Peanut Butter Sandwich:Frequently Asked Questions

1.Can I use instant oats instead of old-fashioned rolled oats for these cookies?
I don’t recommend it! Instant oats are cut much finer and pre-steamed, so they’ll produce softer, less textured cookies that lose that signature Do-si-do crunch. Old-fashioned rolled oats hold their shape during baking, create that perfect chewy-crisp oat base, and give the cookie the exact coarse, nutty crumb you expect from the classic Girl Scout treat.
2.Why do my cookie edges spread too much when I bake them?
That almost always traces back to overly warm butter or insufficiently chilled dough. Make sure your unsalted butter is softened to room temperature (not melted or greasy) and chill scooped cookie dough for at least 30 minutes before baking. Also, avoid placing dough on warm baking sheets, as that melts butter too fast and leads to flat, spread-out cookies.
3.Can I use crunchy peanut butter instead of creamy for the filling?
Absolutely, if you love extra peanut texture! The classic Do-si-do uses smooth filling, but swapping in crunchy peanut butter adds tiny, satisfying nut bits throughout the center. Just note that if your crunchy peanut butter is extra oily, stir it well and drain a tiny bit of excess separated oil first so filling doesn’t slide out between layers.
4.How do I get evenly sized cookies for neat, uniform sandwiches?
The easiest trick is to use a 1-tablespoon spring-loaded cookie scoop to portion every dough ball. That ensures every cookie bakes to the exact same diameter and thickness, so you won’t have mismatched, lopsided sandwiches. After baking, sort cookies into matched pairs by size before adding filling to make assembly fast and tidy.
5.Can I adapt this recipe to make the cookies gluten-free?
You absolutely can! Swap the all-purpose flour for a 1:1 gluten-free all-purpose baking blend that contains xanthan gum to replicate regular flour’s structure. Double check that your rolled oats are certified gluten-free to avoid cross-contamination, and confirm your peanut butter has no hidden gluten additives for results that taste nearly identical to the original.
6.How long do these filled sandwich cookies stay fresh after assembly?
Stored in an airtight container at room temperature, these cookies will stay perfectly crisp and flavorful for up to 5 days. I recommend placing small squares of parchment paper between stacked cookie layers to prevent the peanut butter filling from sticking to the cookies above it. Avoid fridge storage, as that makes cookie layers turn unpleasantly hard and dry.
7.My peanut butter filling is too runny—how do I fix it?
Runny filling usually happens if your peanut butter has excess separated oil, or if your butter was too warm when you mixed it. First, pop the filling in the fridge for 10 to 15 minutes to firm up, then give it a thorough stir. If it’s still too loose, mix in 1 to 2 tablespoons of sifted powdered sugar a little at a time until it reaches a thick, spreadable consistency.
8.Do I really need to pack the light brown sugar when measuring it?
Yes, absolutely! Packed light brown sugar means you press the sugar firmly into your measuring cup until it holds the cup’s shape when tipped out. Unpacked brown sugar leads to less sweet, drier cookies that lack that signature soft, caramelized chew the classic cookie is known for, and may cause uneven spreading while baking.
9.Can I freeze these cookies to enjoy later?
Definitely! These freeze incredibly well for up to 3 months. You can either freeze unfilled baked cookie layers in a sealed freezer bag, or freeze fully assembled sandwiches wrapped tightly in plastic wrap. Thaw them at room temperature for 15 to 20 minutes before serving, and they’ll taste just as fresh as the day you baked them.
10.Why are my cookies coming out too hard instead of chewy-crisp?
That’s usually a sign you overbaked them, or measured your flour incorrectly by packing it too tight. Pull the cookies out when edges are golden brown but centers still look slightly underdone—they’ll keep cooking on the hot baking sheet for 2 to 3 minutes after coming out of the oven. Spoon flour into your measuring cup and level it to avoid dense, tough cookies.
11.Can I add mix-ins like chocolate chips to the cookie dough?
You totally can, though it will deviate from the classic Do-si-do flavor! Mini semi-sweet chocolate chips, finely chopped roasted peanuts, or a pinch of flaky sea salt on cookie tops before baking all make delicious upgrades. Just keep mix-ins to ½ cup total per batch so they don’t throw off texture or make even sandwich assembly hard.
12.What’s the best way to spread filling without breaking the delicate cookies?
Wait for baked cookies to cool completely to room temperature first—warm cookies will both break easily and melt the filling. Pipe filling onto the flat side of one cookie using a piping bag or plastic sandwich bag with the corner snipped, then gently press the matching cookie on top instead of spreading with a knife, which can tug and crack the oat layers.
13.Can I use natural peanut butter instead of standard creamy peanut butter?
You can, but you’ll need to prep it first. Natural peanut butter separates heavily and has a looser consistency, so stir it extremely well to fully incorporate all separated oil, then chill it for 20 minutes before using it in both the dough and filling. Avoid no-stir natural blends with added palm oil, as those create an odd, waxy texture in finished cookies.
14.How thick should the peanut butter filling be for the most authentic taste?
Aim for a filling layer that’s roughly ¼-inch thick, which matches the ratio of the original Girl Scout Do-si-do. That works out to about 1 teaspoon of filling per sandwich—thicker than that and filling will squish out the sides when you take a bite, thinner and you’ll lose that creamy, rich contrast to the crisp, oaty cookie layers.
15.Can I use salted butter instead of unsalted butter for this recipe?
You can use salted butter if that’s what you have on hand, just cut out any extra added salt in the dough recipe to keep the flavor balanced. Unsalted butter lets you control exactly how much salt goes into the dough, which keeps the sweet, nutty flavor from becoming too salty, but salted butter works perfectly as a 1:1 swap with that small adjustment.

Comments (3)

3 days ago

OMG, these taste EXACTLY like the Girl Scout Do-si-dos I used to beg my mom to order every single cookie season growing up! I brought a full batch to my office potluck earlier this week and they were gone in 10 minutes flat—people were even asking for the recipe before they finished their first cookie. It was so easy to throw together too, I didn’t even need to make a special grocery run, I already had every ingredient in my pantry. 10/10, will be making these monthly for my kid’s after-school snacks from now on!

2 days ago

Quick question for you—did you use creamy or crunchy peanut butter for the filling? I only have a big jar of crunchy on hand right now and don’t want to run to the store if I don’t have to, but I also don’t want to mess the texture up!

yesterday

Great question! Crunchy peanut butter works totally wonderfully in the filling—it adds a fun, extra nutty crunch that’s absolutely delicious! If you’re going for that super smooth, classic Girl Scout cookie texture, creamy is the way to go, but both options turn out fantastic, so no need for a last-minute store run.

5 days ago

Total game changer! I’ve been buying the sad frozen grocery store version of these for my kids’ lunch boxes for ages, and these homemade ones are SO good. The cookies have that perfect crisp, oaty bite, the peanut butter filling isn’t cloyingly sweet, and the total time actually was 40 minutes like the recipe said—no random hidden extra steps to drag things out! I added a tiny pinch of flaky sea salt on top of each cookie right before baking and it elevated the flavor so much, highly recommend that little hack.

3 days ago

We love that flaky sea salt hack! That’s such a perfect way to cut through the sweetness and make the roasted peanut butter flavor pop even more—thanks so much for sharing that tip with fellow bakers, we’re definitely going to try that next time we whip up a batch!

2 hours ago

Made these last night for my roommate’s birthday since Do-si-dos are her all-time favorite cookie, and she actually teared up a little when she took her first bite! I was worried they’d be too finicky because I’m usually terrible at nailing sandwich cookies (my filling always squishes out or my cookies spread too much), but the dough was super easy to work with and held its shape perfectly in the oven. Only quick heads up for other new bakers: make sure you let the cookies cool all the way on the rack before adding the filling, otherwise it melts and oozes out the sides a little (learned that the hard way on my first two pairs, oops). Can’t wait to bring these to our friend group potluck next weekend!



