
dog bread
intro
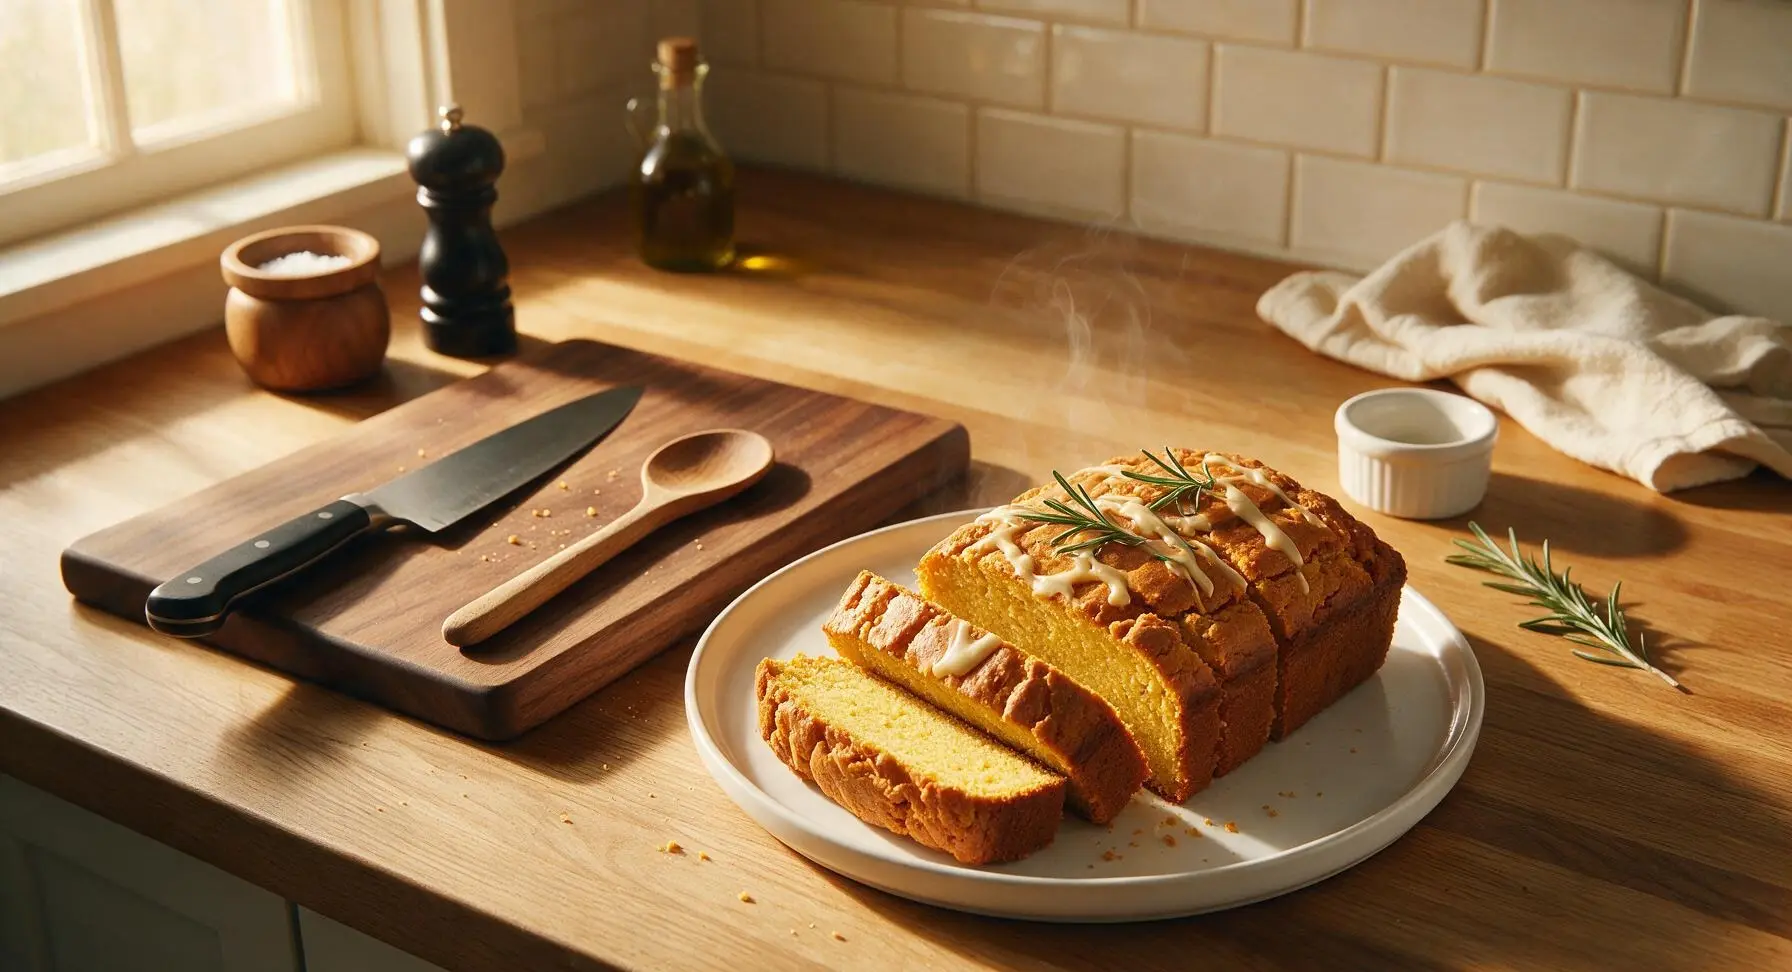
Soft, wholesome dog-safe peanut butter pumpkin bread, made with simple, toxin-free pantry ingredients for a fresh, tasty reward your pup will love.
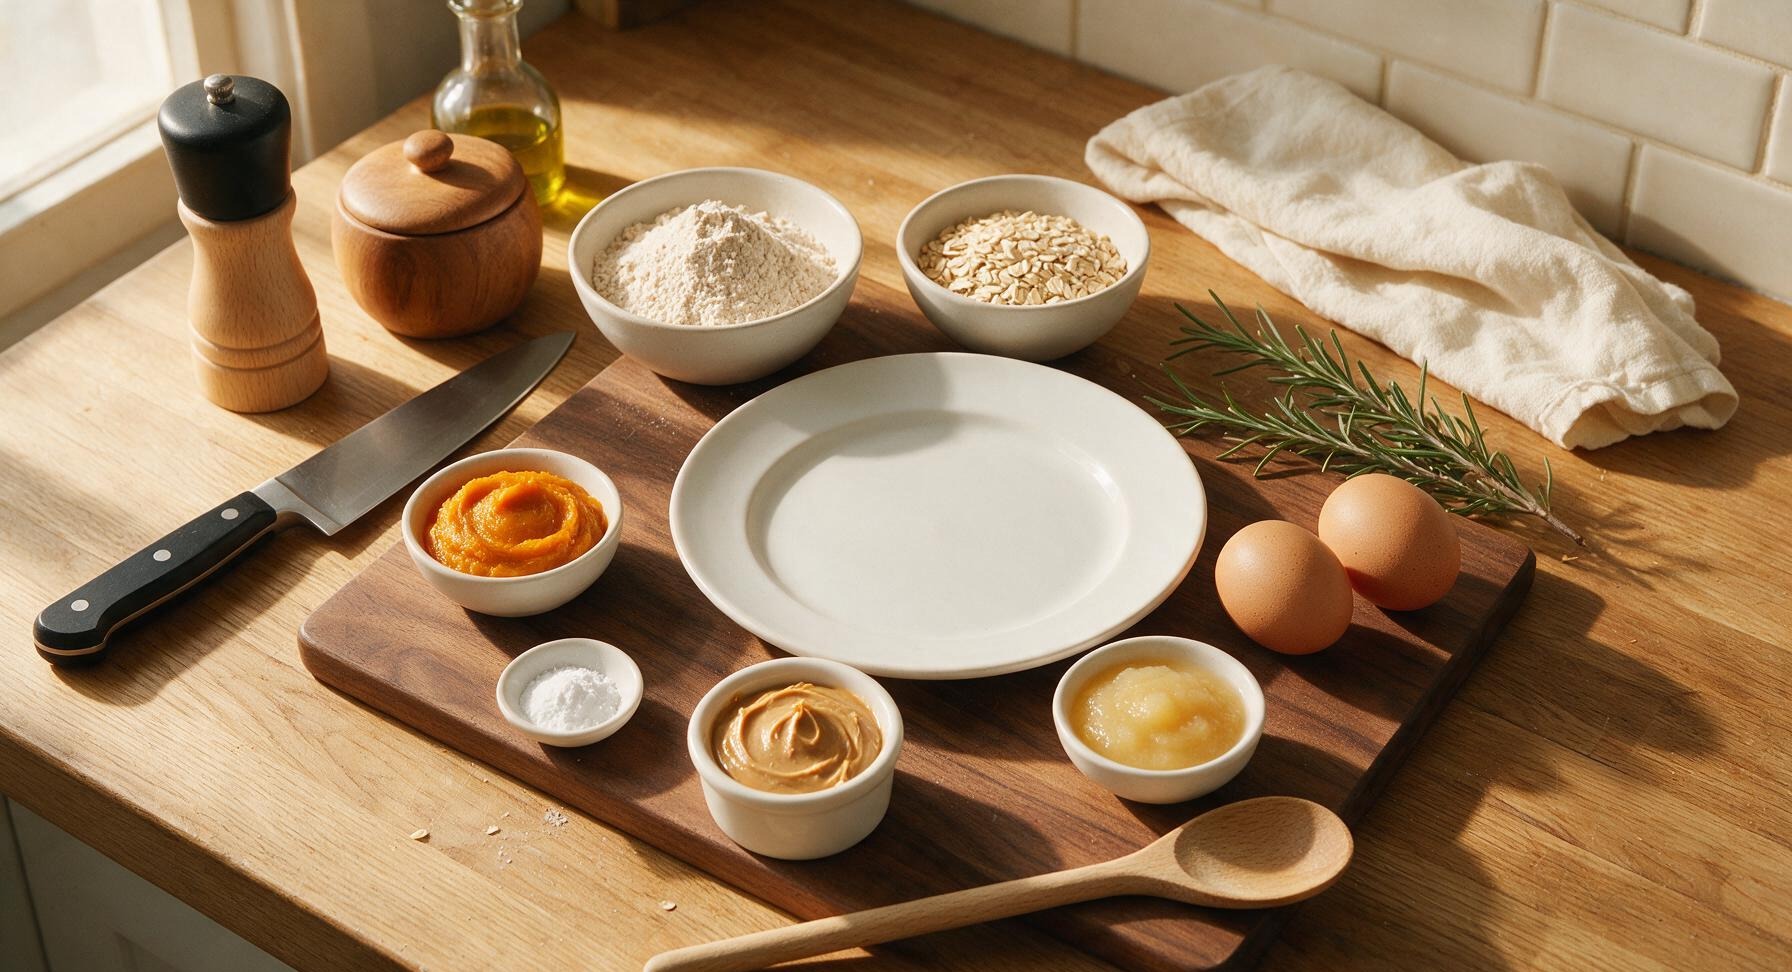
Ingredients
Steps
Prep the Loaf Pan
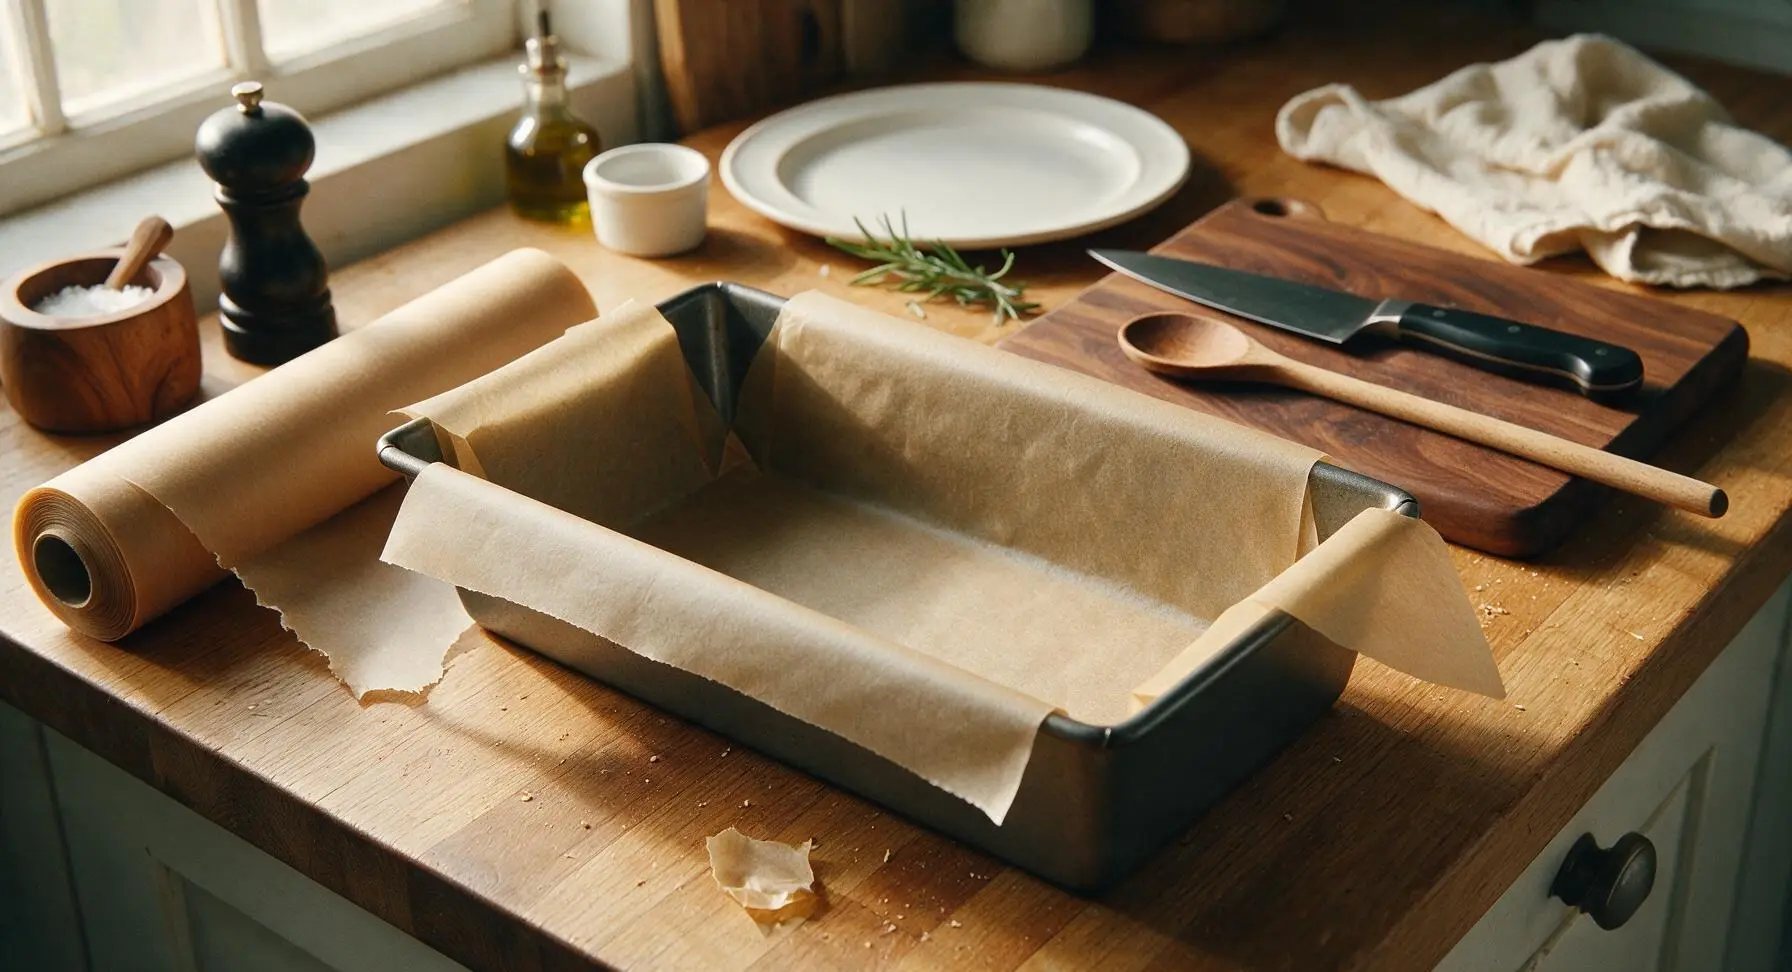
Preheat your oven to 350°F (175°C). Tear a sheet of unbleached parchment paper from the fixed roll to line the 9x5 inch dark grey carbon steel loaf pan, leaving 2 inches of overhang on the two long sides to create handles for lifting the finished loaf. Press the paper flat against the pan bottom and sides, folding corners neatly to avoid bunching. No extra greasing is required, as the parchment will fully prevent sticking. Return the lined pan to its fixed position on the counter when finished.
Combine Dry Ingredients
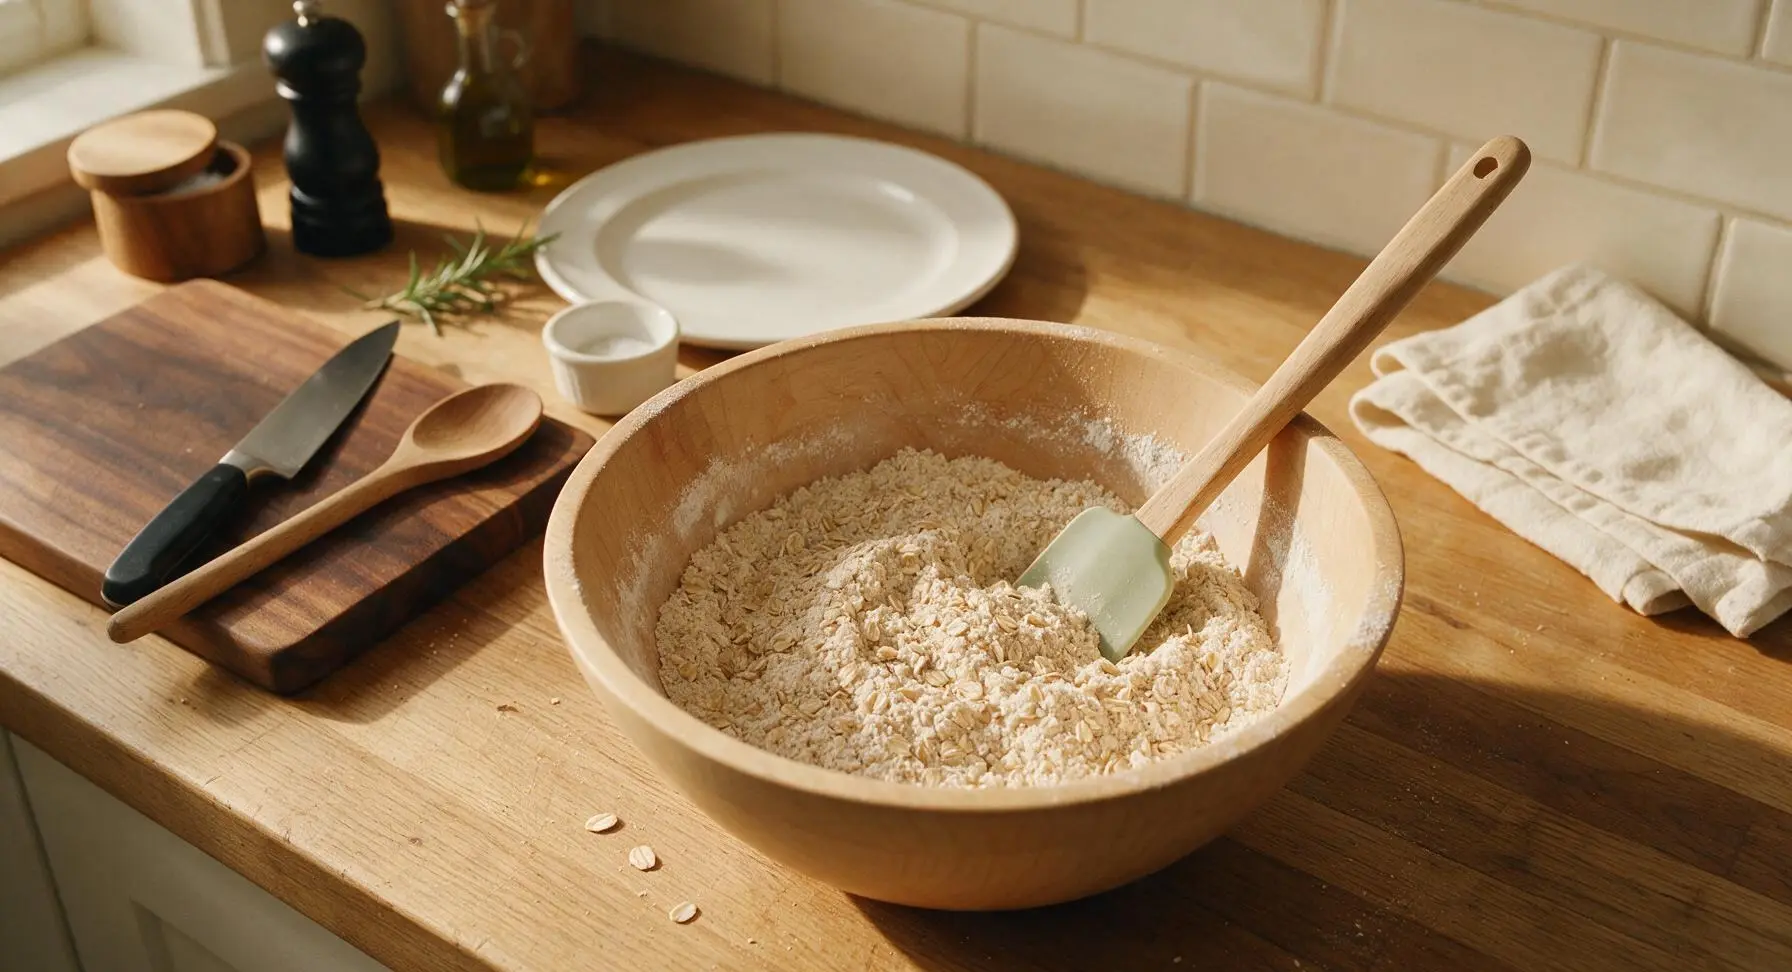
Add the 2 cups whole wheat flour, 1 cup rolled oats, and 1 teaspoon baking soda to the medium light maple mixing bowl. Use the pale sage green silicone spatula to stir the dry ingredients for 30 seconds, until fully combined with no visible clumps of baking soda. The finished dry mixture will be a pale flecked tan, with evenly distributed oat pieces throughout.
Add Wet Ingredients
Crack the 2 large eggs directly into the mixing bowl on top of the dry ingredients, then add the 1/2 cup unsweetened pumpkin puree, 1/3 cup xylitol-free peanut butter, and 1/2 cup unsweetened applesauce. If any small eggshell fragments fall into the bowl, use the tip of the fixed paring knife to fish them out before mixing.
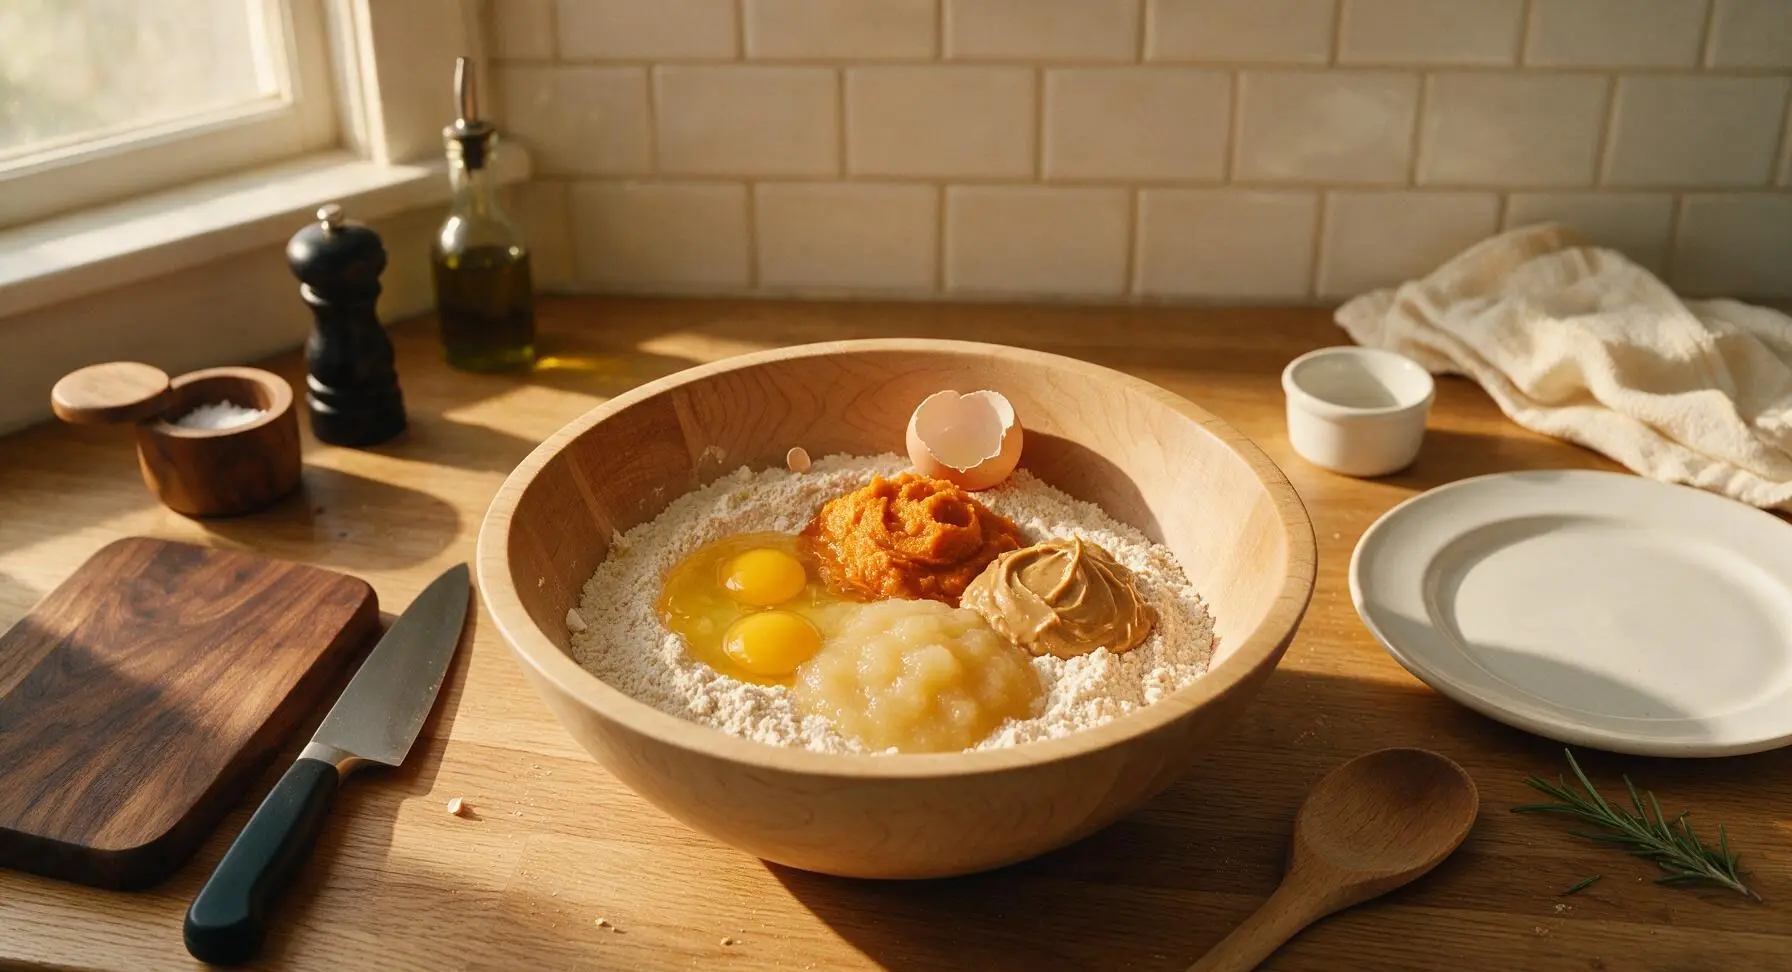
Mix Smooth Batter
Use the pale sage green silicone spatula to fold wet and dry ingredients together, scraping the bottom and sides of the bowl every few strokes to incorporate hidden pockets of dry flour. Mix for 1 to 2 minutes just until no dry flour remains; do not overmix, as this will create a dense, tough bread. The finished batter will be thick, scoopable, and a uniform warm tan color, with visible oat flecks scattered throughout.
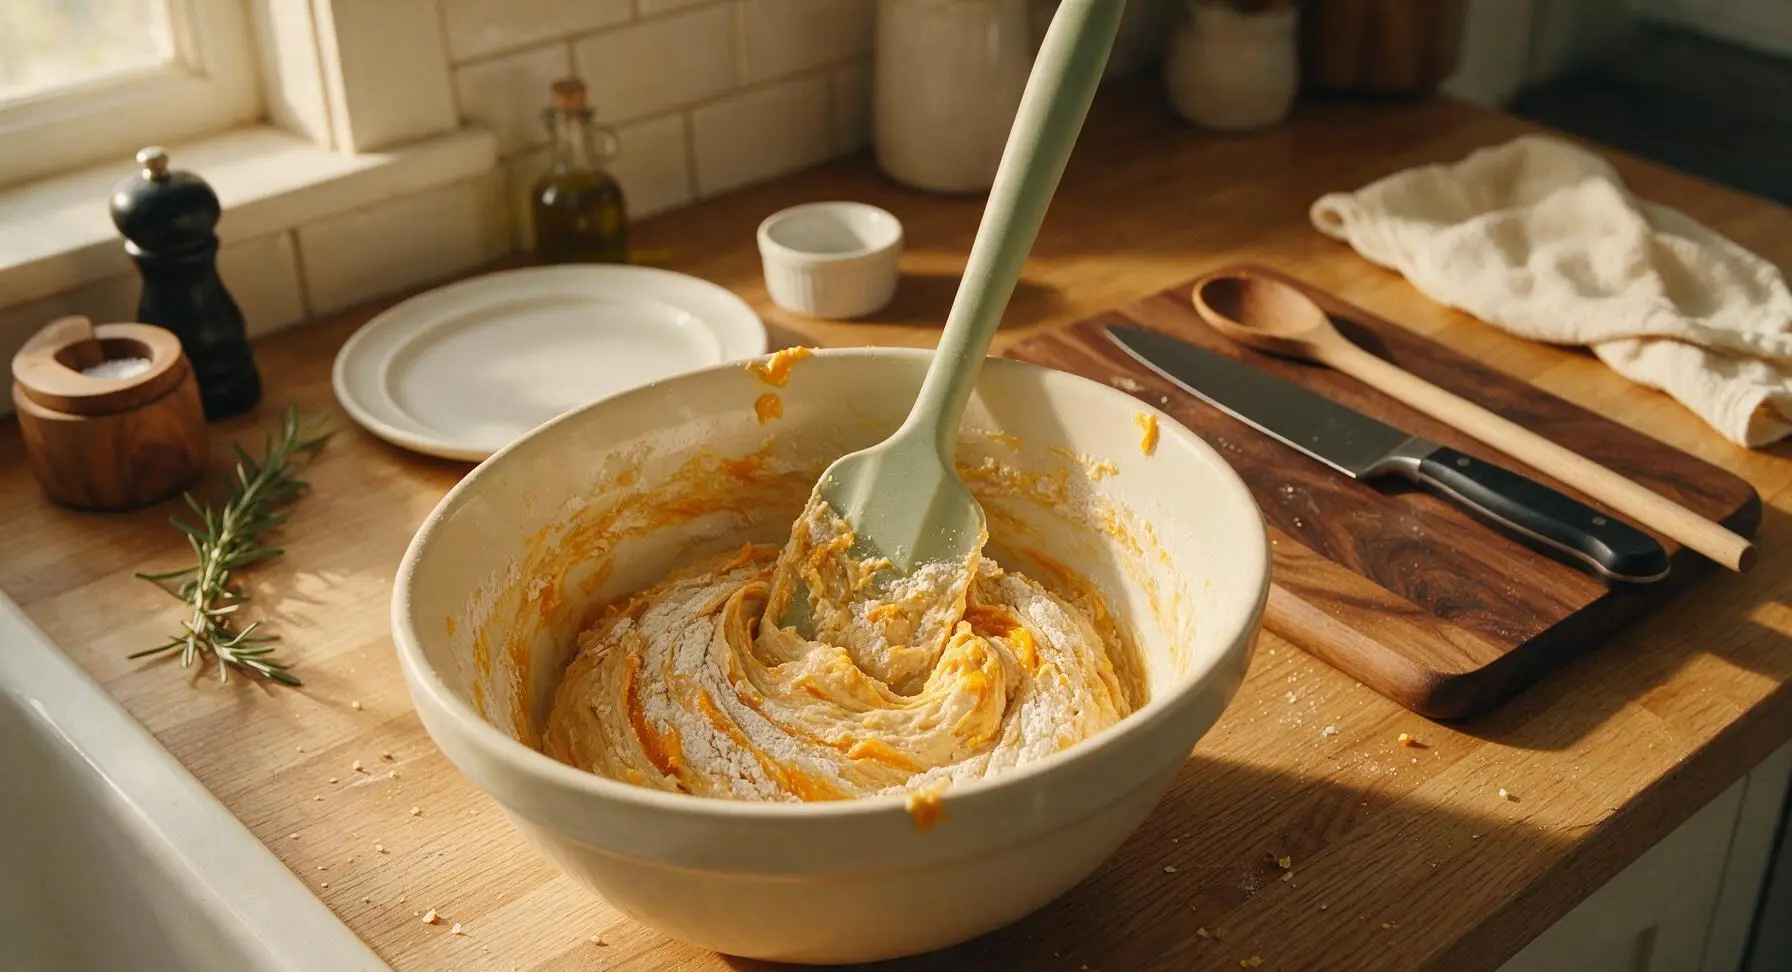
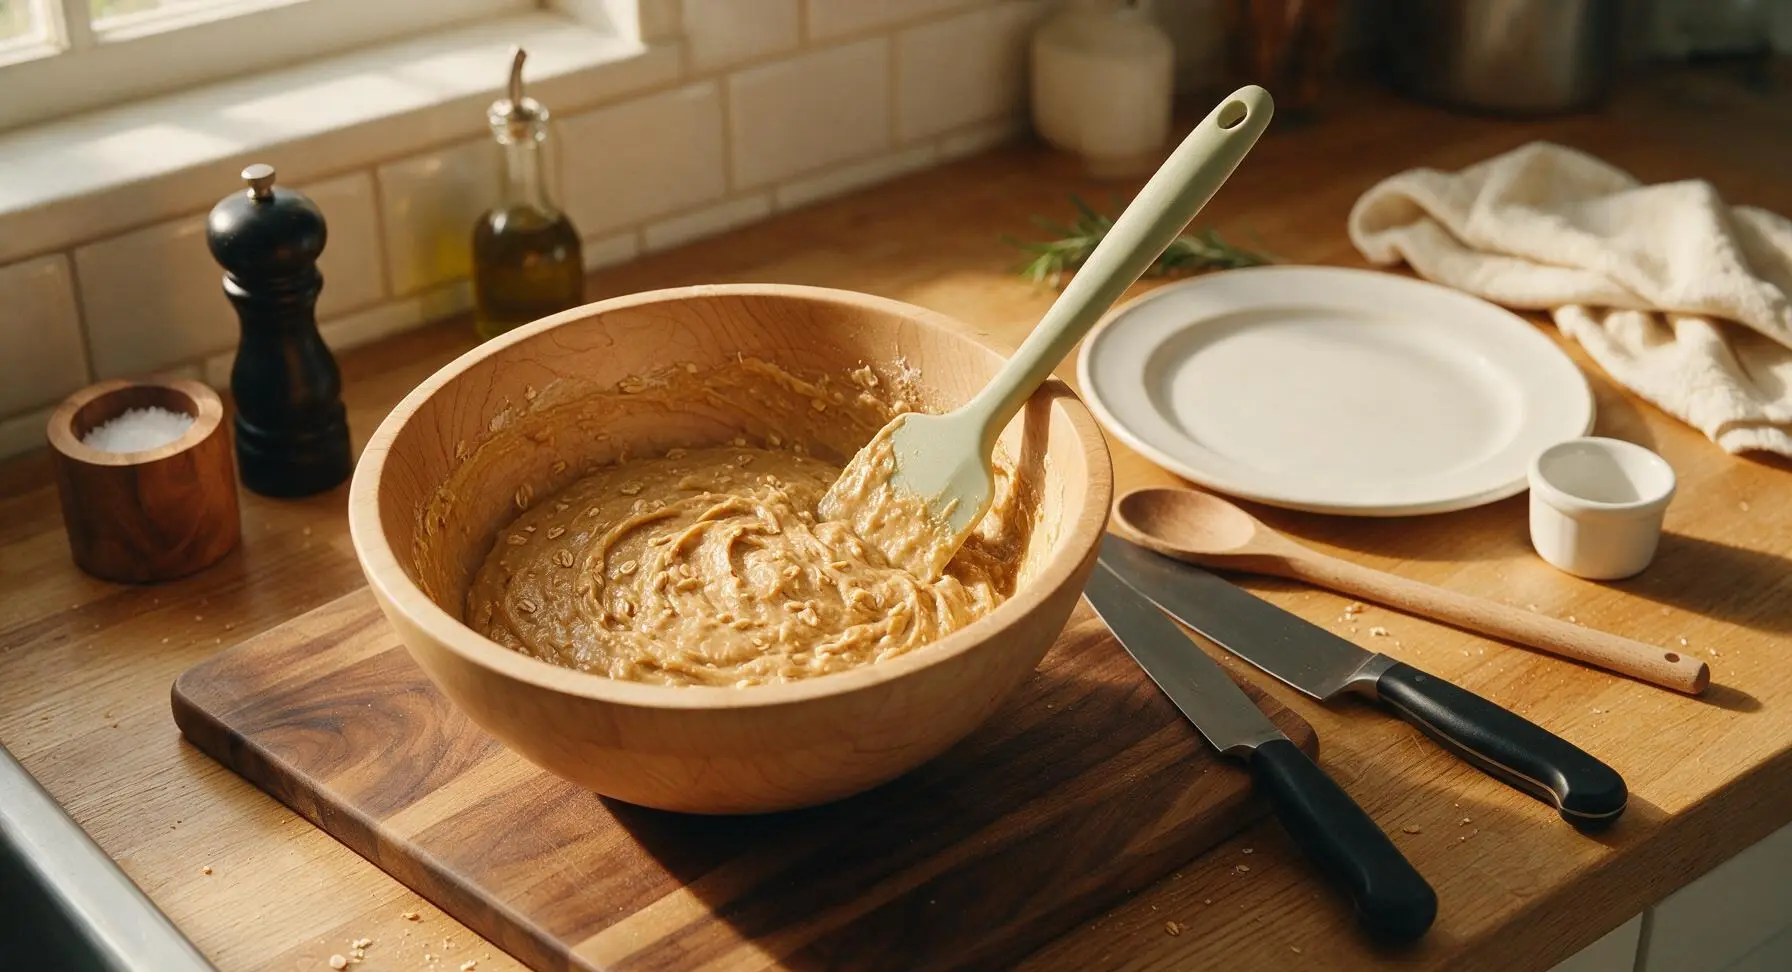
Fill the Loaf Pan
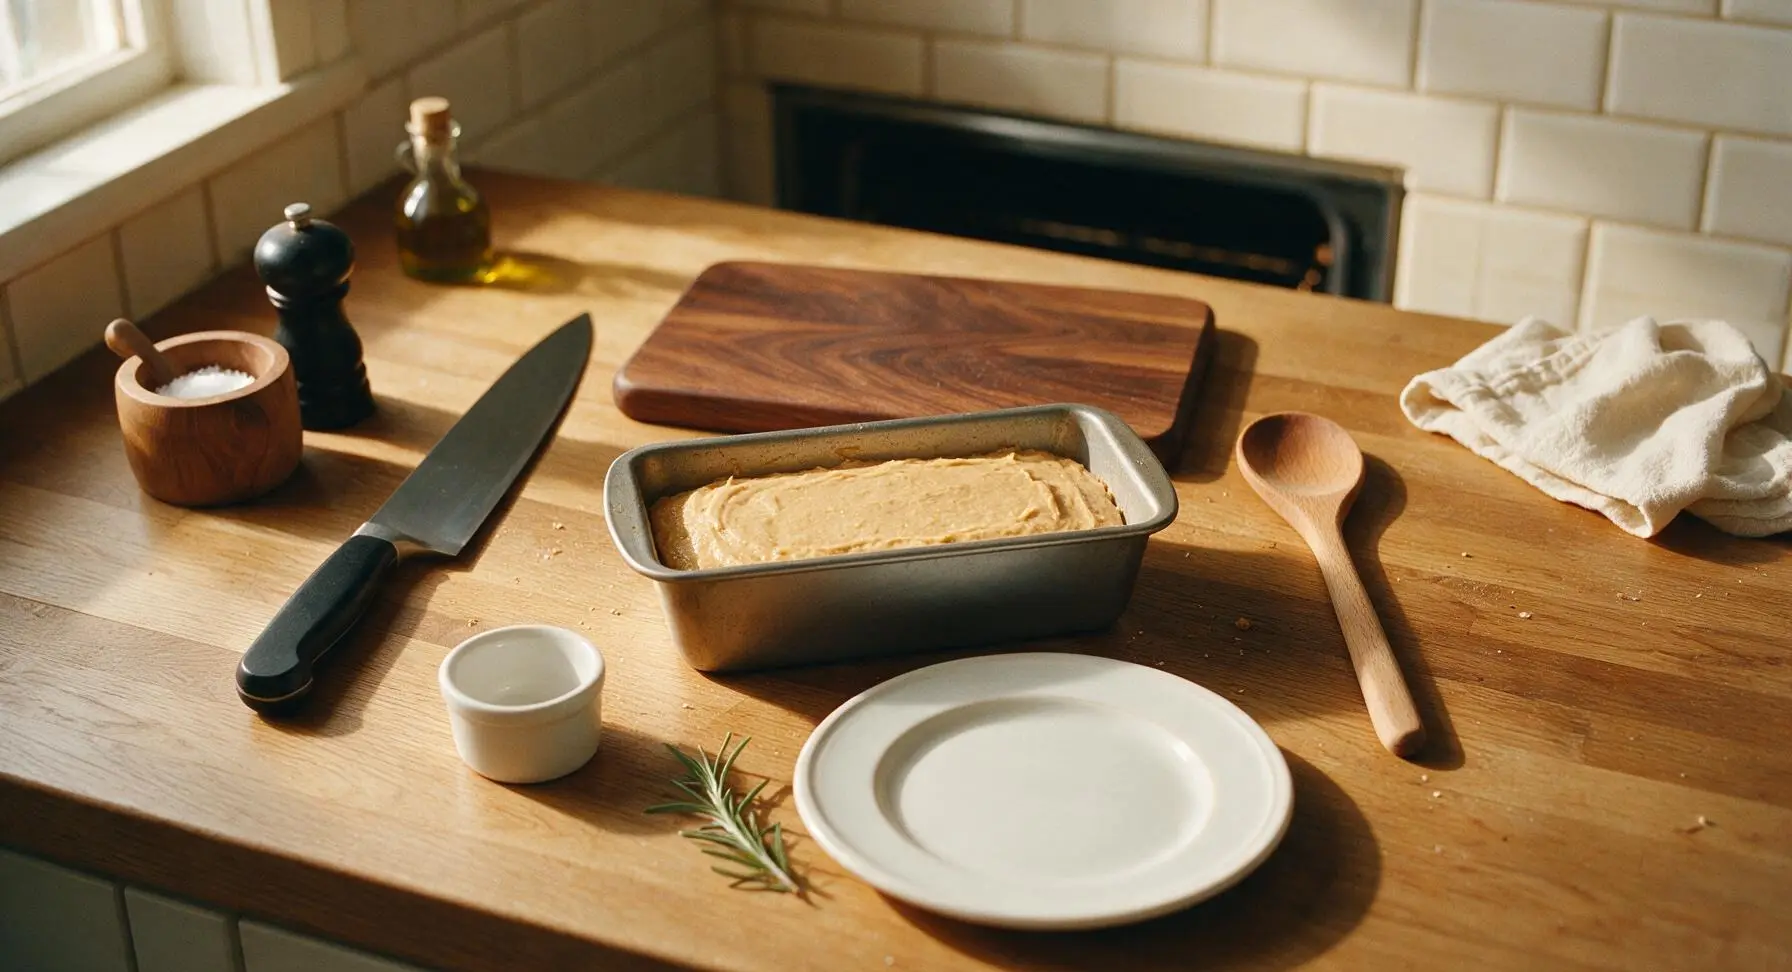
Scrape all of the finished batter from the mixing bowl into the parchment-lined loaf pan, using the silicone spatula to get every last bit of batter from the bowl sides and bottom. Spread the batter into a roughly even layer across the pan, then tap the pan firmly on the counter 3 times to pop large trapped air bubbles, which prevents uneven holes in the baked loaf.
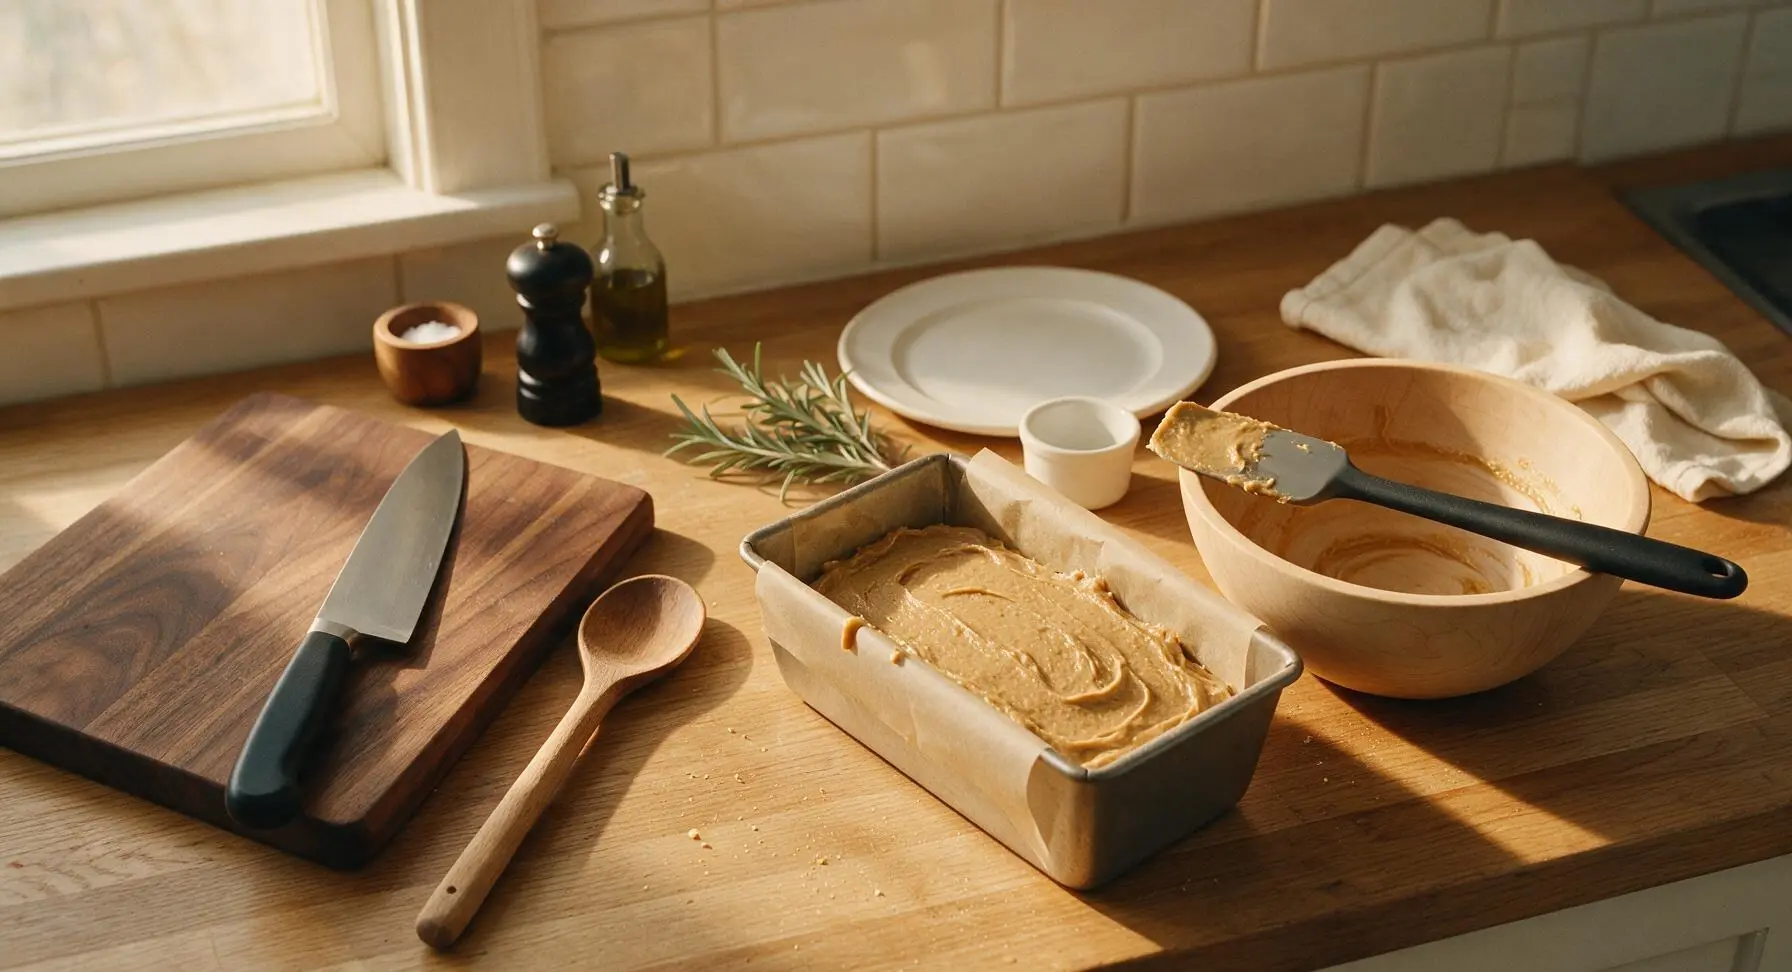
Bake Until Set
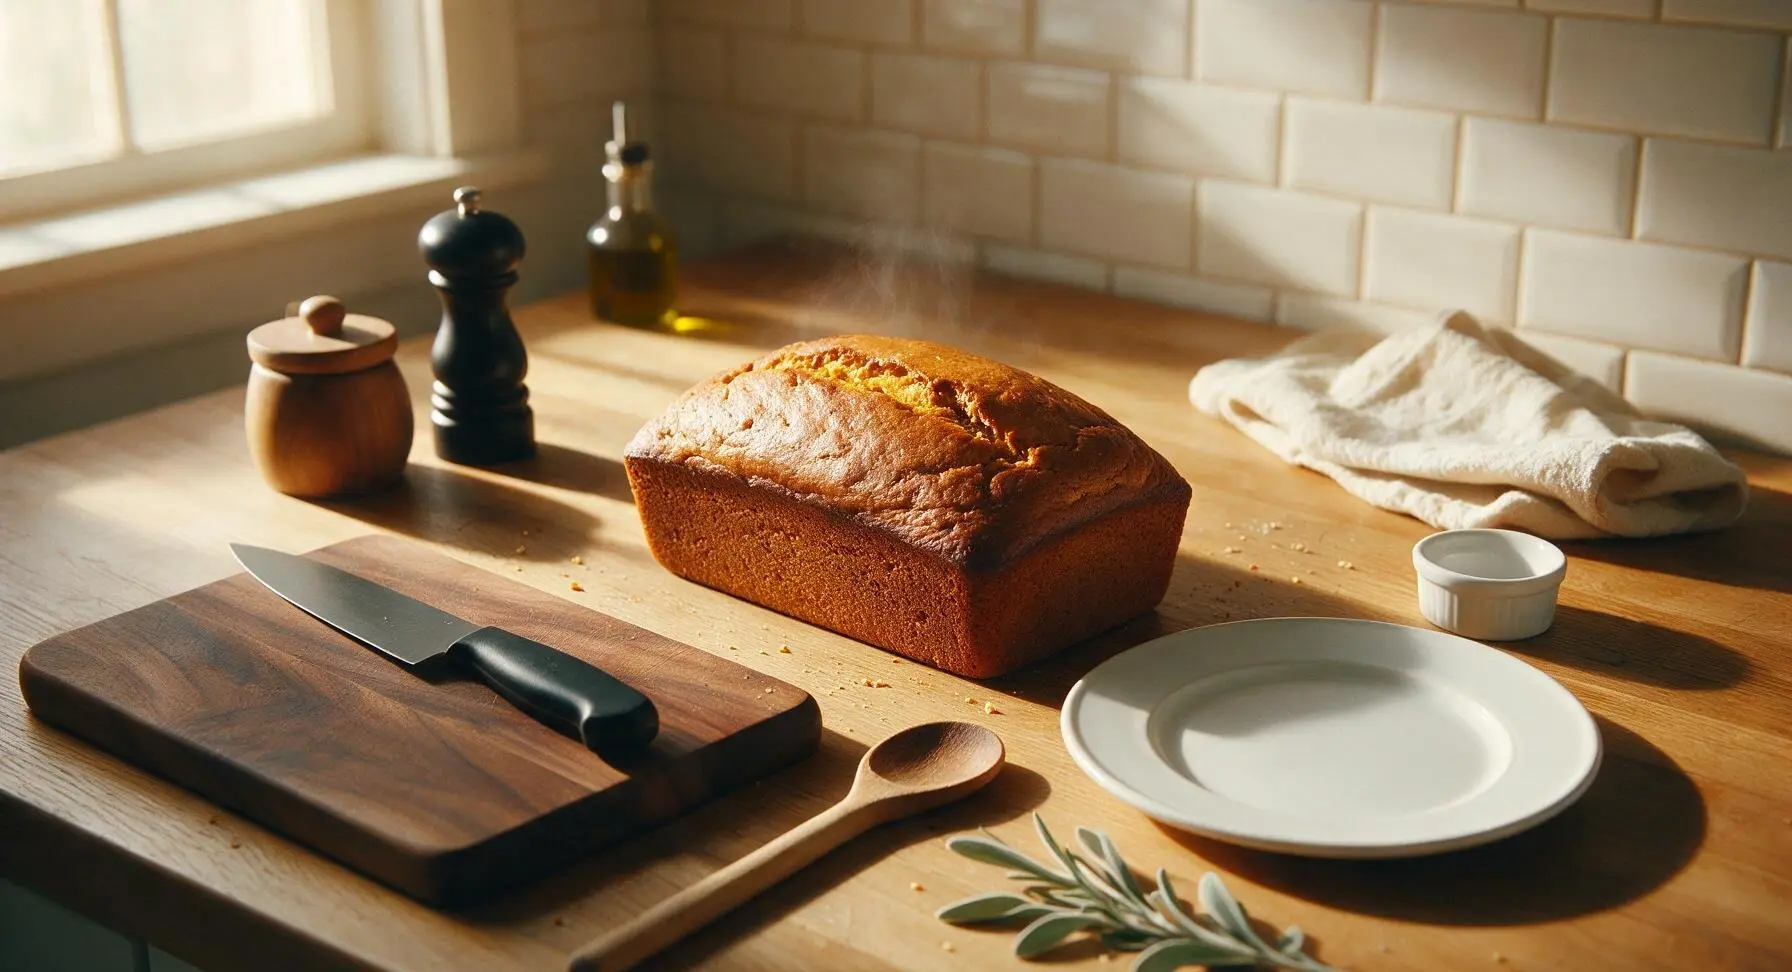
Carefully place the filled loaf pan on the middle rack of the preheated 350°F (175°C) oven. Bake for 35 to 40 minutes, until the top is deep golden brown and firm to a light touch. Test for doneness by inserting the tip of the paring knife into the center of the loaf: it should come out clean, with no wet batter clinging to the blade. Avoid overbaking, which will make the bread too hard for dogs to chew comfortably.
Cool Loaf Completely
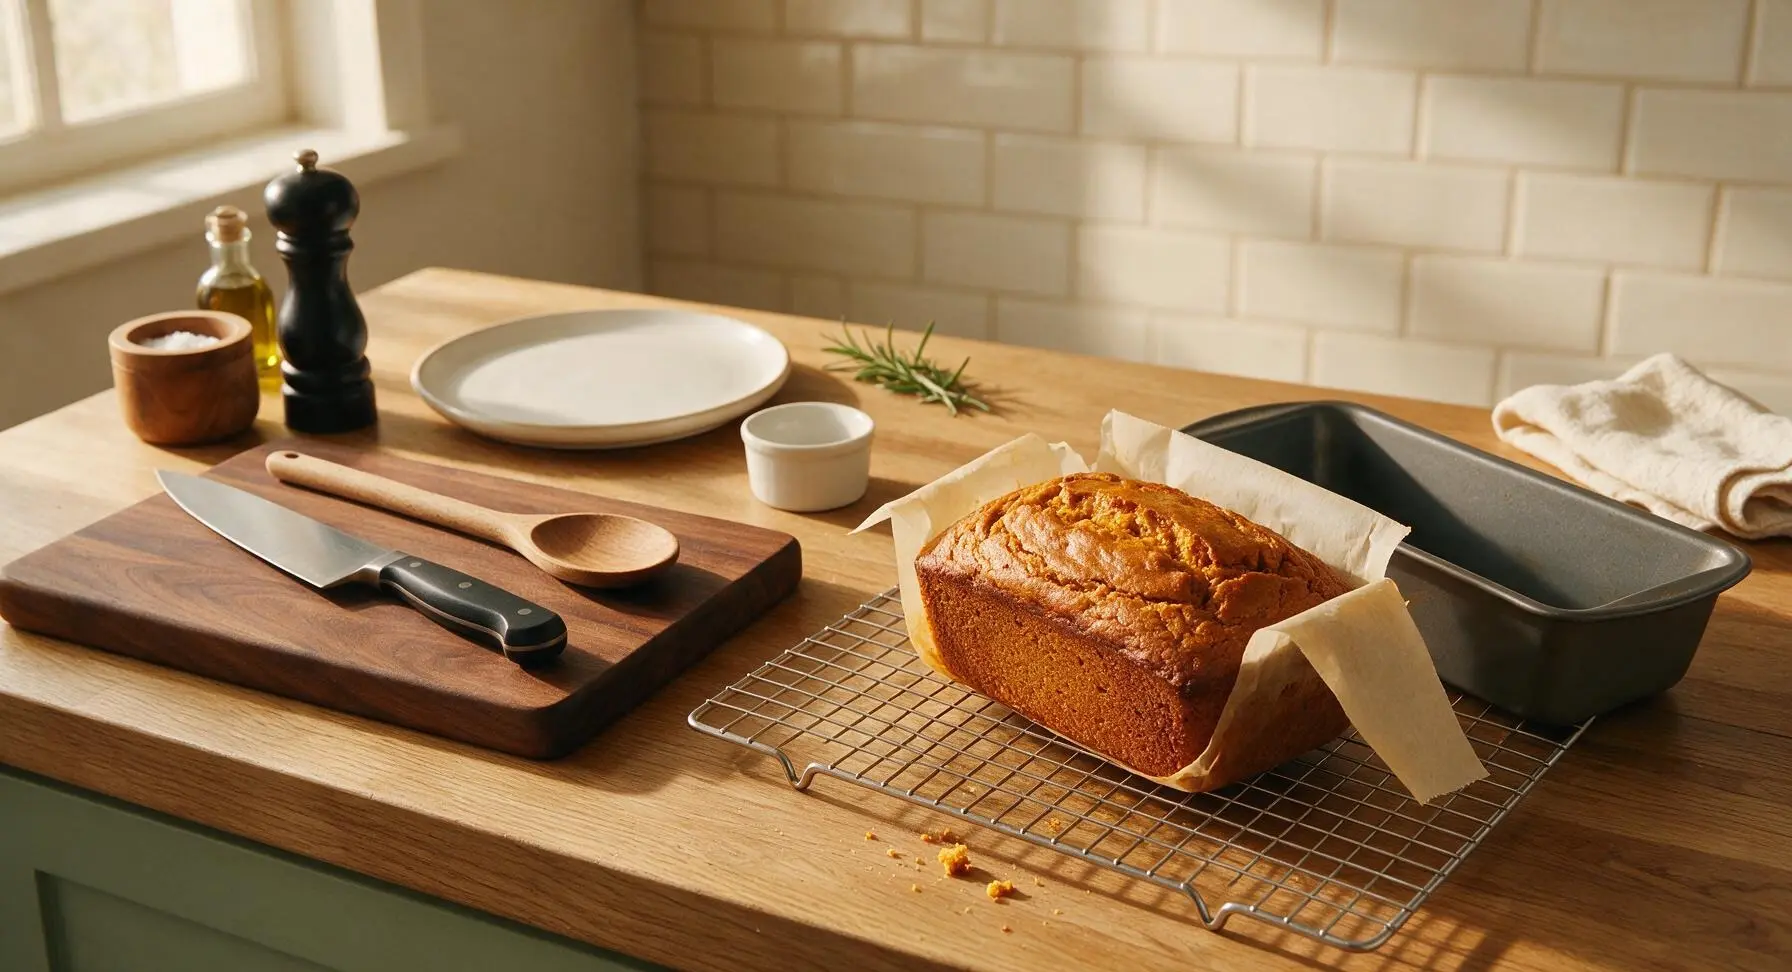
Grasp the parchment paper overhangs to lift the hot loaf straight out of the pan immediately after removing it from the oven, and transfer it to the matte chrome wire cooling rack on the far right of the counter. Let the bread cool fully for 1 full hour before slicing; slicing warm bread will cause crumbling, and warm bread can burn your dog’s mouth. Leave the empty loaf pan on the counter beside the rack to cool.
Slice for Serving
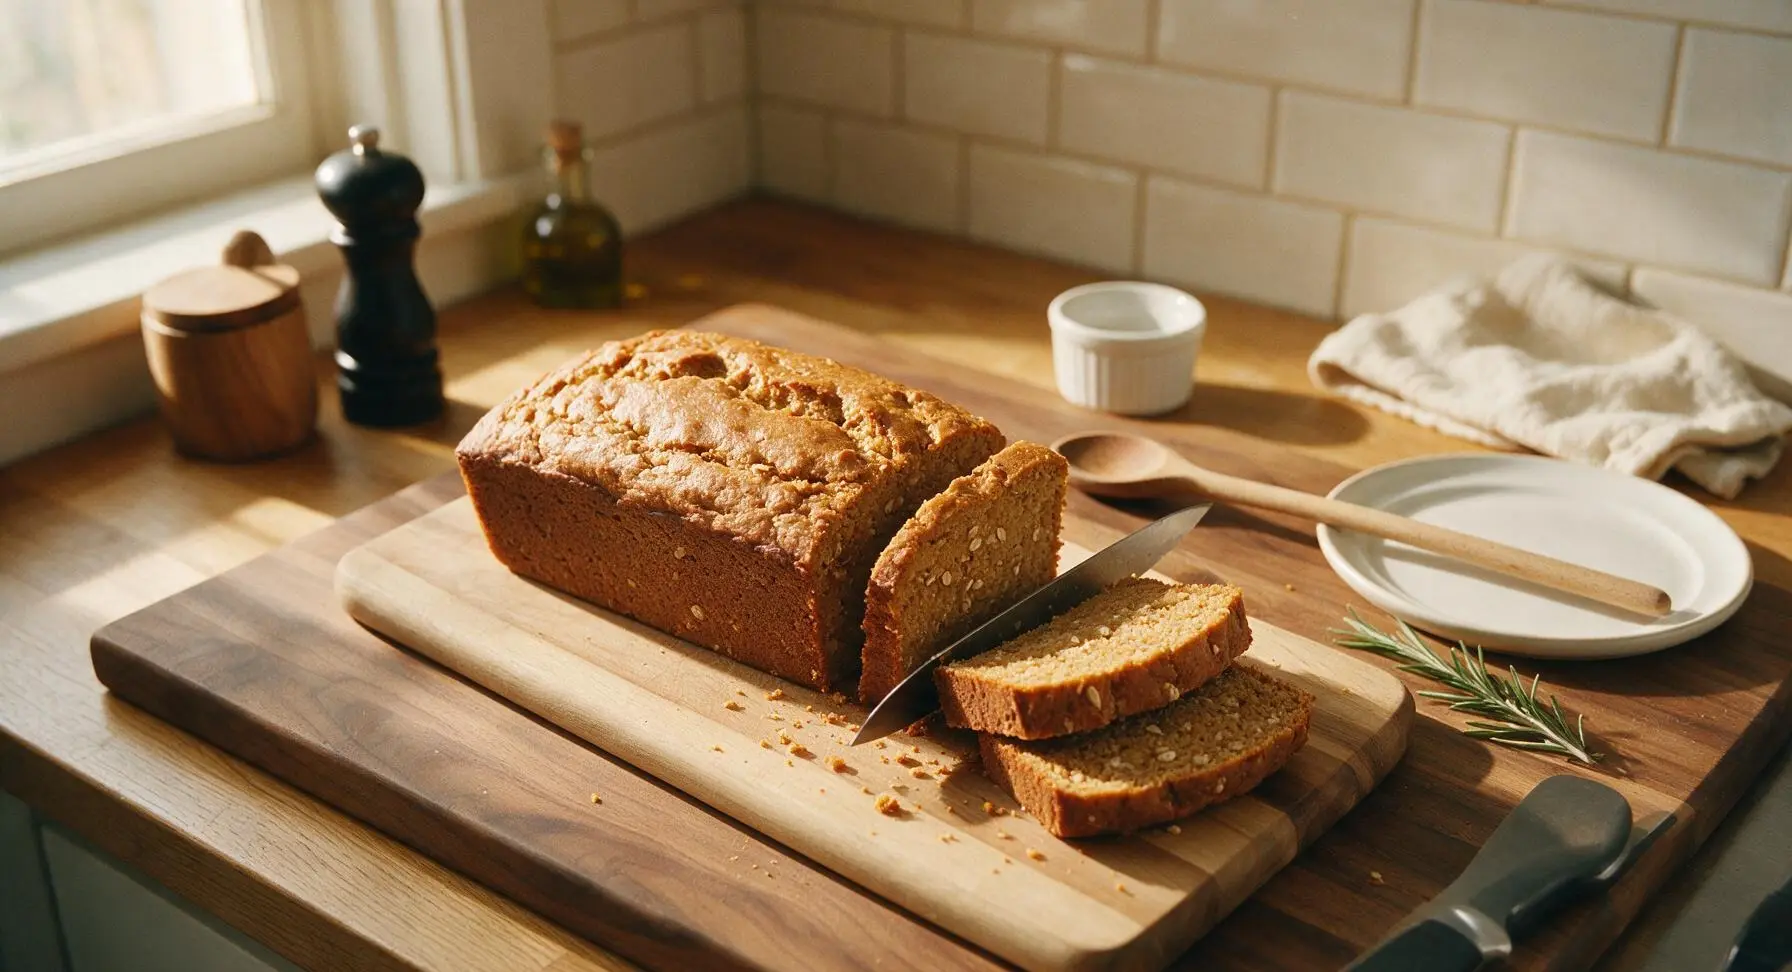
Once fully cooled, transfer the loaf from the cooling rack to the birch wood cutting board. Use the paring knife to slice the bread into even 1cm thick slices. For small dogs, cut slices into 2cm bite-sized cubes; for medium and large dogs, serve half or full slices as an occasional treat, adjusting their regular meal portions to account for extra calories.
Tips
2.Never add toxic mix-ins like chocolate, raisins, macadamia nuts, garlic, or onion powder to this bread. If you want to customize the recipe, use dog-safe additions like finely shredded carrot, mashed banana, or crushed plain dry dog kibble.
3.Store leftover bread in an airtight container in the refrigerator for up to 7 days, or freeze individual slices for up to 3 months. Thaw frozen slices fully before serving to avoid stomach upset, and always account for treat calories in your dog’s daily food intake to prevent unhealthy weight gain.






OMG my golden retriever, Max, went absolutely feral for this bread! It was so easy to throw together, I had all the ingredients in my pantry already. No weird added sugars or xylitol which is such a relief. Baked it in 35 minutes exactly like the recipe said, perfect texture every time.
Super easy recipe, my two corgis devoured it! Only reason I’m knocking a star is I accidentally overbaked mine by 3 minutes so the edges were a little crisp, but the pups didn’t care one bit. Great for quick treat prep for the week.
Game changer for my pup’s birthday! I frosted it with a little plain Greek yogurt and put a dog treat on top, he felt like the king of the house. All the other dogs at his little park party went crazy for it too, multiple owners asked for the recipe!
I run a small foster rescue out of my home, and I made a double batch of this for all the pups this weekend. Even the pickiest eater who turns his nose up at every store-bought treat ate two slices! SO easy to scale up for a crew.
Okay full transparency: I made this for my dog but ended up eating half the loaf myself? It’s not sweet like regular pumpkin bread but it’s so cozy and nutty, and I didn’t feel bad sharing a bite with my pup since there’s no bad stuff in it. Win win!
Recipe was easy enough, but my pup seemed kind of indifferent to it? Maybe I used too much pumpkin? Not sure, I’ll give it another shot next week with a little extra peanut butter, he’s a total peanut butter fiend so that might win him over.
Added this to my weekly Sunday meal prep rotation for my pup! I slice it up and keep it in the fridge, it stays good all week and makes for the perfect quick training treat. Way cheaper than buying fancy boutique pup treats at the pet store.
I swapped the regular all purpose flour for oat flour to make it gluten free for my pup who has a sensitive stomach, and it turned out perfect! No upset tummy at all, he’s been begging for pieces every time I open the fridge.
Brought this to our neighborhood potluck last weekend, half the people thought it was regular pumpkin bread until I told them it was dog-safe! We had a whole group of people bringing their pups over to try slices, it was such a hit. 10/10, will make again for every block party.
My 12 year old lab has bad teeth and struggles with hard treats, so this soft bread is absolutely perfect for him. It’s gentle on his gums, he can eat it without any trouble, and he gets so excited when he sees me pull the loaf out of the fridge. Worth every minute of baking.
Super easy even for someone who burns toast 90% of the time! I didn’t have a loaf pan so I used a muffin tin instead, baked for 20 minutes and they came out great, perfect little pup muffins. Only issue was I forgot to line the tin so they stuck a little, my bad.
First time making any kind of homemade treat for my new puppy, I was so nervous I’d mess it up! The instructions were so straightforward, even a total newbie like me pulled it off. My puppy did zoomies around the house after he had his first bite, I think that’s a glowing review.
I wrap individual slices in parchment paper and toss them in my backpack for long trail hikes with my dog. They hold up really well, don’t get crumbly, and they’re the perfect high-value reward when we hit a tough summit. Way better than crumbly store-bought treats that get smashed in my pack.
My dog has a mild peanut allergy so I swapped the peanut butter for sunflower seed butter, and it worked like a charm! He loved it just as much as he loves his regular peanut butter treats, no allergic reaction at all. So happy this recipe is easy to customize.
I made mini loaves of this for all my dog owner friends for Christmas last year, and everyone texted me saying their pups went crazy for them! Tied them up with little twine and a dog bone gift tag, such a cute, thoughtful cheap gift.
Took a chance on this even though my shih tzu turns his nose up at literally everything, and he actually ate it! Only note is I wish it had a little stronger peanut butter flavor, next time I’ll add an extra scoop, but otherwise it’s a huge win in our house.