1.Why do I need to strain the fresh navel orange juice for this recipe?
▾
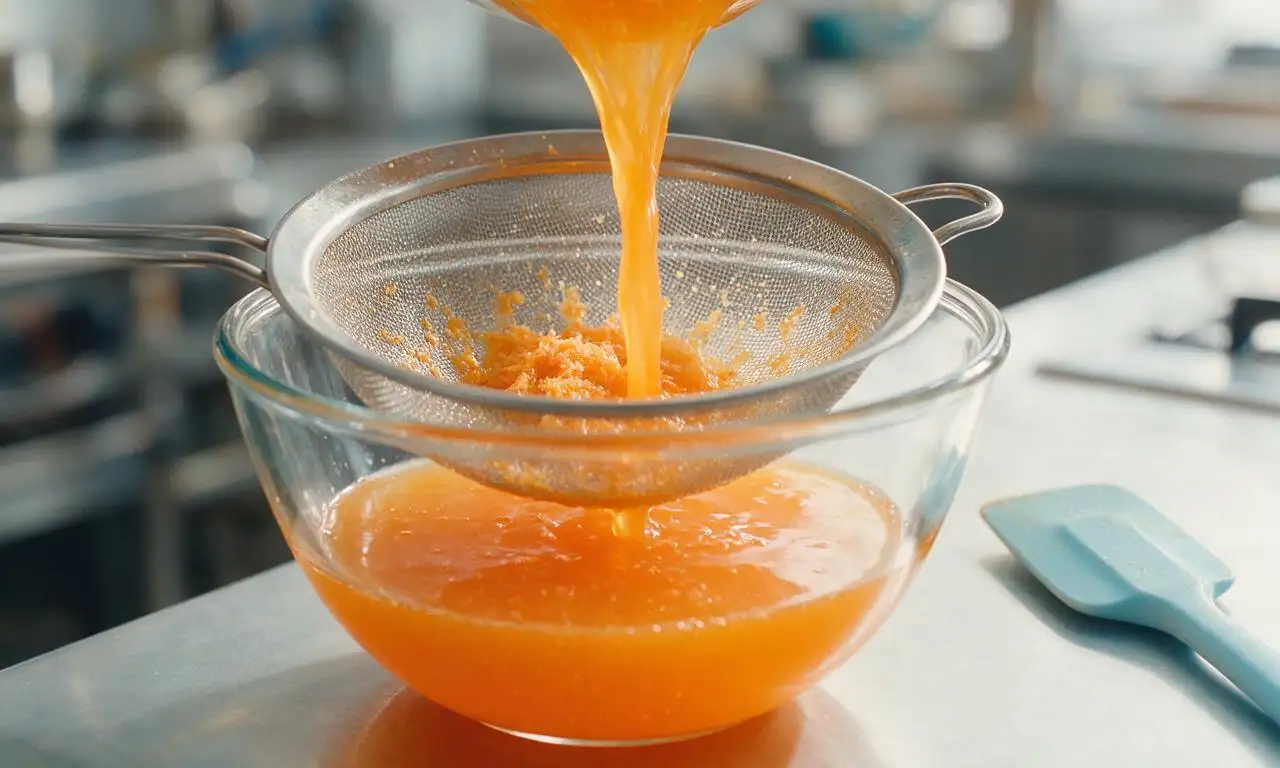
Straining removes stringy pulp and any stray seeds that would create an uneven, slightly chewy, icy texture in your finished pops. Skip this step, and you’ll end up with random fibrous bits instead of that perfectly smooth, nostalgic dreamsicle mouthfeel. Use a fine-mesh sieve, and don’t press pulp hard—you just want clear, bright, smooth juice.
2.Why is it so important to avoid the white pith when grating orange zest?
▾
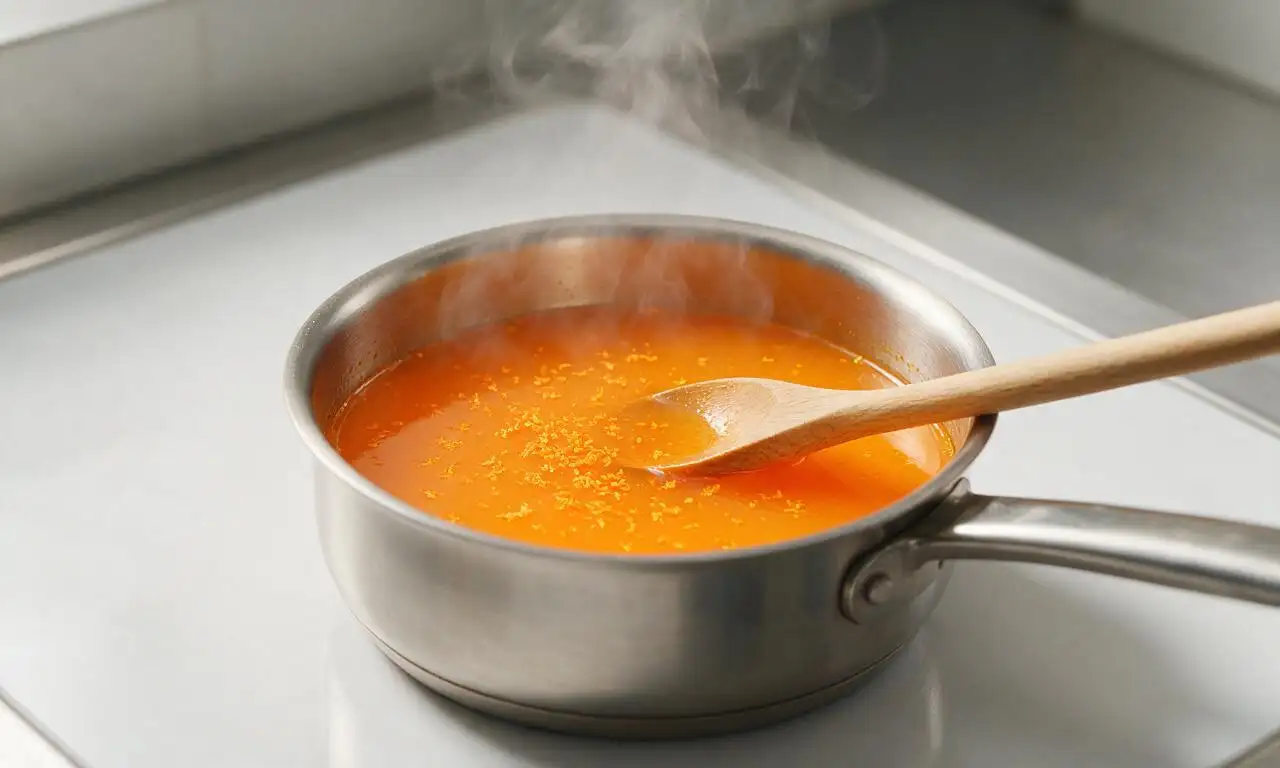
The pale white pith directly under the bright orange peel is intensely bitter, and even a small amount will throw off that sunny, sweet orange flavor you want. Grate only the thin, colorful outer peel with a microplane, stopping as soon as you hit that pale white layer, to keep your pops zesty and bright, not unpleasantly bitter.
3.Do I really need to use chilled heavy whipping cream for this recipe?
▾
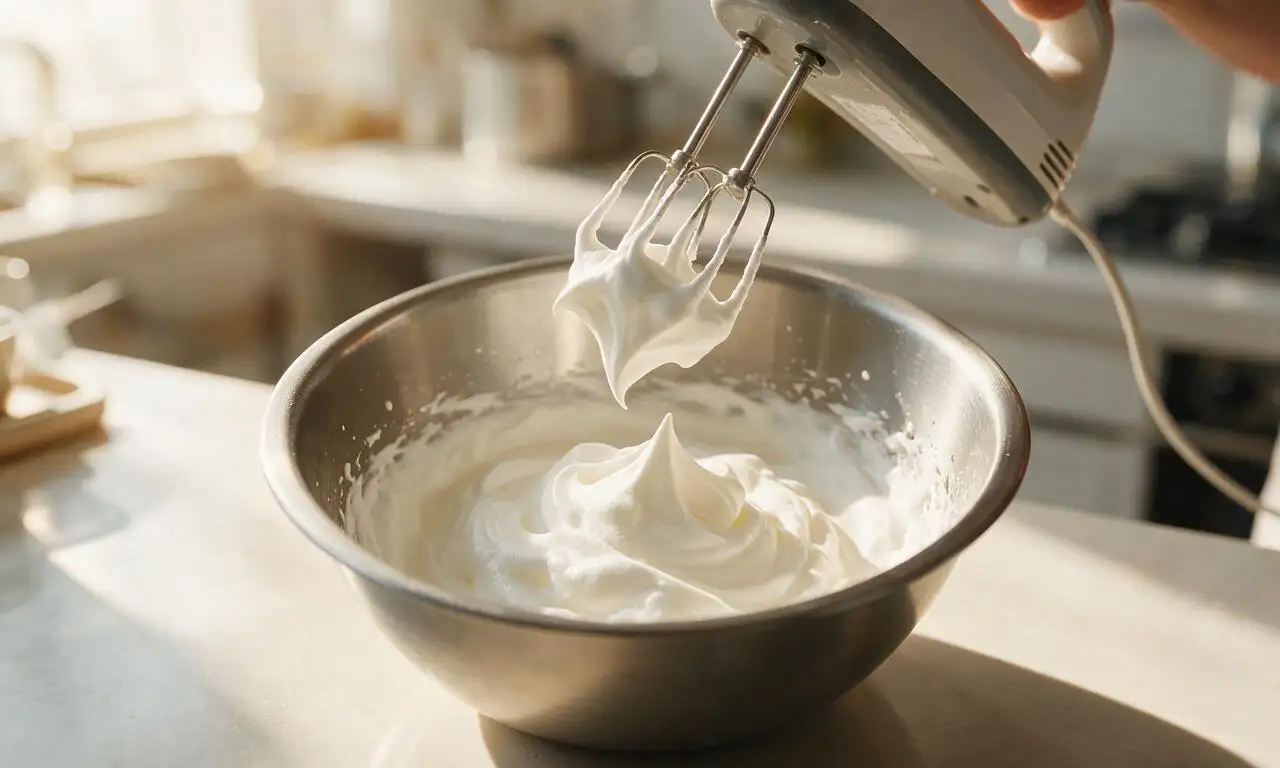
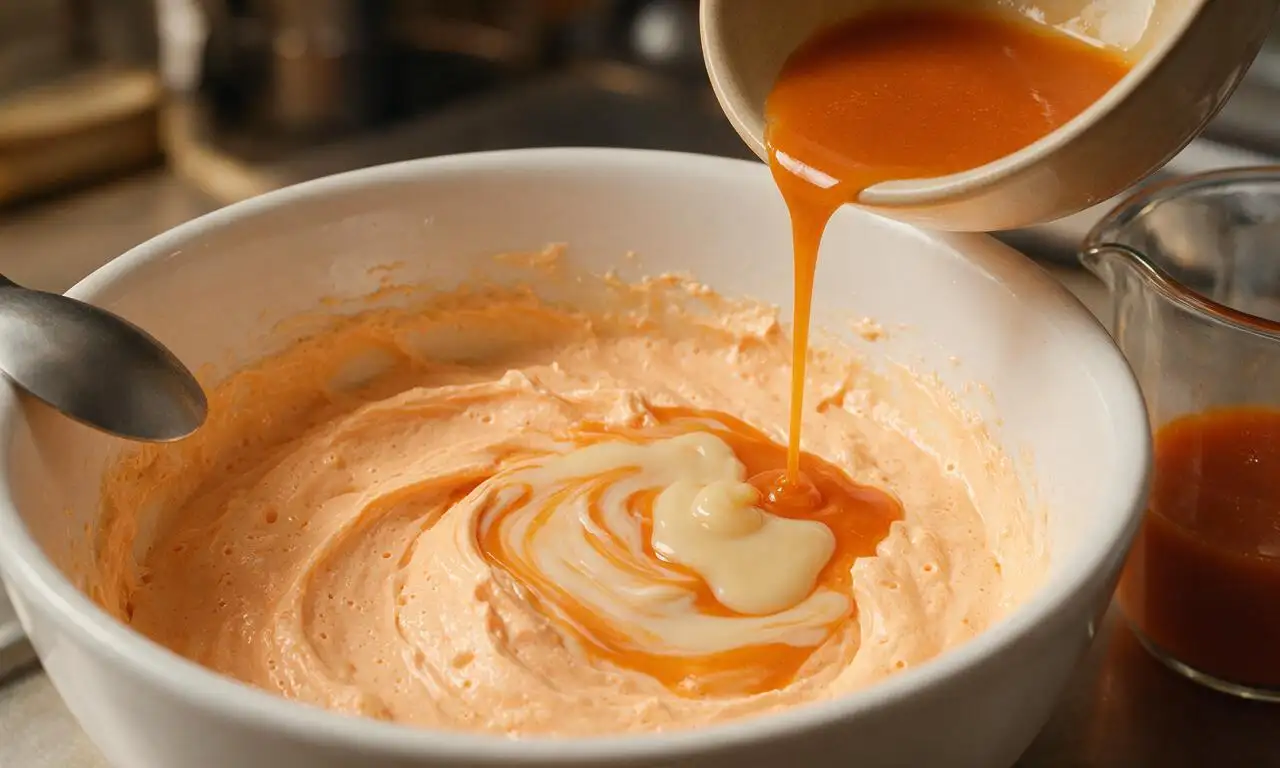
Absolutely! Chilled heavy cream whips up faster, holds more stable air bubbles, and creates that light, fluffy creamy base that makes these pops feel luxe instead of dense and icy. If your cream is room temperature, it won’t form soft peaks, leading to a heavier, less smooth frozen texture that misses that classic dreamsicle feel.
4.Can I use store-bought orange juice instead of fresh-squeezed navel orange juice?
▾
You can use it in a pinch, but fresh strained navel orange juice has that bright, zingy, just-picked flavor that tastes exactly like the childhood pops you remember. Most store-bought orange juice has added preservatives, extra sweetener, or a flat, cooked flavor that makes final pops taste less vibrant, so go fresh whenever possible.
5.How long do these frozen dreamsicles need to set before they’re ready to eat?
▾
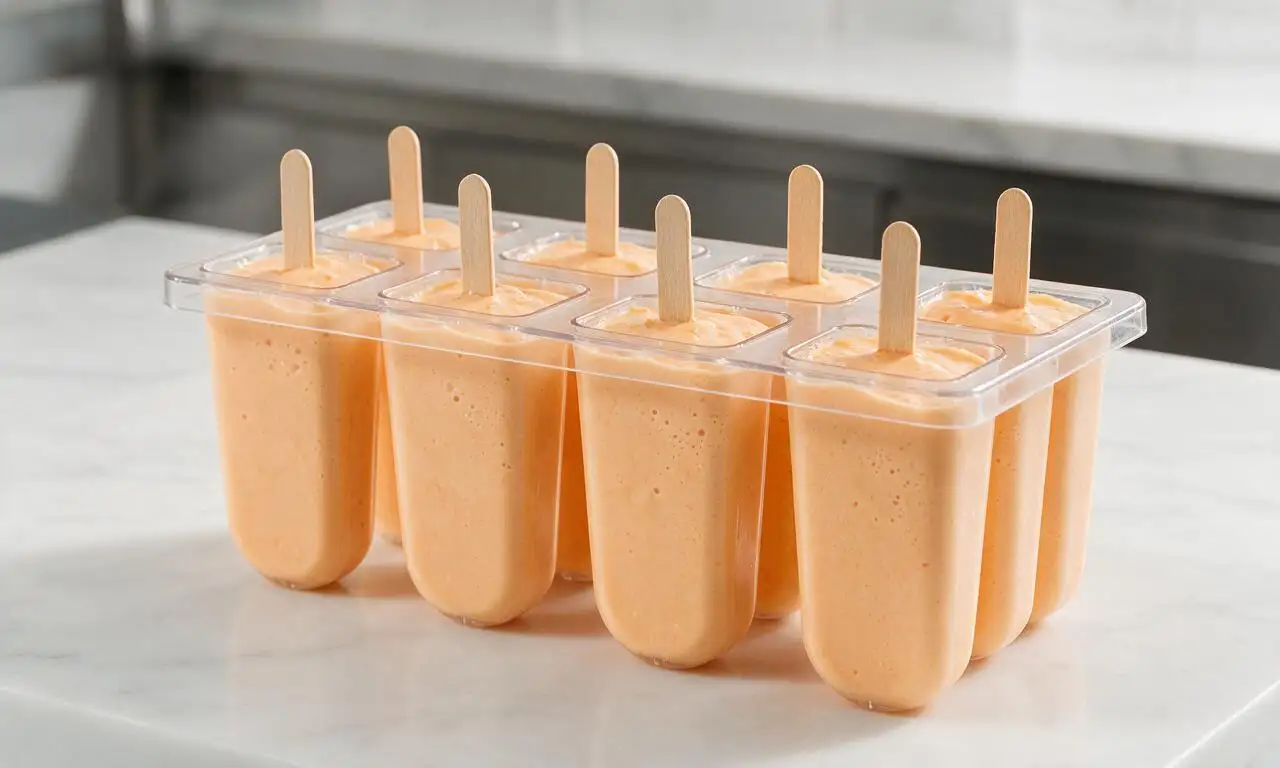
Plan for at least 6 hours of freeze time, though leaving them overnight is even more reliable for a fully firm, easy-to-unmold pop. If you cut freeze time short, the center will be soft and runny instead of that perfect creamy frozen texture. Make sure your freezer is set to 0°F or colder for the most consistent set.
6.Can I make these dreamsicles without buying special popsicle molds?
▾
Definitely! You don’t need fancy equipment to nail this recipe. Disposable 3-ounce paper cups work perfectly—just pour the base in, cover each cup with a small square of aluminum foil, then poke a wooden popsicle stick through the foil center to hold it upright as it freezes. Peel the cup off when you’re ready to eat.
7.Why is there no added granulated sugar in this ingredient list?
▾
Sweetened condensed milk brings all the balanced sweetness you need for this recipe, so extra granulated sugar isn’t required. It also adds a rich, creamy thickness that plain sugar can’t match, helping prevent large ice crystals from forming as the pops freeze. Bright orange zest and juice cut the sweetness so pops never taste cloying.
8.How do I prevent large, crunchy ice crystals from forming on my dreamsicles?
▾
First, make sure all your ingredients are well-chilled before mixing, and whip the heavy cream to soft peaks to trap air that keeps the texture light. Once you pour the base into molds, cover them tightly before freezing to block excess moisture, and avoid repeated freezer door openings while they set, which cause temperature swings that create icy crystals.
9.Can I add mix-ins like candy pieces or cookie crumbs to these pops?
▾
Absolutely! Fold in up to ½ cup of your favorite mix-ins right after you combine the whipped cream, orange base, and condensed milk, just before pouring into molds. Keep mix-ins finely chopped so they don’t sink to the mold bottom—think mini white chocolate chips, crushed shortbread, or tiny bits of candied orange peel for a fun twist.
10.How long will these homemade dreamsicles stay good in the freezer?
▾
When stored properly in an airtight, freezer-safe container (or tightly wrapped in plastic wrap once unmolded), these pops will stay fresh and creamy for up to 1 month. After that, they may start to develop freezer burn or lose that bright orange and vanilla flavor, so label them with the make date to enjoy them at their best.
11.What’s the best way to get the pops out of molds without breaking them?
▾
The easiest trick is to fill a tall glass with warm (not boiling) water, then dip the bottom of the popsicle mold in the water for 10 to 15 seconds. Don’t submerge the top where the pops meet the stick! Gently wiggle the stick to pull the pop straight out, and it will release cleanly without cracking or getting stuck.
12.Can I make a dairy-free version of these creamy dreamsicles?
▾
You can! Swap the heavy whipping cream for chilled full-fat coconut cream (scooped from a thoroughly chilled can, leaving the watery separated liquid behind) and use dairy-free sweetened condensed coconut milk in place of regular condensed milk. Keep the fresh orange juice, zest, and vanilla the same for a similarly creamy, zesty pop that works for dairy-free diets.
13.Do I have to whip the heavy cream first, or can I just stir all ingredients together?
▾
Whipping the cream to soft, billowy peaks is key to getting that light, melt-in-your-mouth creamy texture instead of a dense, hard frozen block. If you just stir all the ingredients together without whipping, you’ll end up with a rock-hard, icy pop that misses that signature fluffy dreamsicle mouthfeel, so don’t skip that quick step.
14.Why does this recipe call for pure vanilla extract instead of imitation vanilla?
▾
Pure vanilla extract has a rich, warm, complex vanilla flavor that pairs perfectly with bright orange to create that classic nostalgic creamsicle taste. Imitation vanilla has a flat, slightly artificial aftertaste that can overpower the fresh, zesty orange flavor, so use pure vanilla for that authentic, creamy childhood-favorite flavor you’re craving.

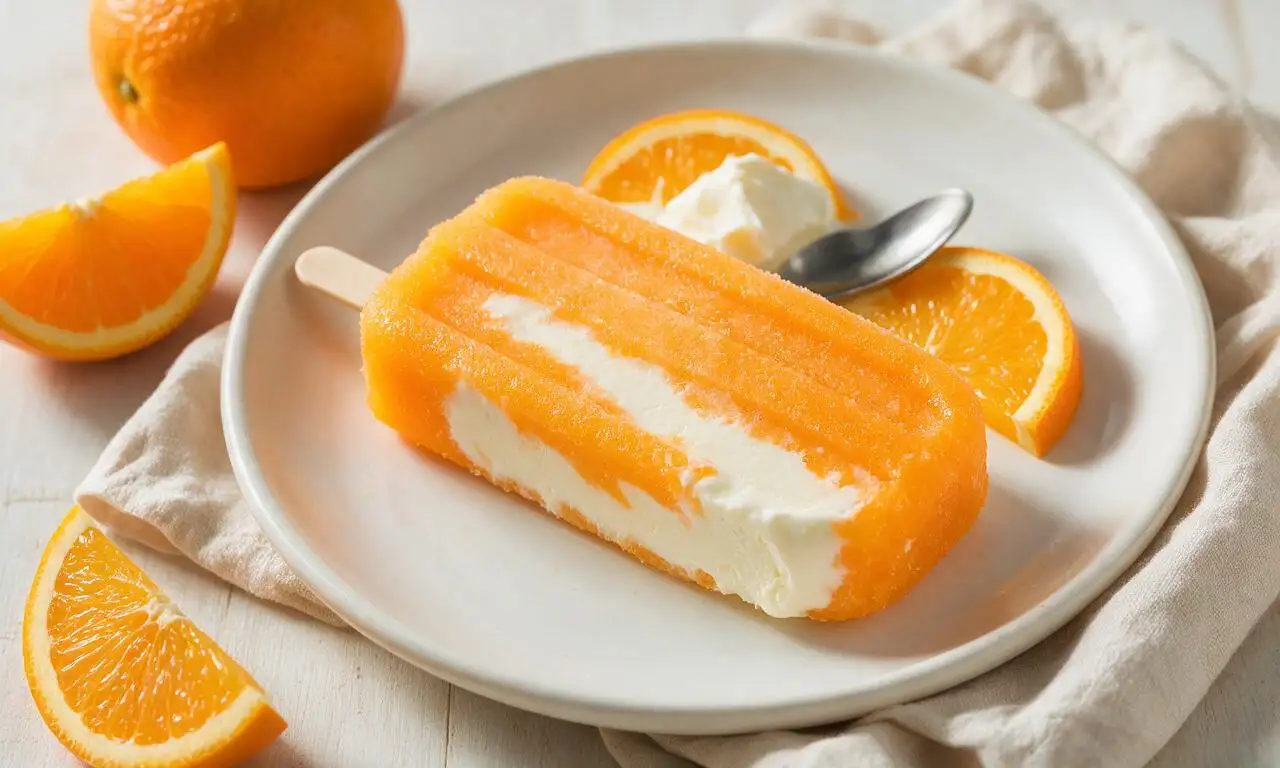
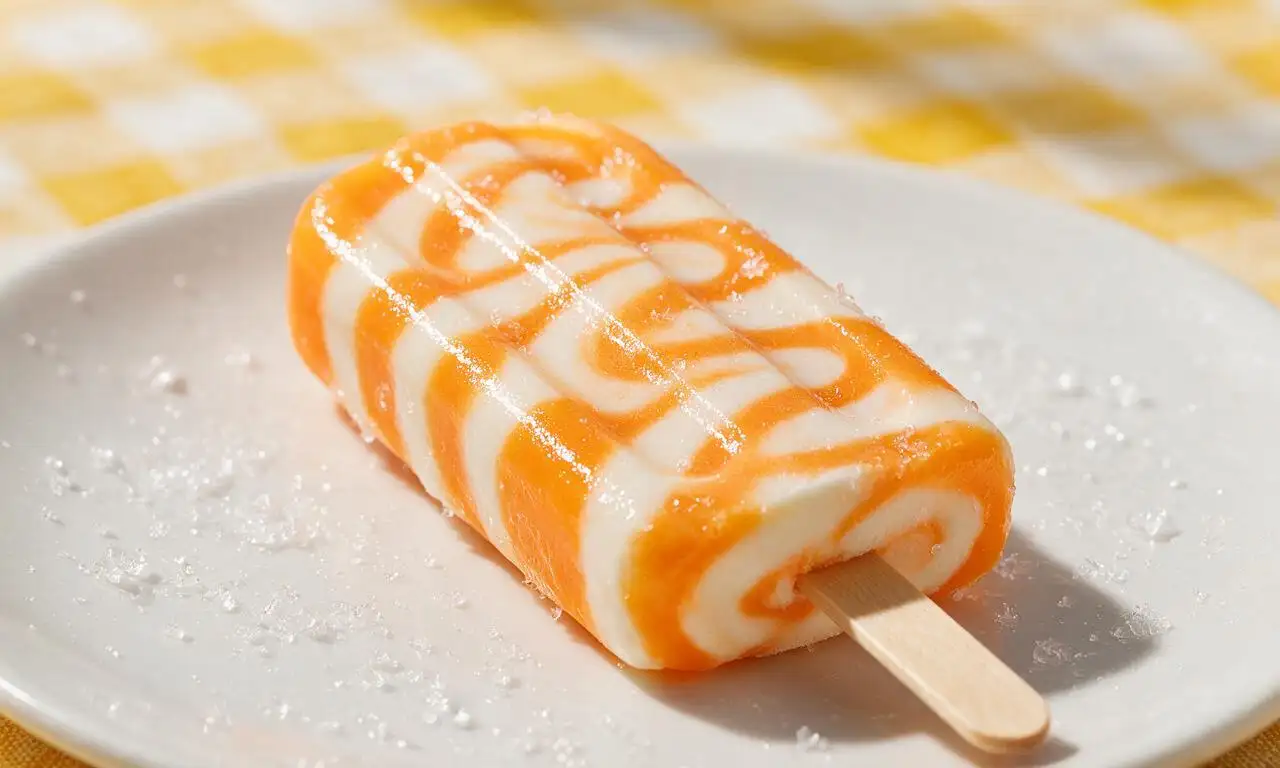






OMG this is such a game changer! I made these for my kids’ end-of-school pool party last weekend and every single kid (and half the parents!) begged me for the recipe. It tastes exactly like the dreamsicles I remember getting from the ice cream truck as a kid, but way creamier and not overly sweet. So easy to throw together too, I didn’t even need any fancy equipment. 10/10 will be making these all summer long!
Super solid recipe, way easier than I thought it would be. I was worried the creamy layer would get icy in the freezer but it stayed perfectly smooth even after 5 hours! Only thing I changed was adding a tiny splash of vanilla extract to kick the flavor up a notch, which I think it needed a little bit since the base is pretty mild. Knocked a star off only because I wish it had a little more orange zing straight out of the recipe, but that’s an easy fix. Will definitely be keeping a batch in my deep freeze for hot Texas afternoons.
Obsessed! I made a big batch on Sunday for meal prep snacks for the work week and it’s been the perfect midday pick-me-up when the office AC is struggling. Way better than grabbing a sugary popsicle from the corner store, and it takes like 10 minutes of actual work to throw together. My coworker already asked for the link to the recipe.
This looks SO good! Quick question before I make it this weekend — can I swap the heavy cream for coconut cream to make it dairy free? My youngest is lactose intolerant and I’ve been hunting for a frozen summer treat she can enjoy without tummy aches. I’m a total beginner at frozen desserts so I don’t want to mess up the ratios! Already gave it 5 stars because the instructions are so clear and easy to follow, can’t wait to report back.
Brought these to our family Fourth of July cookout and they were gone in 10 minutes flat! I poured the mix into those little paper cups with wooden sticks instead of a popsicle mold and it worked like a charm. My 82 year old grandma said they tasted exactly like the ones she used to buy at the corner drugstore when she was a kid. SO good.
Made these for our family car camping trip last weekend and they held up way better than I expected in the cooler! Not too drippy, not overly sweet, perfect for a post-hike cool down when we got back to the campsite. I added a tiny pinch of flaky sea salt on top before freezing and it made the orange and cream flavors pop so much more. Total game changer for summer trips, no fancy store-bought popsicles needed for us anymore.