
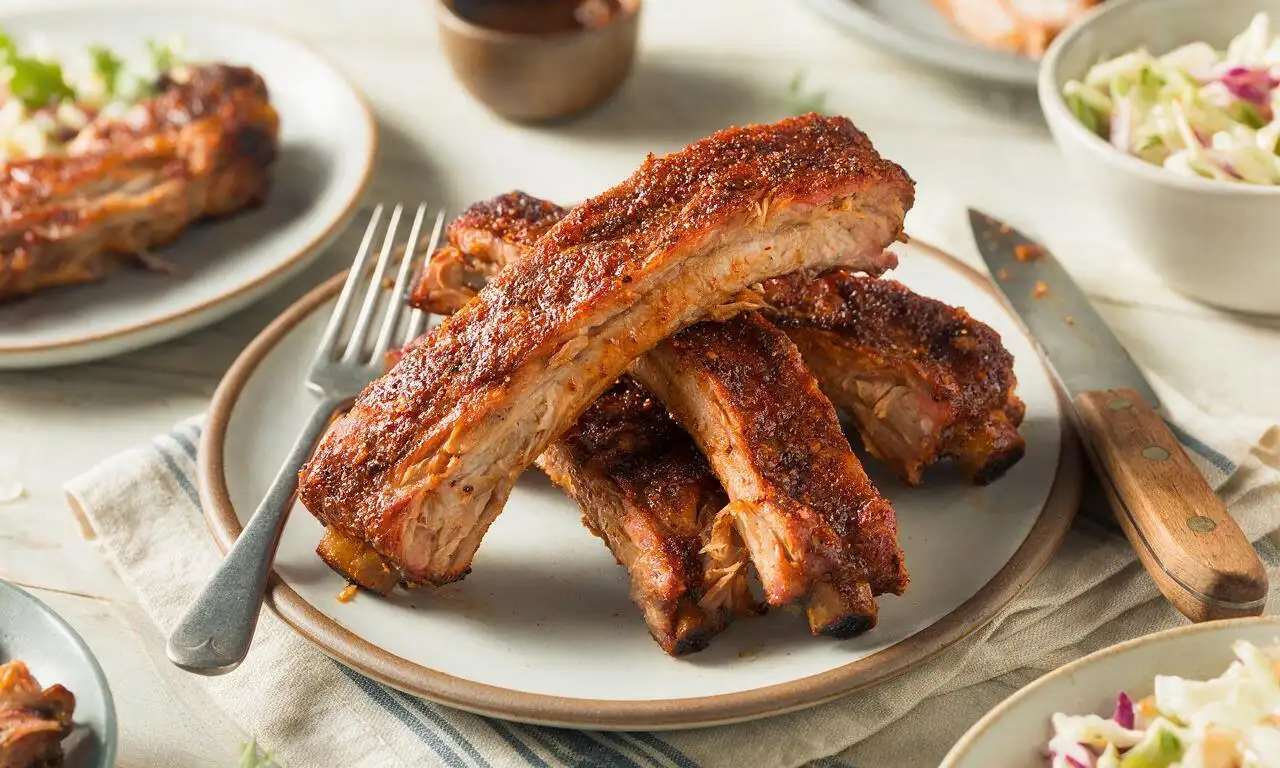
Dry Rub Ribs

title 1
Dry Rub Ribs
⏱️ cook time 3 hours
🍽️ servings 4
⚡ Difficulty medium

intro

Tender, smoky pork ribs coated in a bold savory-sweet dry rub, slow-cooked to juicy, fall-off-the-bone perfection for classic, sauce-free Southern BBQ flavor.

Ingredients

St. Louis-style pork spare ribs 2 racks (1800g / 4 lbs total)
Packed light brown sugar 75g (6 tablespoons)
Smoked paprika 21g (3 tablespoons)
Smoked kosher salt 27g (1.5 tablespoons)
Garlic powder 9g (1 tablespoon)
Onion powder 7g (1 tablespoon)
Freshly ground black pepper 2g (1 teaspoon)
Ground cumin 2g (1 teaspoon)
Chili powder 3g (1 teaspoon)
Dry mustard powder 1g (½ teaspoon)
Cayenne pepper 0.5g (¼ teaspoon)
Canola oil 15ml (1 tablespoon)
Apple cider vinegar 30ml (2 tablespoons)

Steps

1

Prep the rib racks

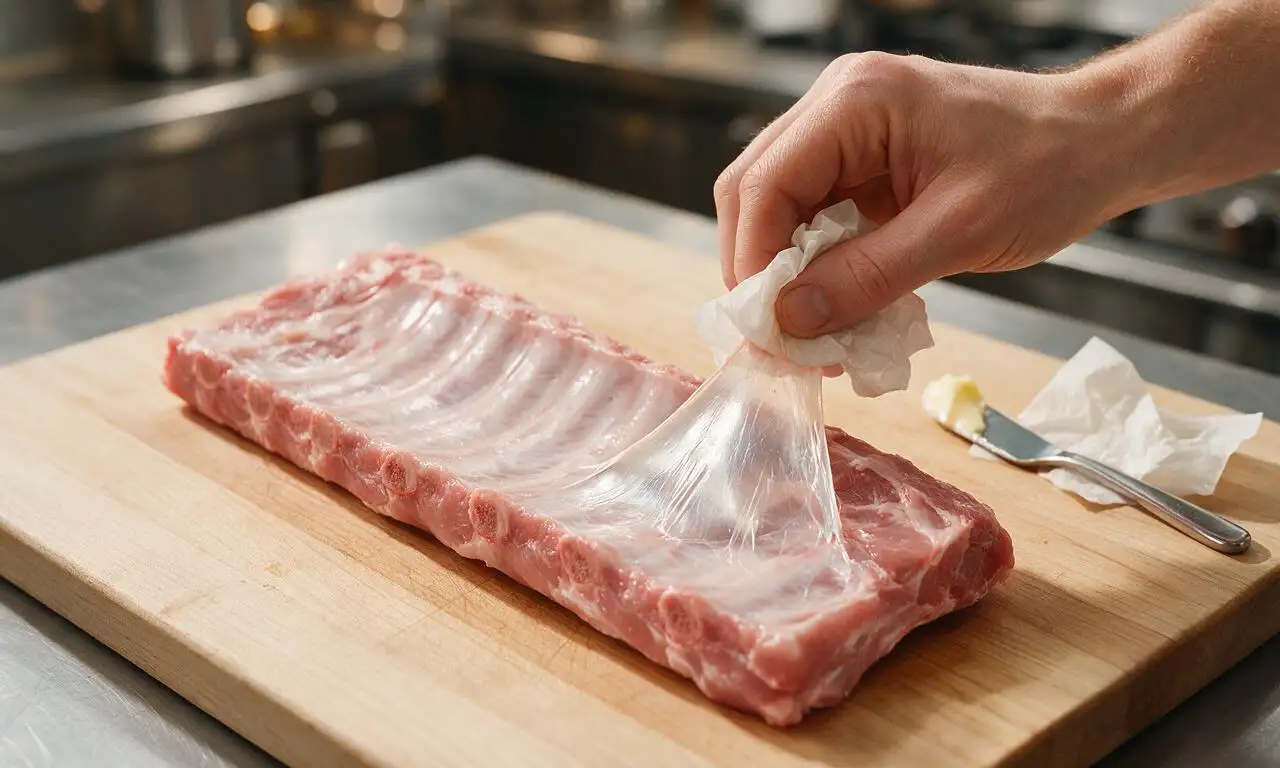
First, remove the thin, papery silver membrane from the bone side of each 900g rib rack: slide a butter knife under the membrane at the narrow end of the rack, grip the loose edge with a paper towel for traction, and pull it off in one smooth piece. Pat both sides of the ribs completely dry with paper towels, then rub all surfaces evenly with 15ml canola oil to help the spice rub adhere firmly.
Step 1
step1:Prep the rib racks
2

Mix the dry rub

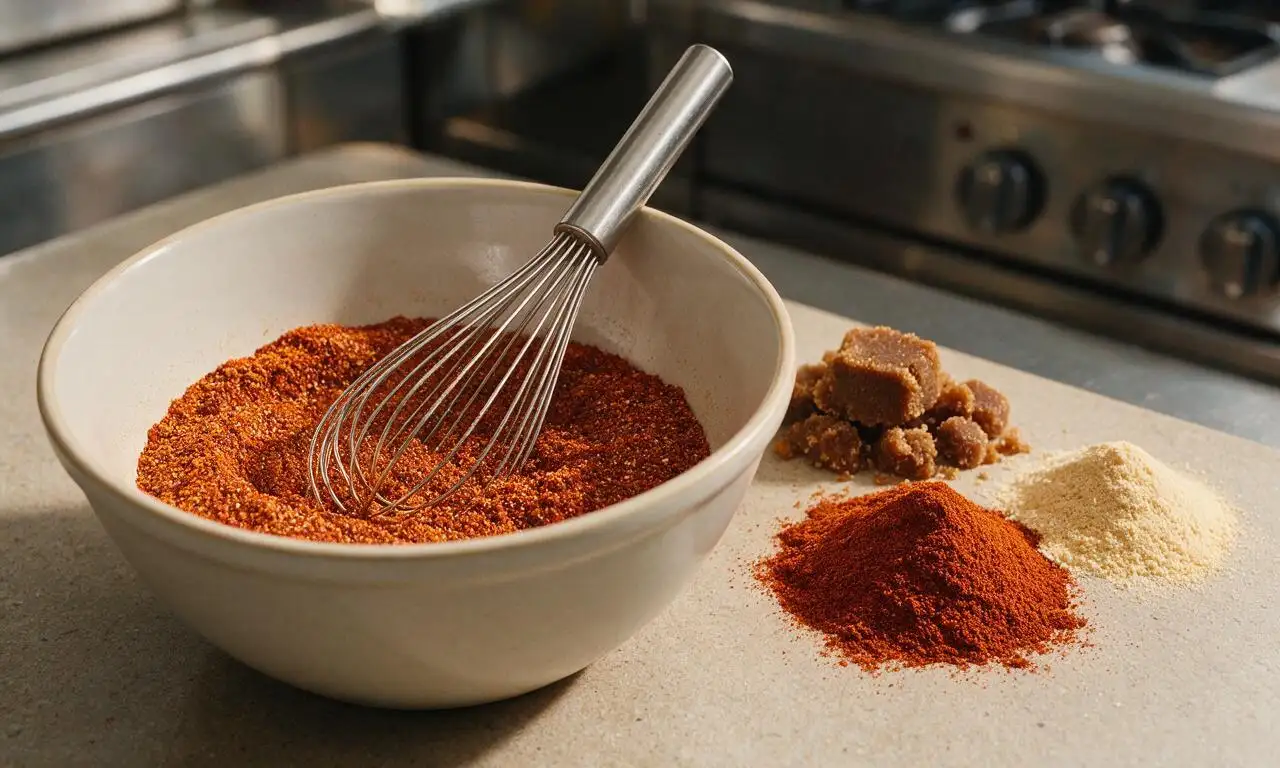
In a small 1-liter mixing bowl, combine 75g packed light brown sugar, 21g smoked paprika, 27g smoked kosher salt, 9g garlic powder, 7g onion powder, 2g black pepper, 2g ground cumin, 3g chili powder, 1g dry mustard, and 0.5g cayenne pepper. Whisk thoroughly for 30 seconds until all spices are evenly distributed, pressing any clumps of brown sugar against the side of the bowl with the back of the whisk to break them up.
Step 2
step2:Mix the dry rub
3

Coat ribs with rub

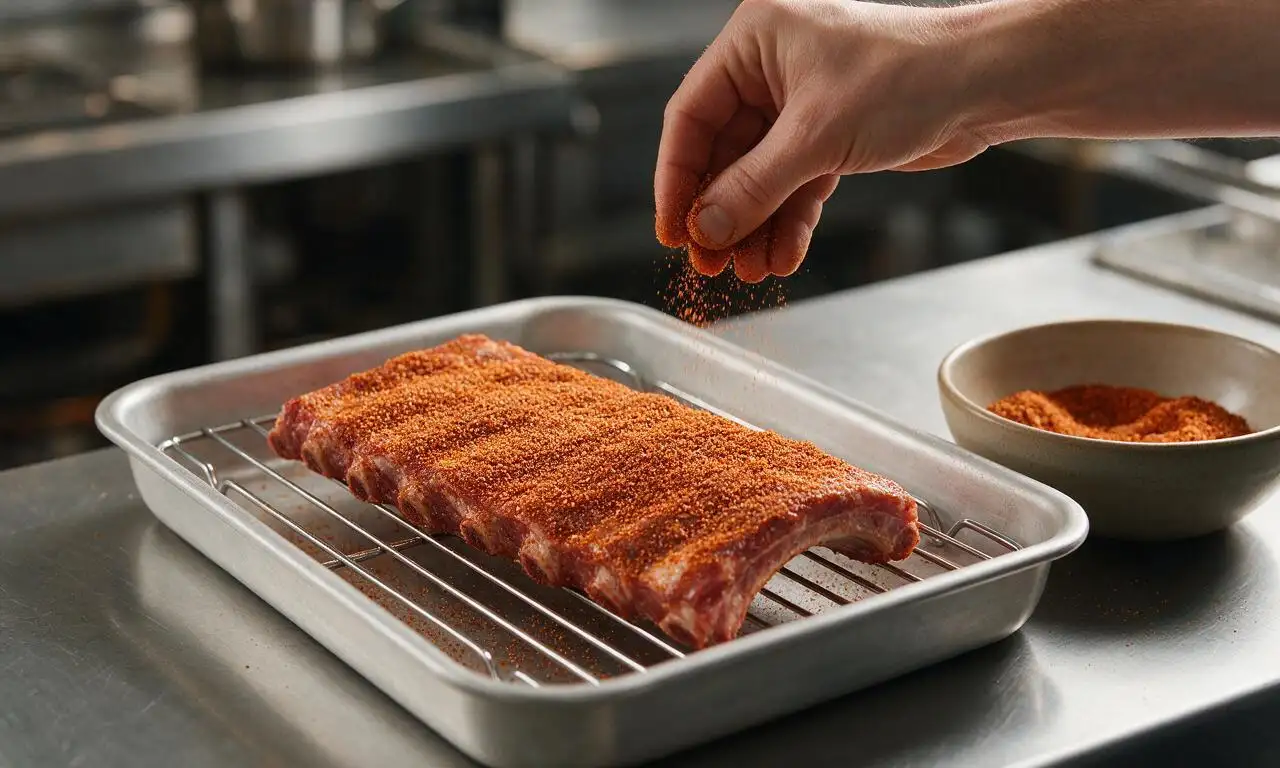
Sprinkle ¾ of the dry rub mixture evenly over every surface (top, bottom, and sides) of the oiled rib racks, pressing the spice mix firmly into the meat with your fingertips to create a thick, evenly distributed coating. Reserve the remaining ¼ of the rub in the small bowl for later. Let the seasoned ribs rest at room temperature (20-22°C / 68-72°F) for 25 minutes to allow the spices to penetrate the meat and form a sticky, adherent base layer.
Step 3
step3:Coat ribs with rub
4

Slow cook the ribs

Preheat your oven or pellet grill to 135°C / 275°F (avoid direct high heat). Arrange the seasoned ribs bone-side down on the wire rack inside the baking sheet, leaving 2cm of space between the two racks to allow even air flow. Cook uncovered for 2 hours, until the spice rub has set into a dark, matte crust and the meat has started to pull back from the cut ends of the bones by roughly 6mm (¼ inch).
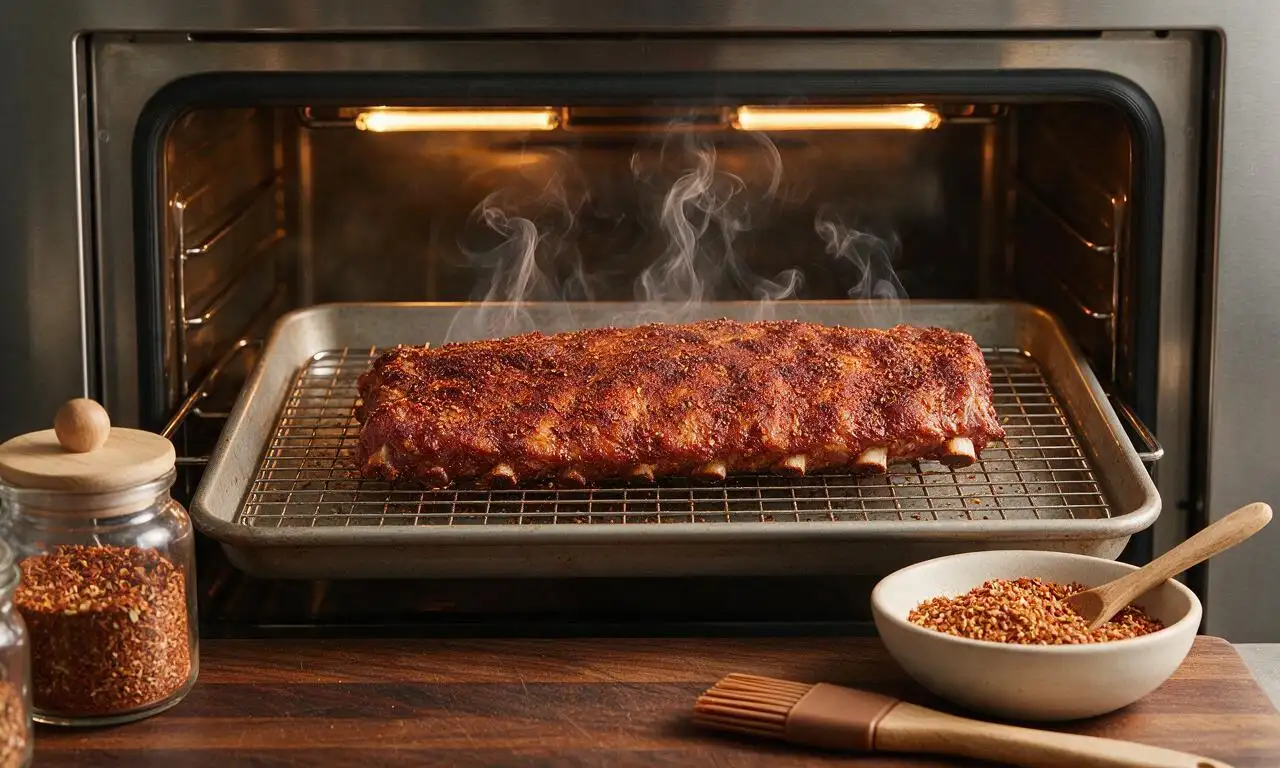
Step 4
step4:Slow cook the ribs
5

Wrap to tenderize

Carefully remove the hot baking sheet from the oven, drizzle 15ml of apple cider vinegar over the top of each rib rack (30ml total), then wrap each rack tightly in two layers of heavy-duty aluminum foil, crimping the edges completely to trap steam inside the packet. Return the wrapped rib packets to the 135°C / 275°F oven and cook for 45 additional minutes, until the meat is tender enough that a wooden toothpick slides through the thickest part of the rack with zero resistance.
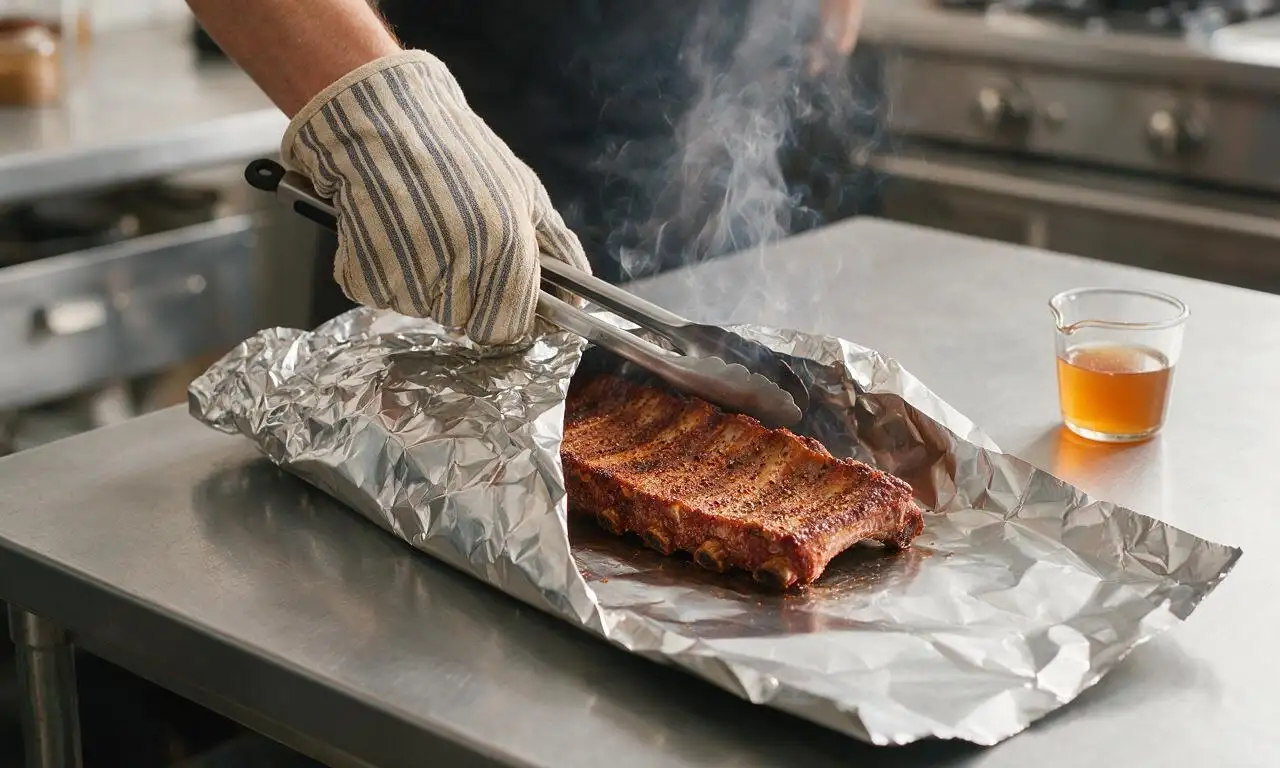
Step 5
step5:Wrap to tenderize
6

Finish and rest ribs

Unwrap the foil packets, discard the collected rendered fat and juices and used foil, then sprinkle the reserved ¼ of the dry rub evenly over the top of the exposed rib racks. Return the unwrapped ribs to the 135°C / 275°F oven for 15 minutes to set the final spice layer and crisp the outer crust slightly. Remove the ribs from the oven, transfer them to a cutting board, and let them rest loosely tented with foil for 10 minutes before slicing between the bones to serve.
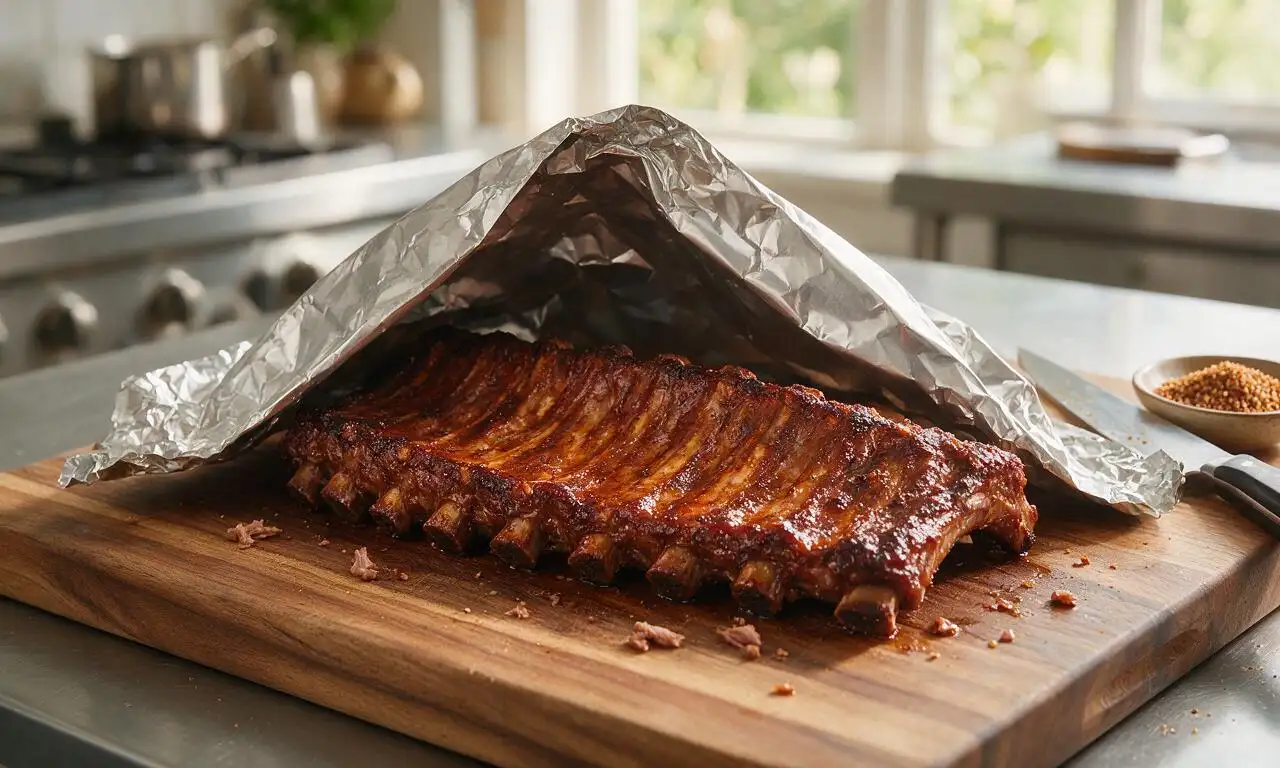
Step 6
step6:Finish and rest ribs

Tips

1.Never skip removing the thin silver membrane from the bone side of the ribs: leaving it intact creates a tough, chewy barrier that prevents rub from penetrating and leaves an unpleasant rubbery texture.
2.Avoid cooking ribs at temperatures above 150°C / 300°F: high heat will cause the meat to seize and turn tough, and will burn the brown sugar in the rub before the ribs fully tenderize.
3.Let cooked ribs rest for 10 minutes, loosely tented with foil, before slicing: this allows rendered juices to redistribute through the meat instead of running out onto the cutting board, keeping every bite juicy.


✨ You May Also Like

BBQ & Grilling
🍜 United States

Tender, melt-in-your-mouth beef brisket with a crisp, spiced bark, slow-smoked to deep smoky perfection, the iconic centerpiece of Texas backyard barbecue.

⏱️ 12 hours BBQ & Grilling ★ 4.4
BBQ & Grilling
🍜 Korea

Tender, sweet-savory marinated beef short ribs, a beloved Korean BBQ staple with caramelized, slightly charred edges and deep umami flavor, perfect for outdoor summer gatherings.

⏱️ 4 hours 2BBQ & Grilling ★ 4.8
BBQ & Grilling
🍜 United States

Juicy grilled beef patties topped with smoky homemade chili, melted cheddar, and tangy pickles on toasted brioche buns for a hearty, flavor-packed handheld meal.

⏱️ 40 minuteBBQ & Grilling ★ 4.7
BBQ & Grilling
🍜 United States

A sweet, smoky, tangy BBQ sauce brightened with peak-season dark cherries, ideal for glazing grilled ribs, chicken, pork, or summer roasted veggies.

⏱️ 35 minuteBBQ & Grilling ★ 4.7
BBQ & Grilling
🍜 United States

Rich, smoky, slightly sweet homemade bourbon BBQ sauce with deep caramel notes, ideal for glazing grilled ribs, chicken, and burgers at cookouts.

⏱️ 25 minuteBBQ & Grilling ★ 4.7
BBQ & Grilling
🍜 United States

Iconic Alabama-style BBQ featuring tender hickory-smoked chicken slathered in tangy creamy white sauce, a beloved regional Southern cookout staple.

⏱️ 3 hoursBBQ & Grilling ★ 5

Dry Rub Ribs:Frequently Asked Questions

1.Why does this recipe call for St. Louis-style pork spare ribs instead of baby back ribs? ▾
St. Louis-style ribs are trimmed to a neat, even rectangular shape with consistent fat marbling that renders slowly during low-and-slow cooking to deliver that signature fall-off-the-bone juiciness. They’re meatier than baby back ribs, hold the savory-sweet dry rub beautifully, and cook evenly without thin, easily overcooked edges.
2.How do I get true fall-off-the-bone ribs without ending up with mushy, stringy meat? ▾
Stick to a steady low cooking temperature of 225°F for 3.5 to 4 hours total, and don’t wrap ribs in foil until the rub has set into a firm, bark-like crust (about 2 hours in). Test doneness by gently twisting a middle bone: if it pulls clean with light, even resistance, they’re perfect—any longer and meat will turn mushy.
3.Do I have to remove the tough membrane on the back of the rib rack before cooking? ▾
Yes, that chewy silver skin membrane won’t break down even during hours of slow cooking, and it blocks the dry rub from penetrating the bone side of the meat. Grip the corner of the membrane at the narrow end of the rack with a paper towel for traction, then pull it off in one steady, even sheet before applying rub.
4.Can I make these ribs without a smoker, and still get that classic smoky Southern BBQ flavor? ▾
Absolutely! Cook them on a wire rack set over a rimmed baking sheet in a regular home oven set to 225°F, matching standard smoker temperature. The smoked paprika and smoked kosher salt in the rub deliver that signature smoky taste; add a small foil pan of soaked apple wood chips on the oven rack for extra depth if you’d like.
5.Can I mix the dry rub ahead of time, and how should I store it? ▾
You sure can! Mix all the rub ingredients thoroughly, then store in an airtight glass jar in a cool, dark pantry for up to 3 months. The flavors will meld slightly as it sits for even better, more balanced taste—just give the jar a good shake before use to break up any clumps of packed light brown sugar.
6.What’s the best way to store and reheat leftover ribs so they don’t dry out? ▾
Let leftover ribs cool fully to room temperature, then wrap tightly in plastic wrap followed by a layer of heavy-duty foil, and store in the fridge for up to 4 days or the freezer for up to 3 months. Reheat wrapped in foil at 250°F with a tiny splash of apple juice for 20 to 25 minutes, until warmed through, to lock in juiciness.

Comments (5)

3 days ago

OMG y’all, these ribs were the star of our Sunday family dinner last night! I followed the dry rub measurements exactly, didn’t skip letting the ribs rest with the rub for 30 minutes before cooking, and they were literally fall-off-the-bone tender. My 8-year-old ate two full servings and begged me to make these for his birthday potluck at school next month. Total game changer, I’ll never buy pre-marinated grocery store ribs again! Quick question for the group—has anyone tried smoking these instead of baking them in the oven? Curious if the cook time changes much.

2 days ago

I smoked mine last weekend with hickory wood at 225°F instead of using the oven method, and they turned out insane! Just spritz them with a little apple cider vinegar every hour while they smoke and they come out perfect, no dry spots at all.

2 days ago

So glad these were a hit with your family! Great question, and great tip from Jake—if you’re smoking these ribs, tack on 30-45 minutes of extra cook time like he mentioned, and that apple cider vinegar spritz trick works perfectly to keep the bark nice and tacky without drying out the meat.

5 days ago

Okay I was so intimidated to make ribs because I thought you needed a fancy smoker or grill to get them right, but I made these in my regular old oven last night for weekly meal prep and they are SO good. The rub has the perfect balance of sweet and smoky, no overpowering paprika which is the thing I hate about most store-bought rib rubs. Only quick note: my ribs were done about 20 minutes earlier than the 3 hour mark, so I’d definitely recommend checking them at 2.5 hours if you have a meat thermometer!

3 days ago

Love hearing these worked out for your meal prep rotation! Great call on the temperature check—rack sizes vary a lot depending on the cut, so pulling them when the internal temp hits 195°F and the meat pulls back from the ends of the bones is always more reliable than strictly following the clock. Thanks for the helpful tip for other home cooks!

1 week ago

Made these for our neighborhood block cookout last weekend and every single person asked for the recipe. I doubled the rub batch because I was making 4 racks for the crowd, and even the guy on our block who swears he only eats sauced wet ribs went back for thirds. 10/10, this is going into my permanent rotation for football game days this fall too.

2 days ago

Full transparency: I’ve never made ribs in my entire life. I usually just order them from the BBQ spot down the street because I thought they were too high-effort and easy to mess up. Saw this recipe was medium difficulty and decided to give it a shot for my partner’s birthday dinner, and wow. They came out perfect! I was worried I’d mess up the rub ratios but it was so easy to mix up, and the low-and-slow cook method meant I didn’t have to hover over the oven the whole time. My partner said they’re better than our favorite local BBQ joint, which is the highest compliment I could possibly get.

1 day ago

Same boat! I was so nervous to make ribs for the first time too, and this recipe made it feel totally doable. I accidentally used regular paprika instead of smoked the first time I made them and they still slapped, can’t wait to make them again this weekend with the right paprika to see how much better they get!

2 hours ago

These ribs were so tasty, but I had a couple quick questions before I make them again for my in-laws who are visiting for Thanksgiving next week! First, my rub got a little clumpy when I mixed the brown sugar in with the spices—did I do something wrong there? It still tasted great, I just want it to look nicer for guests. Second, can I prep the dry rub the night before and keep it in an airtight container to save time on cooking day?

30 minutes ago

I had the exact same clump issue the first time I made these! Turns out my brown sugar was a little dried out from sitting open in the pantry. I just broke up all the clumps with a fork before rubbing it on the ribs and it was totally fine. I prepped my rub two nights ahead when I made these for a potluck last month and it tasted exactly the same, super convenient time-saver.

5 minutes ago

So glad you enjoyed the ribs! Those clumps almost always pop up when brown sugar is a little dried out, just mashing them with a fork like Liz mentioned works perfectly, or you can pulse the whole rub mix in a spice grinder for 10 seconds if you want a super smooth, consistent texture. Prepping the rub ahead is a great call—it stays fresh in an airtight container for up to a month, so you can even make a big batch to keep on hand for quick cooks!



