
Easter Bunny Cake
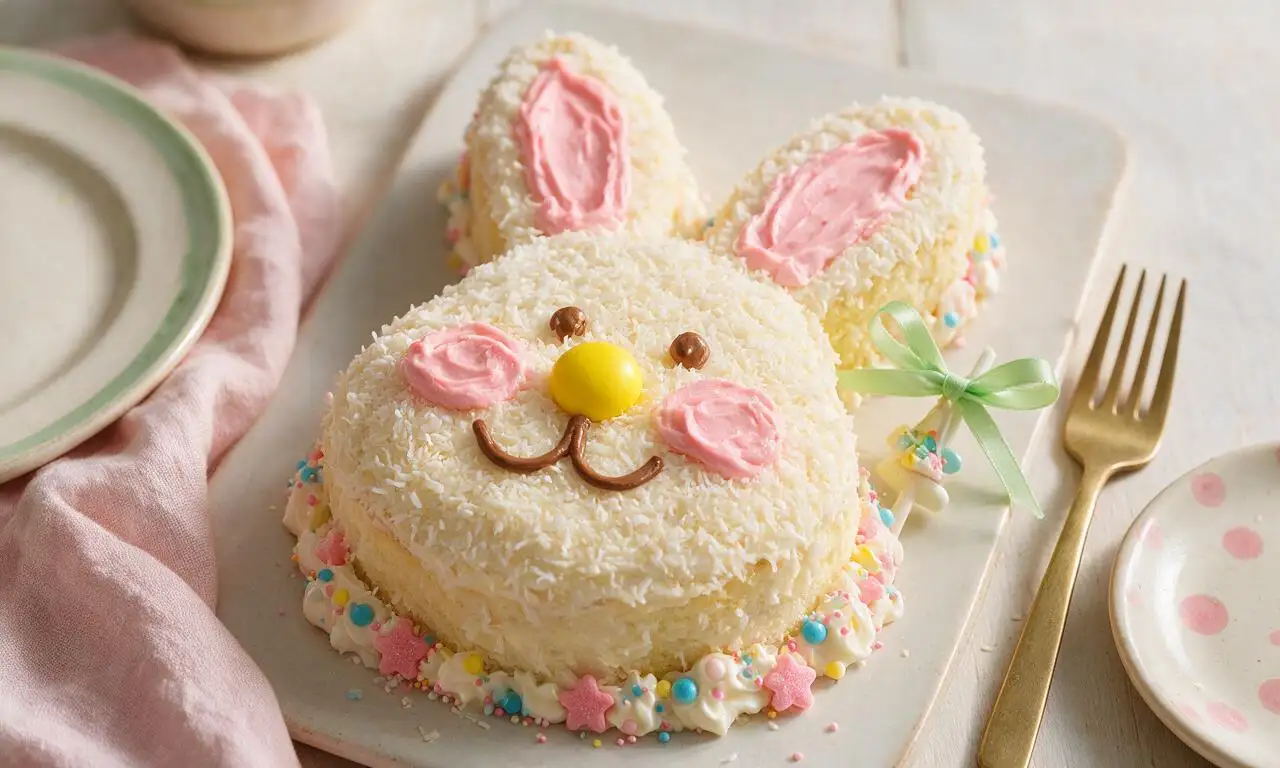
intro
A whimsical, fluffy vanilla cake shaped like a cheerful Easter bunny, coated in coconut fur with sweet buttercream and candy accents, perfect for spring holiday gatherings.
Ingredients
Steps
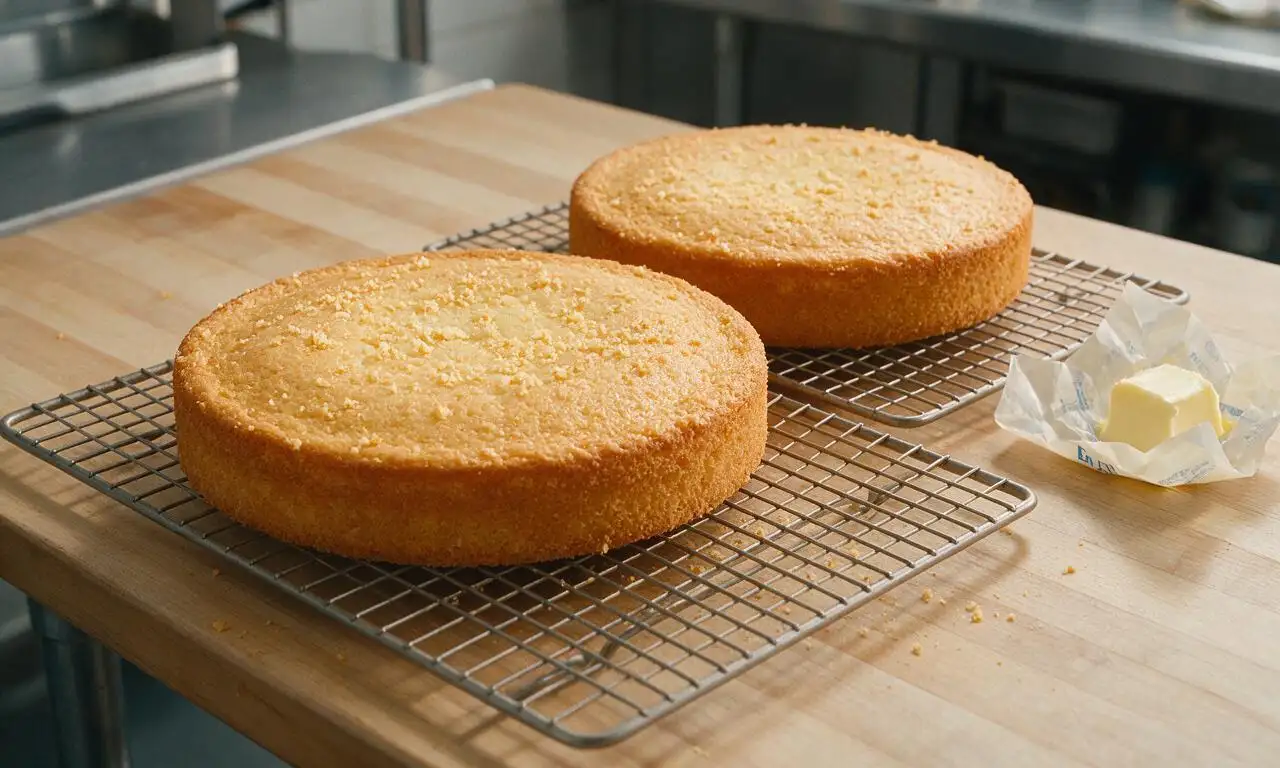
Bake vanilla cake layers
Preheat oven to 175°C (350°F). Grease two 23cm (9-inch) round cake pans with butter and line the bottoms with parchment paper. In a large bowl, beat 226g softened unsalted butter reserved for the cake and 400g granulated sugar on medium speed for 3 minutes until light and fluffy. Add eggs one at a time, beating 30 seconds after each addition, then stir in 2 teaspoons vanilla extract. Alternate adding 360g flour (pre-mixed with 1 tablespoon baking powder and 1/2 teaspoon salt) and 240ml room-temperature milk in 3 batches, mixing on low just until no dry flour remains (do not overmix). Divide batter evenly between pans, bake for 28-30 minutes until a toothpick inserted in the center comes out with 1-2 moist crumbs attached. Cool cakes in pans for 10 minutes, then turn out onto a wire rack to cool completely to room temperature (about 30 minutes) before assembling.
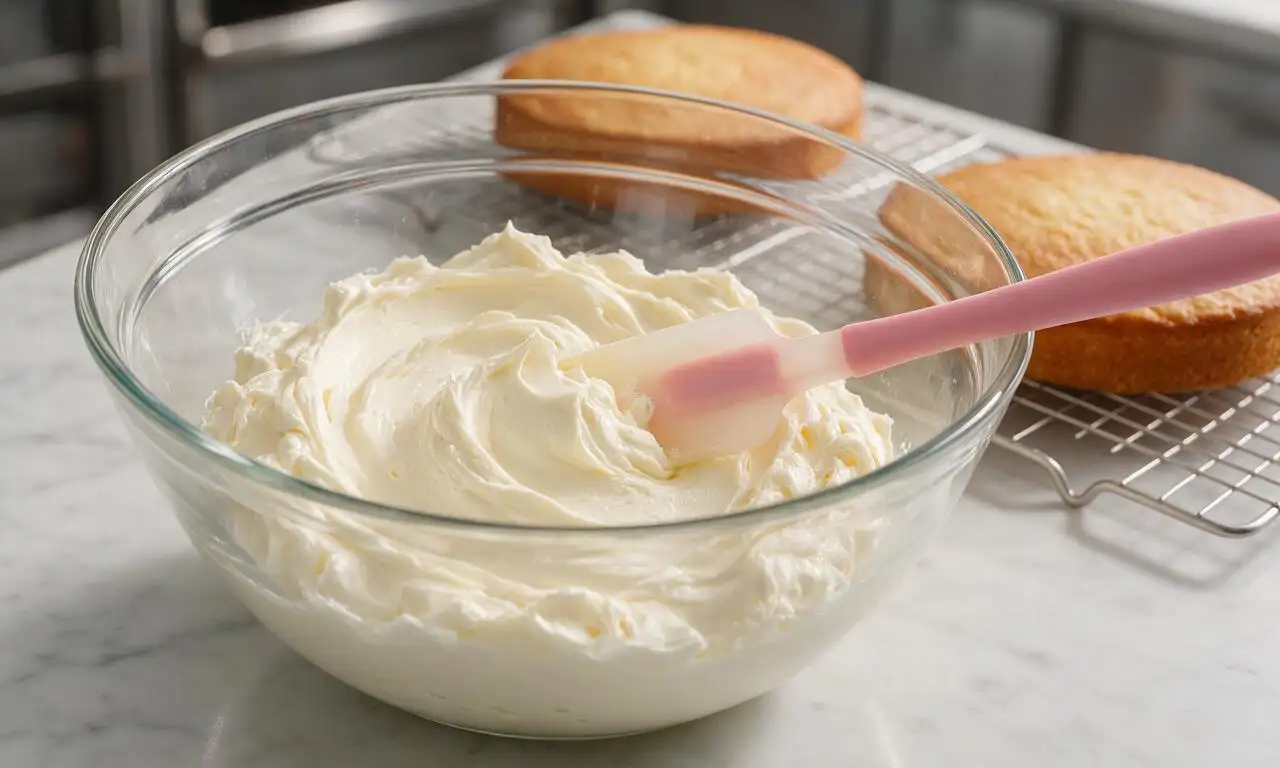
Whip vanilla buttercream
While the cake layers cool, prepare the buttercream: In a large bowl, beat 340g softened unsalted butter reserved for buttercream on medium speed for 2 minutes until completely smooth and pale. Add 480g powdered sugar 1 cup at a time, beating on low for 1 minute per addition to avoid airborne sugar clouds. Pour in 60ml heavy cream and remaining 1 teaspoon vanilla extract, then beat on medium-high speed for 4 minutes until the buttercream is light, fluffy, and easily spreadable. Set aside 2 tablespoons of buttercream in a small bowl for tinting pink.
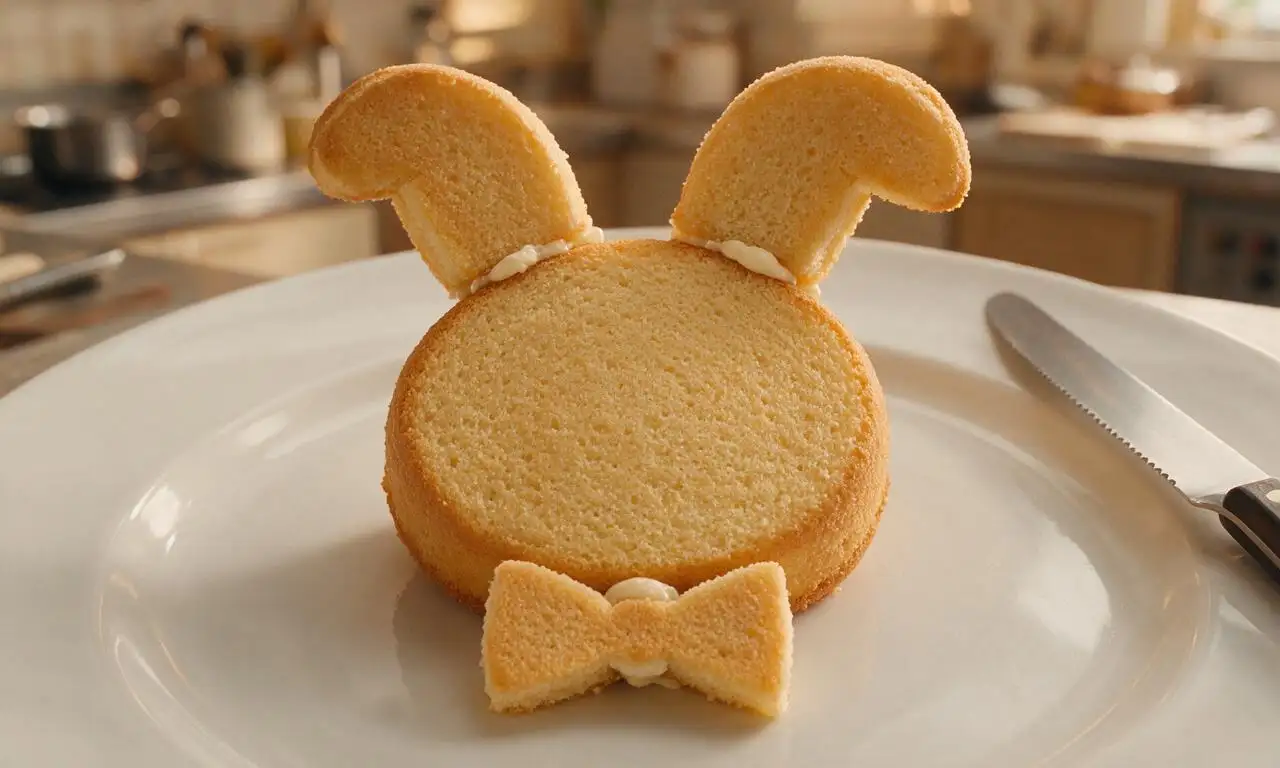
Assemble bunny shape
Add 1-teaspoon dabs of buttercream to a large serving platter where the ears and bow tie will sit to hold cake pieces in place. Place one fully cooled whole cake round on the center of the platter to act as the bunny’s face. Cut the second cooled cake round with a serrated knife: make two curved cuts 5cm (2 inches) in from opposite edges of the circle to create two 15cm (6-inch) long ear shapes, leaving a 10cm (4-inch) wide bow-tie shaped middle piece. Press the two ear shapes into the buttercream dabs at the top of the face round, then press the bow-tie piece into buttercream dabs centered below the face round. Save small cake trimmings for snacking.
Frost and add coconut fur
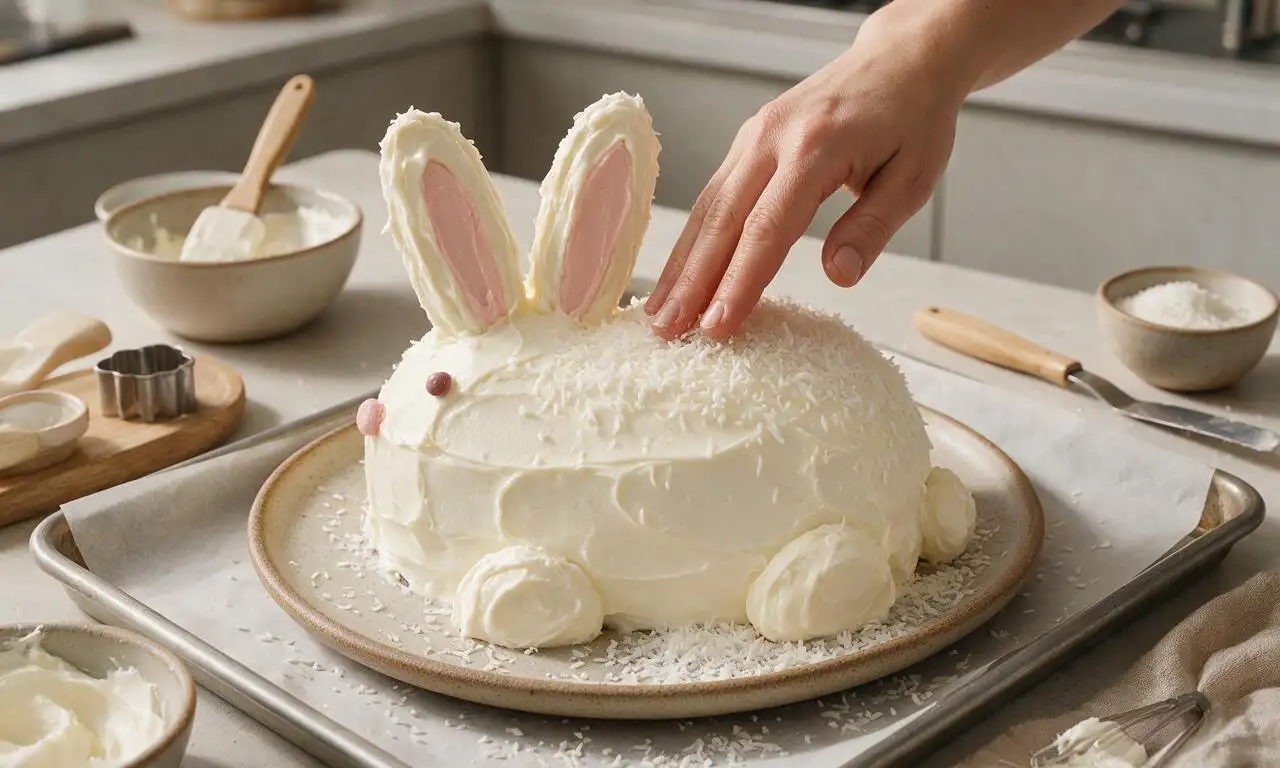
Use an offset spatula to spread the remaining white buttercream evenly over the entire surface of the assembled bunny cake (face, ears, and bow tie) in a 5mm (1/4-inch) thick layer, smoothing out major bumps as you go. Hold the platter at a slight angle over a parchment-lined baking sheet to catch mess, then press handfuls of shredded sweetened coconut gently into the buttercream across the entire cake, covering every frosted surface to create soft white bunny fur. Pat coconut lightly to ensure it sticks, then brush any stray coconut from the platter surface.
Add pink decorative accents
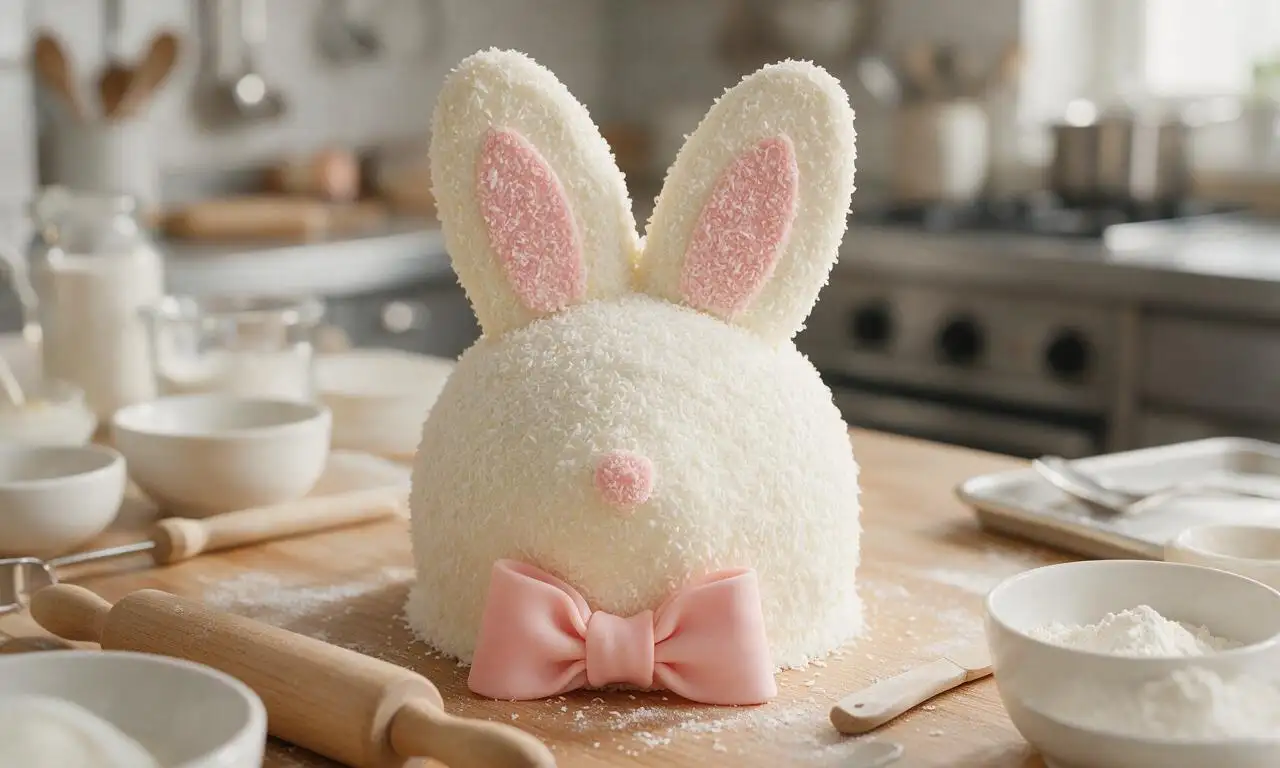
Stir 1 drop of pink gel food coloring into the 2 tablespoons of reserved buttercream until evenly pastel pink. Transfer 1/2 cup of remaining shredded coconut to a small zip-top bag, add 1 tiny drop of pink food coloring, seal, and shake until coconut is evenly pale pink. Press the pink coconut into the center of each bunny ear to create 4cm (1.5-inch) wide inner ear patches, then use the pink buttercream to frost the entire bow-tie shaped piece at the bottom of the bunny, pressing extra white coconut along the bow tie edges for definition. Create a 2cm (0.75-inch) pink coconut circle in the center of the bunny face to mark the nose base.
Add final facial features
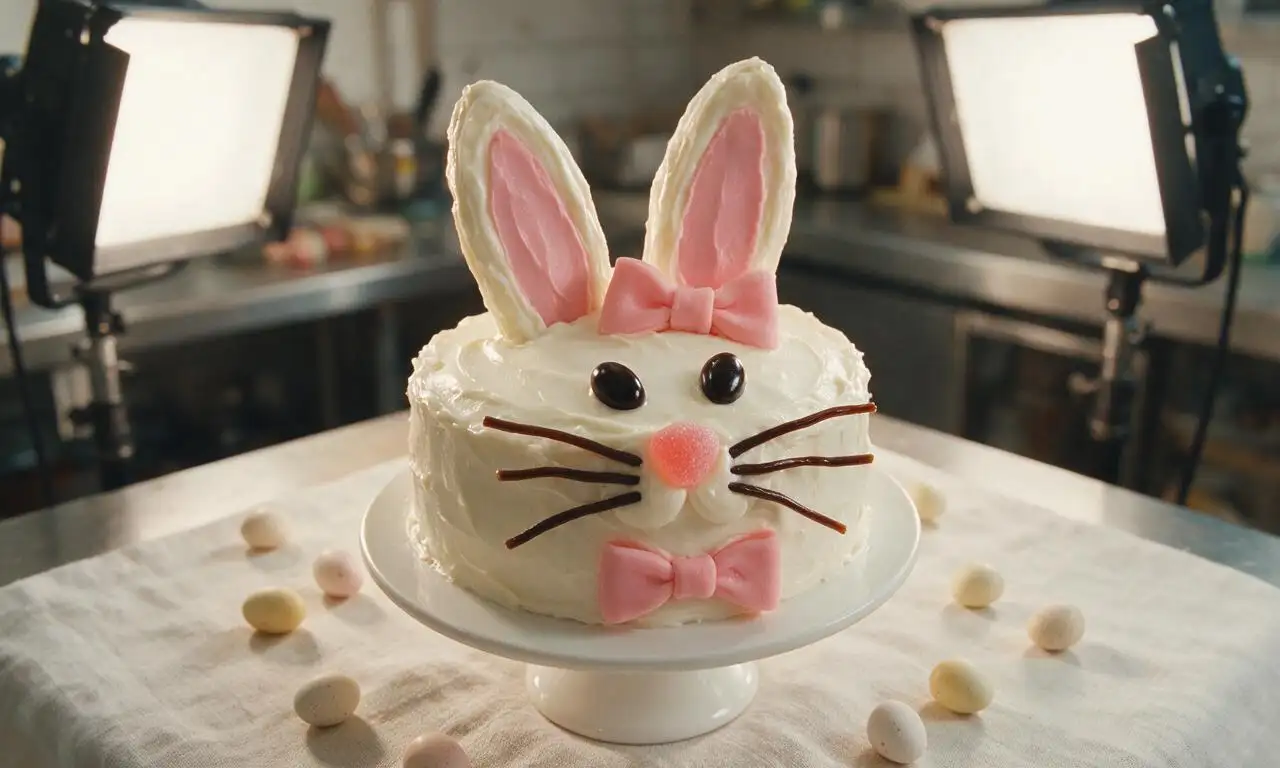
Press two black jelly beans 5cm (2 inches) above the pink nose patch, spaced 7cm (3 inches) apart, to make the bunny’s rounded eyes. Place the 2cm pink gumdrop centered on the pink coconut nose patch for a defined, shiny nose. Tuck three 5cm (2-inch) long thin black licorice strings into the buttercream on each side of the nose, angled slightly outward, to create whiskers. Chill the cake in the refrigerator for 15 minutes to set the buttercream before slicing and serving.
Tips
2.The shredded coconut coating hides nearly all frosting imperfections, so don’t stress about achieving a perfectly smooth buttercream layer, making this recipe ideal for new bakers.
3.For extra festive flair, arrange a ring of pastel candy-coated chocolate eggs around the base of the cake on the platter right before serving.






OMG this Easter Bunny Cake was such a hit at our family Easter brunch last weekend! My 4 and 6 year old went crazy for the coconut fur and the little candy ear details, and even my picky mother-in-law asked for a second slice. It was way easier to pull off than I thought it would be for how cute it looks—total game changer for holiday baking! I did swap the vanilla frosting for cream cheese because that’s our family’s go-to, and it worked perfectly. 10/10 will make again next year!
I was so nervous to make a shaped cake because I usually mess up cutting layers, but this easy recipe had such clear step-by-step photos! The 30 minute cooling tip is genius—usually I rush it and my frosting melts right off, but waiting that little bit made everything go so smooth. I brought it to our neighborhood Easter egg hunt and three people asked for the recipe before we even cut into it. The only thing I added was a little pink food coloring to the inner ears to make them pop more!
Made this for my roommates’ Easter potluck since none of us could go home for the holiday, and it was chef’s kiss. Total cook time was right around the 1hr45 mark even with me stopping to take a million TikTok videos of the process, so the time estimate is super accurate. We used mini M&Ms for the eyes and nose and it turned out so silly and cute, even if my bunny ears were a little lopsided—probably would’ve helped to have a stencil for the ear shape! Would definitely recommend for beginner bakers like me who don’t have a ton of fancy tools!