
Easter Dirt Cake
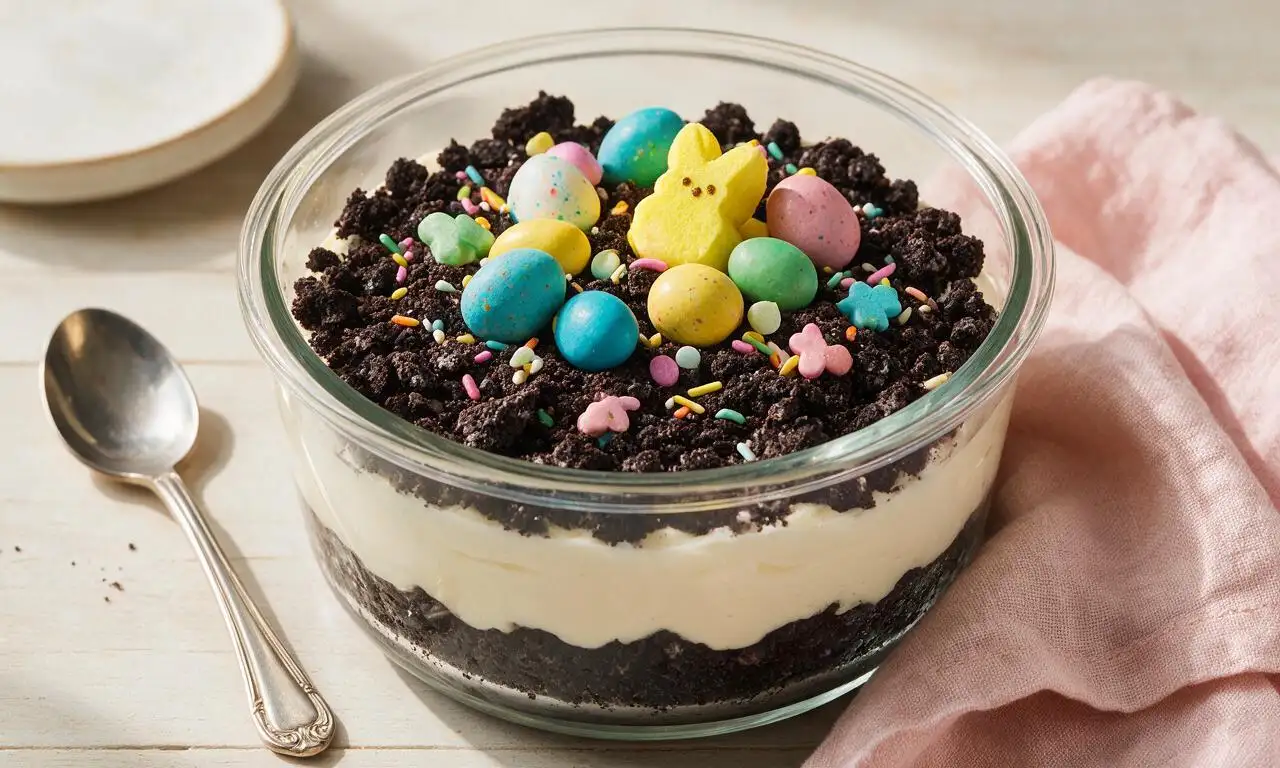
intro
A playful no-bake layered dessert with crushed Oreo 'dirt', creamy vanilla filling, and festive Easter candy toppings, perfect for spring holiday gatherings.
Ingredients
Steps
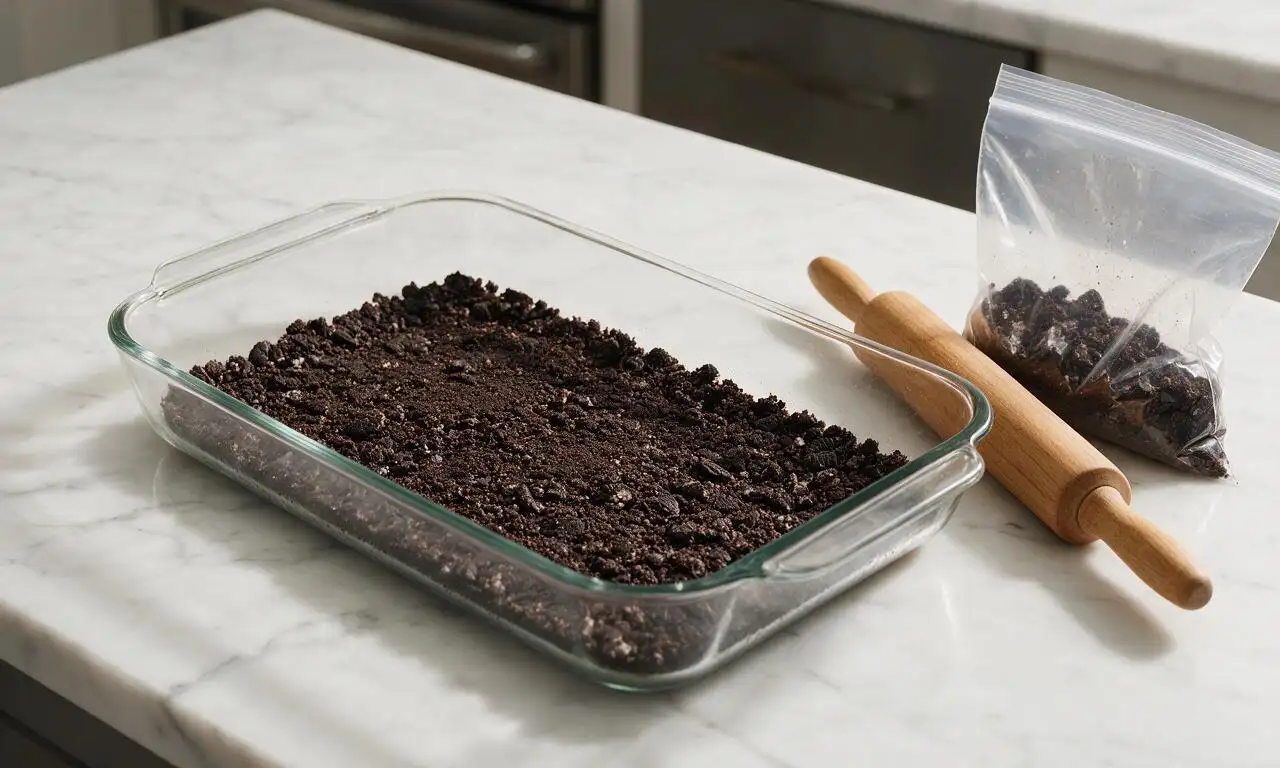
Crush Oreo crumbs
Place all 450 g of Oreo cookies (creme filling included) in a sealed heavy-duty zip-top bag. Use a rolling pin to crush the cookies into fine, uneven crumbs (resist over-crushing to a powder; small ¼-inch chunks add realistic dirt texture). Measure out ½ cup (approx 60 g) of crumbs and set aside for final topping, then measure out 1 cup (approx 120 g) of crumbs for the middle layer, then pour the remaining crumbs into the bottom of a 9x13 inch glass baking dish, pressing gently into an even, compact layer.
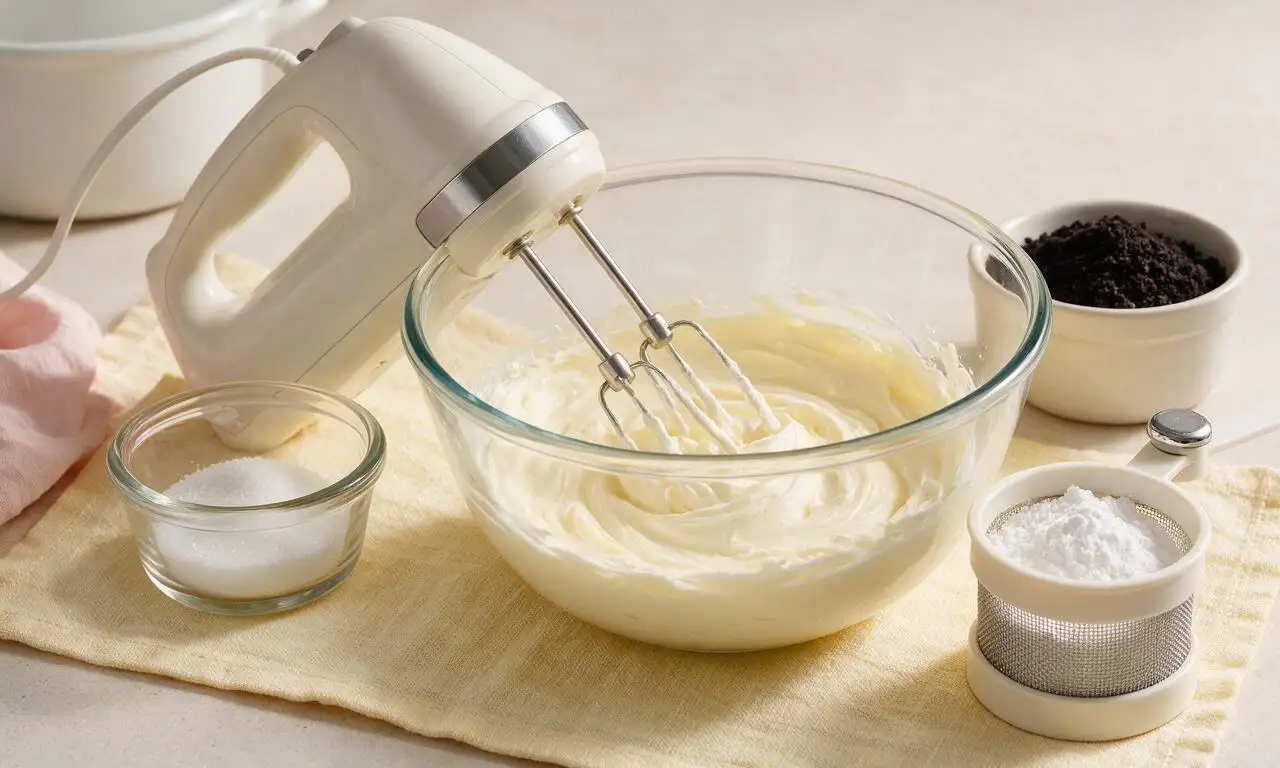
Make cream cheese base
In a large mixing bowl, beat the softened 225 g cream cheese and 113 g softened unsalted butter with an electric hand mixer on medium speed for 2 minutes, until completely smooth with no visible lumps. Gradually add the 120 g sifted powdered sugar, beating on low speed for 1 minute to combine, then increase to medium speed for 30 seconds until the mixture is light and fluffy.
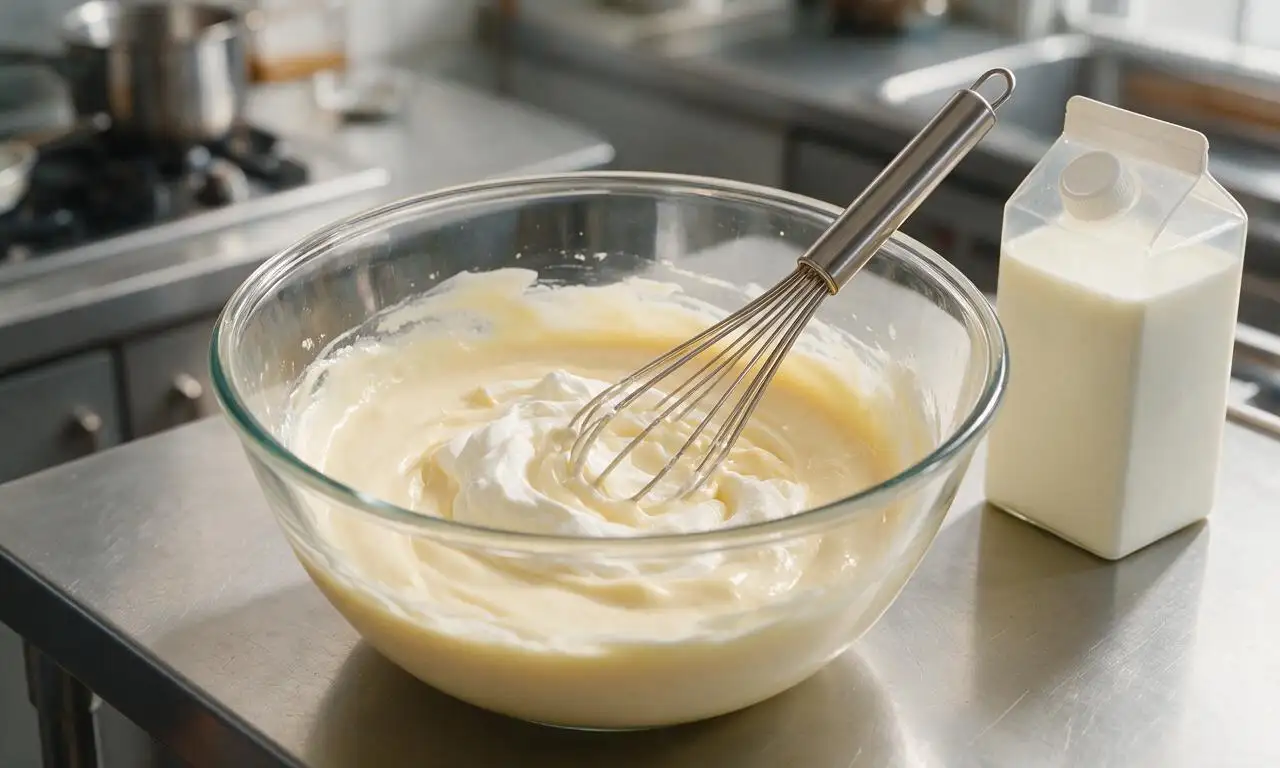
Mix pudding filling
In a separate large mixing bowl, whisk both 96 g boxes of plain instant vanilla pudding mix with 720 ml cold whole milk for 2 full minutes, until the pudding starts to thicken and no dry lumps remain. Let the pudding rest for 5 minutes at room temperature to set slightly, then fold in the entire 473 ml of thawed whipped topping until fully combined with no white streaks.
Assemble cake layers
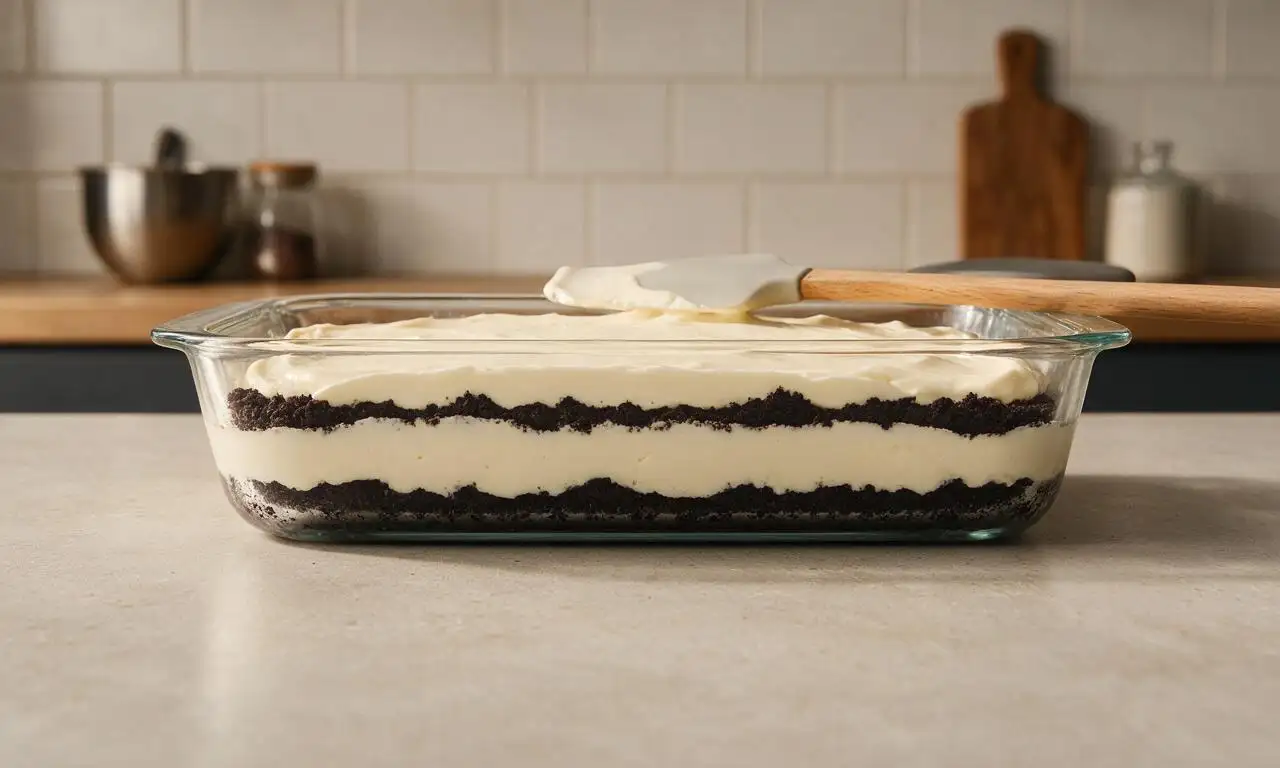
Gently fold the cream cheese and powdered sugar mixture into the thickened pudding mixture until completely uniform, taking care not to overmix and deflate the fluffy texture. Pour half of the combined creamy filling over the pressed Oreo crumb base in the baking dish, spreading it into an even layer with a rubber spatula. Sprinkle the reserved 1 cup (120 g) of middle-layer Oreo crumbs evenly over the first filling layer, then top with the remaining half of the creamy filling, smoothing the top surface completely with the spatula.
Prep grass topping
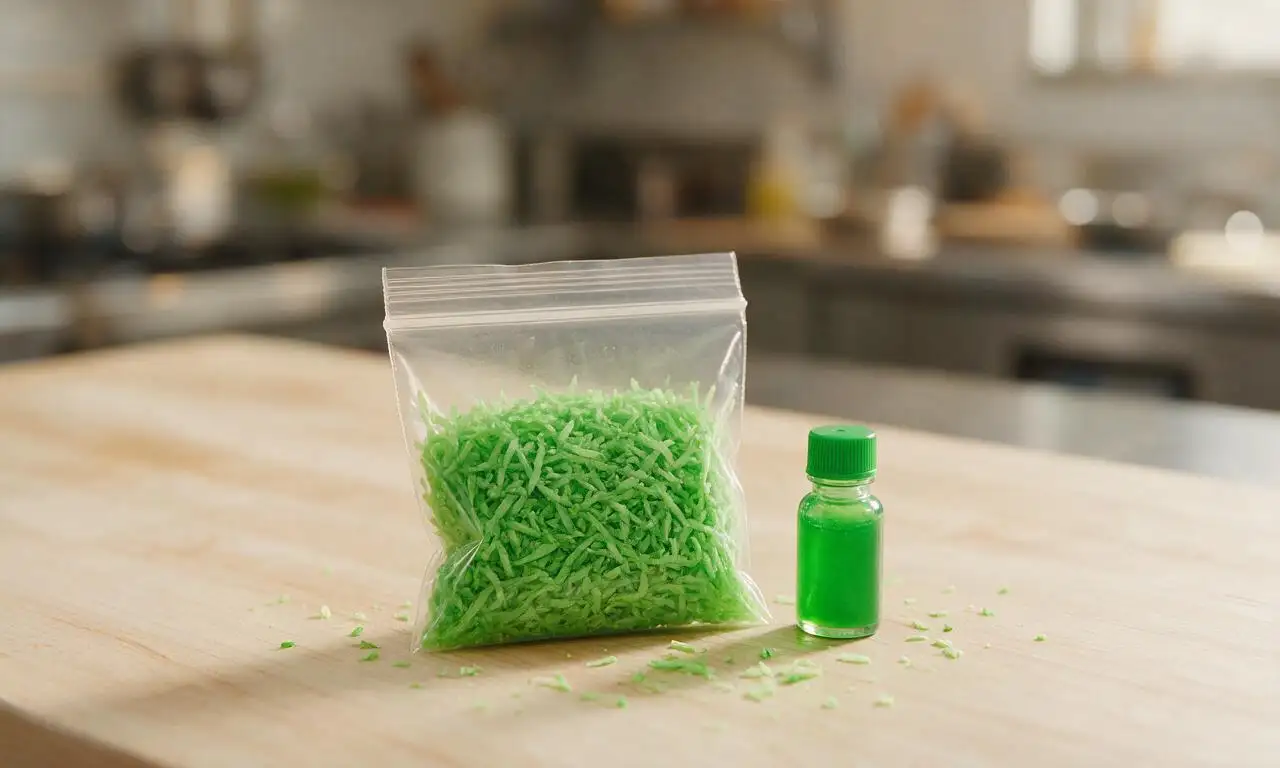
Place the 50 g of shredded coconut in a small sealable plastic bag, add 2 drops of green gel food coloring, seal the bag tightly, and shake vigorously for 30 seconds until all coconut is evenly tinted bright spring green to resemble Easter grass. Add 1 extra drop of food coloring if lighter patches remain, shaking again to fully combine.
Top and chill cake
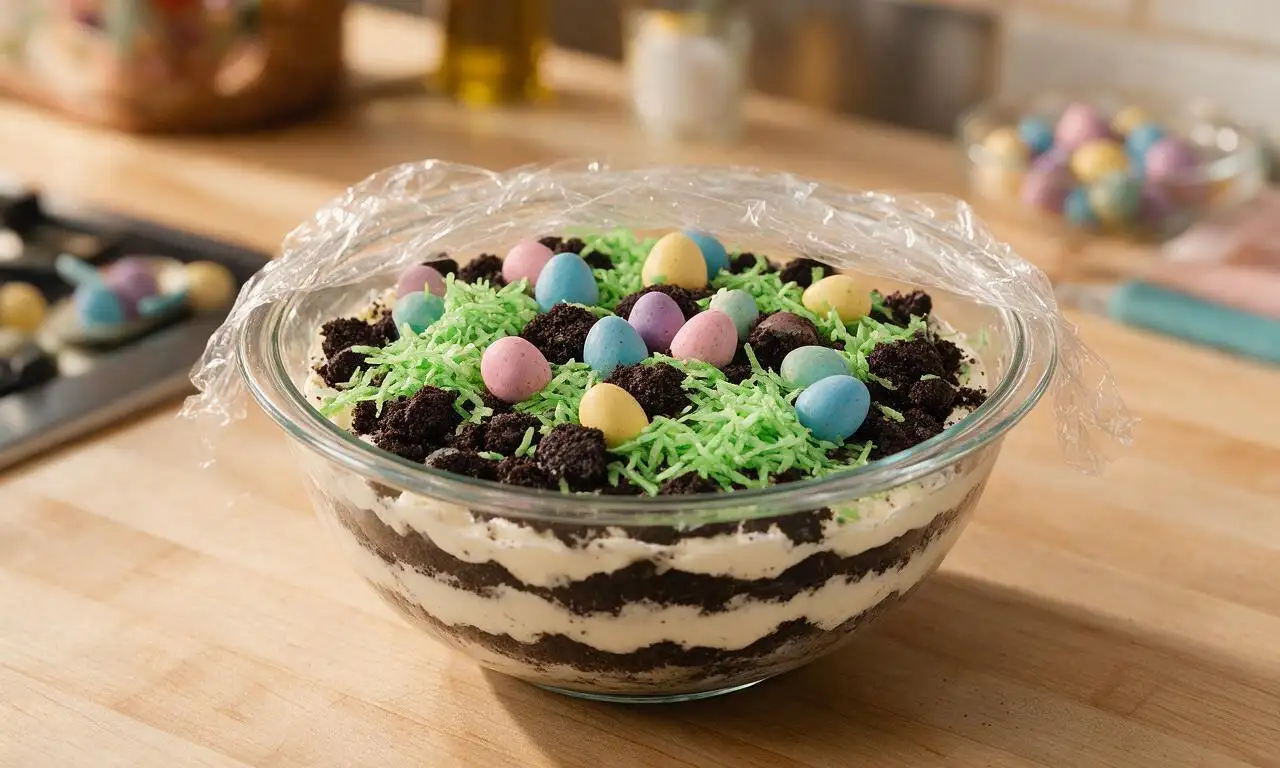
Sprinkle the reserved ½ cup (60 g) of Oreo crumbs randomly across the top smooth filling layer to look like loose dirt patches. Scatter the green tinted coconut across the top to create scattered grassy patches, then dot the surface with 150 g of pastel candy-coated mini chocolate eggs, tucking each egg slightly into the cream layer to hold it in place. Cover the dish tightly with plastic wrap and refrigerate for a minimum of 2 hours to fully set before slicing and serving.
Tips
2.Use gel food coloring instead of liquid food coloring to tint coconut, as liquid coloring will make the coconut soggy and create muted, uneven color.
3.This dessert can be made up to 24 hours in advance and stored covered in the refrigerator; add the coconut grass and candy egg toppings 1 hour before serving to prevent soggy coconut and discolored candy coatings.






OMG this Easter dirt cake was a total hit at our family brunch yesterday! My kids went back for seconds before I even got a first bite 😂 The crushed Oreos with the cute pastel candy eggs on top looked so festive, and it was so easy to throw together even with my chaotic morning schedule. 10/10 will make this every year now!
I’m literally so bad at baking and even I didn’t mess this up! Total game changer for my first ever Easter host. The only swap I did was use gluten free Oreos because my cousin has celiac, and you couldn’t even tell the difference. SO good.
I’ve been making dirt cake for my grandbabies for 30 years, and this version is the best one I’ve tried yet! The addition of the coconut dyed green for 'grass' around the candy eggs was such a cute touch I’d never thought of. My oldest granddaughter asked for the recipe to take to her college dorm Easter party.
Was so excited to see the note in the tips about gluten free substitutions! Made this for our neighborhood Easter egg hunt and all the kids (even the ones without gluten sensitivities) were raving. The gummy bunnies on top were the perfect cute touch, I found mine at the dollar store!
I was in charge of dessert for our extended family Easter dinner and almost panicked because I thought this would take forever. Nope! Super straightforward, even for a guy who usually only burns burgers on the grill. My brother in law made fun of me for making a 'kid dessert' until he ate three servings. Worth it.
I decorated mine with little chocolate bunny toppers and edible glitter and it looked like it came from a fancy bakery! People were taking photos of it before we even cut into it. My only tip is to make sure you crush the Oreos pretty fine so the layers look clean, I left a few too many big chunks on my first layer. Still tasted amazing though!
This was the perfect make-ahead dessert for our busy Easter weekend! I prepped it the night before, pulled it out of the fridge right before dinner, and didn’t have to stress about oven space when we were making the ham and sides. My 4 year old helped me sprinkle the candy eggs on top and felt like a total master chef.
I made a test batch of this last weekend to make sure it was good for my 2nd grade class party, and my husband ate half the pan before I could even pack up the leftovers for my neighbors. Looks like I’m making a double batch this week! The recipe is so easy to scale up for a crowd, which is perfect for classroom events.
I know dirt cake is usually for kids but let’s be real, the adults at our Easter cookout were fighting over the last bite. I added a layer of crushed mini Cadbury eggs between the Oreo and pudding layers and *chef’s kiss* — total upgrade. Don’t sleep on that add-in, y’all.
Tried this recipe last year for Easter and got so many requests for it that I’m making two pans this year! One for my family dinner and one to bring to my office potluck. It travels so well, I just cover the pan with foil and it’s good to go, no messy spills in the car like the layer cake I tried to bring last year (total disaster).
Made this for my dorm floor Easter hang last night and it was GONE in 10 minutes flat. No fancy equipment needed, just a big bowl and a fridge, which is perfect because our dorm kitchen is basically a closet. Only thing is I forgot to let it chill the full 2 hours and it was a little runny, still slapped though. Next time I’ll block off enough time to let it set properly!