
easy bbq ribs
intro
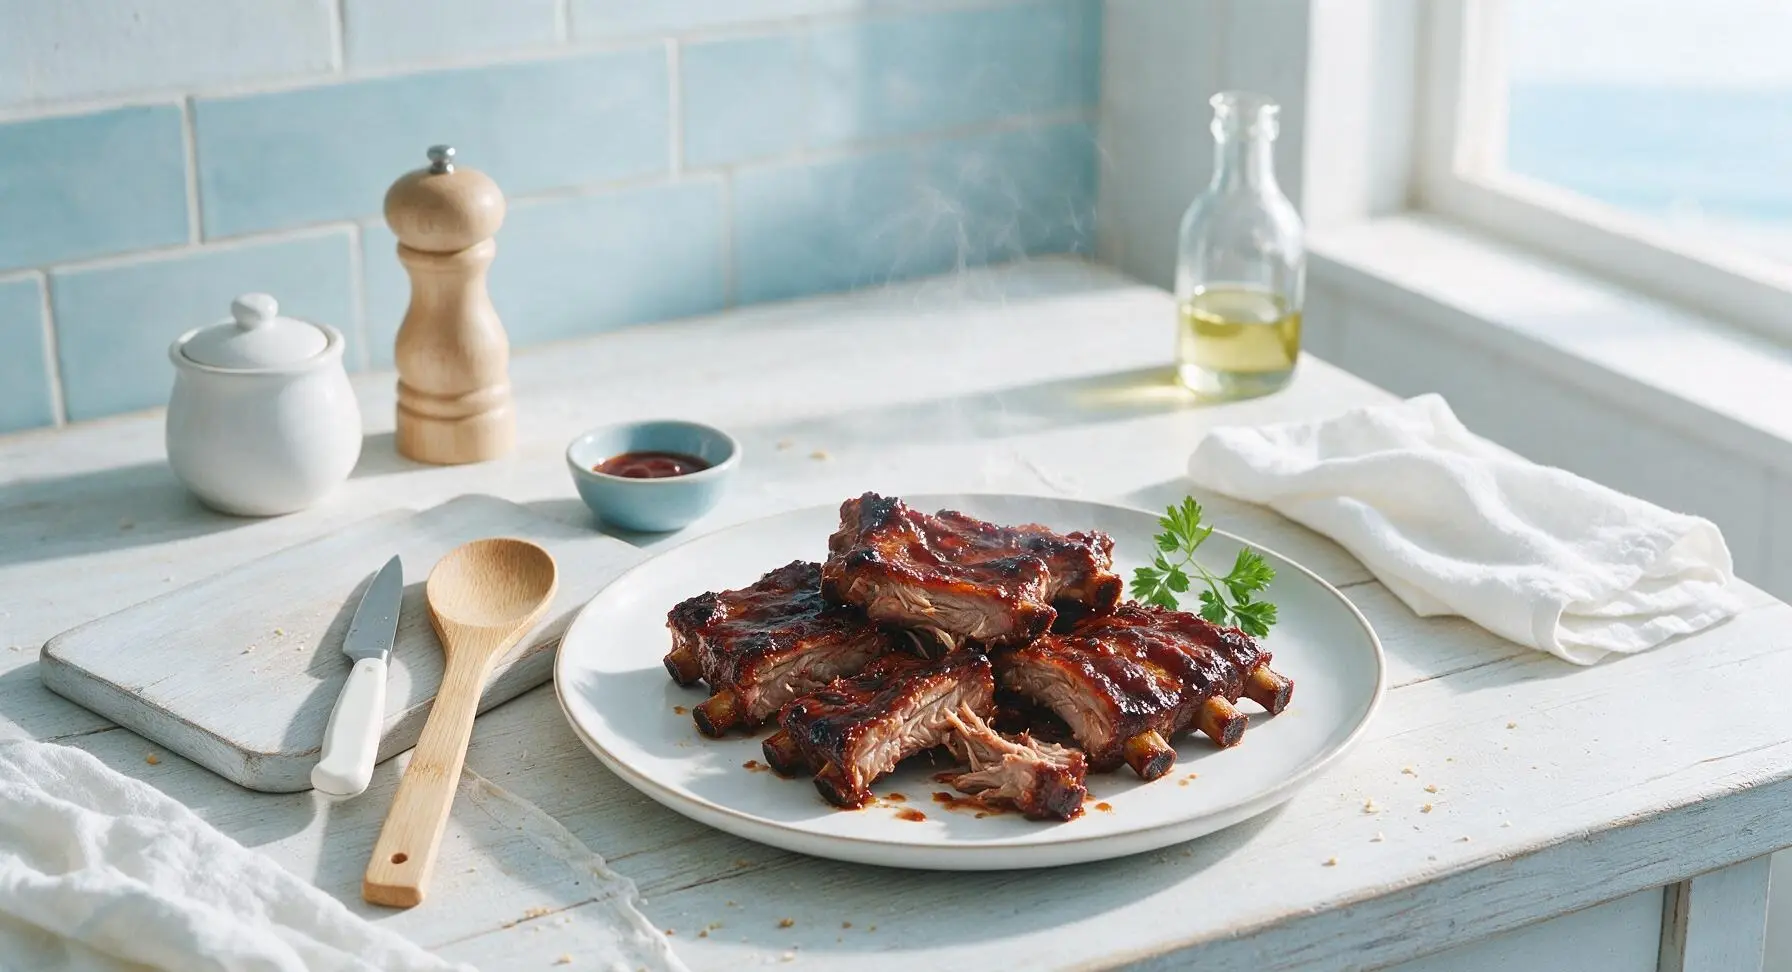
Fall-off-the-bone tender, sticky smoky BBQ ribs made with no fancy smoker required—foolproof, minimal prep, and perfect for casual summer backyard gatherings.
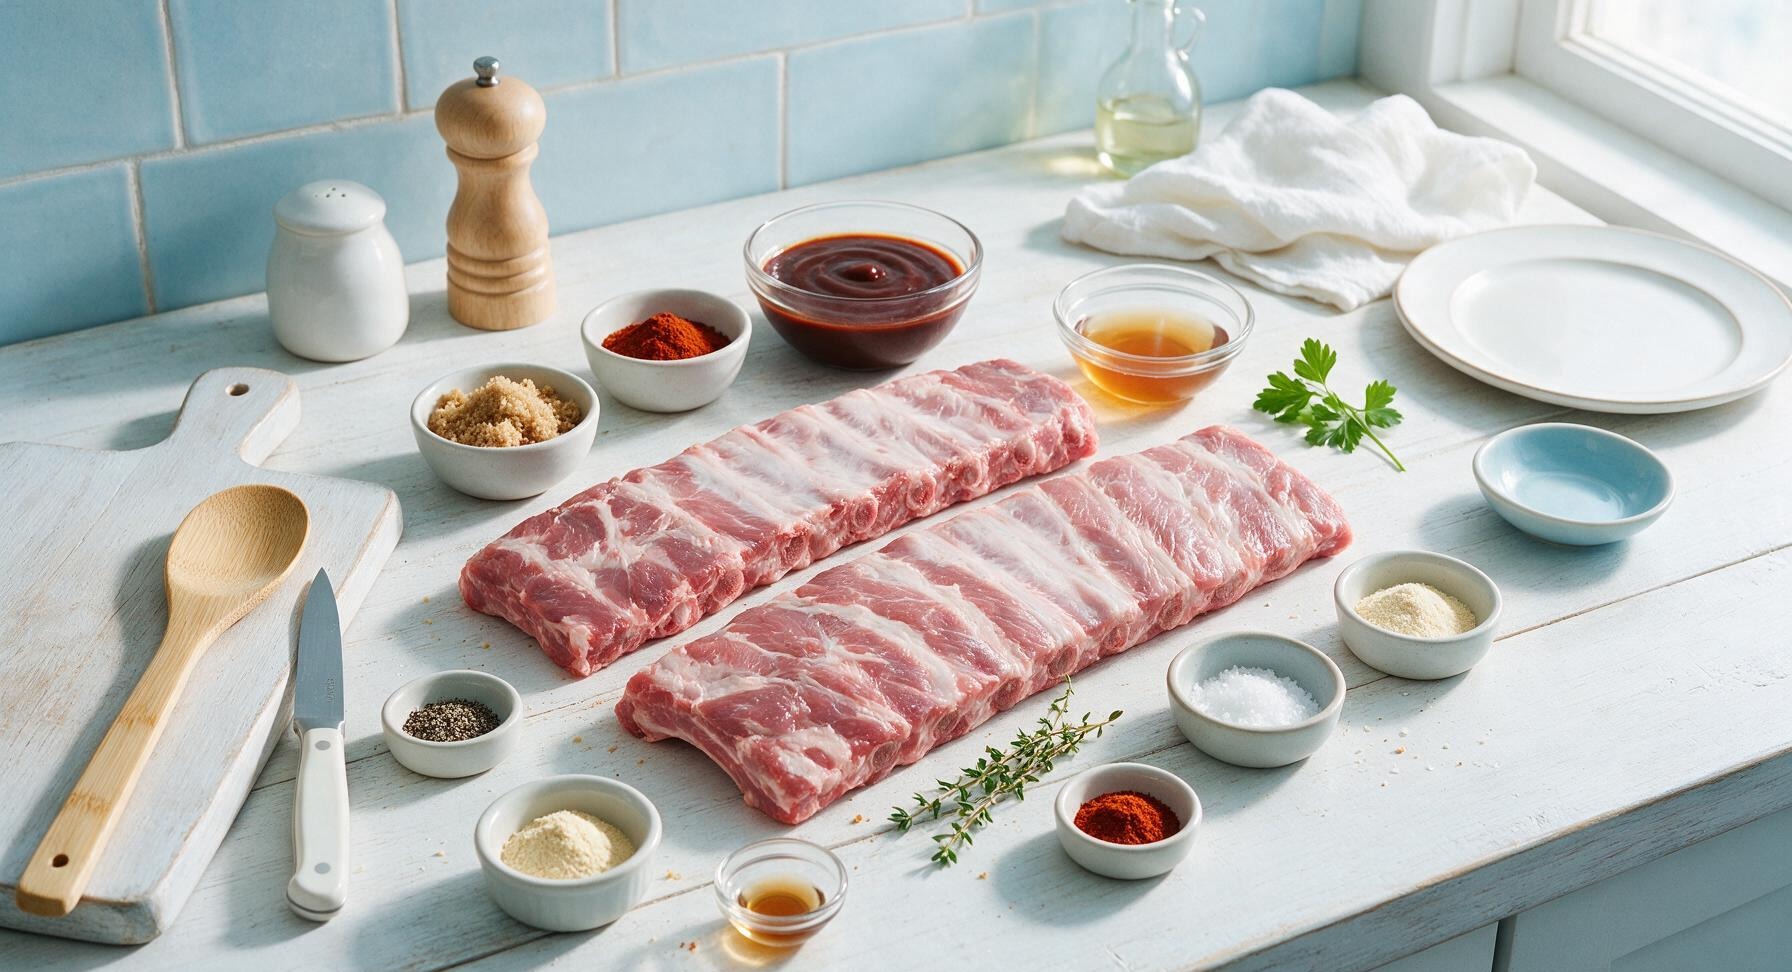
Ingredients
Steps
Remove Rib Membrane
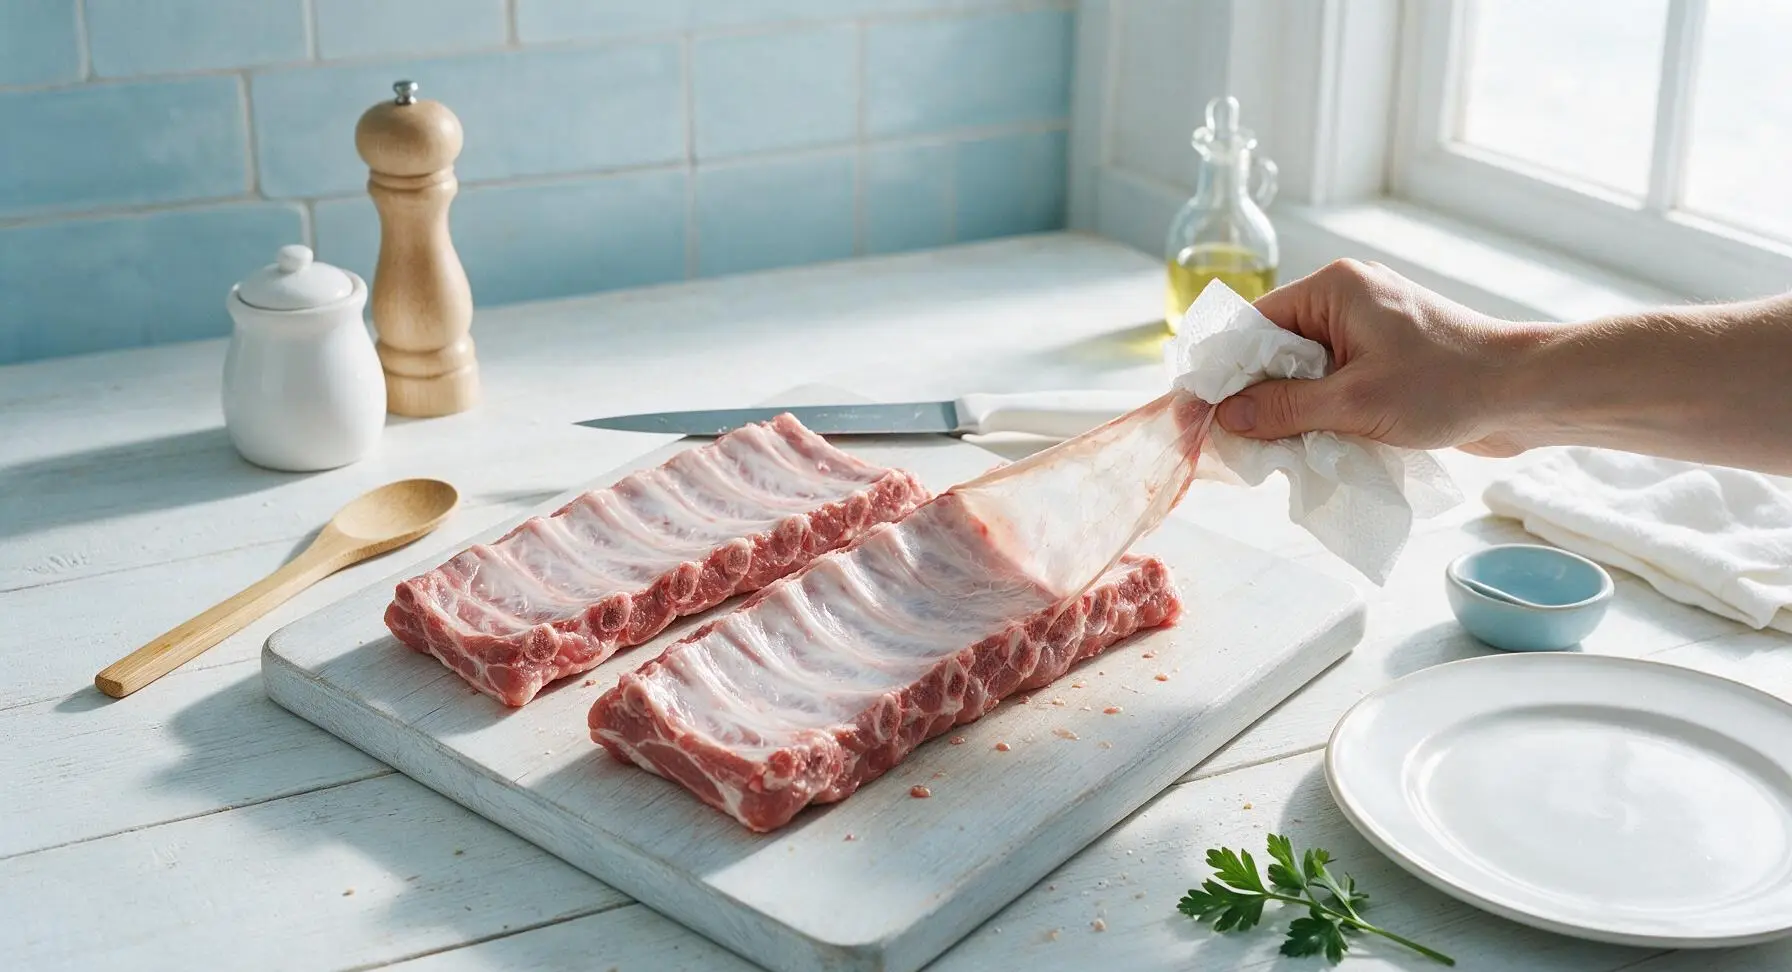
Remove the two racks of pork spare ribs from packaging, pat completely dry with paper towels, and place on the light maple cutting board. Use the tip of the 7-inch chef knife to slide under the thin, papery silver skin membrane on the bone side of each rack. Grip the loose edge with a paper towel for traction, then pull the membrane off in one smooth piece. Discard the membrane; this ensures tender ribs that do not curl while cooking.
Mix Dry Rub
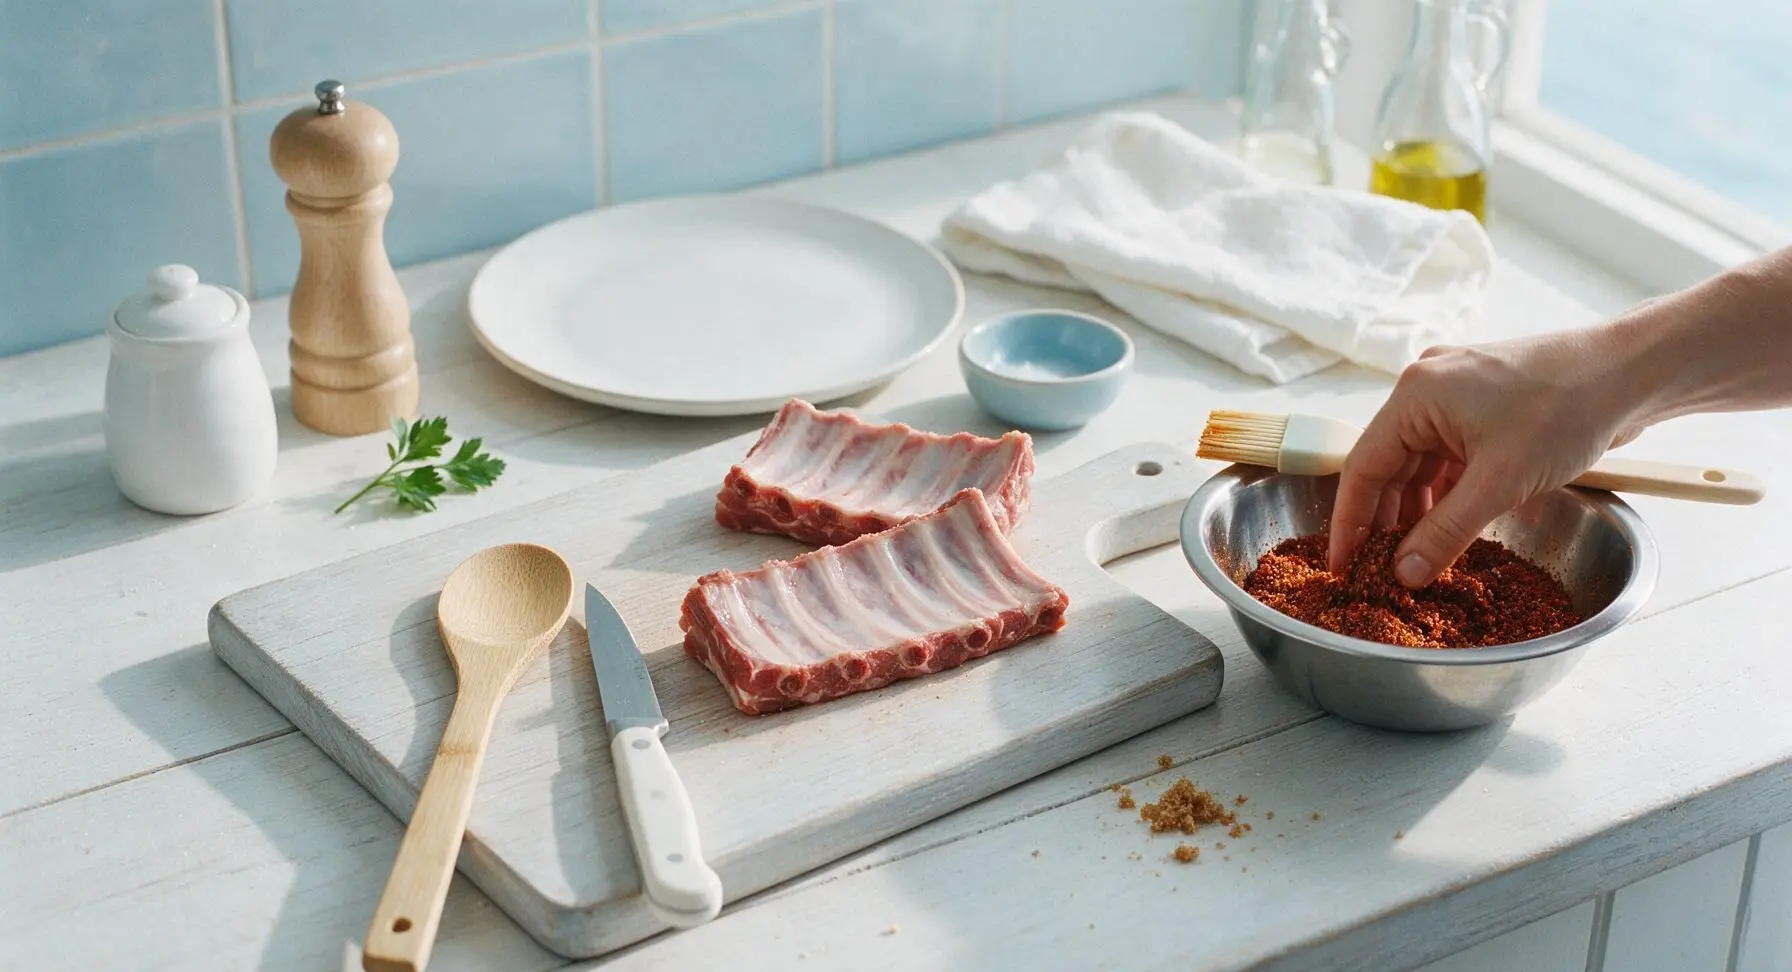
In the small stainless steel mixing bowl, combine 2 tablespoons light brown sugar, 1 tablespoon smoked paprika, 1 teaspoon garlic powder, 1 teaspoon onion powder, 1 teaspoon coarse kosher salt, 1/2 teaspoon freshly ground black pepper, and 1/4 teaspoon cayenne pepper (if using). Stir until all spices are evenly combined, breaking up any clumps of brown sugar with your fingers. The rub should be a uniform deep reddish-brown color with no visible streaks of individual spices.
Coat Ribs with Rub
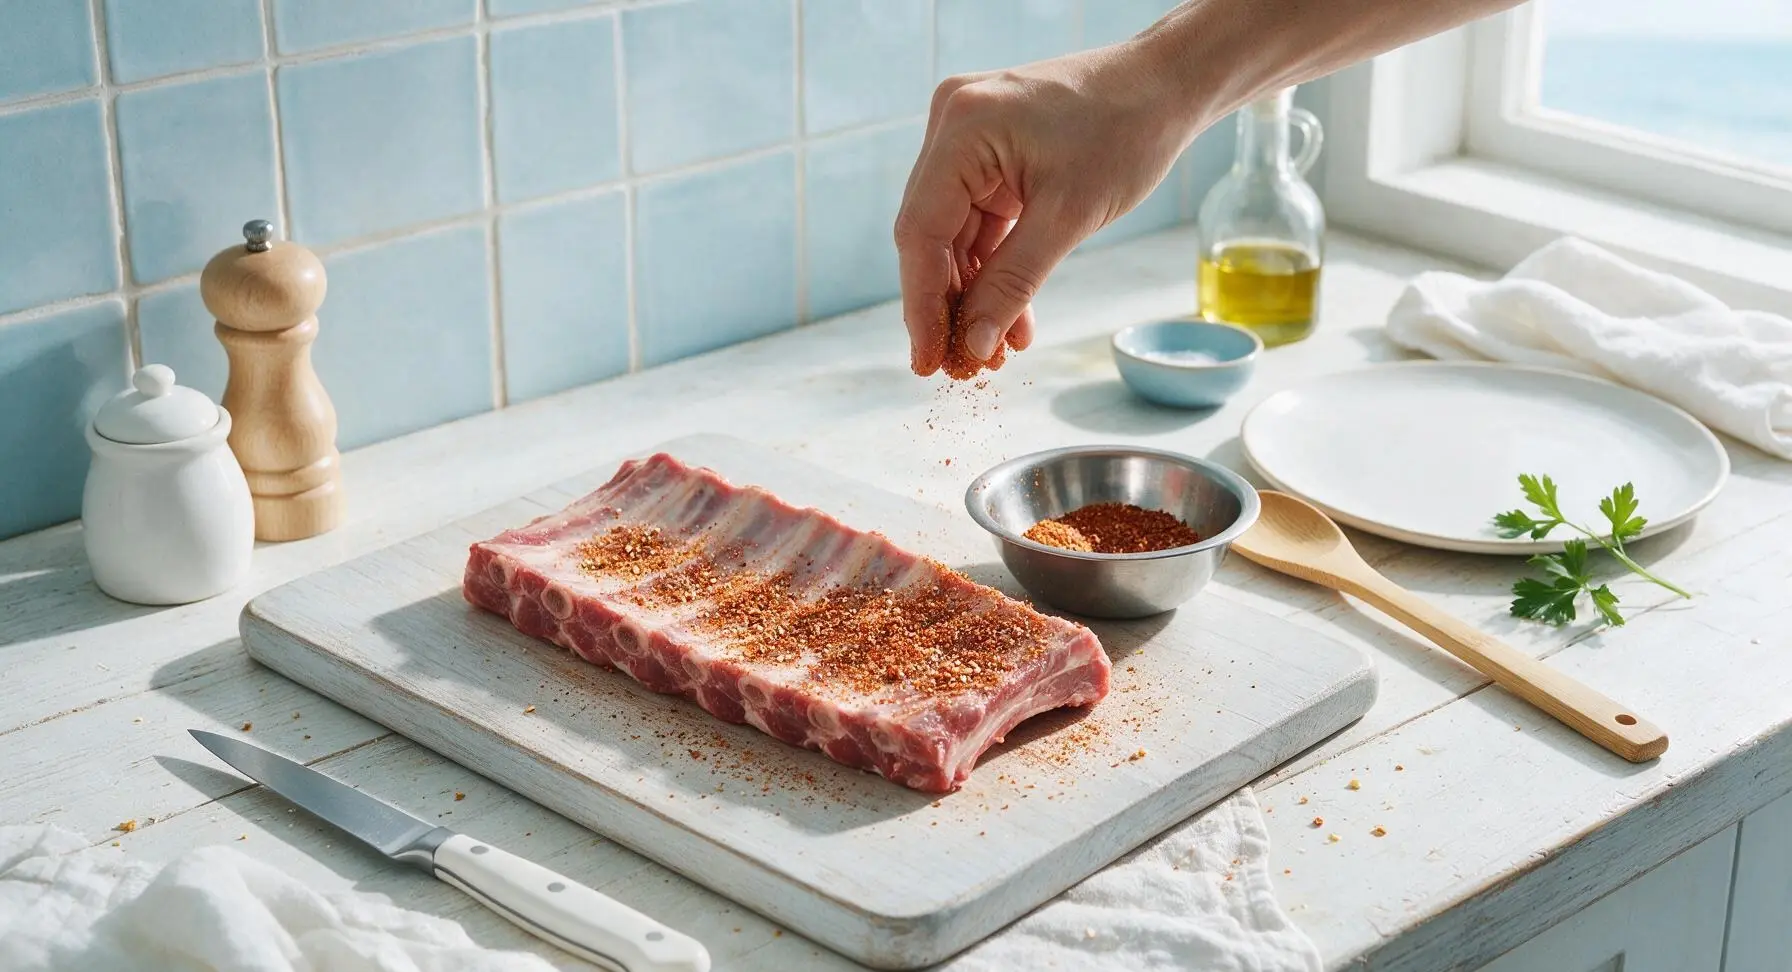
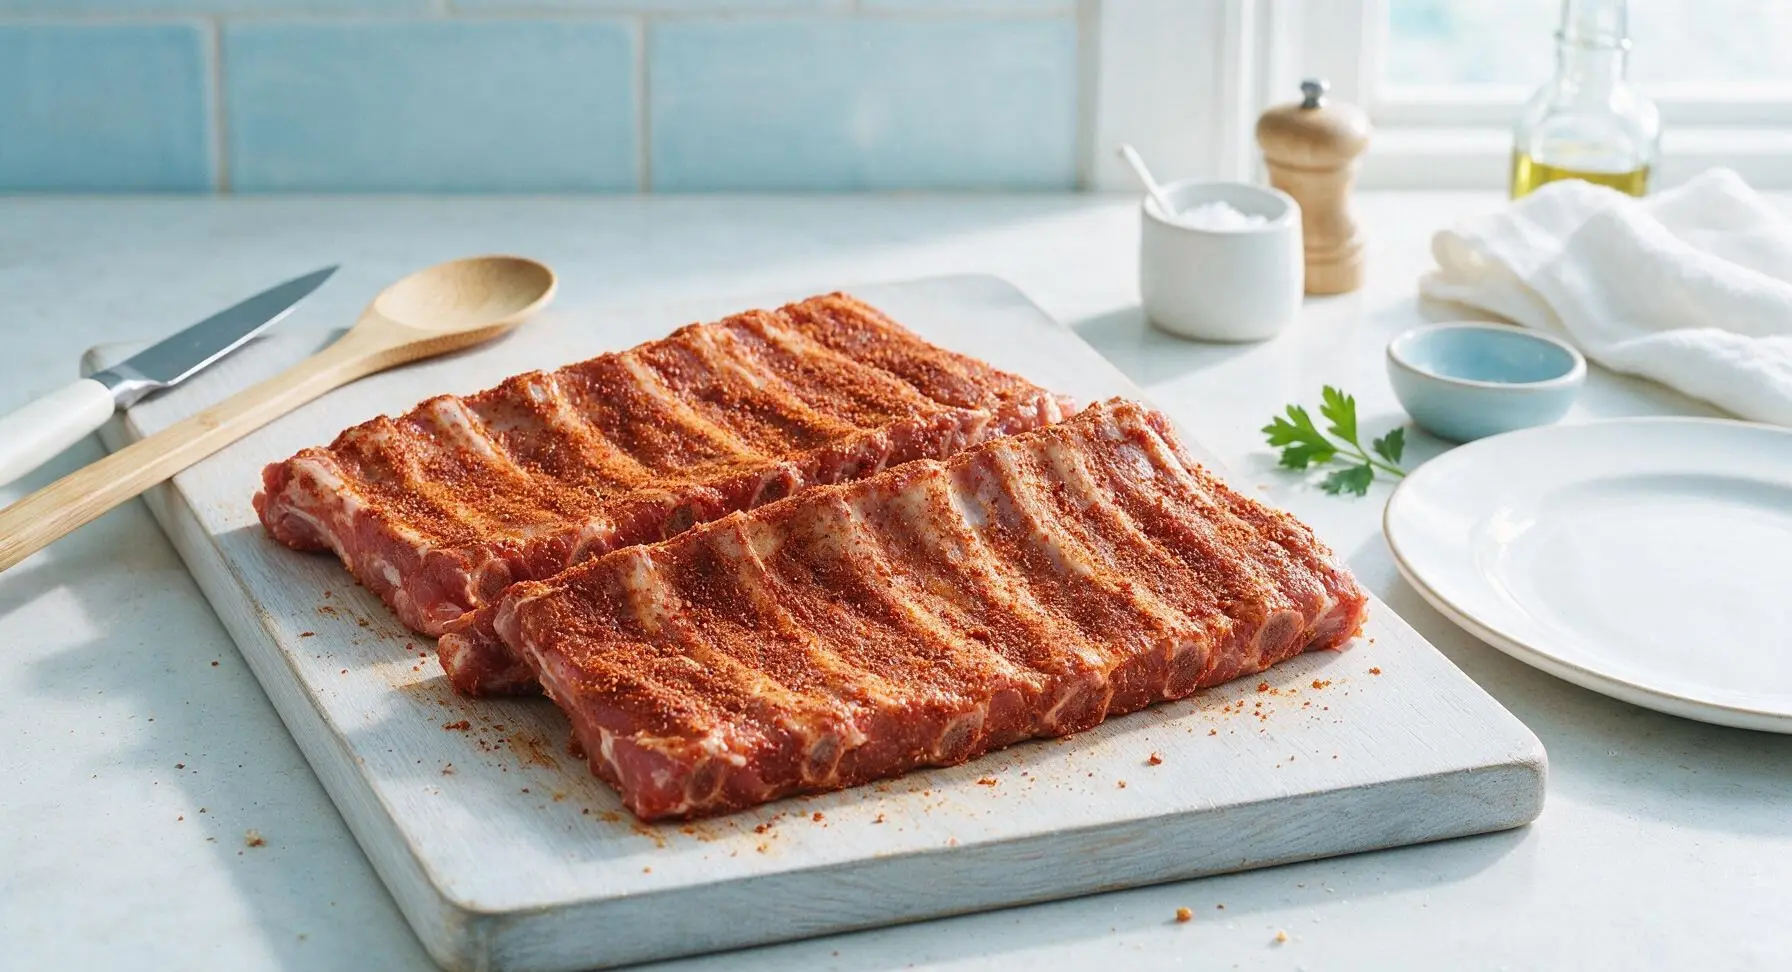
Sprinkle the dry rub evenly over all sides of both rib racks, using your hands to press the rub firmly into the meat surface. Make sure to cover the top, bottom, and narrow edges of the racks, so every part has a thin, even layer of spice. Do not wipe off excess rub; it will form a flavorful crust as the ribs cook. Let the seasoned ribs rest at room temperature for 15 minutes while the oven preheats to 300°F (150°C).
Bake Ribs Low and Slow
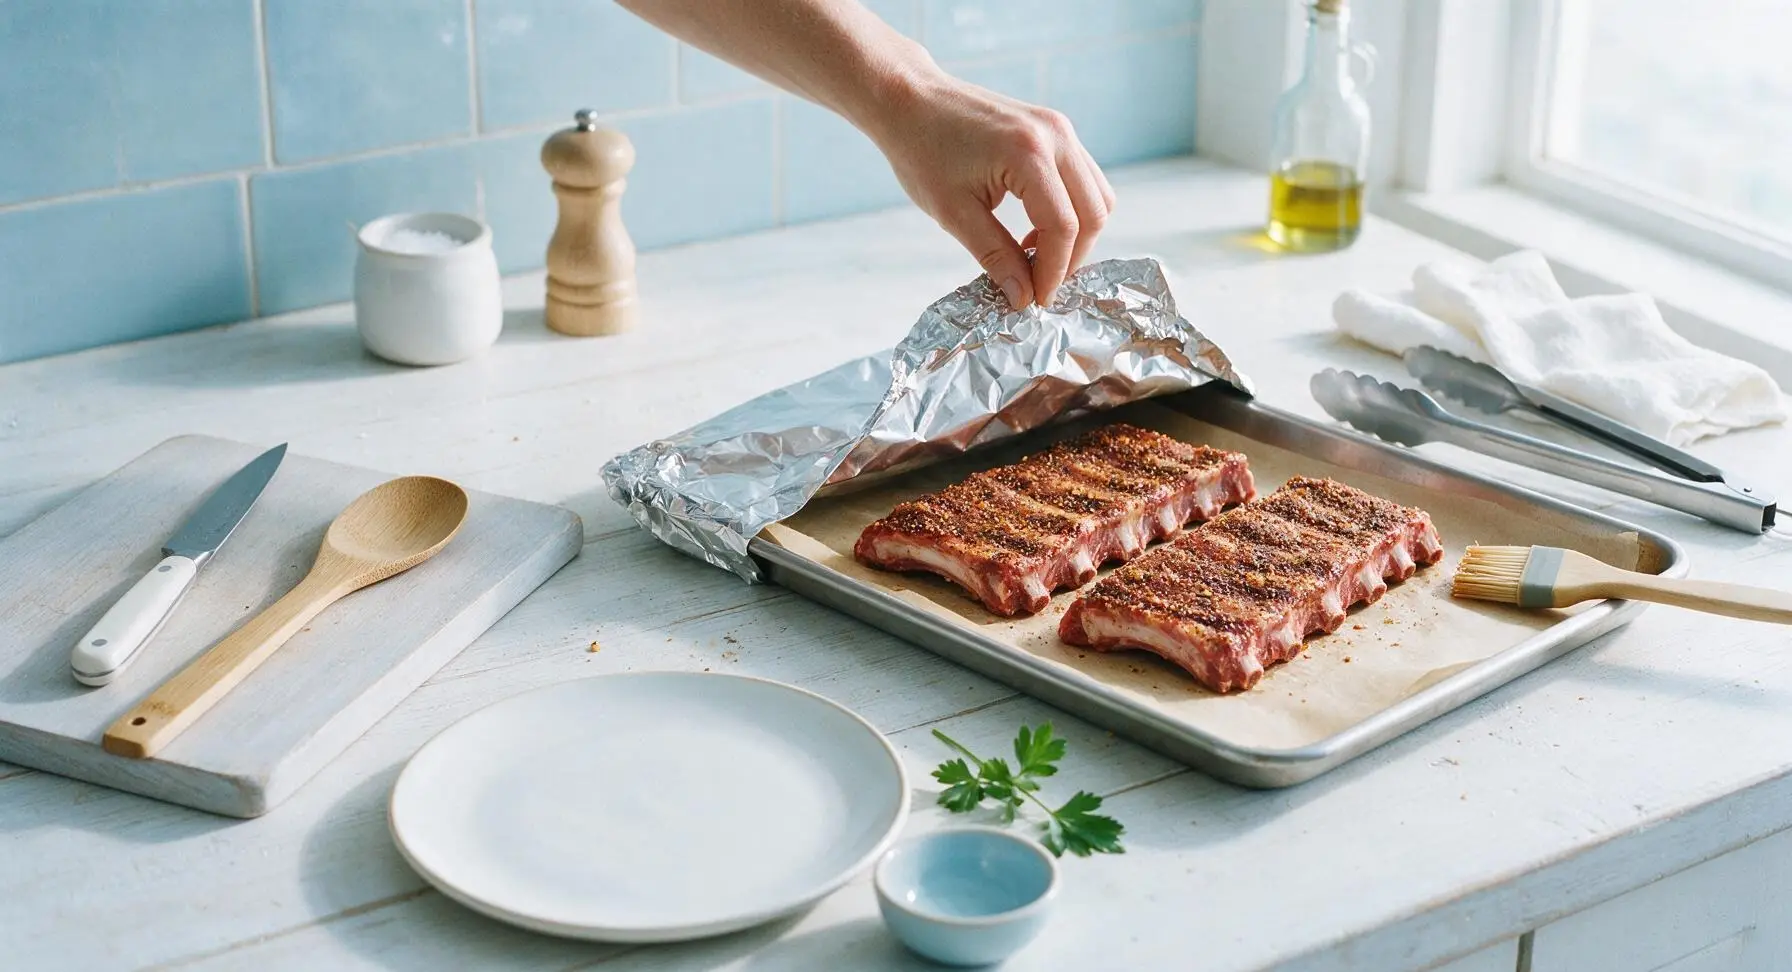
Place the seasoned rib racks bone-side down on the parchment-lined stainless steel rimmed baking sheet, leaving 1 inch of space between the racks for air flow. If using liquid smoke, mix 1 teaspoon with 1 tablespoon apple cider vinegar and brush lightly over the top of the ribs. Cover the baking sheet tightly with aluminum foil, crimping the edges to create a sealed pocket so steam cannot escape. Bake on the middle oven rack for 2 hours at 300°F (150°C), until the meat pulls back 1/4 inch from the ends of the bones and is tender when poked with a fork.
Check Rib Tenderness
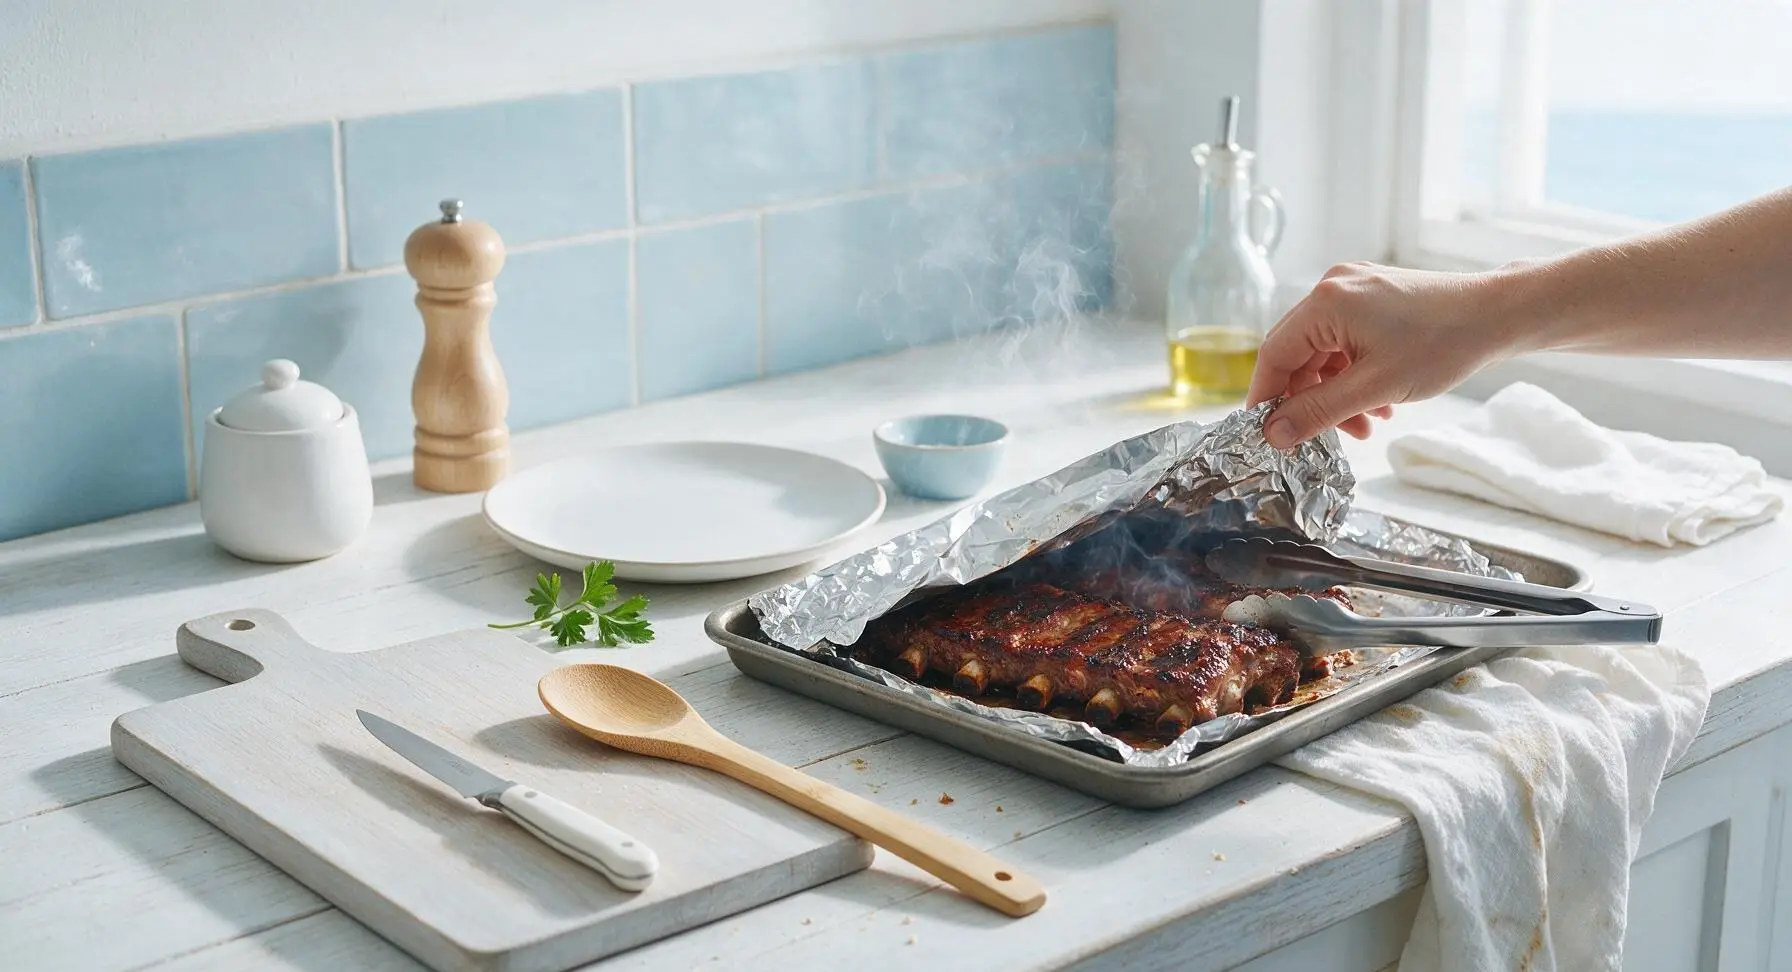
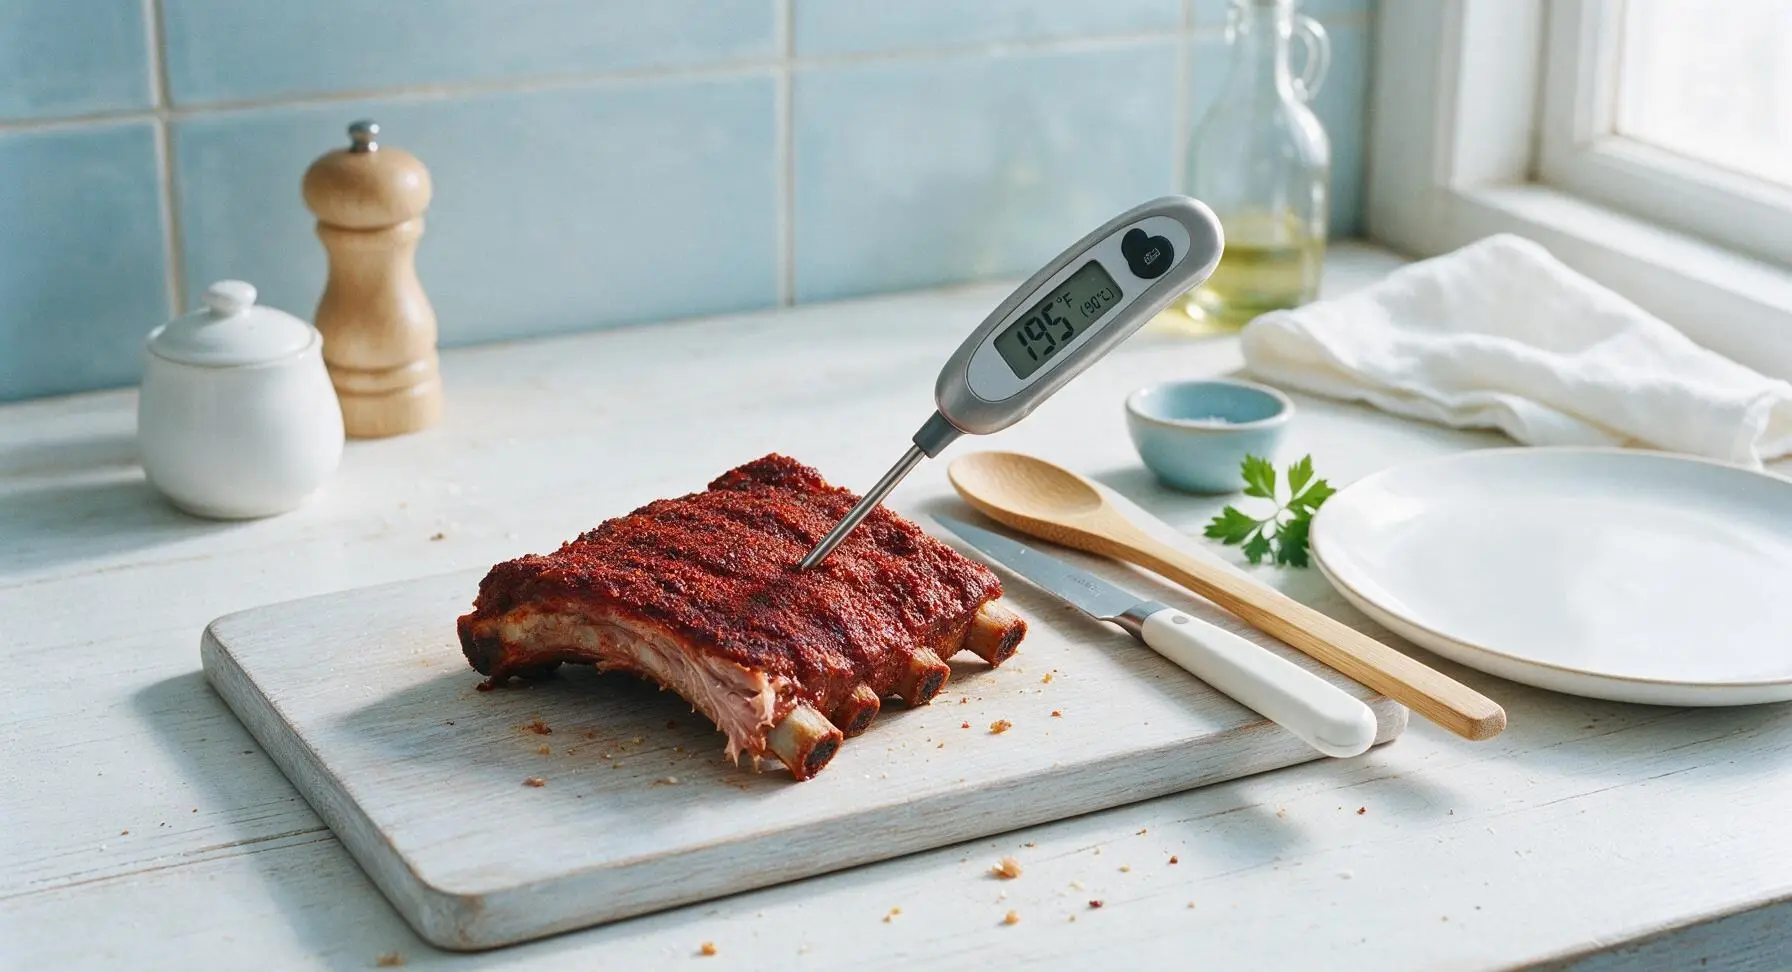
After 2 hours of baking, carefully remove the baking sheet from the oven, and peel back the aluminum foil (watch for escaping hot steam). Insert the digital instant-read meat thermometer into the thickest part of the meat, avoiding bone: it should read 195°F (90°C) for tender, pull-apart ribs. Visually confirm that the meat has pulled back from the bone ends by about 1/4 inch, and that a fork slides into the meat with almost no resistance.
Brush with BBQ Sauce
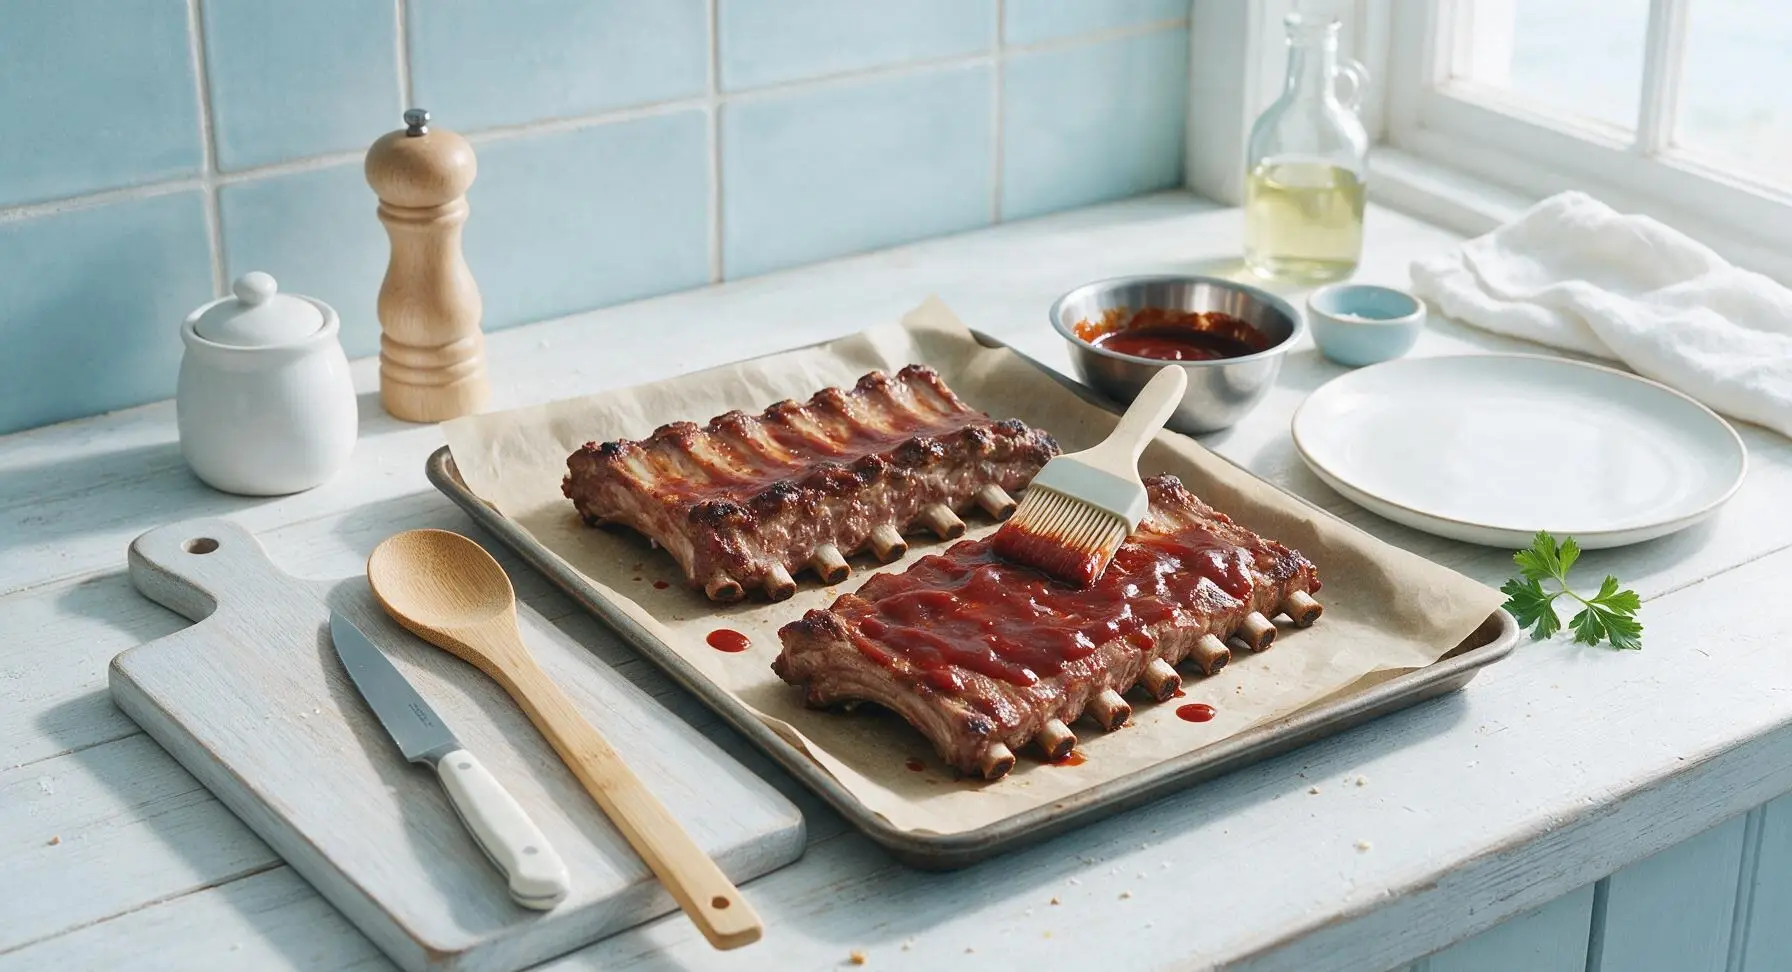
Mix 1 cup of smoky BBQ sauce with the remaining 1 tablespoon of apple cider vinegar in the now-empty small stainless steel mixing bowl, stirring until smooth. Use the silicone basting brush to coat the top (meaty side) of each rib rack generously with the sauce mixture, making sure to cover every surface in a thick, even layer. Reserve 1/4 cup of sauce for serving.
Caramelize Sauce Glaze
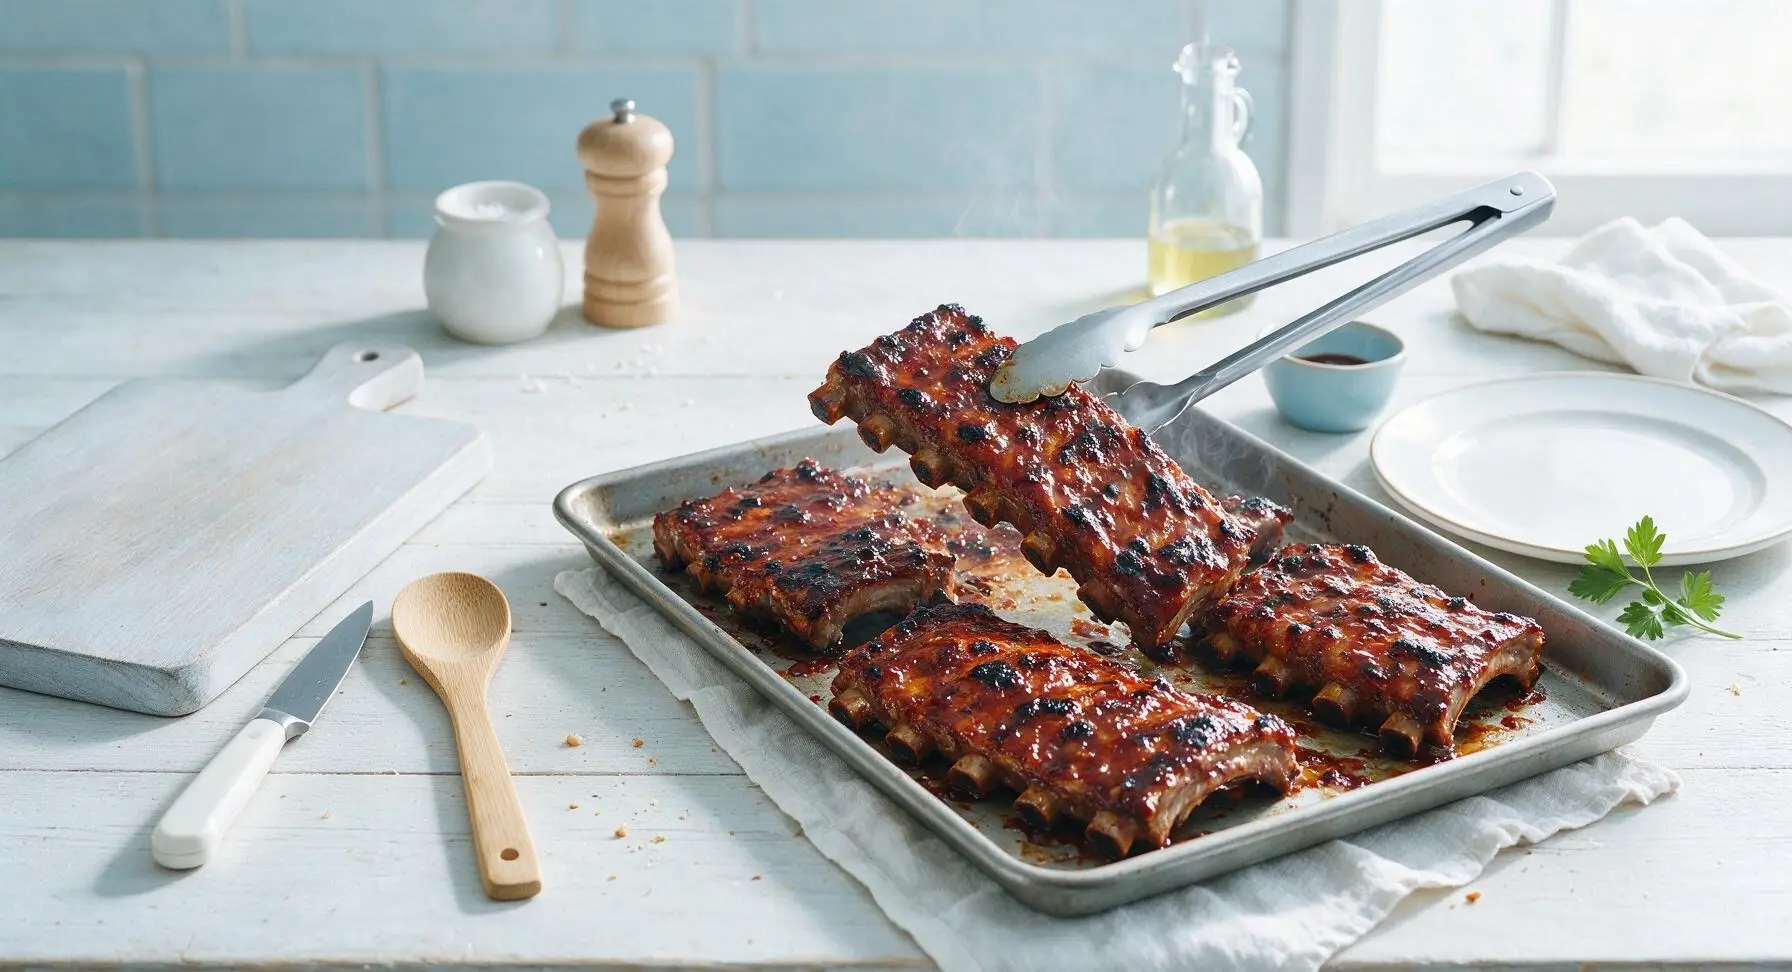
Turn the oven broiler to high, and place the uncovered baking sheet of sauced ribs 6 inches below the broiler element. Broil for 3-5 minutes, watching closely, until the sauce bubbles and forms slightly charred, sticky caramelized spots across the rib surface. Do not walk away during this step: the high sugar content in BBQ sauce burns in as little as 30 seconds once it hits caramelization temperature. Remove from the oven when the glaze is glossy and slightly charred at the edges.
Rest and Slice Ribs
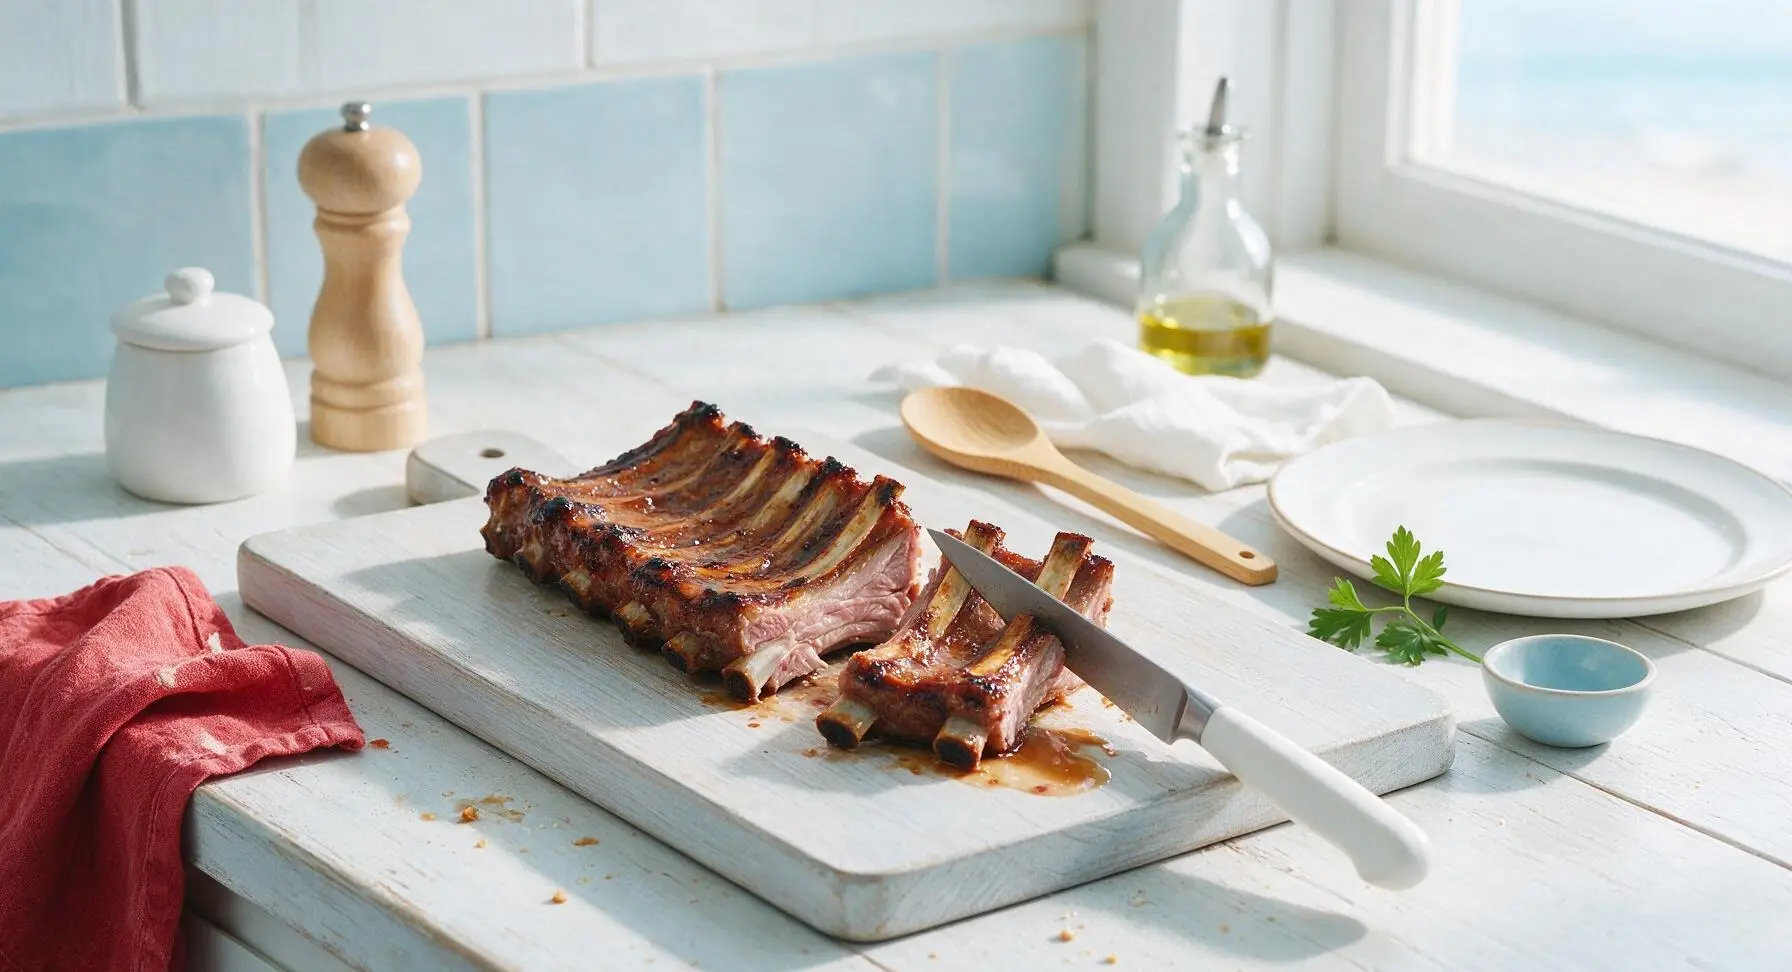
Let the ribs rest for 10 minutes on the baking sheet to allow the juices to redistribute, and the glaze to set slightly. Transfer the racks to the light maple cutting board, then use the chef knife to cut between the bones into individual 2-bone sections, wiping the knife blade on the red kitchen towel between cuts to prevent sauce smudges.
Tips
2.Crack the oven door 1-2 inches when broiling the sauce glaze: this stops the broiler from cycling off mid-cook, and lets you closely monitor the sauce—high-sugar BBQ sauce can burn and turn bitter in as little as 30 seconds once it reaches caramelization temperature.
3.Let ribs rest for a full 10 minutes before slicing: cutting into hot ribs straight out of the oven will cause all the juicy, flavorful rendered fat and sauce to run out onto the cutting board, leaving the meat dry and less flavorful.






OMG these ribs were a total game changer for our Sunday family dinner! I’ve always been intimidated to make ribs at home because I thought they’d take all day, but 2 hours 15 mins? No way they came out fall-off-the-bone tender. My kids ate two servings each and asked when we’re making them again.
Made these for my neighborhood potluck last weekend and people were literally coming up to me asking for the recipe all night. I added a little extra paprika to the dry rub because I like a tiny kick, and it was chef’s kiss. SO good, way easier than the rib recipe I’ve been using for years that takes 4+ hours.
Perfect for my weekly meal prep! I made a big batch on Sunday, portioned them out with coleslaw and roasted corn, and they reheated beautifully all week for lunches. Didn’t dry out at all, which is usually my problem with leftover ribs. 10/10 will be on regular rotation.
Wait, is it really possible to get good ribs in just over 2 hours? I’ve done low and slow for 6 hours before so color me skeptical, but I’m gonna give this a shot for my buddy’s birthday cookout this weekend. Fingers crossed!
My teen son is the pickiest eater on the planet and he devoured these. Like, didn’t even make a single comment about it being “too saucy” or “too chewy” like he does with every other rib I’ve ever made. This recipe is a permanent bookmark for me now.
Quick heads up for anyone making these for the first time — line your baking sheet with extra foil because the sauce drips and burns super easy if you don’t. Learned that the hard way on my first batch, but even the slightly charred edges were delicious tbh.
I usually smoke all my meats but it was pouring rain all weekend so I gave this oven method a shot. Gotta say, I was impressed. It’s not the exact same as smoked ribs, but for an easy indoor option? Unbeatable. I used my own homemade BBQ sauce instead of store bought and it slapped.
Total beginner here — I’ve never cooked ribs in my life, how important is it to remove the membrane on the back? I watched a quick TikTok about it but it looks kind of hard to do, can I skip it?
Made these for our Fourth of July block party and they were gone in 10 minutes flat. I made two full racks and wished I’d made three. Everyone kept saying they were the best ribs they’d had all summer. So easy I didn’t even stress about prepping for the party!
I was worried these would be too sugary with all the BBQ sauce, but I used a low-sugar sauce and adjusted the dry rub to cut down on added sugar, and they still tasted amazing. Great base recipe that’s super easy to tweak for different dietary needs.
I’ve been making ribs for 50 years and I have to say, this method is so much simpler than the way I used to do it! My grandkids thought I spent all day slaving over the oven, and I didn’t even have to tell them it only took a little over 2 hours. My secret’s safe with this recipe.
Wait can I make these in an air fryer? I don’t have access to a full oven right now because my kitchen is being renovated, but I’ve got a big 8-quart air fryer. Would that work with adjusted cook time?
Made these for my girlfriend for our at-home date night last night and she said they were better than the ribs we get at that fancy BBQ spot downtown that costs $30 a plate. Win for me, easy recipe, minimal cleanup, 10/10.
Made these in my tiny dorm oven and they actually came out edible??? I’m the worst cook ever, I burn toast 90% of the time, and these ribs were actually fire. Used store brand BBQ sauce, didn’t even do a fancy dry rub, just salt pepper and garlic powder, and it worked. 10/10 for us broke college kids.