
easy family casseroles

title 1
easy family casseroles
⏱️ cook time 35 minutes
🍽️ servings 6
⚡ Difficulty easy

intro

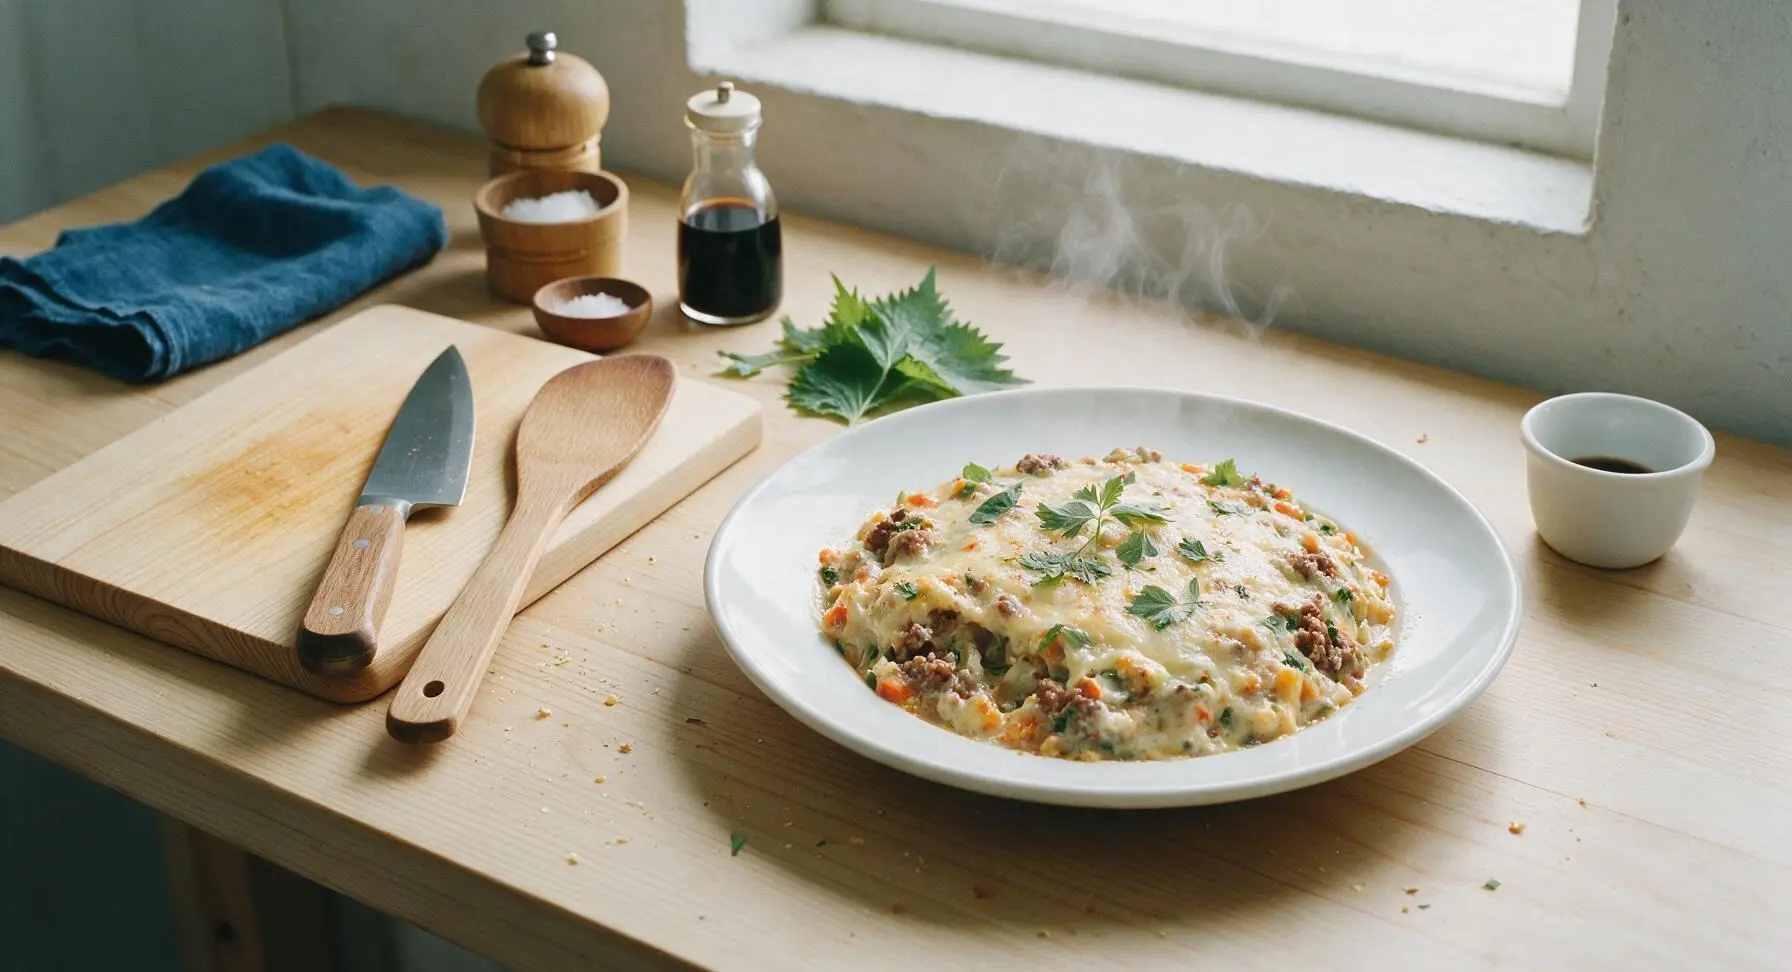
Creamy, cheesy, veggie-loaded comfort food made with pantry staples, minimal prep, and kid-approved flavor—perfect for busy weeknights with zero fancy skills required.

Ingredients
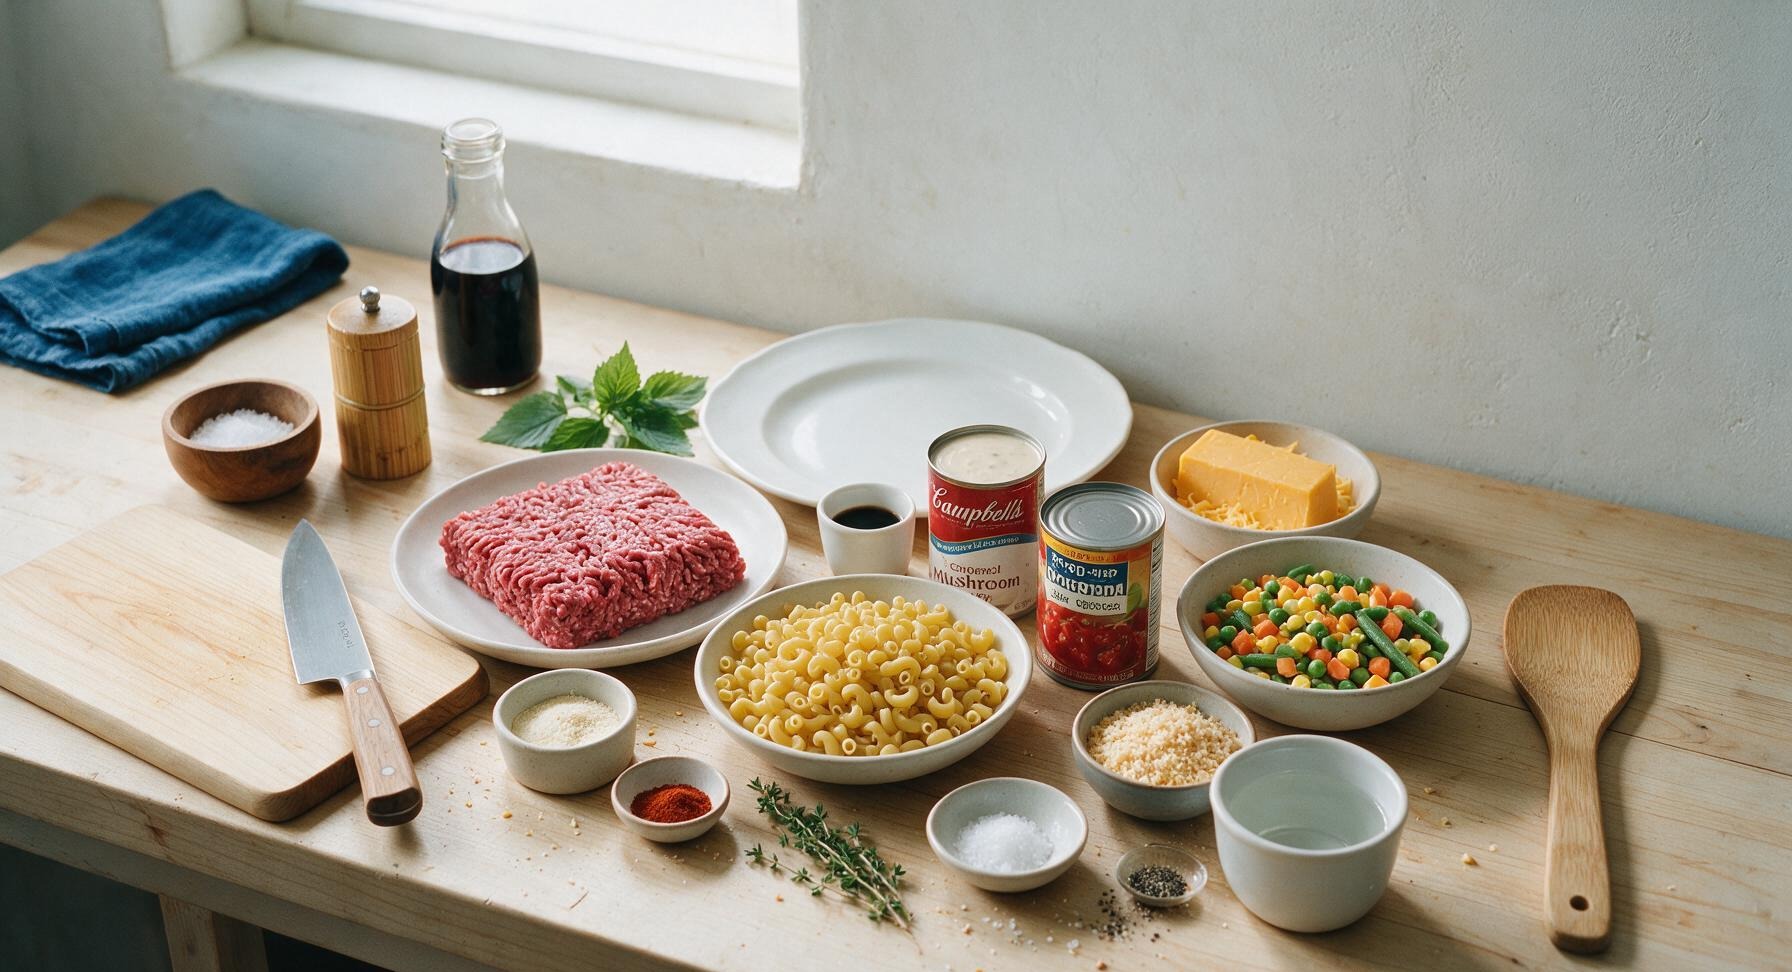
Lean ground beef (90/10) 1 lb (450g)
Uncooked elbow macaroni 2 cups (200g)
Condensed cream of mushroom soup 1 (10.5oz / 298g) can
Diced tomatoes (undrained, no salt added) 1 (14.5oz / 411g) can
Frozen mixed vegetables (corn, peas, carrots, green beans) 2 cups (280g)
Sharp cheddar cheese 8oz (225g)
Panko breadcrumbs ½ cup (30g)
Garlic powder 1 tsp
Onion powder 1 tsp
Smoked paprika ½ tsp
Fresh thyme 3 sprigs
Kosher salt ½ tsp
Black pepper ¼ tsp
Water 1.25 cups (310ml)

Steps

1

Preheat Oven and Prep

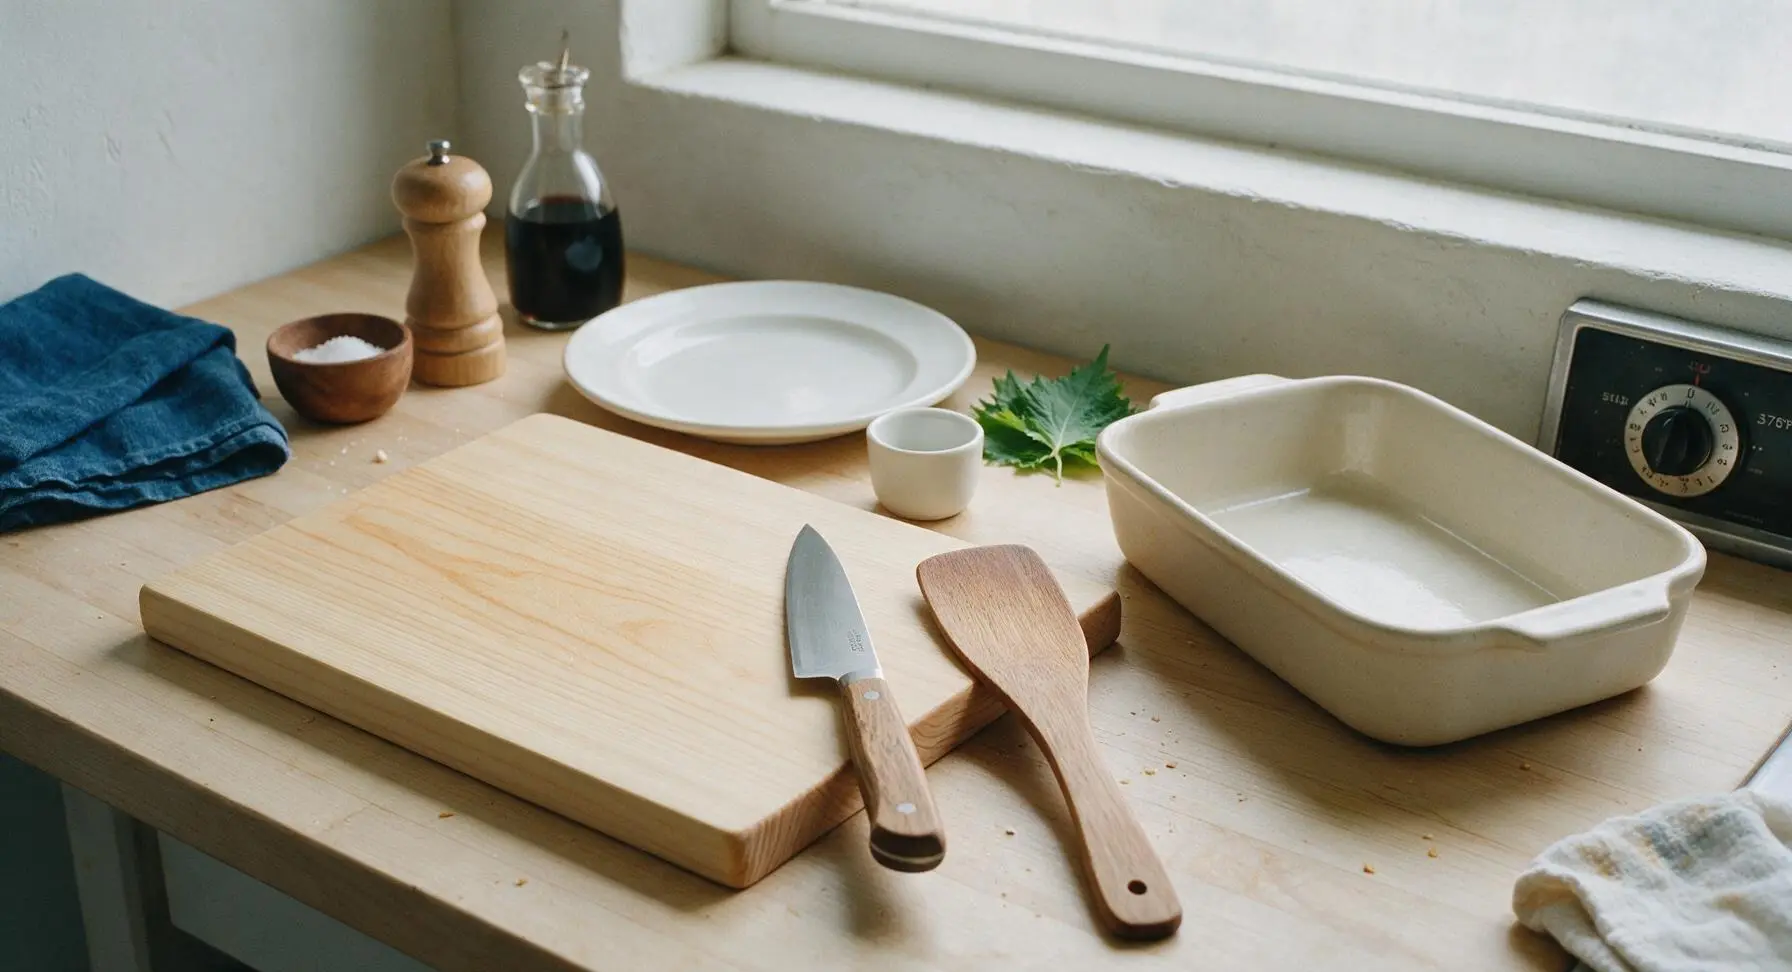
Adjust your oven rack to the middle position, then preheat the oven to 375°F (190°C). Retrieve the 9x13 inch matte cream ceramic casserole baking dish from the cabinet, wipe the interior lightly with a dry paper towel (no extra greasing needed, as the soup and beef fat will prevent sticking), and set it on the counter to the right of the acacia wood cutting board work zone.
Step 1
step1:Preheat Oven and Prep
2

Brown Ground Beef

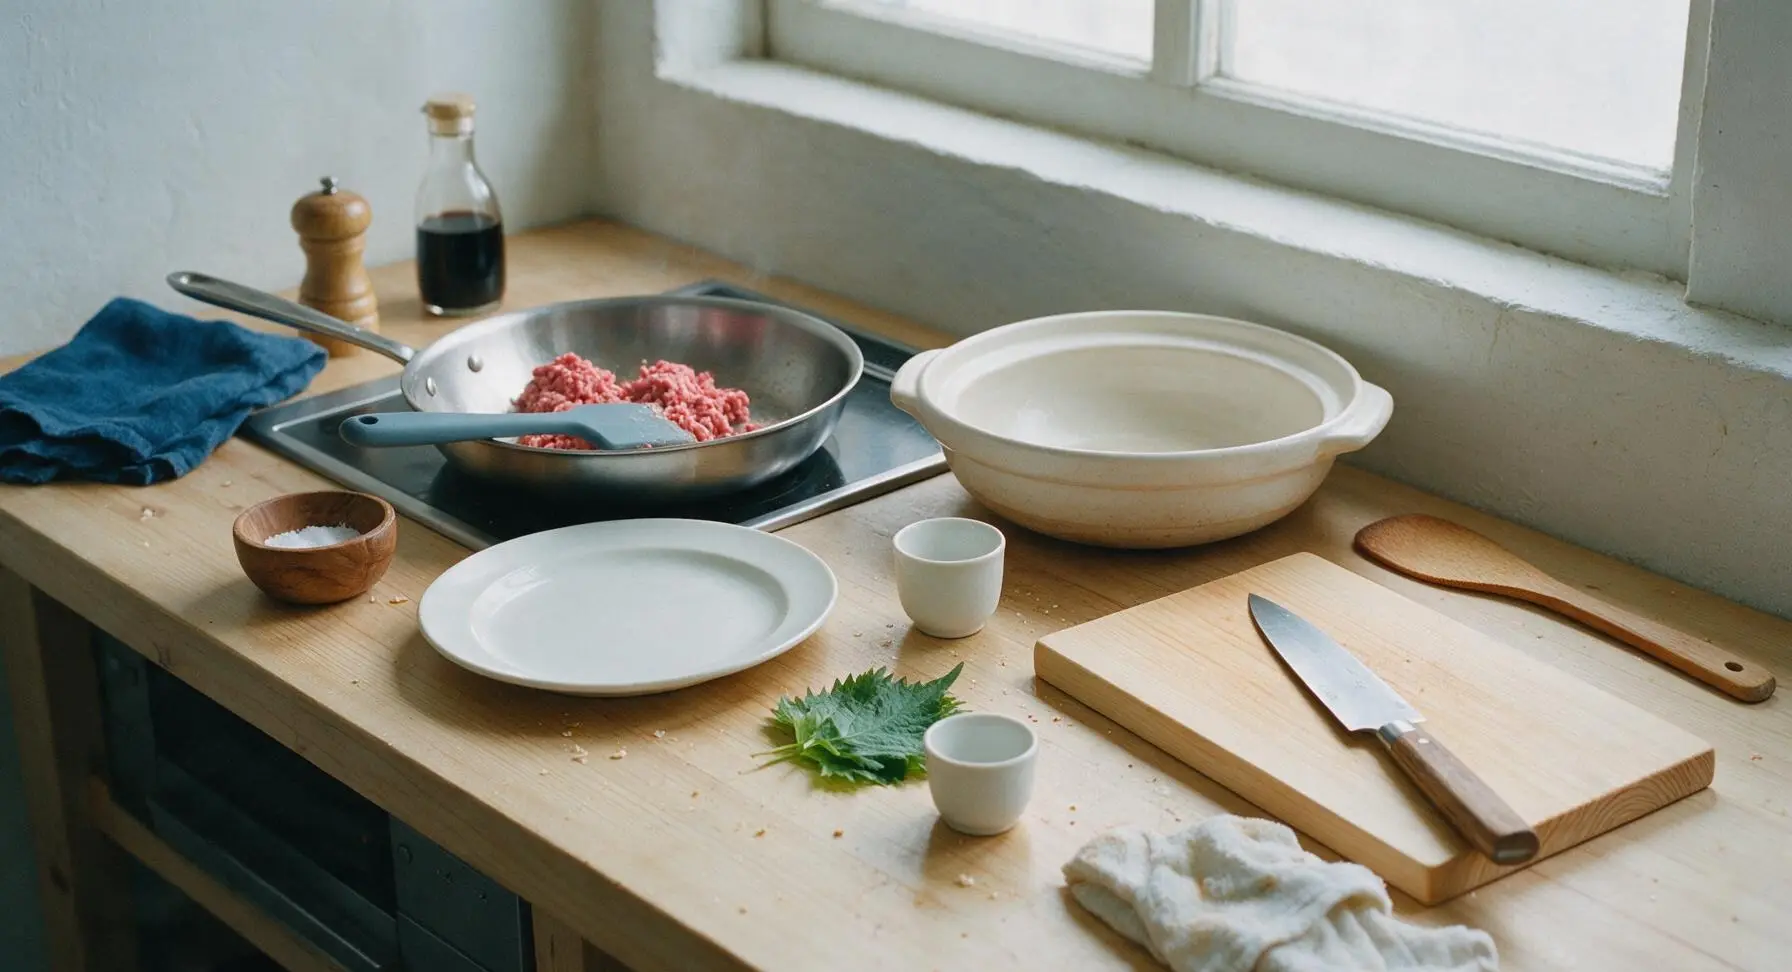
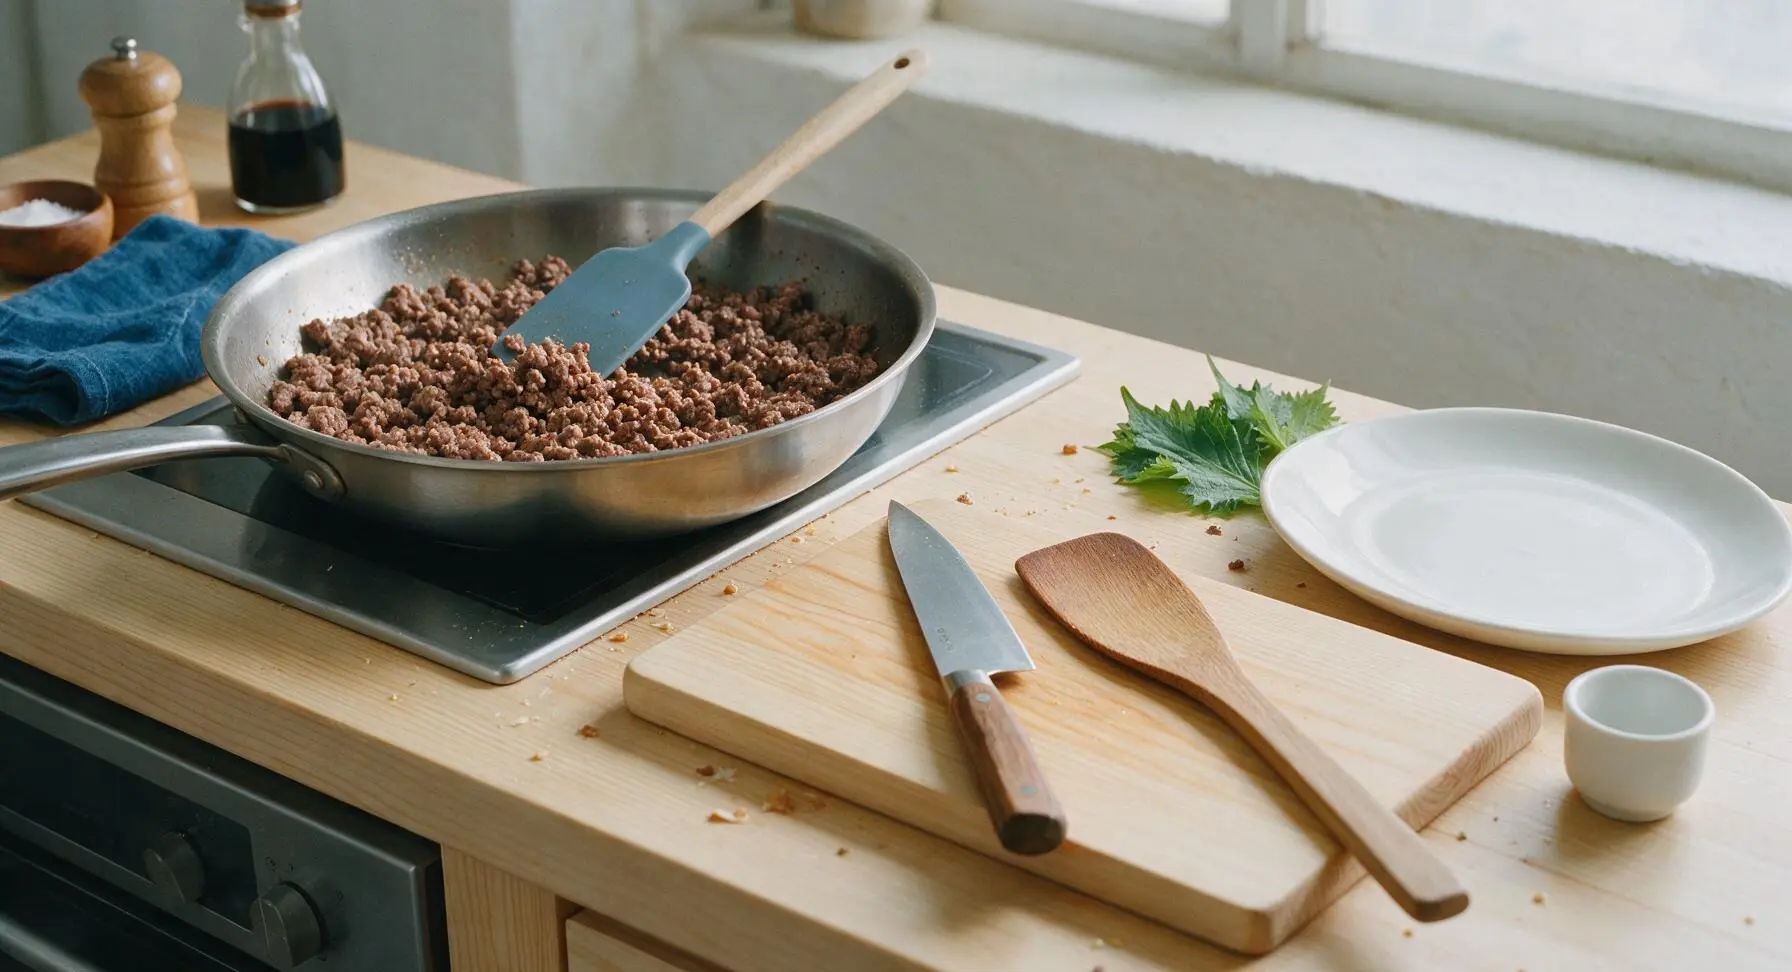
Set the 30cm stainless steel skillet on the back left induction stovetop, heat over medium heat for 2 minutes. Add the 1lb lean ground beef to the skillet, break it apart into small crumbles with the matte dusty blue silicone spatula as it cooks. Cook for 5-7 minutes, stirring occasionally, until no pink remains and the beef crumbles have light golden brown edges. Drain any excess grease if needed (90/10 lean beef will produce very little excess fat), then season with ½ tsp kosher salt and ¼ tsp black pepper.
Step 2
step2:Brown Ground Beef
Step 2
step2:Brown Ground Beef
3

Grate Sharp Cheddar

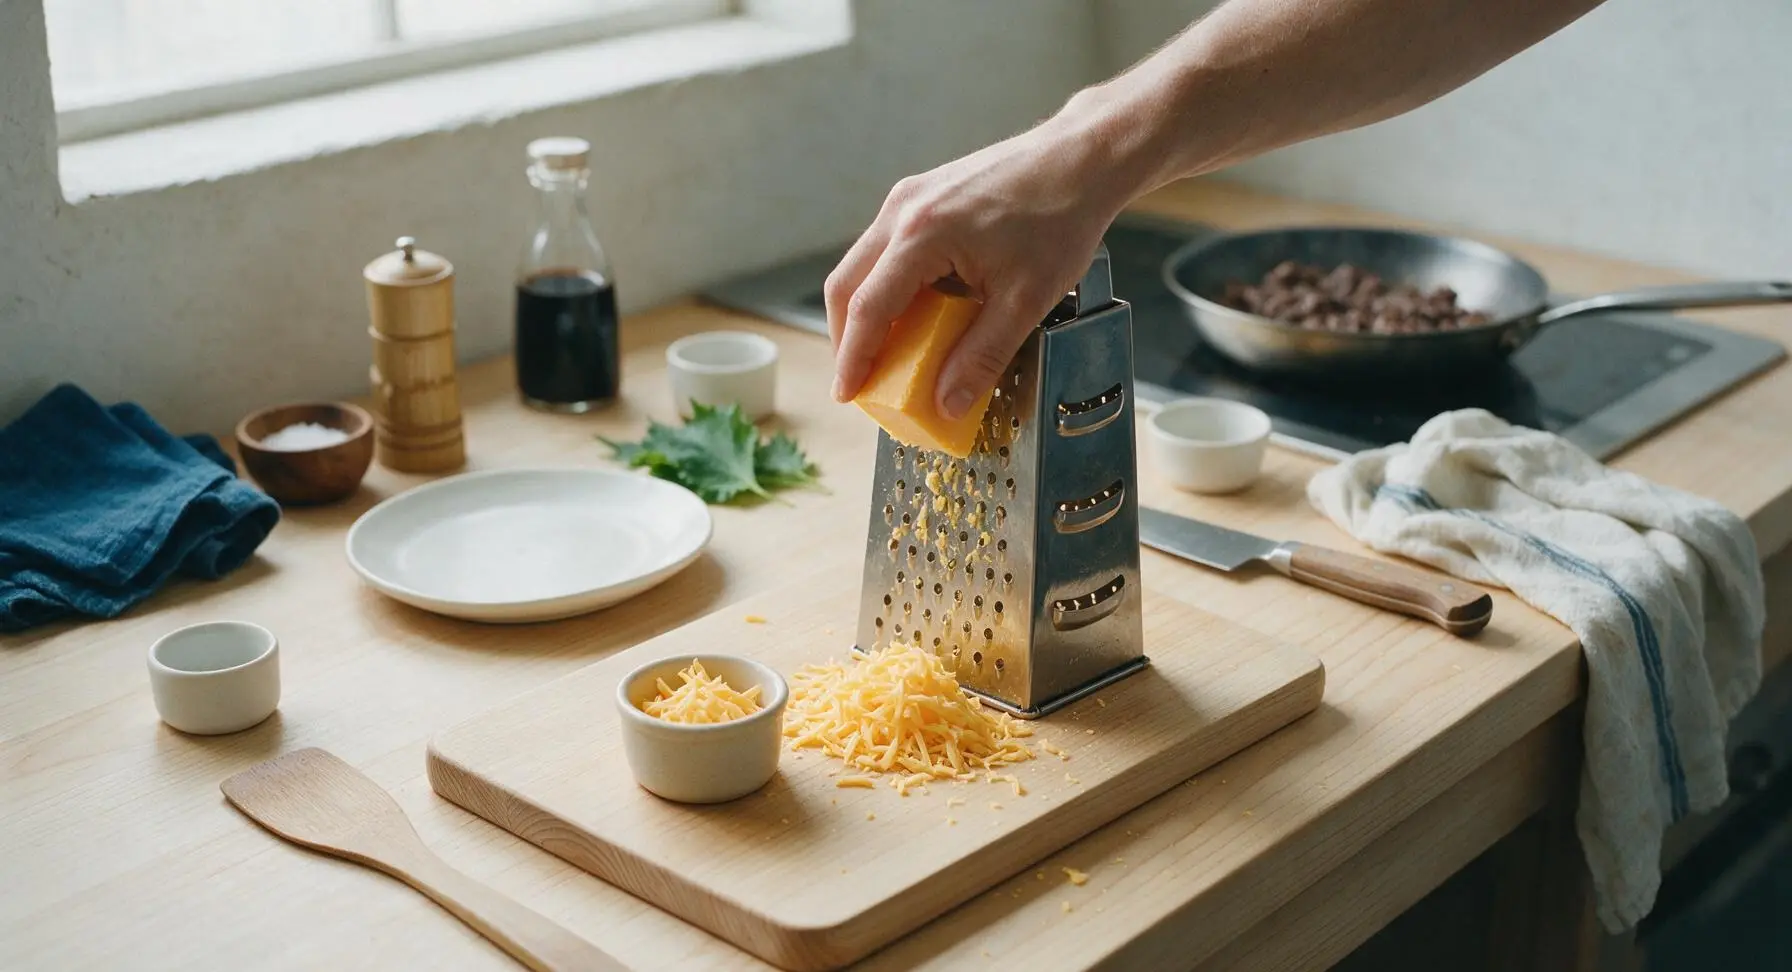
While the beef cooks, place the stainless steel box grater on the light acacia wood cutting board. Grate the full 8oz block of sharp cheddar, separating the shreds into two piles: 1.5 cups for mixing into the casserole filling, and ½ cup reserved for the crispy topping. Place the reserved ½ cup shreds into a small 8cm matte cream ramekin and set it near the casserole dish.
Step 3
step3:Grate Sharp Cheddar
4

Mix Casserole Base

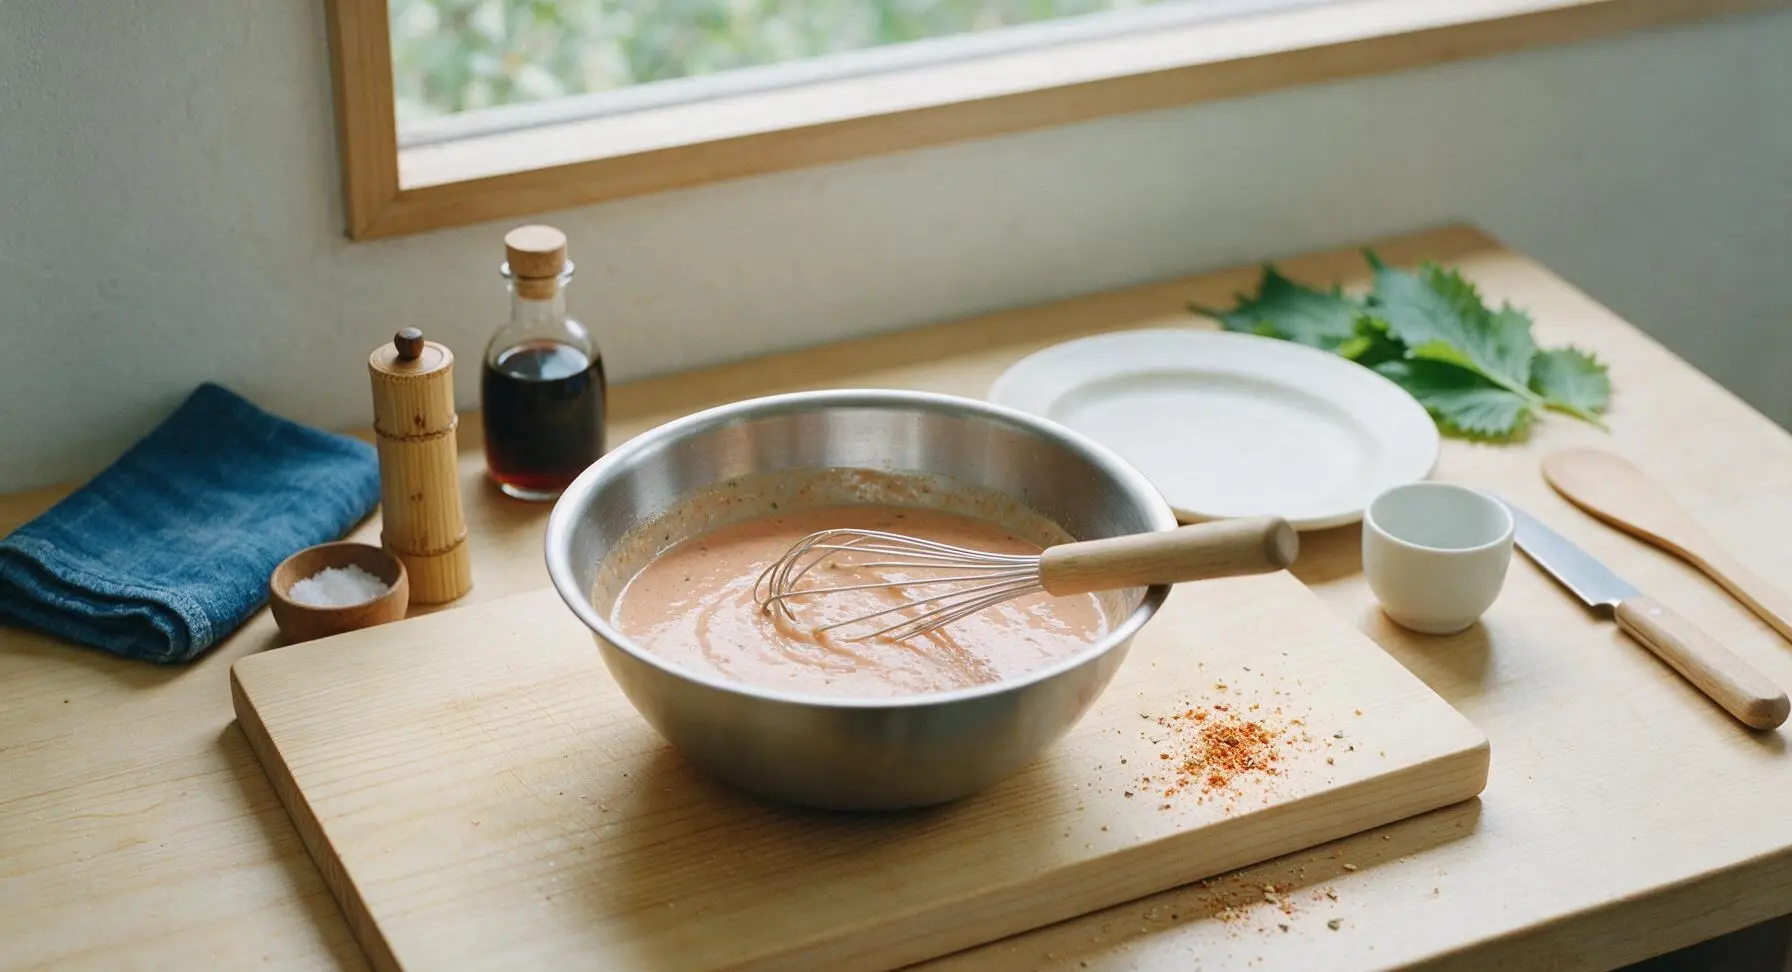
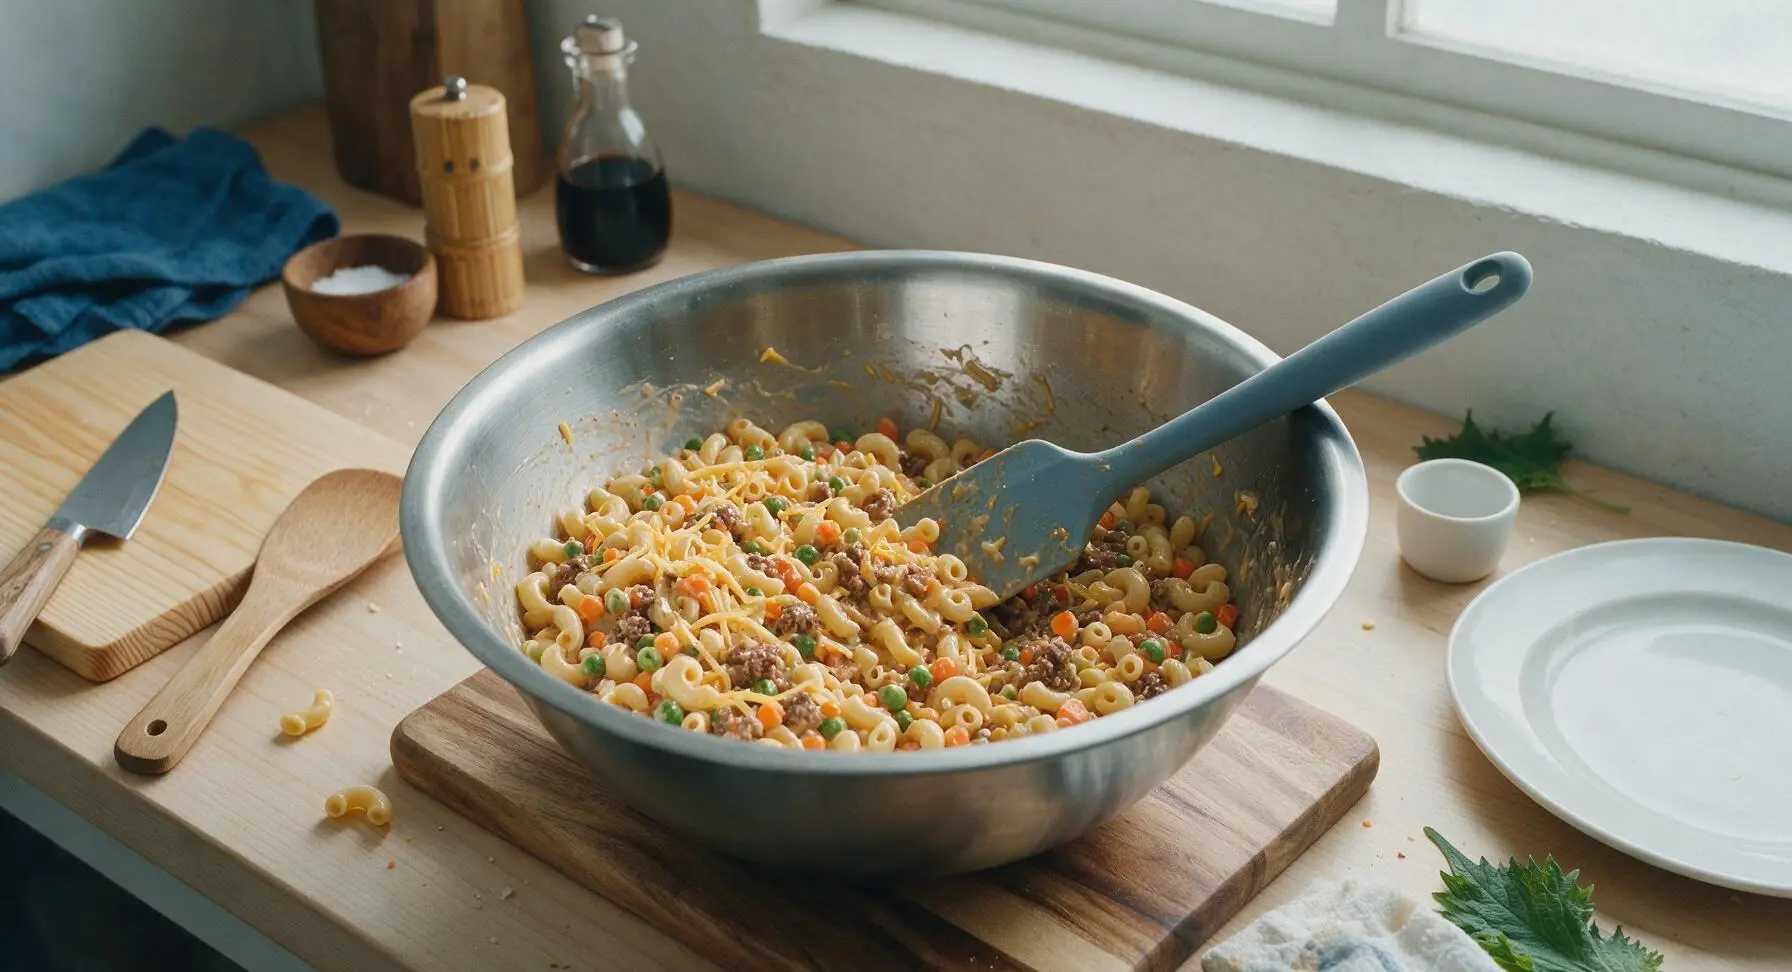
Set the 24cm brushed stainless steel mixing bowl on the acacia wood cutting board. Add the undrained can of diced tomatoes, condensed cream of mushroom soup, 1.25 cups (310ml, 1 full soup can) of water, 1 tsp garlic powder, 1 tsp onion powder, and ½ tsp smoked paprika to the bowl. Whisk until completely smooth with the stainless steel wire whisk, with no lumps of soup remaining. Add the uncooked elbow macaroni, frozen mixed vegetables (no need to thaw), cooked drained ground beef, and 1.5 cups of shredded cheddar to the bowl. Fold gently with the silicone spatula until every piece of pasta is fully coated in sauce.
Step 4
step4:Mix Casserole Base
Step 4
step4:Mix Casserole Base
5

Fill Casserole Dish

Pour the entire mixed casserole filling from the stainless steel mixing bowl into the waiting 9x13 inch ceramic casserole dish. Spread the mixture into a perfectly even layer with the silicone spatula, pressing gently to make sure no pasta pieces are sticking up above the sauce line (exposed pasta will dry out and stay crunchy during baking). Scrape the sides of the mixing bowl completely to get every bit of sauce and cheese into the dish.
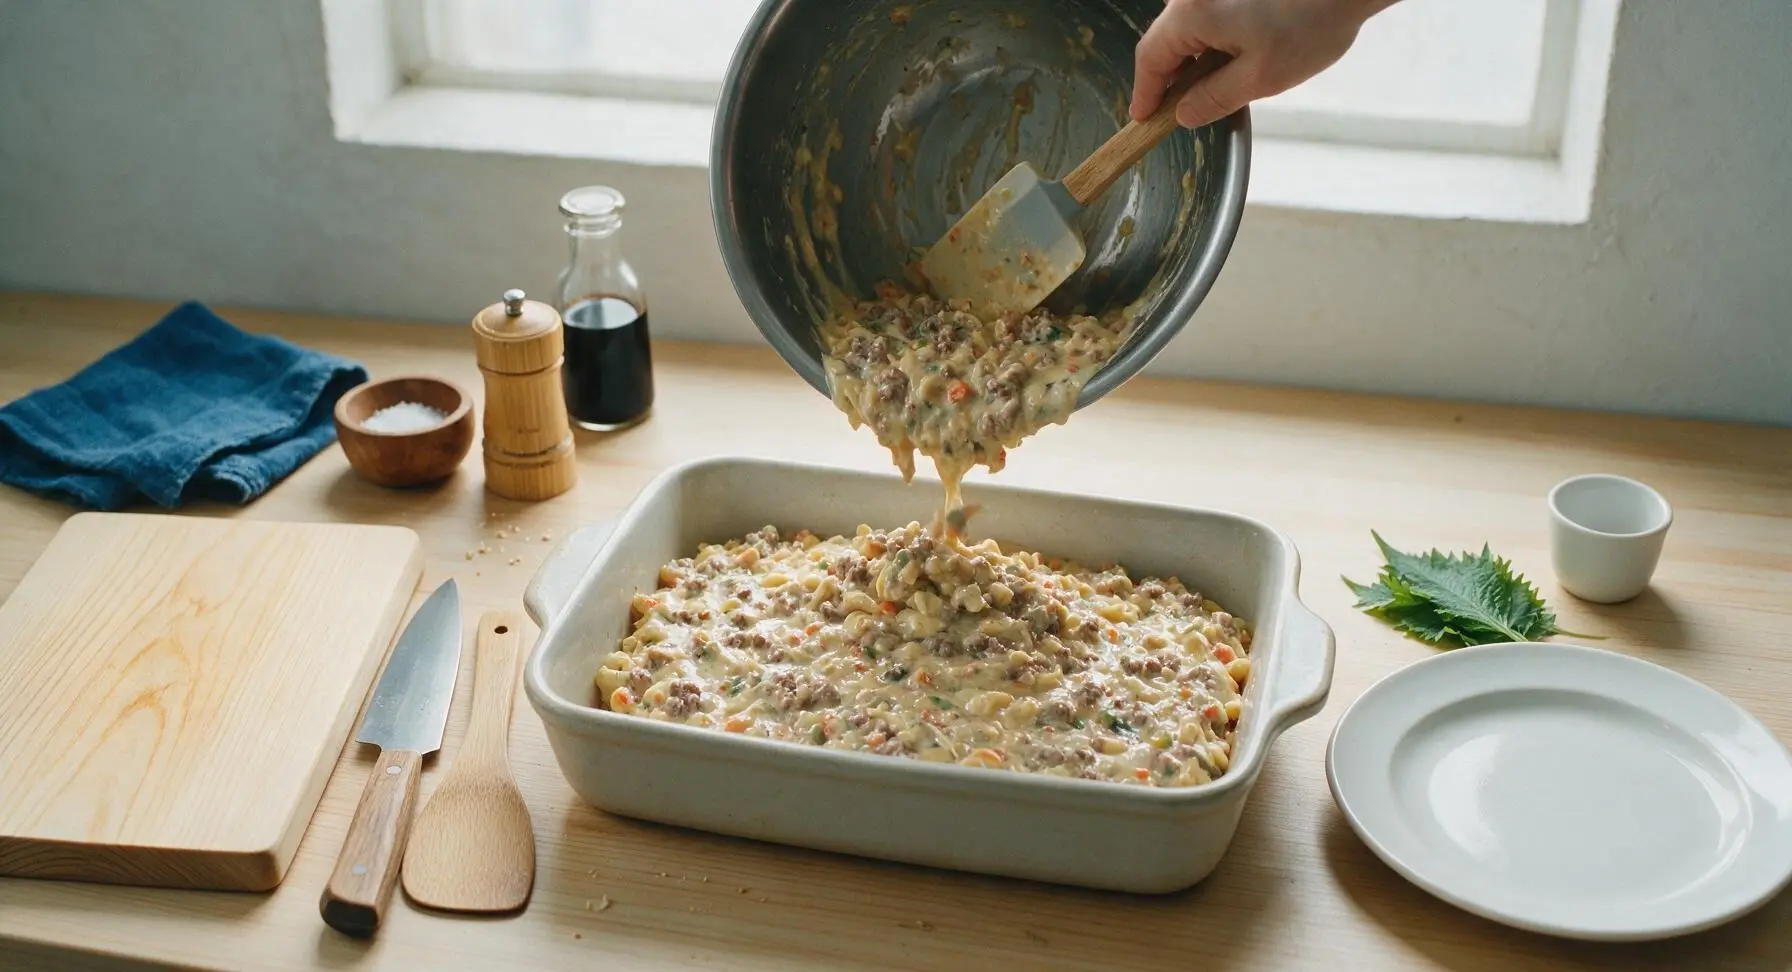
Step 5
step5:Fill Casserole Dish
6

Add Crispy Topping

In the small matte cream ramekin holding the reserved ½ cup cheddar, add the ½ cup panko breadcrumbs and leaves stripped from 2 fresh thyme sprigs. Toss lightly with your fingers to combine, then sprinkle the mixture evenly across the entire top of the casserole filling, creating a thin uniform layer. Do not press the topping down into the sauce, as this will make it soggy instead of crispy.
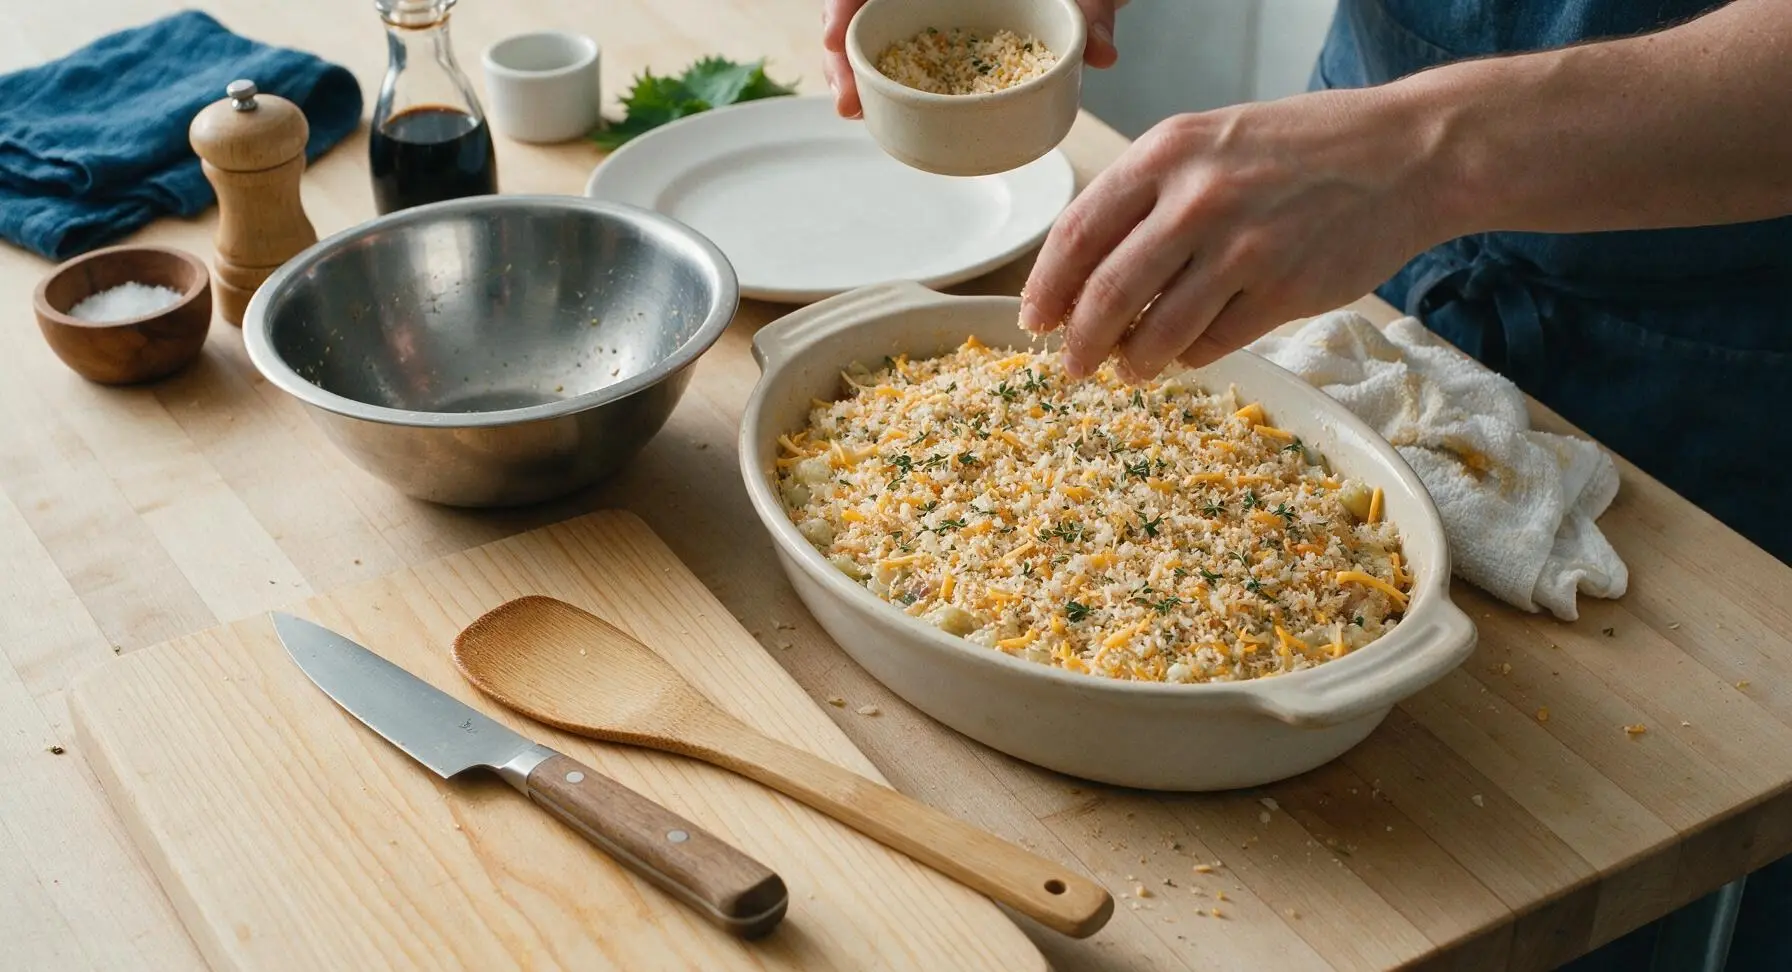
Step 6
step6:Add Crispy Topping
7

Bake Until Bubbly

Carefully slide the casserole onto the middle oven rack. Bake uncovered for 30-35 minutes, until the sauce bubbles vigorously around the entire edge of the dish, the pasta is tender when pierced with a fork through the center, and the top topping is deep golden brown and crispy. If the topping browns faster than the pasta cooks, tent the dish loosely with a small piece of aluminum foil for the last 10 minutes of bake time to prevent burning.
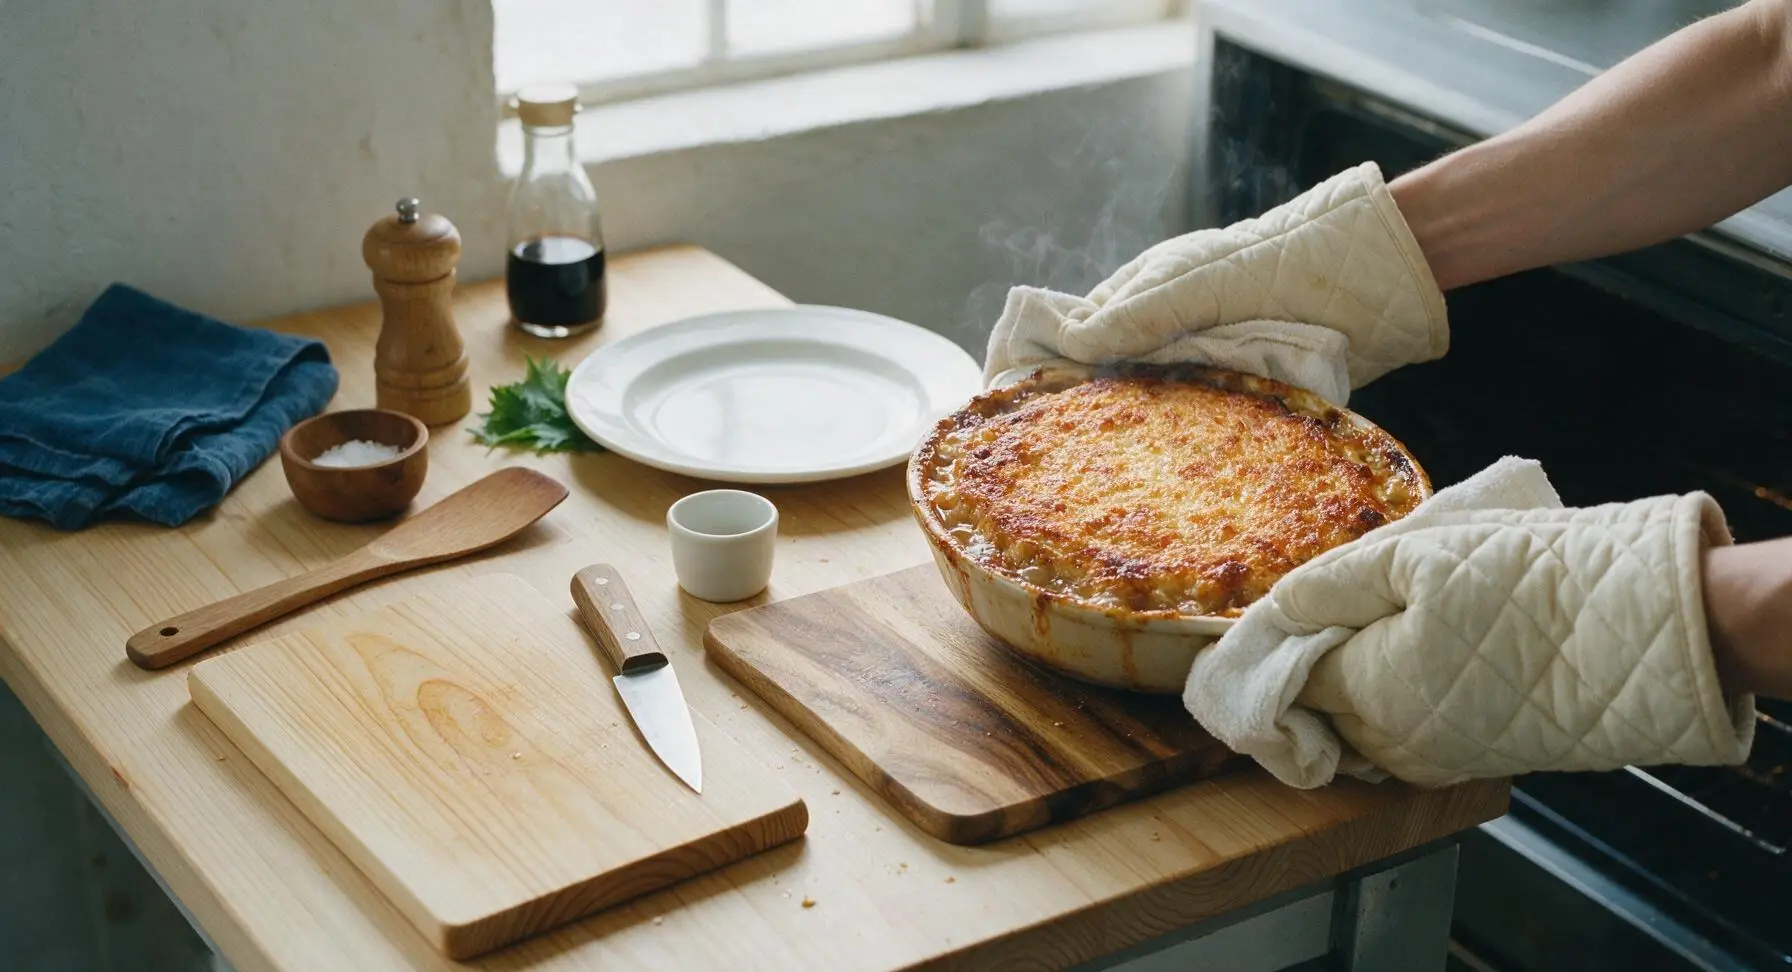
Step 7
step7:Bake Until Bubbly
8

Rest and Serve

Let the casserole rest for 5 full minutes on the counter before serving—this allows the sauce to thicken so portions hold their shape instead of running when scooped. Garnish the top with remaining fresh thyme leaves, then scoop generous portions onto the 23cm matte cream dinner plates to serve.
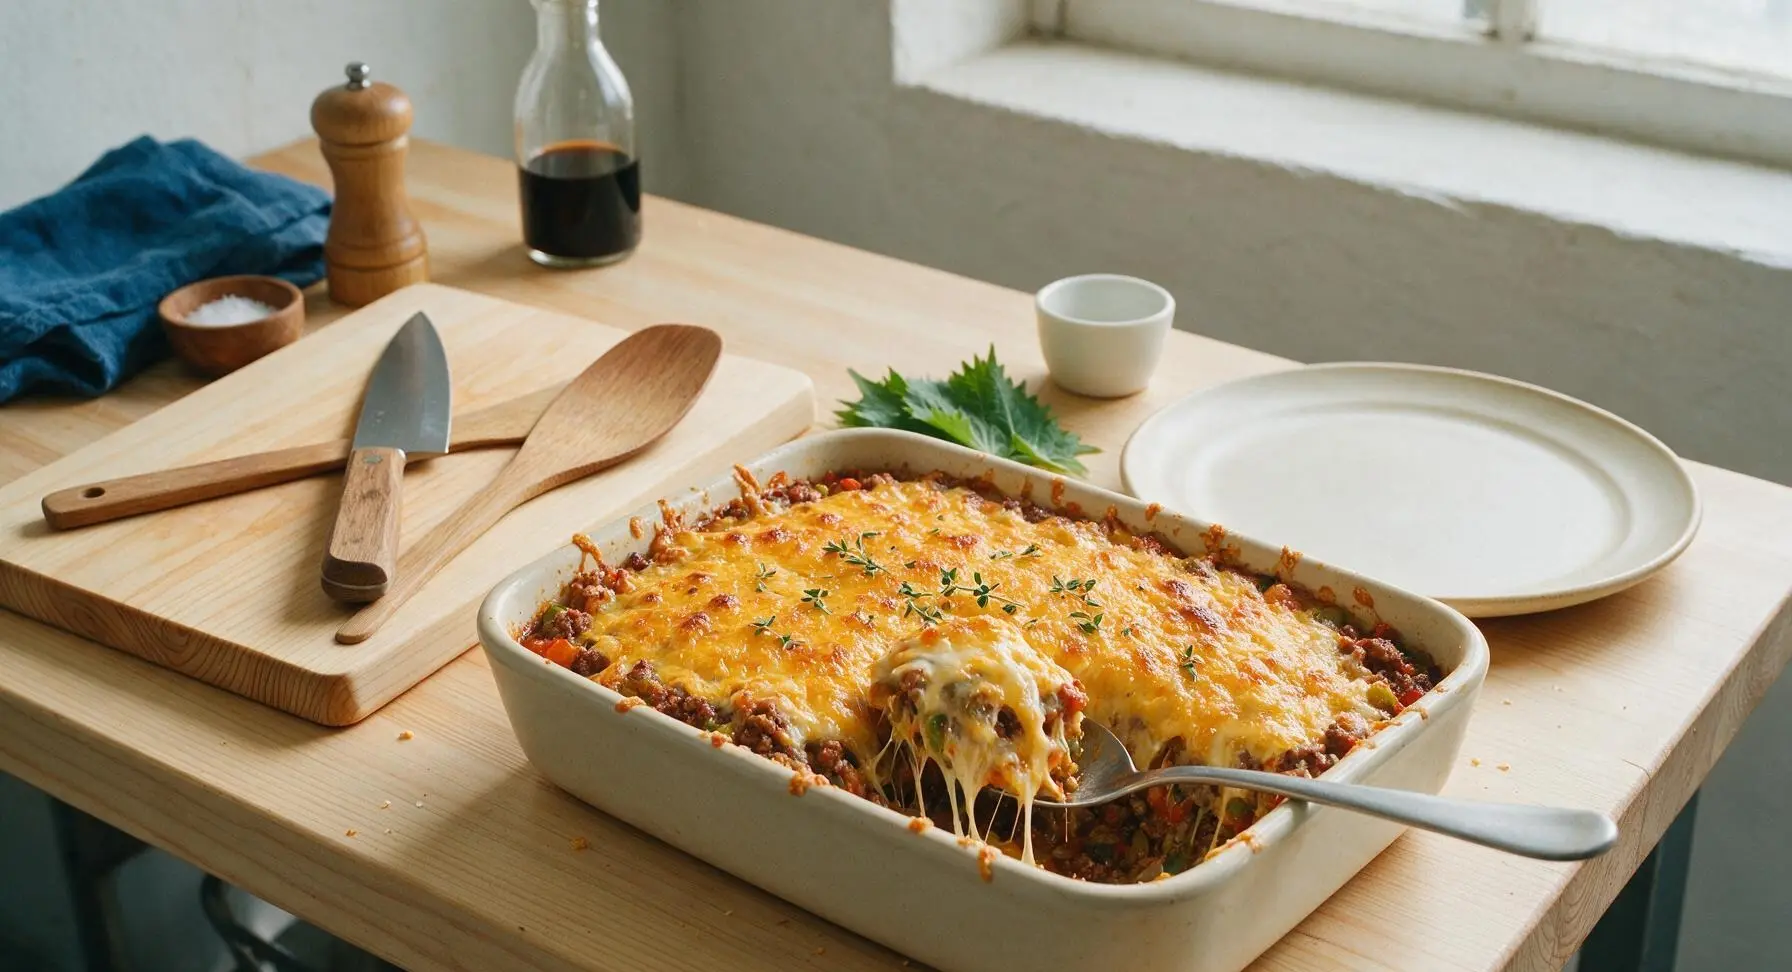
Step 8
step8:Rest and Serve

Tips

1.Skip pre-boiling your pasta! The uncooked elbow macaroni cooks perfectly in the sauce and tomato liquid during baking, saving you an extra pot to wash and cutting 10 minutes off prep time. Just make sure no dry pasta sticks up above the sauce line to avoid crunchy, undercooked bits.
2.Swap the frozen mixed vegetables for any leftover roasted or steamed veggies you have in the fridge (roasted broccoli, diced bell peppers, or sautéed zucchini work beautifully) to cut down on food waste. Just pat leftover veggies dry before adding them to prevent the casserole from turning watery.
3.Assemble the full casserole (hold the panko-cheese topping until right before baking) and store it covered in the fridge for up to 2 days for an even faster weeknight meal. Add 5 minutes to the bake time if cooking straight from the fridge—no need to bring it to room temperature first.


✨ You May Also Like

Main Course
🍜 United Kingdom

A showstopping classic of tender seared beef, savory mushroom duxelles, and crisp prosciutto wrapped in flaky golden puff pastry, baked to juicy perfection.

⏱️ 2 hours 1Main Course ★ 4.7
Main Course
🍜 India

Tender charred marinated chicken simmered in a rich, spiced creamy tomato sauce, this iconic Anglo-Indian curry pairs perfectly with basmati rice or warm naan.

⏱️ 50 minuteMain Course ★ 4.6
Main Course
🍜 Thailand

Classic tangy, sweet, and savory Thai stir-fried rice noodles with shrimp, tofu, and crunchy garnishes, balancing all five core Thai flavor profiles.

⏱️ 30 minuteMain Course ★ 4.5
Main Course
🍜 United Kingdom

Crispy golden beer-battered cod and fluffy double-fried chips, served with tangy tartar sauce and malt vinegar: the timeless, beloved British pub comfort classic.

⏱️ 45 minuteMain Course ★ 4.7
Main Course
🍜 Mexico

Smoky, chile-marinated pork tacos with caramelized pineapple, fresh cilantro, and lime: a beloved classic Mexican street food perfect for casual summer gatherings.

⏱️ 1 hour 45Main Course ★ 4.8
Main Course
🍜 United States

Crunchy Fritos corn chips layered with savory beef chili and melted cheddar, topped with cool, zesty fixings for a beloved, cozy Tex-Mex comfort food.

⏱️ 35 minuteMain Course ★ 4.8

easy family casseroles:Frequently Asked Questions

1.Can I use a different fat ratio for ground beef instead of the recommended 90/10 lean? ▾
Sure! 80/20 ground beef works too, just drain off all excess rendered fat after browning to keep the casserole from turning greasy. If you use extra-lean 93/7 beef, add a tiny splash of olive oil to the pan while browning to prevent sticking and dryness—no draining required for that leaner ratio.
2.Do I really need to use uncooked elbow macaroni, or can I pre-boil the noodles first? ▾
You can use pre-boiled macaroni if you prefer, but using uncooked noodles cuts down prep time drastically! Just ensure there’s enough liquid from the undrained tomatoes and soup to cover the noodles while baking, and they’ll turn out perfectly tender. If using pre-boiled noodles, reduce bake time by 10 minutes to avoid mushy pasta.
3.Can I swap cream of mushroom soup for another condensed soup if my family dislikes mushrooms? ▾
Absolutely! Condensed cream of chicken, cream of celery, or even cheddar cheese soup works as a 1:1 swap without throwing off the dish’s creamy texture. If you want to skip canned soup entirely, use 2 cups of homemade thick white sauce seasoned with garlic and onion powder as a simple, from-scratch substitute.
4.What if I don’t have frozen mixed veggies? Can I use fresh vegetables instead? ▾
Fresh veggies work great! Just dice carrots and green beans into small, bite-sized pieces so they cook through in the same bake time as the rest of the dish. You can also swap in leftover roasted or steamed veggies from your fridge—just add them during the last 10 minutes of baking to keep them from turning overly soft.
5.Do I need to thaw the frozen mixed vegetables before adding them to the casserole? ▾
No thawing required! Toss frozen veggies straight into the mixing bowl with the other ingredients; they’ll thaw and cook perfectly as the casserole bakes, and they won’t add excess water that makes the dish runny. Thawing first can actually lead to soggier veggies, so skip that extra step on busy nights.
6.How do I make this casserole extra cheesy to match its name? ▾
Stir 1 cup of shredded sharp cheddar into the base mixture before baking, then sprinkle another ½ cup of cheddar (plus a handful of crispy fried onions, if you like) over the top during the last 8 minutes of baking. Let it rest 5 minutes after pulling it from the oven so the cheese sets into that perfect gooey pull everyone loves.
7.Can I make this casserole ahead of time for weekly meal prep? ▾
Definitely! Assemble the entire uncooked casserole in a greased baking dish, cover tightly with plastic wrap or foil, and store it in the fridge for up to 3 days before baking. Add 5 to 7 minutes to the bake time if you put it straight from the cold fridge into the oven, until the center is bubbly and noodles are tender.
8.Is this casserole freezer-friendly for long-term storage? ▾
It sure is! You can freeze it either unbaked or fully baked for up to 3 months. If freezing unbaked, thaw it in the fridge overnight before baking as directed. If freezing baked leftovers, let them thaw first, then reheat covered in a 350°F oven for 20 to 25 minutes until heated through for the best texture.
9.My family doesn’t eat beef—what’s a good protein swap for this recipe? ▾
Ground turkey or ground chicken (93/7 lean works best) makes a perfect 1:1 swap for ground beef; just season it with a pinch of extra salt, pepper, and garlic powder while browning to amp up savoriness. For a meatless version, swap the beef for 2 cups of cooked lentils or your favorite plant-based ground crumble.
10.What temperature should I bake this at, and how long does it take to cook? ▾
Bake covered with foil at 375°F for 35 minutes, then remove the foil and bake for an additional 10 to 12 minutes until the top is lightly bubbly, noodles are fork-tender, and the internal temperature hits 165°F for food safety. Let it rest 5 minutes before serving to let the sauce thicken so it’s not runny on plates.
11.Can I use a different pasta shape instead of elbow macaroni? ▾
Absolutely! Small, sturdy pasta shapes work best here—think rotini, small shells, cavatappi, or mini penne. Avoid long, thin pasta like spaghetti or linguine, as it won’t mix evenly with the beef, veggies, and sauce, and may clump up during baking. Use the same measured amount as the recipe calls for macaroni.
12.The recipe calls for no-salt-added diced tomatoes—can I use regular salted diced tomatoes instead? ▾
You can, just hold off on adding extra salt to the beef while browning until you taste the final mixed base. Regular canned tomatoes and condensed soup already have quite a bit of sodium, so using no-salt-added tomatoes lets you control the salt level to match your family’s taste, especially if serving young kids.
13.Why does my casserole turn out watery sometimes when I make it? ▾
Watery casserole usually happens if you accidentally drain the diced tomatoes (you need that starchy, tomatoey liquid to cook the uncooked noodles!) or use pre-thawed frozen veggies that released excess moisture before mixing in. If it’s still runny right after baking, let it rest 10 minutes instead of 5—the sauce will thicken as it cools.
14.Can I add extra seasonings to make this more flavorful for adult palates? ▾
Of course! While the base is super kid-friendly, you can amp up savoriness for grown-ups by adding a teaspoon of smoked paprika, ½ teaspoon of garlic powder, a pinch of red pepper flakes, or a tablespoon of Worcestershire sauce to the beef as it browns. A sprinkle of fresh parsley on top adds a bright, fresh kick too.
15.What size baking dish do I need for this family-sized recipe? ▾
A standard 9x13-inch glass or ceramic baking dish works perfectly for this full recipe, which feeds about 6 people. If you only have smaller dishes, split the mixture between two 8x8-inch pans—bake one for dinner, and freeze the second for a quick future meal on a chaotic, busy weeknight.
16.How do I keep the top of the casserole from getting too crispy or burnt while baking? ▾
Keep the dish tightly covered with aluminum foil for the first 35 minutes of baking—this traps steam to cook the noodles evenly and prevents the top layer from drying out or burning. Only remove the foil for the final 10 minutes if you want a slightly crispy, cheesy top; keep it covered the whole time for softer texture.
17.What are some kid-approved add-ins I can mix into this casserole? ▾
Kids go crazy for fun, familiar mix-ins! Try stirring in ½ cup of chopped cooked bacon, pressing a handful of tater tots into the top before baking, mixing a scoop of sour cream into the sauce for extra creaminess, or adding a handful of mini pepperoni slices. Let kids sprinkle their own extra cheese on top to get them excited to eat.
18.How long do leftovers last in the fridge, and what’s the best way to reheat them? ▾
Leftovers will stay fresh stored in an airtight container in the fridge for up to 4 days. Reheat individual portions in the microwave for 1 to 2 minutes, stirring halfway through, or reheat the whole pan covered in a 350°F oven for 15 to 20 minutes until heated through. Add a tiny splash of milk if the sauce feels too thick when reheating.
19.Can I make this recipe dairy-free for family members with lactose sensitivities? ▾
Yes! Use a lactose-free condensed cream of mushroom soup (or homemade dairy-free cream soup made with oat milk), swap regular shredded cheese for a melty lactose-free cheddar alternative, and double-check that your diced tomatoes and frozen veggies have no hidden dairy additives. The texture will stay just as creamy and comforting as the original.

Comments (6)

2 hours ago

OMG this casserole was a total game changer for our weeknight dinner rotation! My 3 kids usually turn their noses up at any veggie that’s not a french fry, but they ate second helpings and asked if I could make it again next week. So cheesy, the ground beef was perfectly seasoned, and it came together so fast after soccer practice. 10/10 will be making this for our next neighborhood potluck too!

1 hour ago

Same here! My boys devoured it even with the extra broccoli I tossed in. Total weeknight win!

45 minutes ago

That makes our day to hear! So glad it worked for your busy schedule—feel free to swap in whatever veggies your family loves, it’s super flexible!

yesterday

This is perfect for my Sunday meal prep! I made a double batch on Sunday, portioned it out into containers, and it reheated like a dream all week for work lunches. The cheese gets all melty again even in the microwave, and the veggies don’t get mushy at all. Only note: I added a little extra taco seasoning to the beef because I like a bit more kick, and it was chef’s kiss.

20 hours ago

Great tip about the extra taco seasoning! We love that this recipe holds up so well for meal prep too—thanks for sharing your hack!

3 days ago

Brought this to our church potluck last Sunday and the pan was completely empty before I even got through the serving line! Multiple people came up to ask for the recipe, I told them it was so easy I barely had to prep anything that morning. The mix of cheesy beef and tender veggies is just universally crowd-pleasing, no fancy ingredients needed.

5 days ago

Tried this last night with a couple swaps because I didn’t have all the ingredients on hand—used frozen mixed veggies instead of fresh and ground turkey instead of beef—and it still turned out SO good! Quick question though—if I make it again next week, can I assemble it the night before and bake it the next day? Crazy busy week coming up with work deadlines and my kid’s piano recital so trying to get as much prep done ahead as possible.

4 days ago

I do the make-ahead trick all the time! Just assemble it, cover it tight with foil, and keep it in the fridge for up to 24 hours. You might need to add 5-10 minutes to the bake time if it’s cold straight from the fridge, turns out perfect every time.

4 days ago

Great question! You absolutely can assemble it the night before, just like the commenter above said—add a few extra minutes of bake time if it’s chilled, and make sure the center is hot and bubbly before pulling it out. So glad the frozen veggie and ground turkey swaps worked out for you too, this recipe is super forgiving with substitutions!

1 week ago

Okay but the cheese blend on top??? I used a mix of sharp cheddar and mozzarella like the recipe said and it got that perfect crispy, golden brown crust around the edges that I am obsessed with. My only tiny complaint is I wish I’d made a bigger batch because my roommate ate half the pan before I even got a second serving lmao. Will definitely be doubling it next time.

6 days ago

Oh my gosh my partner did the exact same thing! I turned around for two seconds to grab a soda from the fridge and half the pan was gone. Doubling is non-negotiable at this point 😂

2 weeks ago

So happy this recipe is so easy to adapt for gluten free! I swapped the regular condensed cream of celery soup for the GF version and it tasted exactly like the regular version, no weird aftertaste at all. My whole family (who doesn’t eat GF) didn’t even notice a difference. This is going to be a staple for our weekly Sunday dinners from now on.



