
easy finger sandwiches for a crowd

title 1
easy finger sandwiches for a crowd
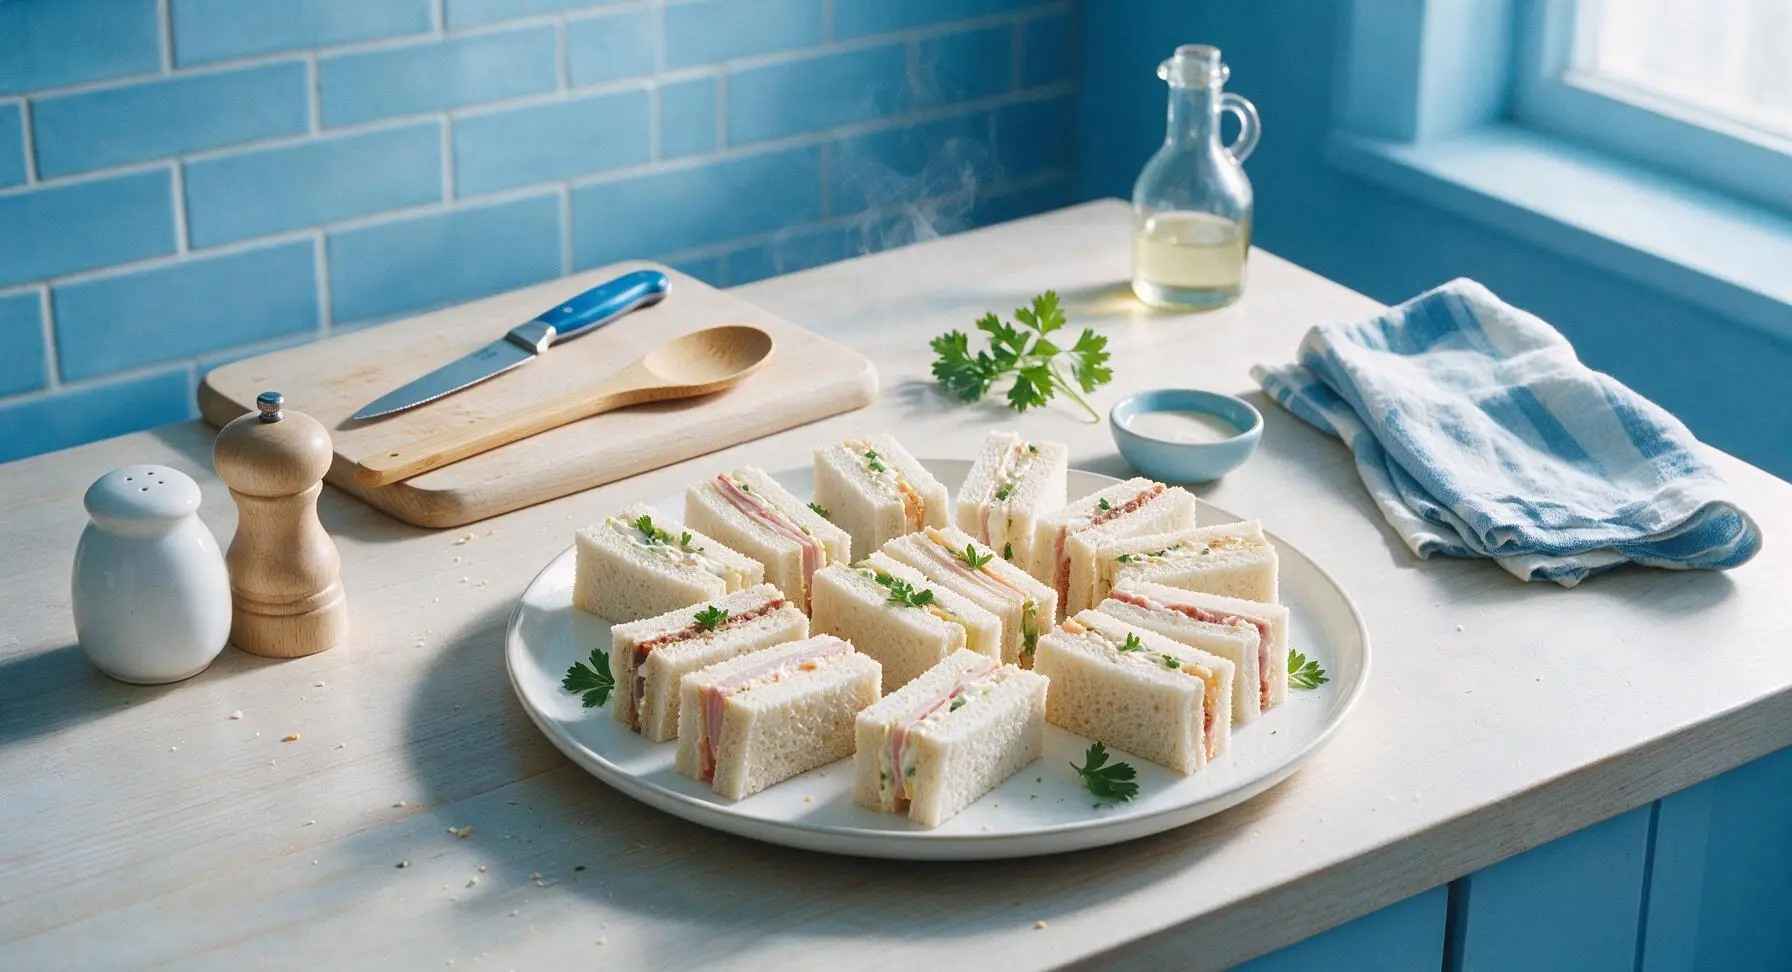
⏱️ cook time 10 minutes
🍽️ servings 12
⚡ Difficulty easy

intro

Light, crustless bite-sized sandwiches with three classic, crowd-pleasing fillings. Minimal prep, make-ahead friendly, and perfect for serving groups without last-minute kitchen stress.

Ingredients
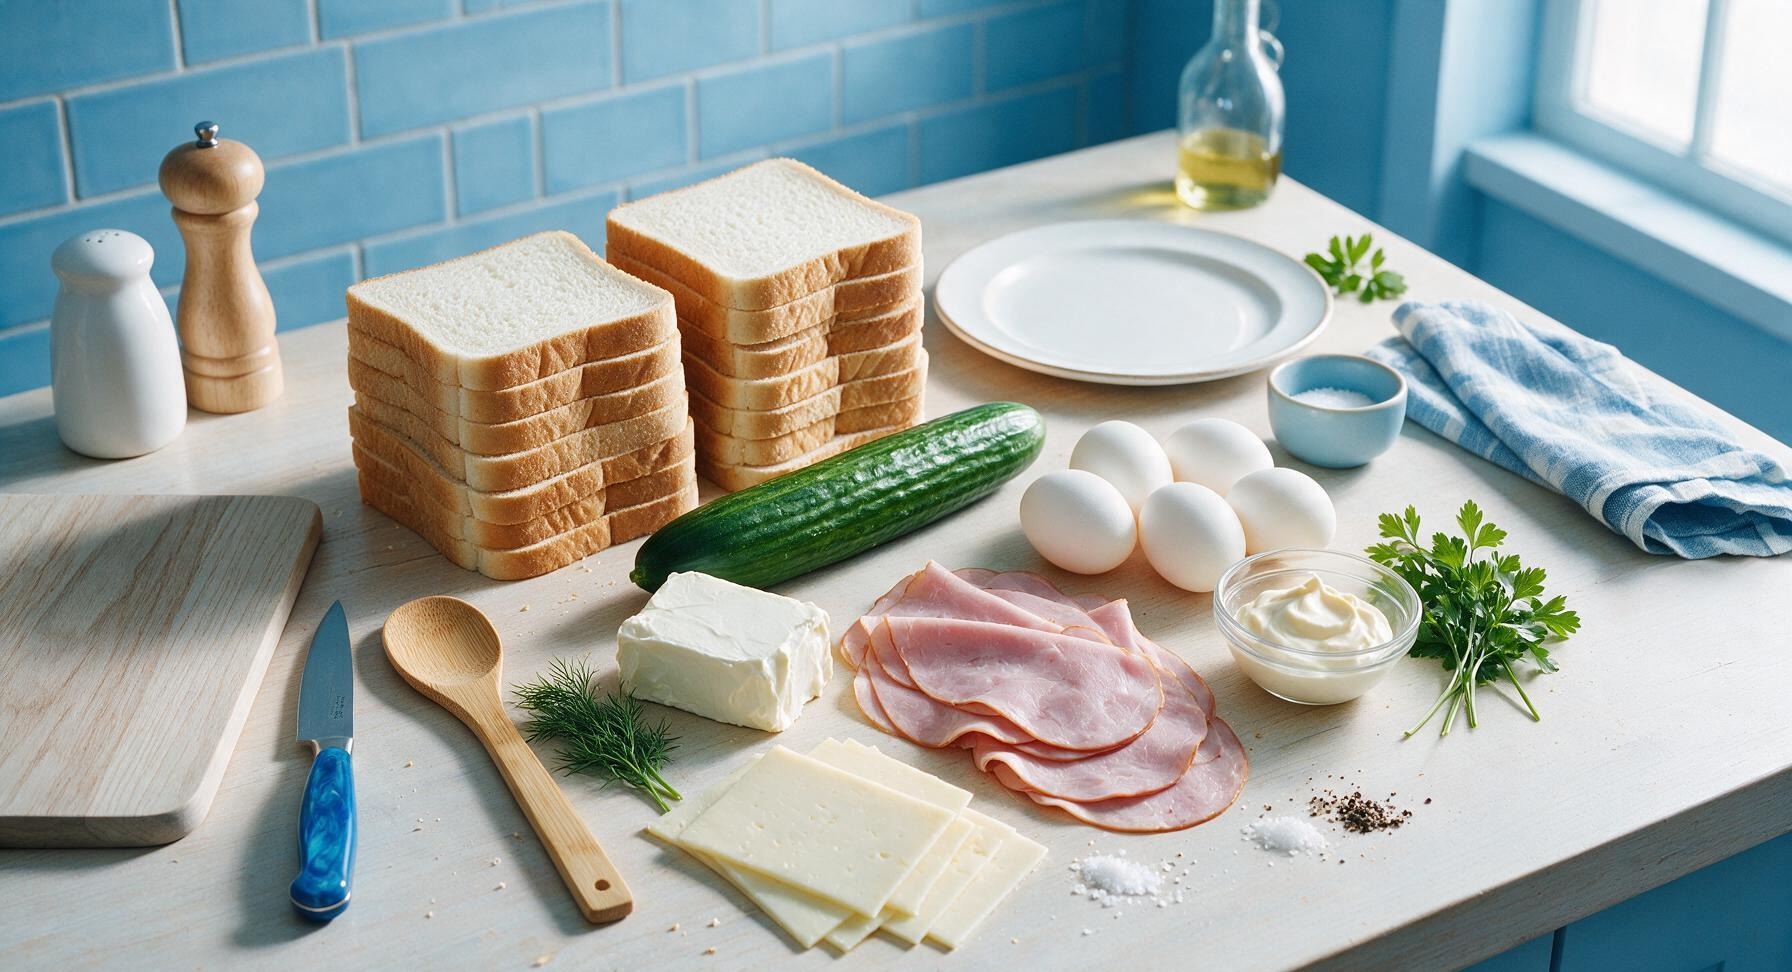
Thinly sliced soft white sandwich bread 2 loaves (40 slices total)
Full-fat cream cheese, softened 225g (8 oz)
Seedless English cucumber 1 large (300g)
Large eggs 6
Sliced deli ham 225g (8 oz)
Thinly sliced sharp white cheddar 170g (6 oz)
Mayonnaise 80ml (1/3 cup)
Fresh dill 1 small bunch (15g)
Fresh flat-leaf parsley 1 small bunch (10g)
Kosher salt 1 tsp
Freshly ground black pepper 1/2 tsp

Steps

1

Hard Boil the Eggs

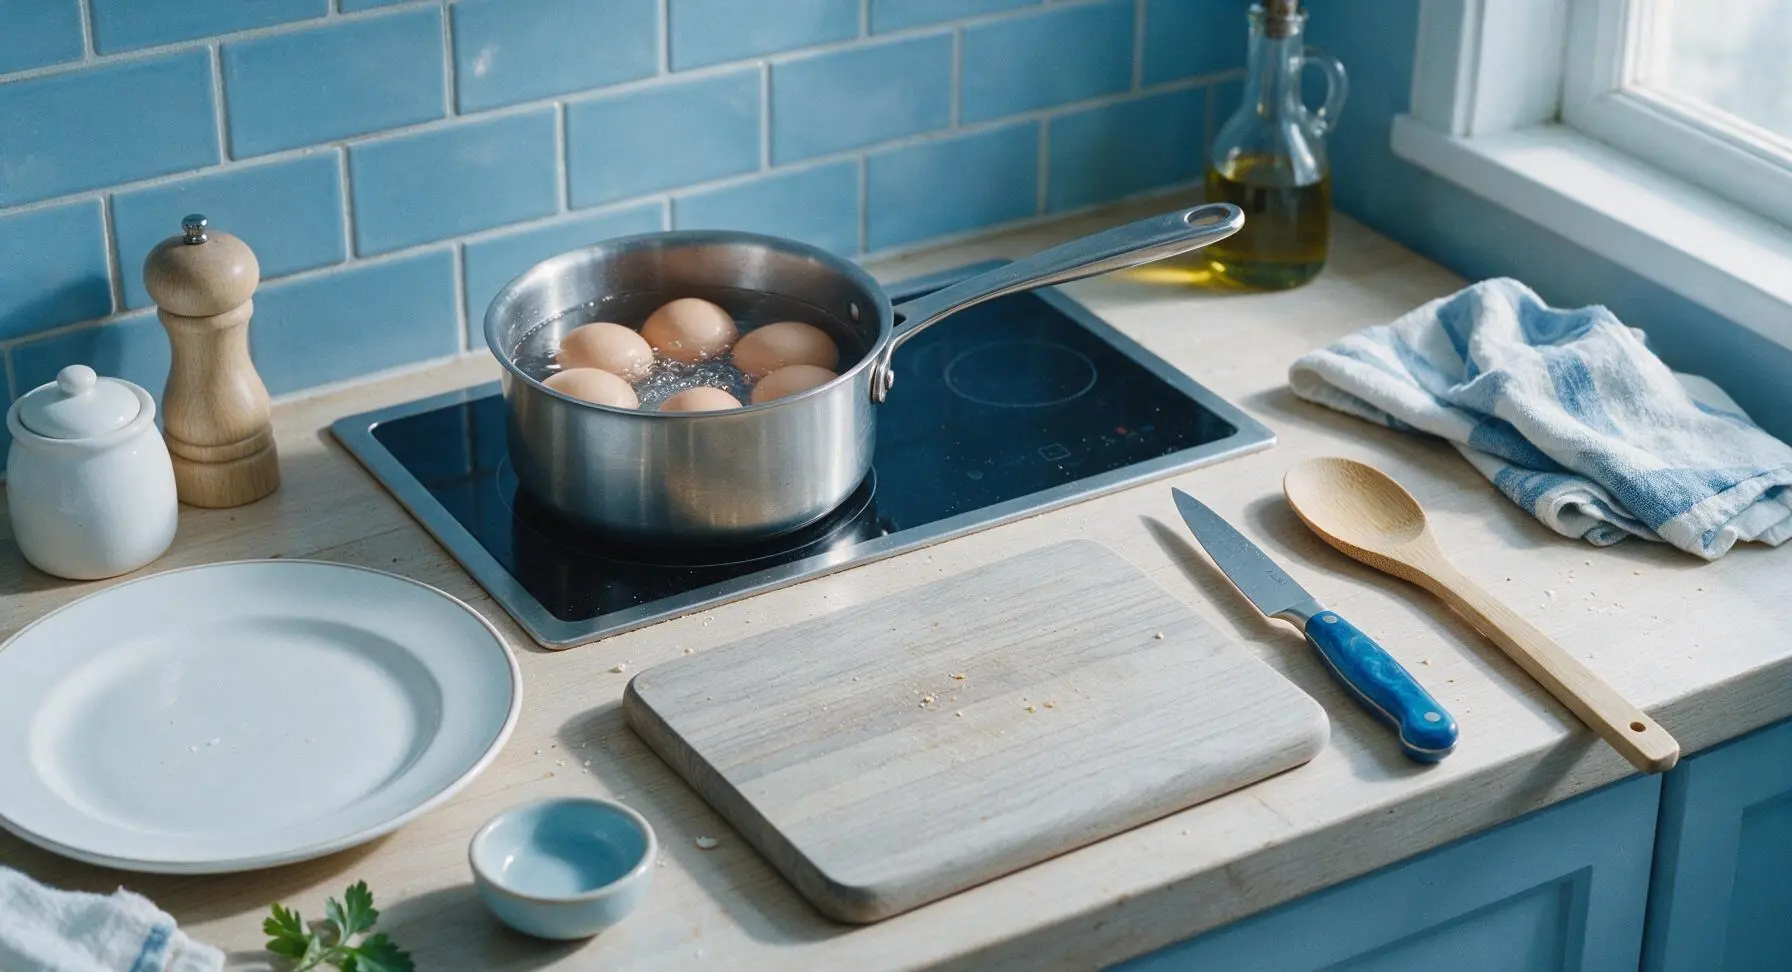
Place 6 large eggs in the 1-quart stainless steel saucepan, cover with 1 inch of cold water, and set the induction burner to high to bring to a rolling boil. Once bubbles break continuously across the water surface, cover the pan, turn off the heat, and let eggs rest for exactly 10 minutes. Drain hot water, then submerge eggs in ice water for 5 minutes to stop cooking and loosen shells. Peel eggs fully, collecting discarded shells in the third matte white mixing bowl, and set peeled eggs on the top corner of the cutting board.
Step 1
step1:Hard Boil the Eggs
2

Mix Cucumber Cream Cheese

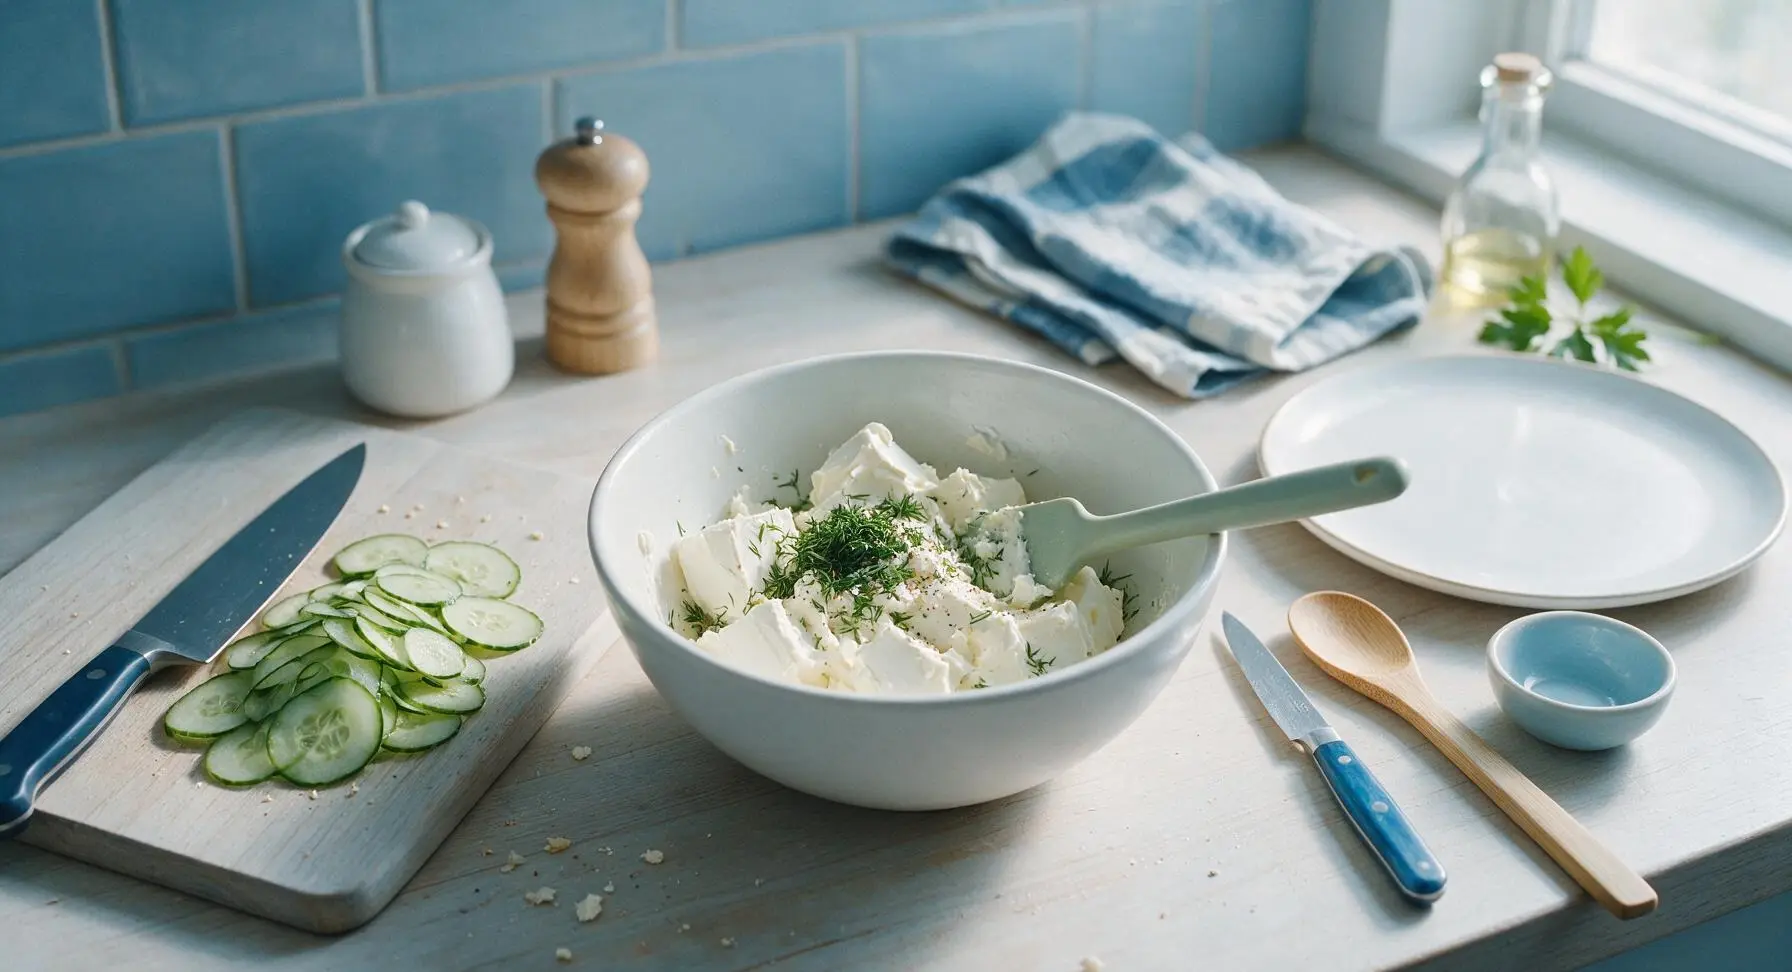
Pat the seedless cucumber dry with a corner of the linen towel, then use the 8-inch chef knife to slice it into paper-thin 1/8-inch rounds, discarding the tough 1/2-inch stem ends. In the first matte white mixing bowl, combine the softened cream cheese, 1 tablespoon finely chopped dill, 1/4 teaspoon kosher salt, and 1/8 teaspoon black pepper, stirring with the pale sage silicone spatula until completely smooth with no lumps. Set cucumber slices aside next to the bowl.
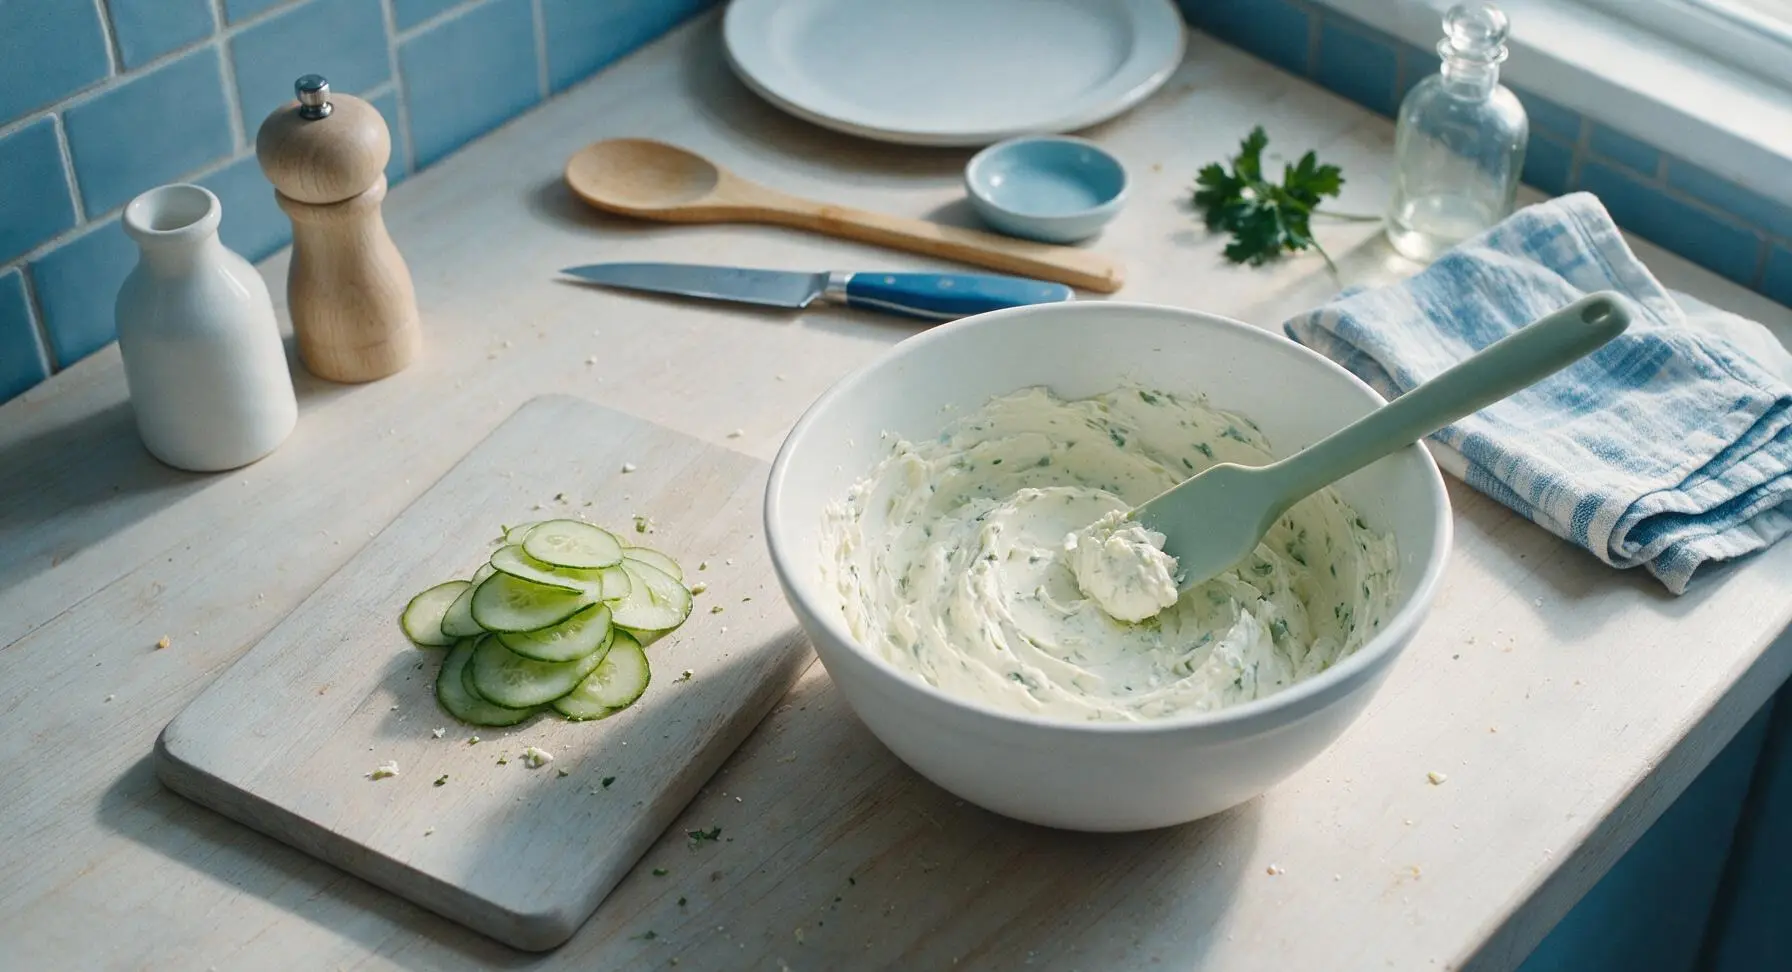
Step 2
step2:Mix Cucumber Cream Cheese
Step 2
step2:Mix Cucumber Cream Cheese
3

Prep Egg Salad Filling

Place the cooled, peeled hard-boiled eggs one at a time into the polished stainless steel egg slicer, pressing the slicer down evenly to cut eggs into uniform 1/4-inch pieces, then transfer cut eggs to the second matte white mixing bowl. Add mayonnaise, 1 tablespoon finely chopped parsley, 1/2 teaspoon kosher salt, and 1/4 teaspoon black pepper, stirring gently with the spatula until evenly combined. Take care not to over-mash eggs—small, distinct chunks should remain for texture.
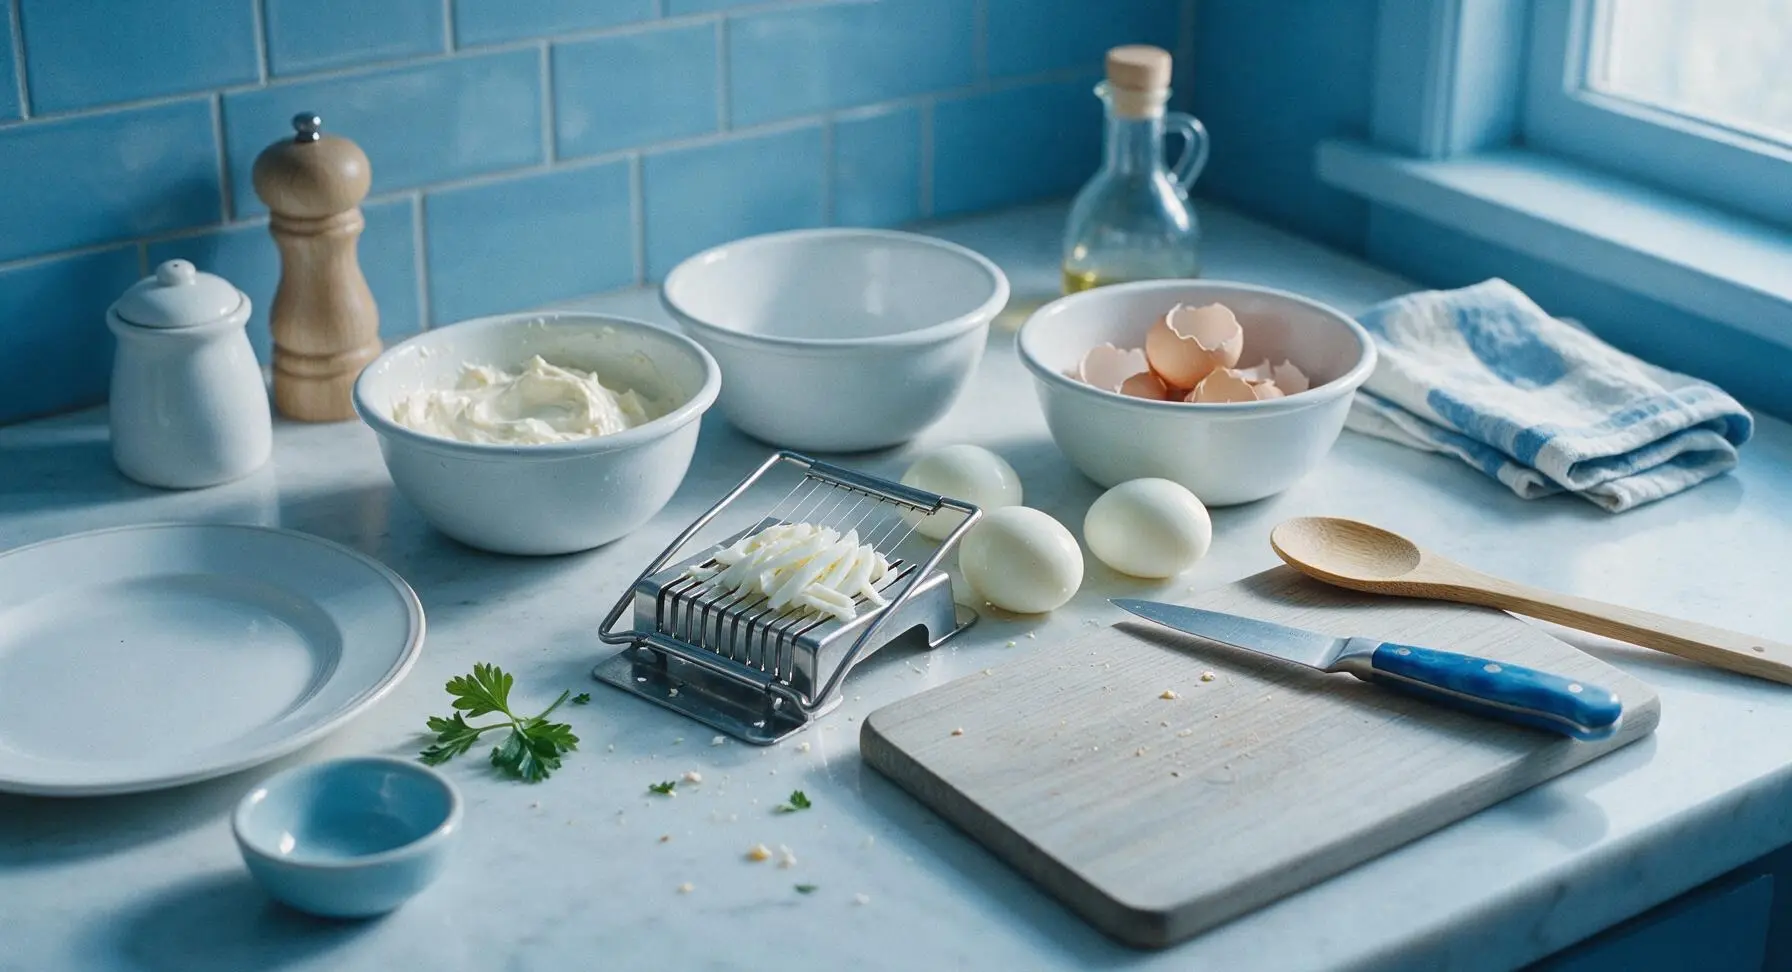
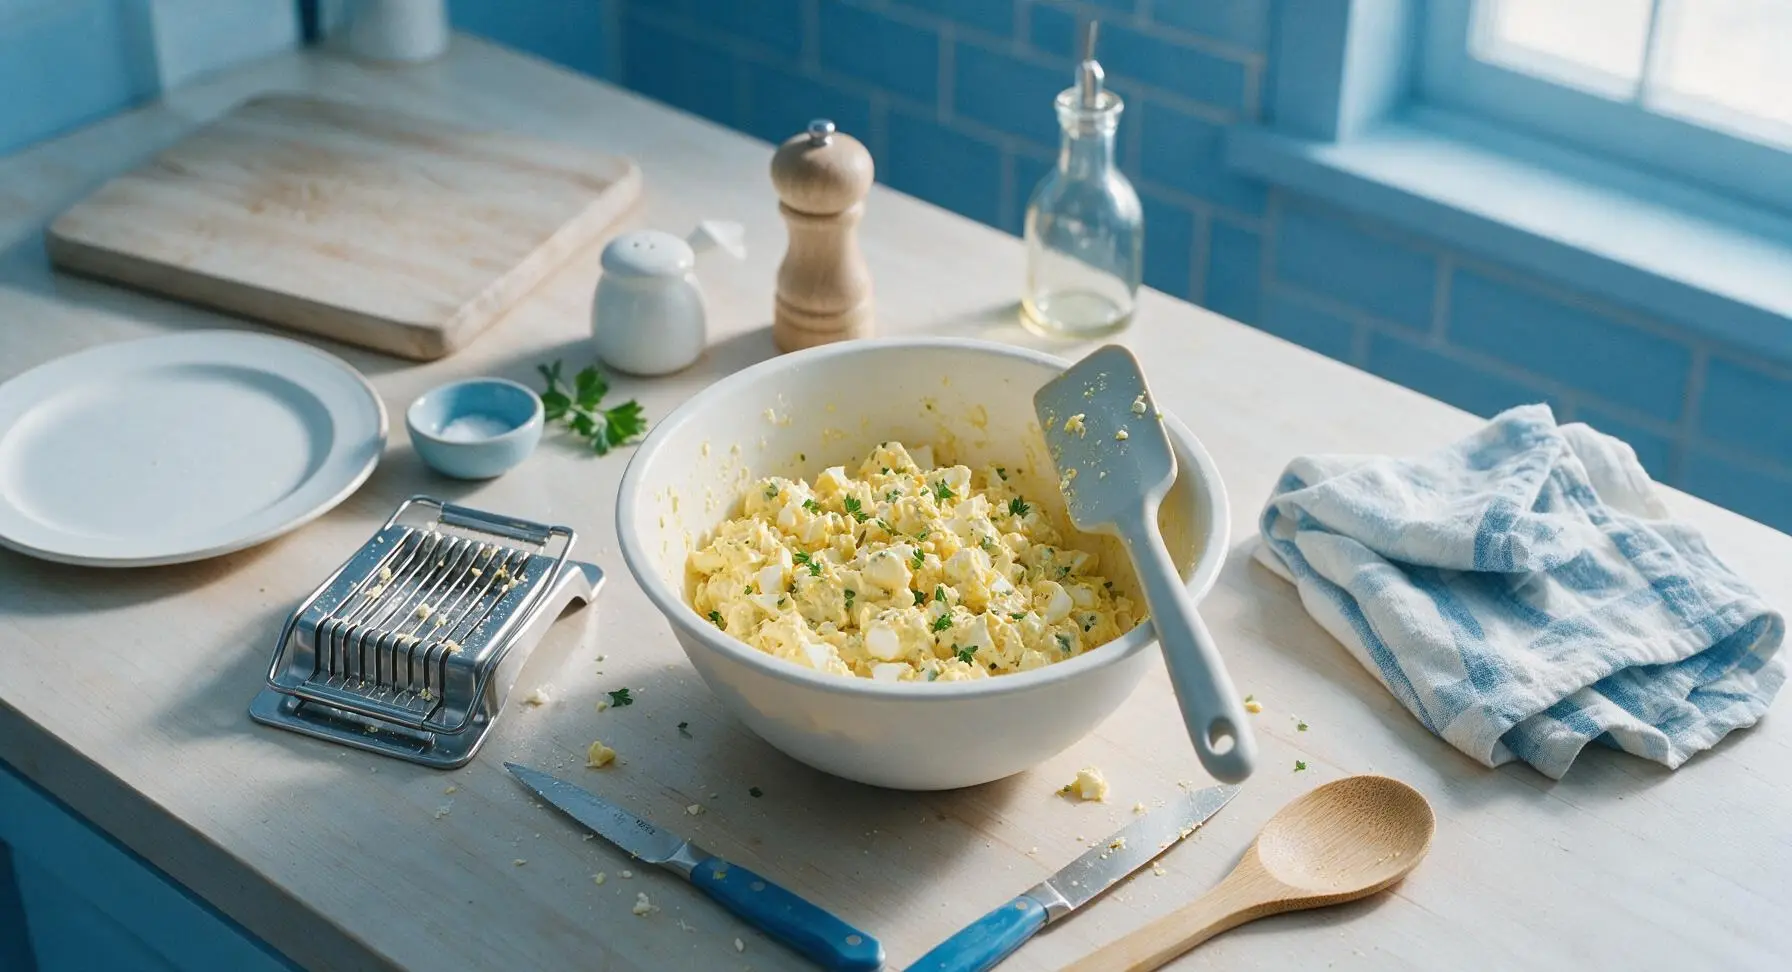
Step 3
step3:Prep Egg Salad Filling
Step 3
step3:Prep Egg Salad Filling
4

Prep Ham and Cheddar

Separate the thin slices of deli ham and white cheddar, stacking them in neat 1cm tall piles on the clean right section of the light grey cutting board. Pat any excess moisture from the ham slices with a dry corner of the oatmeal linen tea towel to prevent soggy sandwich bread later.
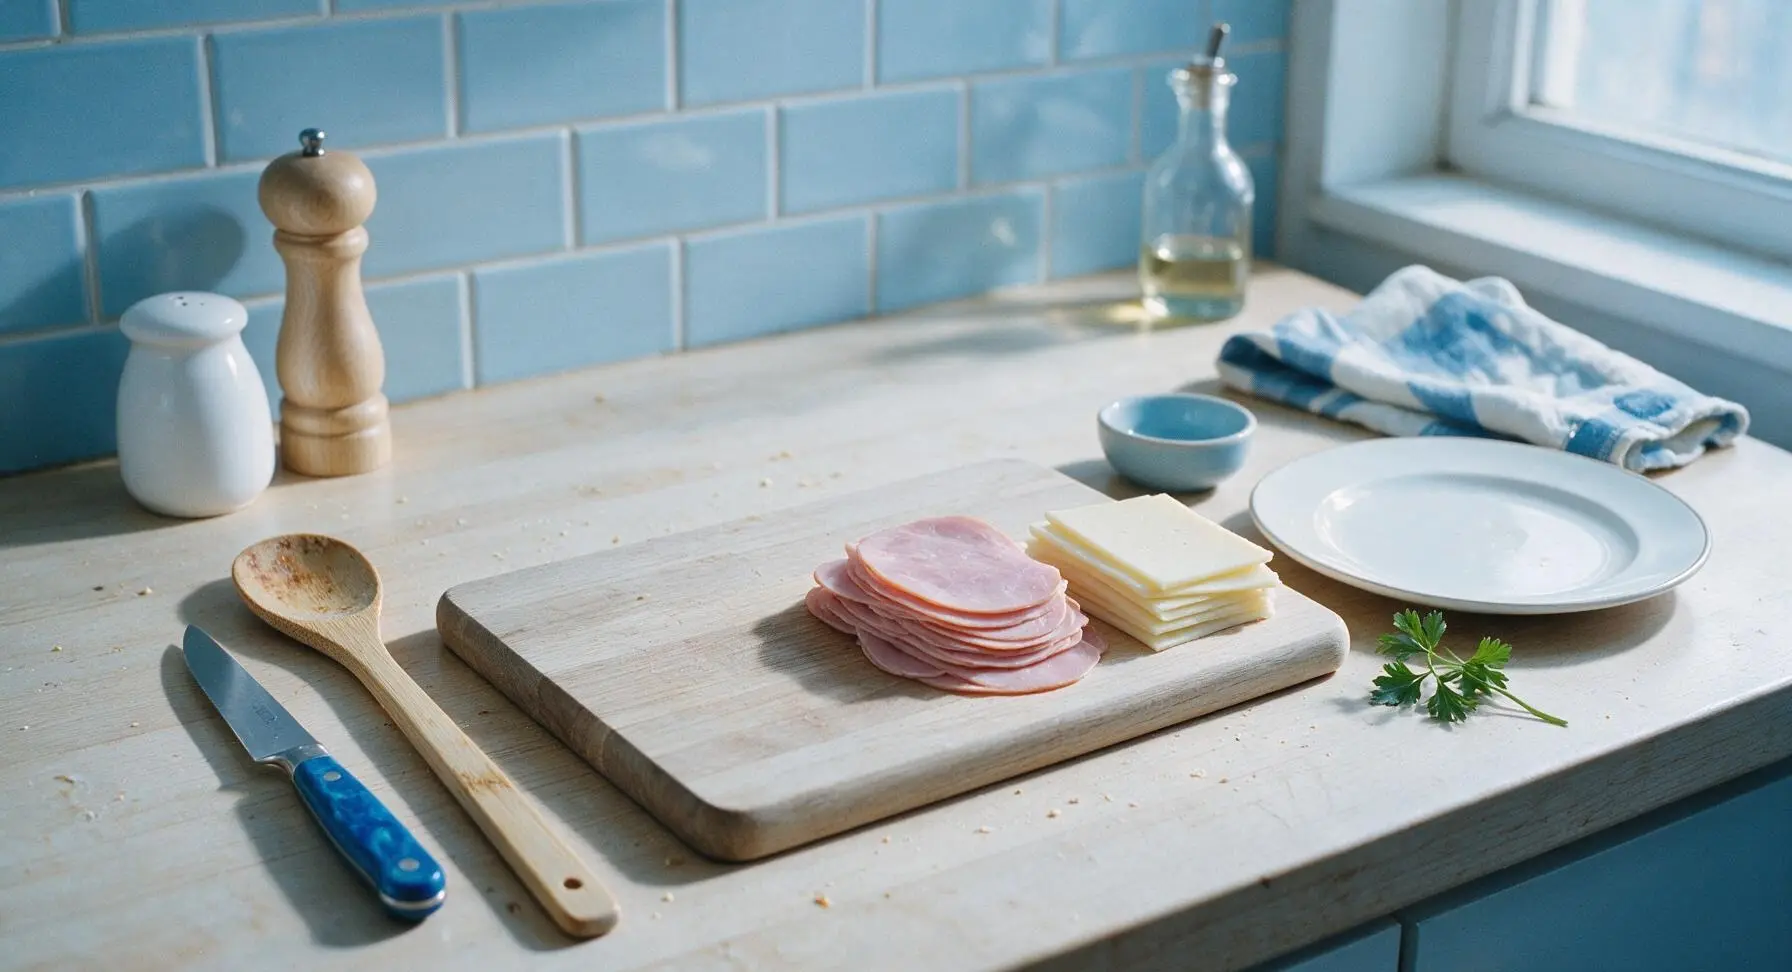
Step 4
step4:Prep Ham and Cheddar
5

Trim Bread Crusts

Lay all slices of white bread out in a single layer across the cutting board and adjacent clean counter space. Using the 10-inch serrated bread knife, slice off all four golden-brown crust edges from each bread slice, keeping the soft white inner squares perfectly intact. Collect trimmed crusts in the third mixing bowl (discarding the earlier egg shells first) to save for homemade breadcrumbs or discard.
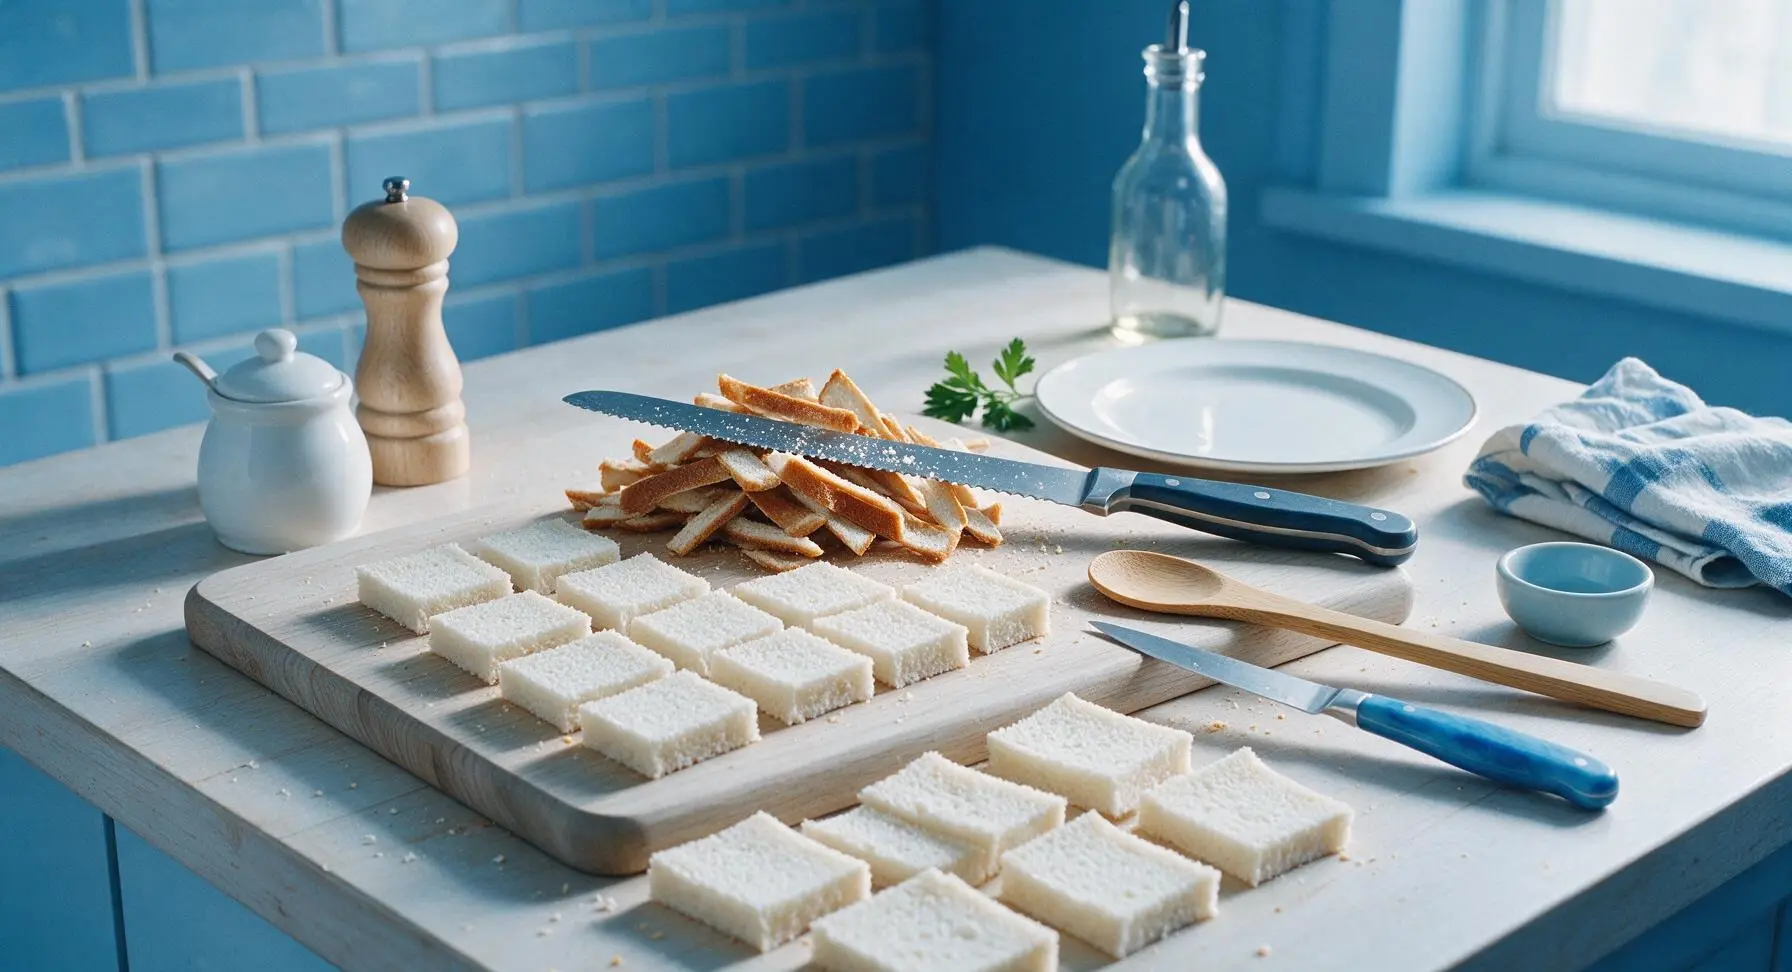
Step 5
step5:Trim Bread Crusts
6

Assemble Sandwich Bases

Divide the trimmed bread squares into three equal groups. For cucumber sandwiches: spread a 1/8-inch thick layer of dill cream cheese evenly across one side of half the squares in the first group, top with a single overlapping layer of thin cucumber slices, then press a second cream cheese-spread bread square on top to form a closed sandwich. For egg salad sandwiches: spread a paper-thin layer of plain mayonnaise on both inner bread surfaces to create a moisture barrier, then add a 1/4-inch even layer of egg salad before closing. For ham and cheddar sandwiches: layer one slice of ham and one slice of cheddar between two plain bread squares, pressing gently to adhere.
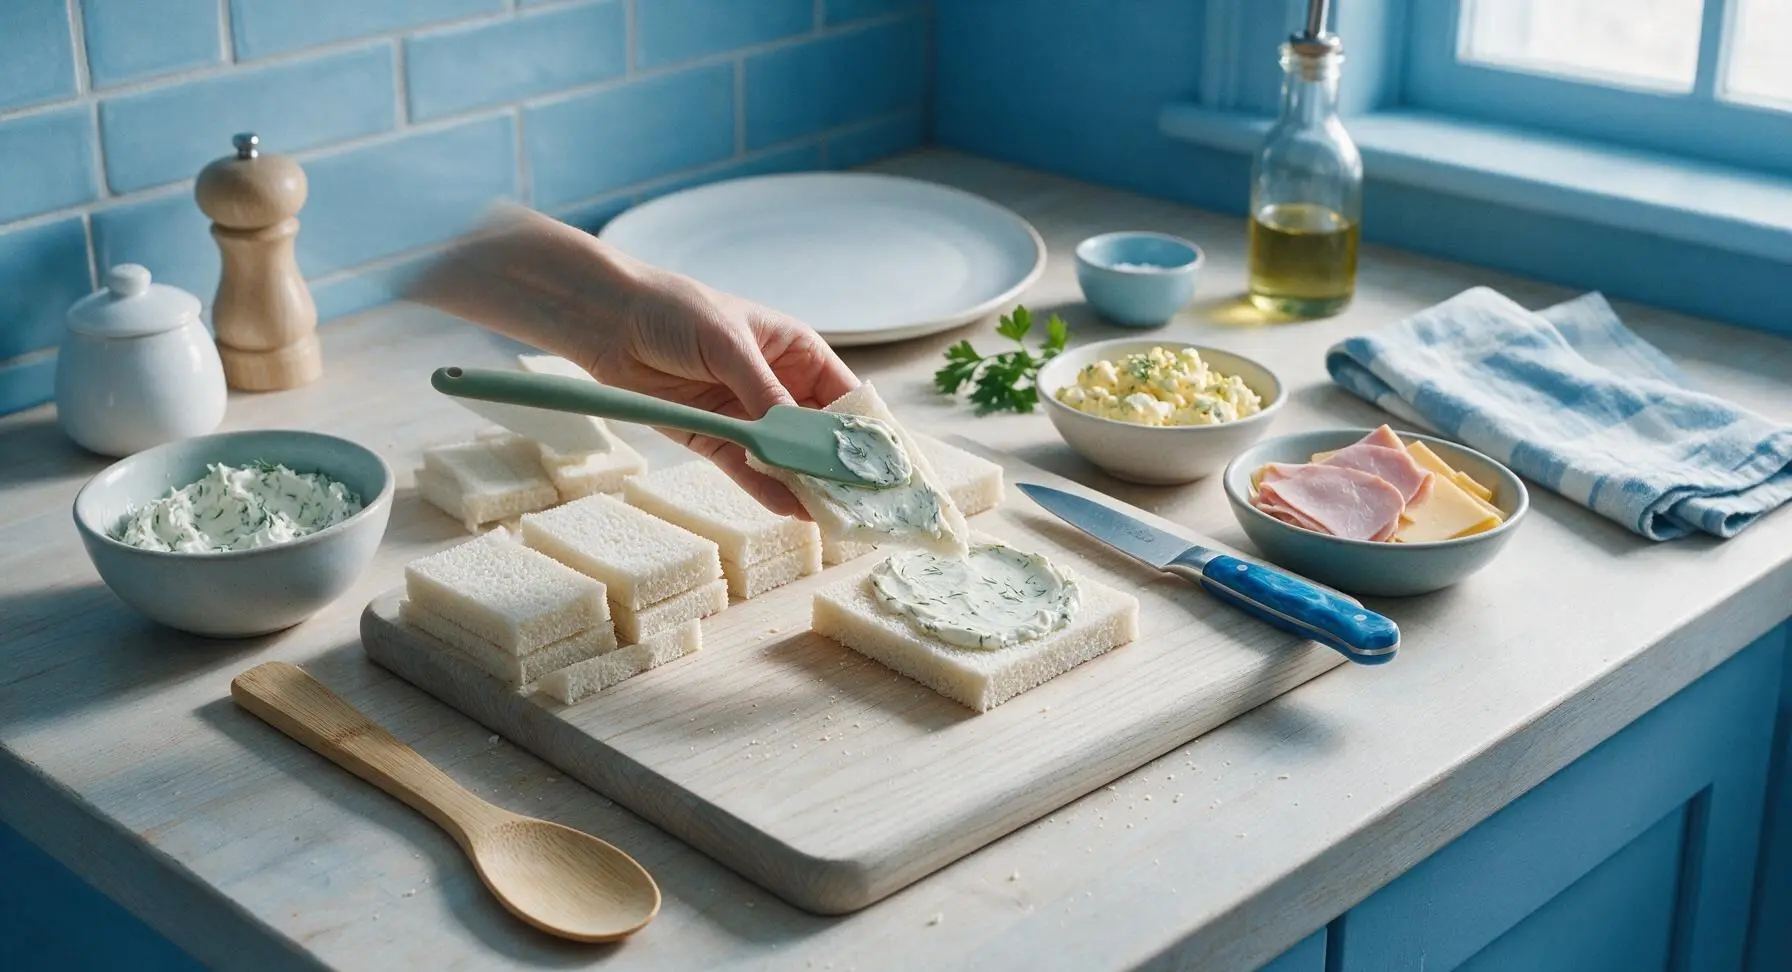
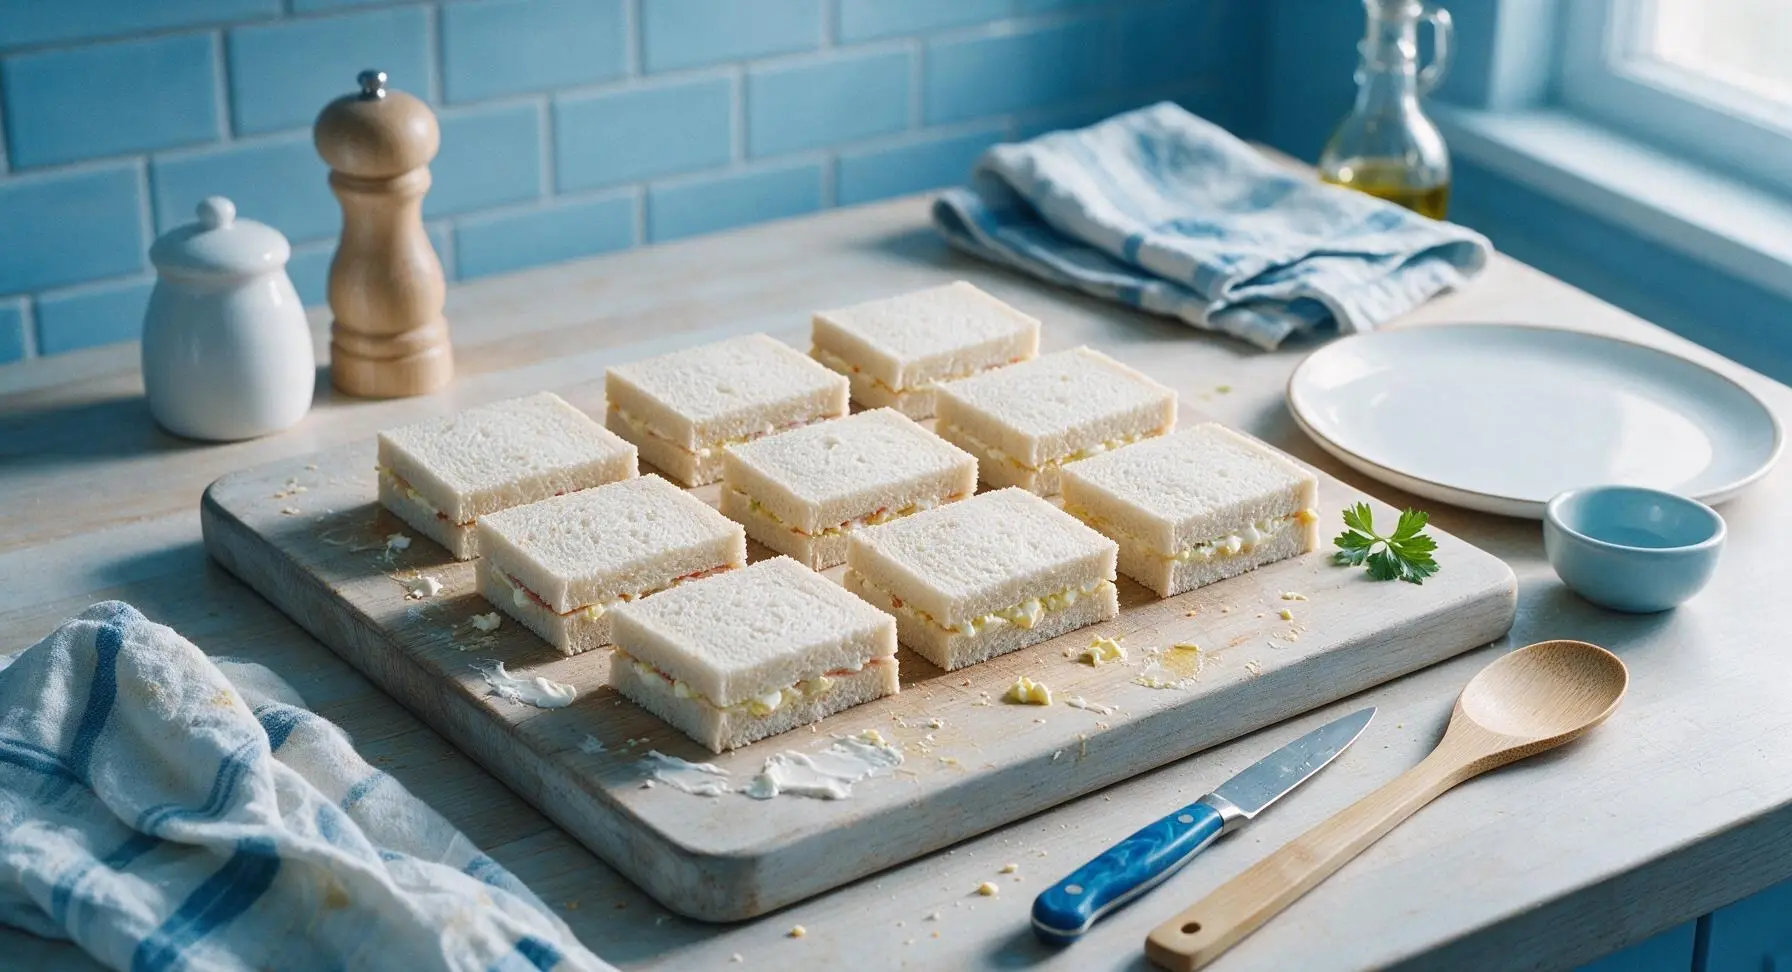
Step 6
step6:Assemble Sandwich Bases
Step 6
step6:Assemble Sandwich Bases
7

Cut into Triangles

Using the serrated bread knife, cut each closed sandwich diagonally twice to create 4 equal, bite-sized triangle pieces. Wipe the knife blade clean on the linen tea towel between every 2-3 cuts to prevent filling from smudging across the clean white bread surfaces.
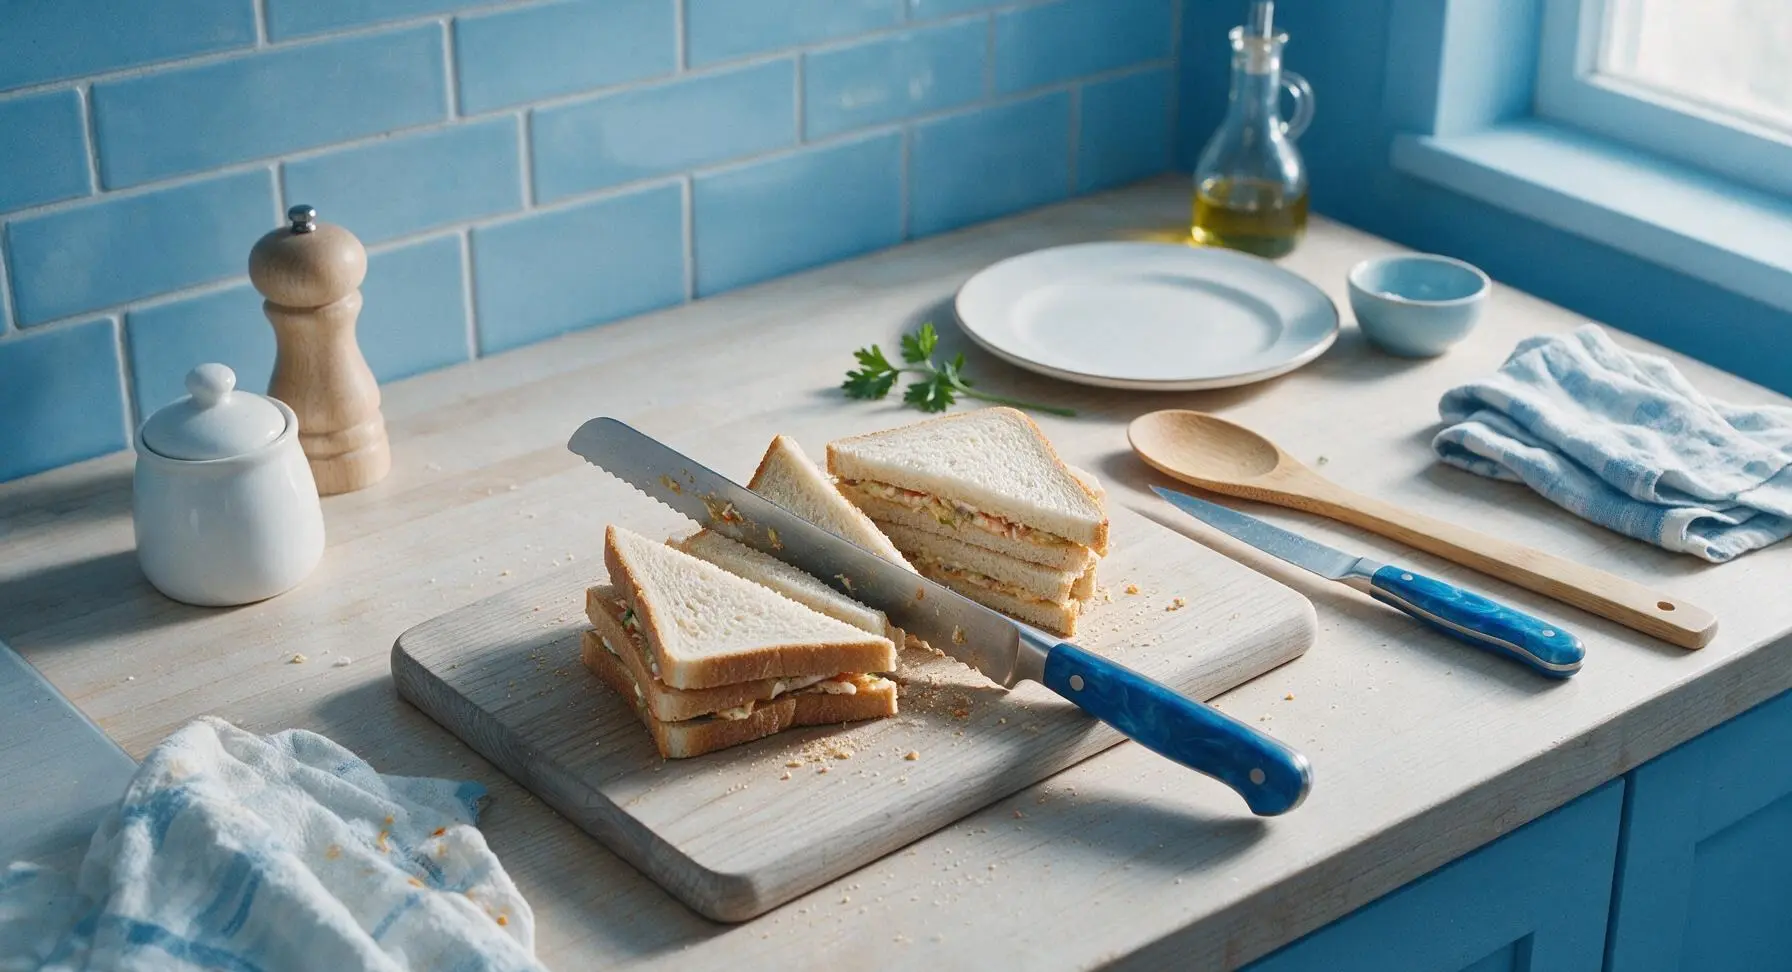
Step 7
step7:Cut into Triangles
8

Arrange for Serving

Transfer the cut finger sandwiches to the large rectangular white porcelain serving platter, arranging them in neat alternating rows grouped by filling type. Tuck small sprigs of dill and parsley from the prop pile between rows for a fresh garnish. Serve immediately, or cover tightly with a sheet of unbleached parchment paper and refrigerate for up to 4 hours before serving.
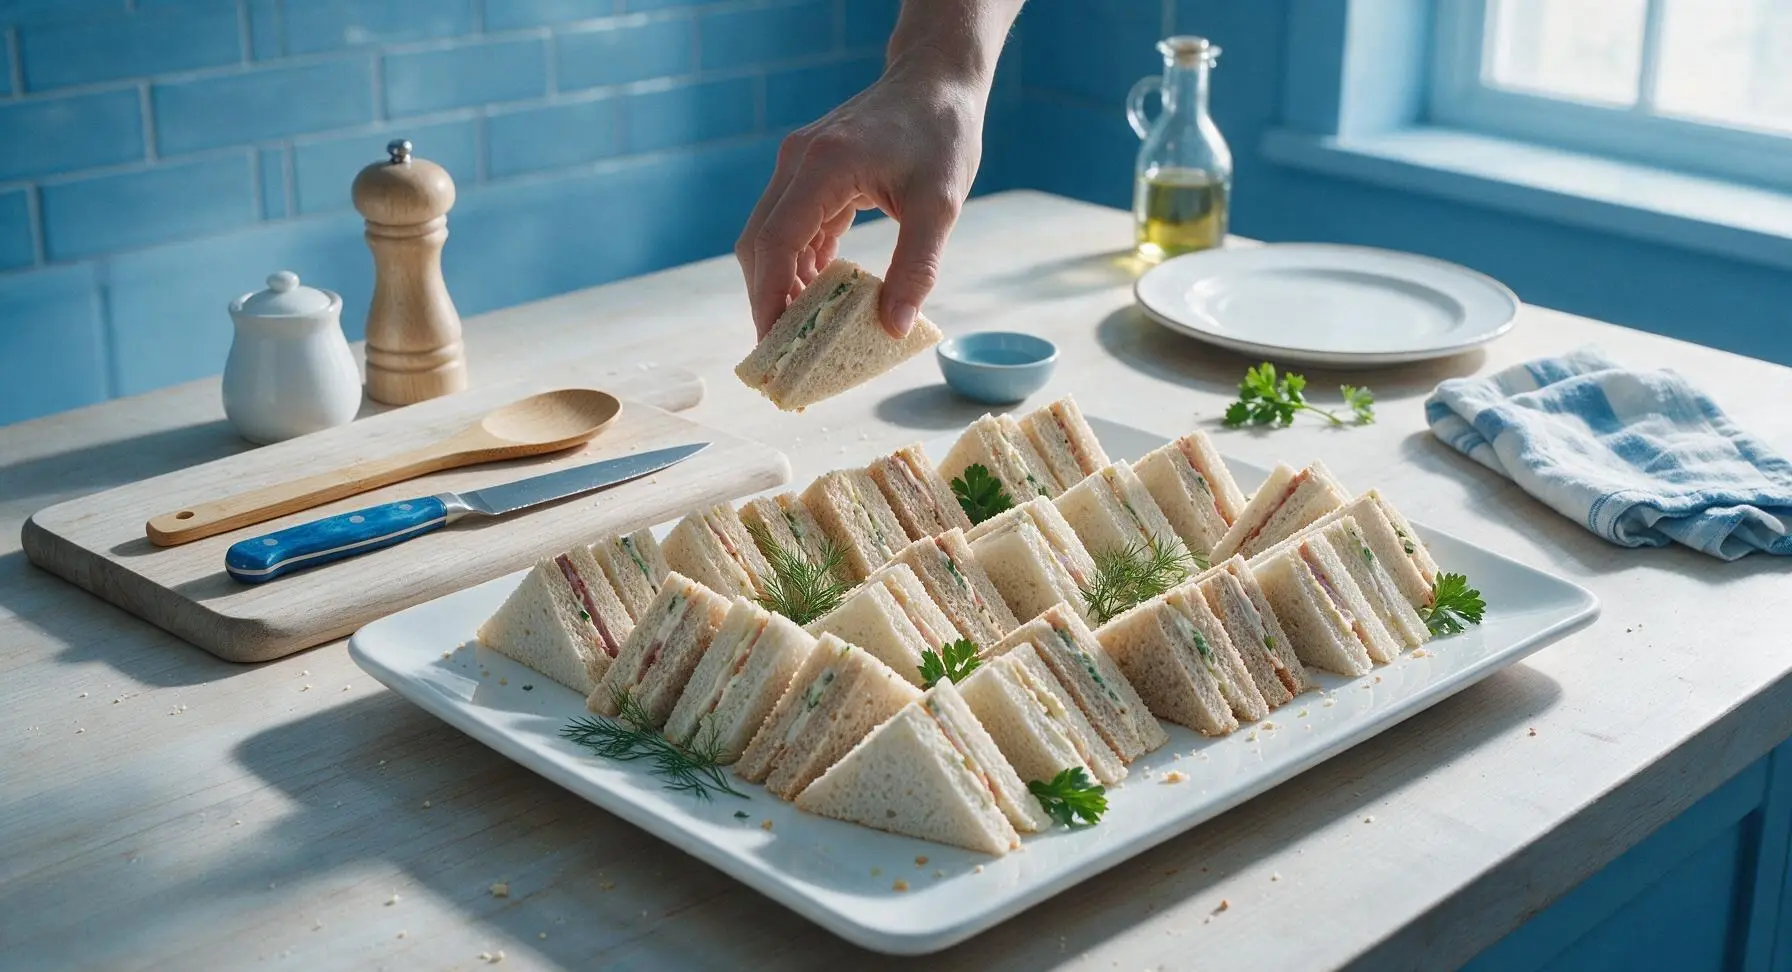
Step 8
step8:Arrange for Serving

Tips

1.Always spread a thin layer of mayonnaise or softened butter on bread slices adjacent to moist fillings (like egg salad): this creates a waterproof barrier that prevents soggy bread, even if sandwiches are refrigerated for up to 4 hours before serving.
2.Use soft, presliced sandwich bread rather than crusty artisanal loaves: crusty bread hardens as it sits and is too firm to bite cleanly, leading to messy, falling-apart sandwiches for guests.
3.Resist the urge to overfill sandwiches: a 1/4-inch thick layer of filling is ideal, as thicker fillings will squeeze out the sides when guests pick up pieces, creating messy hands and wasted food.


✨ You May Also Like

Snacks & Appetizers
🍜 Mexico

Crispy thick-cut tortilla chips piled high with seasoned beef, melted cheese, and bright fresh toppings for a shareable, crowd-favorite bite.

⏱️ 25 minuteSnacks & Appetizers ★ 4.8
Snacks & Appetizers
🍜 United States

Crisp, sweet-tangy spiced pickled watermelon rind is a zero-waste summer staple, perfect with grilled meats, charcuterie, or eaten straight from the jar as a bright snack.

⏱️ 30 minuteSnacks & Appetizers ★ 4.6
Snacks & Appetizers
🍜 Germany

A tangy, jellied pork cold cut slow-simmered with aromatic spices, set into a firm sliceable loaf, served cold with mustard and crusty bread.

⏱️ 3 hours 4Snacks & Appetizers ★ 4.8
Snacks & Appetizers
🍜 United States

Creamy, tangy, perfectly seasoned hard-boiled egg halves filled with a rich, smooth yolk mixture, a timeless, crowd-pleasing bite for holiday and casual gatherings alike.

⏱️ 40 minuteSnacks & Appetizers ★ 4.8
Snacks & Appetizers
🍜 Russia

Silky, dill-forward no-smoke cured salmon, a Scandinavian classic with bright salty-sweet flavor, ideal for holiday starter platters and open-faced rye sandwiches.

⏱️ 48 hours Snacks & Appetizers ★ 4.7
Snacks & Appetizers
🍜 Japan

Crisp golden bottoms, juicy savory pork and vegetable filling, and tangy dipping sauce make these pan-fried gyoza a beloved shareable bite.

⏱️ 45 minuteSnacks & Appetizers ★ 4.8

easy finger sandwiches for a crowd:Frequently Asked Questions

1.How far in advance can I make these finger sandwiches without them getting soggy? ▾
You can fully assemble these sandwiches up to 24 hours ahead if stored correctly. Arrange finished pieces in a single layer in an airtight container, top with a dry paper towel to catch condensation, seal tightly, and refrigerate. Skip extra watery add-ins like fresh tomato to keep sogginess at bay for the full hold time.
2.Do I really need to remove the crusts from the bread? ▾
Removing crusts gives these finger sandwiches their classic, delicate, party-ready look and softer, more approachable bite, but it is not strictly mandatory. If you’re short on prep time, you can leave crusts on, just trim any uneven, overly browned edges for a neat presentation, and slice uniformly for easy pickup.
3.Why do you recommend full-fat cream cheese instead of low-fat or fat-free varieties? ▾
Full-fat cream cheese has a rich, smooth, spreadable texture that acts as a perfect moisture barrier between bread and wet fillings like cucumber to prevent sogginess. Low-fat and fat-free versions have higher water content, a thinner, grainier texture when softened, and won’t hold up as well for make-ahead prep.
4.What’s the best way to slice seedless English cucumber for these sandwiches? ▾
For even, thin slices that lay flat without bulging out of the sandwich, use a sharp serrated knife or mandoline set to 1/8-inch thickness. Pat slices completely dry with paper towels after slicing to soak up excess surface moisture—this is one of the most effective tricks to avoid soggy bread, even after hours in the fridge.
5.How do I make the egg filling without it turning watery? ▾
Start with fully cooled hard-boiled eggs, then mash them with a small amount of softened full-fat cream cheese instead of excess mayonnaise for a thick, spreadable consistency. Avoid adding salt too early, as it draws moisture out of eggs, and stir in seasonings right before assembling to keep the filling firm.
6.Can I use a different type of bread instead of soft white sandwich bread? ▾
Thin-sliced soft white sandwich bread is ideal because it compresses neatly, cuts cleanly, and has a mild flavor that doesn’t overpower the classic fillings, but you can swap in thin-sliced whole wheat, sourdough, or rye if you prefer. Skip crusty artisanal loaves, which are too firm to bite cleanly and fall apart when cut.
7.How many sandwiches does this recipe make to feed a crowd? ▾
Using a standard 20-ounce loaf of thin-sliced white bread (about 20 slices total) and cutting each full sandwich into three finger-sized pieces, you’ll get roughly 30 bite-sized servings. Plan for 2 to 3 pieces per guest for a light appetizer spread, or 4 to 5 per person if these are the main snack offering.
8.Should I toast the bread before assembling the sandwiches? ▾
Skip toasting the bread for these classic finger sandwiches—toasting creates a dry, crunchy texture that clashes with the soft, delicate bite these are known for, and toasted edges will go stale much faster in the fridge. Soft, untoasted bread holds fillings well, cuts cleanly, and stays fresh for the full make-ahead window.
9.How do I keep the ham filling from sliding out when guests pick up sandwiches? ▾
First, pat sliced deli ham dry with a paper towel to remove excess surface moisture from packaging, then spread a thin, even layer of softened cream cheese on both slices of bread for ham portions. The cream cheese acts as an edible 'glue' that holds ham in place, so slices won’t slide out when guests grab a piece.
10.Can I freeze these assembled finger sandwiches for longer-term prep? ▾
I don’t recommend freezing these fully assembled, because high-moisture fillings (cucumber, egg, cream cheese) become watery and mushy when thawed, leaving bread soggy and fillings grainy. For long-term prep, you can freeze sliced bread and pre-cook hard-boiled eggs up to 1 month ahead, then assemble the day before your event.
11.What’s the best way to cut neat, uniform finger-shaped sandwiches? ▾
First, assemble full, crustless sandwiches (two slices of bread plus filling) and press them very gently with your palm to help layers adhere. Use a sharp, non-serrated chef’s knife to cut each sandwich into three equal 1-inch wide strips, wiping the knife blade clean between cuts to avoid smearing filling across bread edges.
12.My cream cheese is lumpy when I spread it—how do I fix that? ▾
Lumpy cream cheese usually happens when it’s not fully softened, or when you spread it straight from the fridge. Let it sit on the counter for 30 to 45 minutes at room temperature before using, then stir it with a spoon for 30 seconds until smooth. Avoid over-microwaving it, as melted cream cheese will soak into bread and cause sogginess.
13.Do I need to peel the seedless English cucumber for the filling? ▾
You don’t have to! English cucumber skin is thin, tender, and not bitter, unlike the thick, waxy skin on standard slicing cucumbers, so leaving it on adds a nice pop of light green color and subtle texture. If you prefer a smoother, traditional bite, you can peel it fully or in alternating strips for a pretty striped look.
14.How do I prevent sandwich edges from drying out in the fridge? ▾
Dry edges happen when sandwiches are exposed to circulating cold fridge air, so the fix is simple: arrange assembled sandwiches in an airtight container, lay a slightly damp (not soaking wet) paper towel over the top layer before sealing, and store them on a middle shelf away from drying vents. They’ll stay soft for up to 24 hours this way.
15.Can I add extra mix-ins to the fillings to switch up the flavor? ▾
Absolutely! You can stir finely chopped fresh dill, chives, or a pinch of garlic powder into the cream cheese base, add a thin layer of spicy brown mustard to ham sandwiches, or mix a tiny bit of paprika into the egg filling. Just avoid very wet mix-ins like sliced tomato, juicy pickles, or runny dressings that cause sogginess.
16.How long should I boil eggs for the filling to avoid gray-green yolks? ▾
Place large eggs in a pot of cold water, bring to a rolling boil, then cover, remove from heat, and let sit for 9 minutes exactly. Transfer immediately to an ice water bath for 5 minutes to stop cooking, then peel. This method gives fully set, creamy yolks with no gray ring, and firm whites that mash easily for smooth filling.
17.What type of deli ham works best for these sandwiches? ▾
Pick thinly sliced, low-moisture deli ham, like honey ham or Black Forest ham, sliced to about 1/16-inch thickness at the deli counter. Avoid thick-cut ham or honey-glazed ham with a sticky, wet coating, as thick slices make sandwiches hard to bite through, and excess glaze will soak into bread and cause sogginess over time.
18.Can I adapt these sandwiches for guests with dietary restrictions? ▾
You can easily tweak them for most common diets! Use thin-sliced gluten-free white bread for gluten-free guests, swap regular cream cheese for dairy-free plant-based cream cheese for vegan or dairy-free guests, and skip the ham for a vegetarian spread of cucumber and egg fillings, labeling options clearly on your serving table.
19.How should I arrange these sandwiches on a serving platter for a party? ▾
Arrange finger sandwiches in neat, grouped rows by filling type so guests can easily pick their favorite, and garnish the platter with fresh dill sprigs or thin cucumber slices for a pop of color. Don’t stack sandwiches more than two layers high, as the weight of the top layer will squish bottom pieces and squeeze filling out the edges.
20.What do I do if my bread gets slightly squished while assembling? ▾
Minor squishing is totally normal and easy to fix! Once you’ve added fillings and replaced the top bread slice, gently press the whole sandwich flat with your palm to a uniform 1/2-inch thickness before trimming crusts and cutting into fingers. This gentle compression actually helps layers stick better, creating neat, uniform bites that look intentional, not messy.

Comments (8)

2 days ago

OMG these were a total lifesaver for my youngest’s soccer team snack day! I prepped them in 10 minutes flat just like the recipe said, used ham & cheese, turkey avocado, and pimento cheese fillings, and every single kid (and the coaches!) devoured them. No sad half-eaten sandwiches left in the cooler, that’s a win in my book. SO good, will be making these for our next backyard cookout too!

yesterday

Wait did you cut the crusts off? I’m making these for my daughter’s end-of-season party this weekend and can’t decide if crusts on or off is easier for the little kids!

yesterday

So glad these were a hit with the team! Cutting crusts is totally optional, but if you’re serving younger kids, crustless is usually less messy – and you can save the crust bits to make homemade croutons later so nothing goes to waste!

3 days ago

Game changer for office potlucks! I’ve been stressing about what to bring to our department lunch this week because I only had 15 minutes to make something between meetings, and these came together so fast. I did a mix of cucumber cream cheese and egg salad, and people were asking me for the recipe before I even set the platter down. 10/10, no notes.

2 days ago

Love that you mixed classic fillings! So happy these took the stress out of your potluck prep – they’re designed to be totally customizable to whatever fillings you already have in the fridge, which makes them perfect for busy weeks.

5 days ago

These were perfect for my monthly book club meetup! I made the chicken salad and cucumber dill versions, and they were light and tasty. Only reason I’m not giving 5 stars is I wish the recipe had a note about how to keep them from getting soggy if you prep them the night before – mine were a little soft around the edges when I pulled them out of the fridge the next day. Still delicious though!

3 days ago

Pro tip! Line your storage container with paper towels and don’t assemble the really wet fillings (like cucumber) until right before you serve, that fixed the sogginess for me when I made these for a tailgate!

3 days ago

Great question! If you’re prepping ahead, you can spread a thin layer of softened butter on the bread slices before adding fillings to create a moisture barrier, and store them in an airtight container lined with parchment paper in the fridge for up to 12 hours. For super juicy fillings like cucumber, add those right before serving for best results!

1 week ago

Made these for the college football watch party at my place last Saturday, and they were gone by the end of the first quarter. Did roast beef & horseradish cheddar, BLT sliders (minus the toothpicks because I forgot to buy them oops), and pimento cheese. So easy, zero fancy ingredients, didn’t heat up my kitchen which is a win when it’s 90 degrees out in September. Will be a regular on my game day rotation.

1 week ago

I was so nervous to host my first bridal shower for my sister last weekend, and these sandwiches made me look like a total pro! I cut them into little triangle shapes, added a tiny sprig of dill on top of the cucumber ones for garnish, and all the guests kept commenting on how cute and tasty they were. The 10 minute cook time is no lie – I spent more time picking out my outfit for the shower than I did making these!

5 days ago

That sounds absolutely lovely, what a thoughtful touch with the dill garnish! So happy these helped make your sister’s bridal shower feel special, that means the world to us.

2 weeks ago

I make a big batch of these every Sunday for my kid’s school lunches and my husband’s work snacks! I swap the fillings out every week so no one gets bored – last week was turkey & cranberry, this week is hummus & roasted veggie. They hold up way better than regular full-sized sandwiches in lunch boxes, and portion control is so much easier. Total meal prep game changer.

yesterday

So happy I found this recipe! I used my favorite gluten-free white bread, made the egg salad and ham & Swiss fillings, and brought them to my neighborhood block party. Even my neighbors who don’t eat gluten-free said they couldn’t tell the difference, the sandwiches were that good. Super easy, no complicated steps, perfect for someone like me who’s not a super confident cook.

2 hours ago

I was at that block party! Those sandwiches were insane, I went back for two of the egg salad ones. Had no idea they were gluten-free, you could’ve fooled me!

30 minutes ago

Made these for my grandkids’ visit last weekend, and let me tell you – even my pickiest 7-year-old granddaughter who only eats plain buttered pasta ate three of them! I did peanut butter & jelly (cut into little star shapes with a cookie cutter, per her request) and turkey & cheese for the rest. Took me no time at all, even with my old slow hands. Great recipe, no fancy nonsense.

5 minutes ago

The cookie cutter trick is genius! I never thought to use shaped cutters for finger sandwiches, my toddler would go crazy for dinosaur shaped ones at his birthday party next month.

just now

Love the cookie cutter hack! Fun shapes make these so much more fun for kids, and it’s such an easy way to make a simple platter feel special for birthdays or family visits. So glad the grandkids enjoyed them!



