
easy hot dog chili sauce
intro
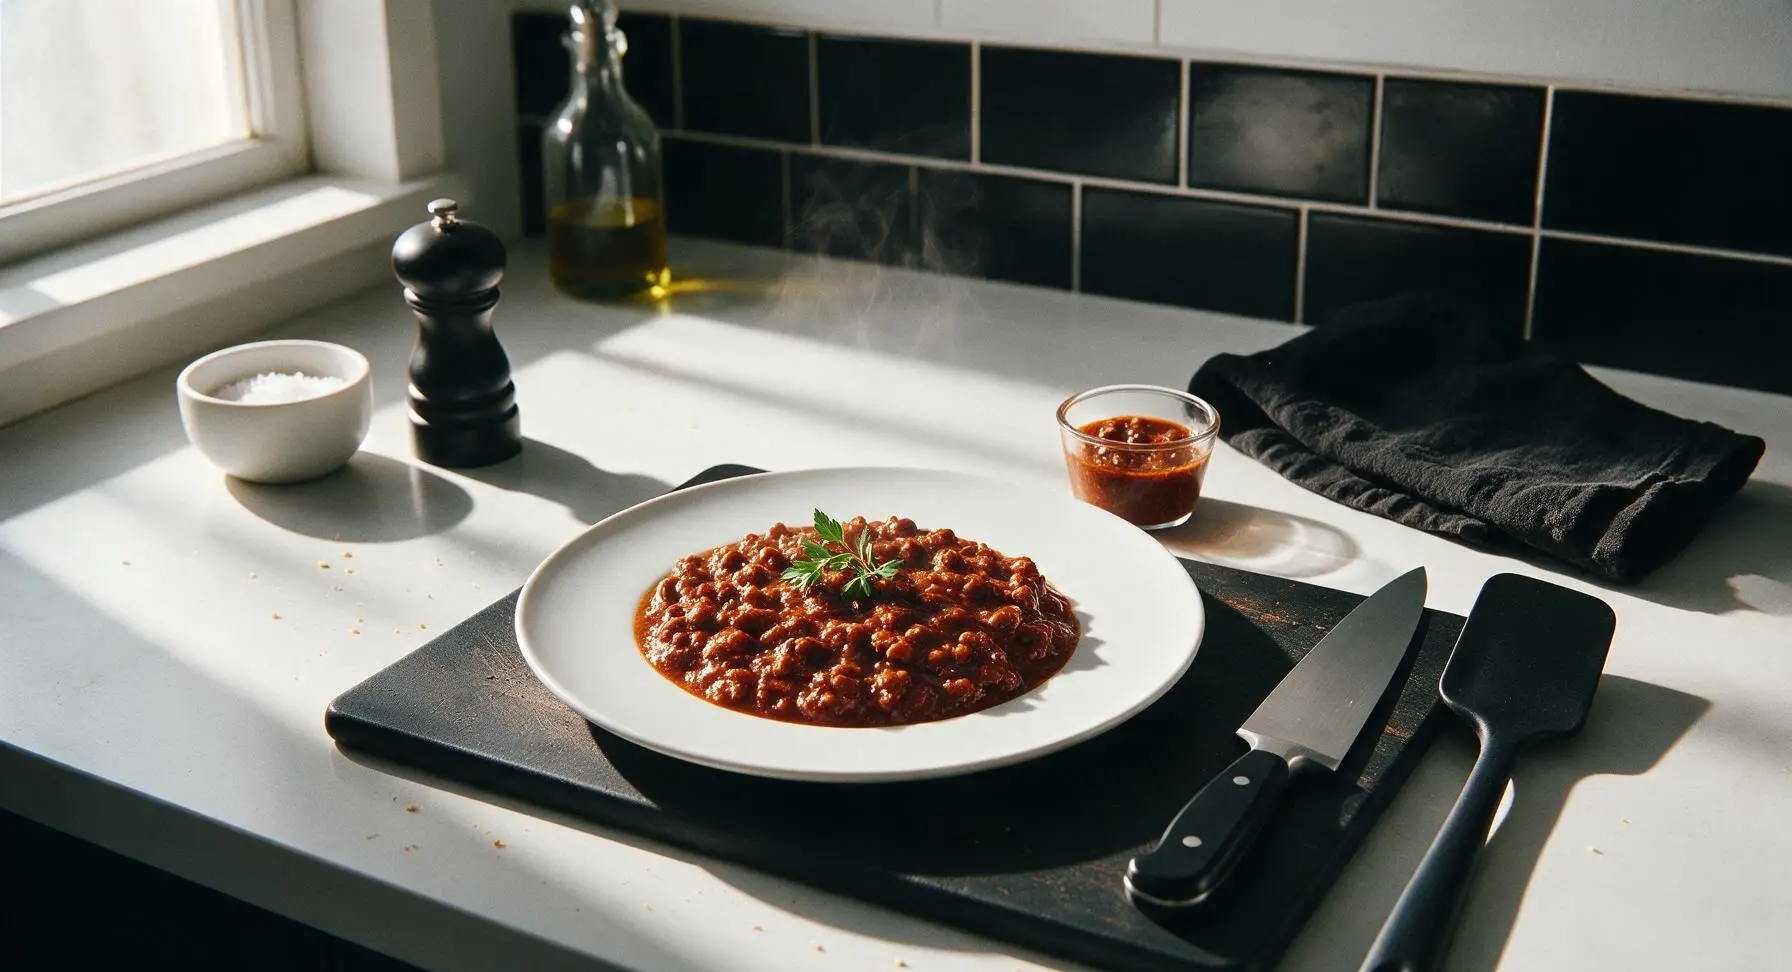
Thick, rich, no-bean hot dog chili sauce with deep savory flavor, perfect for topping grilled hot dogs, burgers, or fries. Ready in 30 minutes with simple pantry staples, no fancy equipment needed.
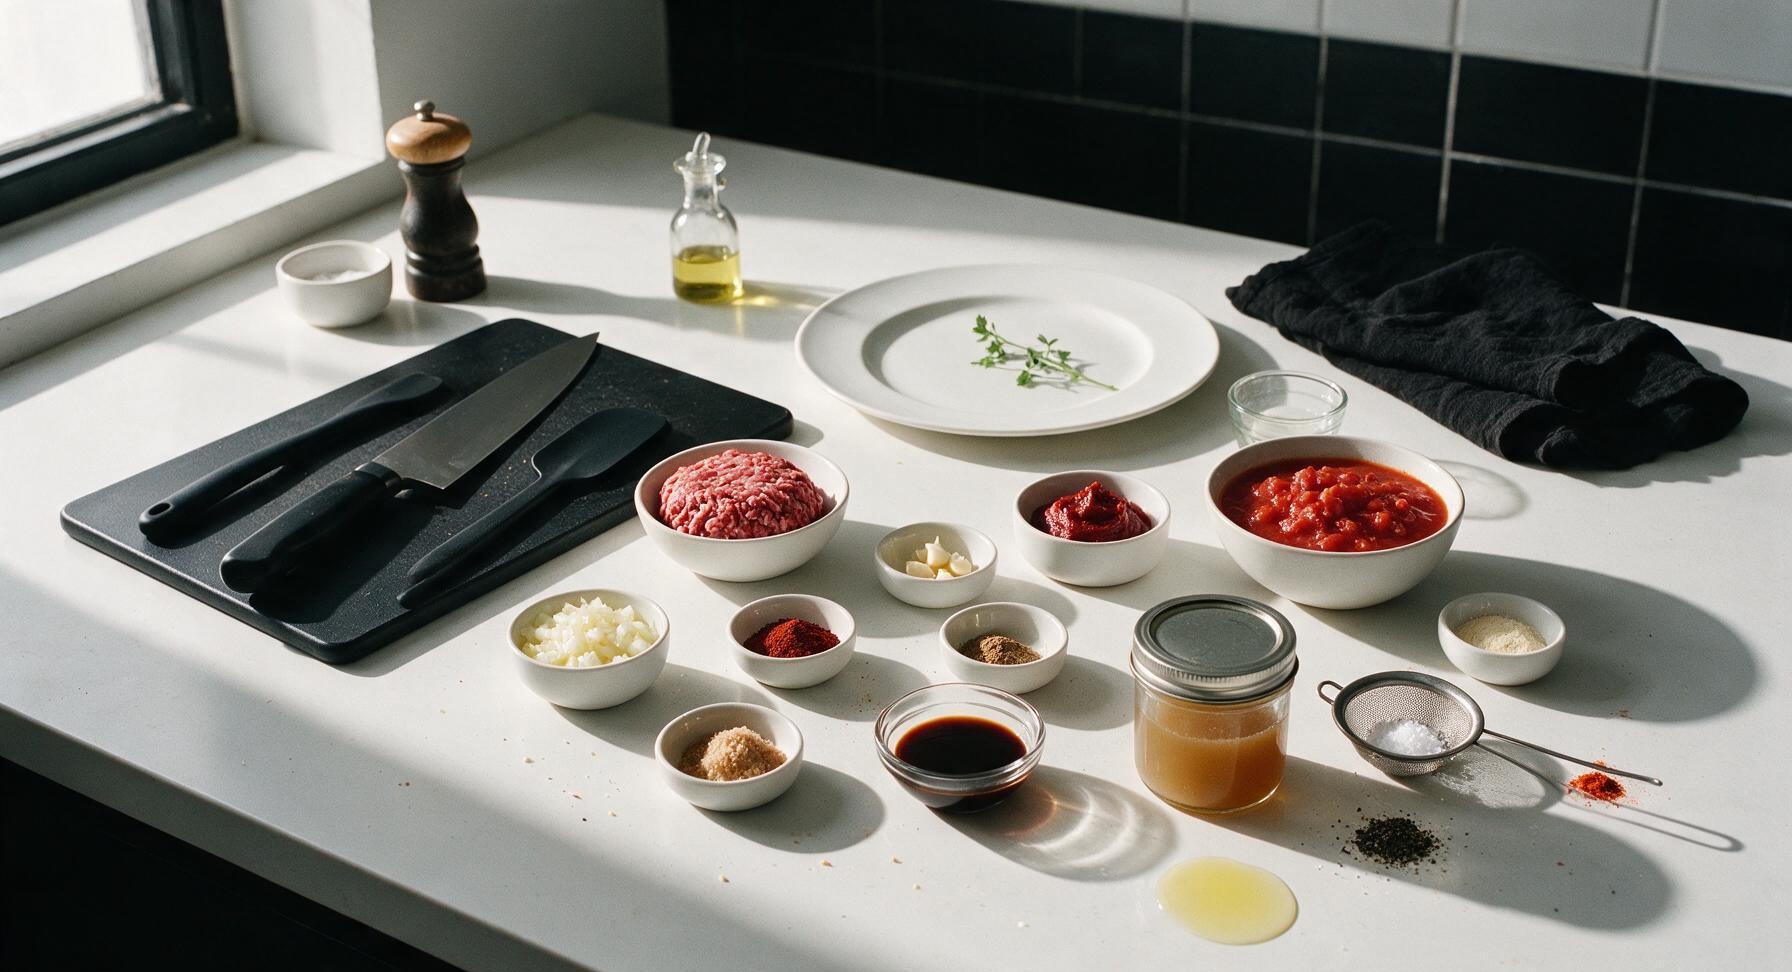
Ingredients
Steps
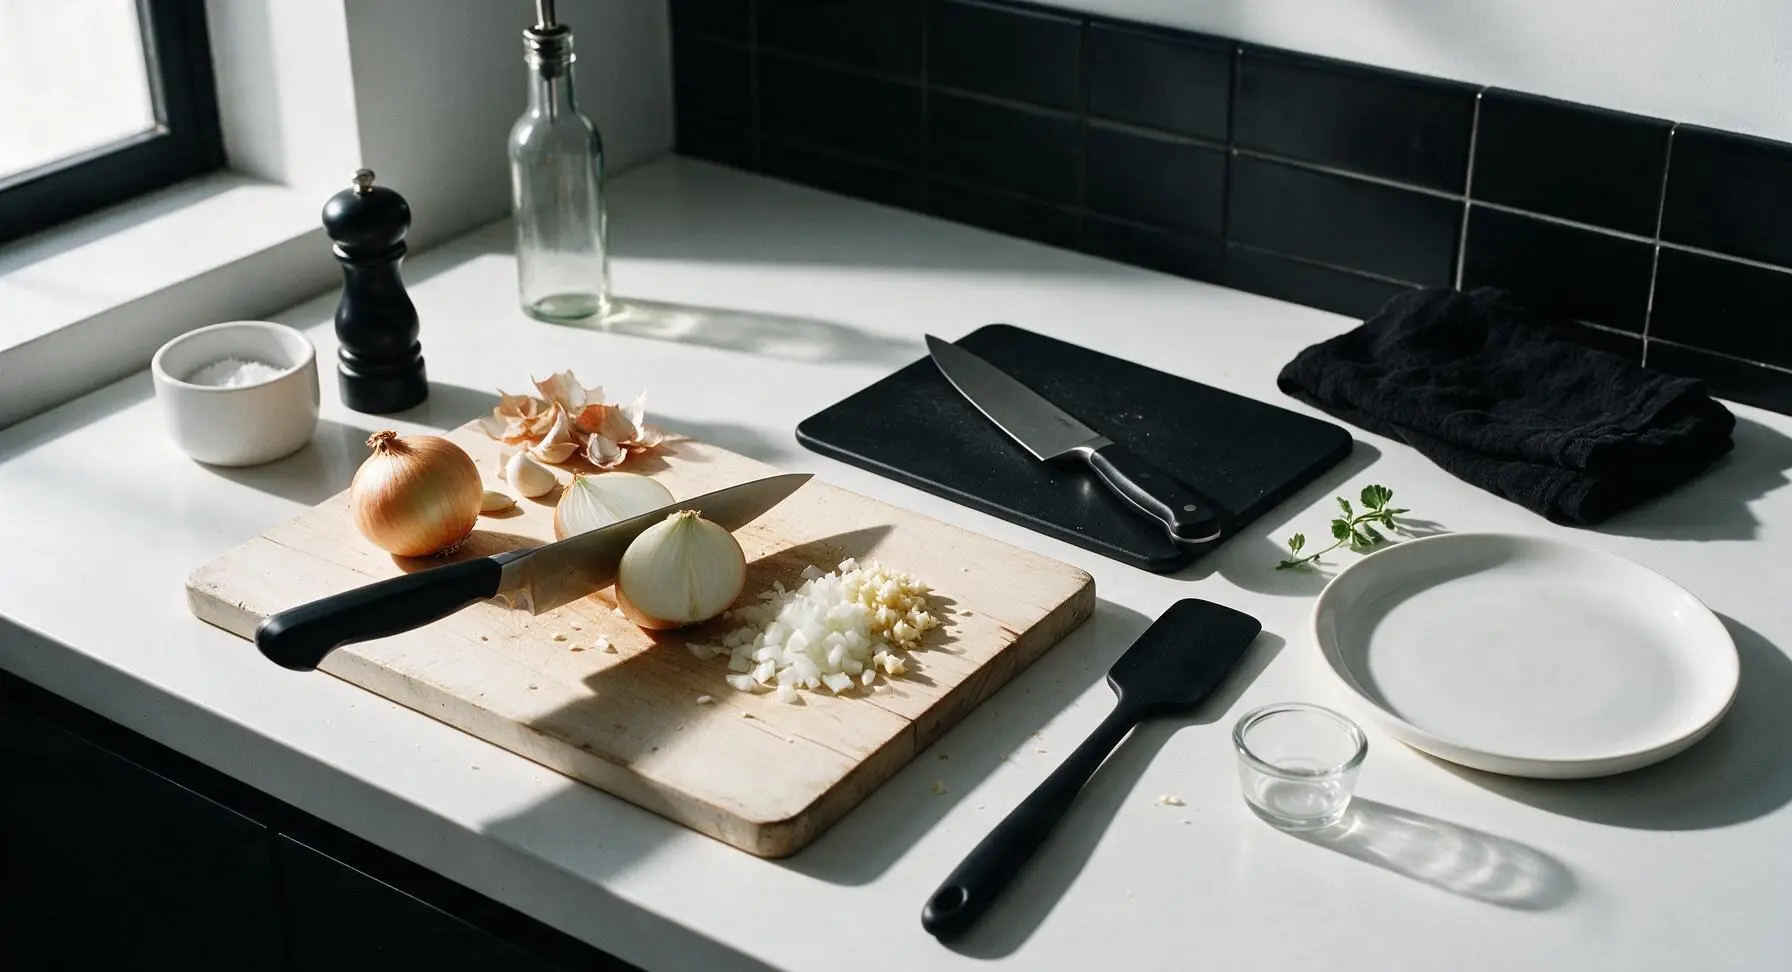
Dice onion and garlic
Place the pale birch cutting board center-left on the counter. Using the 6-inch chef’s knife, finely dice the small yellow onion into 5mm (1/4 inch) pieces, then mince the 3 garlic cloves until almost paste-like. Set prepped aromatics aside on the edge of the cutting board; gather papery onion and garlic skins into a small scrap pile at the corner of the board for easy cleanup.
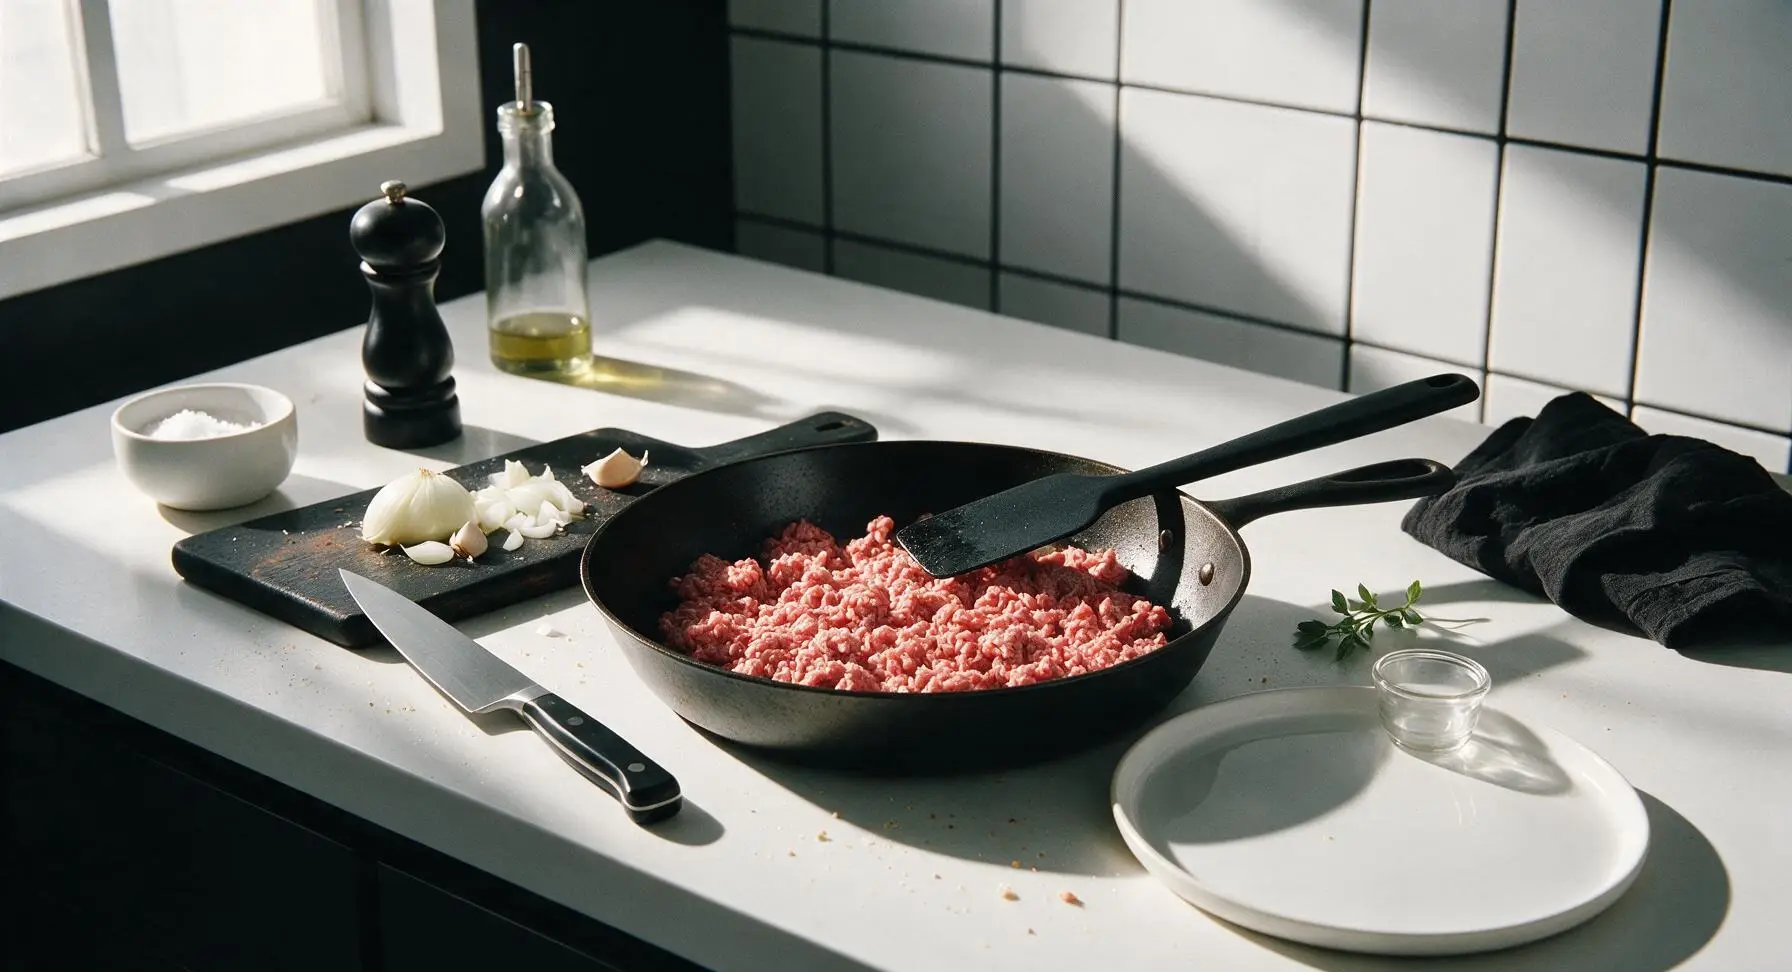
Brown the ground beef
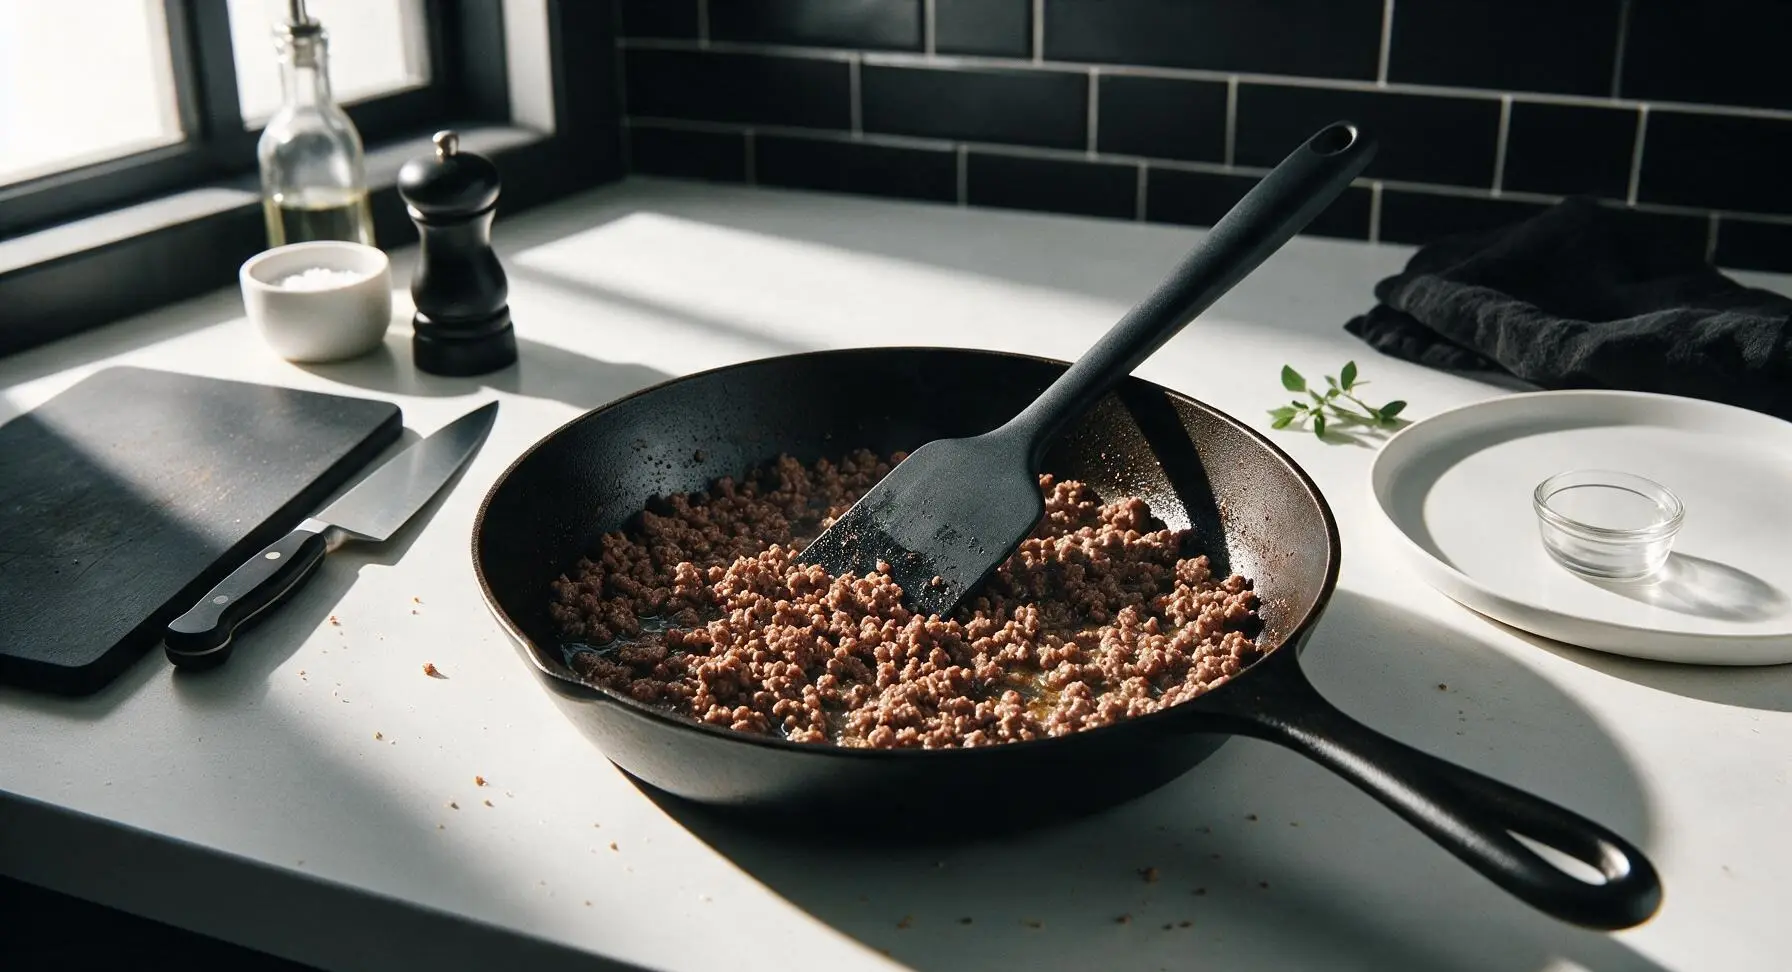
Bring the 25cm matte black carbon steel skillet to center counter, place over medium heat (175°C/350°F). Add 1 teaspoon of canola oil from the glass bottle, then crumble the 450g 80/20 ground beef directly into the pan. Cook for 5-6 minutes, breaking the beef apart with the silicone spatula into fine, pea-sized crumbles, until no pink remains and the beef is lightly browned at the edges. Do not drain the small amount of rendered fat—it carries key spice flavor and keeps the sauce moist.
Sauté onion and garlic
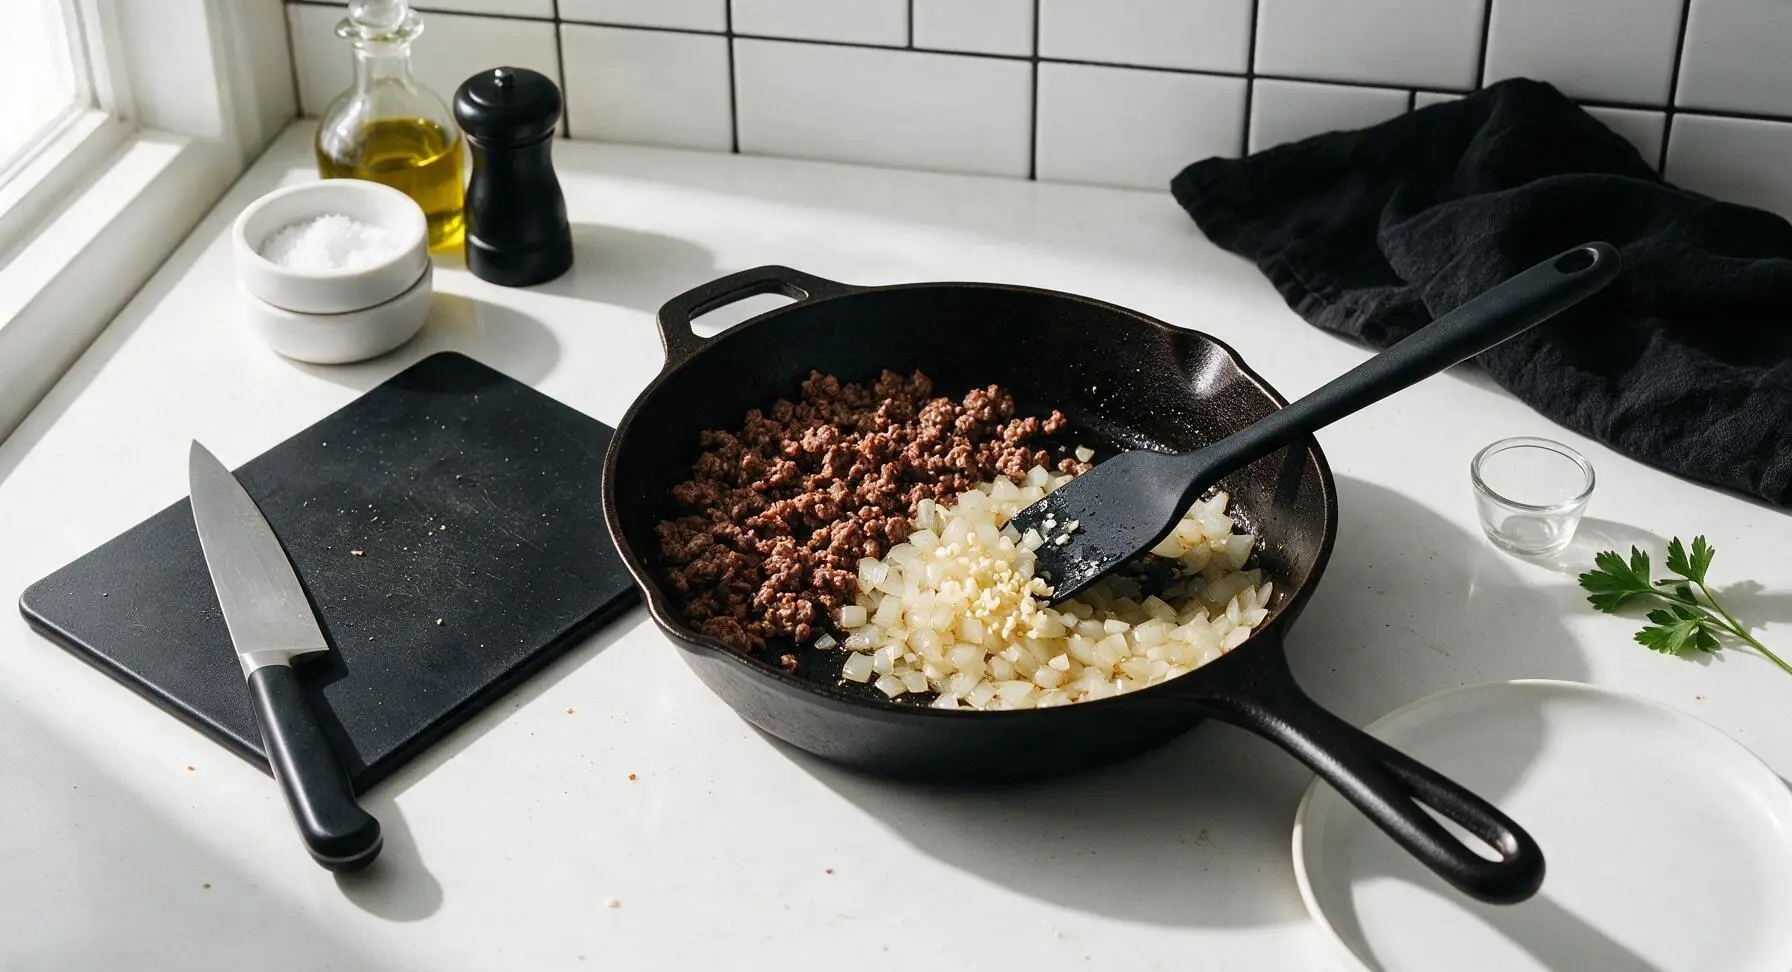
Push the browned beef crumbles to one side of the skillet, then add the pre-diced onion to the empty side of the pan. Sauté for 3 minutes until the onion turns soft and translucent, then add the minced garlic and cook for 30 seconds more, stirring constantly with the silicone spatula, until garlic smells bright and fragrant. Do not let the garlic turn golden or burn, as it will develop a bitter, off flavor. Stir the onion and garlic into the beef crumbles to combine evenly.
Cook the tomato paste
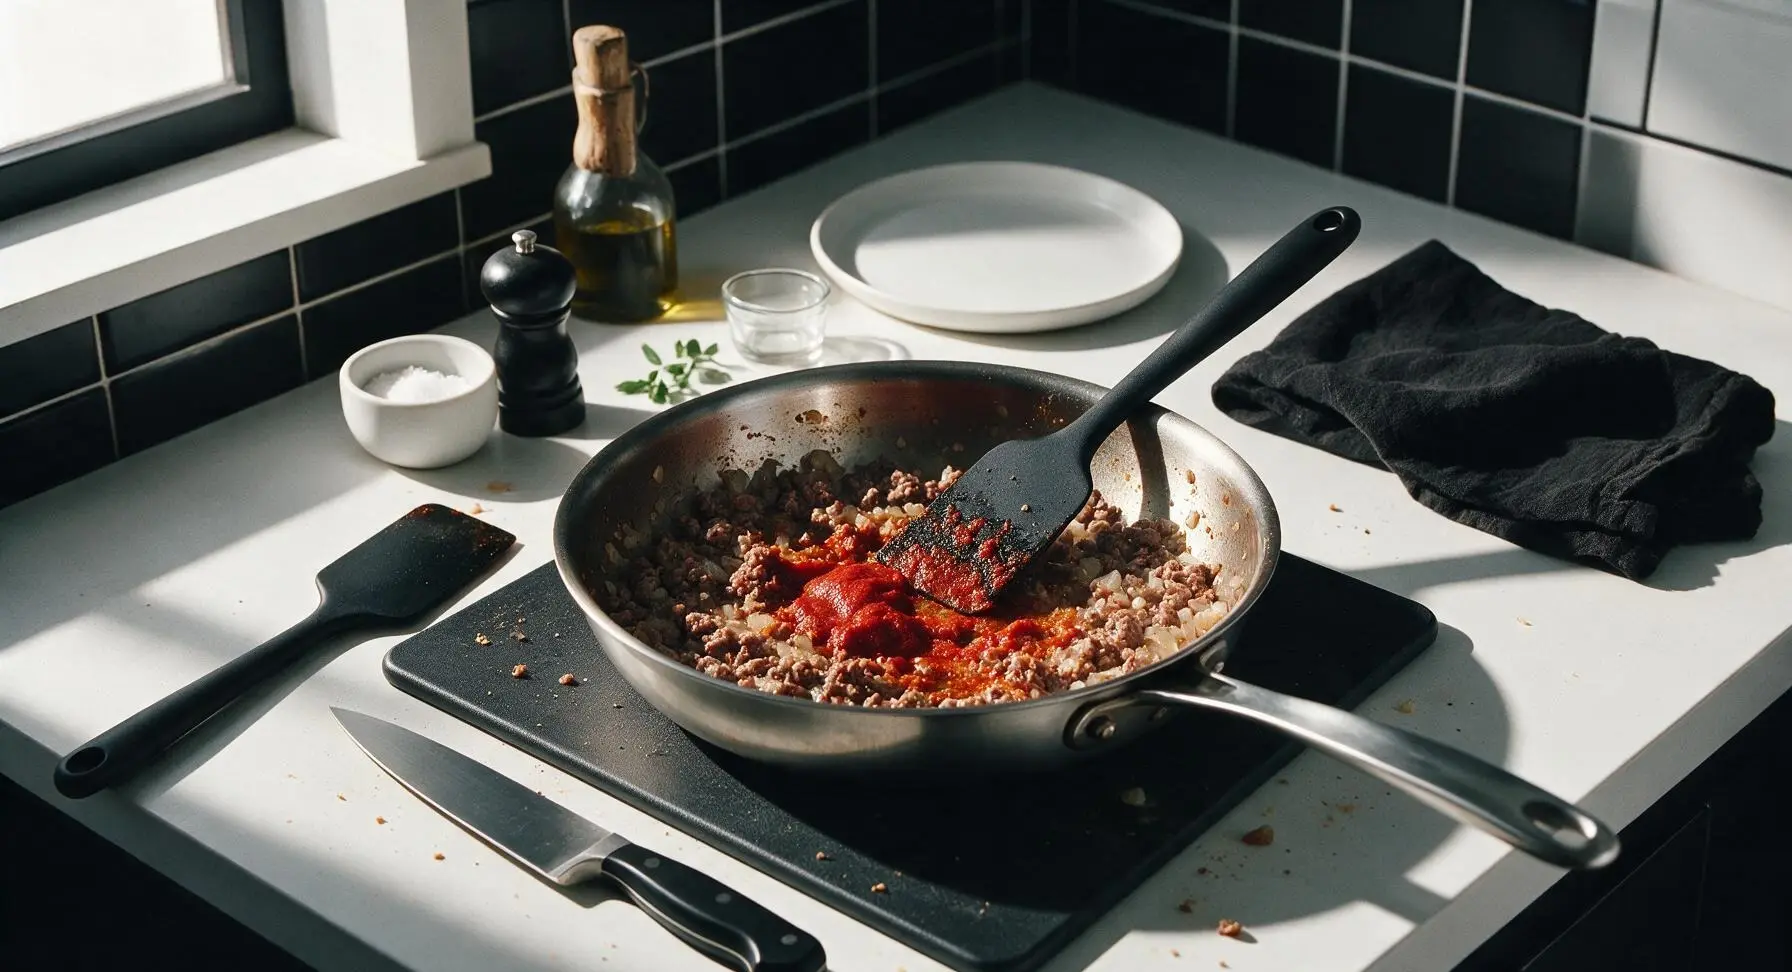
Add the 2 tablespoons of tomato paste to the skillet, stirring constantly to coat the beef and onion mixture. Cook the tomato paste for 1-2 minutes, until it deepens from bright red to a dark rusty red color and smells sweet and caramelized. This toasting step removes the raw, metallic taste common in uncooked canned tomato paste.
Add spices and liquids
Sprinkle the pre-measured chili powder, ground cumin, smoked paprika, garlic powder, onion powder, light brown sugar, kosher salt, black pepper, and optional pinch of cayenne over the beef mixture. Stir to toast the spices for 30 seconds until fragrant, then pour in the 400g crushed tomatoes, 1 tablespoon Worcestershire sauce, and 120ml beef broth. Stir thoroughly to combine, scraping up any browned fond bits from the bottom of the skillet with the spatula to incorporate all the flavor.
Simmer to thicken
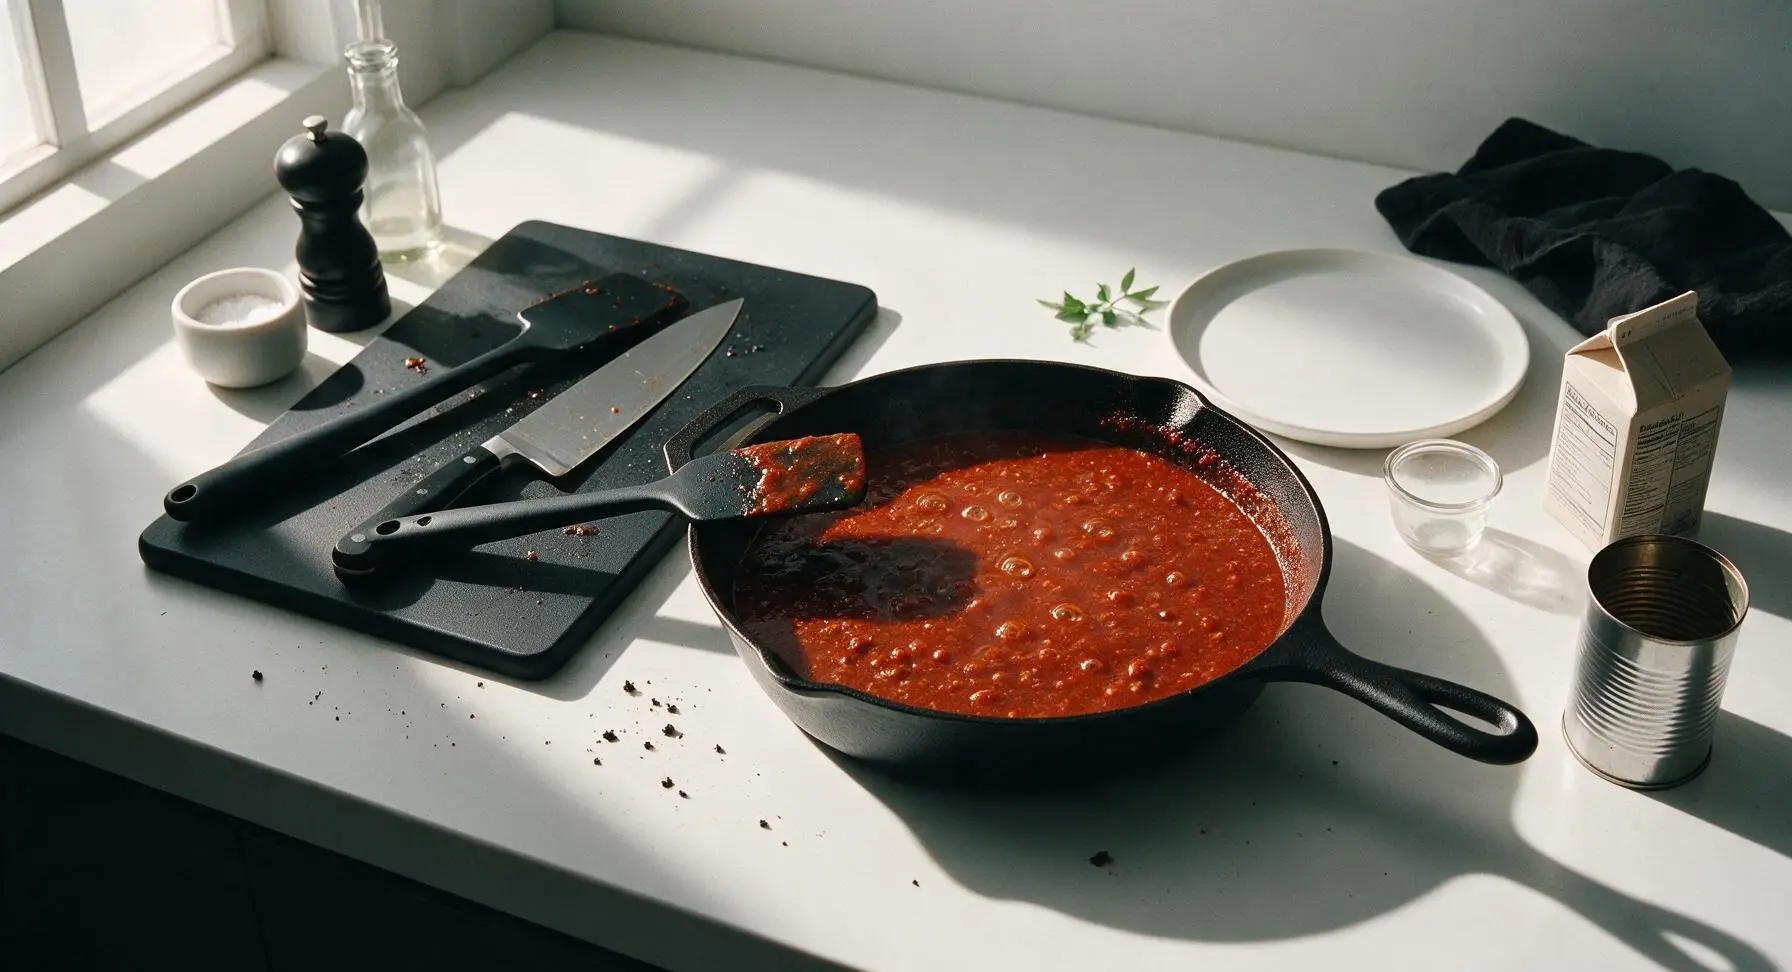
Bring the sauce to a gentle low bubble, then reduce heat to low (120°C/250°F) and simmer uncovered for 10-12 minutes, stirring every 2-3 minutes with the silicone spatula to prevent sticking to the pan bottom. The sauce is ready when it thickens to a rich, spoon-coating consistency, with no thin, watery liquid pooling at the edges of the pan when stirred. Taste and add extra salt or pepper if needed.
Adjust sauce texture
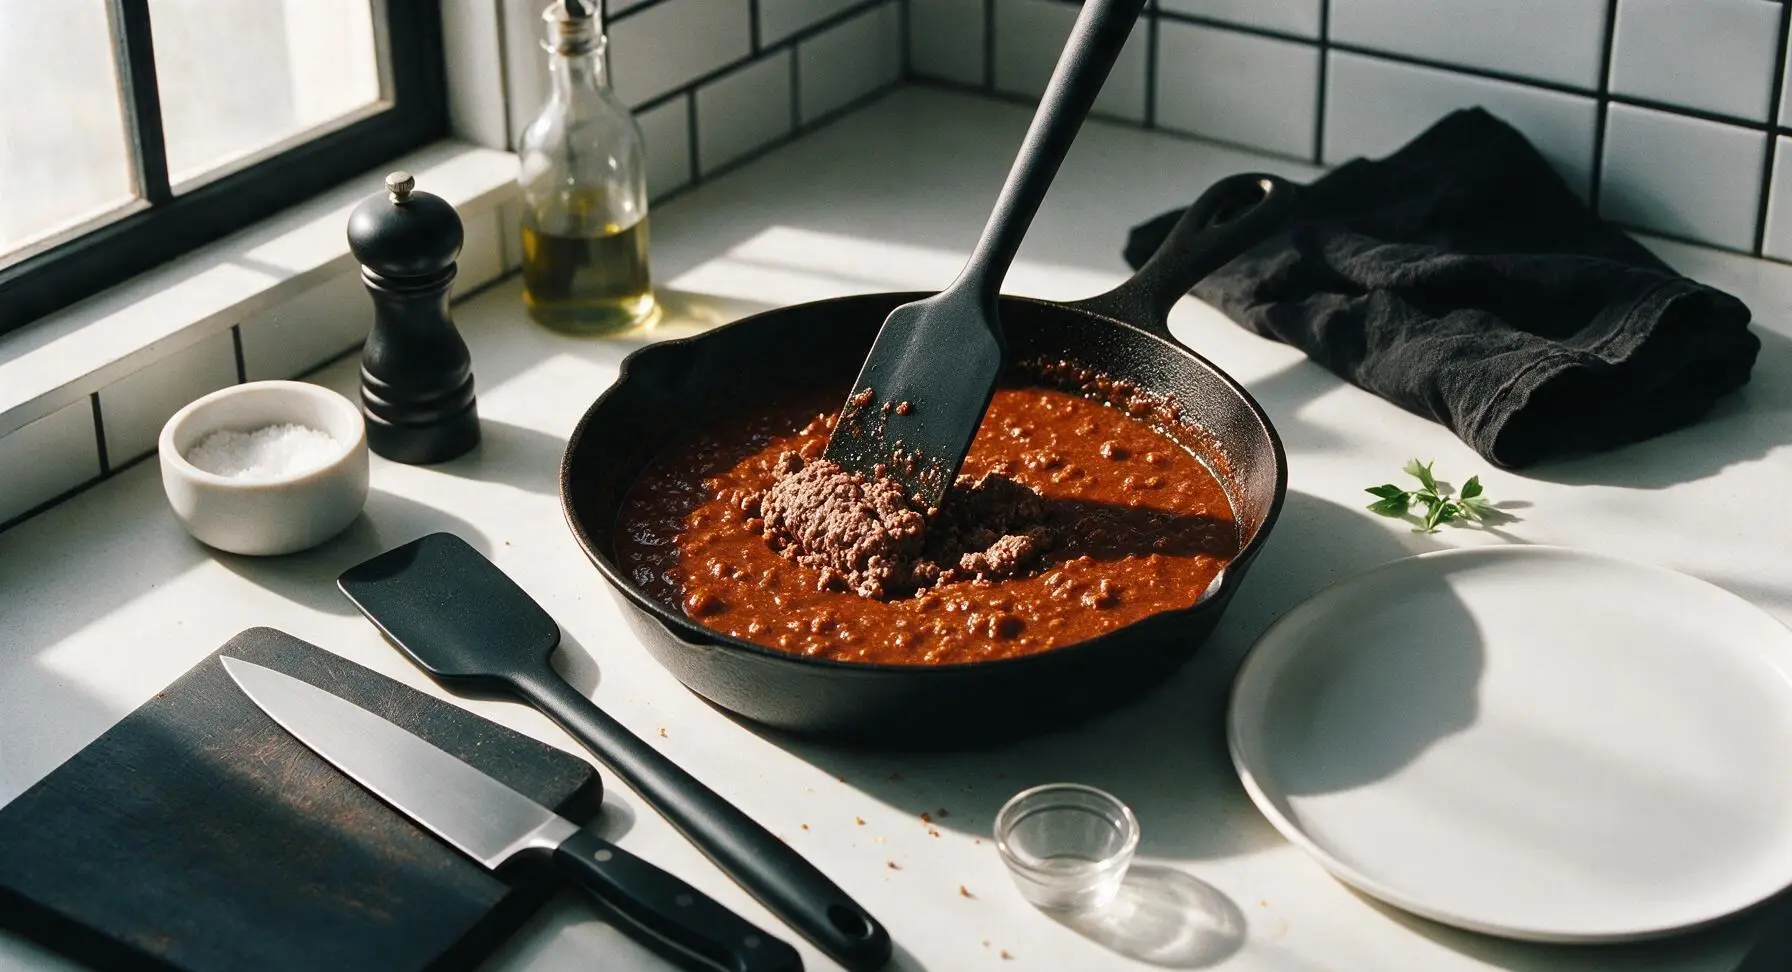
For the classic fine hot dog chili texture, use the back of the silicone spatula to press any larger beef crumbles against the side of the skillet to break them into smaller, even pieces. Do not over-mash or blend the sauce—you want a coarse, crumbly texture that will sit on top of a hot dog without sliding off, not a smooth puree.
Serve warm chili sauce
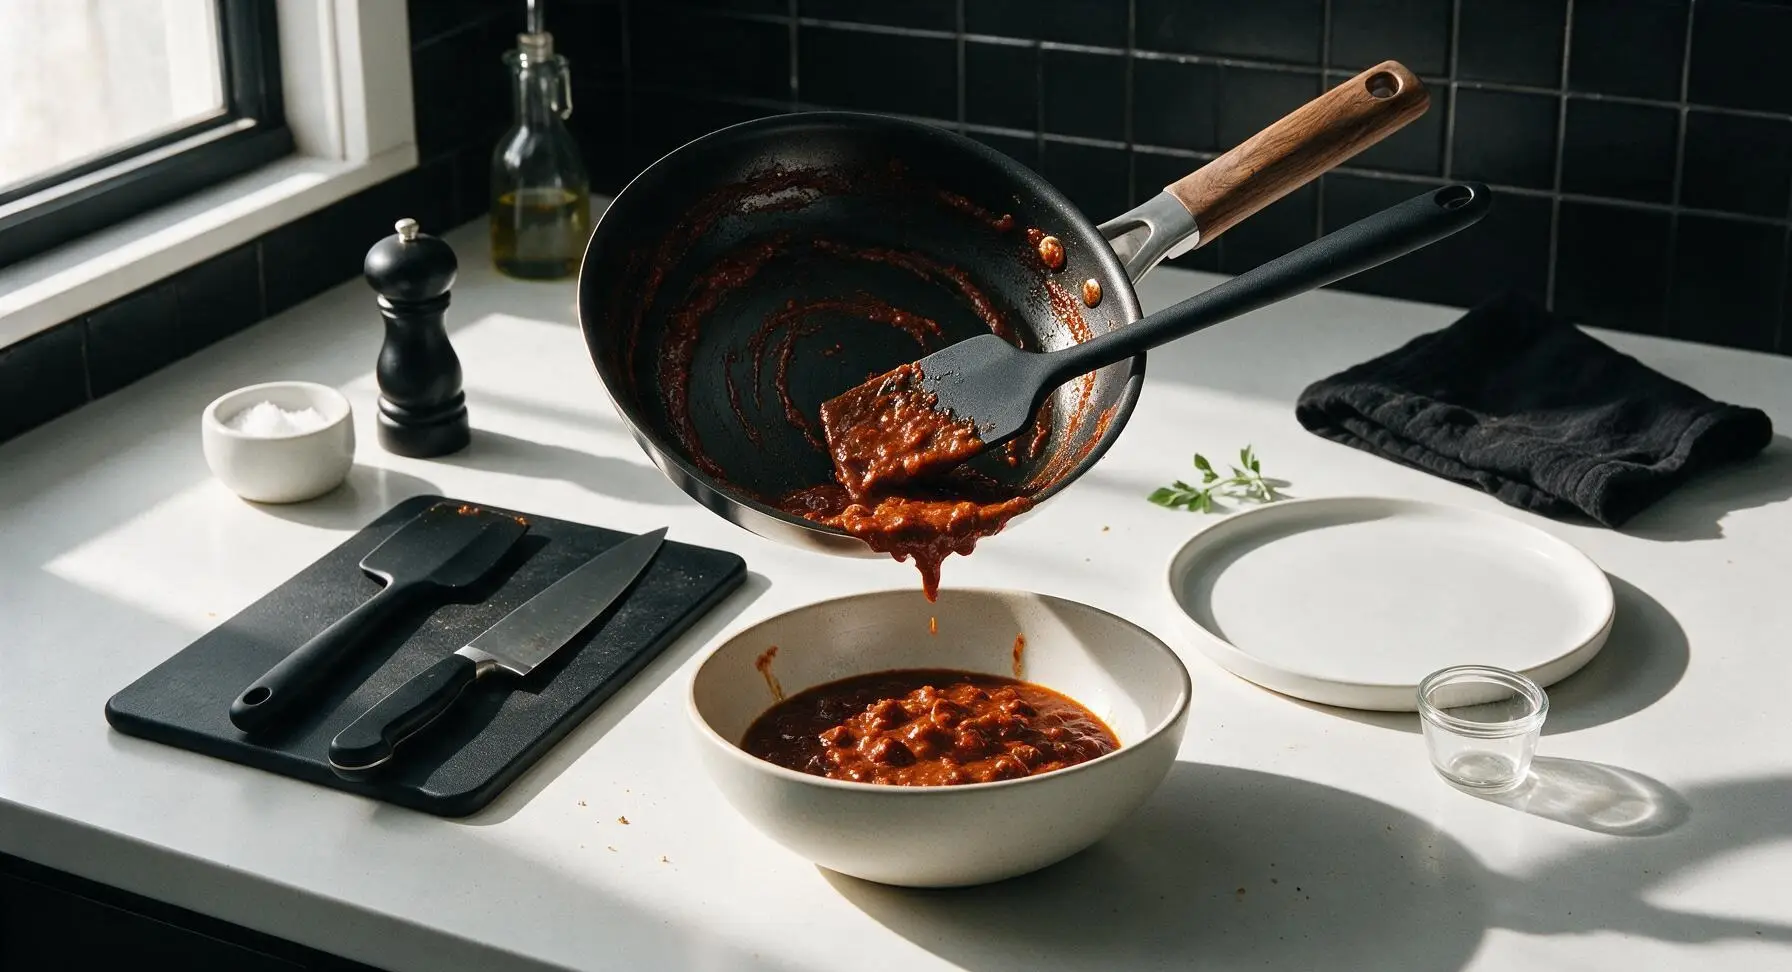
Turn off the heat, then carefully transfer the finished hot dog chili sauce to the 23cm off-white matte ceramic serving bowl. Garnish with a small fresh sprig of oregano plucked from the terracotta pot on the back counter if desired. Serve warm over grilled hot dogs, brats, burgers, crinkle-cut fries, or nachos.
Tips
2.Don’t rush toasting the tomato paste and spices: cooking the tomato paste until it turns deep rust-red removes raw canned metallic flavor, and toasting spices for 30 seconds wakes up their essential oils, making the sauce taste like it simmered for hours even though it’s ready in 20 minutes.
3.For extra smooth, classic hot dog chili texture, you can press the finished sauce through a fine mesh sieve if you prefer, but avoid using a blender—blending will turn the sauce mushy and gluey, rather than keeping the signature coarse, crumbly texture. This sauce freezes perfectly for up to 3 months in an airtight container for quick future meals.






OMG this hot dog chili sauce is a total game changer! I made this for our weekend backyard cookout and everyone was begging for the recipe. It’s so much better than the canned stuff I’ve been buying for years, and it only took 20 minutes? Unreal. My kids even asked for extra on their chili dogs two nights in a row. 10/10 will be making this all summer long!
Perfect quick recipe for meal prep! I made a double batch on Sunday, portioned it out into freezer containers, and now I have easy chili sauce ready for hot dogs, chili cheese fries, and even topping baked potatoes all week. It’s not too greasy, has just the right amount of tang, and was so simple to throw together after a long work day. Will definitely be a staple in our house.
I’m usually terrible at making sauces from scratch but this was so easy even I couldn’t mess it up! Followed the directions exactly and it came out perfect. My boyfriend said it tastes just like the chili sauce they serve at the old school hot dog stand we went to as kids. SO good, I can’t wait to make it for our next movie night with chili dogs and tater tots.
Made this for my son’s little league end-of-season potluck and it was such a hit! I was worried it would be too spicy for the kids but the flavor is super balanced, no weird overwhelming spice, just that classic savory chili taste. I served it in a crockpot next to a tray of grilled hot dogs and all the parents were asking where I got the recipe. Saved for sure!
Really solid base recipe! I loved how quick it was, but I kicked it up a notch with a diced jalapeño, a dash of cayenne, and a little extra cumin to match my preference for hotter food. My roommate said it’s the best chili dog he’s ever had, so I’m counting that as a win. Only note: make sure you break up the ground beef really well as it cooks so you don’t get big clumps!
I’ve been making hot dog chili for 40 years and this recipe is right up there with my old tried and true. It’s quick, doesn’t use a million fancy ingredients, and has that perfect savory, slightly sweet flavor that’s made for topping grilled dogs. I added a tiny splash of apple cider vinegar like I always do and it came out perfect. My grandkids devoured three chili dogs each when I made this last weekend.
Wow, this is so much cheaper than buying the pre-made chili sauce at the grocery store! I already had all the spices in my pantry, only had to pick up a pound of ground beef and some tomato sauce, and the whole batch cost me less than $4 to make. That’s way better than paying $3 a can for the stuff that’s full of preservatives. Tastes way fresher too!
Wait, quick question — can I make this with ground turkey instead of ground beef? I don’t eat red meat but I’ve been craving a good chili dog so bad, and this recipe looks perfect. Has anyone tried swapping the meat?