
easy hot dog chilli
intro
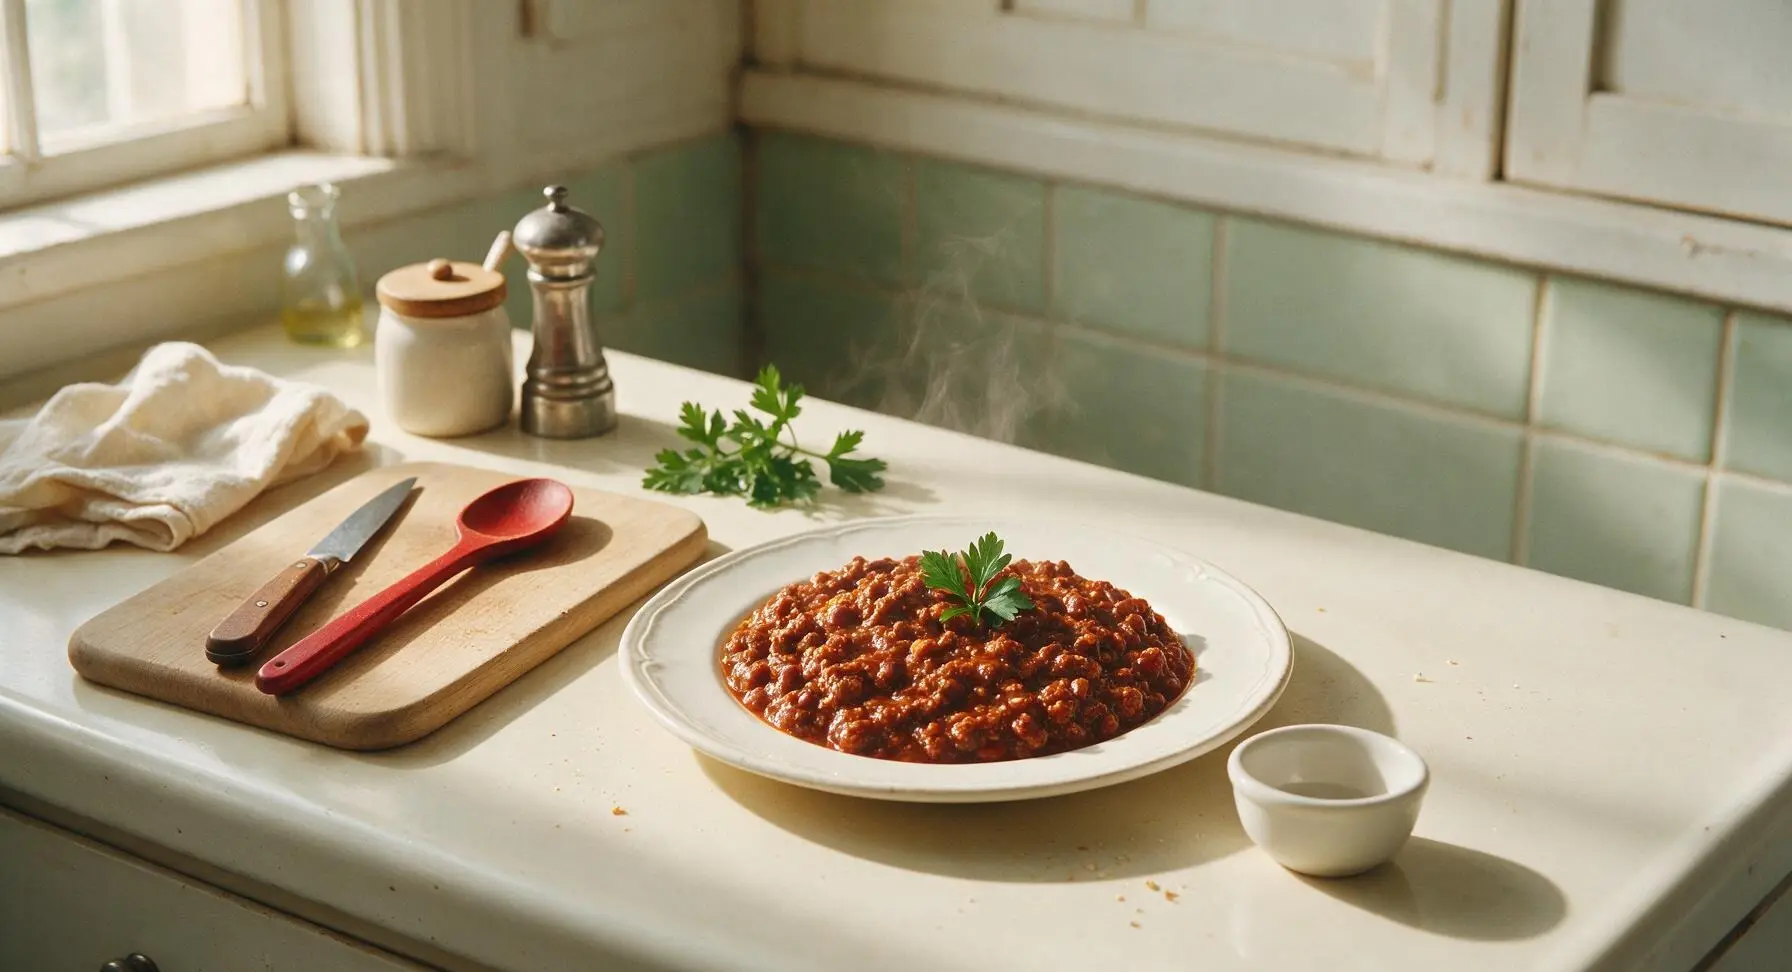
Thick, savory no-bean hot dog chili, perfectly textured to pile high on grilled dogs, ready in 25 minutes with simple pantry staples, no fancy skills required.
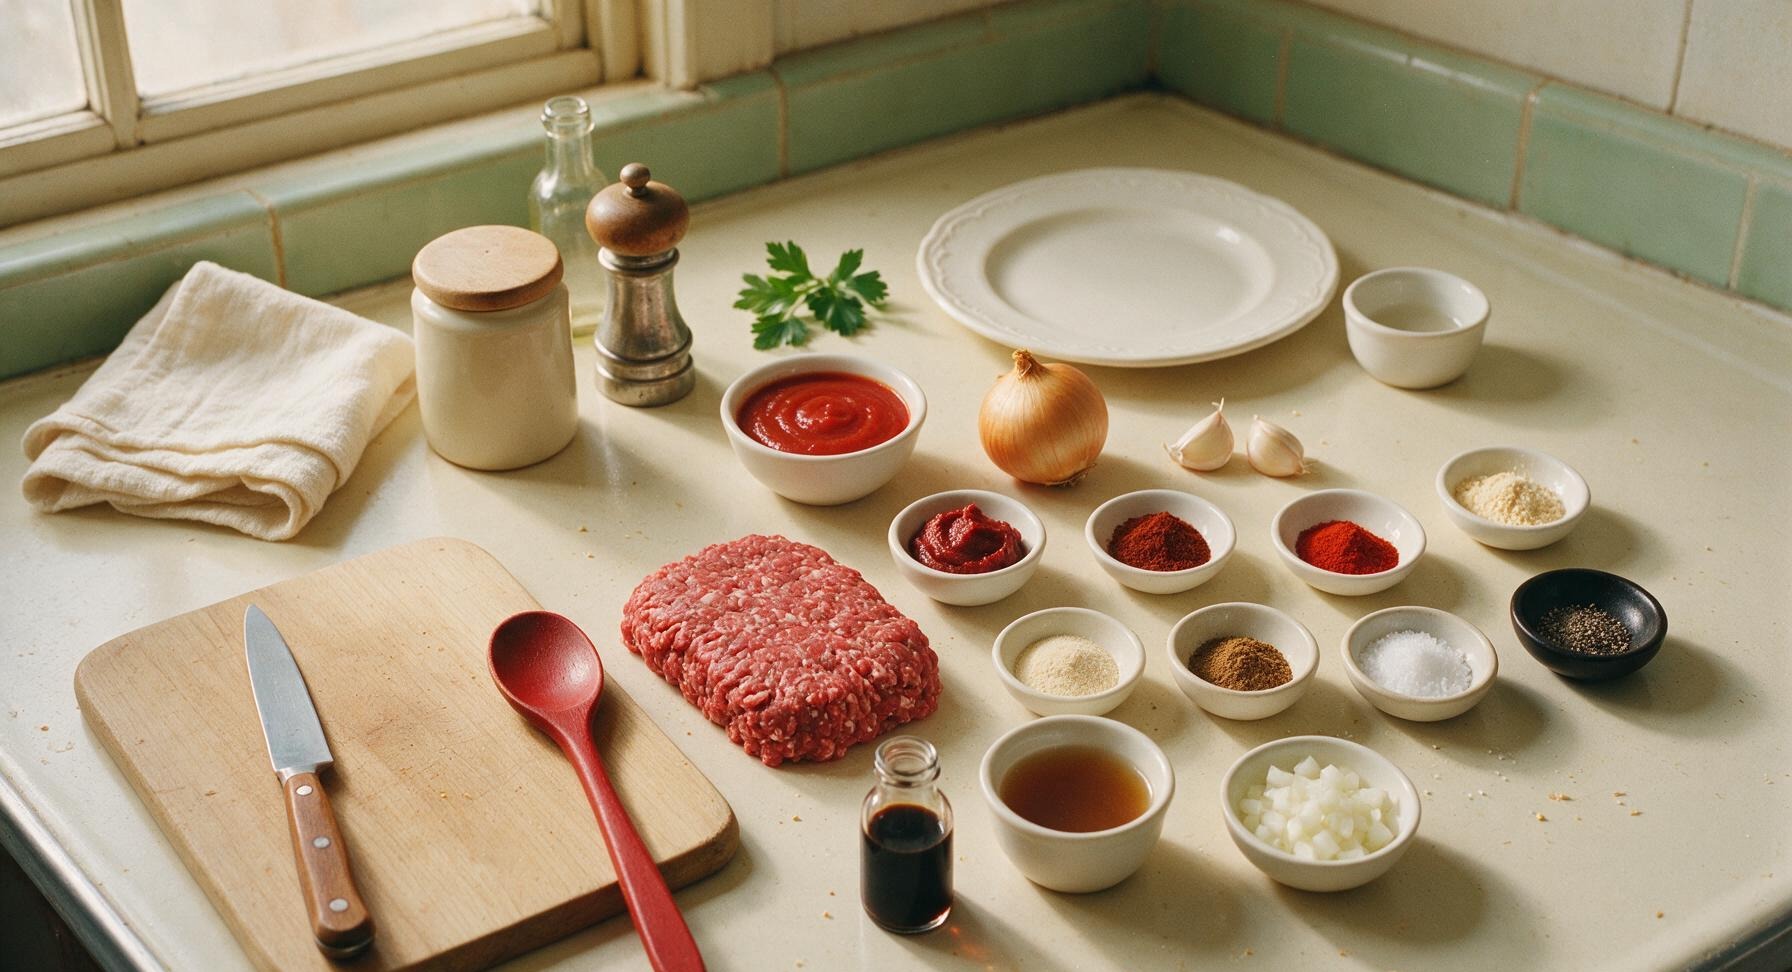
Ingredients
Steps
Prep onion and garlic
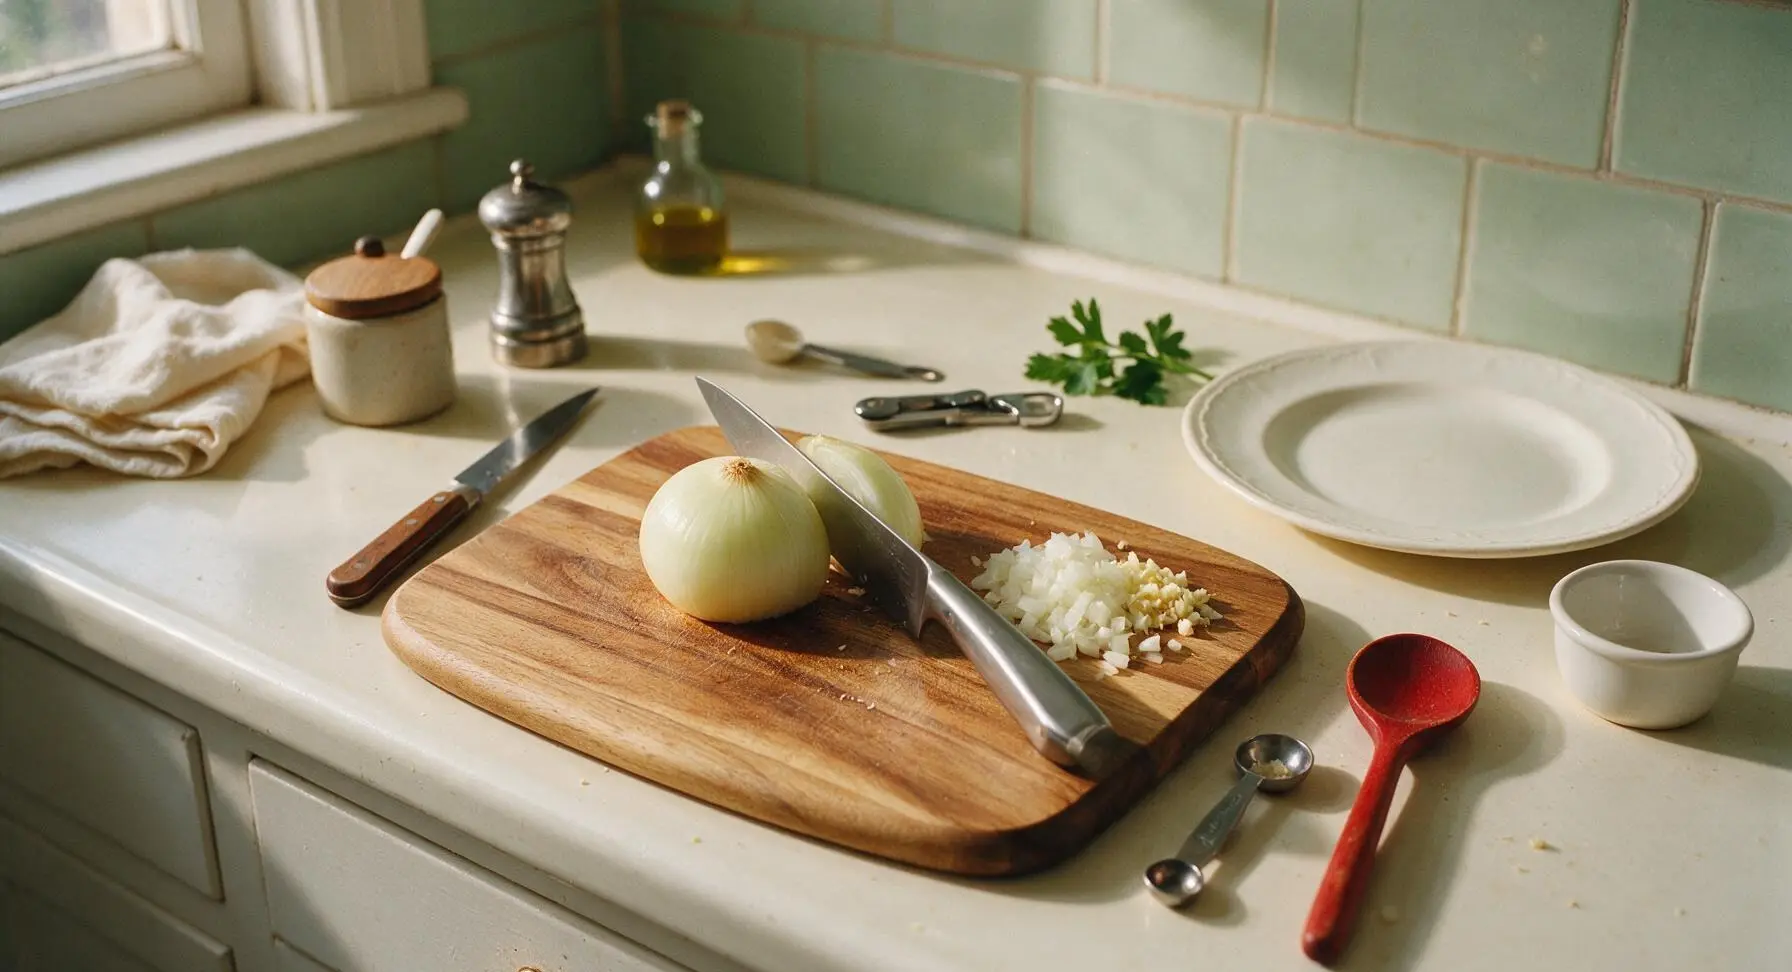
Place the small yellow onion and 2 garlic cloves on the acacia wood cutting board. Using the 8-inch stainless steel chef knife, peel the onion and dice it into uniform 3mm (1/8 inch) fine pieces, then mince the garlic cloves until smooth. Transfer prepped aromatics to a small pile on the edge of the cutting board. This prep step takes approximately 3 minutes, before any heating begins.
Brown ground beef
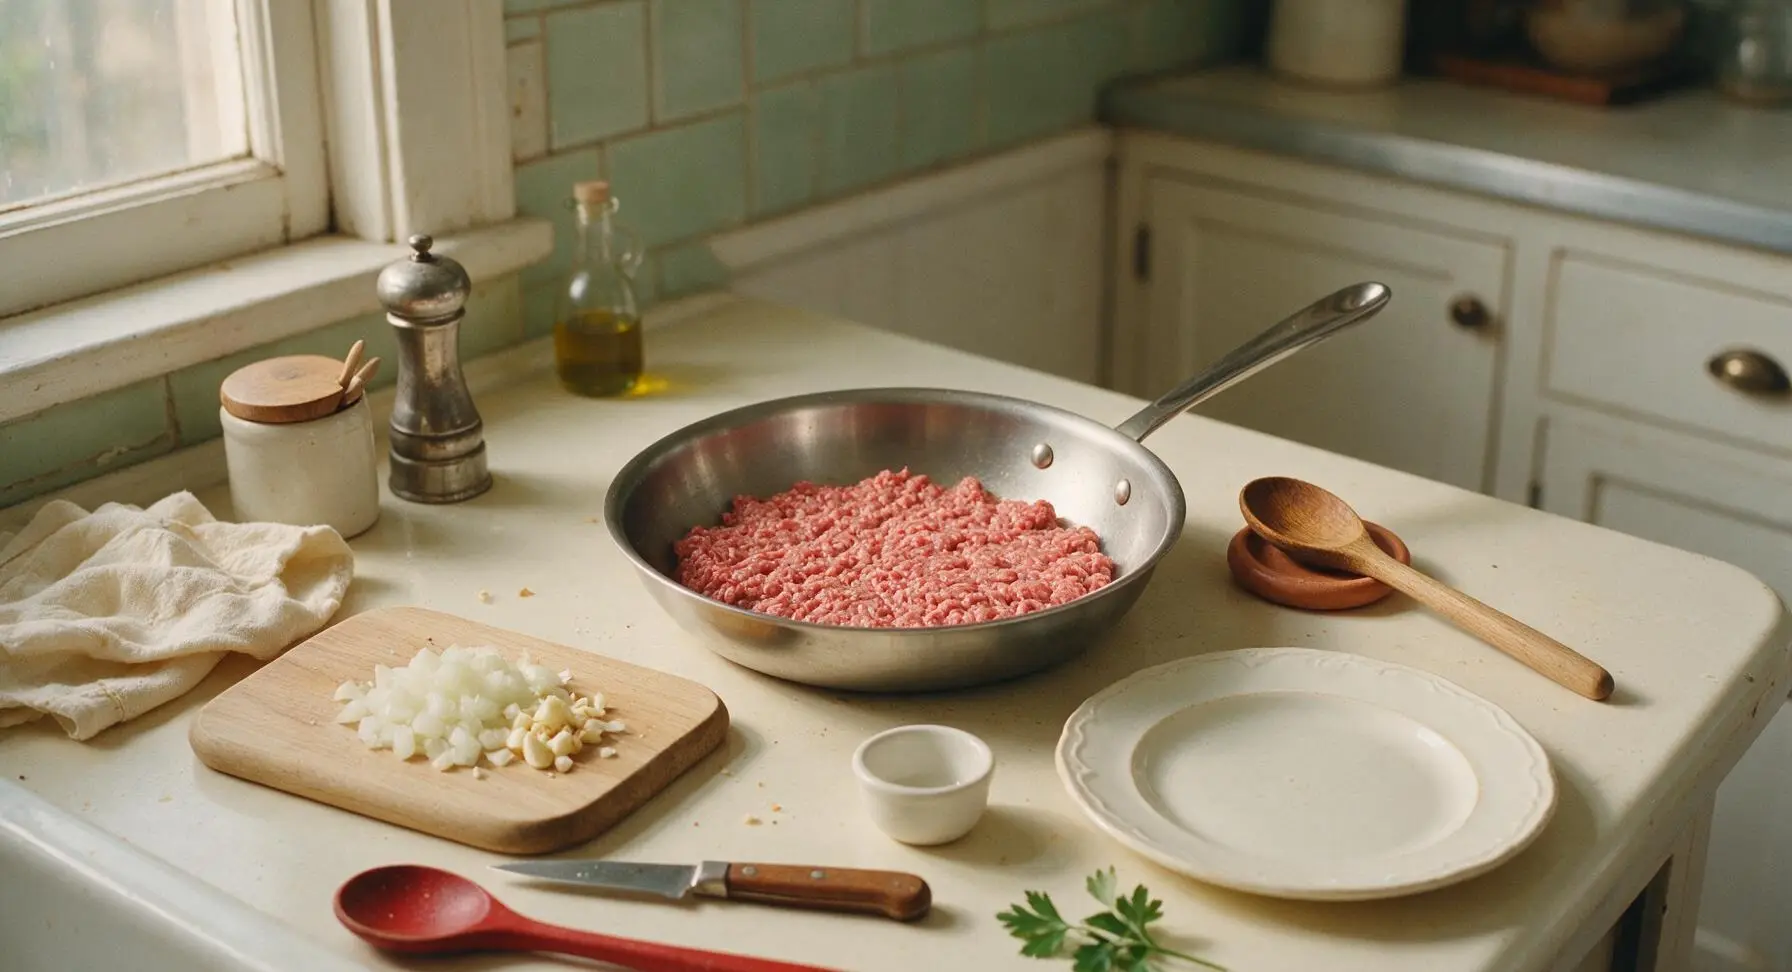
Retrieve the 12-inch stainless steel skillet and place it in the central work zone, set stovetop beneath to medium heat (350°F/175°C). Add the 450g (1lb) 80/20 ground beef to the skillet, breaking it apart into fine crumbles with the oak wood spoon as it cooks. Cook for 5-6 minutes, until the beef is fully browned with no pink remaining, and small crispy browned bits form on the pan bottom. Do not drain the small amount of rendered fat, as it adds critical flavor and prevents the chili from being dry.
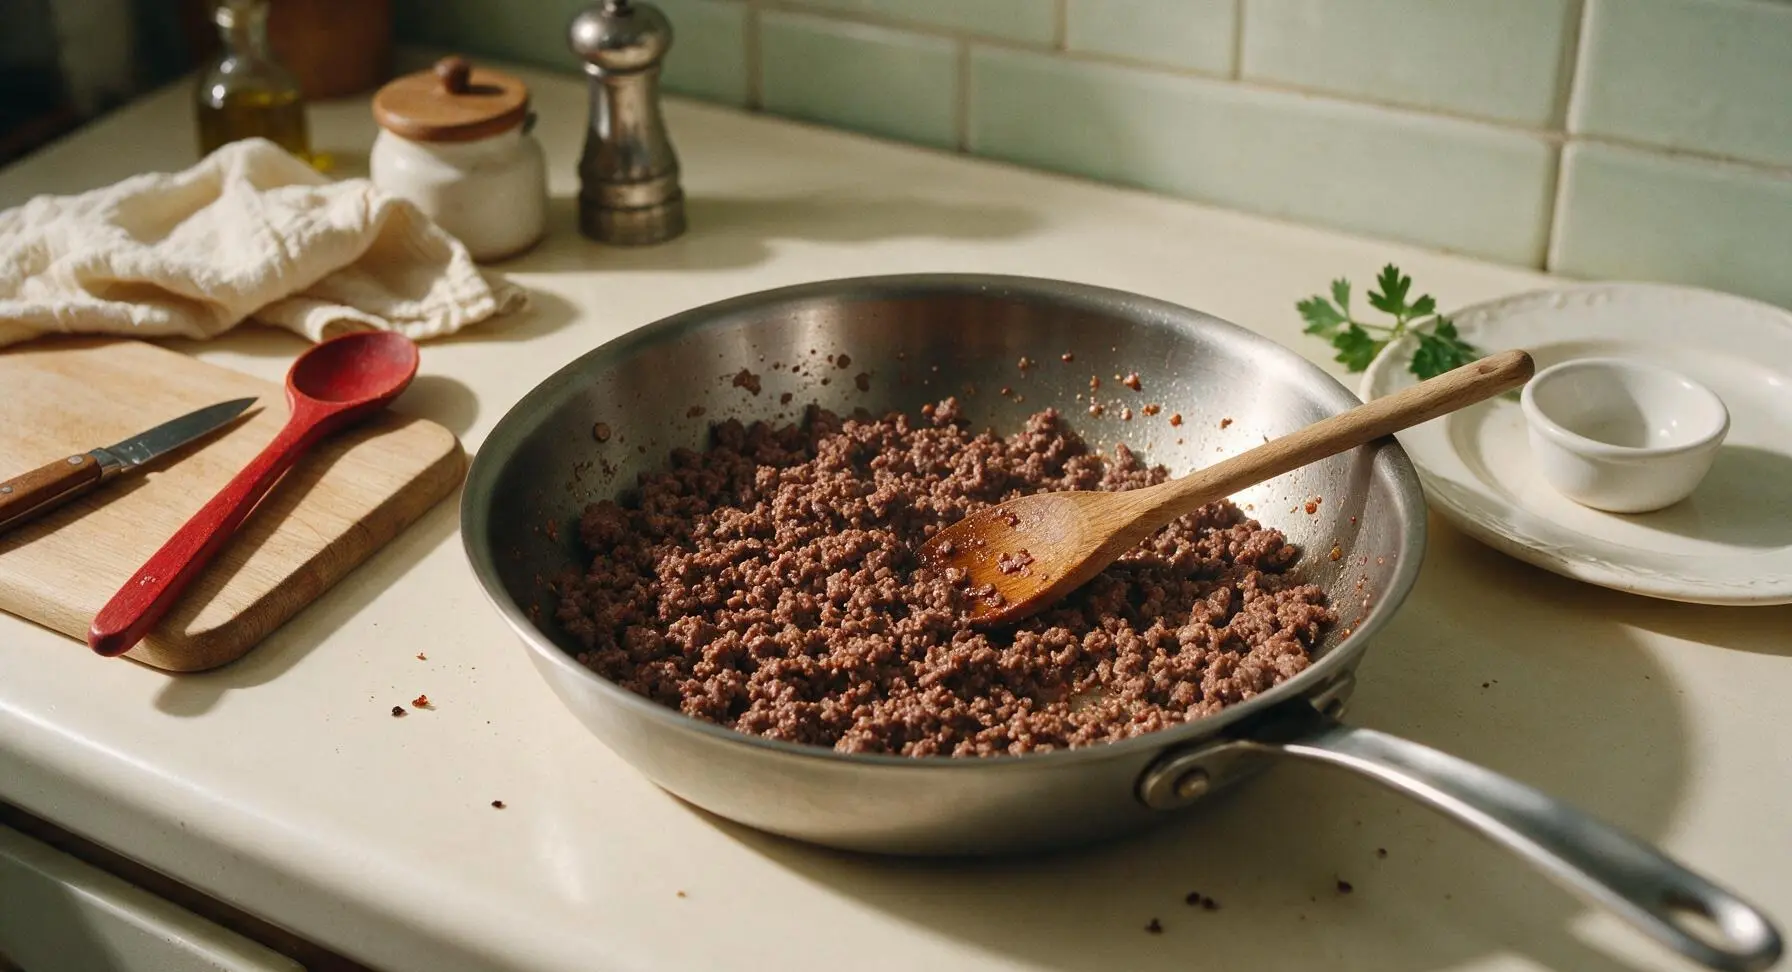
Sauté diced aromatics
Push the browned beef crumbles to the right side of the skillet using the oak wood spoon. Add the pre-diced onion and minced garlic to the empty left side of the pan, stirring to coat in rendered beef fat. Sauté for 2 minutes over medium heat, until the onion turns soft and translucent, and the garlic releases a warm, fragrant aroma. Watch closely to avoid burning the garlic, which will turn bitter and ruin the chili flavor.
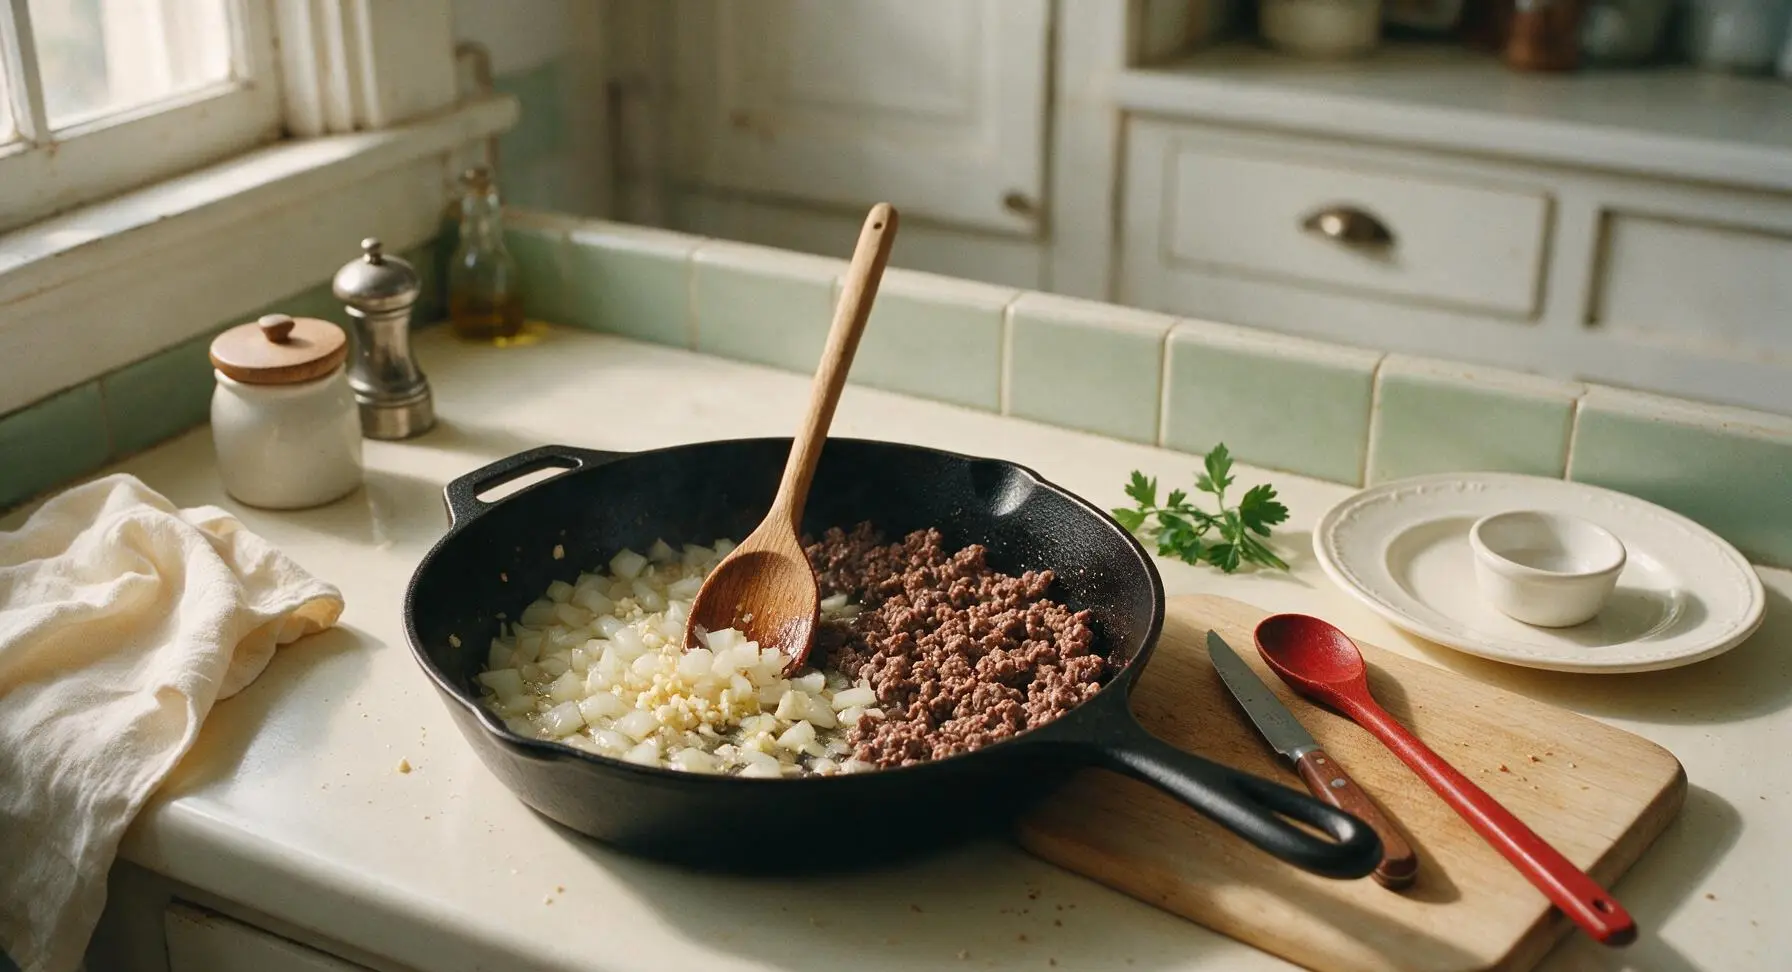
Cook tomato paste
Add the 2 tablespoons of tomato paste to the center of the skillet with the beef and aromatics. Stir constantly with the oak wood spoon for 1 full minute, cooking the paste until it deepens to a dark rusty red color and smells sweet and caramelized. This step eliminates the raw, metallic canned taste of uncooked tomato paste for a richer, smoother flavor.
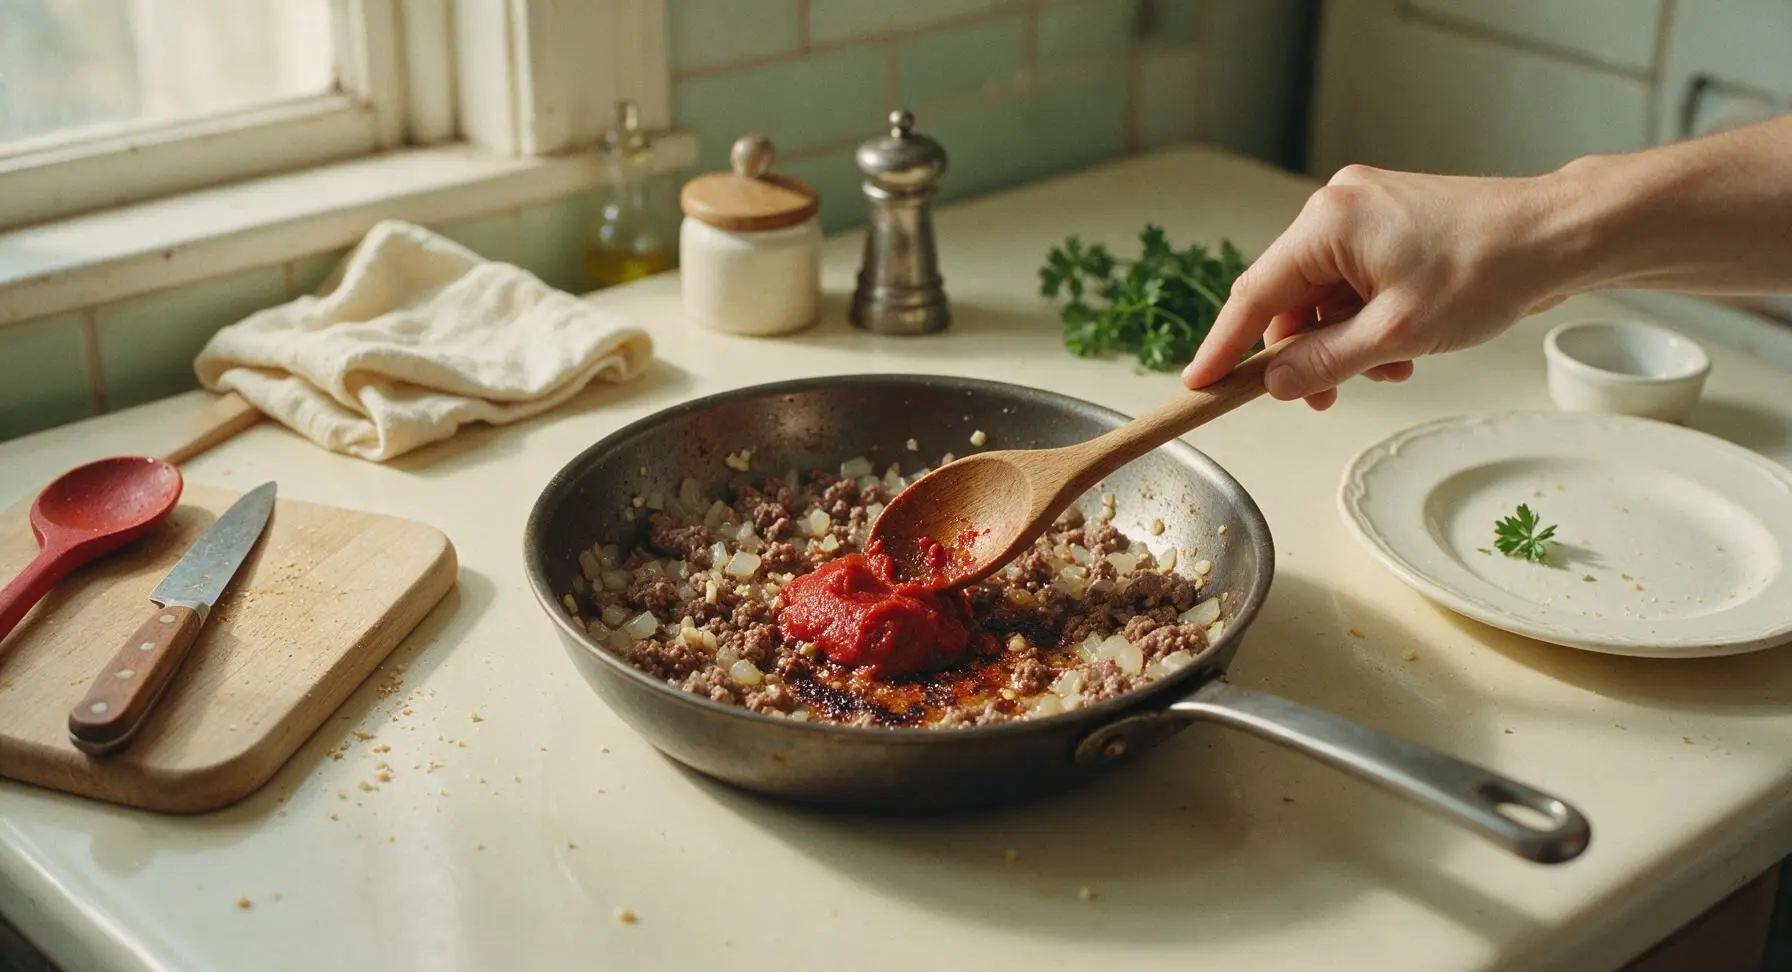
Add spices and liquids
Add the pre-measured 1 tbsp chili powder, 1 tsp sweet paprika, 1 tsp garlic powder, 1 tsp onion powder, 1/2 tsp ground cumin, 1 tsp kosher salt, and 1/2 tsp freshly ground black pepper to the skillet, stirring to toast the spices for 30 seconds until fragrant. Pour in the 425g (15oz) unsalted tomato sauce, 1 tbsp Worcestershire sauce, and 120ml (1/2 cup) low-sodium beef broth, stirring thoroughly to combine all ingredients into a uniform, loose mixture.
Simmer chili to thicken
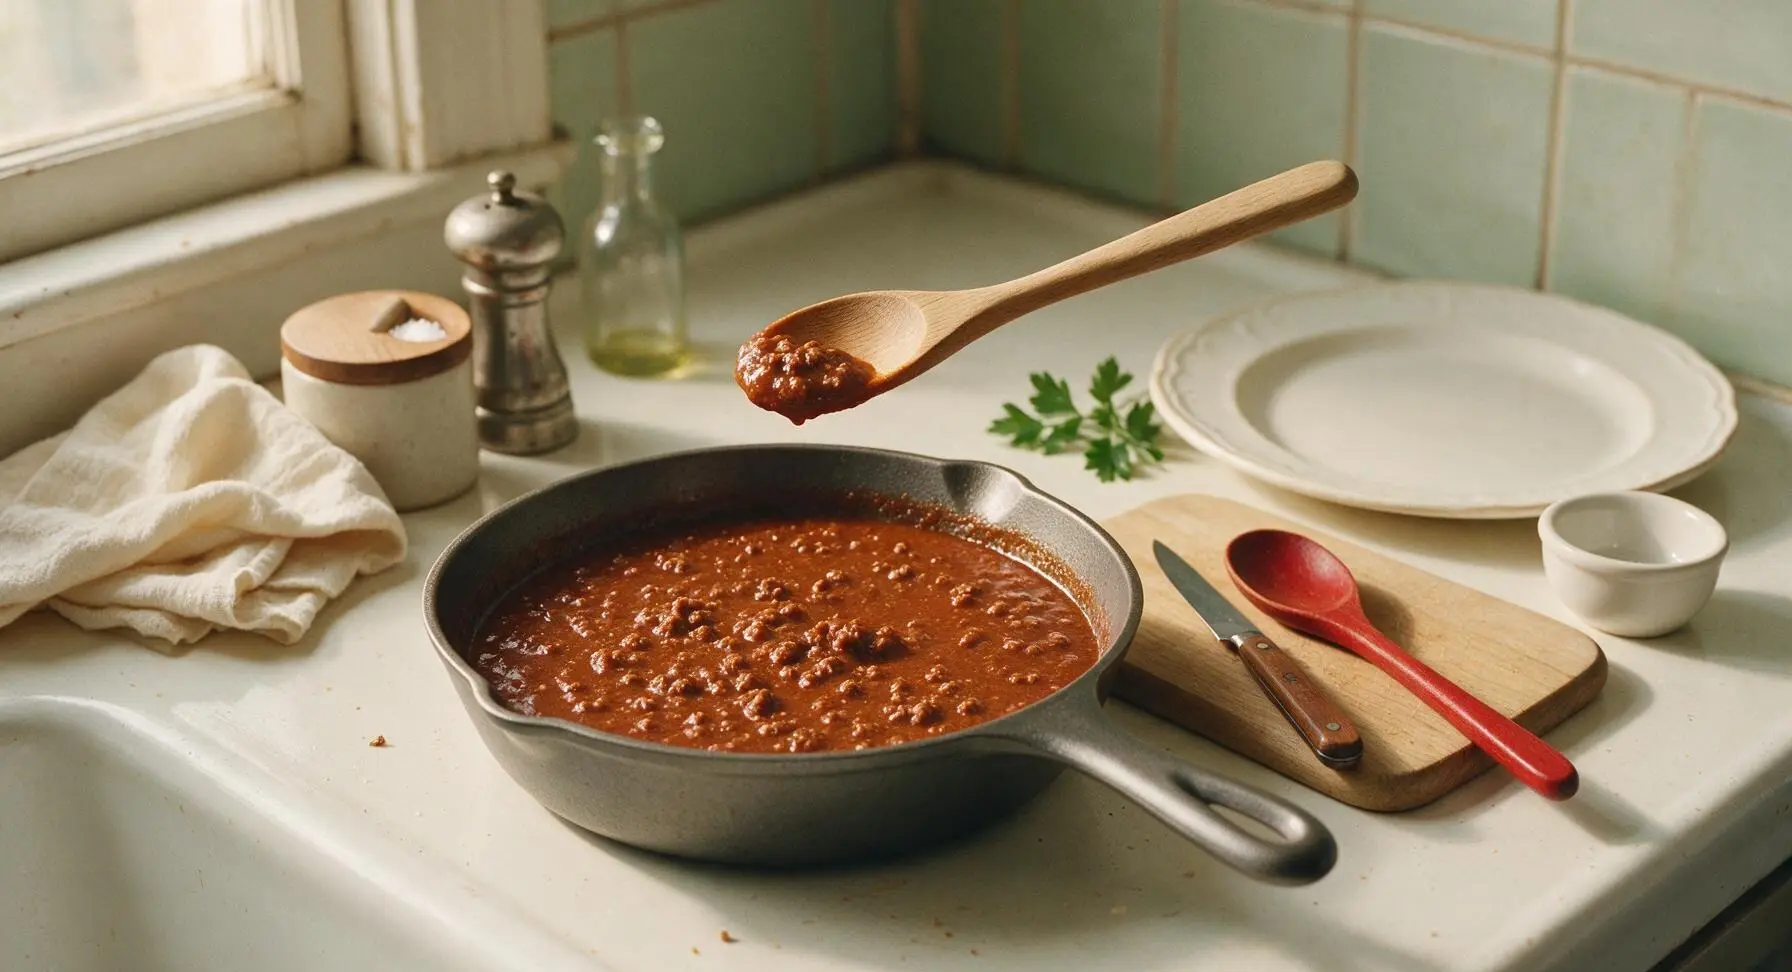
Bring the chili mixture to a gentle, low bubble, then reduce heat to low (200°F/95°C). Let it cook uncovered for 10 minutes, stirring every 2 minutes with the oak wood spoon to prevent sticking to the pan bottom. The chili is ready when it is thick enough that a line drawn through it with the spoon holds its shape for 2 seconds, with no watery liquid pooling around the edges. It should be thick enough to pile on a hot dog without running off the bun.
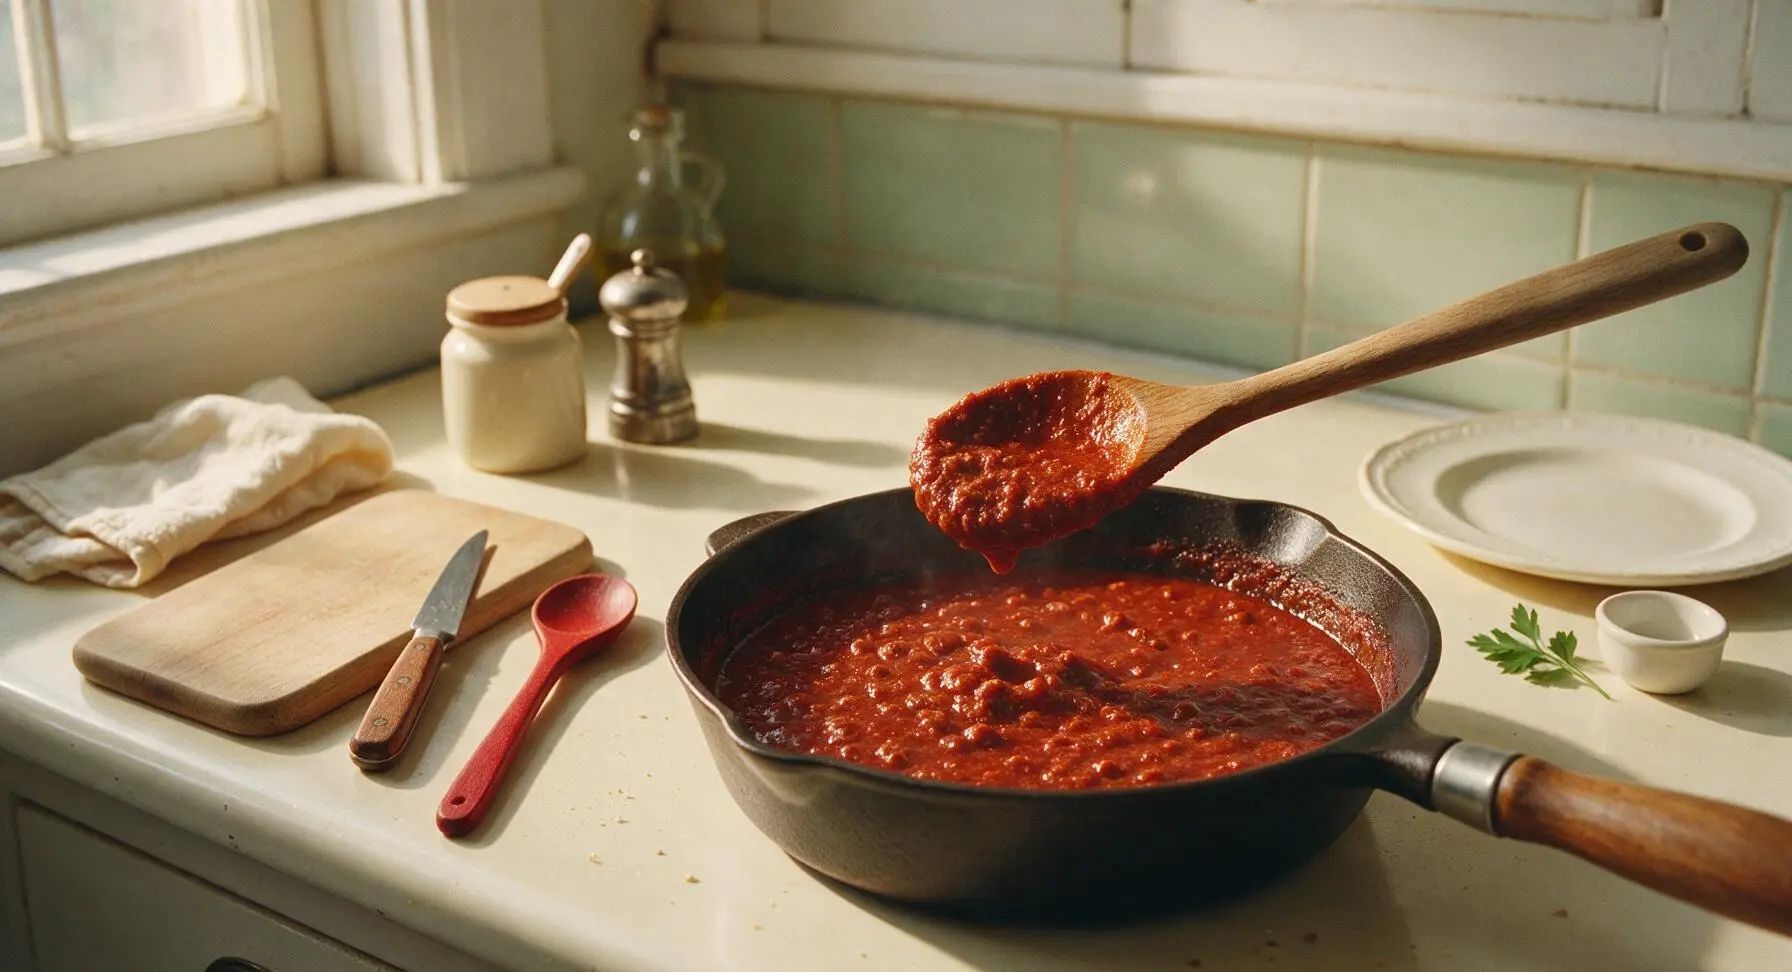
Taste and adjust seasoning
Scoop a small spoonful of chili and let it cool for 10 seconds before tasting. Add extra salt, pepper, or a 1/2 tsp extra Worcestershire sauce if needed to balance flavors. Turn off the heat, and let the chili rest for 2 minutes to thicken slightly more before serving.
Tips
2.Skip adding beans for authentic hot dog chili: bean chili is too chunky and watery for topping hot dogs, and will slide right off the bun and make the bread soggy; this fine-crumb, thick no-bean version stays piled high through every bite.
3.Make a double batch and freeze leftovers in 1/2 cup portions: the chili keeps for up to 3 months in an airtight freezer container, and thaws in 5 minutes on the stovetop for quick weeknight hot dogs, loaded chili fries, or nacho toppings.






OMG this hot dog chili is a total game changer! Threw it together for our weekend backyard cookout in 20 minutes flat, no fancy ingredients needed. Everyone was piling it on dogs and even dipping their fries in it. SO good, will be making this all summer long.
Made this for my dorm floor potluck last night and people went back for thirds. Dirt cheap to make, no weird skills required, and it tastes way better than the canned chili stuff I usually buy. 10/10 for broke college students.
I’ve been making hot dog chili for 60 years and decided to give this easy version a try when my grandkids came over. My kids loved it! I added a tiny extra dash of paprika for a little kick, but the base recipe is perfect as written. No frills, just great flavor.
Brought this to our neighborhood block party and I had three people ask for the recipe before I even got my first hot dog fixed! It’s the perfect consistency, not too bean-heavy, just the right savory flavor for topping dogs. Will absolutely be adding this to my regular potluck rotation.
Game changer for Sunday meal prep! Made a double batch, portioned it out into freezer containers, and now I’ve got quick chili for hot dogs, nachos, and even baked potatoes for the next two weeks. Tastes just as good reheated as it does fresh.
Tried this recipe last night for our family dinner and it’s way better than the fancy chili recipe I used to use that took an hour to make. The 20 minute cook time is no joke, I had it done before my burgers even finished grilling. Added a little extra cumin to match my usual taste and it was chef’s kiss.
I was so skeptical a 20 minute chili could actually taste good, but wow this delivered! My three kids are super picky and they all asked for seconds on their chili dogs. No weird chunks of veggies they could pick out, just smooth, savory chili. Already added the ingredients to my weekly grocery list.
Pretty solid base recipe! I added a splash of apple cider vinegar and a spoonful of brown sugar to give it that sweet-tangy diner-style flavor, and it tasted exactly like the hot dog chili I got at my local diner growing up. Super easy to tweak to your own taste.
Finally, a hot dog chili recipe that doesn’t require a million ingredients I don’t have in my pantry! I almost bailed when I realized I didn’t have any tomato paste, but I subbed a little extra ketchup and it still turned out great. Perfect for when you forget to plan dinner ahead.
Made this before our day hike yesterday to bring along for campfire hot dogs, and it was perfect! I stored it in a thermos and it stayed warm for hours, no weird separation or anything. Way better than packing cold cuts for the trail.
First time making hot dog chili from scratch and I was so nervous I’d mess it up, but this recipe is foolproof! My husband said it’s better than the chili they serve at the baseball park. We ate it on chili dogs and then used the leftovers on nachos for movie night. Win win!
Just made this for our Sunday family dinner and it hit the spot! I topped my chili dog with onions and mustard just like I used to get at the drive-in as a kid, and it brought back so many memories. Super easy, super flavorful, no notes.
Added a diced jalapeño and a pinch of cayenne to give this a little heat, and it was perfect for my household of spice fanatics! It’s so easy to customize to whatever heat level you like, and the base flavor is solid enough that add-ins don’t overpower it. Will be making this for our next game night.