
easy pistachio pudding dessert
intro
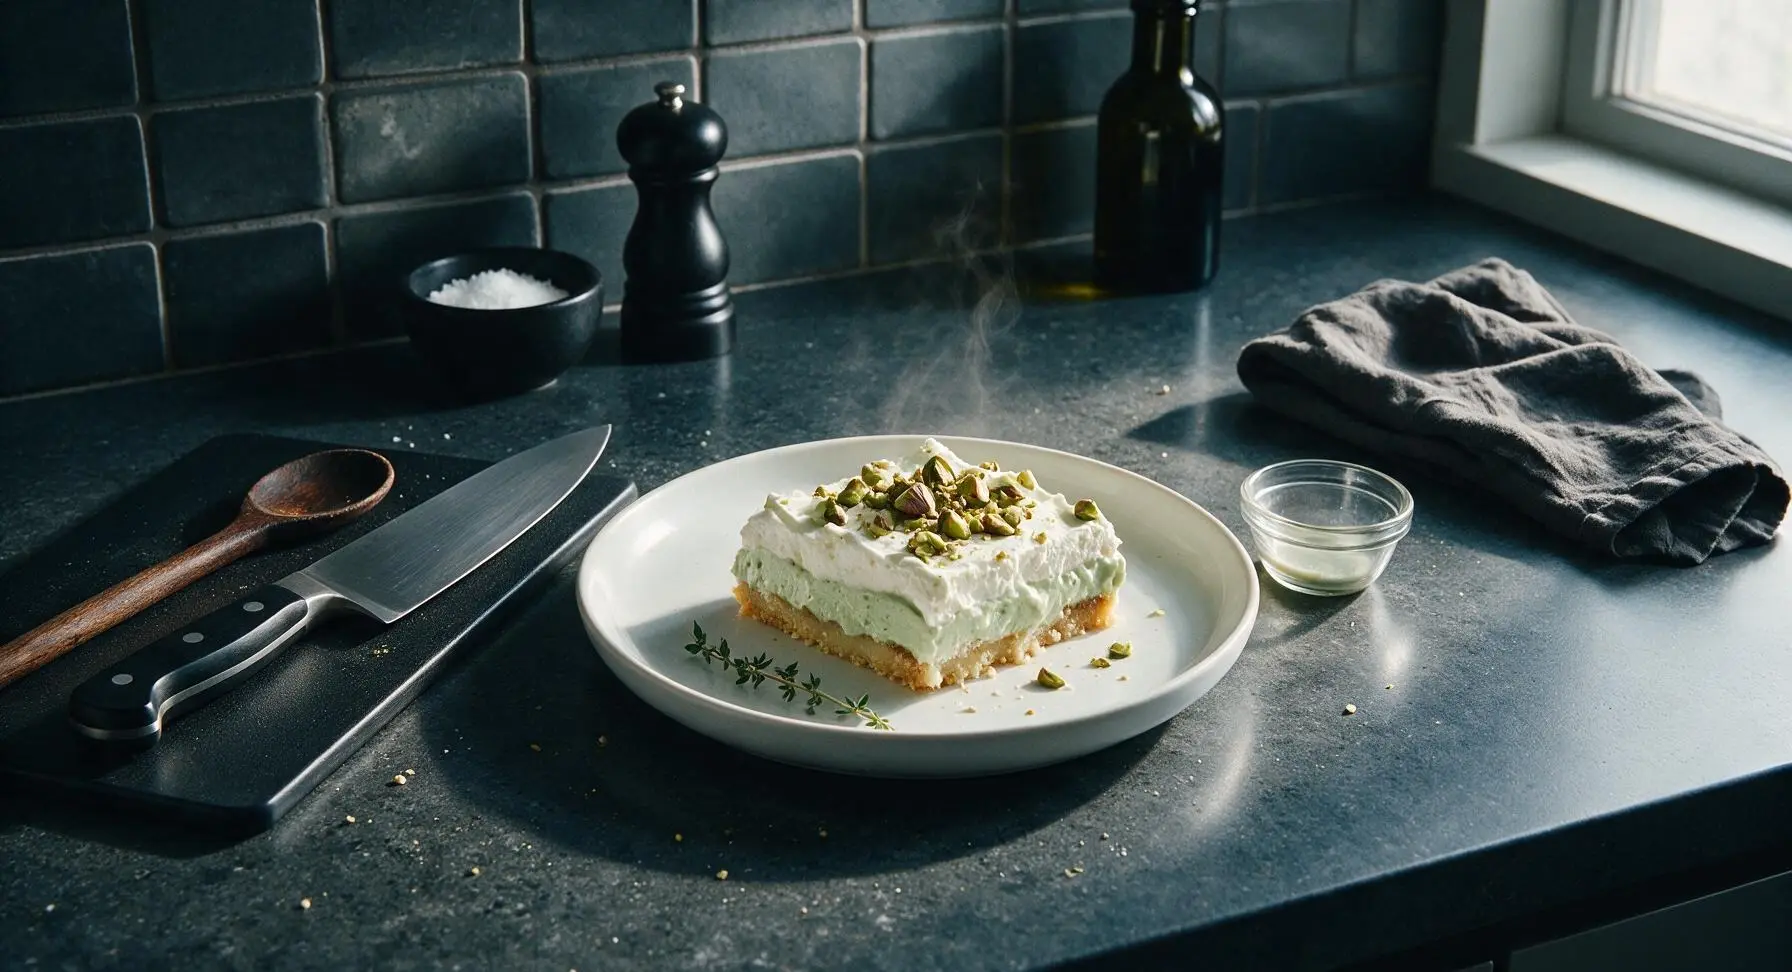
Creamy, no-bake layered pistachio pudding dessert with a buttery shortbread crust, light fluffy filling, and crunchy pistachio garnish—nostalgic, cool, and perfectly portable for gatherings.
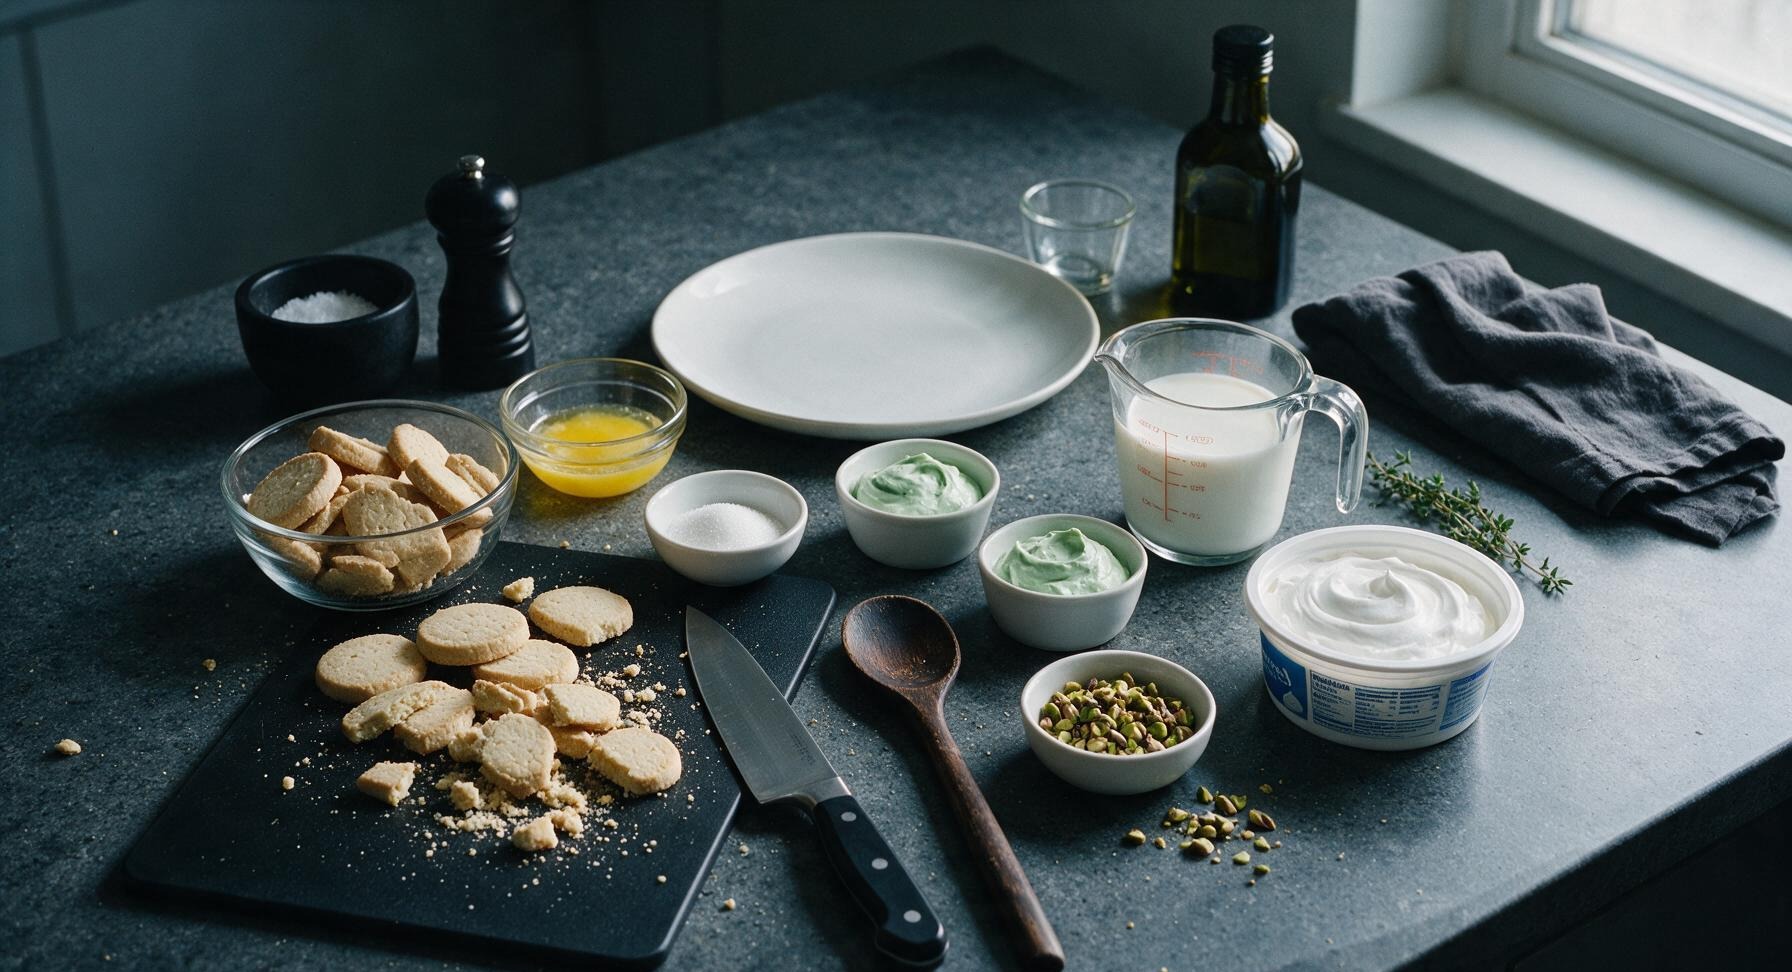
Ingredients
Steps
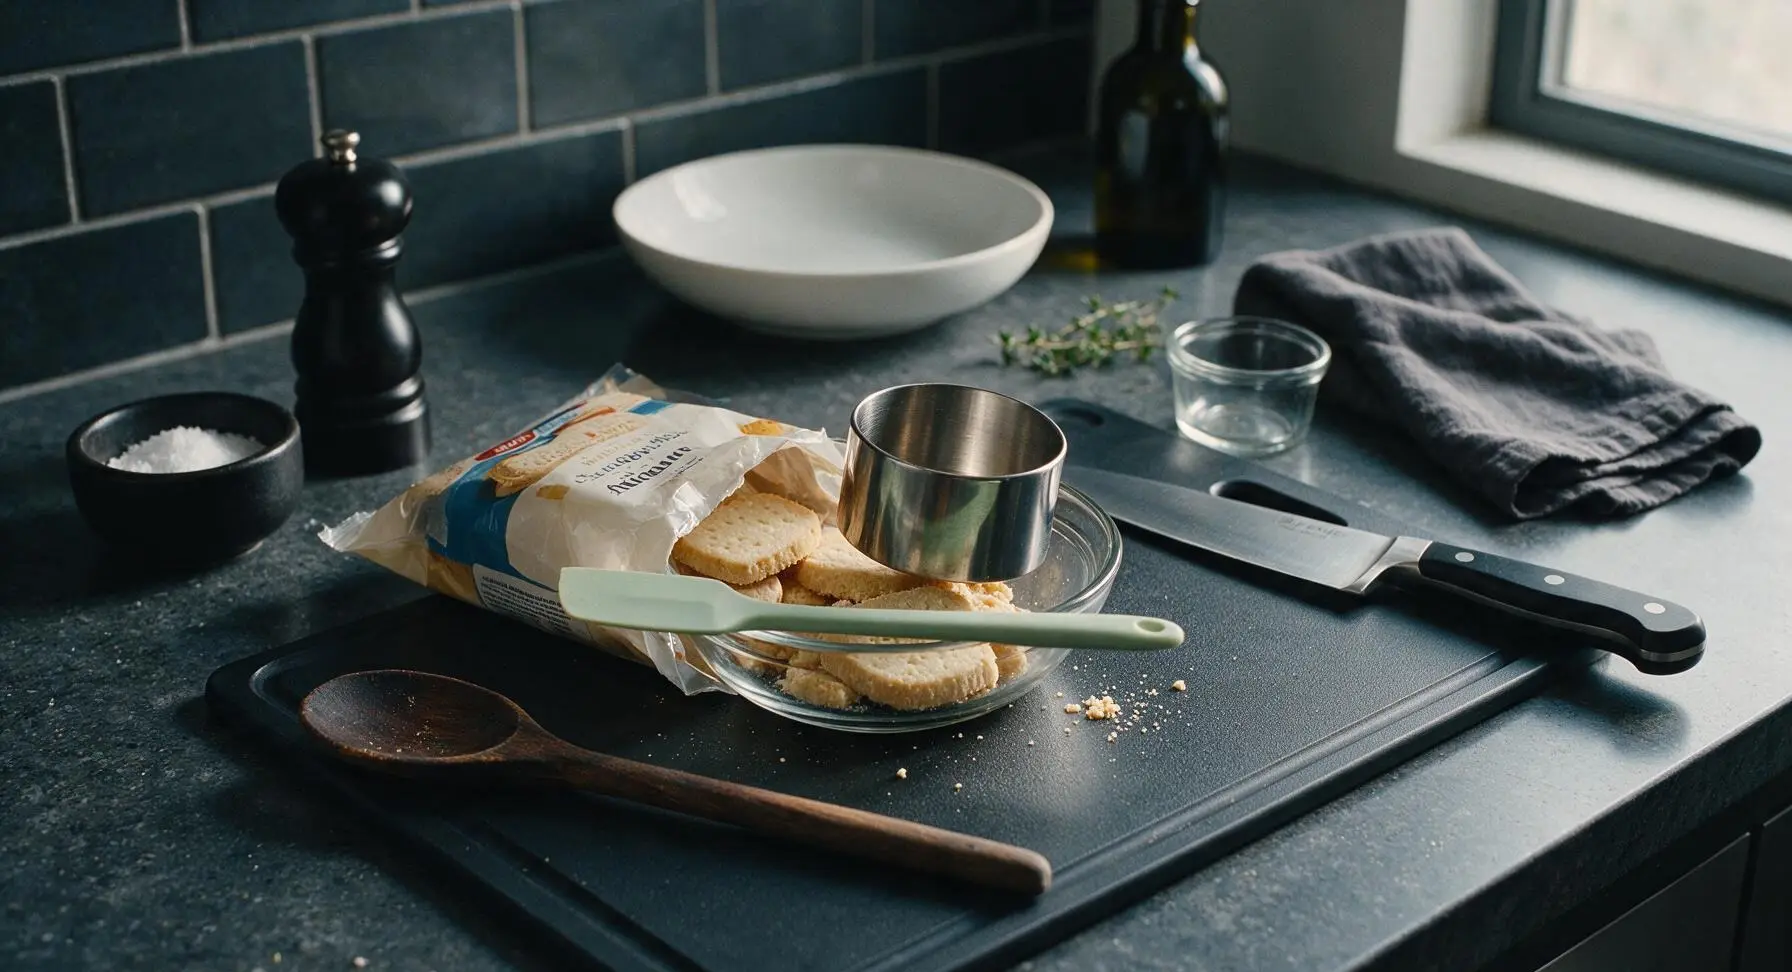
Crush Shortbread Crumbs
Place 1 ½ cups (150g) shortbread cookies into the small clear glass prep bowl. Use the flat, heavy bottom of the polished stainless steel measuring cup to press and twist over the cookies, crushing them into fine, even crumbs with no chunks larger than a pea remaining. Add 2 tablespoons (25g) granulated sugar to the crumbs and stir briefly with the pale green silicone spatula to distribute evenly.
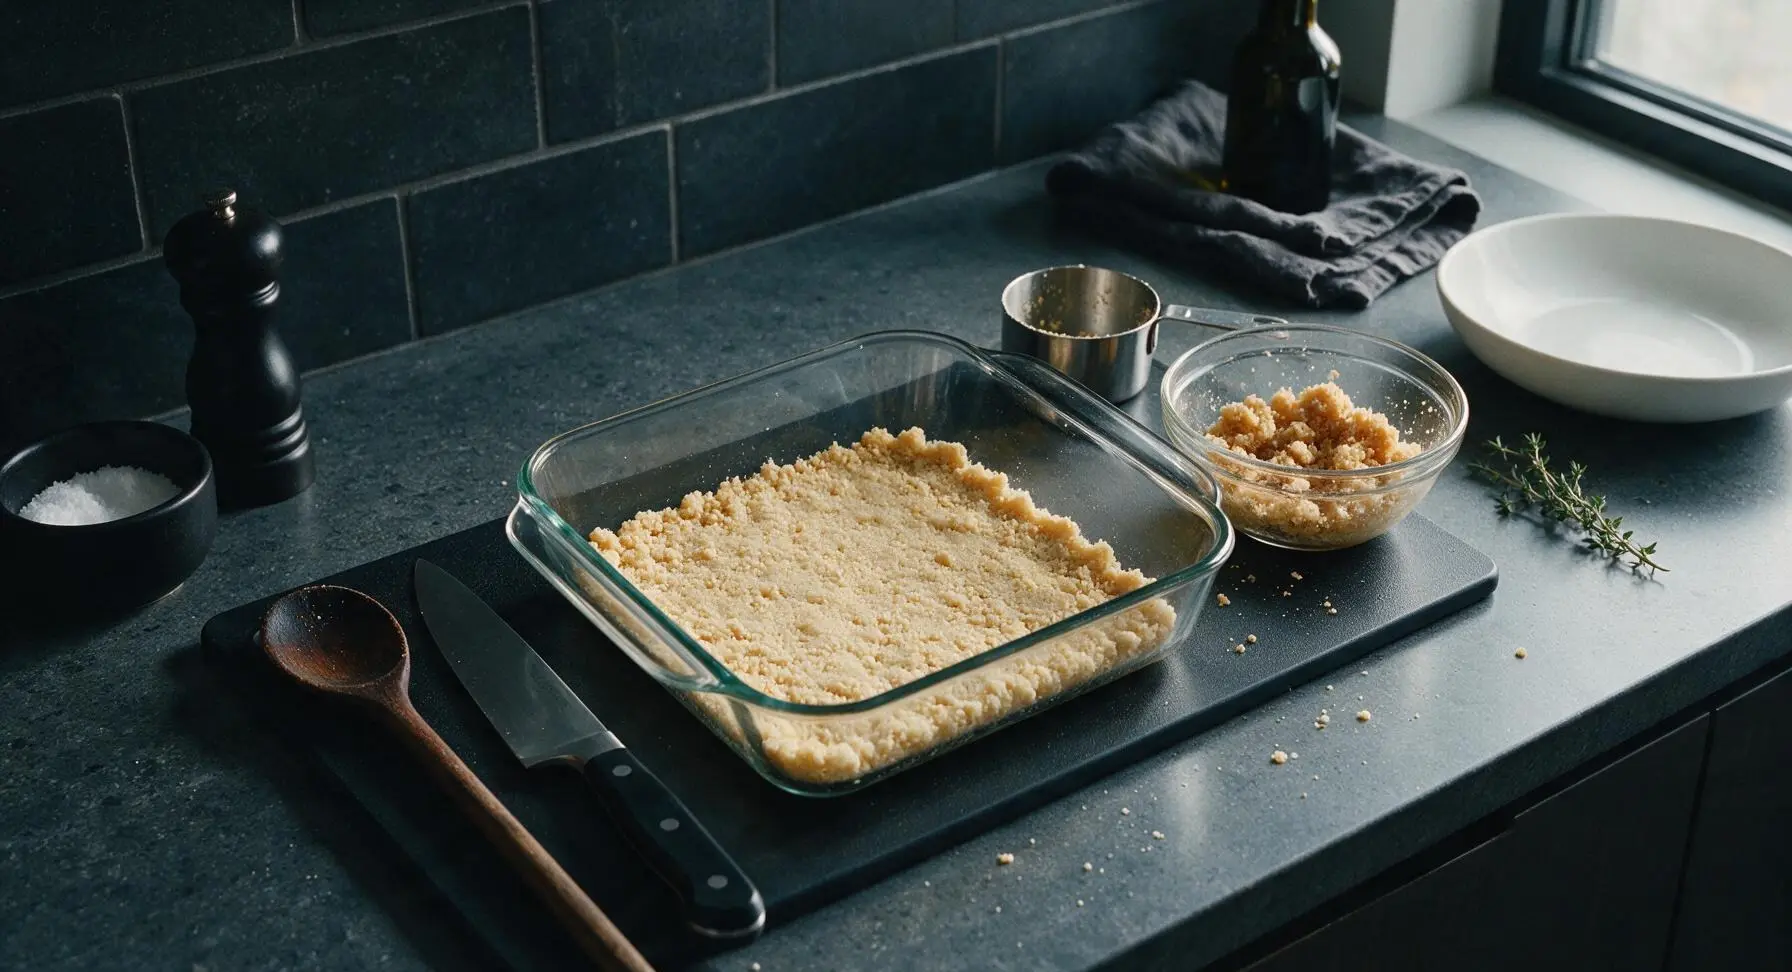
Press Buttery Crust Layer
Pour ⅓ cup (75g) melted, slightly cooled unsalted butter into the small prep bowl with the sweetened shortbread crumbs. Stir thoroughly with the silicone spatula until every crumb is evenly coated in butter, with a texture similar to damp sand that clumps when squeezed in your hand. Pour the moistened crumbs into the bottom of the central 9x9 inch clear glass baking dish, and use the flat bottom of the measuring cup to press them firmly into a tight, even, compact layer across the entire dish bottom, with no gaps or thin spots.
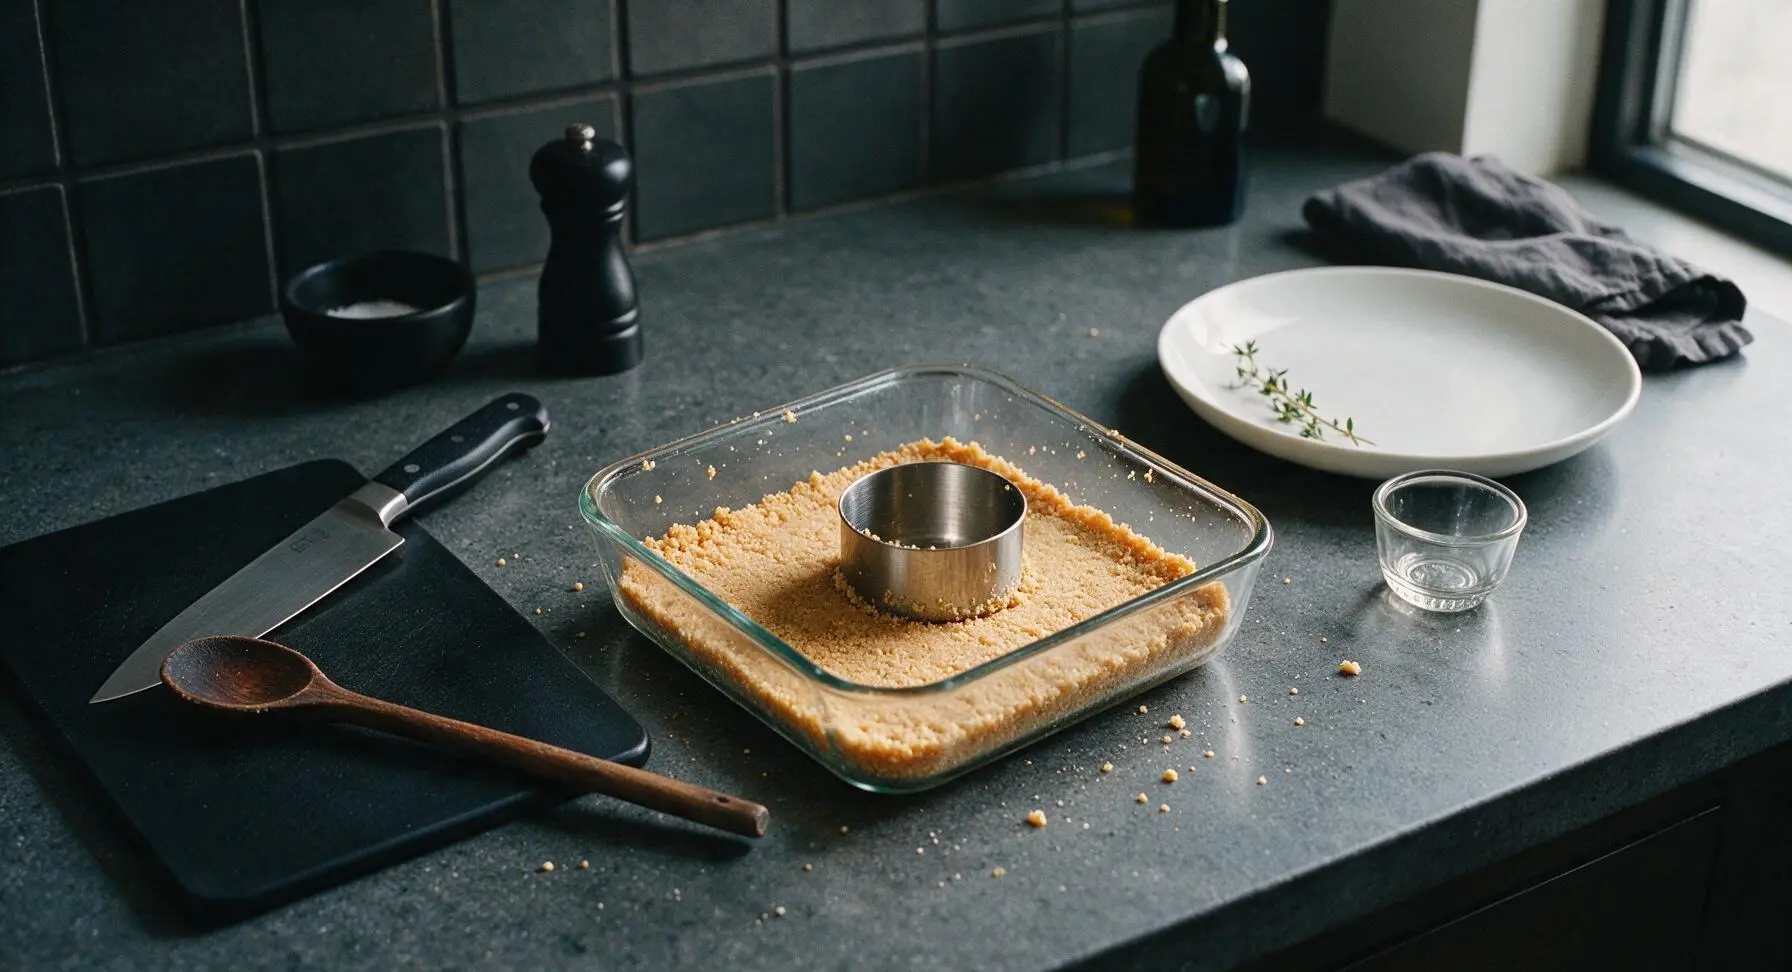
Mix Pistachio Pudding
Pour 2 cups cold whole milk into the medium clear glass mixing bowl. Add both 3.4oz (96g) packages of instant pistachio pudding mix, and stir vigorously with the pale green silicone spatula for exactly 2 full minutes, scraping the bowl sides and bottom constantly to avoid lumps. Let the pudding rest for 5 minutes at room temperature to thicken; it will hold a soft, slow-dripping peak when you lift the spatula out of the mixture.
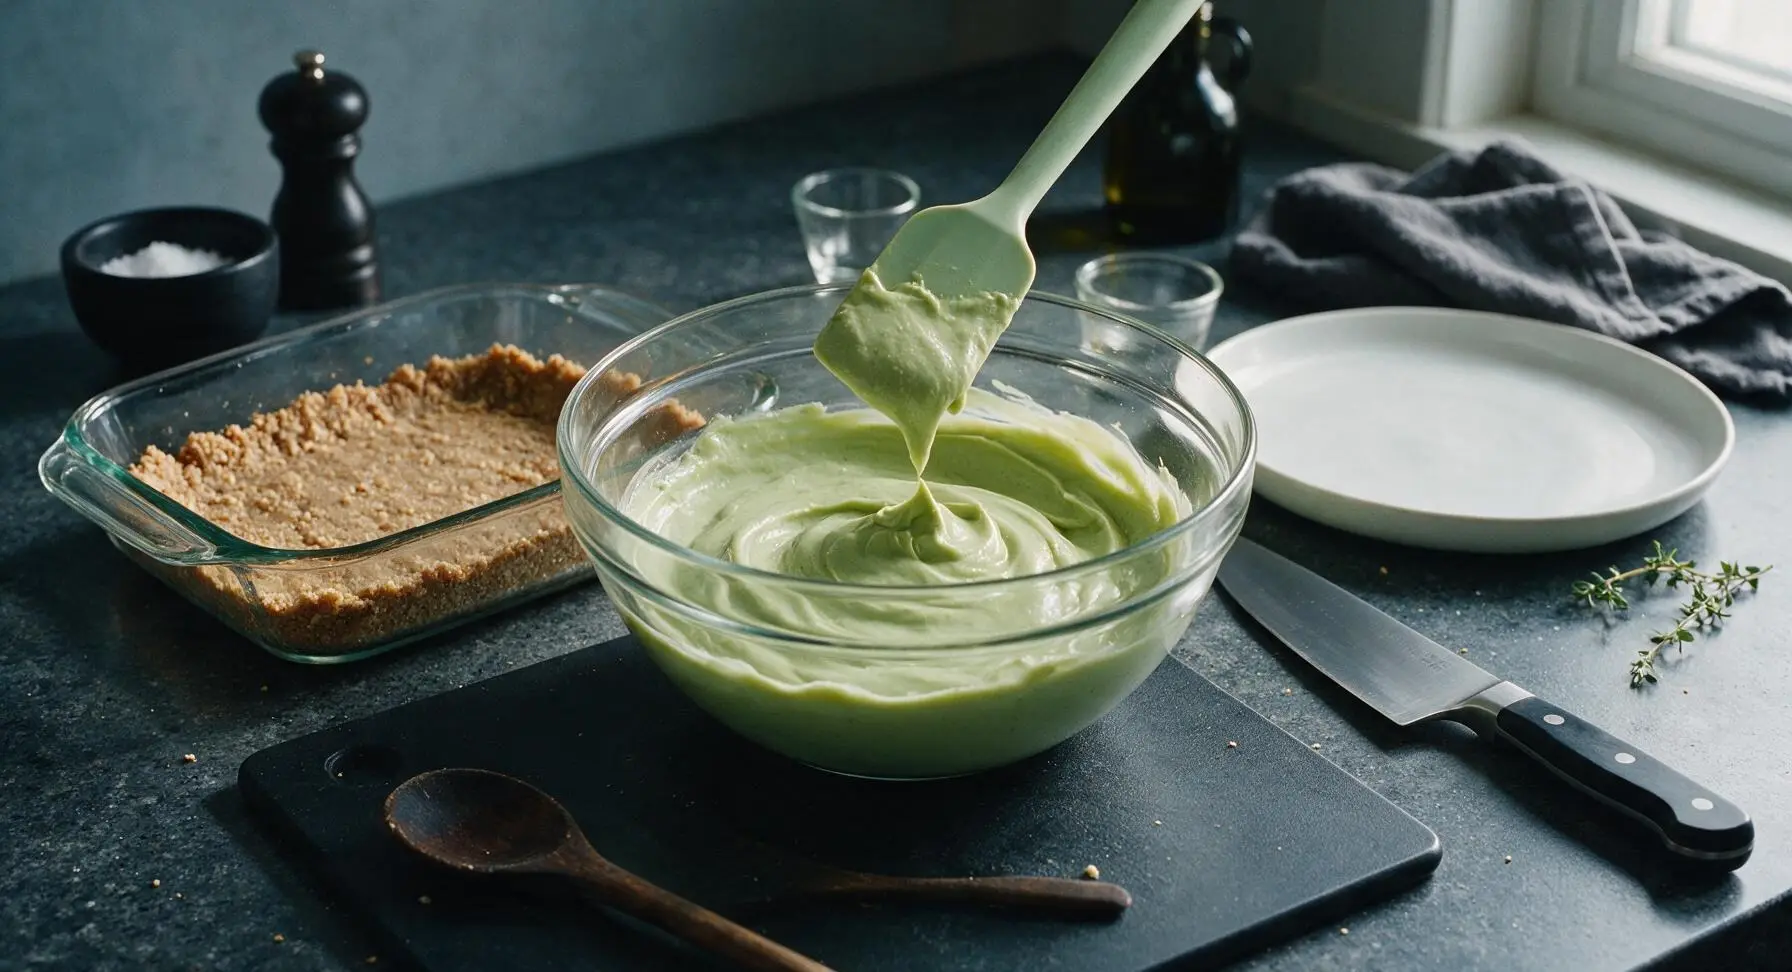
Fold in Whipped Topping
Scoop ½ cup (115g) of the thawed frozen whipped topping into the thickened pistachio pudding. Use the silicone spatula to fold gently in slow, sweeping motions: cut straight down through the center of the mixture, scrape across the bowl bottom, and lift up and over to incorporate the whipped topping without deflating it. Stop folding once the pudding is a uniform soft pale green with no streaks of white remaining; overmixing will result in a runny, less fluffy texture.
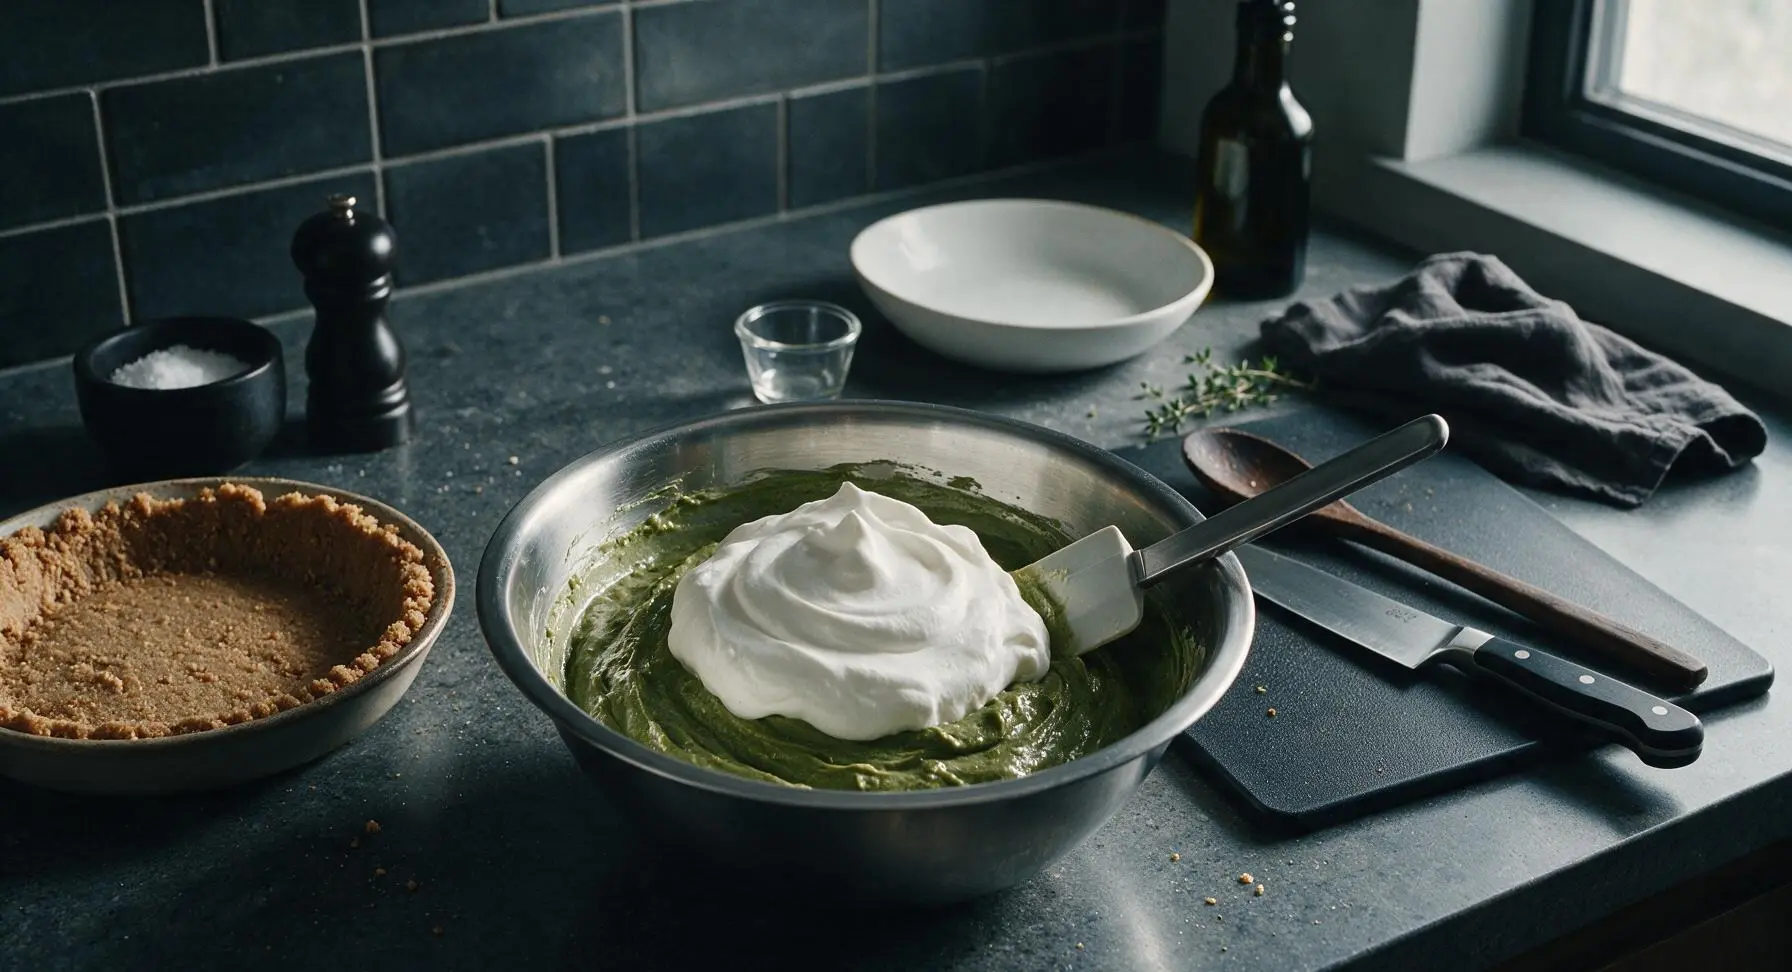
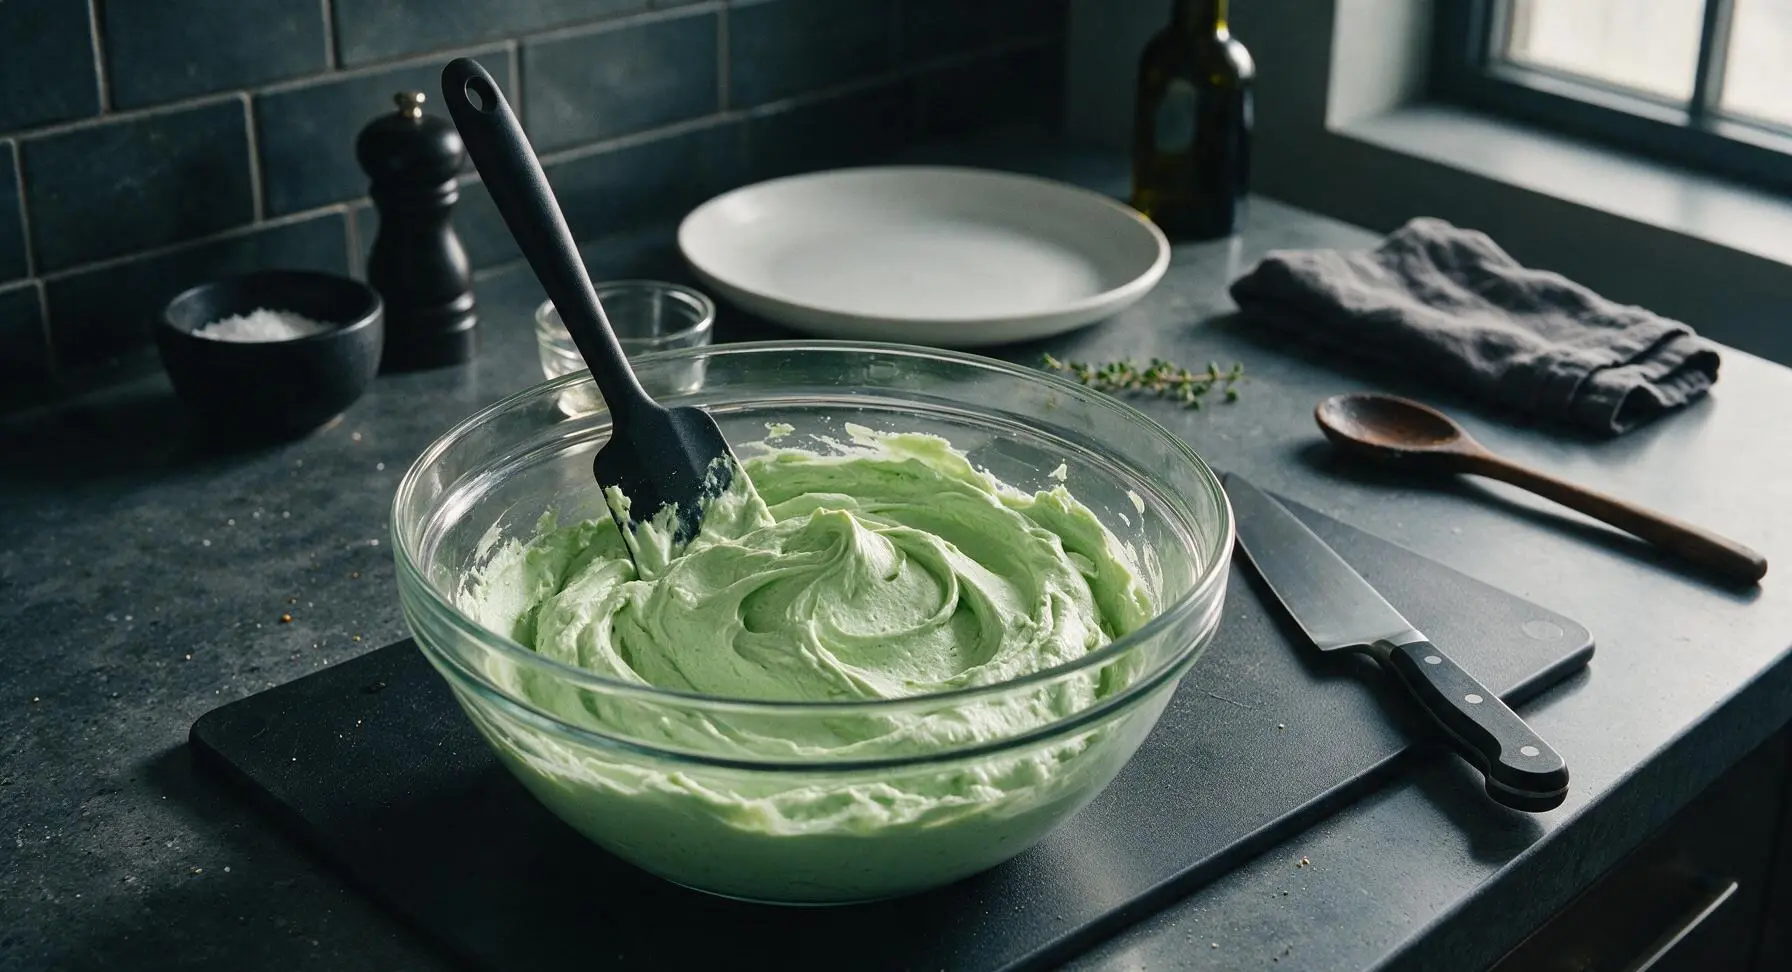
Spread Pudding Layer
Pour all of the lightened pistachio pudding mixture over the pressed shortbread crust in the 9x9 inch clear glass baking dish. Use the silicone spatula to spread it slowly and evenly across the crust, applying light pressure to avoid dislodging crumbs from the base. The finished pudding layer should be smooth and level, reaching all four corners of the dish with no bare spots of crust showing.
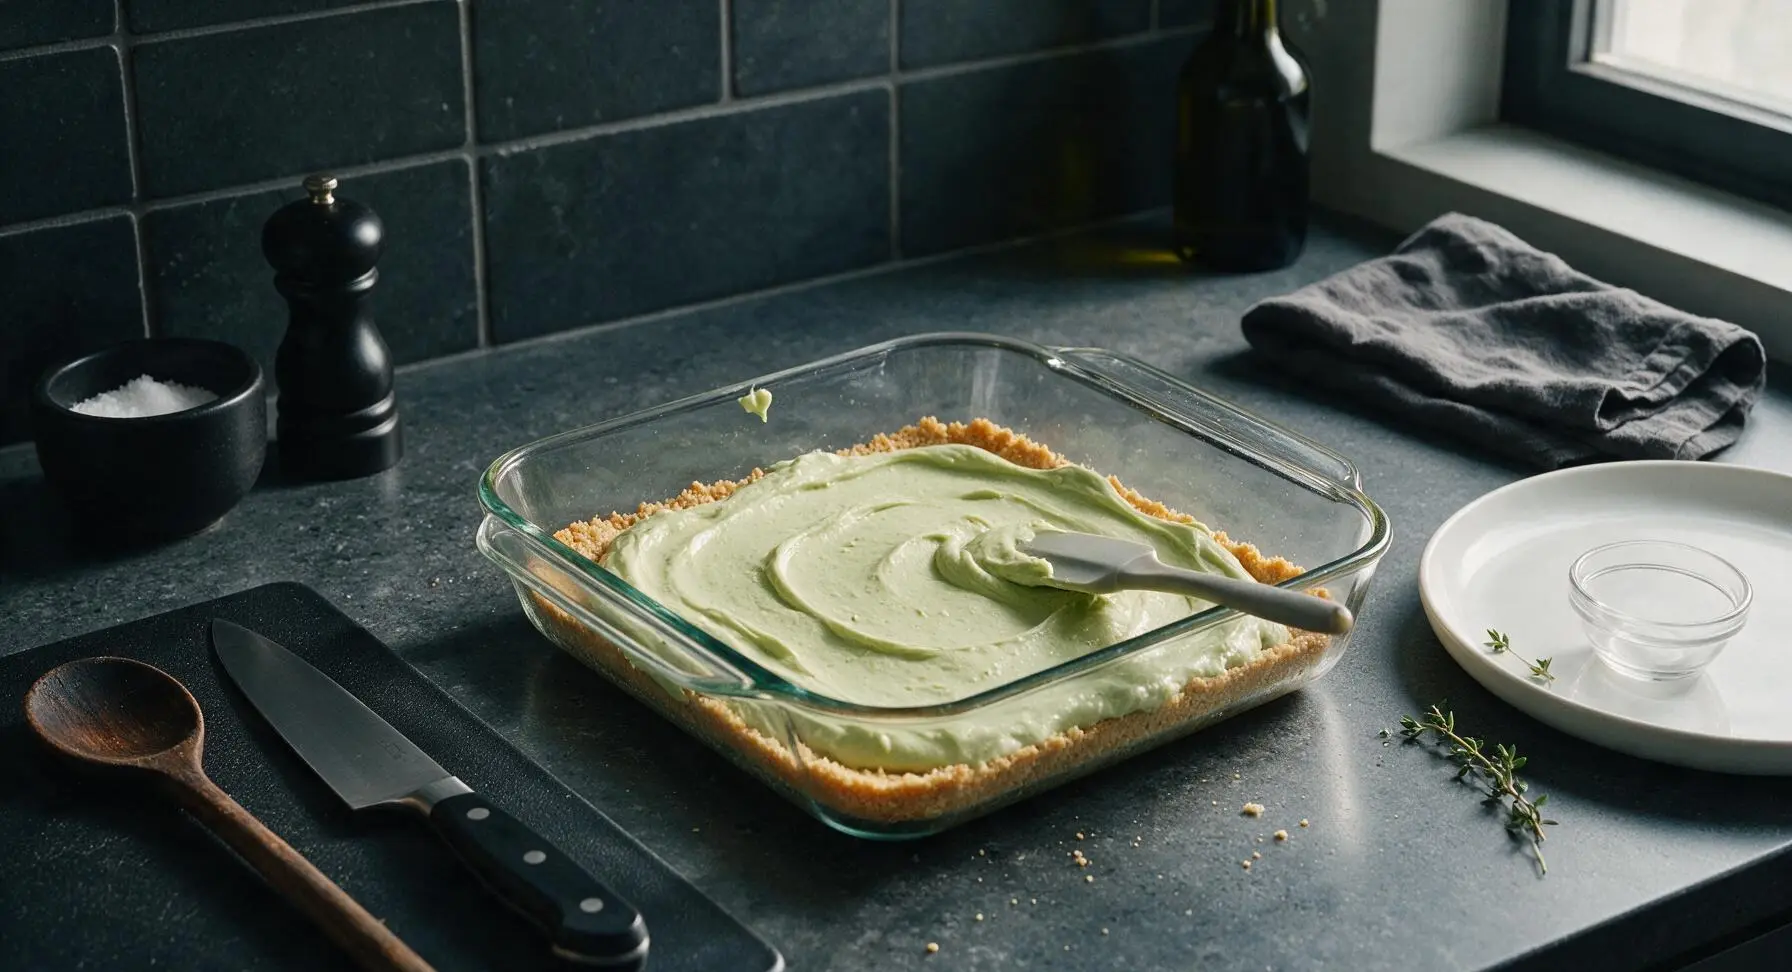
Top with Whipped Cream
Scoop the remaining 1 ½ cups (170g) of thawed whipped topping over the set pistachio pudding layer. Use the clean side of the silicone spatula to spread it gently across the pudding, creating soft, billowy swirls across the surface rather than a perfectly flat finish. Take care not to press too hard, as this will mix green pudding into the white topping and create muddy streaks.
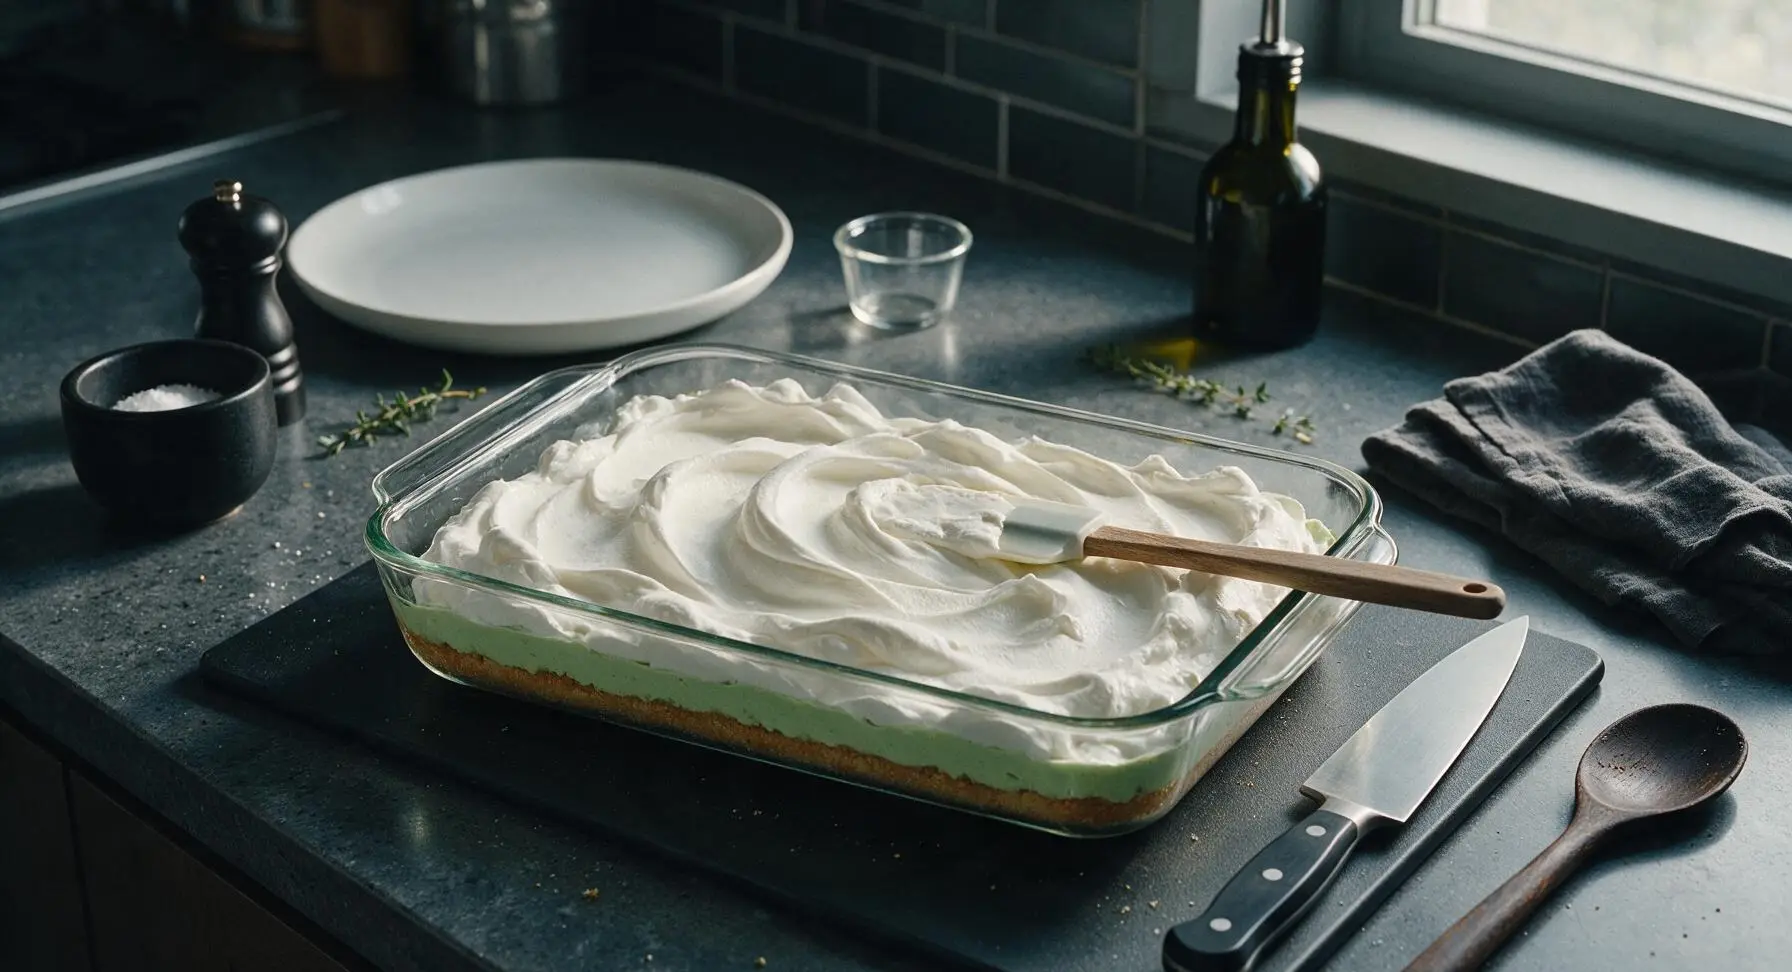
Garnish and Chill
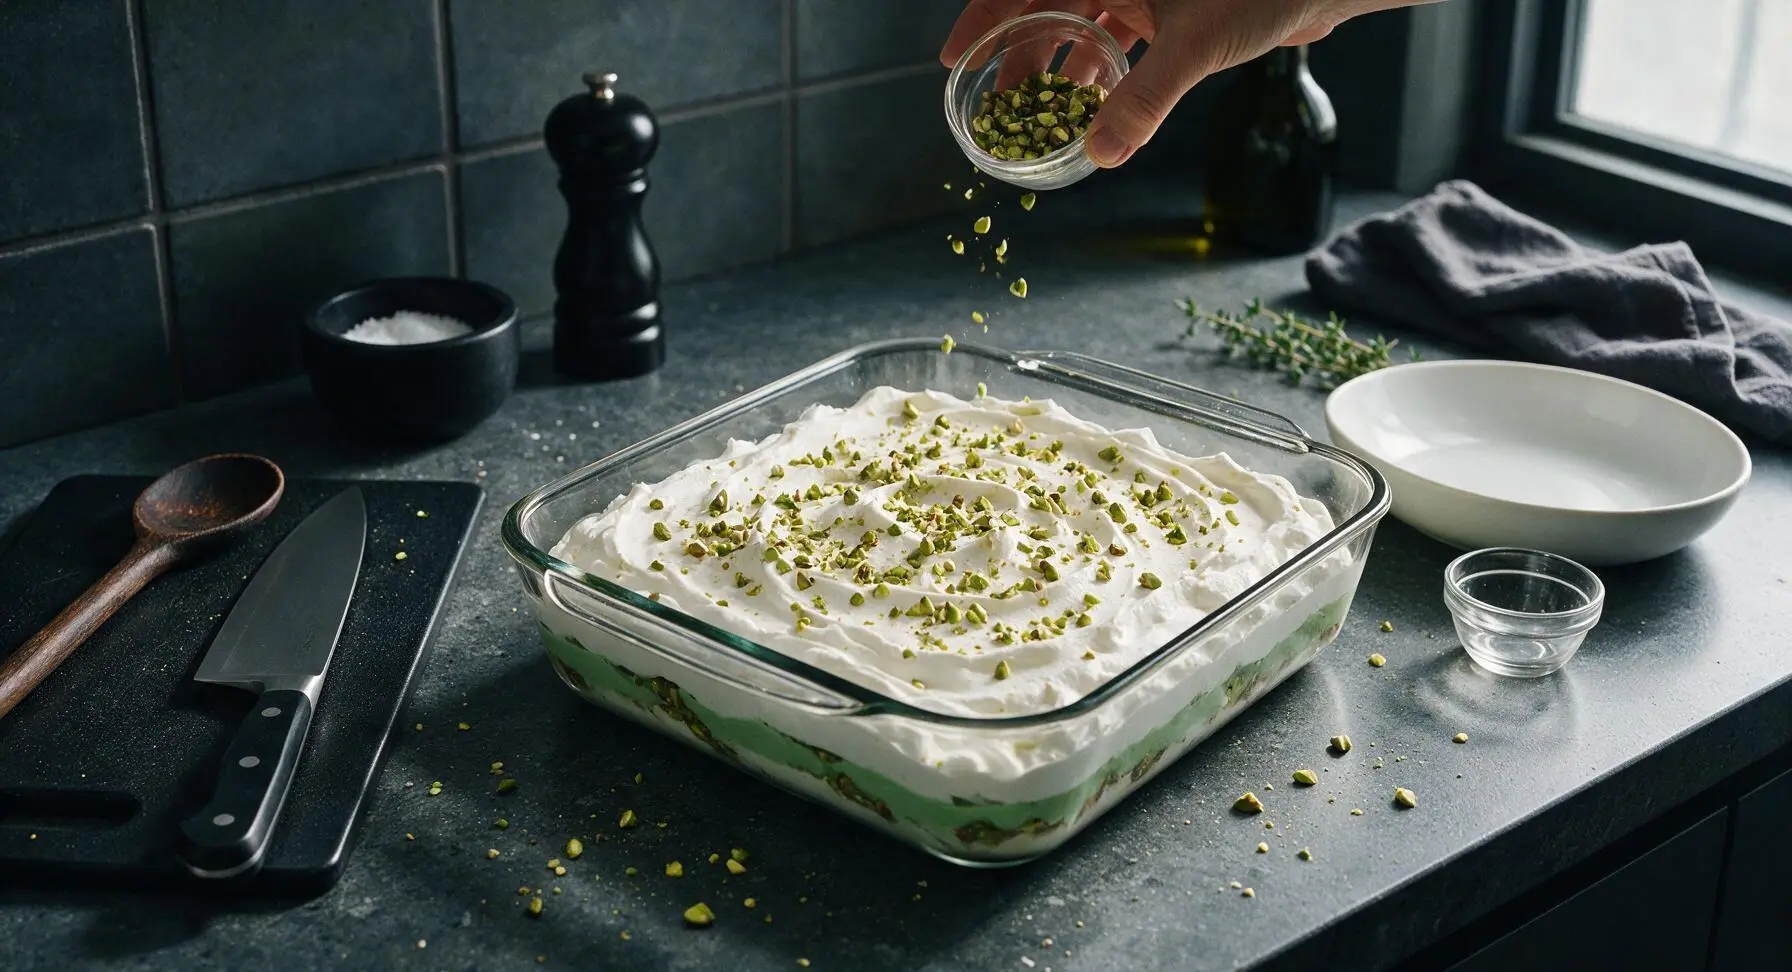
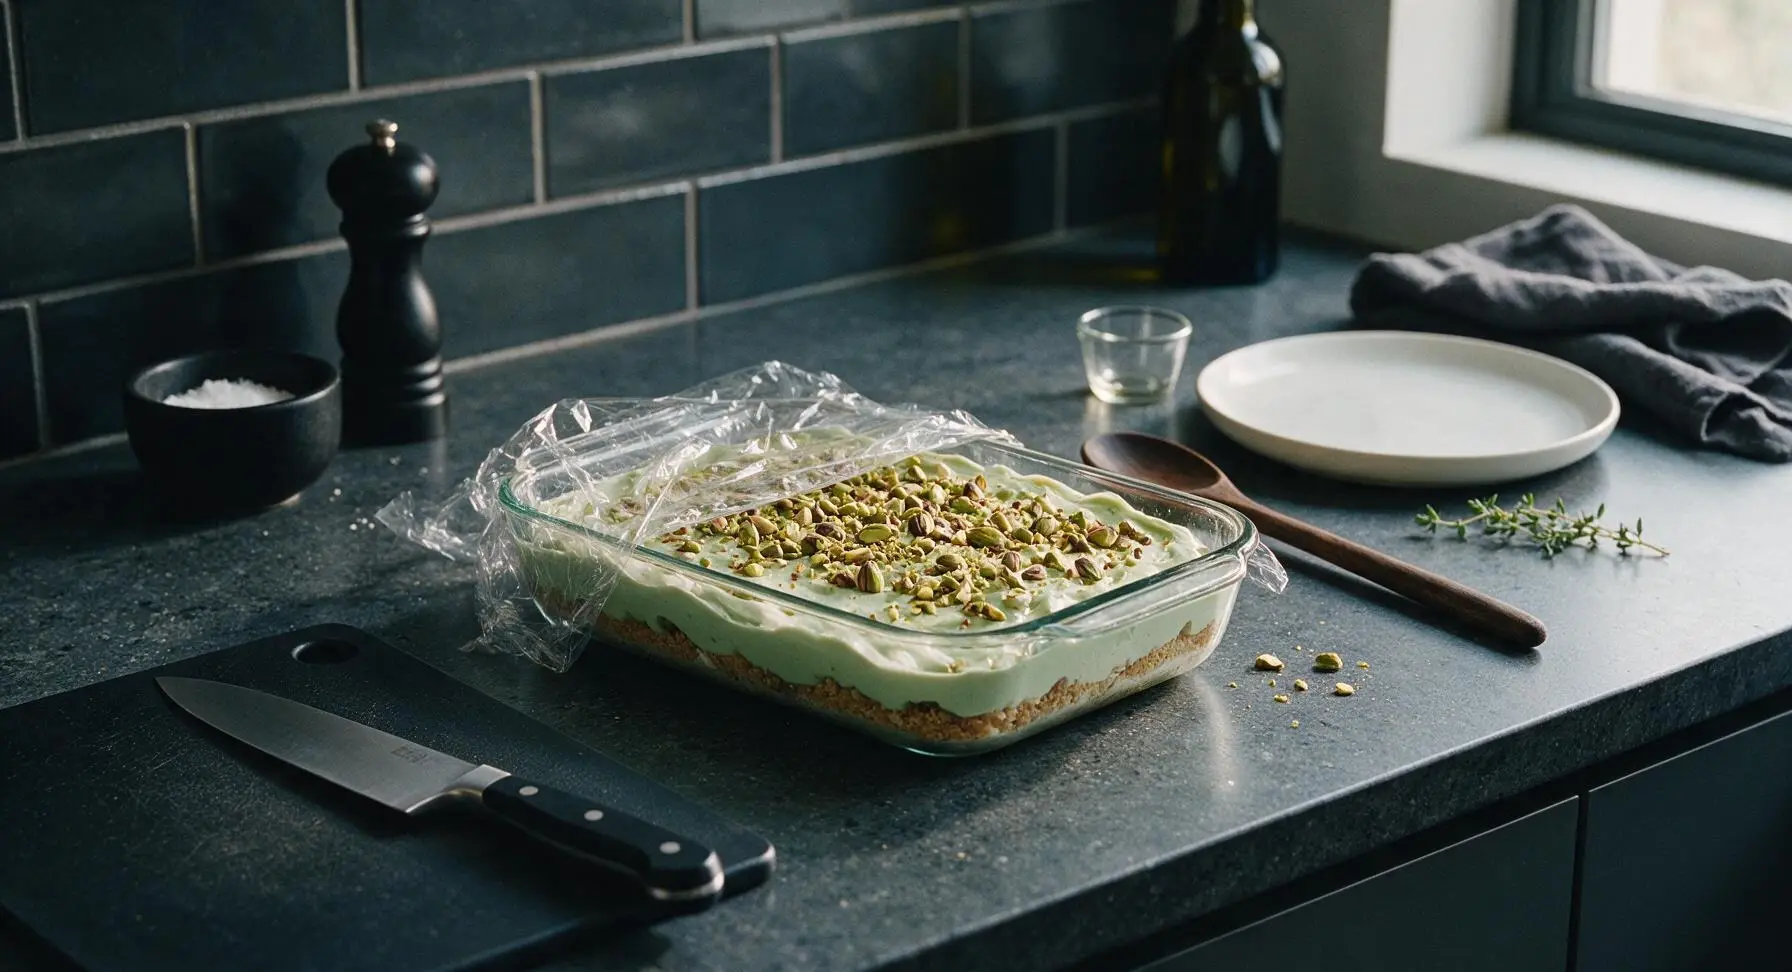
Sprinkle the ¼ cup (30g) chopped roasted shelled pistachios evenly across the entire top of the whipped topping layer. Cover the baking dish loosely with a sheet of plastic wrap, taking care not to let the wrap touch the whipped topping surface (which will smudge the swirls and dislodge pistachios). Refrigerate for a minimum of 2 hours, or up to 24 hours, until the pudding is fully firm and cuts into clean squares without oozing.
Cut and Serve Squares
Remove the chilled dessert from the refrigerator and peel off the plastic wrap. Dip the sharp stainless steel paring knife in a cup of hot water, wipe it dry with a corner of the sage linen towel, and cut the dessert into 8 even 2-inch squares, wiping the knife clean between each cut to get sharp, neat edges. Use the silicone spatula to lift each square gently onto a matte white ceramic dessert plate to serve.
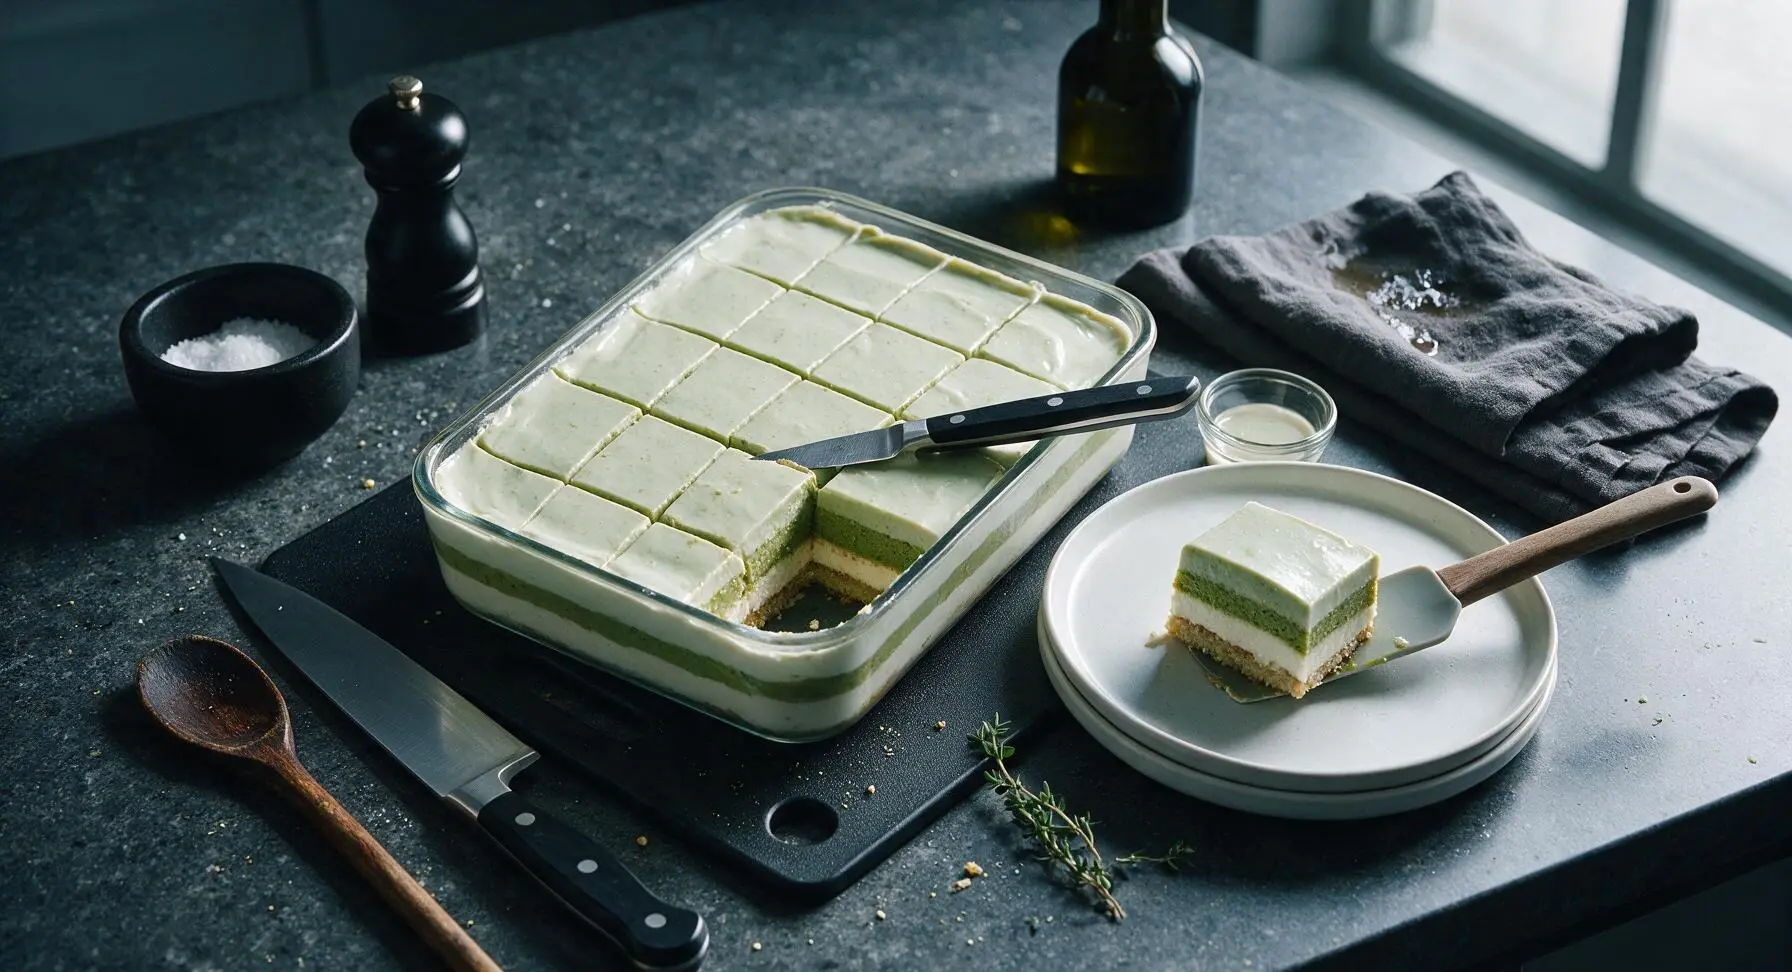
Tips
2.Fold whipped topping gently instead of stirring vigorously: heavy stirring deflates the air bubbles in the whipped topping, leading to a dense, heavy pudding layer instead of the light, fluffy texture that makes this dessert feel indulgent.
3.Add the pistachio garnish no earlier than 24 hours before serving: chopped pistachios absorb moisture from the cold whipped topping if left on the dessert too long, losing their satisfying crunchy contrast and becoming soft and chewy.






OMG this was SO good! I brought it to our neighborhood potluck last weekend and every single person asked for the recipe. The pistachio flavor is perfectly sweet but not overpowering, and it was so easy to throw together even with my toddler hanging on my leg the whole time. 10/10 will be making this for every family gathering from now on!
Total game changer for quick weeknight desserts! I had all the ingredients in my pantry already so I whipped this up after work last night, and my roommates demolished half the pan before it even finished setting in the fridge. Will absolutely make again.
This was so tasty! Quick question for next time — can I make this dairy free? I have a couple family members who are lactose intolerant coming for dinner Sunday and I’d love to serve this again if I can swap a couple ingredients.
My kids loved it!!! I packed little cups of this for my son’s soccer team snack after practice yesterday and every single kid asked for seconds. Even the kids who say they hate pistachios were scarfing it down. So easy to make ahead too, which is a total win for our chaotic weeknight schedule.
I was a little skeptical because pudding desserts can sometimes taste super artificial, but this one was chef’s kiss. I added a layer of crushed shortbread cookies on the bottom and it added the perfect buttery crunch. 10/10, even my super picky mom liked it.
Perfect for meal prep! I made a big pan on Sunday and portioned it out into little containers for my work lunches all week. It held up perfectly in the fridge for 5 days, no sogginess at all. The sweetness is just right so it doesn’t feel like a heavy midday treat.
I’ve been making a version of this for 40 years and this recipe is spot on! I love that it doesn’t require any baking, which is perfect for these hot Arizona summers when I don’t want to turn the oven on. My grandkids beg for this every time they come visit.
Took this to my office potluck and it was gone in 10 minutes flat. People were literally scraping the edges of the pan. I did add a little extra whipped topping because I like it extra fluffy, and it worked perfectly. Only complaint is I didn’t save a bigger piece for myself lol
Super easy to make gluten free! I used gluten free vanilla wafers for the crumb base and it turned out absolutely perfect. No one at my dinner party even noticed it was GF, they all just raved about how good it was.
Made this for my dorm floor get-together and it was such a hit! It only required like 4 ingredients, no fancy equipment, and I didn’t even need to use the oven (which is good because our dorm oven is definitely broken). Way better than the cheap store-bought cookies I almost brought.
Really tasty! My only note is that I wish the recipe specified what size pan to use — I used a 9x9 and it was a little thicker than I expected, so it needed an extra 30 minutes to set properly. Flavor was still amazing though, my whole family loved it.