
easy sandwich bread
intro
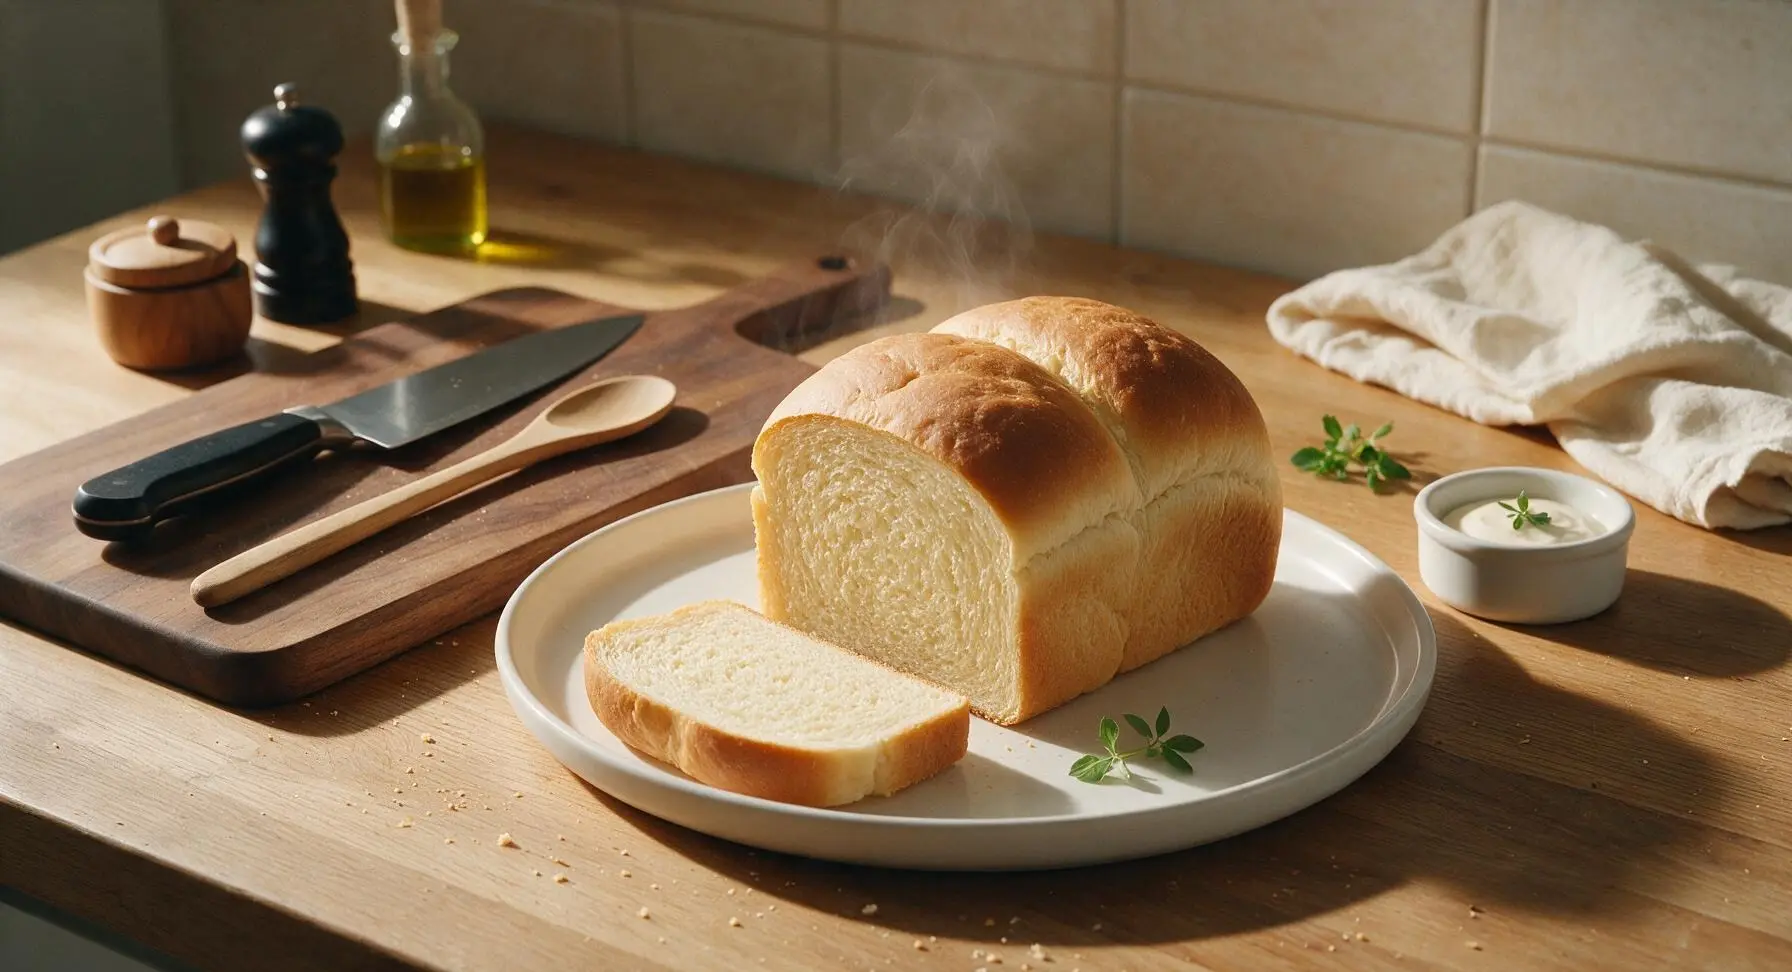
Soft, pillowy, sliceable homemade sandwich bread with a tender golden crust—no fancy skills required, perfect for toast, sandwiches, and sopping up Sunday dinner sauces.
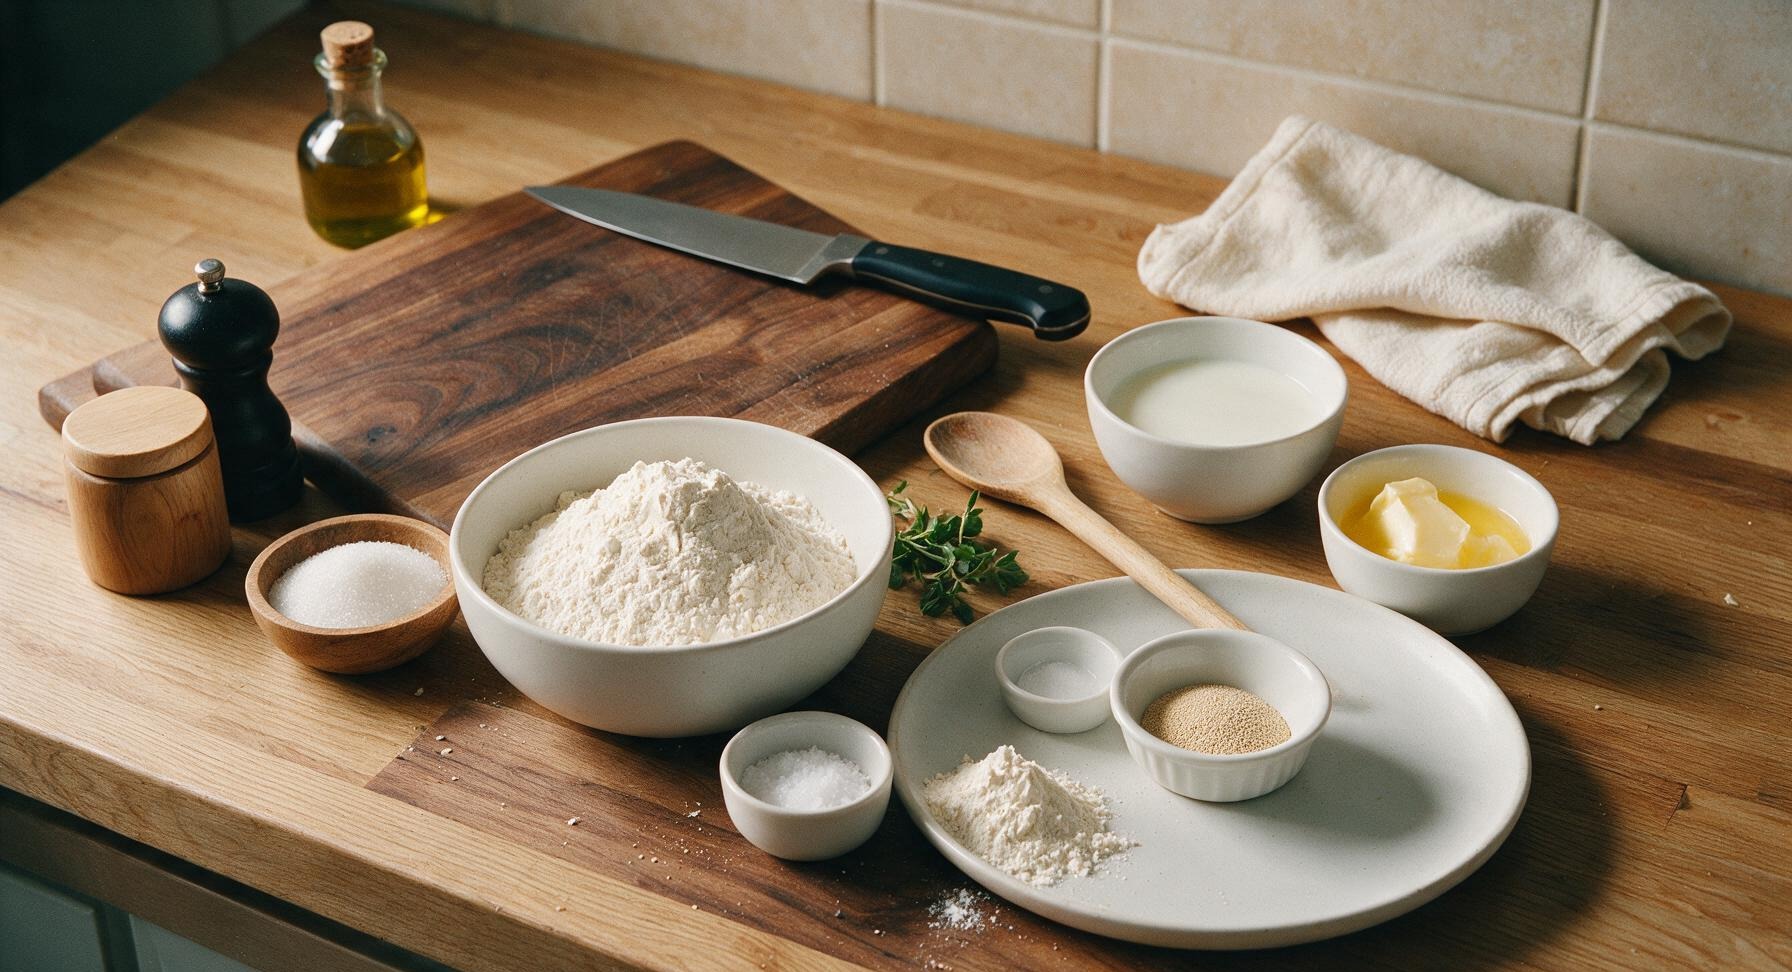
Ingredients
Steps
Combine Dough Ingredients
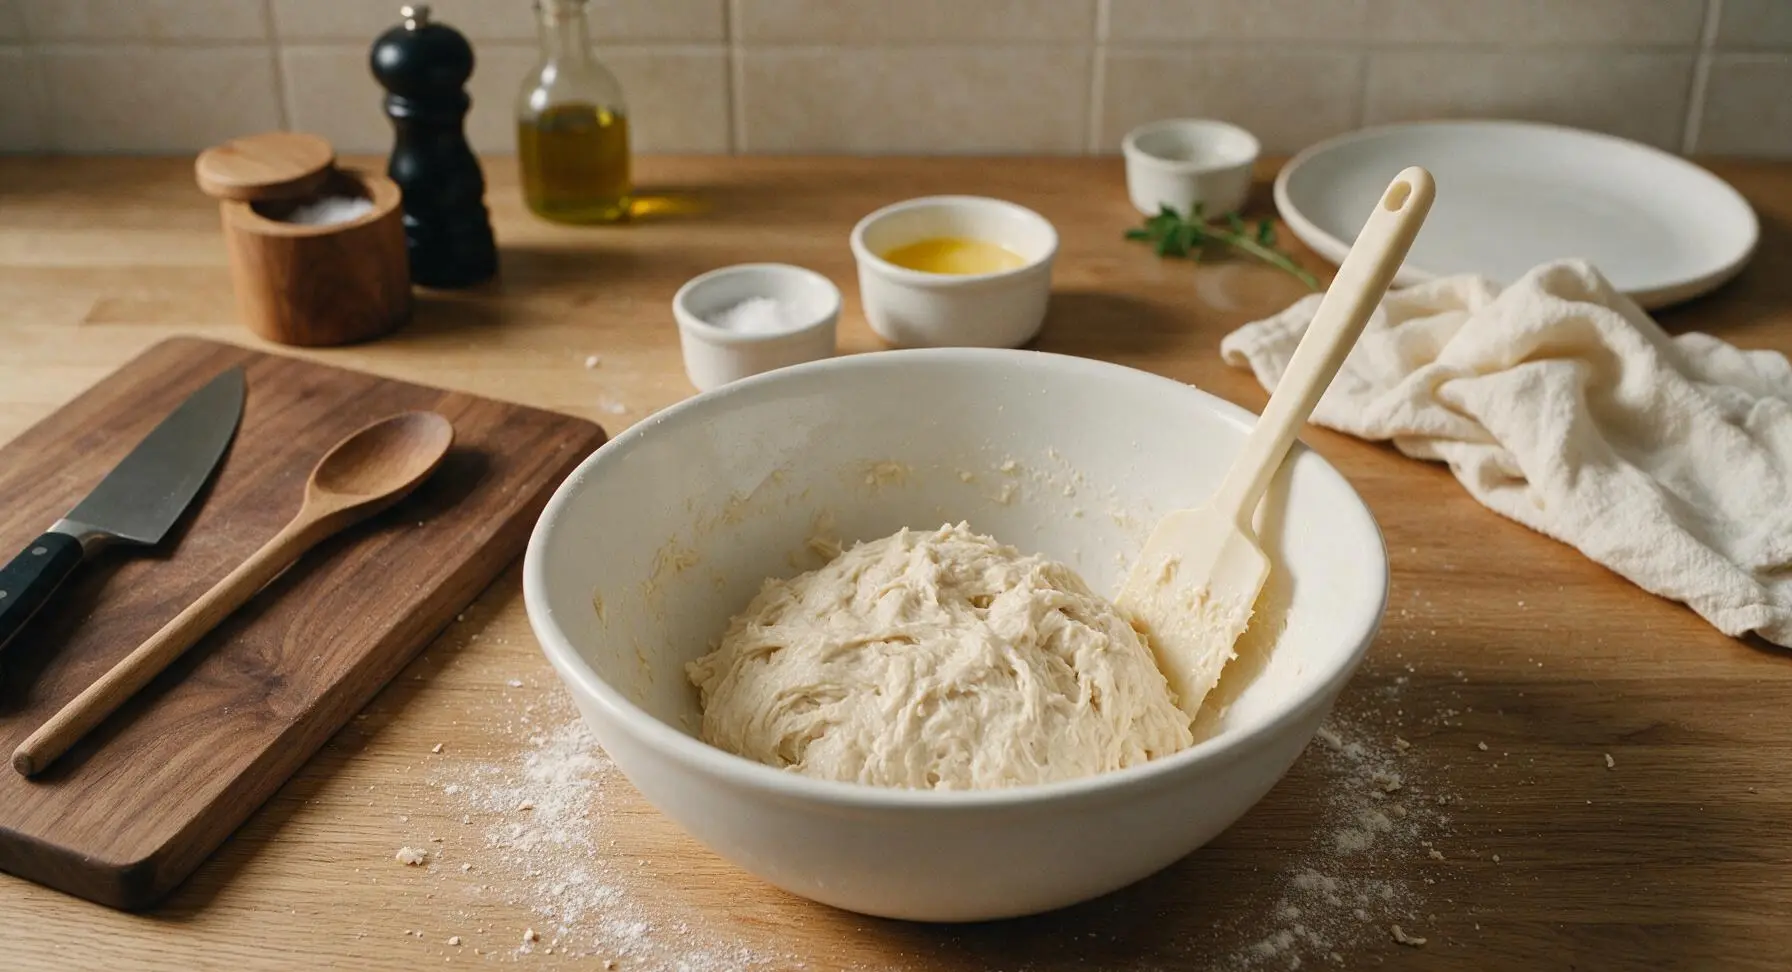
In the large matte white ceramic mixing bowl, add 2 cups of the measured all-purpose flour, instant yeast, and granulated sugar, whisking to combine. Pour in the warm milk and cooled melted butter, stirring with the silicone scraper until a thick, lumpy batter forms. Add the remaining flour and fine sea salt, stirring until no dry flour remains and a shaggy, sticky dough pulls away from the bowl sides. The dough will feel soft and slightly tacky, not stiff.
Knead Until Smooth
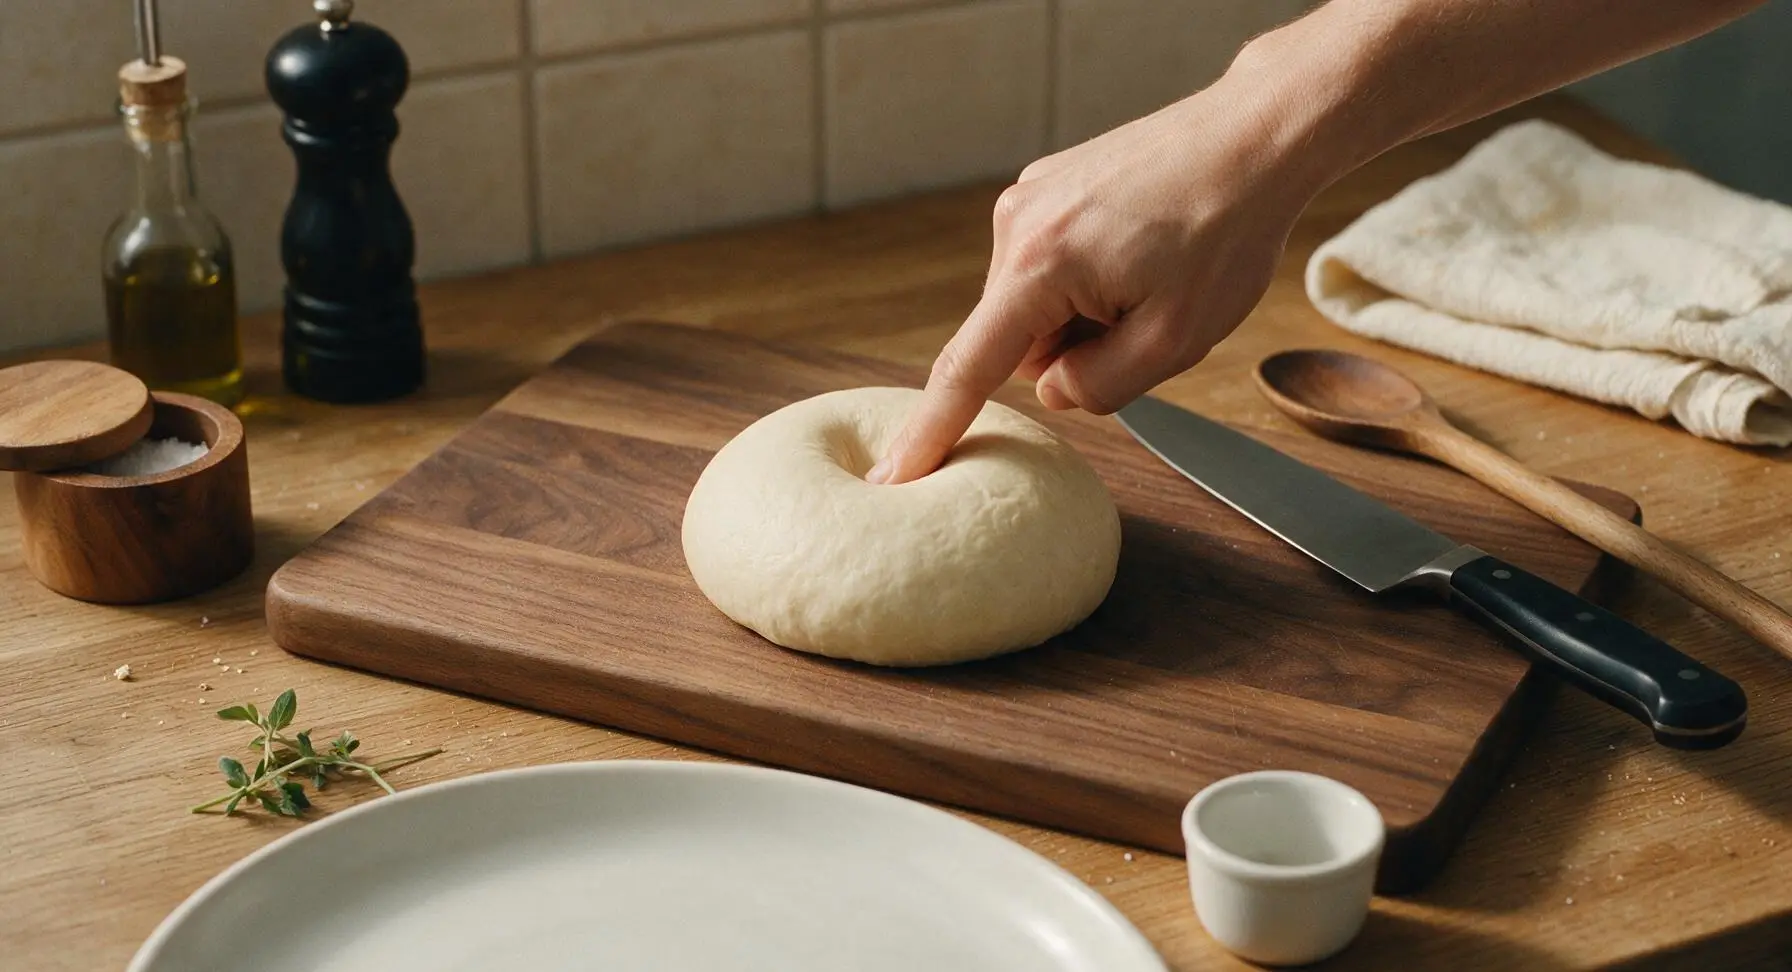
Turn the shaggy dough out onto a lightly floured section of the countertop (no extra flour needed unless the dough sticks badly). Knead for 5-7 minutes by hand: fold the dough over itself, push forward with the heel of your palm, turn a quarter turn, and repeat. The dough is ready when it is smooth, elastic, and springs back slowly when poked with a finger, leaving a small indent. Avoid adding too much extra flour, as this will make the bread dense.

Let Dough Rise
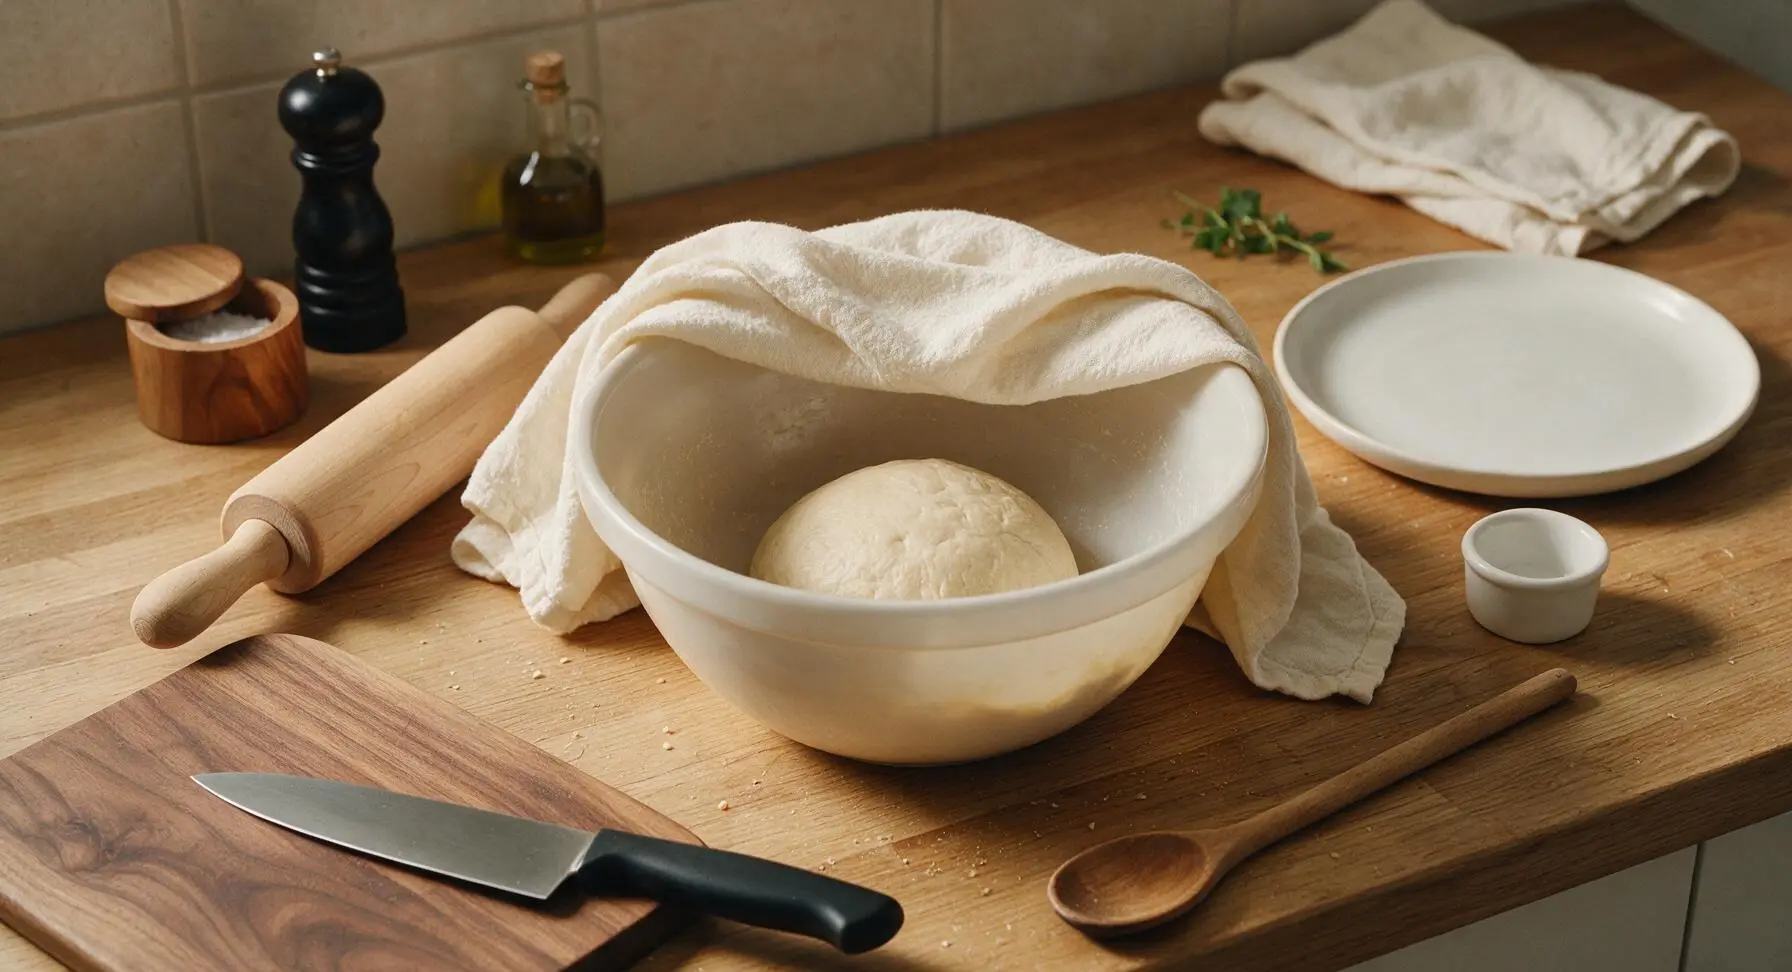
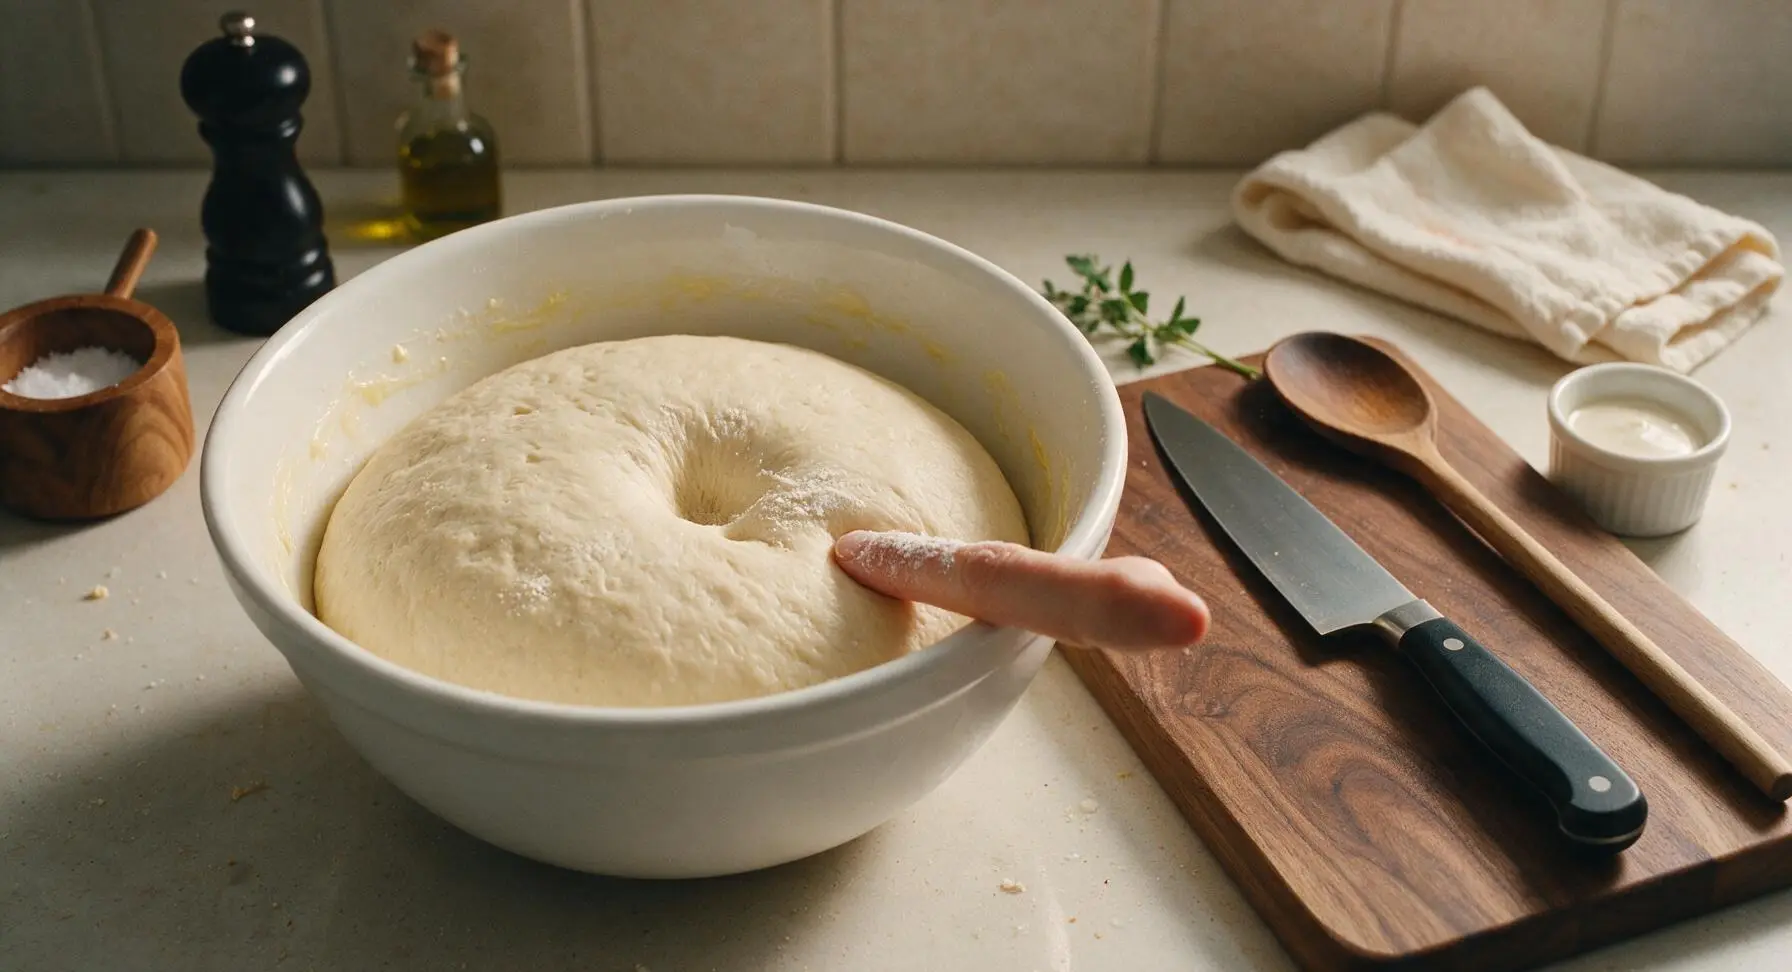
Form the kneaded dough into a tight ball, place it back into the large mixing bowl (lightly greased with a tiny bit of butter to prevent sticking), and cover the bowl with the folded cream cotton towel from beside the rolling pin. Let it rest in a warm, draft-free spot on the counter for 40-45 minutes, until the dough doubles in size. Test readiness by poking a floured finger 1 inch into the dough: if the indent stays and does not spring back immediately, it is ready to shape.
Shape Loaf for Pan
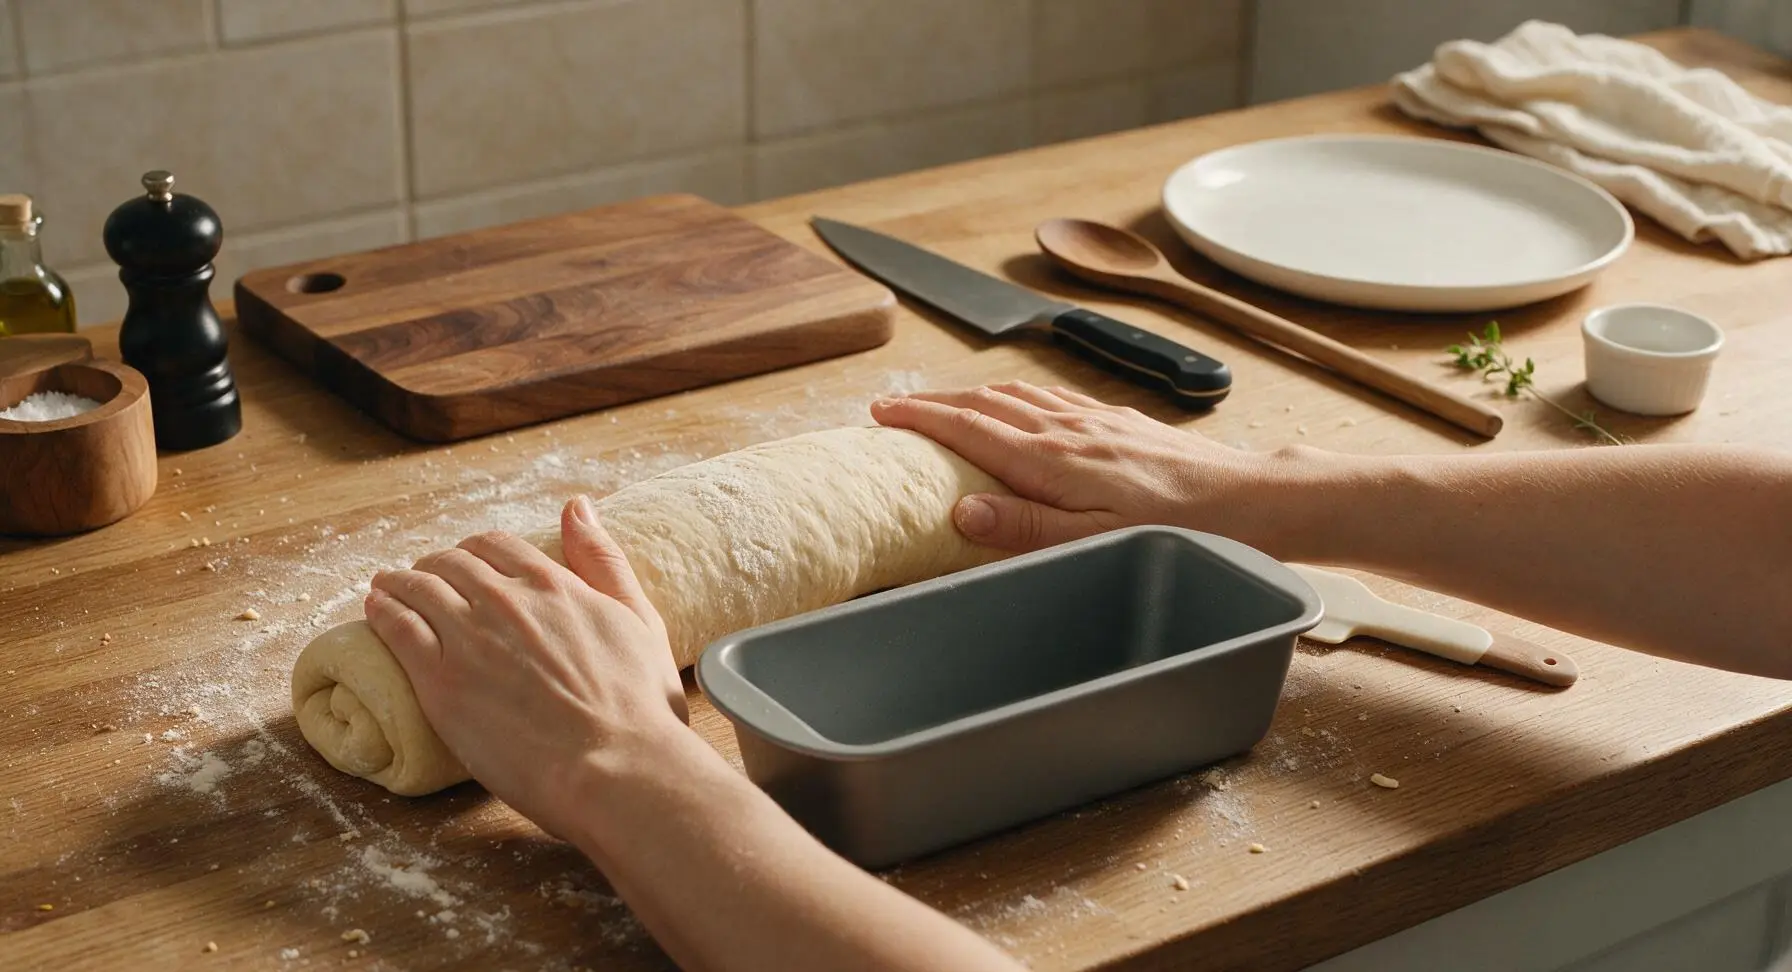
Turn the risen dough out onto the lightly floured counter, pressing gently with your fingertips to deflate all large air bubbles, forming a rough 8x10 inch rectangle. Fold the short ends of the rectangle in toward the center like a letter, then roll the dough tightly from the long edge into a log, pinching the seam and ends closed to seal. The shaped log should be exactly the length of the 9x5 inch matte gray loaf pan, with a smooth, taut top surface.
Proof Shaped Loaf
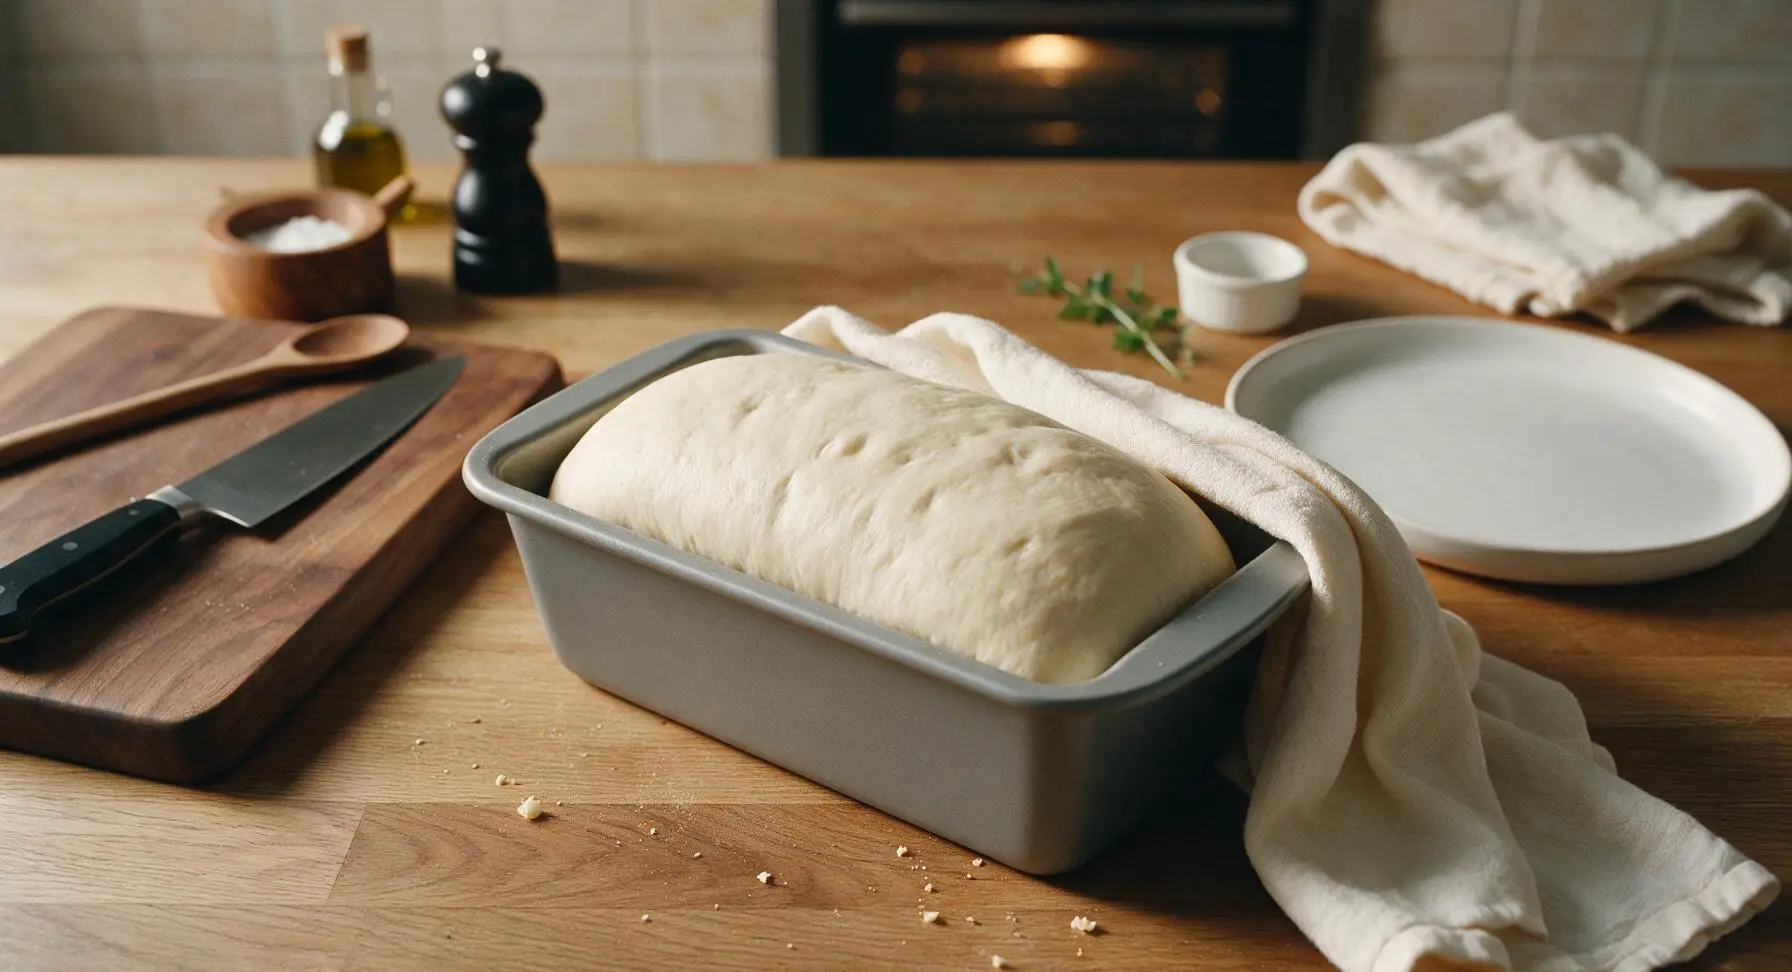
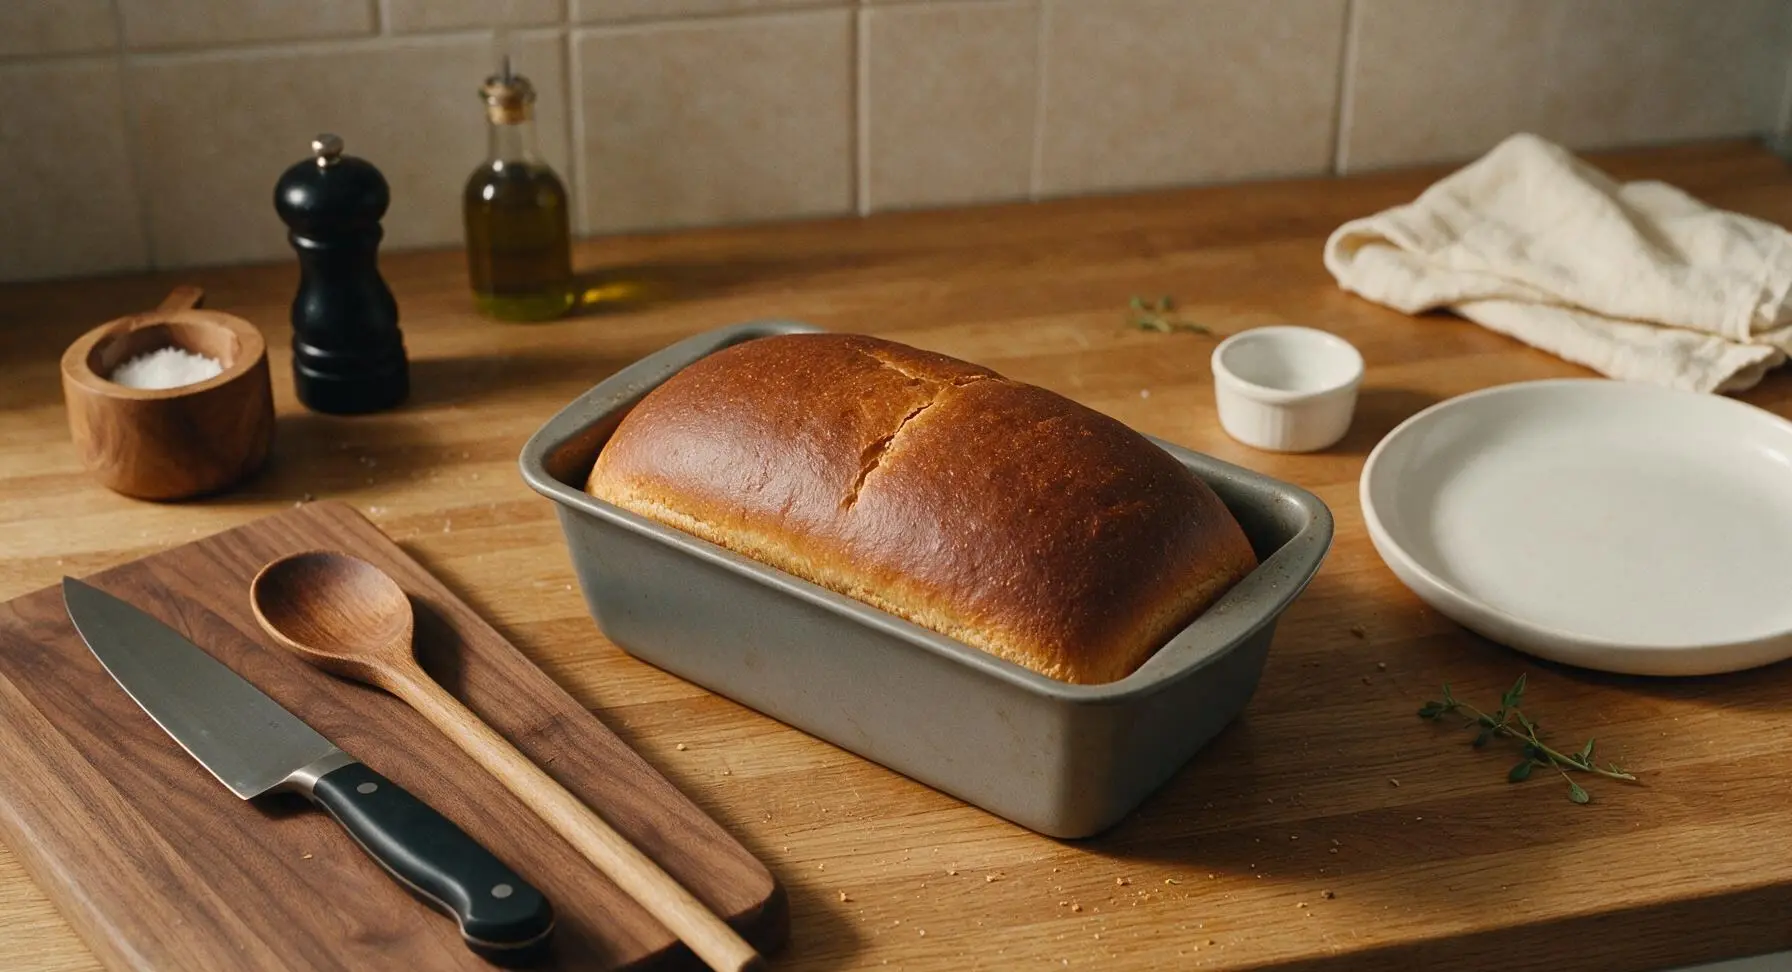
Place the shaped dough log seam-side down into the matte gray loaf pan, pressing gently so it sits evenly in the bottom of the pan. Cover loosely with the same cream cotton towel, and let rise for a second 25-30 minutes, until the dough creeps 1/2 inch above the rim of the loaf pan, and a light poke leaves a slow-recovering indent. While the dough finishes rising, preheat your oven to 375°F (190°C).
Bake to Golden Brown
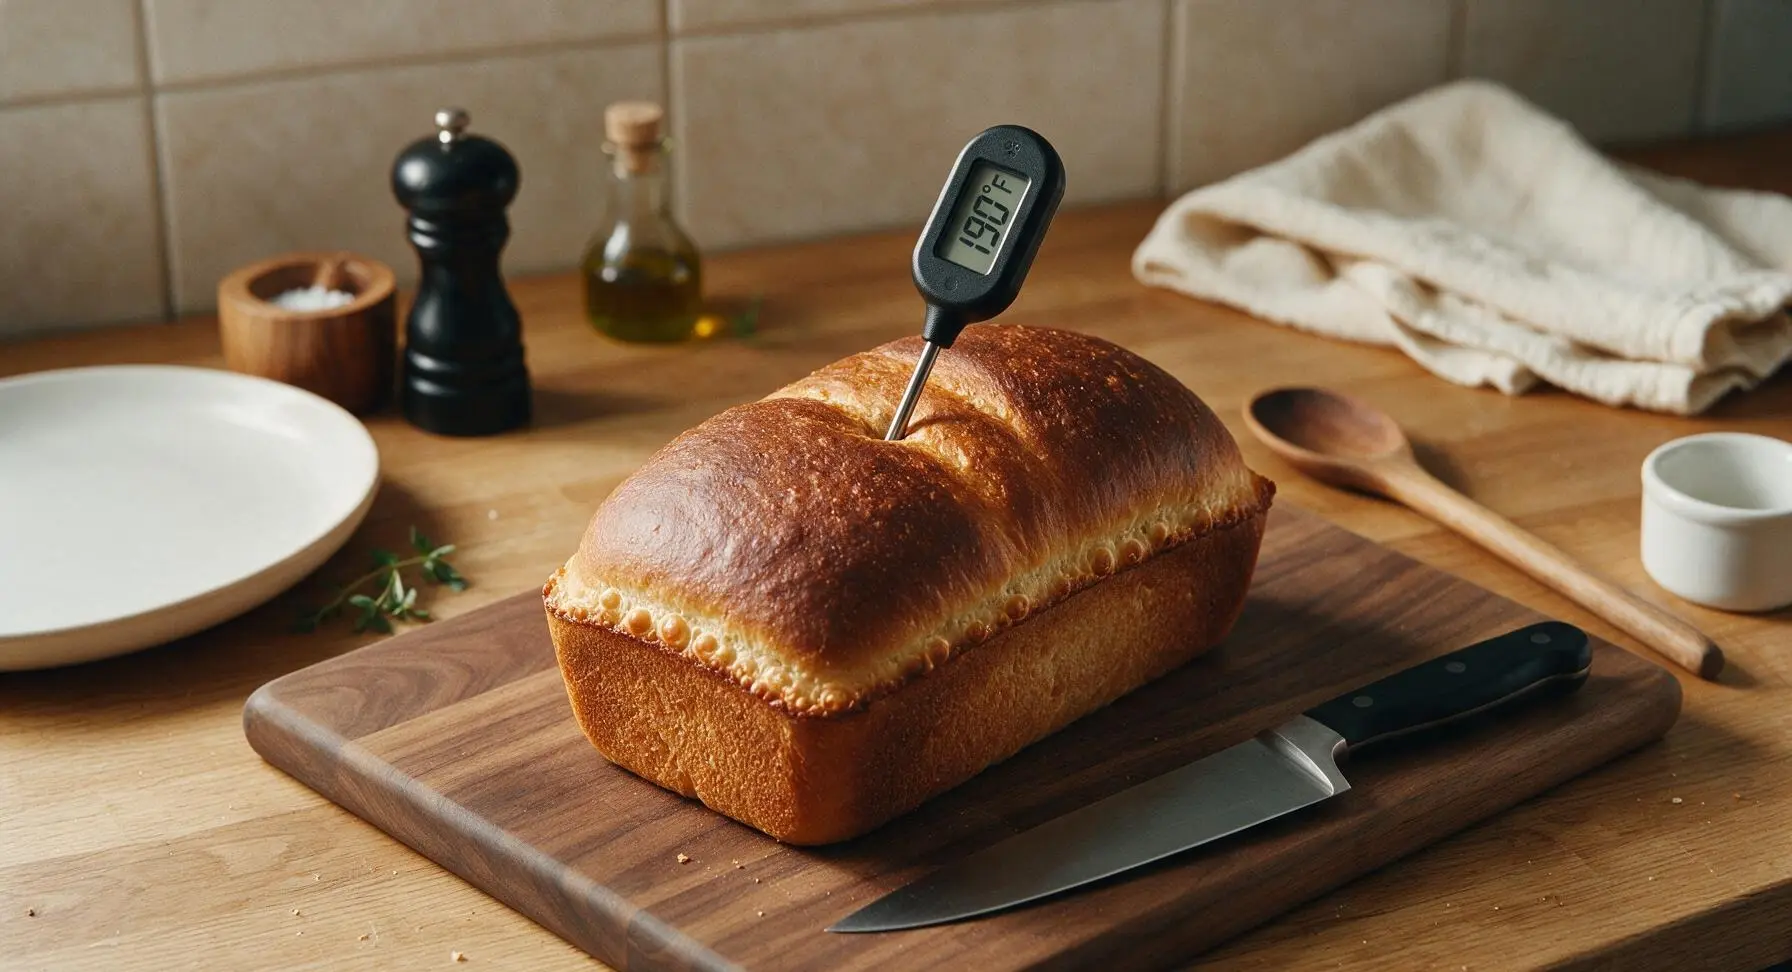
Remove the towel from the risen loaf, place the loaf pan on the middle rack of the preheated 375°F (190°C) oven. Bake for 30-35 minutes, until the top crust is a deep, even golden brown, and the internal temperature of the bread reads 190°F (88°C) on the instant-read thermometer. If the top browns too quickly before the bread is done, tent loosely with a sheet of aluminum foil after 20 minutes of baking.
Cool Loaf Completely
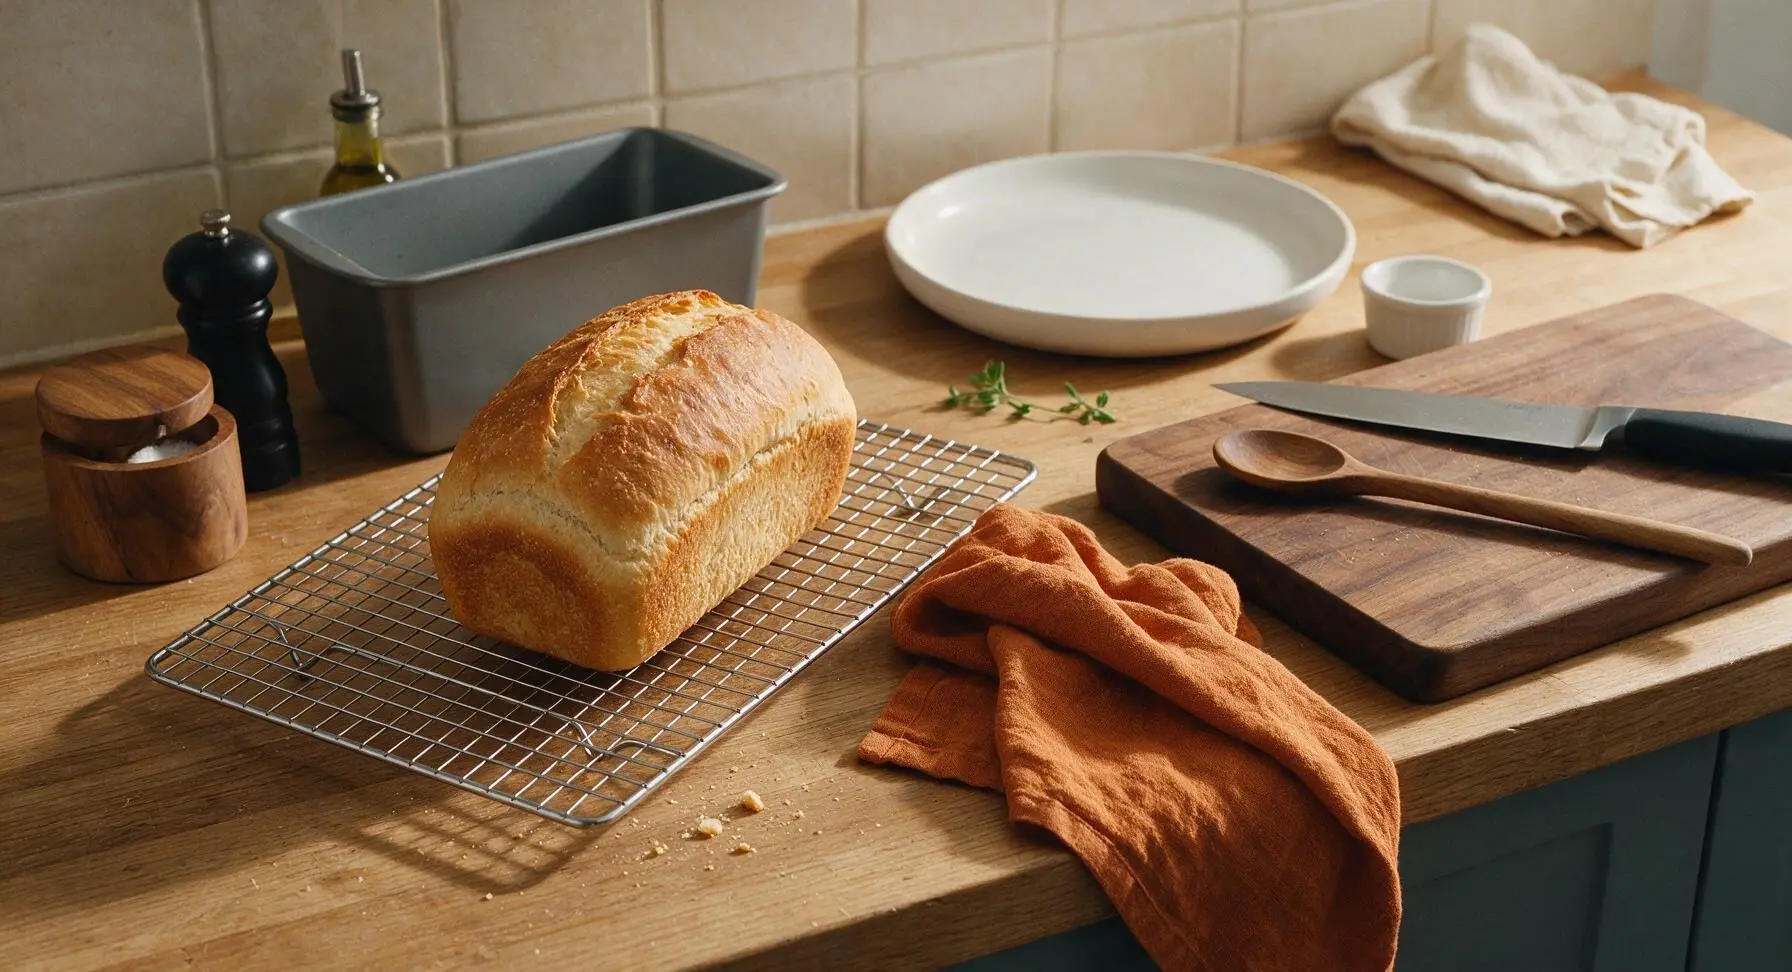
Immediately after removing the pan from the oven, run the silicone scraper along the edges of the pan to loosen the bread, then tip the loaf out onto the matte chrome wire cooling rack. Let the bread cool completely for 1 full hour before slicing—cutting warm bread will cause gummy, compressed crumb, so resist the urge to slice early. The crust will soften slightly as it cools to the perfect tender texture.
Tips
2.Check your milk temperature before adding yeast: milk warmer than 120°F (49°C) will kill active yeast, leading to little to no rise, while milk colder than 100°F (38°C) will slow yeast activity and double required rise time.
3.Resist slicing the loaf warm: let it cool a full hour on the rack so the internal crumb structure sets. Cutting warm bread compresses the soft crumb, leading to gummy, uneven slices instead of clean cuts perfect for sandwiches and toast.






OMG this bread is a total game changer! I’ve been scared to try homemade bread for years because I thought it’d be too fussy, but this was so straightforward. My kids devoured half the loaf warm with butter before it even fully cooled. Perfect for our weekly sandwich meal prep!
Really solid recipe! Turned out soft with just the right amount of chew, perfect for turkey and avocado sandwiches. Only knock is I wish it had a little more crust for my taste, but that’s just personal preference. Brought a loaf to our neighborhood potluck last weekend and it was gone in 10 minutes.
SO good and cheap to make! I’m a broke college student living off campus and this costs like a quarter of what a decent loaf from the grocery store does. Made two loaves yesterday and used one for peanut butter toast all week, the other for grilled cheeses last night with my roommates. 10/10
Wait I’ve never successfully baked anything that didn’t come out of a box mix before and this turned out PERFECT on the first try? I was so nervous about kneading it right but the instructions were so easy to follow. My roommate said it tastes like the fancy artisan bread we pay $8 for at the farmers market lmao
This is our new go-to sandwich bread! We go through a loaf and a half a week in our house for school lunches, breakfast toast, quick ham and cheese melts after soccer practice. Cook time is so short I can throw it together while the kids are doing homework and have it ready for dinner.
Tasted great but mine sank a little in the middle? I followed the measurements exactly, used all purpose flour like the recipe said, not sure what went wrong. Still edible, just not as tall and fluffy as the photos look.
Made this for our church potluck on Sunday and had three people ask me for the recipe! I brushed the top with a little melted butter and sprinkled on some sesame seeds before baking for a little extra flair, and it was chef’s kiss. Perfect texture for slicing thin for ham sandwiches, doesn’t fall apart at all.
Finally a sandwich bread that doesn’t get all soggy when I load it up with hummus, roasted veggies, and sprouts! Store bought bread always turns mushy by lunch time when I pack my sandwiches for work, but this holds up perfectly even after 4 hours in my lunch bag. Game changer for work lunches fr.
My partner has been asking for homemade bread forever and I finally worked up the courage to try this recipe. It came out so good she thought I bought it from the bakery down the street! We used it for French toast this morning and it was *chef’s kiss*, even better as French toast than it was for sandwiches tbh.
Great base recipe! I swapped half the all purpose flour for whole wheat to make it a little heartier and it turned out amazing. Only reason it’s not 5 stars is I had to bake it an extra 8 minutes to get it cooked all the way through with the whole wheat swap, but that’s an easy fix.
I’ve been baking bread for over 40 years and I have to say, this is one of the most straightforward, reliable sandwich bread recipes I’ve come across for new bakers. No fancy equipment needed, no weird ingredients, turns out consistent every single time. I’ve made it three times in the last two weeks.
Made mini loaves of this for our tailgate last weekend and used them to make pulled pork sliders! Everyone was raving about how soft and fresh the bread was, I didn’t even tell people I made it from scratch until half the sliders were gone. So easy, will absolutely be making this for every tailgate this fall.
Wait why did I ever buy bread from the store? This is so much cheaper, tastes better, and my whole apartment smells like a bakery for hours after I make it. I added a little honey to the dough this last batch for a tiny bit of sweetness and it’s perfect for morning toast with jam.
My dog literally sat by the oven the entire time this was baking, begging for a bite. I gave her a tiny plain piece once it cooled and she did a little happy dance. Even the pup approves! The bread itself is so soft, slices perfectly for my turkey and cheese sandwiches for work. 10/10, will be a staple in my house.
I work 12 hour shifts so I don’t have a ton of time for fancy cooking, but this is so easy I can mix up the dough before I leave for a shift, let it rise in the fridge while I’m at work, and pop it in the oven when I get home. I’ve been making a loaf every Sunday to take for quick meals between shifts, it’s a lifesaver.
I used this bread to make homemade garlic bread to go with our spaghetti night last night and it was INCREDIBLE. The soft inside soaked up all the garlic butter perfectly and the edges got all crispy and toasty. My family said it was better than the garlic bread we get at our favorite Italian spot. Will definitely be repurposing every leftover loaf for garlic bread from now on.
Super easy to make even in my tiny studio apartment kitchen with just a hand mixer and a regular loaf pan! I was worried I didn’t have the right equipment but I didn’t need anything fancy. Only thing is I wish the recipe made slightly bigger loaves, my pan is a little large so the loaf came out a little shorter than I expected, but that’s on me for using the wrong pan size.