
easy stovetop mac and cheese

title 1
easy stovetop mac and cheese
⏱️ cook time 15 minutes
🍽️ servings 4
⚡ Difficulty easy

intro

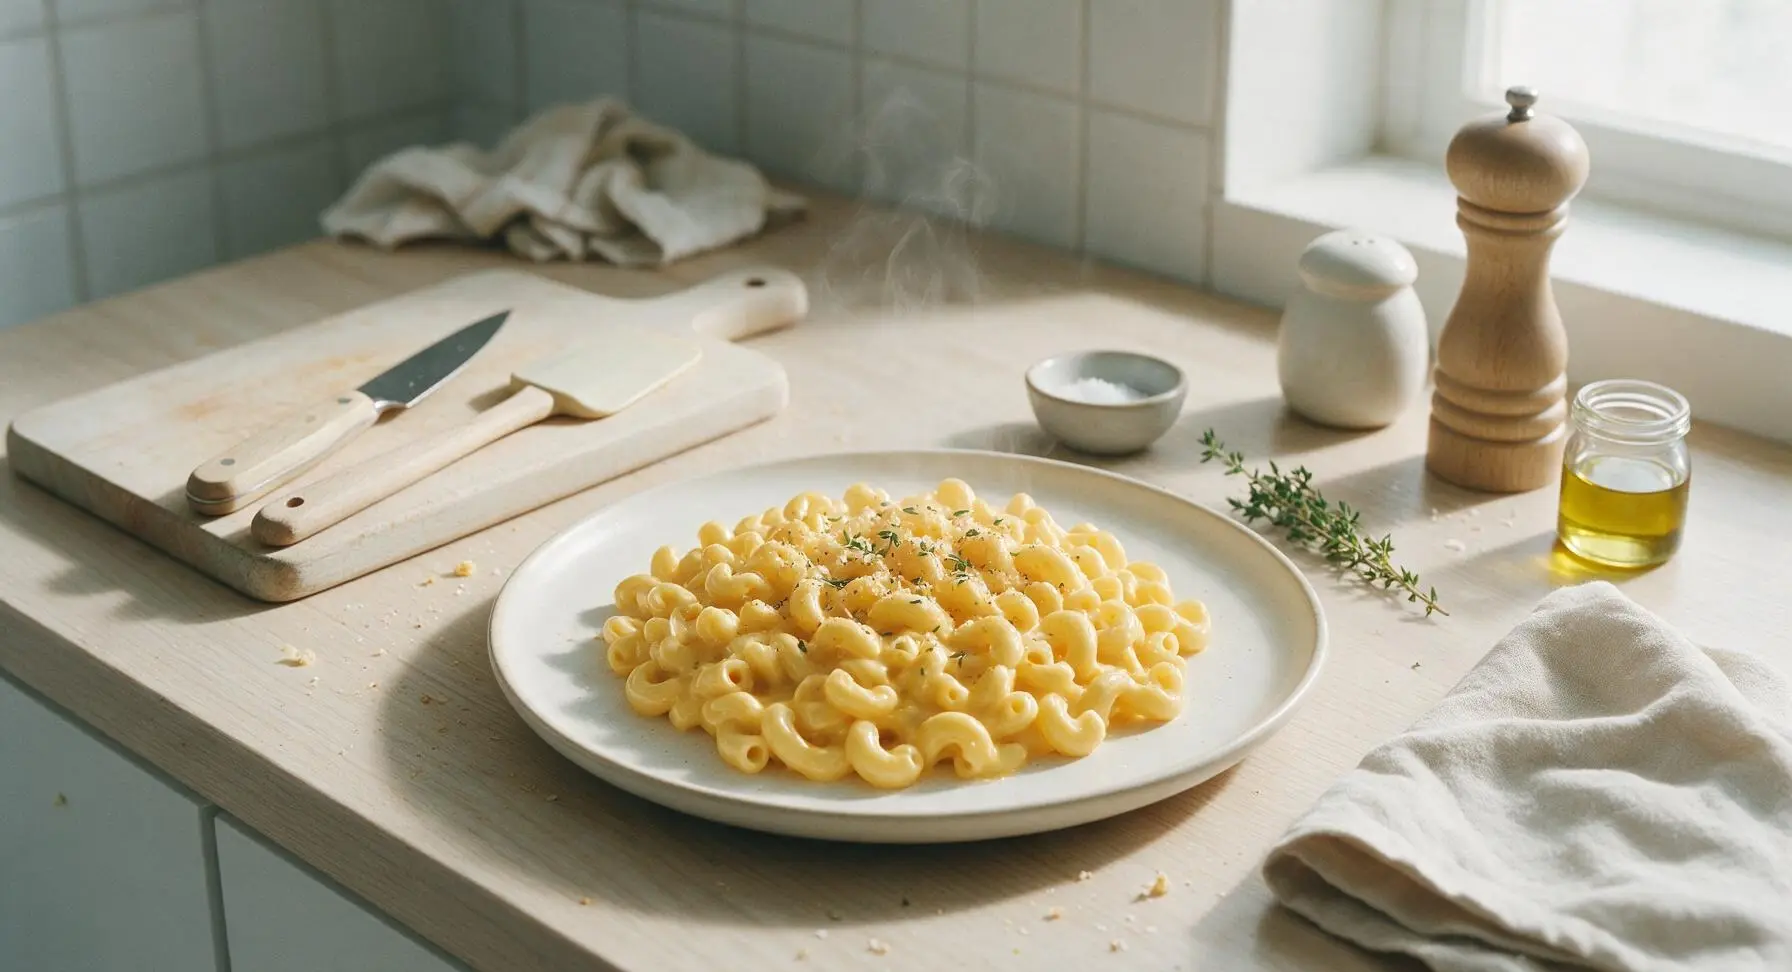
Velvety, nostalgic stovetop mac and cheese with zero fussy steps, ready in 20 minutes. Creamy, smooth cheddar sauce coats every elbow noodle for the ultimate cozy weeknight comfort meal.

Ingredients
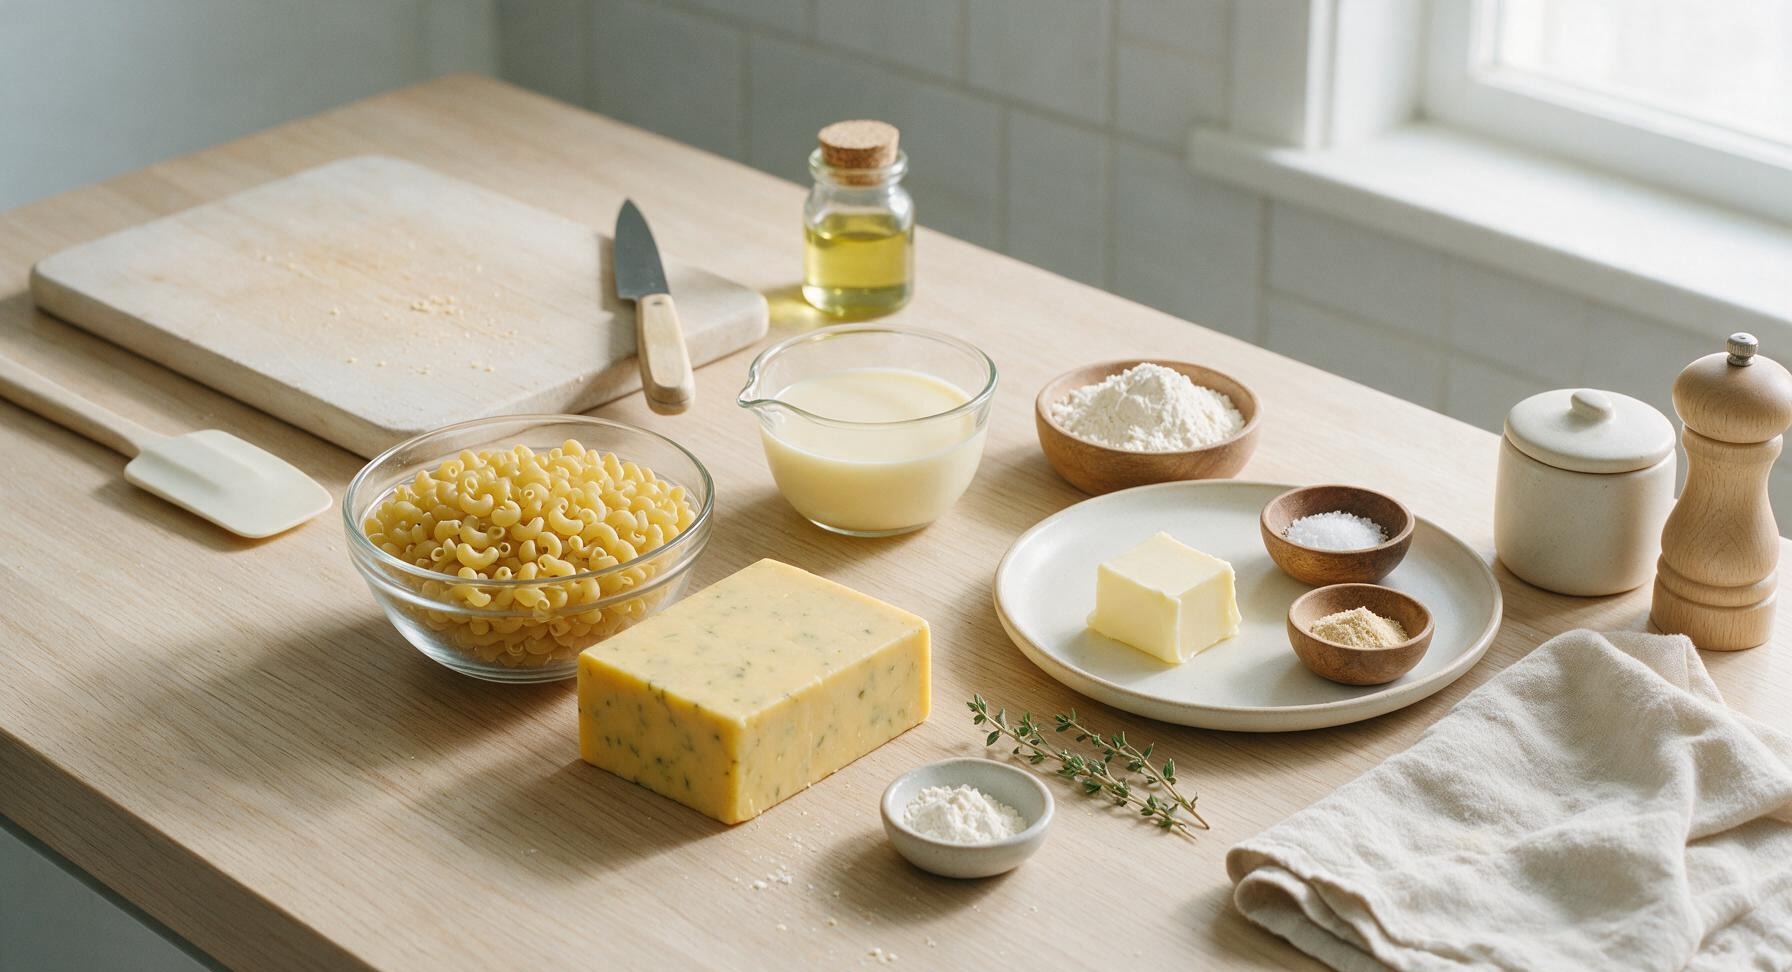
Dry elbow macaroni 8 oz (225g)
Sharp cheddar cheese (block) 8 oz (225g)
Whole milk 1.5 cups (360ml)
Unsalted butter 2 tbsp (28g)
All-purpose flour 1 tbsp (8g)
Kosher salt 1 tsp
Freshly ground black pepper 1/2 tsp
Garlic powder 1/4 tsp

Steps

1

Boil Pasta Water

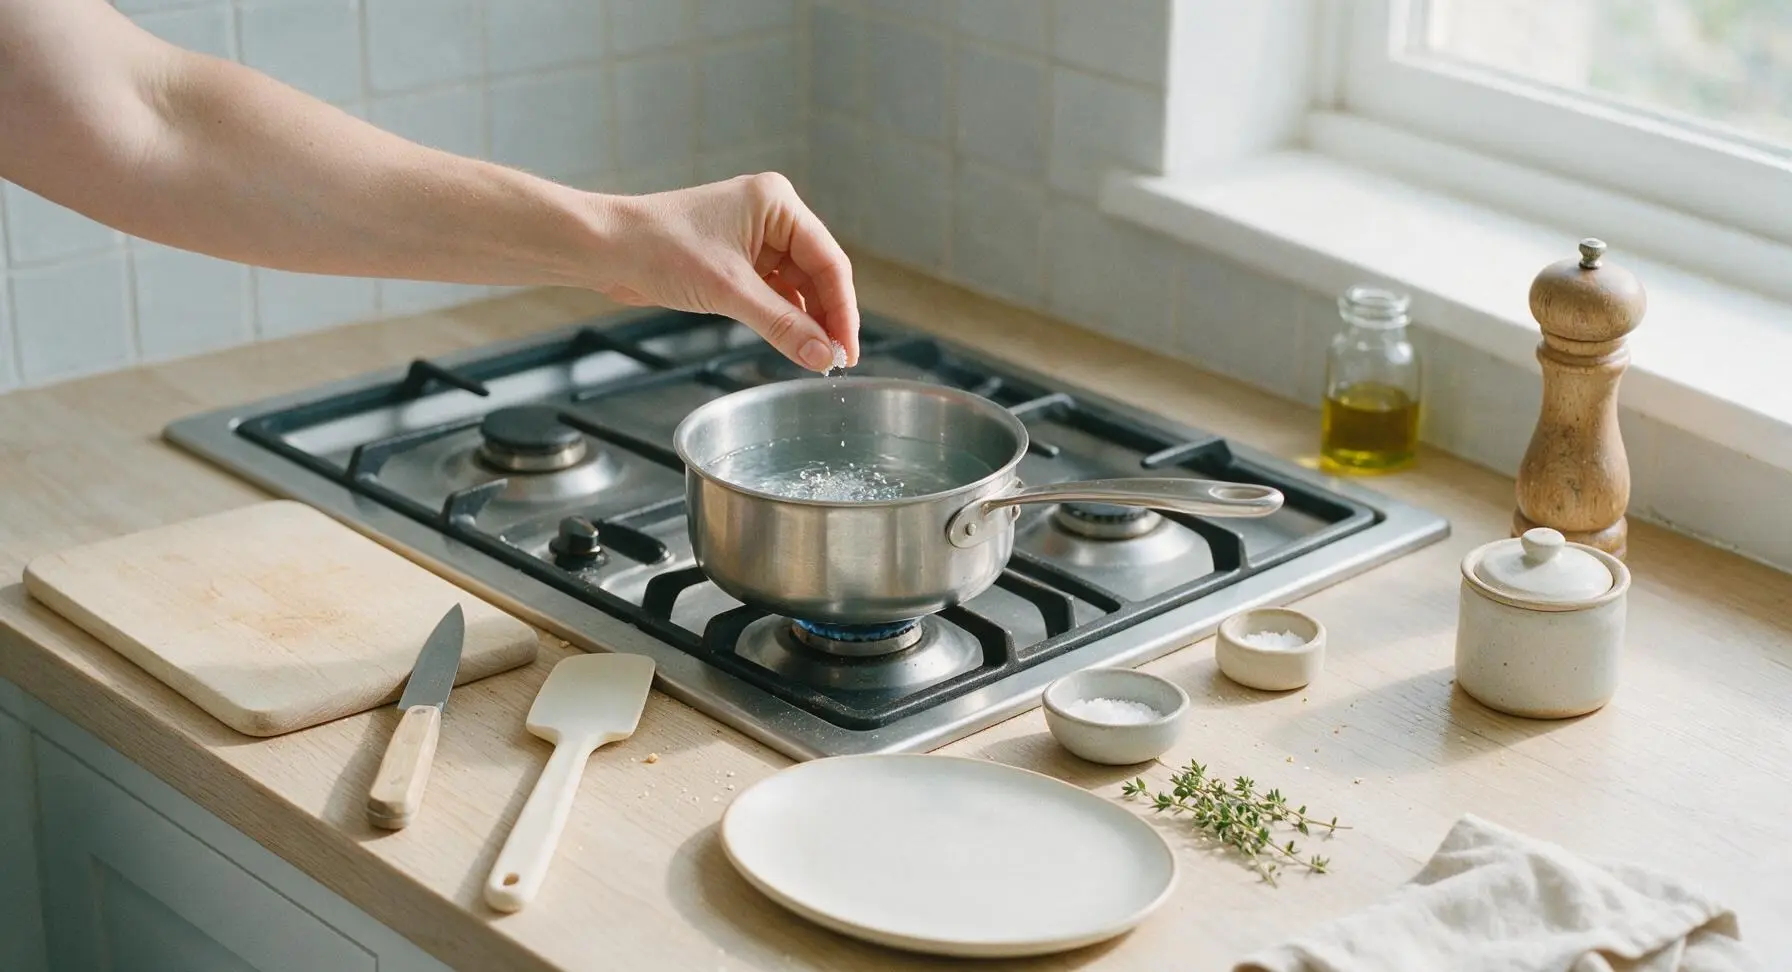
Fill the 3-quart stainless steel saucepan with 6 cups of cold tap water, place it on the central front stovetop burner over high heat. Bring water to a rolling, bubbling boil (approximately 5-7 minutes), then add 1/2 teaspoon of the kosher salt to the water. The water should taste as salty as seawater for properly seasoned pasta.
Step 1
step1:Boil Pasta Water
2

Cook Elbow Macaroni

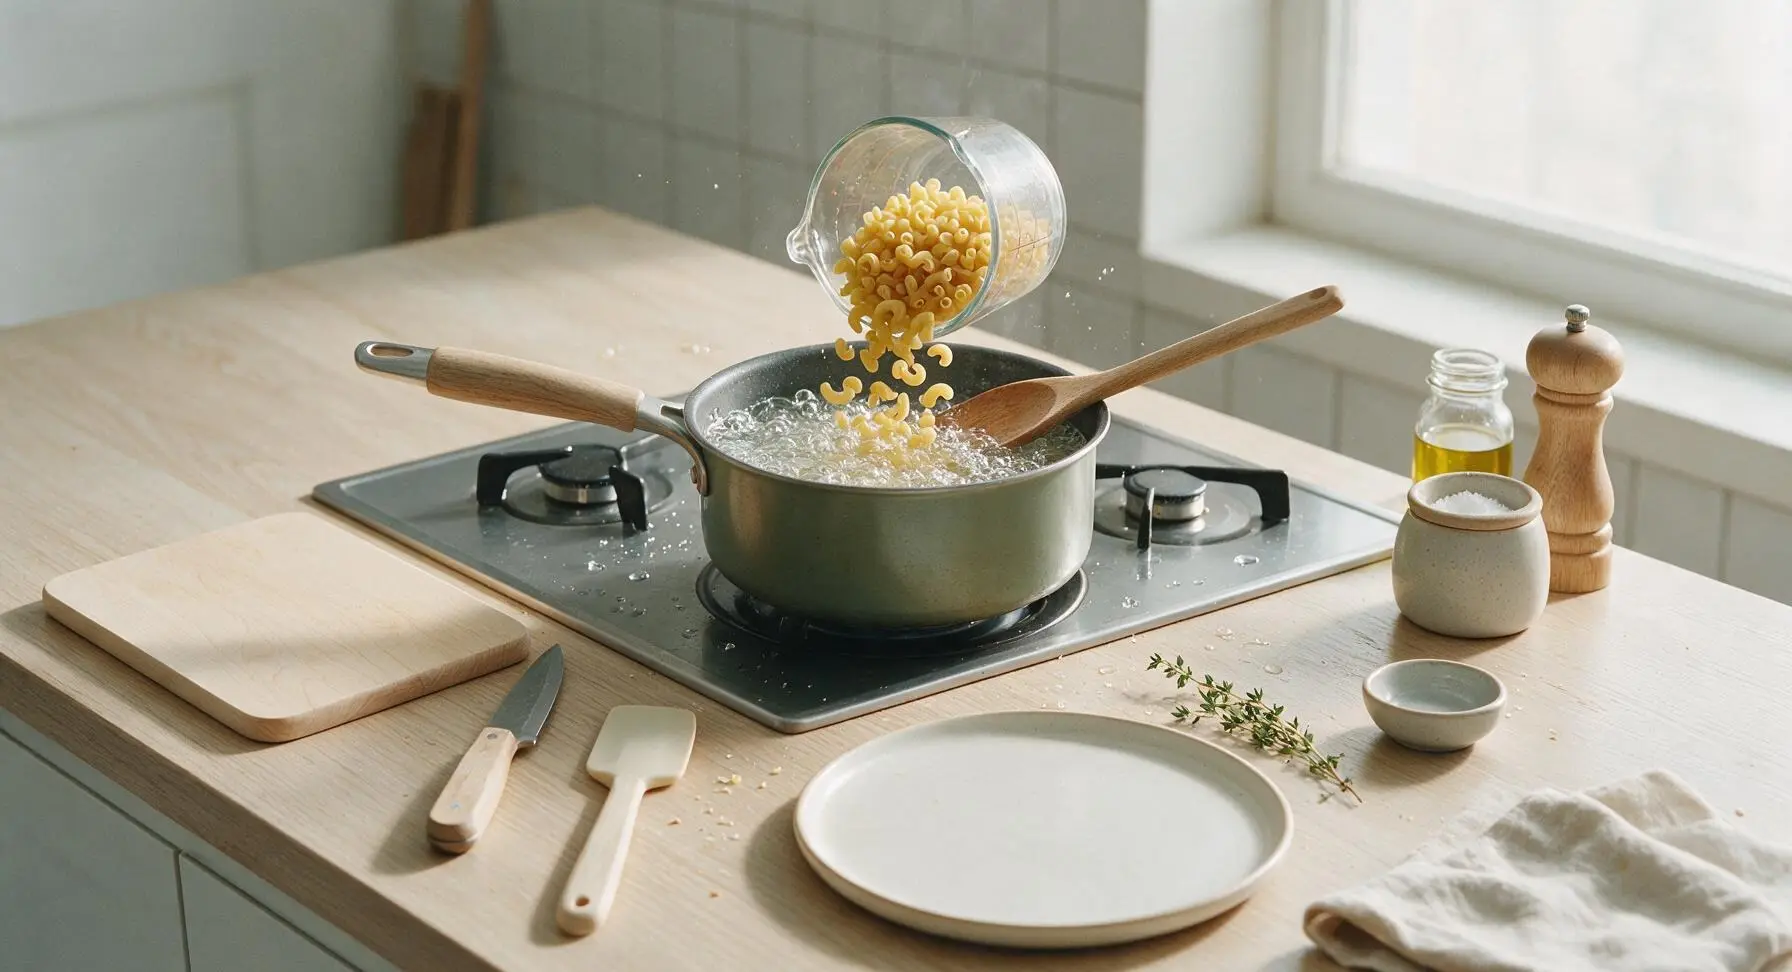
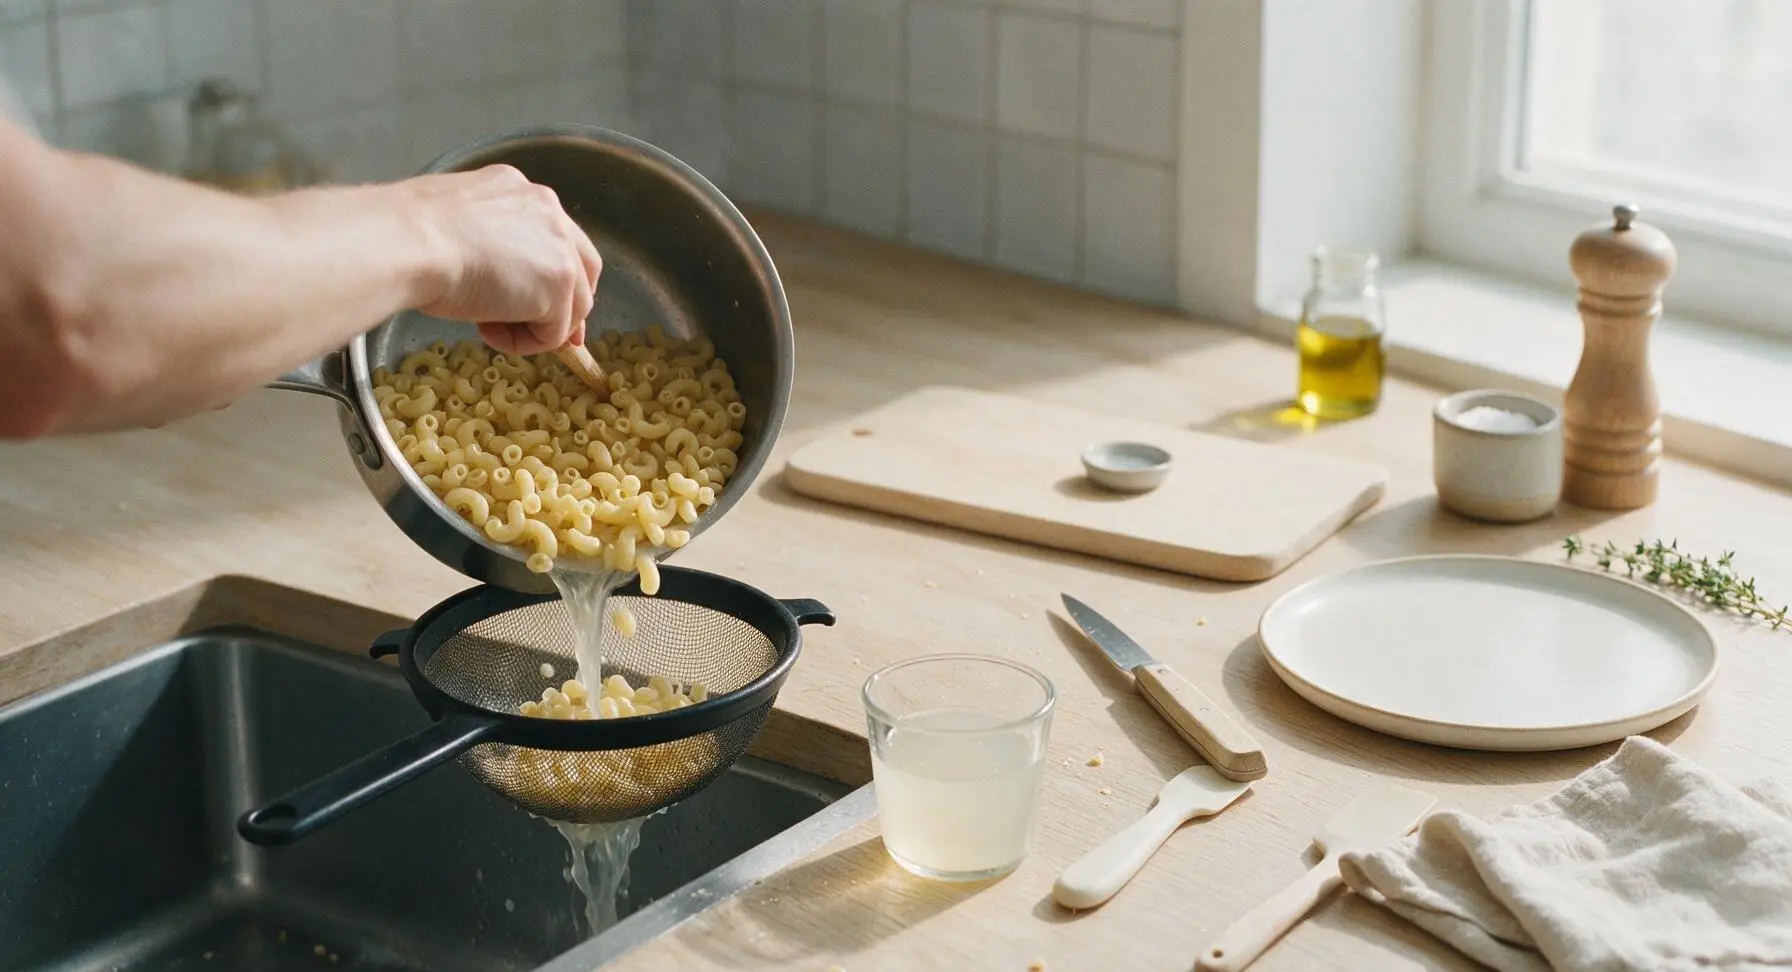
Add the dry elbow macaroni to the boiling salted water, stirring immediately with the beech wood stirring spoon to prevent noodles from sticking to the pan bottom. Cook for 6 minutes, stirring occasionally, until pasta is al dente—firm to the bite with a tiny white core at the center of each noodle, not fully soft. Before draining, reserve 1/2 cup of starchy pasta water in a small cup, then pour pasta into the black metal wire strainer set in the sink to drain fully; do not rinse the pasta, as the surface starch helps the sauce cling.
Step 2
step2:Cook Elbow Macaroni
Step 2
step2:Cook Elbow Macaroni
3

Grate Fresh Cheddar

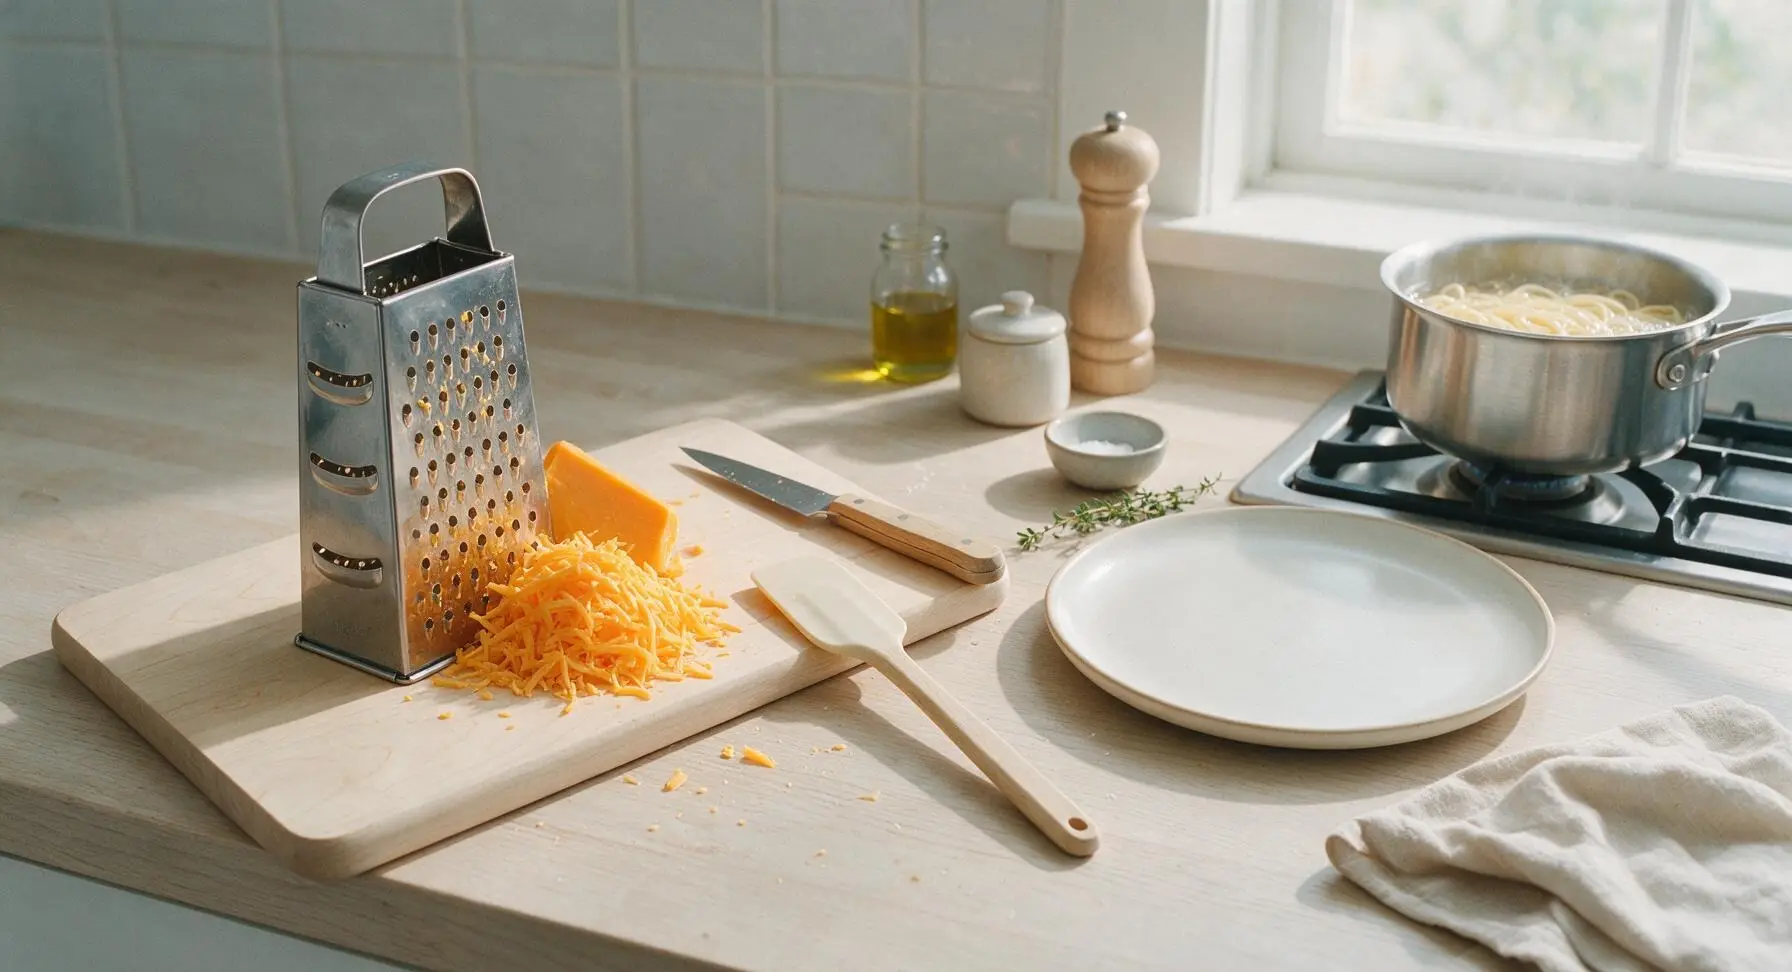
While the pasta cooks, place the honey beech wood cutting board on the clear counter space to the left of the stovetop. Hold the block of sharp cheddar against the coarse side of the stainless steel box grater, grating all 8 oz of cheese into a loose pile on the cutting board. Do not use pre-shredded cheese, as it contains anti-caking agents that make the sauce grainy. Set grated cheese aside until needed.
Step 3
step3:Grate Fresh Cheddar
4

Make Simple Roux Base

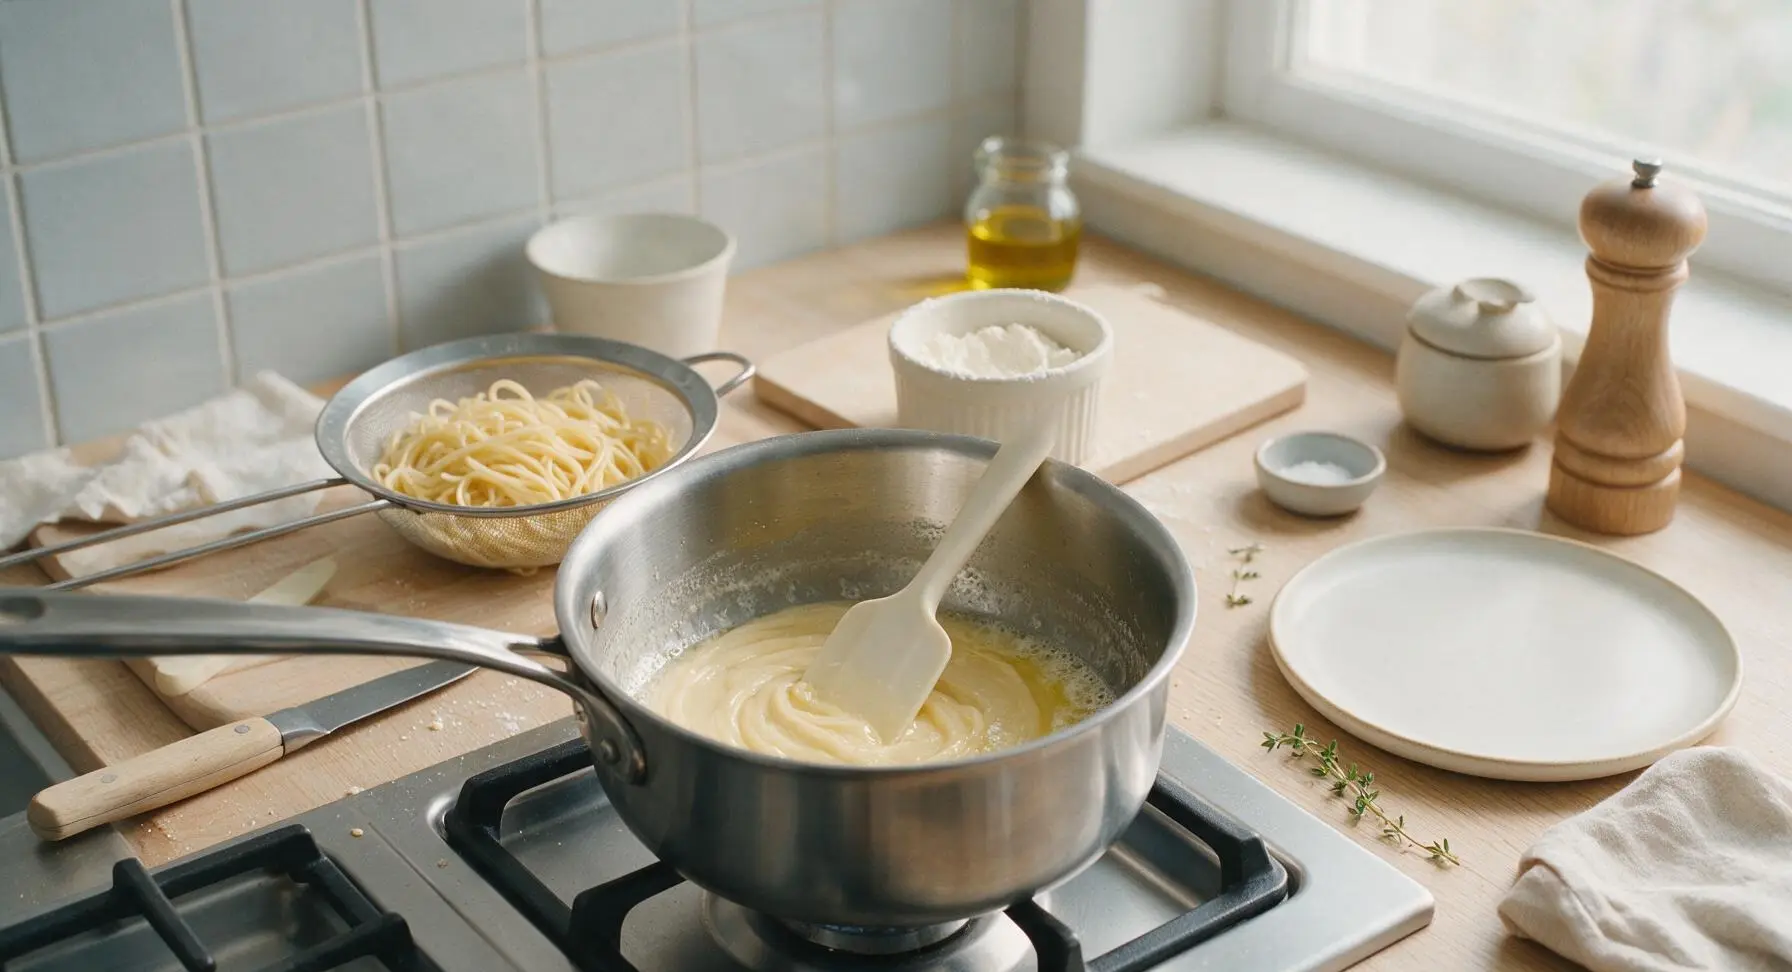
Return the empty 3-quart saucepan to the stovetop over medium-low heat. Add the 2 tablespoons of unsalted butter to the pan, swirling until fully melted and foamy (about 1 minute). Add the 1 tablespoon of all-purpose flour to the melted butter, stirring constantly with the white silicone spatula for 1 minute, until the mixture forms a smooth, pale golden paste with no raw flour lumps. Stir in the garlic powder, remaining 1/2 teaspoon kosher salt, and black pepper, toasting for 10 seconds until fragrant.
Step 4
step4:Make Simple Roux Base
5

Whisk in Warm Milk

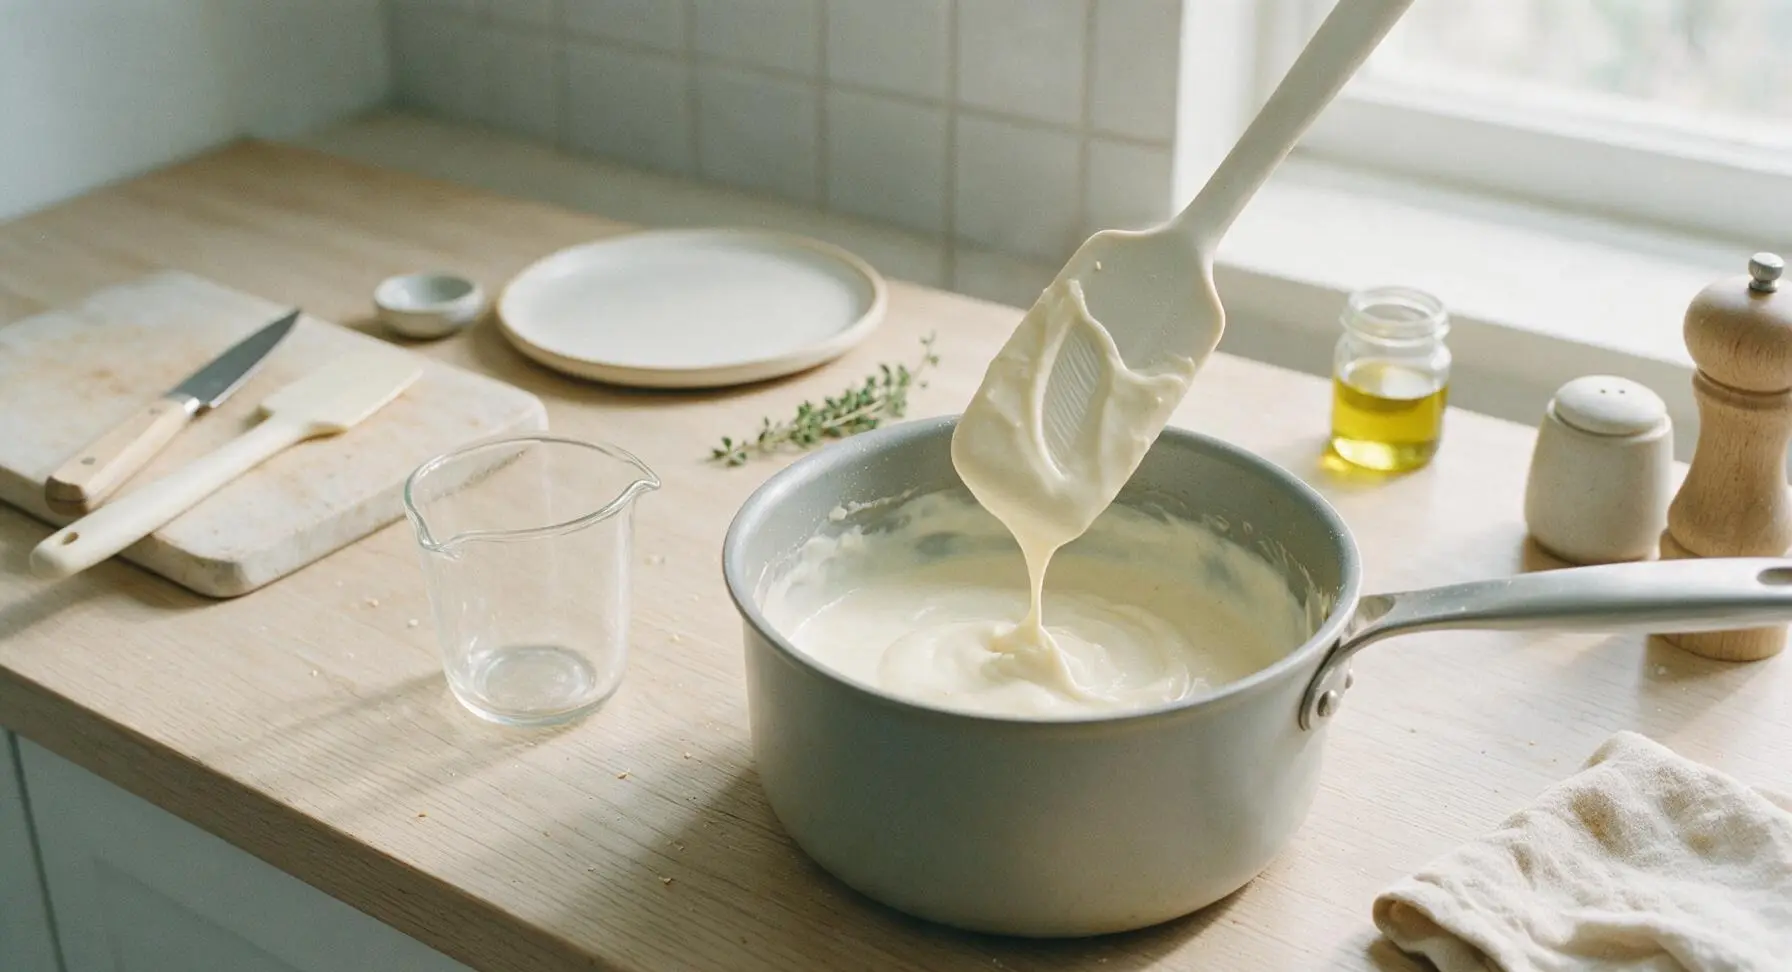
Slowly pour the whole milk into the roux, stirring constantly with the silicone spatula to prevent lumps from forming. Continue cooking the sauce over medium-low heat for 3-4 minutes, stirring frequently, until the sauce thickens enough to coat the back of the spatula—when you run your finger across the coated spatula, the line should hold cleanly without running.
Step 5
step5:Whisk in Warm Milk
6

Melt Cheddar Into Sauce

Turn the stovetop heat to low. Add the grated cheddar cheese to the thickened milk base one handful at a time, stirring slowly with the beech wood spoon after each addition until fully melted and smooth. Do not boil the sauce once cheese is added, as high heat will cause the cheese to separate and turn grainy. The finished sauce should be thick, glossy, and completely smooth with no visible cheese shreds.
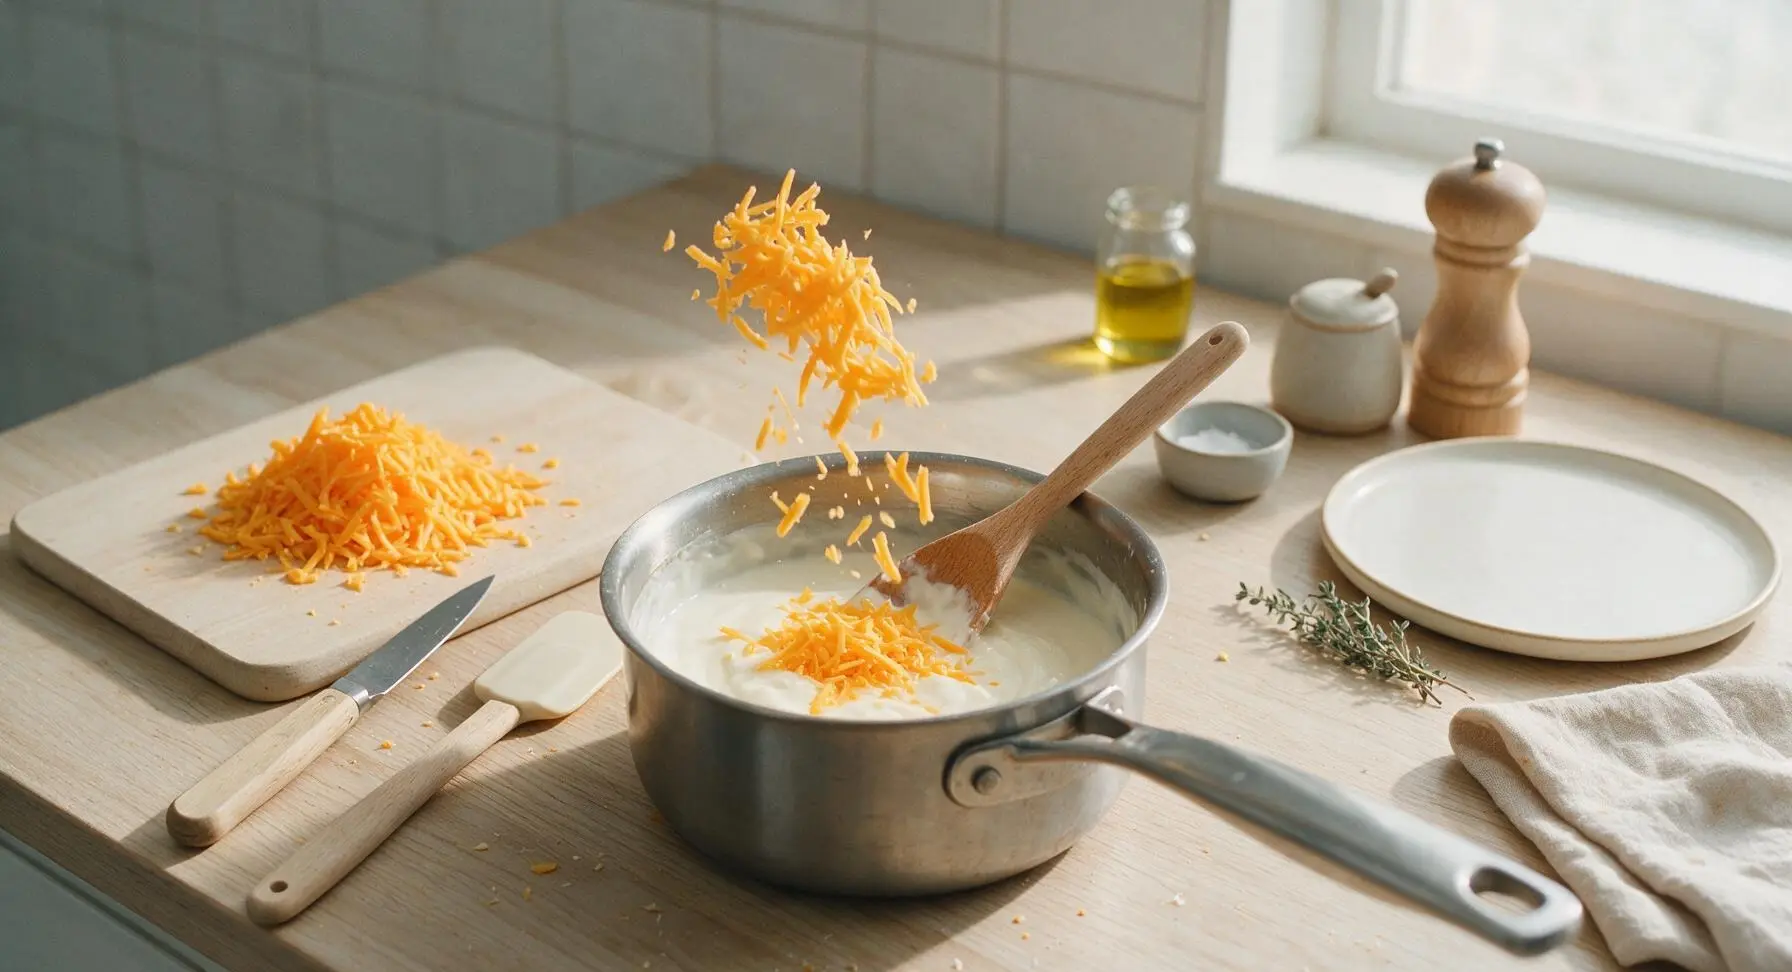
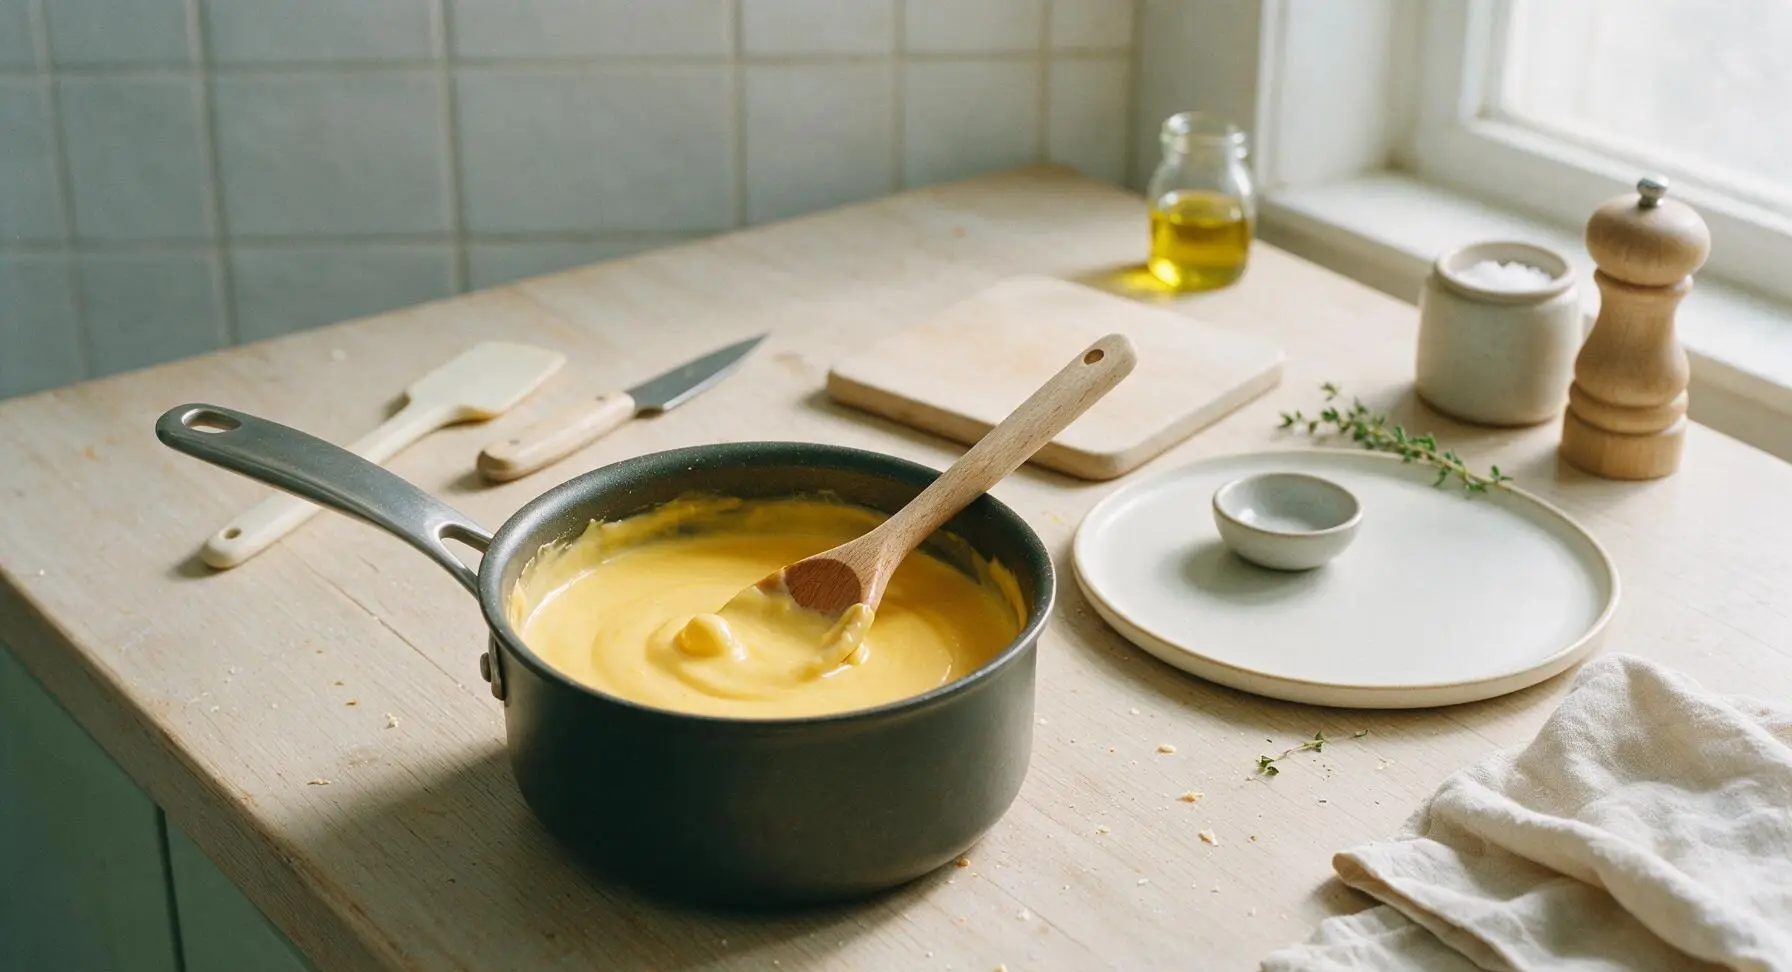
Step 6
step6:Melt Cheddar Into Sauce
Step 6
step6:Melt Cheddar Into Sauce
7

Toss Pasta In Sauce

Add the fully drained elbow macaroni to the pot of cheese sauce, stirring gently with the beech wood spoon until every noodle is evenly coated in the glossy sauce. If the sauce feels too thick, stir in 1-2 tablespoons of the reserved starchy pasta water at a time until it reaches a creamy, pourable consistency that clings to the noodles. Turn off the stovetop heat.
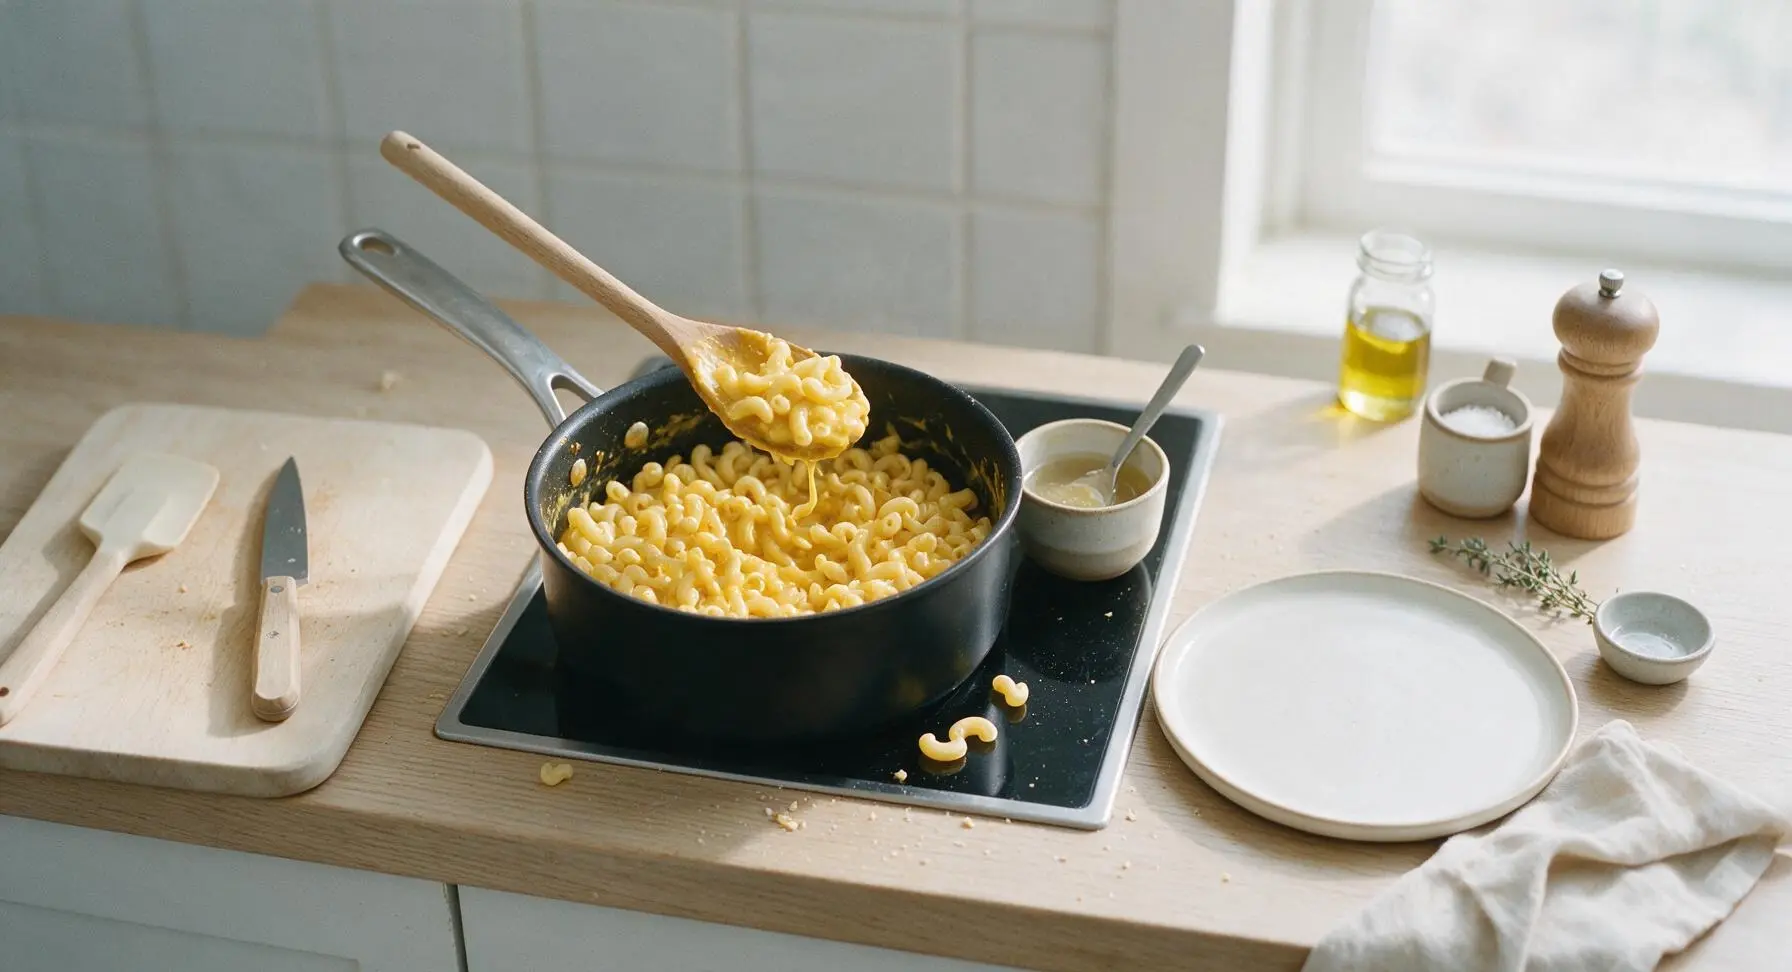
Step 7
step7:Toss Pasta In Sauce
8

Rest, Plate, and Serve

Let the mac and cheese rest in the pan for 2 minutes off heat to allow the sauce to thicken slightly and adhere to the noodles. Scoop a generous portion onto the matte cream white terracotta-rimmed dinner plate, top with an extra crack of black pepper if desired, and serve immediately.
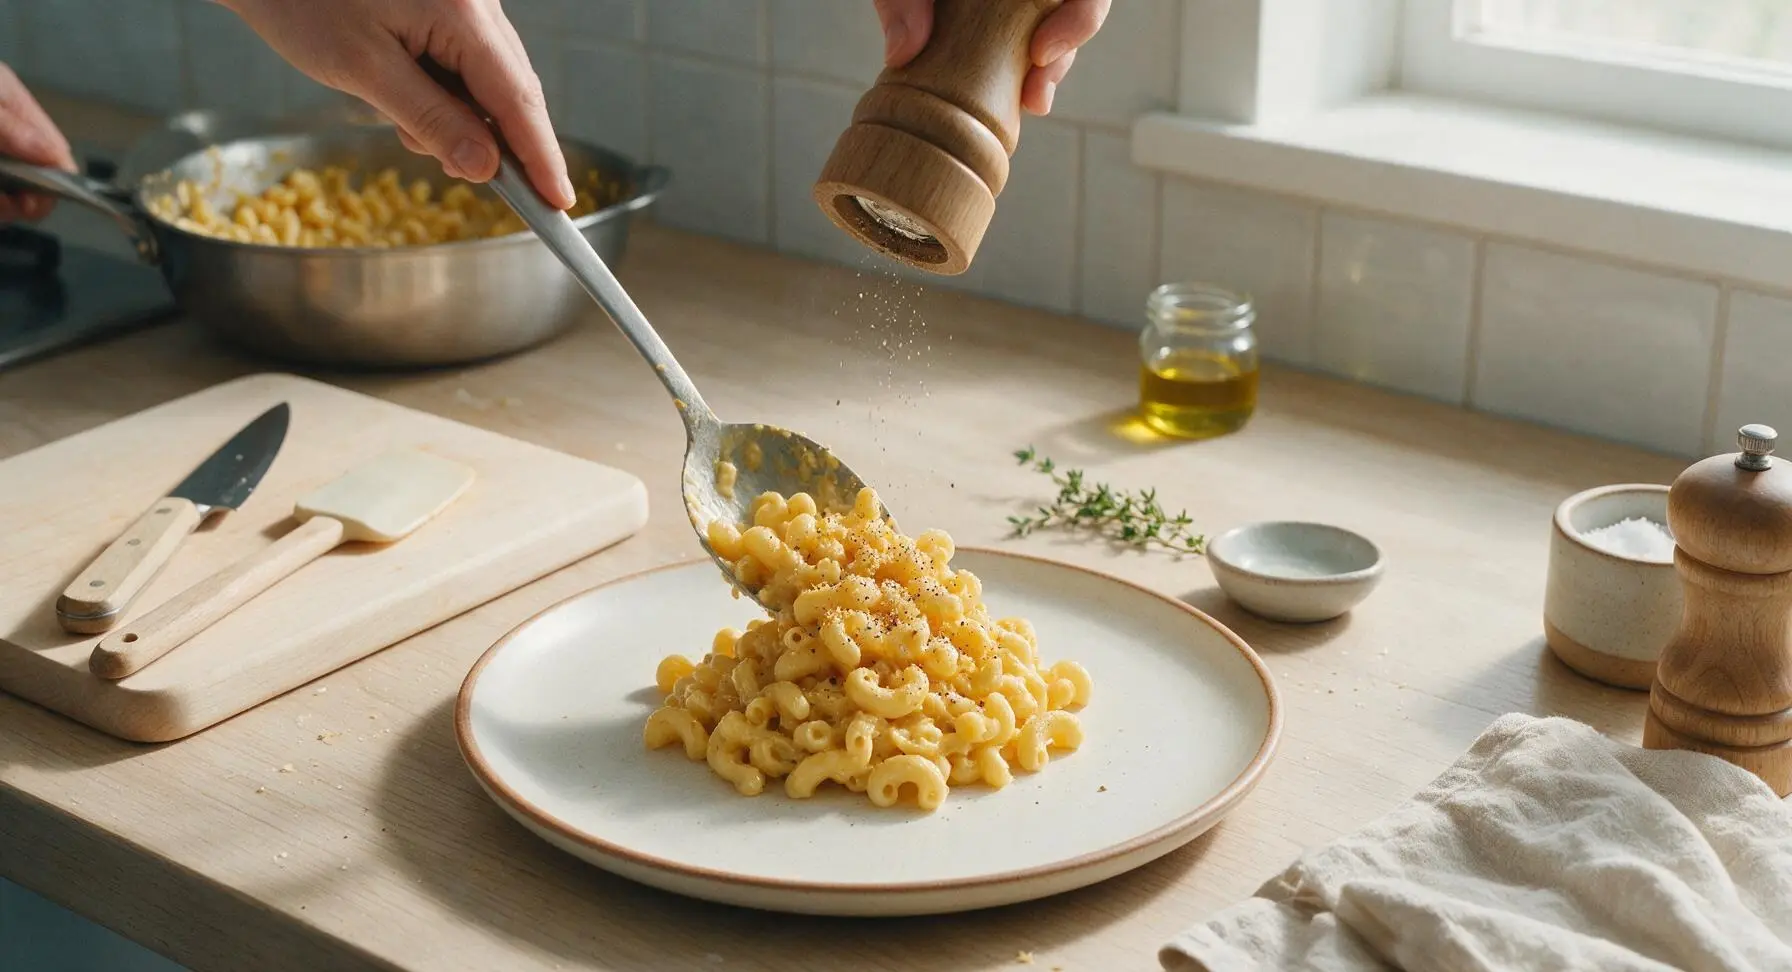
Step 8
step8:Rest, Plate, and Serve

Tips

1.Grate your own cheese from a block instead of using pre-shredded cheese: pre-shredded cheese is coated in potato starch and natamycin to prevent caking in the bag, which melts unevenly and creates a grainy, starchy sauce instead of a smooth, velvety texture.
2.Do not rinse your cooked pasta: the starchy coating on the drained noodle surface acts as a natural binder that helps the cheese sauce cling evenly to every piece, instead of sliding off and pooling at the bottom of the plate.
3.Avoid boiling the sauce after adding cheese: high heat causes the milk proteins and cheese fats to separate, leading to a greasy, curdled texture. Keep heat on low once cheese is added, and add reserved pasta water a tablespoon at a time to thin sauce if it becomes too thick.


✨ You May Also Like

Main Course
🍜 United Kingdom

A showstopping classic of tender seared beef, savory mushroom duxelles, and crisp prosciutto wrapped in flaky golden puff pastry, baked to juicy perfection.

⏱️ 2 hours 1Main Course ★ 4.7
Main Course
🍜 India

Tender charred marinated chicken simmered in a rich, spiced creamy tomato sauce, this iconic Anglo-Indian curry pairs perfectly with basmati rice or warm naan.

⏱️ 50 minuteMain Course ★ 4.6
Main Course
🍜 Thailand

Classic tangy, sweet, and savory Thai stir-fried rice noodles with shrimp, tofu, and crunchy garnishes, balancing all five core Thai flavor profiles.

⏱️ 30 minuteMain Course ★ 4.5
Main Course
🍜 United Kingdom

Crispy golden beer-battered cod and fluffy double-fried chips, served with tangy tartar sauce and malt vinegar: the timeless, beloved British pub comfort classic.

⏱️ 45 minuteMain Course ★ 4.7
Main Course
🍜 Mexico

Smoky, chile-marinated pork tacos with caramelized pineapple, fresh cilantro, and lime: a beloved classic Mexican street food perfect for casual summer gatherings.

⏱️ 1 hour 45Main Course ★ 4.8
Main Course
🍜 United States

Crunchy Fritos corn chips layered with savory beef chili and melted cheddar, topped with cool, zesty fixings for a beloved, cozy Tex-Mex comfort food.

⏱️ 35 minuteMain Course ★ 4.8

easy stovetop mac and cheese:Frequently Asked Questions

1.Do I really need to use block sharp cheddar instead of pre-shredded cheese for this recipe? ▾
You’ll get far smoother, creamier results with freshly shredded block cheddar! Pre-shredded bags are coated in potato starch and anti-caking agents to prevent clumping, which makes your sauce grainy and prevents even melting. It only takes 2 extra minutes to shred your own, and the velvety texture payoff is totally worth that classic cozy bite.
2.Can I use a different pasta shape if I don’t have elbow macaroni on hand? ▾
Absolutely! Elbows are classic because their ridges and curved nooks catch cheese sauce perfectly, but any short, sturdy pasta works great. Try cavatappi, shells, rotini, or campanelle—just cook it to al dente per package directions so it doesn’t turn mushy when tossed with warm sauce. Skip long, thin pasta like spaghetti, which won’t hold the thick cheese coating well.
3.Why did my cheese sauce turn out grainy instead of smooth? ▾
Grainy sauce almost always stems from two common missteps: overheating the sauce once you add cheese, or using pre-shredded cheese with anti-caking coating. Once you stir in cheddar, turn heat to low and never let the sauce boil—high heat makes cheese proteins seize up and turn gritty. Add cheese a handful at a time, stirring gently, for a silky finish.
4.Can I use low-fat milk instead of whole milk to cut calories? ▾
You can, but your sauce won’t be as rich, velvety, or stable. Whole milk’s higher fat content creates a smooth, creamy emulsion with the butter and flour roux, so it won’t separate easily. If you only have 2% on hand, add an extra tablespoon of butter to make up for missing fat, but skip skim milk entirely—it makes a thin, watery sauce that tastes flat.
5.How do I keep my roux from getting lumpy when making the cheese sauce? ▾
Start by melting butter over medium-low heat, then whisk in flour constantly for 1 full minute to cook out the raw flour taste. Slowly pour in milk a splash at a time, whisking nonstop as you go, to work out any lumps before they set. If your roux gets too dark or burns, toss it and start over—it only takes 2 minutes, and it’s the base of your whole sauce.
6.How long does this stovetop mac and cheese take to make from start to finish? ▾
This entire recipe comes together in right around 20 minutes, which makes it perfect for busy weeknights. You can boil your pasta while you prep the cheese sauce on a second burner to cut down on total time—by the time your noodles are al dente and drained, your sauce will be ready to toss together, no extra baking or fussy steps required.
7.Can I add extra mix-ins to this mac and cheese to make it more filling? ▾
Definitely! This base recipe is super customizable. Stir in crispy cooked bacon bits, steamed broccoli florets, diced cooked ham, sautéed onions, a pinch of smoked paprika, or a dash of hot sauce once you combine noodles and sauce. Just stick to ½ to 1 cup of total mix-ins so you don’t dilute that rich, creamy cheddar flavor in every bite.
8.What’s the best way to store leftovers, and how long will they keep? ▾
Let leftover mac and cheese cool completely to room temperature first, then transfer it to an airtight container and stash it in the fridge for up to 4 days. When you reheat it, stir in a splash of extra whole milk as you warm it over low stovetop heat to bring the creamy sauce back to its original smooth texture, since it thickens as it chills.
9.Do I need to bake this mac and cheese after making it on the stovetop? ▾
Nope! That’s the best part of this easy recipe—there’s no extra baking step required. The sauce is fully cooked and velvety straight from the stovetop, so you can serve it immediately once you toss the noodles in the cheese. If you love a crispy breadcrumb top, you can pop it under the broiler for 2 minutes, but that’s totally optional.
10.Why is my cheese sauce so runny and thin even after I add the cheese? ▾
Thin sauce usually means your roux didn’t cook long enough, you added too much milk, or you didn’t let the sauce simmer a couple minutes after adding milk to thicken. If it’s still runny when you add cheese, let it simmer gently over low heat for 2 to 3 minutes, stirring often, until it coats the back of a spoon before tossing in noodles.
11.Can I use a different type of cheese if I don’t have sharp cheddar? ▾
Sharp cheddar delivers that classic, tangy nostalgic mac and cheese flavor, but you can swap in other good melting cheeses if you’d like. Try a mix of cheddar and Monterey Jack for extra melt, mild gouda for a smoky note, or a little American cheese for an ultra-silky texture. Avoid crumbly cheeses like feta as your base, since they don’t melt smoothly.
12.Should I rinse my pasta after draining it for this recipe? ▾
Skip rinsing your pasta! The starchy coating left on drained noodles helps the cheese sauce cling tightly to every elbow, so you get creamy coverage in every bite. Rinsing washes that valuable starch away, which makes your sauce slide right off the noodles and pool at the bottom of your pot. Just drain well, and add pasta straight to the sauce while it’s still warm.
13.How can I make this taste like the nostalgic boxed mac and cheese I grew up with? ▾
For that cozy, familiar boxed vibe, add a tiny pinch of dry mustard powder and a pinch of freshly grated nutmeg to your roux before adding milk—you won’t taste the spices directly, but they amp up cheddar flavor just like the classic seasoning packet. You can also stir in one slice of American cheese for that extra smooth, nostalgic melt that tastes exactly like childhood.

Comments (11)

2 days ago

OMG this is the easiest weeknight mac and cheese I’ve ever made! 15 minutes flat, no roux mess, and my boys devoured two servings each before I even sat down for dinner. I tossed in a handful of frozen broccoli florets at the end to sneak in some veggies, worked perfectly. Already added this to our weekly meal rotation!

yesterday

Wait I never thought to add frozen broccoli! Did you thaw it first or just toss it straight in while the pasta was finishing?

yesterday

Great question! If you’re using frozen broccoli, you can toss it straight in during the last 2 minutes of pasta cooking to thaw and soften it up—no extra steps needed. So glad your family loved the recipe!

1 week ago

Brought this to our neighborhood block party potluck last weekend and people were asking me for the recipe before I even set the dish down! It stays creamy for ages, no weird grainy cheese texture like some stovetop recipes I’ve tried. Only swap I made was using half sharp cheddar half pepper jack for a little kick, *chef’s kiss*

5 days ago

The pepper jack swap sounds insane! Did you add any hot sauce on top too?

3 days ago

I set out a bottle of hot sauce on the side for people who wanted extra heat, but honestly the pepper jack gave it enough zing for most folks! Definitely give it a shot next time you make it.

3 days ago

Game changer for my Sunday meal prep! I make a big batch on Sundays and portion it out for lunches all week, it reheats way better than the boxed stuff. I was worried it would get clumpy when I microwaved it, but a tiny splash of milk when reheating makes it perfectly creamy again. 10/10, no notes.

2 days ago

So happy to hear this works for your meal prep! That little splash of milk trick is exactly what we recommend for leftovers, great call.

2 days ago

Wait how long does it keep in the fridge for? I’m in a dorm with a tiny mini fridge and want to make sure I don’t make too much!

5 days ago

Wait I’ve tried so many homemade mac and cheese recipes that my kid turns his nose up at, but he asked for SECONDS of this! I didn’t have heavy cream on hand so I used half and half, and it still came out so rich and creamy. Only thing is I added a little extra cheese (can you ever have enough?) and it was perfect.

3 days ago

Did you use regular pasta or gluten free? I need to make this for my daughter who’s GF and wondering if it holds up!

2 days ago

It works beautifully with gluten-free elbow pasta! Just cook it al dente per the package directions before adding the cheese, and you won’t notice a difference. Also, extra cheese is always encouraged around here 😉

30 minutes ago

This was SO good, but I accidentally overcooked the pasta a little and it got mushy by the time I stirred the cheese in. Any tips for getting the pasta texture right? I’m still pretty new to stovetop cooking lol

5 minutes ago

No worries, that happens to all of us! Next time, pull the pasta off the heat about 1 minute before it hits al dente (it will keep cooking a little when you stir in the cheese and residual heat from the pot). It’ll come out perfect every time!

2 weeks ago

Made this as a side for our weekend rib dinner and it was the perfect complement! Way better than the usual potato salad I make, my brother in law ate three helpings. Will be making this for every cookout from now on.

1 week ago

Saving this for my next cookout! Does it hold up okay if I make it an hour before everyone shows up, or does it get congealed?

5 minutes ago

I was fully expecting this to be mid because it’s so simple, but holy cow it’s better than the fancy baked mac I spent an hour on last month. No weird flour aftertaste, just straight cheesy goodness. 15 minutes is not a lie either, I timed it!

just now

Right?! I was skeptical too because it doesn’t have a roux, but the cheese melts so smoothly with the pasta water trick. Obsessed.

yesterday

Made this for my partner last night for our casual at-home date night and they thought I spent forever on it! Little did I know it came together while our chicken was air frying. Added a sprinkle of breadcrumbs on top toasted in butter for a little crunch, 10/10 would recommend.

yesterday

The toasted breadcrumb topping is such a brilliant upgrade! Love that you paired this with air fryer chicken for a cozy date night, sounds like the perfect evening.

2 hours ago

Added a teaspoon of cajun seasoning and a handful of crispy bacon bits and this tasted like something you’d order at a fancy gastropub. So easy, so flavorful, I will never buy boxed mac again. Worth every penny of the extra cheese I bought.

just now

First recipe I’ve made in my new apartment that didn’t turn out burnt or weird! The instructions were so straightforward, no confusing steps, and I already had almost all the ingredients in my pantry. My roommate walked in and thought I ordered takeout lmao

1 week ago

Really solid base recipe! It came together super fast and was plenty creamy, but I found it a little plain on its own. Easy to dress up with hot sauce, extra seasonings, or mix-ins though, so it’s a great starting point if you like to customize your mac. Will make again for sure.



