
egg nog drink
intro
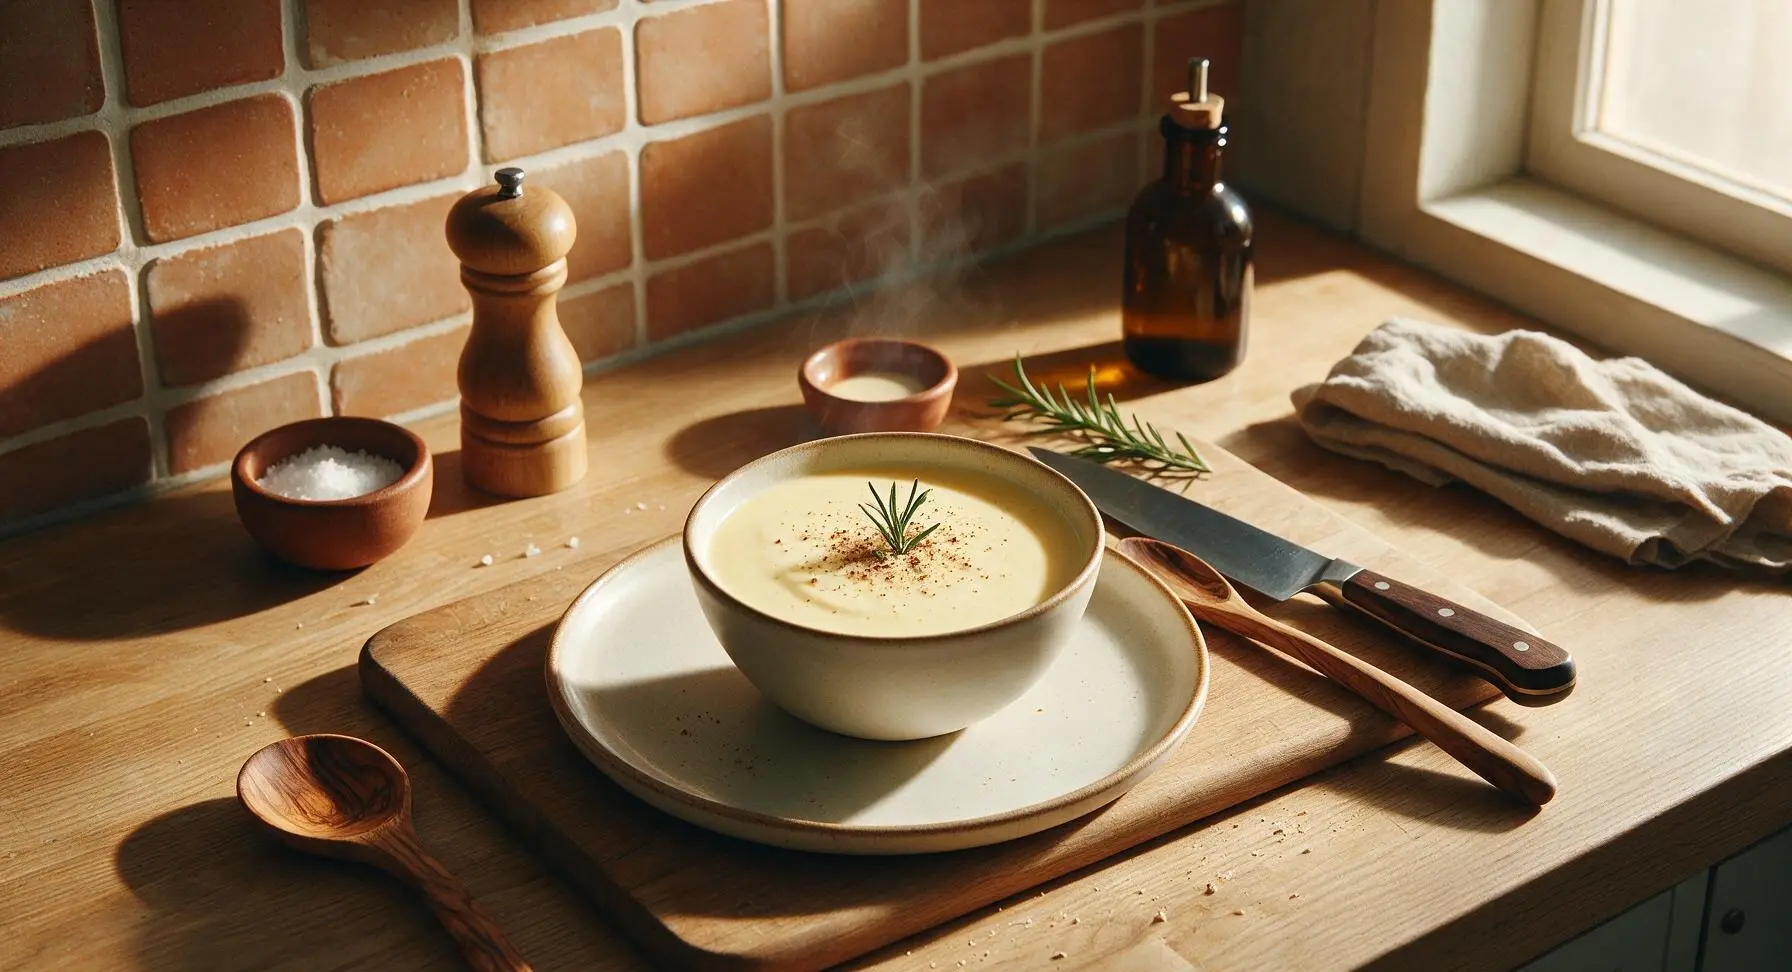
Rich, velvety, warmly spiced homemade eggnog is the ultimate cozy Christmas treat, with smooth custard, fresh nutmeg, and an optional subtle bourbon kick for winter gatherings.
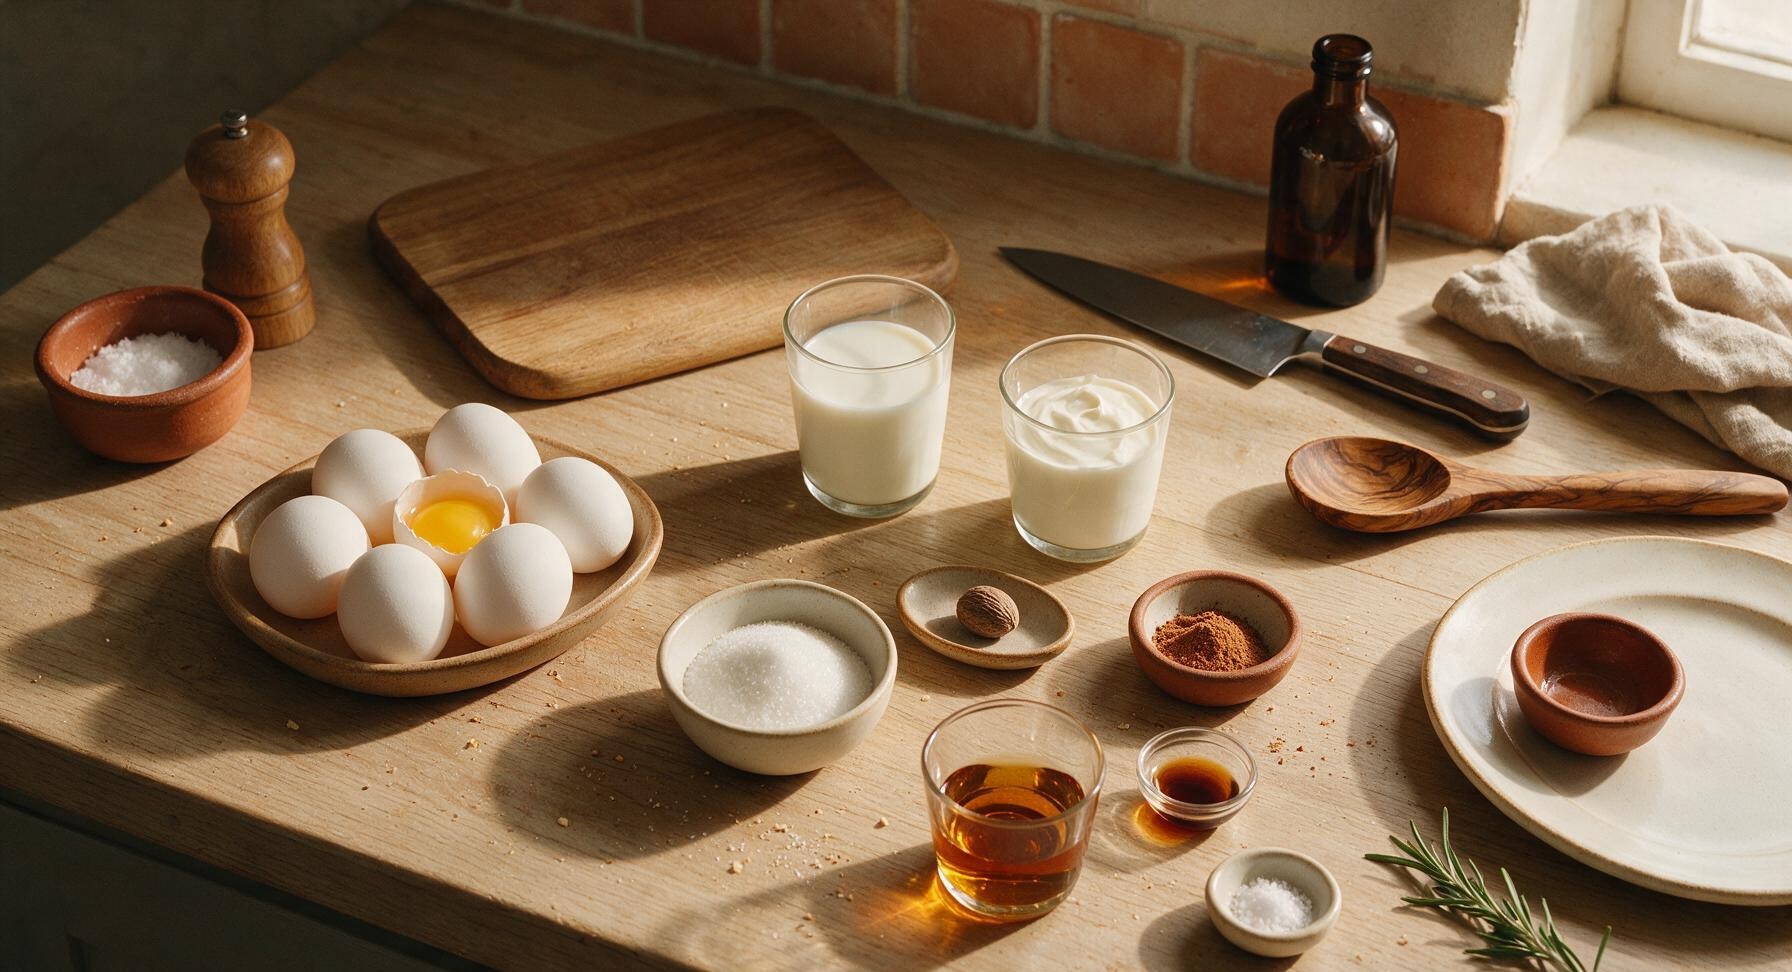
Ingredients
Steps
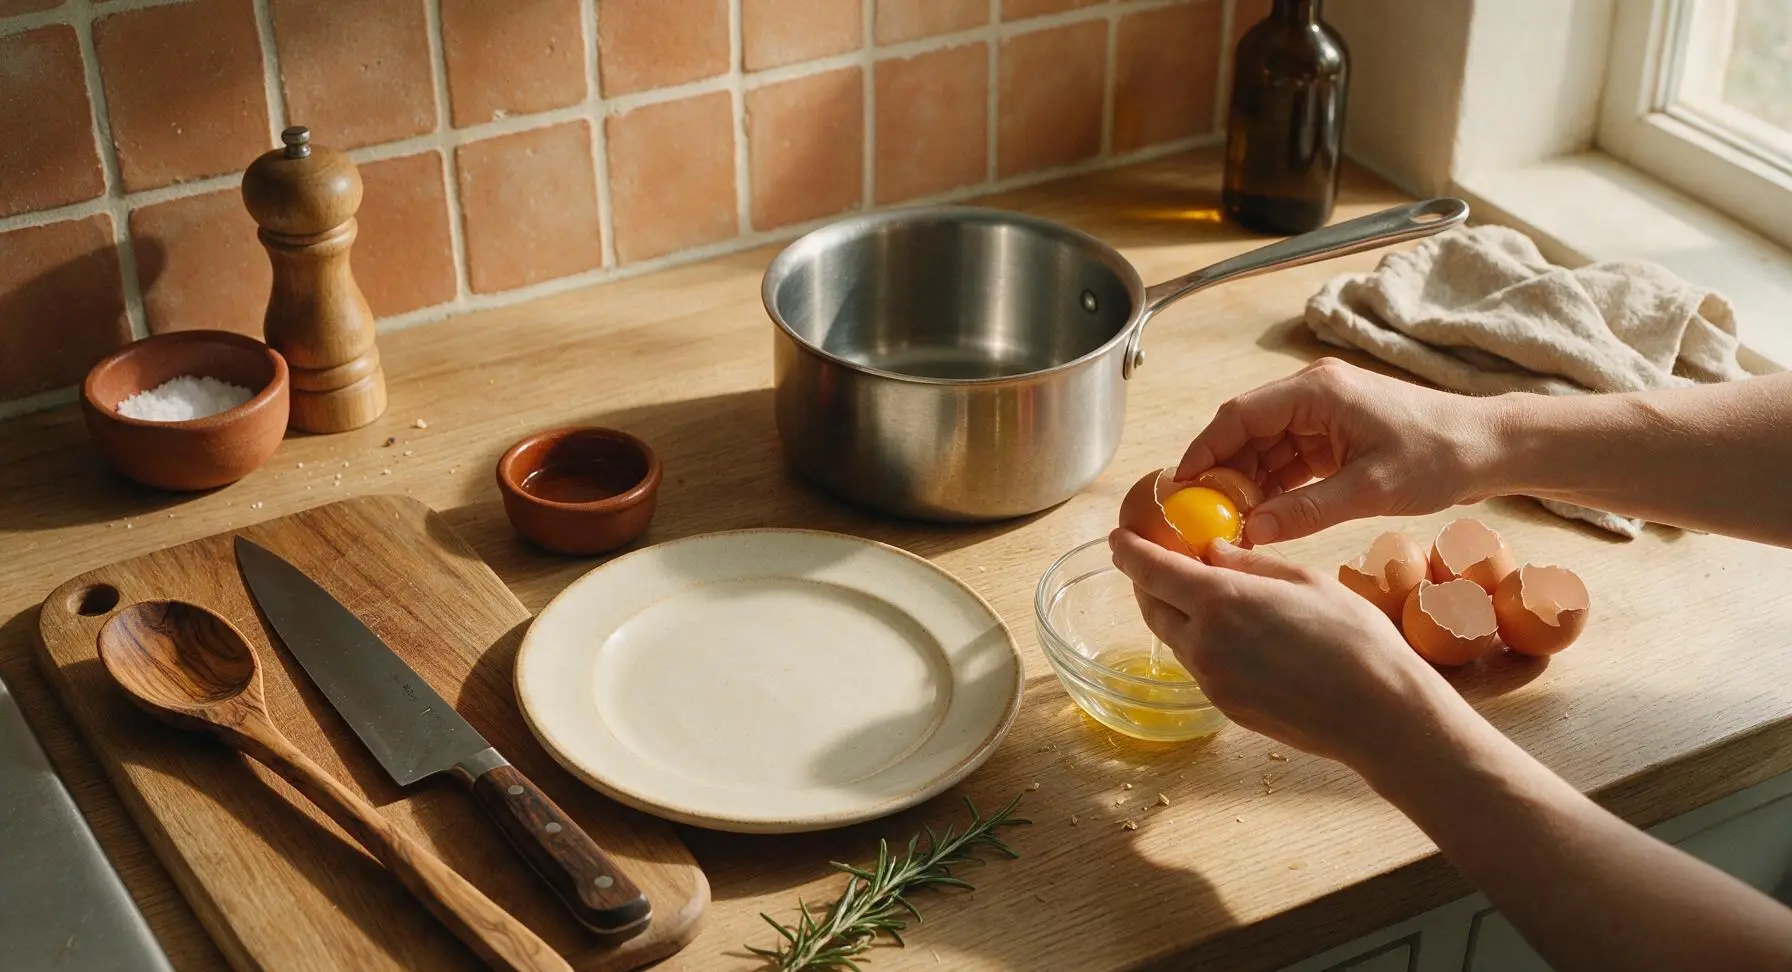
Separate Egg Yolks
Crack 6 large pasteurized eggs one at a time over a small clear glass prep bowl, carefully separating yolks from egg whites to avoid breaking any yolk into the whites. Transfer the egg whites to a sealed container and refrigerate for later use for an optional fluffy whipped topping. Place all 6 yolks into the 3-quart heavy-bottomed stainless steel saucepan positioned on the center of the work zone.
Whisk Yolk Sugar Base
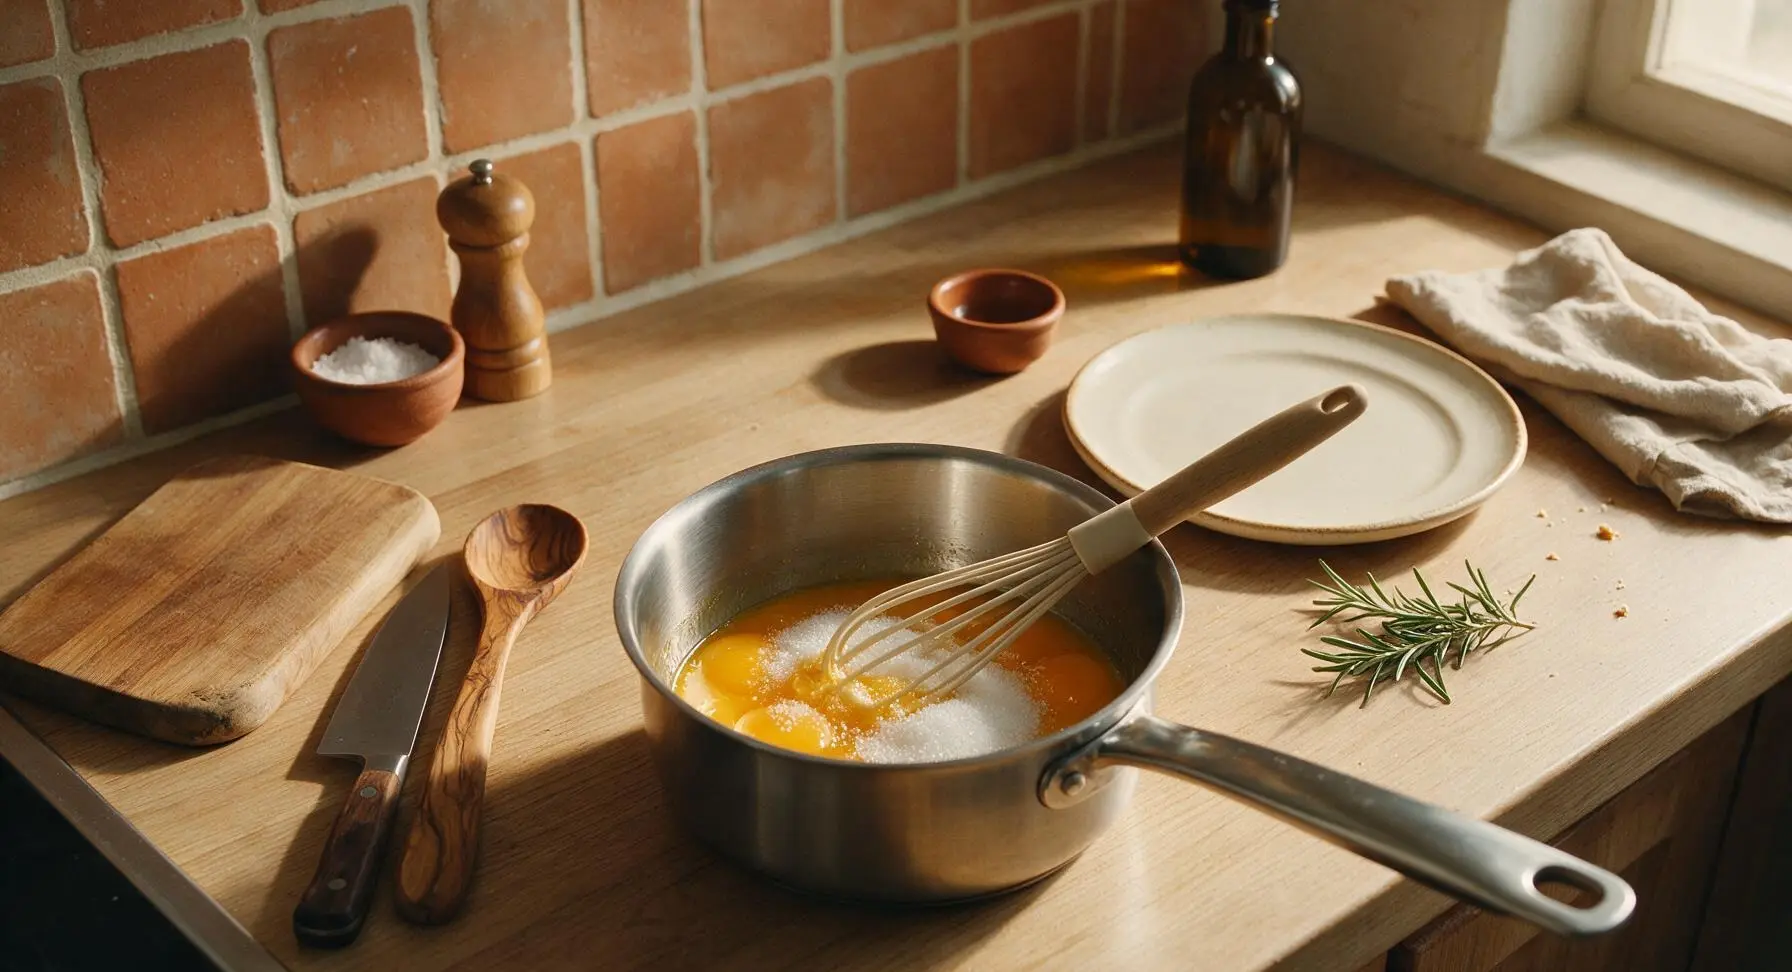
Add 1/3 cup granulated white sugar and 1/8 tsp fine sea salt to the egg yolks in the saucepan. Use the silicone whisk to beat the mixture continuously for 2 full minutes, until it turns pale lemon-yellow, thickens noticeably, and drips in a slow, thick ribbon when the whisk is lifted 2 inches above the pan surface.
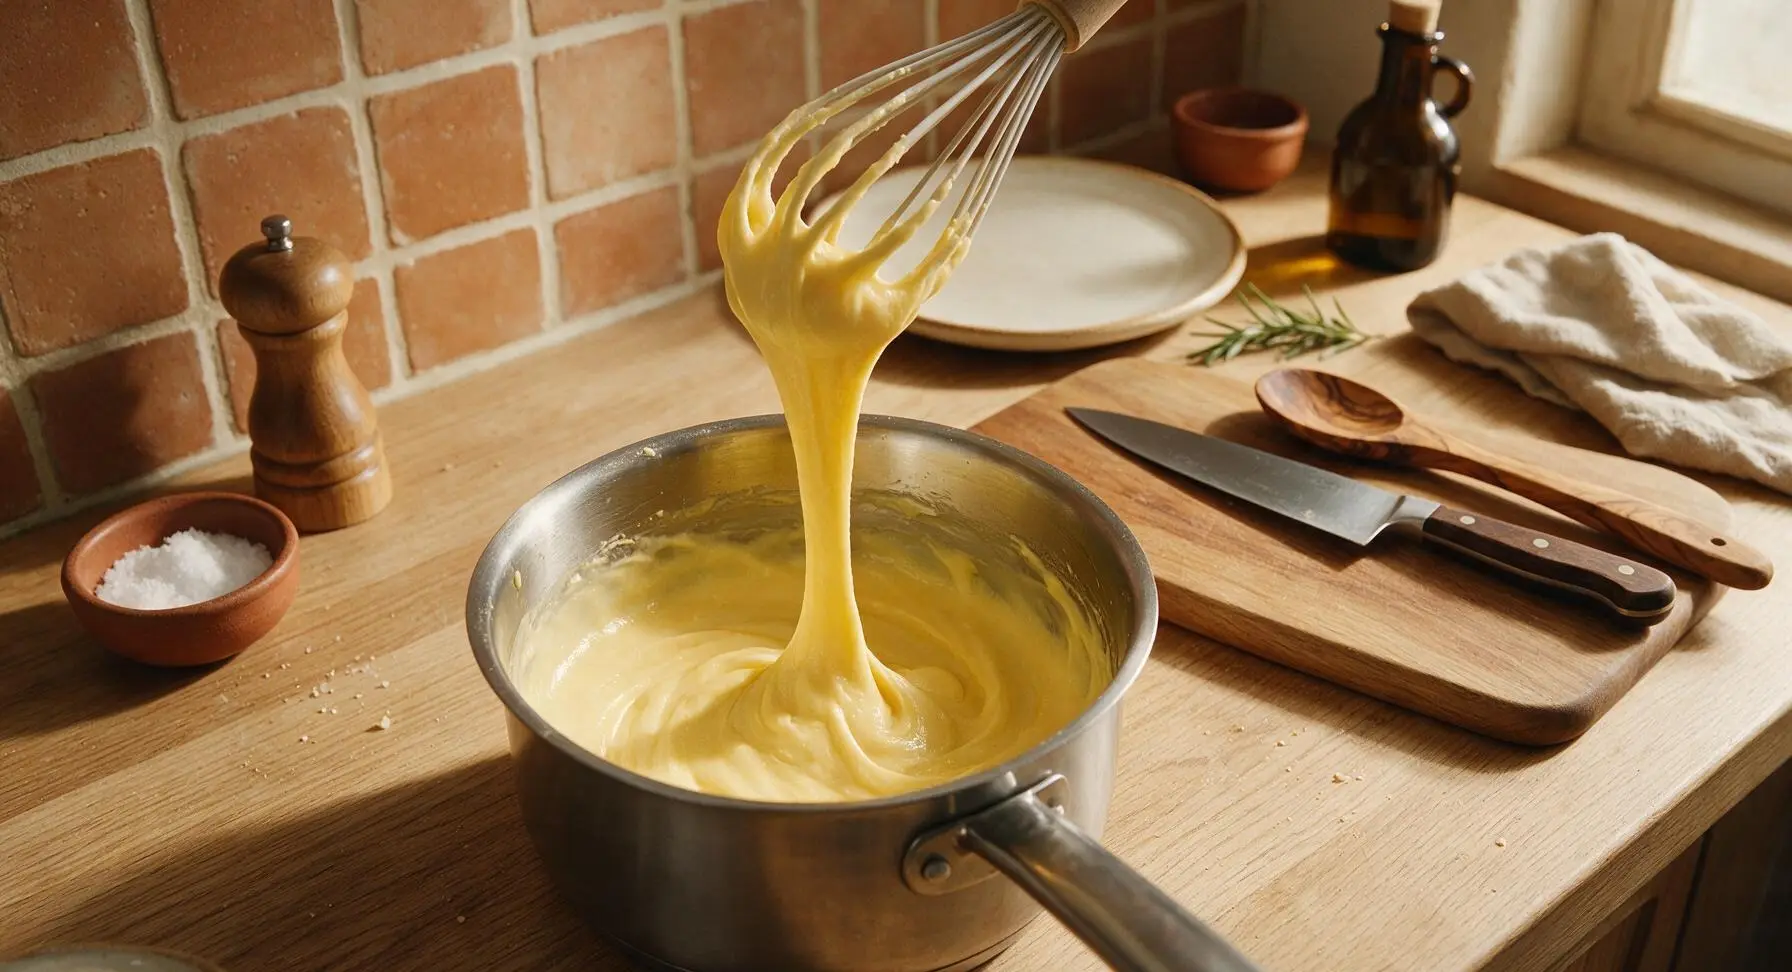
Heat Milk and Spices
Pour 2 cups whole milk into the 500ml clear glass measuring cup, then stir in 1 tsp freshly grated nutmeg (grated with the stainless steel nutmeg grater) and 1/4 tsp ground cinnamon. Heat the spiced milk for 90 seconds in the microwave until it is steaming hot (150°F / 65°C) but not at a rolling boil, to prepare for tempering the eggs.
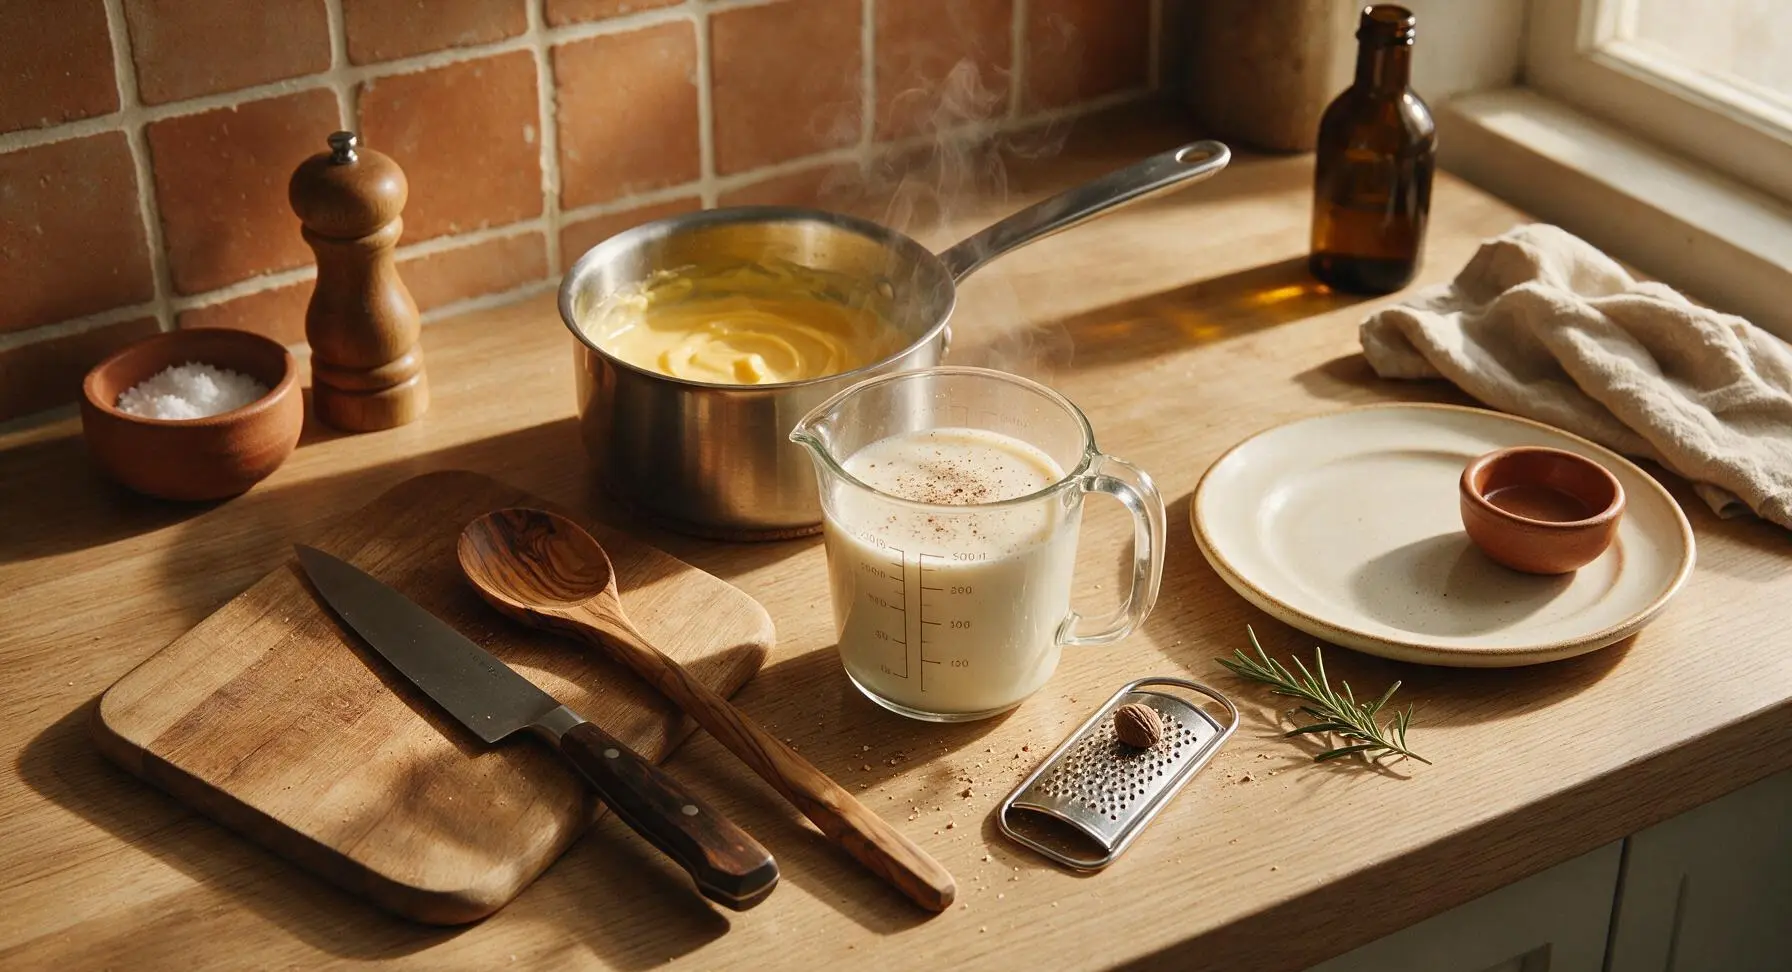
Temper Egg Yolk Mixture
While whisking the yolk mixture constantly and vigorously with the silicone whisk, slowly pour 1/4 cup of the hot spiced milk into the saucepan at a time, to gradually raise the temperature of the eggs and prevent curdling. Continue adding the hot milk in small, slow increments until all milk is fully combined with the yolks, never pouring large amounts of hot milk at once.
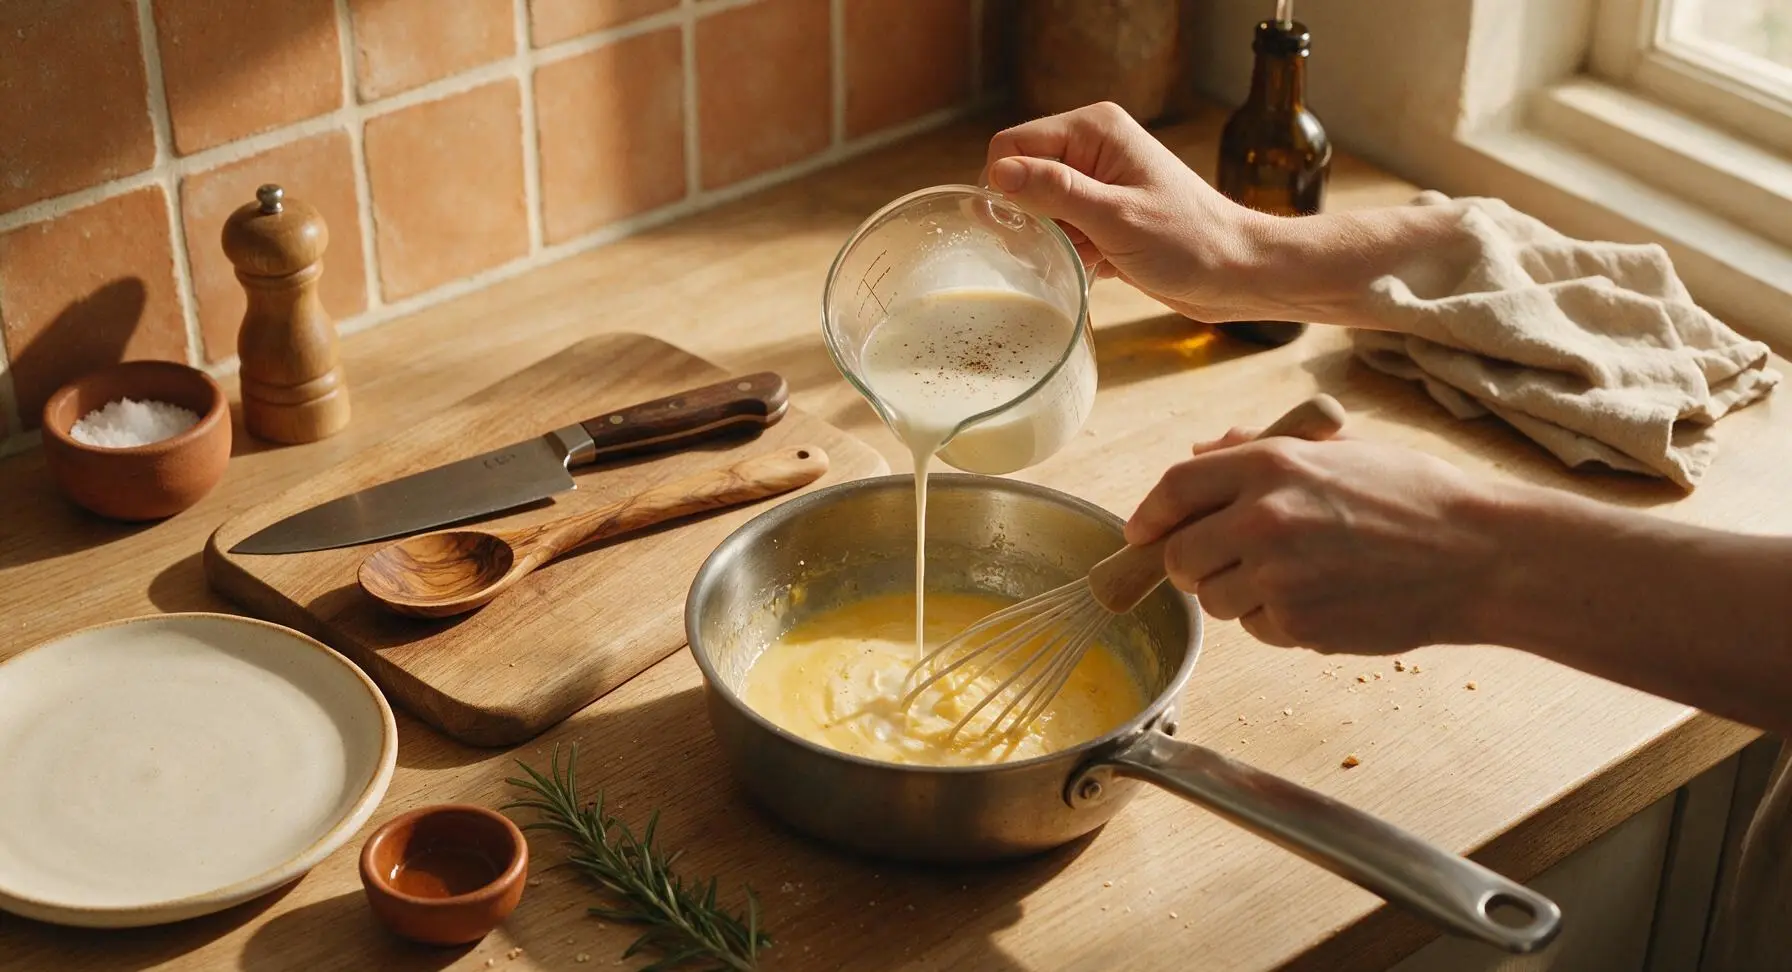
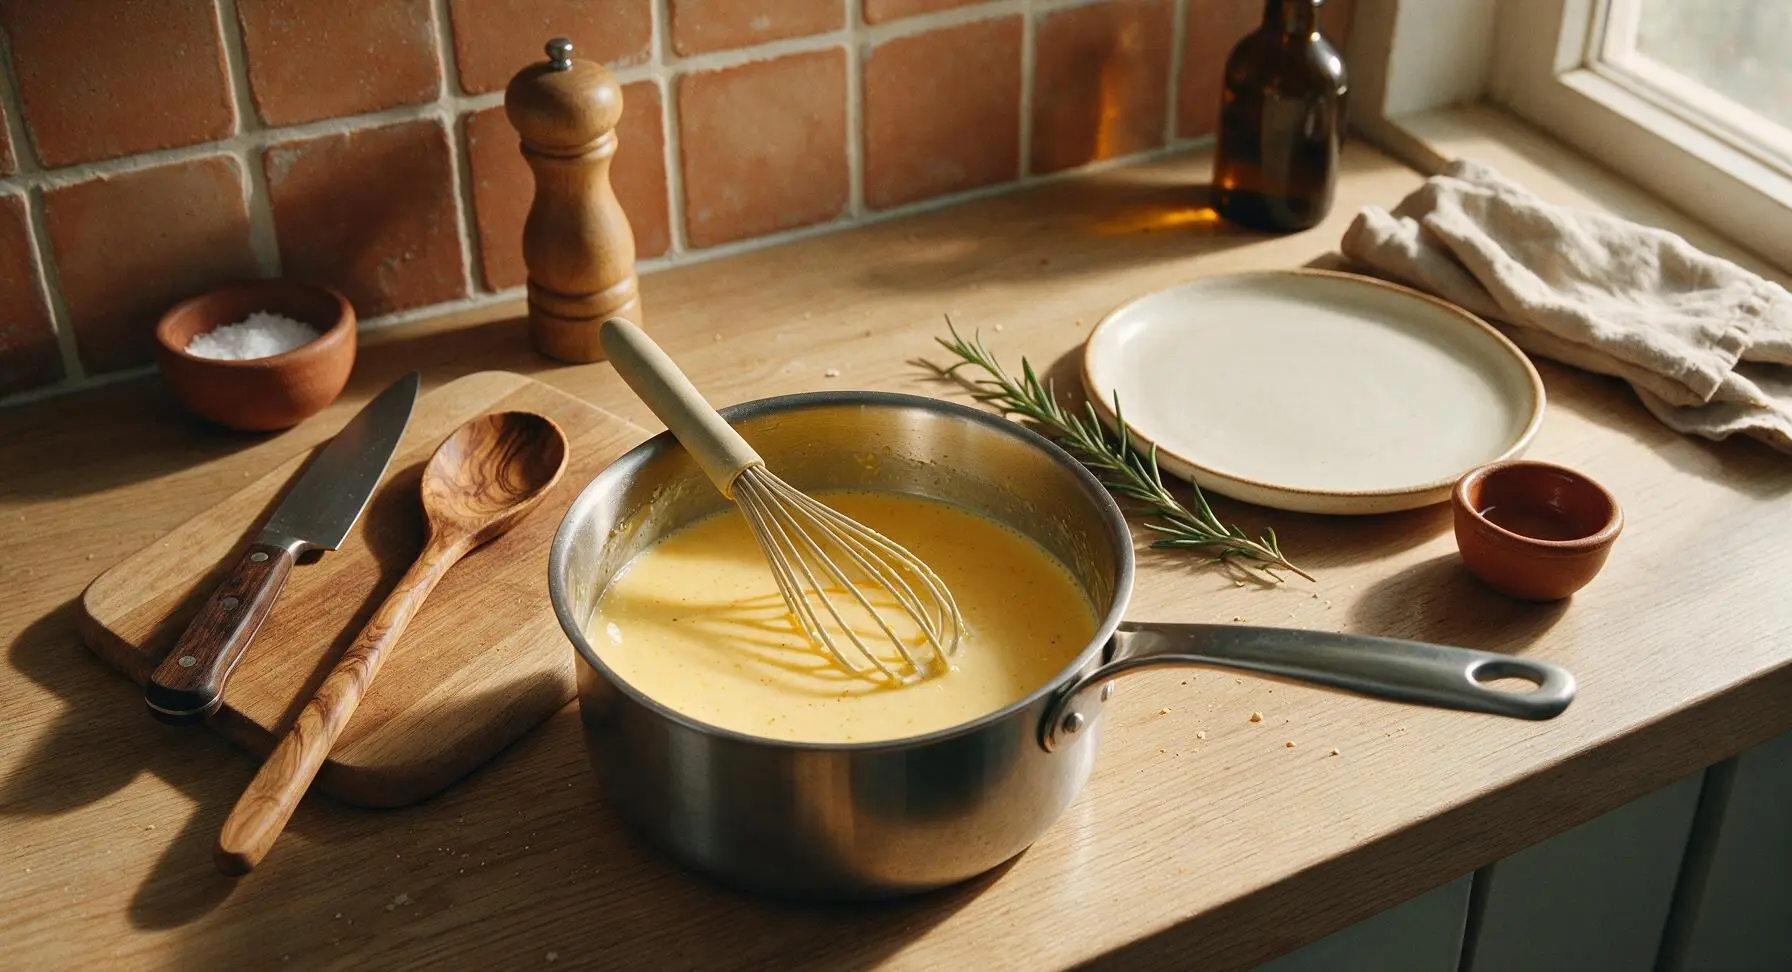
Cook Custard Base
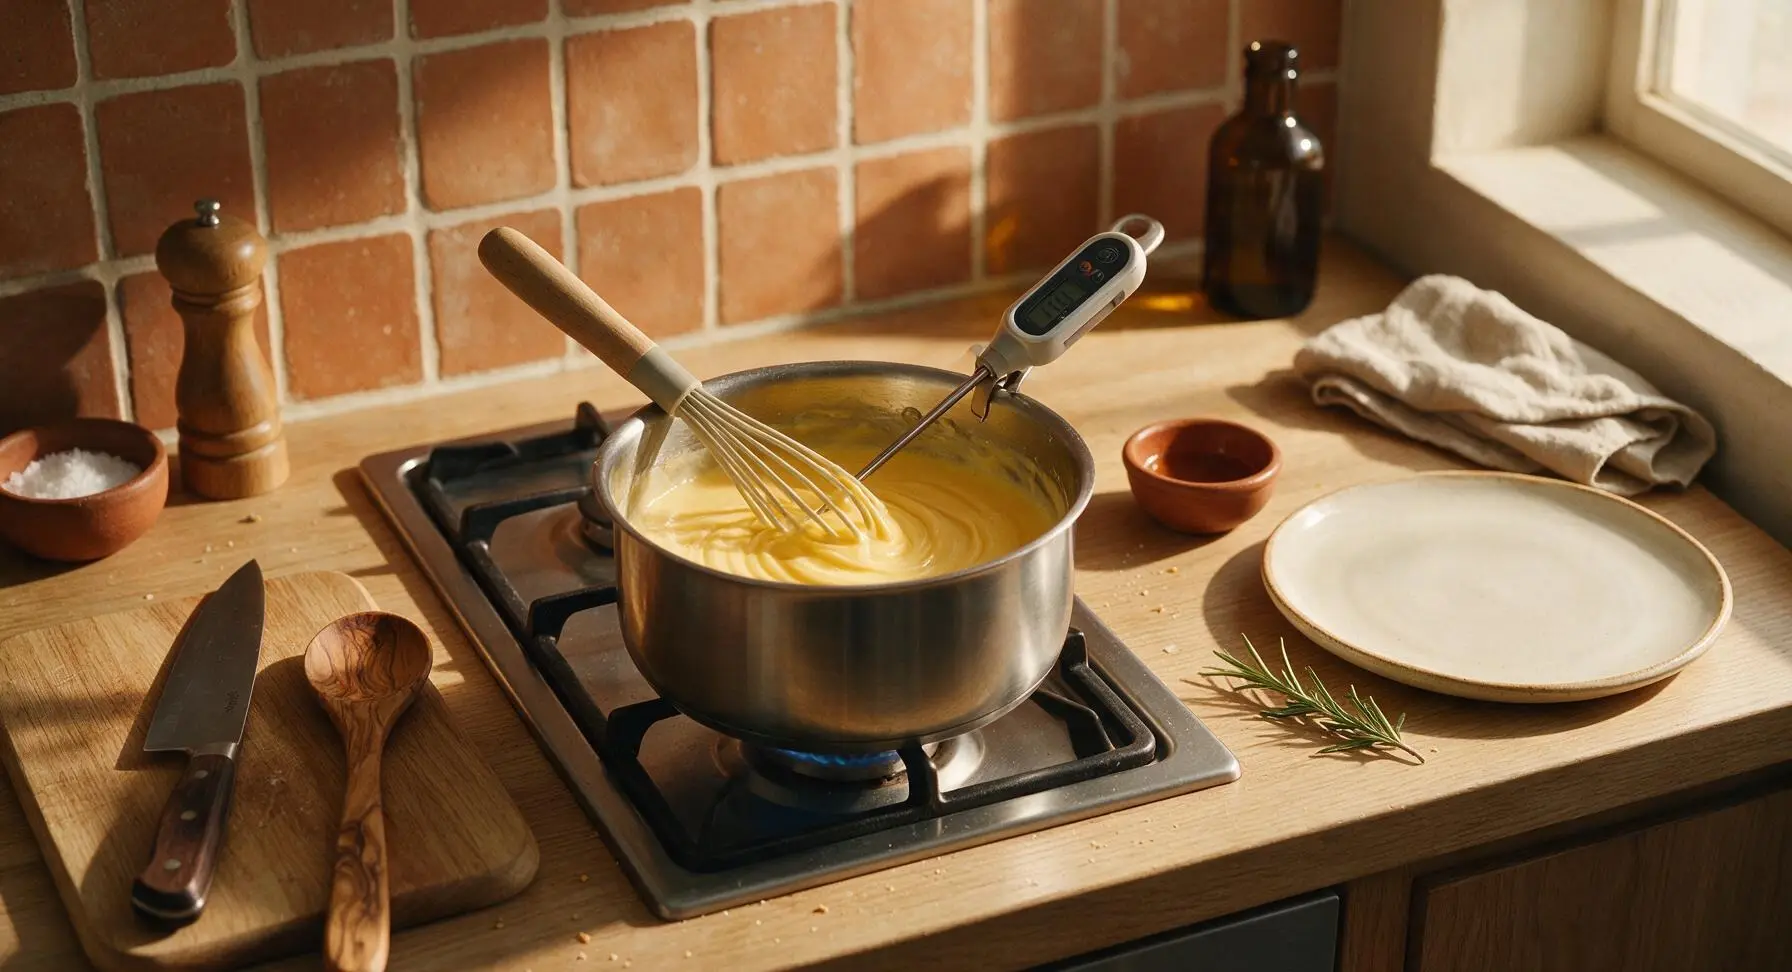
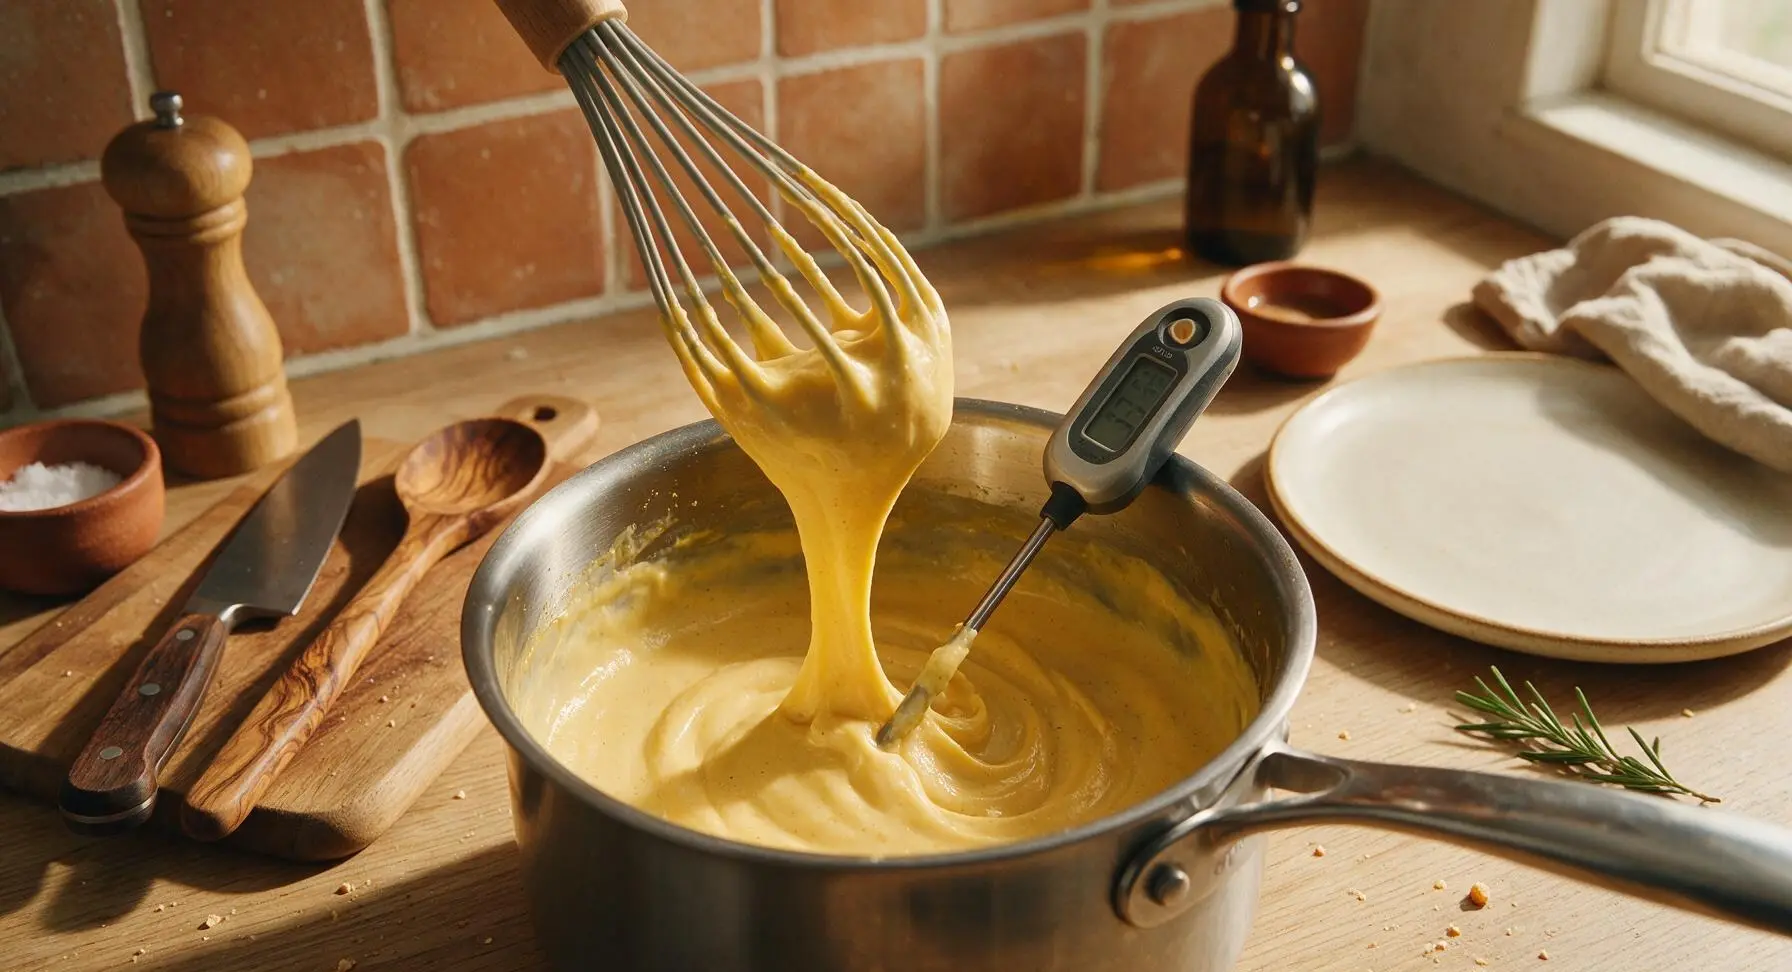
Place the saucepan over low stovetop heat, stirring constantly with the silicone whisk, until the custard reaches exactly 160°F (71°C) as measured with the digital instant-read thermometer, about 5-7 minutes. The custard will thicken just enough to coat the back of the silicone whisk head, and will leave a clear, unbroken line when you run your finger across the coated surface. Do not let the mixture boil, as high heat will curdle the eggs.
Strain and Cool Base
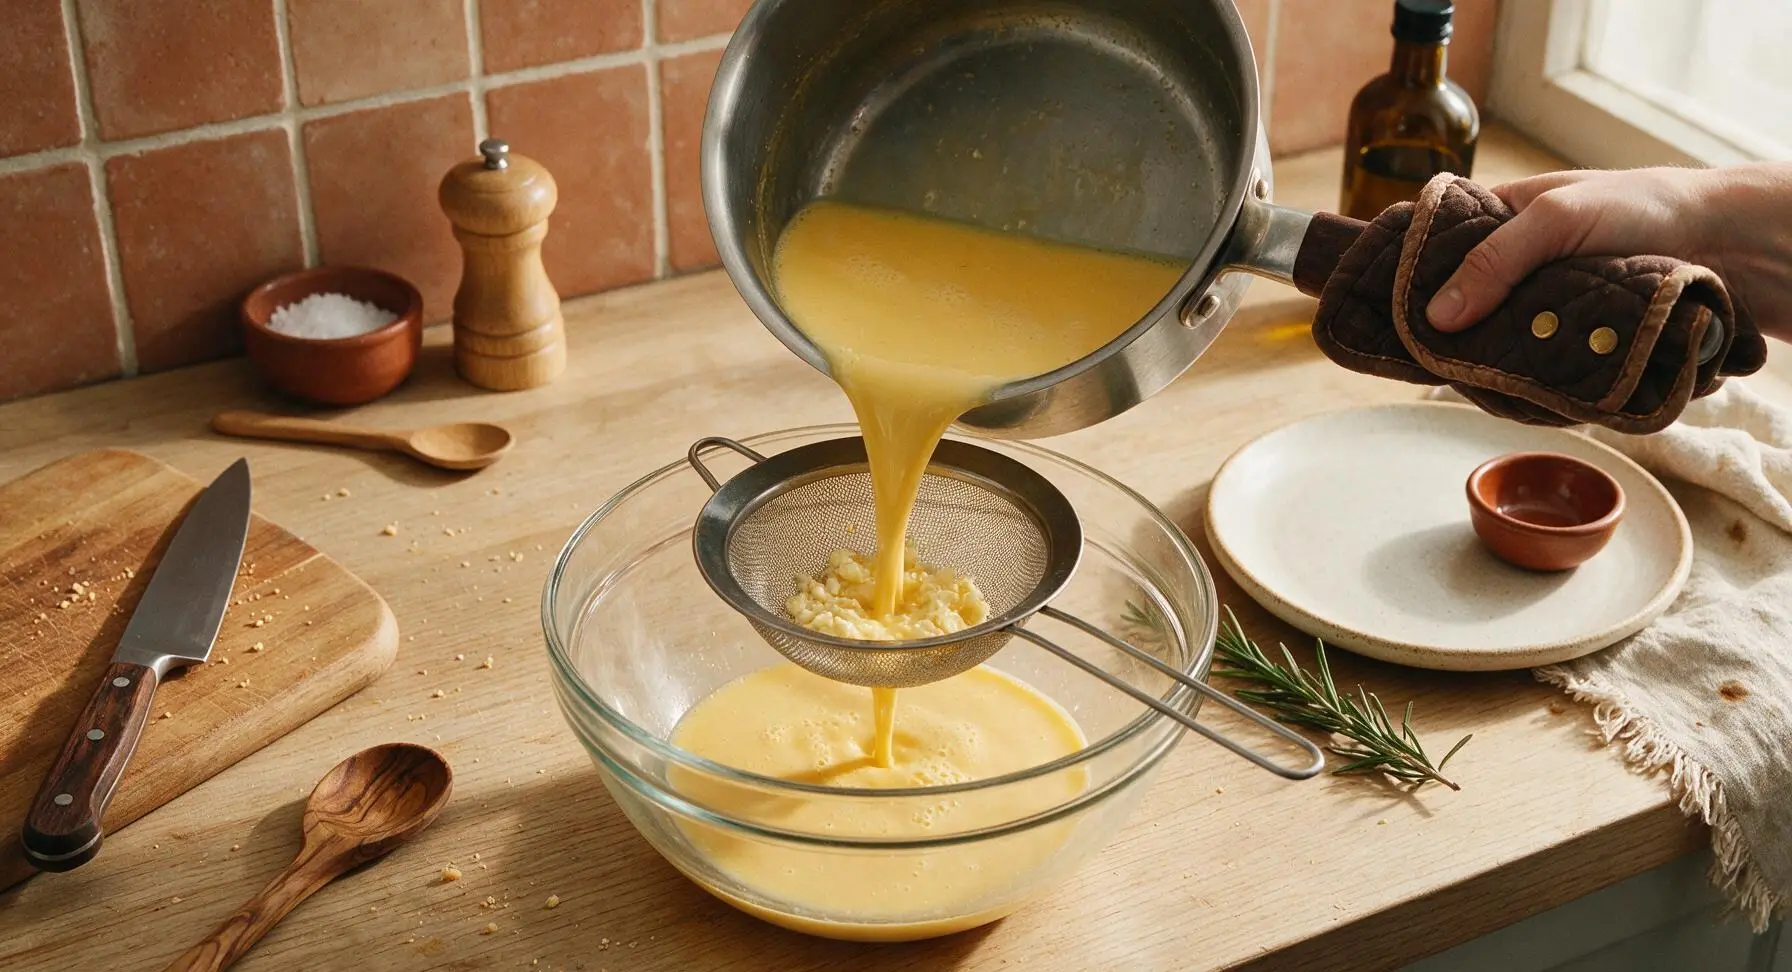
Remove the saucepan from heat immediately once it reaches target temperature. Set the fine-mesh stainless steel sieve over the 2L clear glass mixing bowl, then pour the hot custard through the sieve to catch any tiny curdled bits and create a perfectly smooth texture. Stir in 1 tsp pure vanilla extract and the optional 1/2 cup bourbon until fully combined.
Chill and Fold Cream
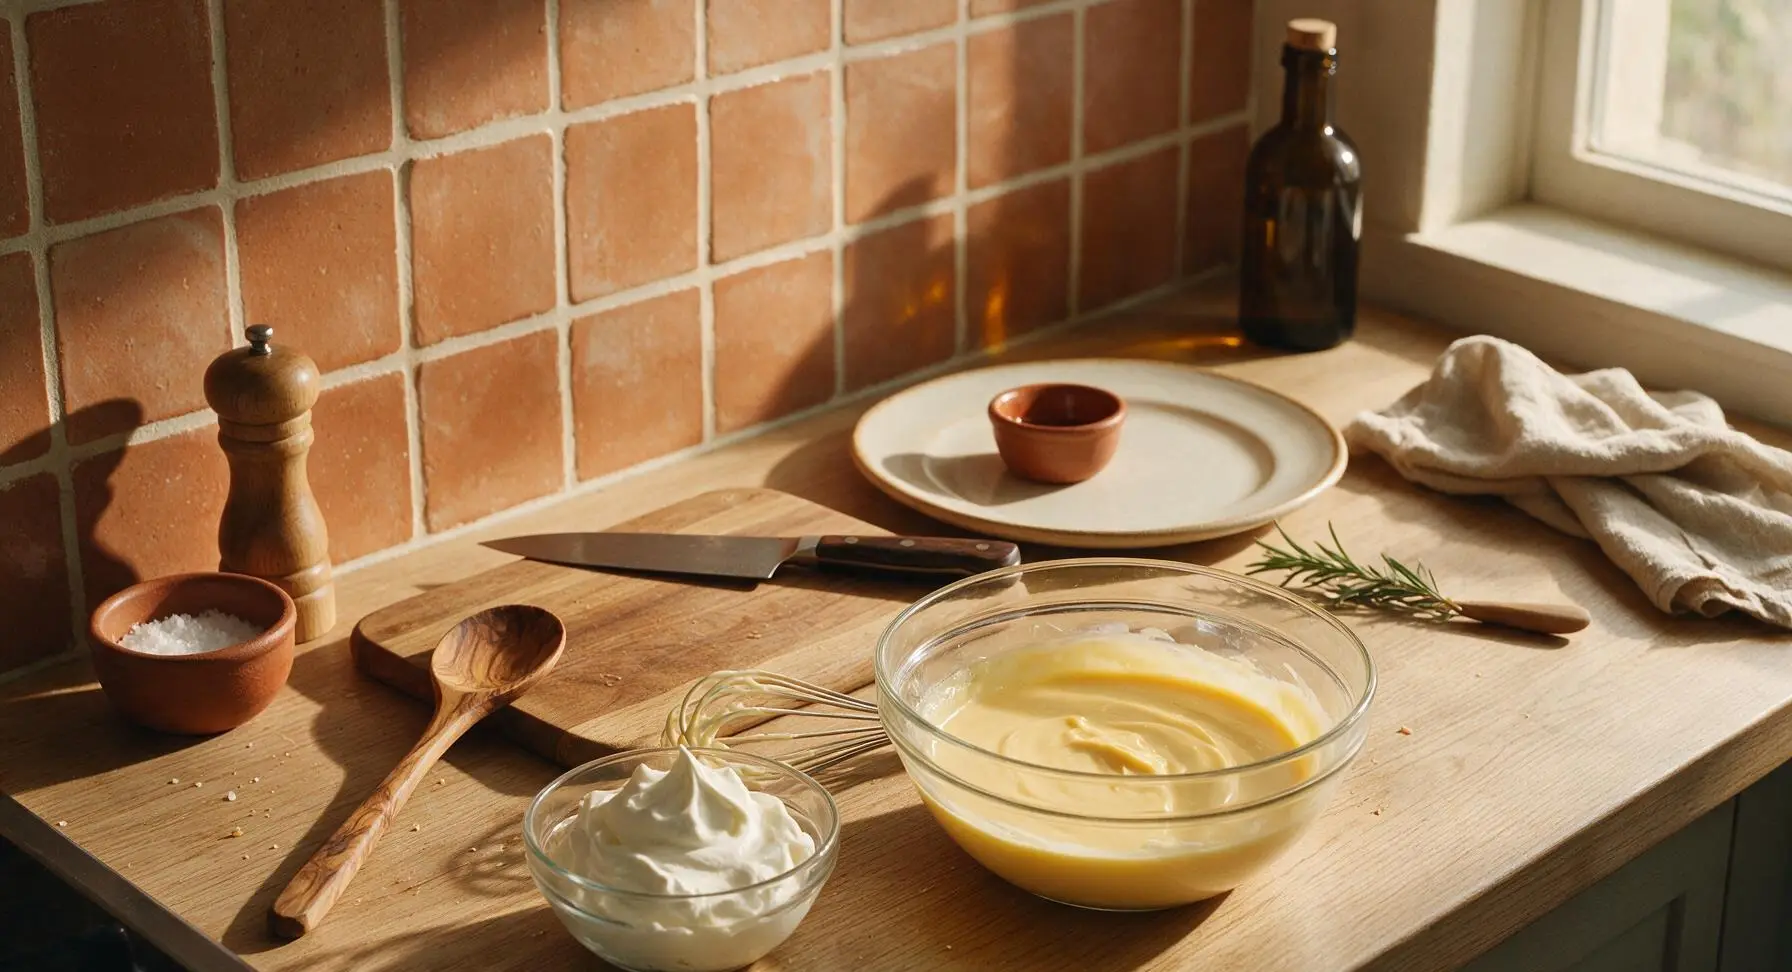
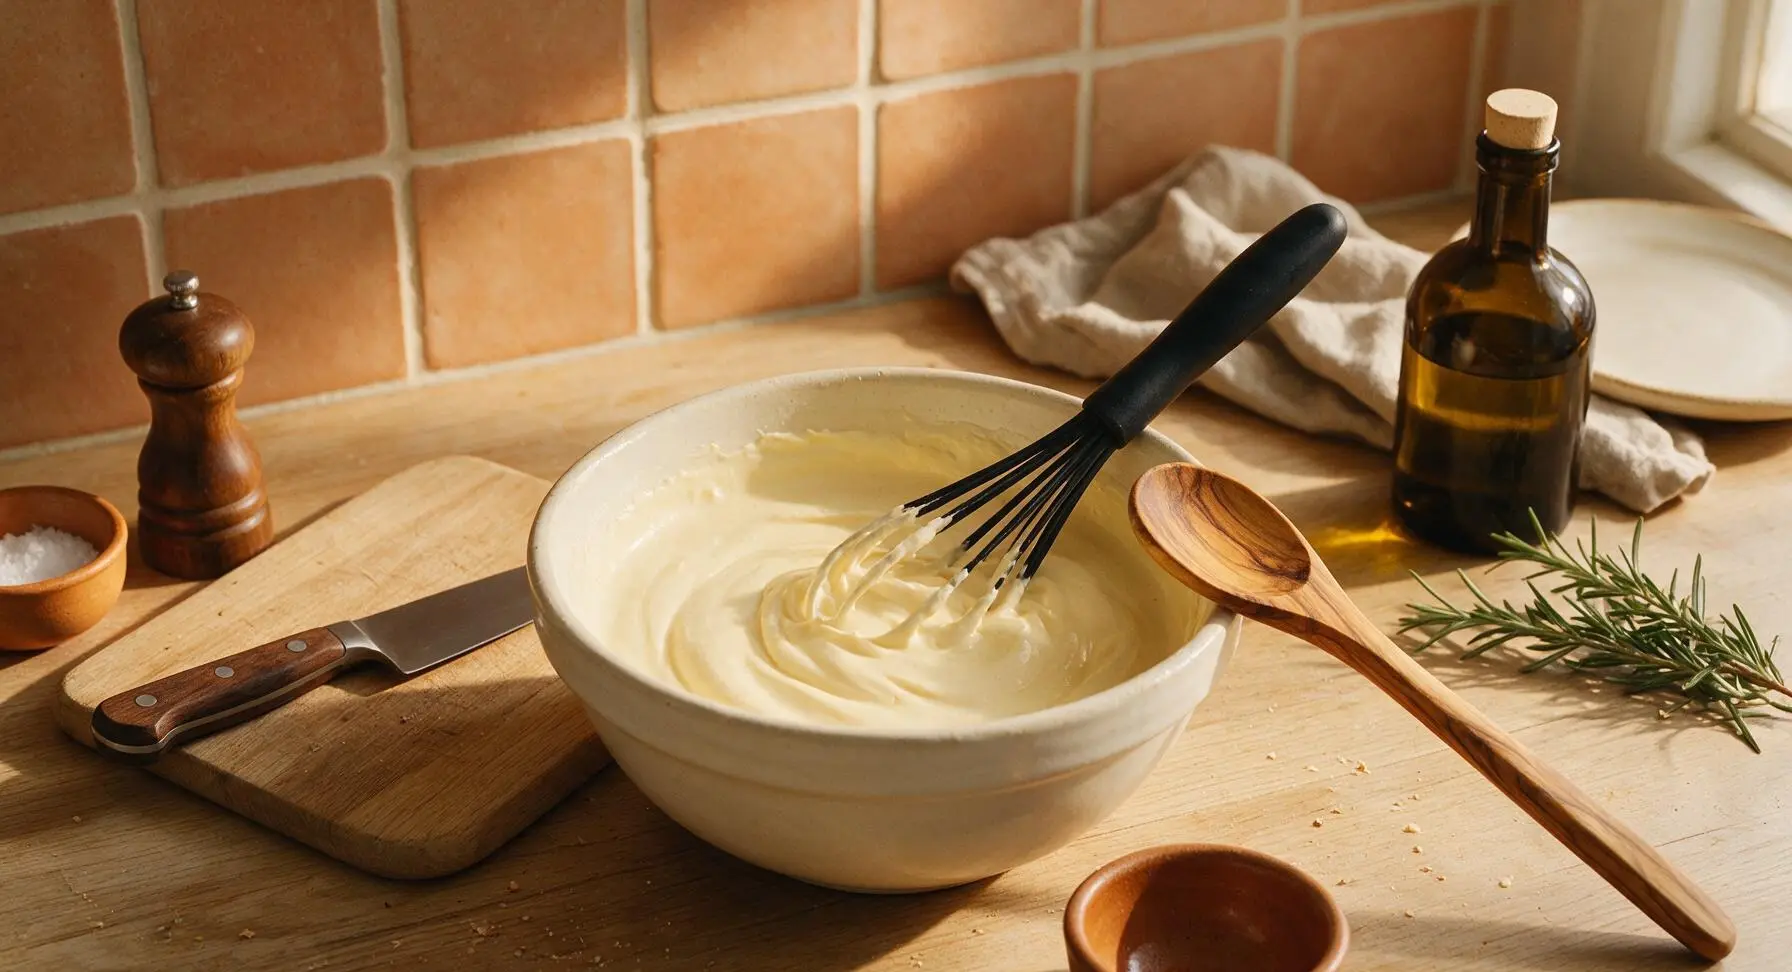
Cover the bowl of strained custard with plastic wrap, pressing the wrap directly against the surface of the custard to prevent a thick skin from forming as it cools. Refrigerate for a minimum of 4 hours (or up to 3 days) until completely chilled to 40°F (4°C). Once cold, whip 1 cup heavy whipping cream to soft, billowy peaks in a small glass prep bowl, then gently fold it into the chilled custard base with the silicone whisk until fully incorporated, creating a light, velvety texture.
Garnish and Serve
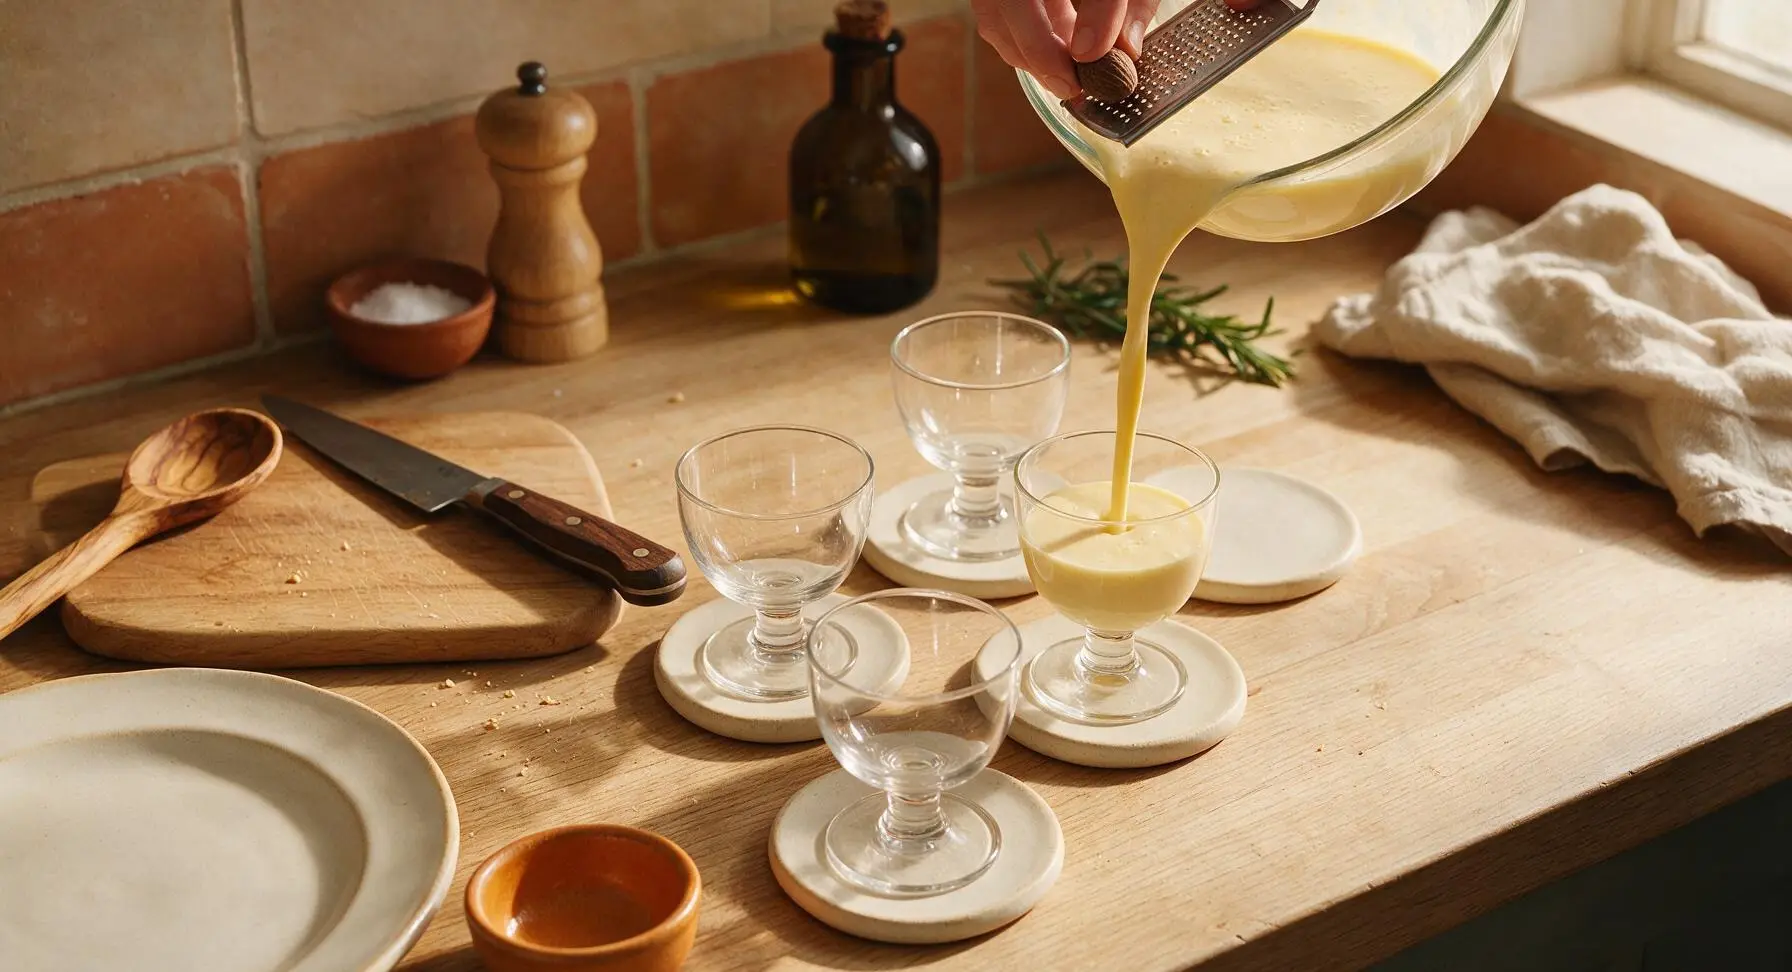
Place the matte cream ceramic coasters on the counter, then set one short-stemmed clear glass punch cup on each coaster. Pour the chilled eggnog into each cup, filling to 3/4 capacity. Grate fresh whole nutmeg generously over the top of each serving with the nutmeg grater for a fragrant, warm finish, and add a small cinnamon stick garnish if desired. Serve immediately.
Tips
2.Never rush the tempering step or cook the custard over heat higher than low: adding hot milk too quickly or using high heat will cause egg proteins to curdle, creating a lumpy, grainy texture instead of eggnog’s signature silky smooth consistency. If you notice large curds forming, immediately pull the pan off the heat and stir in a splash of cold milk to stop the cooking.
3.Grate whole nutmeg fresh right before serving instead of using pre-ground nutmeg: pre-ground nutmeg loses its bright, warm, aromatic oils within a few months of opening, while freshly grated nutmeg has a bright, spicy fragrance that makes homemade eggnog taste noticeably better than store-bought versions.






OMG this eggnog is SO good! I made it for our annual family Christmas dinner last night and everyone was asking for the recipe. The spice balance is perfect— not too much nutmeg, just enough warmth. Game changer compared to the grocery store carton stuff!
Really solid eggnog recipe! My only note is that I wish it mentioned how long it stays good in the fridge— I made a big batch for our office potluck and had leftovers. Tastes amazing with a splash of bourbon added in, for the record 😂
My kids loved it! I skipped the alcohol entirely for our family movie night and they went back for seconds (thirds, honestly). The nutmeg and cinnamon combo makes the whole house smell like Christmas, 10/10.
I’ve been making eggnog for 60 years and this recipe is almost exactly the one my mom taught me! The only thing I do different is add a tiny pinch of clove for extra depth. Perfect for when the grandkids come over.
Taste was great but I had a little trouble with the tempering step— I ended up with tiny scrambled egg bits in my first batch. Had to strain it twice to get it smooth, which was a little annoying for a 10 minute cook time.
Game changer for my annual holiday potluck! I made a non-alcoholic batch and a spiked batch with dark rum, and both were gone in 20 minutes flat. People were asking if I bought it from a fancy local bakery, LOL.
Really good! I used oat milk instead of whole milk because that’s what I had on hand, and it still turned out creamy and delicious. Definitely will be making this again once we put up the Christmas tree this weekend.
Made this for my wife’s birthday holiday party and she said it’s better than the eggnog we had on our Vermont ski trip last year. That’s the highest possible compliment, honestly. The spice blend is chef’s kiss, no adjustments needed.
Wait, is this safe to serve to pregnant people? I know there are raw eggs in classic eggnog, I’m hosting a baby shower next weekend and want to make sure it’s okay for the mom-to-be.
SO good. I added a little extra vanilla extract because I’m obsessed with vanilla, and it’s the coziest drink I’ve ever made. Sipping a warm mug right now while we wrap presents, absolute perfection.
Tastes amazing, but I thought the 10 minute cook time was a little misleading? It took me closer to 20 minutes when you count separating the eggs, tempering, and letting it chill a little before serving. Still worth it, just plan ahead!
I’ve tried 3 different eggnog recipes this month and this one is by far the best. It’s not overly sweet, which I love, and the spices don’t overpower the creamy egg flavor. Already sent the link to my whole group chat.
Meal prepped a big batch on Sunday to have after work all week, and it’s making my cold commute home so much better. I add a little whipped cream on top when I pour a glass, chef’s kiss.
Made this for our family’s annual cookie bake day and everyone raved. My niece is vegan so I made a separate batch with coconut cream and aquafaba instead of eggs, and it was almost as good as the original! Highly recommend for anyone with dietary restrictions.
Took this to my friend’s ugly sweater party last night and people were doing shots of it. 10/10, will be making this every year from now on. Pro tip: top with a little freshly grated nutmeg instead of the pre-ground stuff, it’s next level.
This was my first time ever making eggnog and it turned out way better than I expected! The instructions were super easy to follow, even for someone who burns toast half the time. The only reason I’m not giving 5 stars is I wish it was a little thicker, but that’s just personal preference.