
eggless chocolate pudding
intro
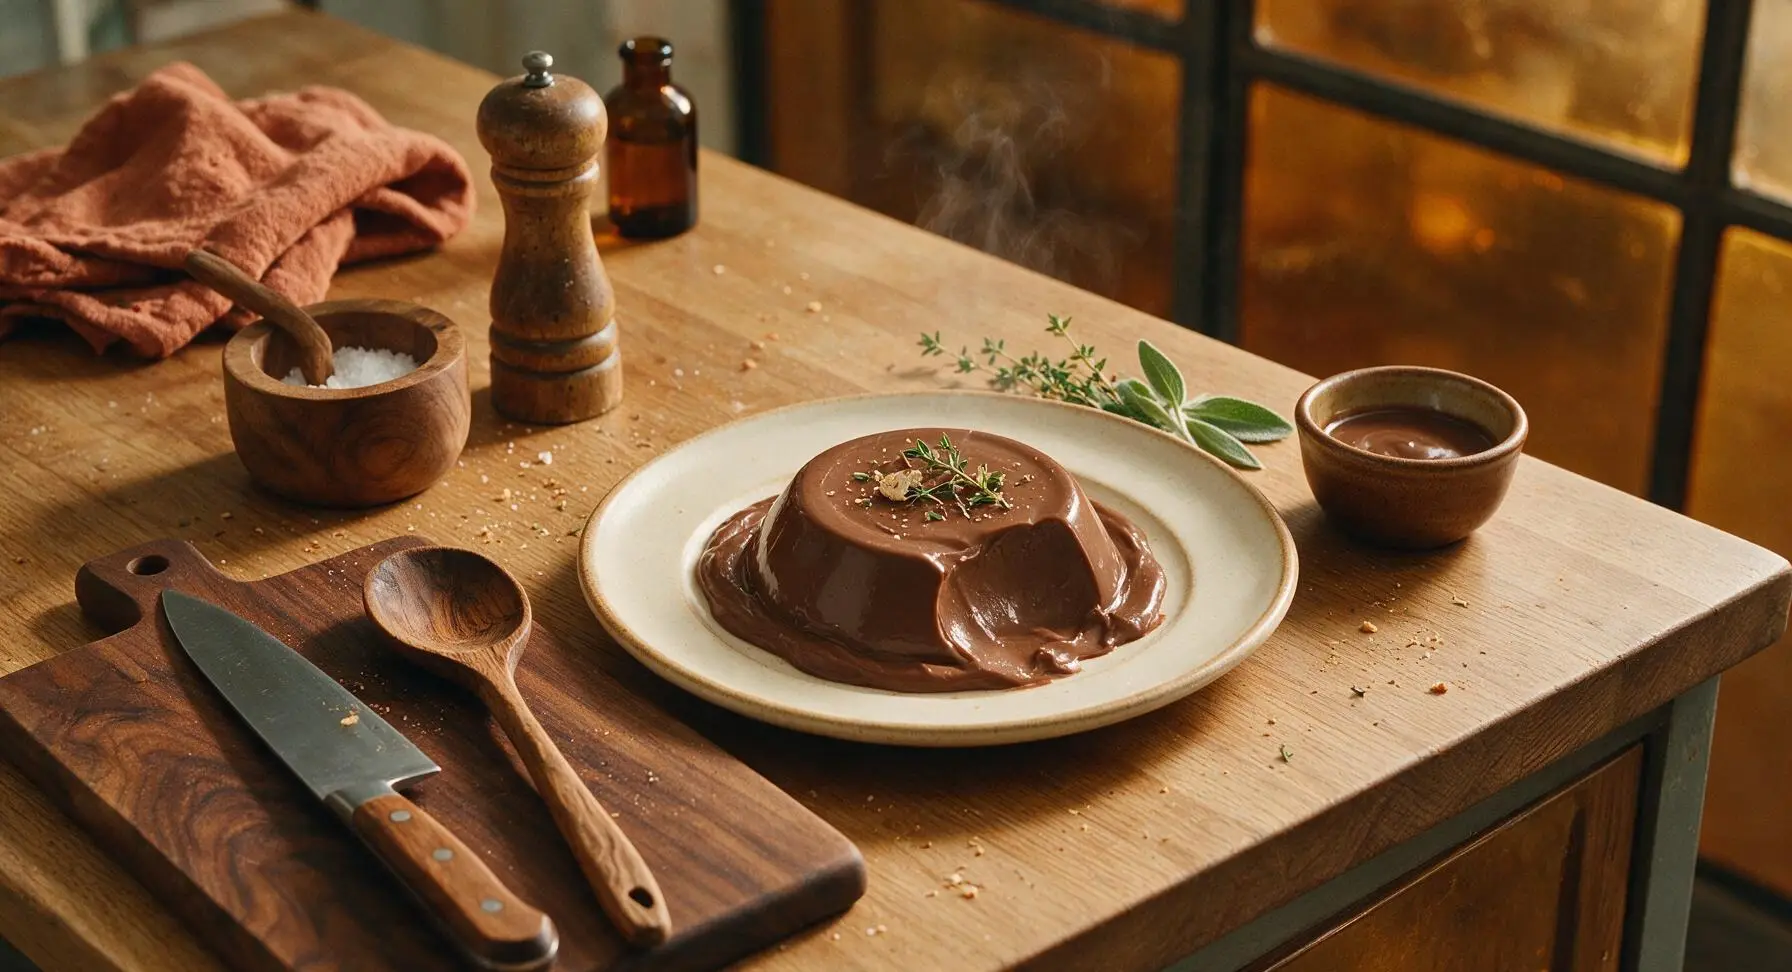
Silky, deeply rich eggless chocolate pudding with zero fussy steps—velvety smooth, no raw egg risk, the perfect cozy, make-ahead indulgence for sweet cravings.
Ingredients
Steps
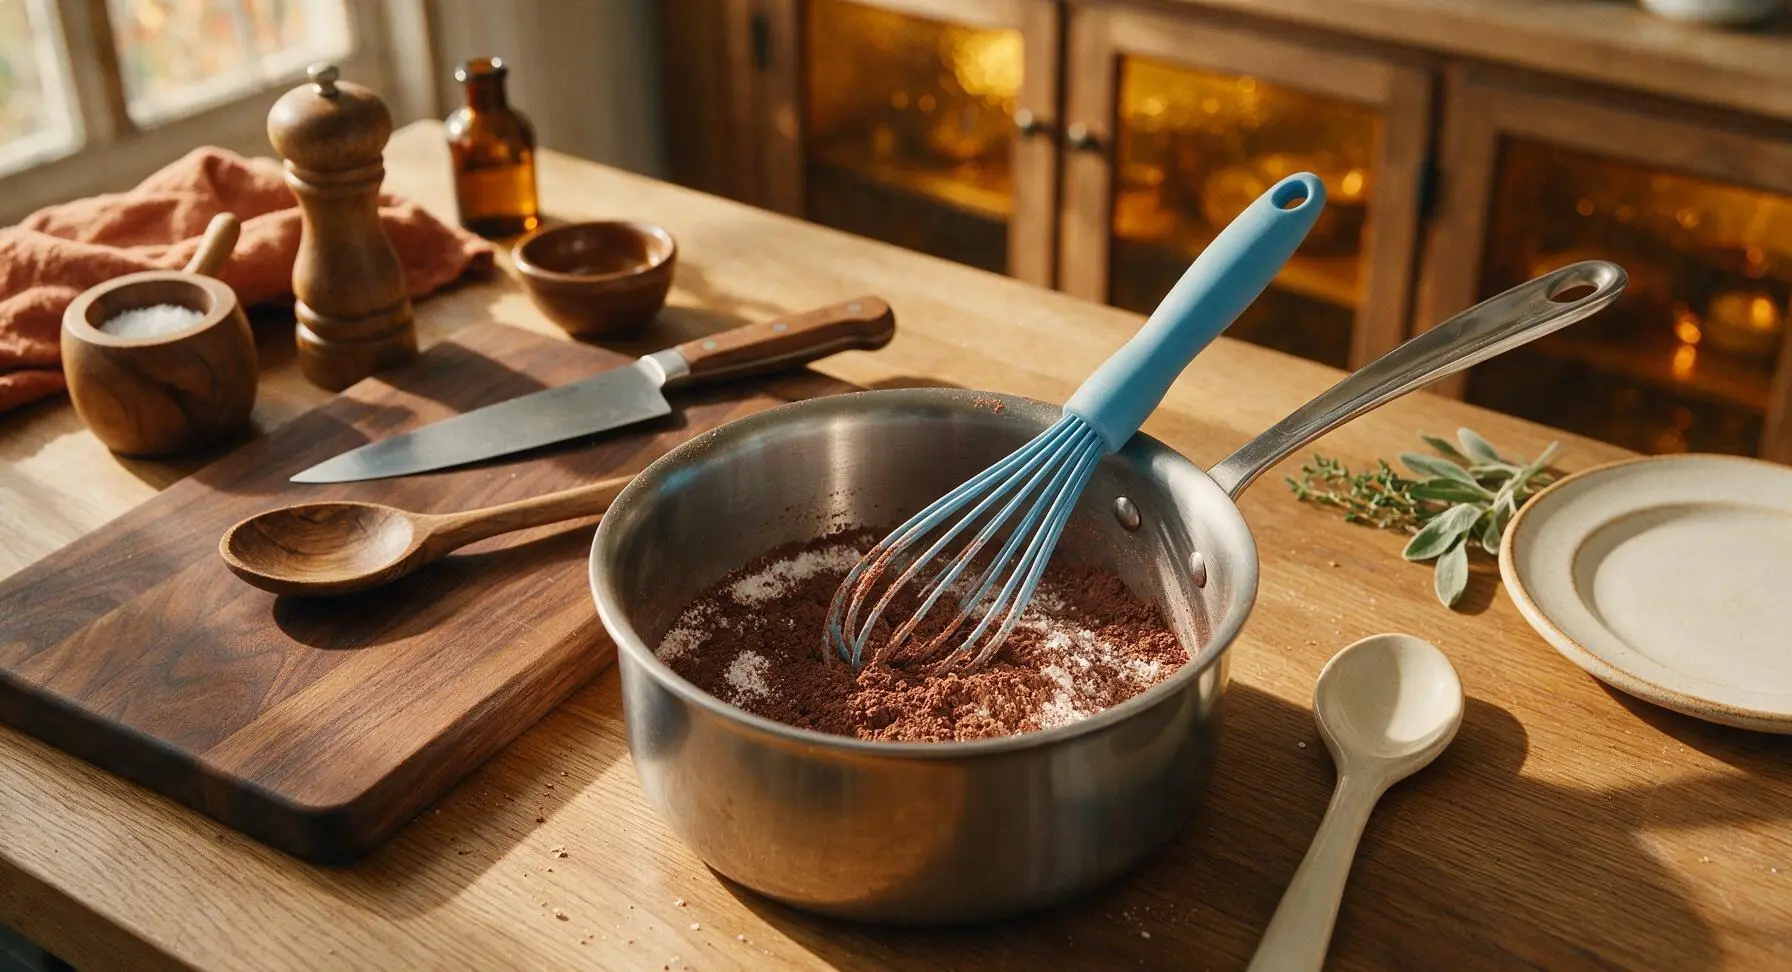
Whisk Dry Ingredients
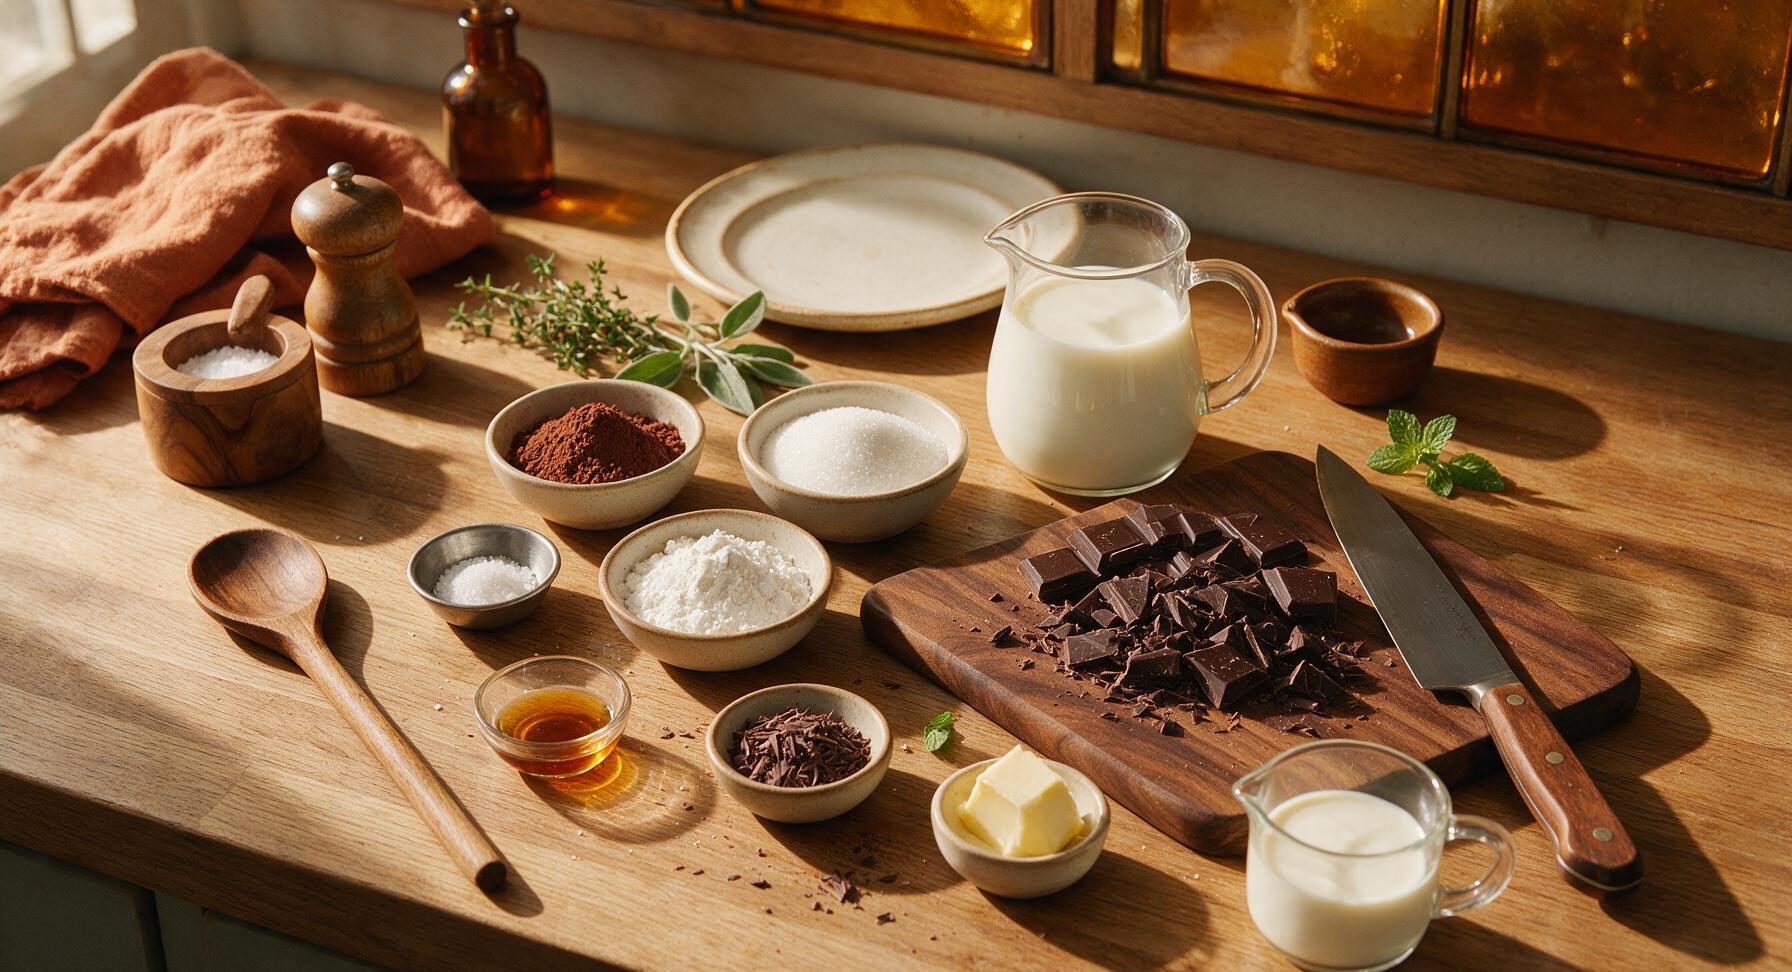
Set the 2-quart stainless steel saucepan on the central counter area (do not turn on heat yet). Add the measured granulated sugar, Dutch-processed cocoa powder, cornstarch, and fine sea salt to the pan. Use the matte sky-blue silicone whisk to stir the dry ingredients together for 30 seconds until fully combined, with no visible clumps of cocoa or cornstarch remaining at the pan bottom.
Whisk in Cold Milk
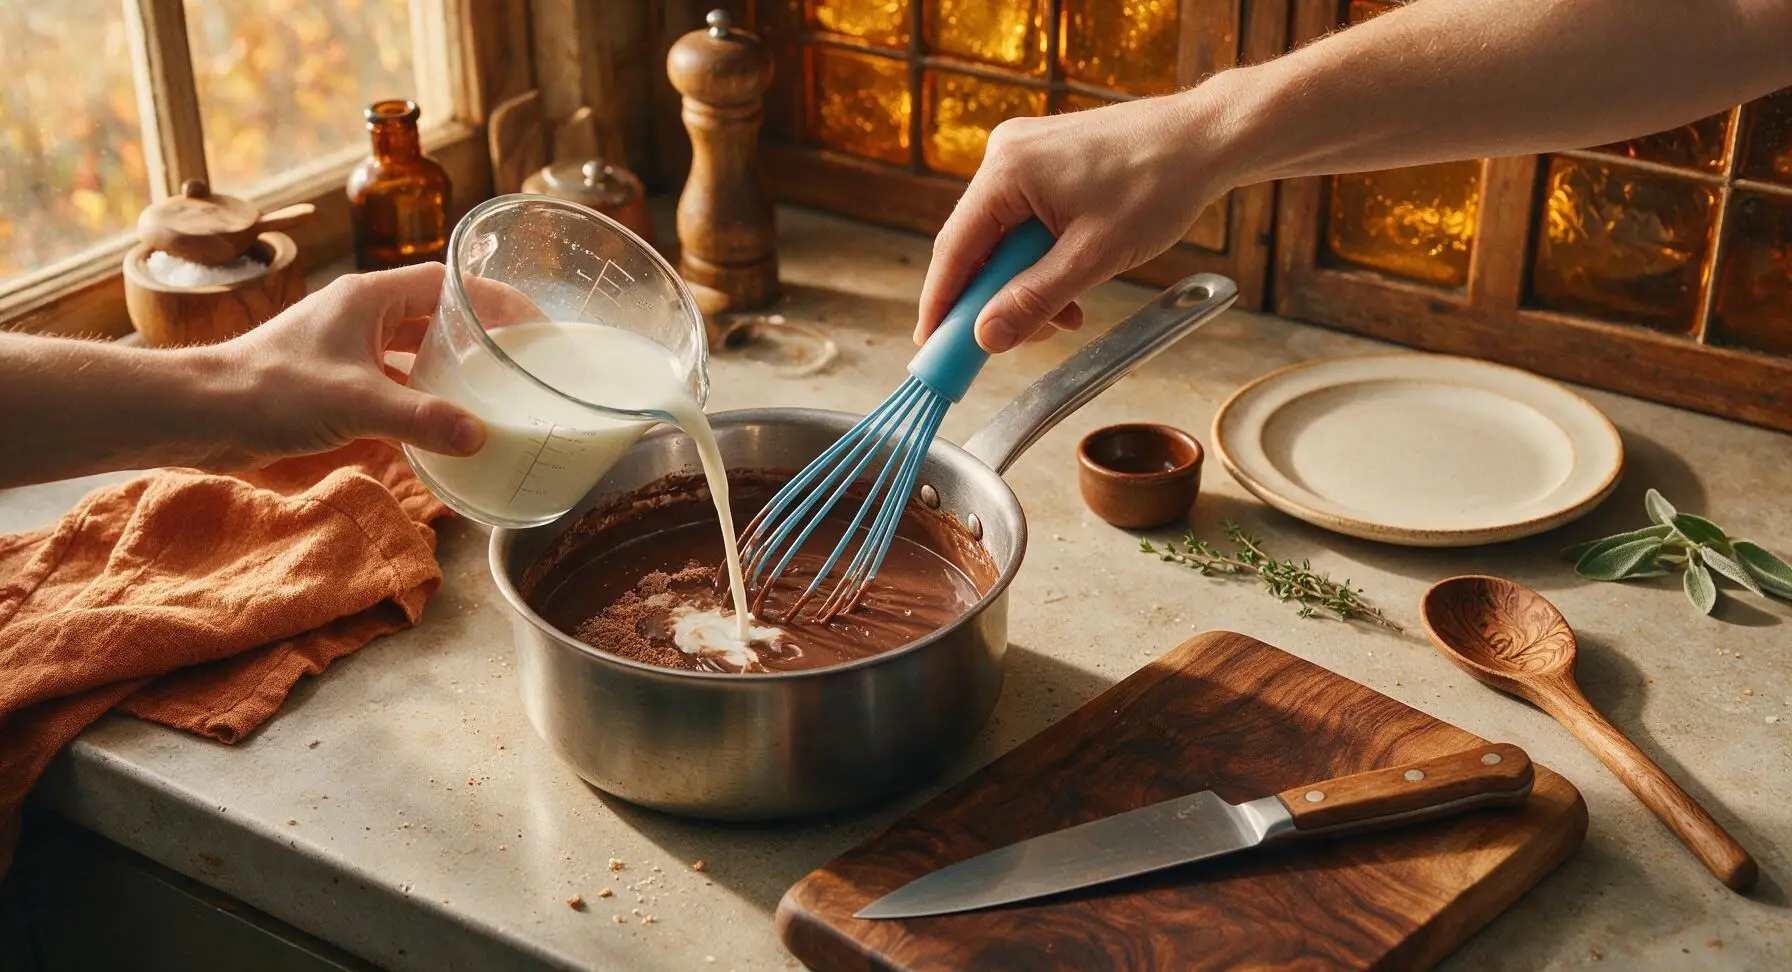
Slowly pour 60ml (1/4 cup) of the cold whole milk into the dry ingredient mixture, whisking constantly to form a thick, smooth, lump-free paste. Once the paste is completely smooth with no dry clumps, gradually pour in the remaining cold milk while whisking nonstop, until the mixture is fully homogeneous with no dry streaks remaining. Adding milk slowly first prevents stubborn cornstarch lumps from forming.
Cook Until Thickened
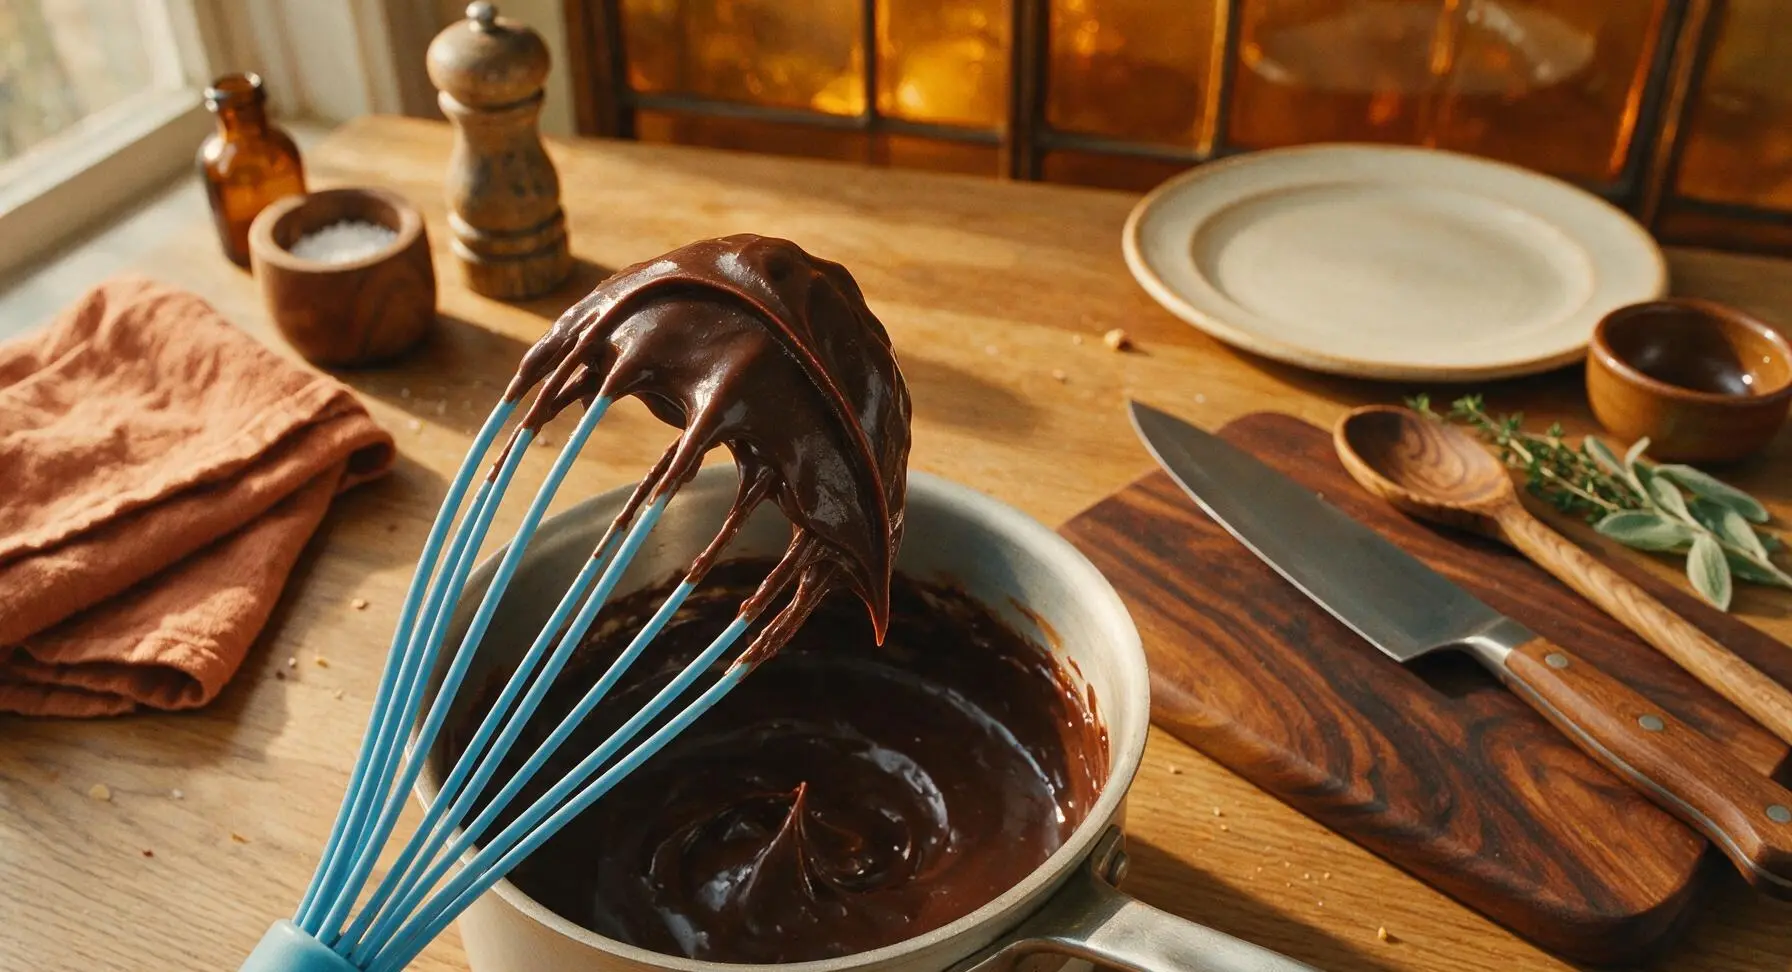
Place the saucepan over medium-low heat (burner set to 3/10 power). Cook the mixture, whisking constantly and scraping the pan bottom and corners to prevent scorching, for 8-10 minutes. The pudding is fully cooked when it reaches a gentle, slow rolling bubble and coats the back of the whisk thickly enough that a line drawn with your finger through the coating holds its shape without running. Do not boil rapidly, as high heat breaks down cornstarch and causes a grainy, thin texture.
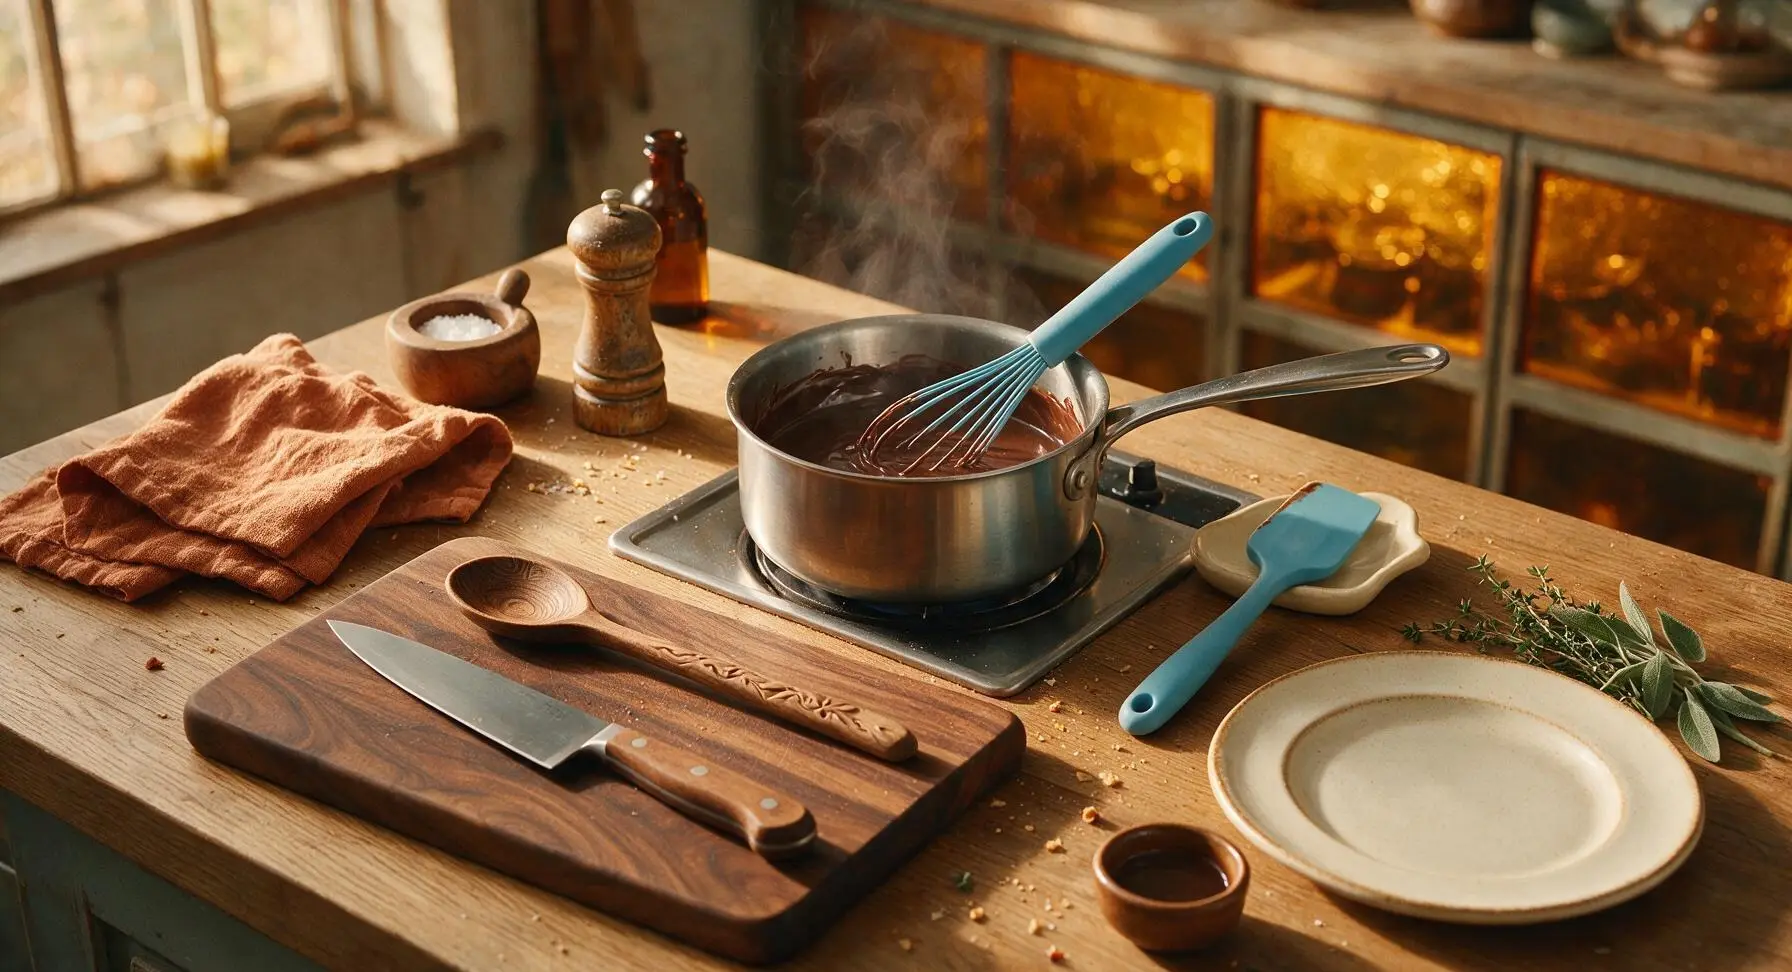
Add Chocolate and Butter
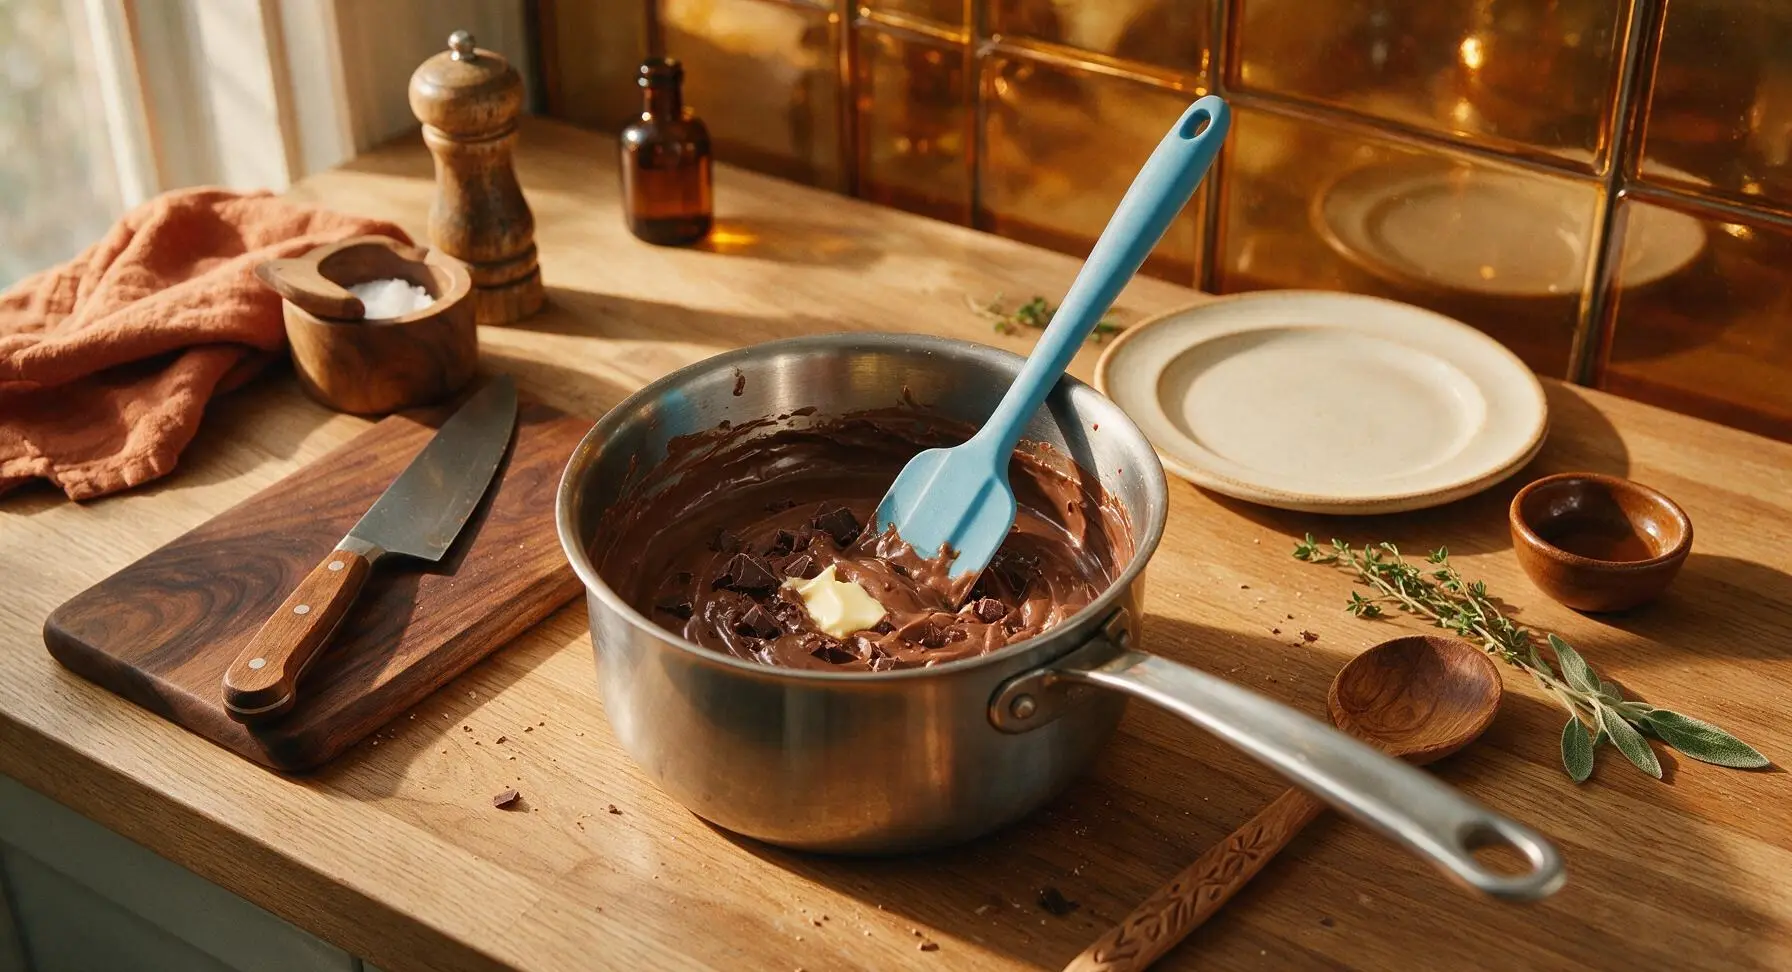
Remove the saucepan from heat immediately once thickened. Add the finely chopped dark chocolate and unsalted butter to the hot pudding, stirring with the sky-blue silicone spatula for 1-2 minutes until both are fully melted and incorporated, leaving the pudding perfectly glossy and smooth. Stir in the 1 teaspoon of pure vanilla extract until evenly mixed.
Strain for Silkiness
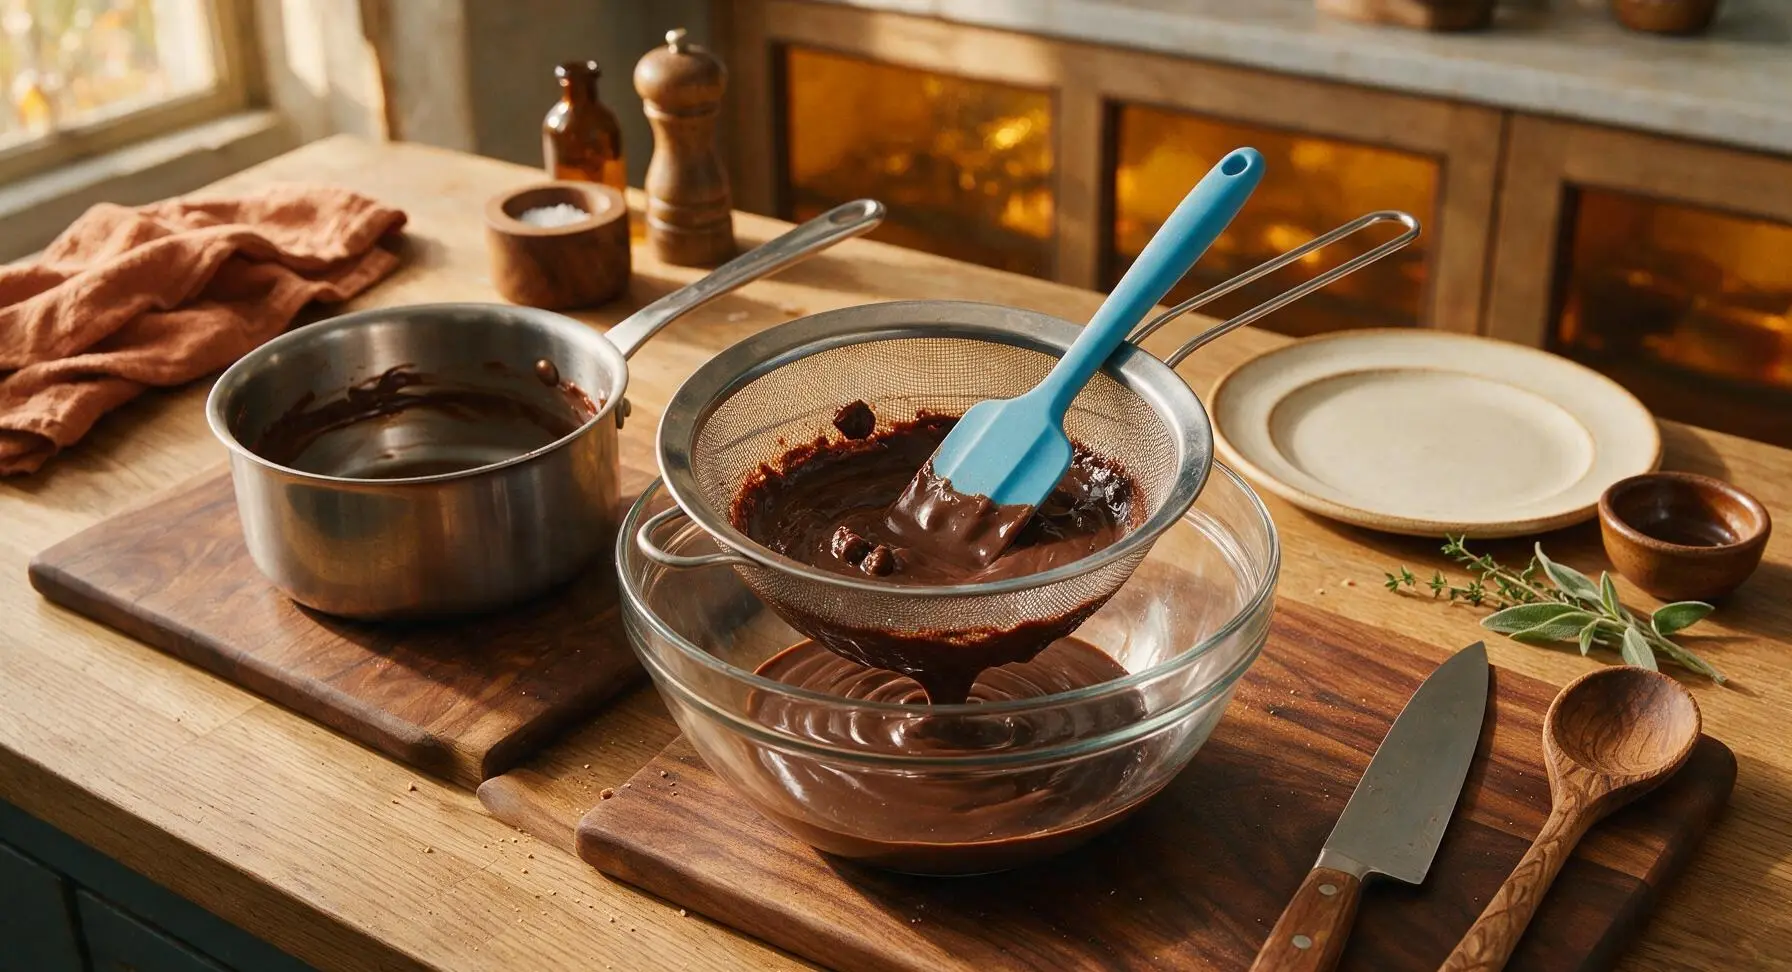
Place the 15cm fine-mesh stainless steel sieve over the 1.5L clear heatproof glass bowl. Pour the hot pudding through the sieve, using the silicone spatula to press it through gently, catching any small lumps of cornstarch or scorched cocoa that may have formed during cooking. This step guarantees a perfectly silky, lump-free texture, even if minor scorching occurred on the pan bottom.
Portion into Ramekins
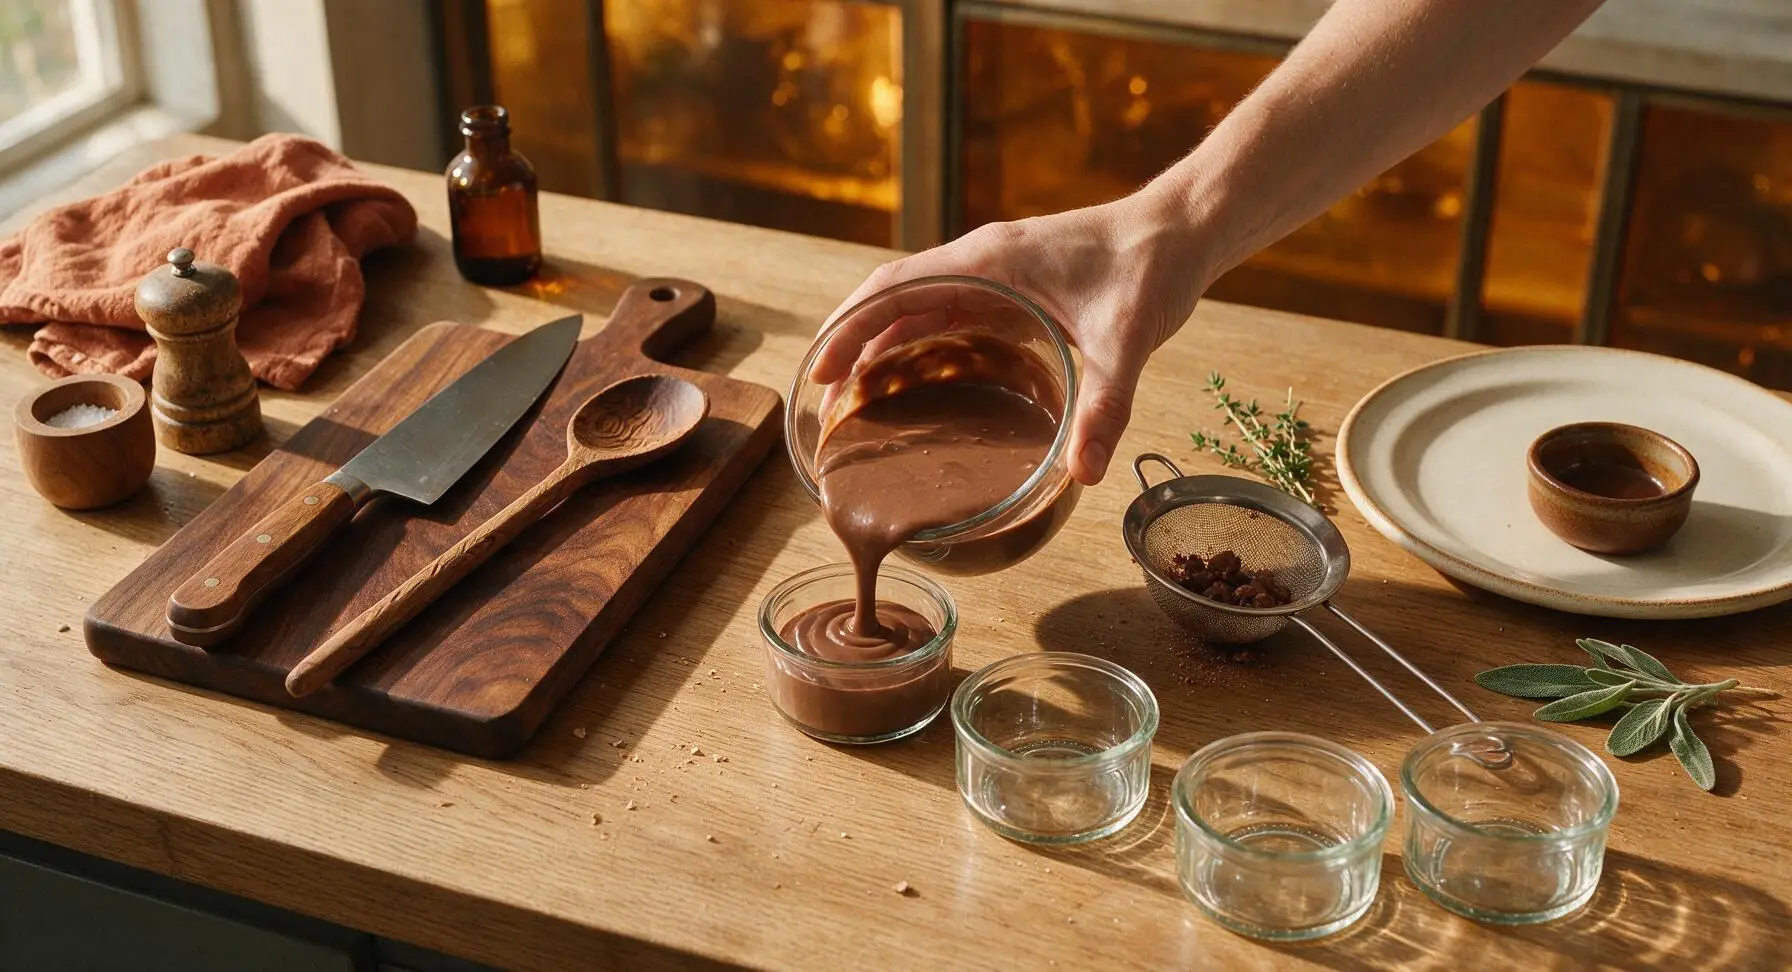
Remove the sieve from the glass bowl. Divide the smooth, warm pudding evenly between the 4 clear glass ramekins, pouring approximately 120ml (1/2 cup) of pudding into each. Tap each ramekin gently on the counter 2-3 times to pop any surface air bubbles, ensuring the top sets perfectly smooth.
Chill to Set
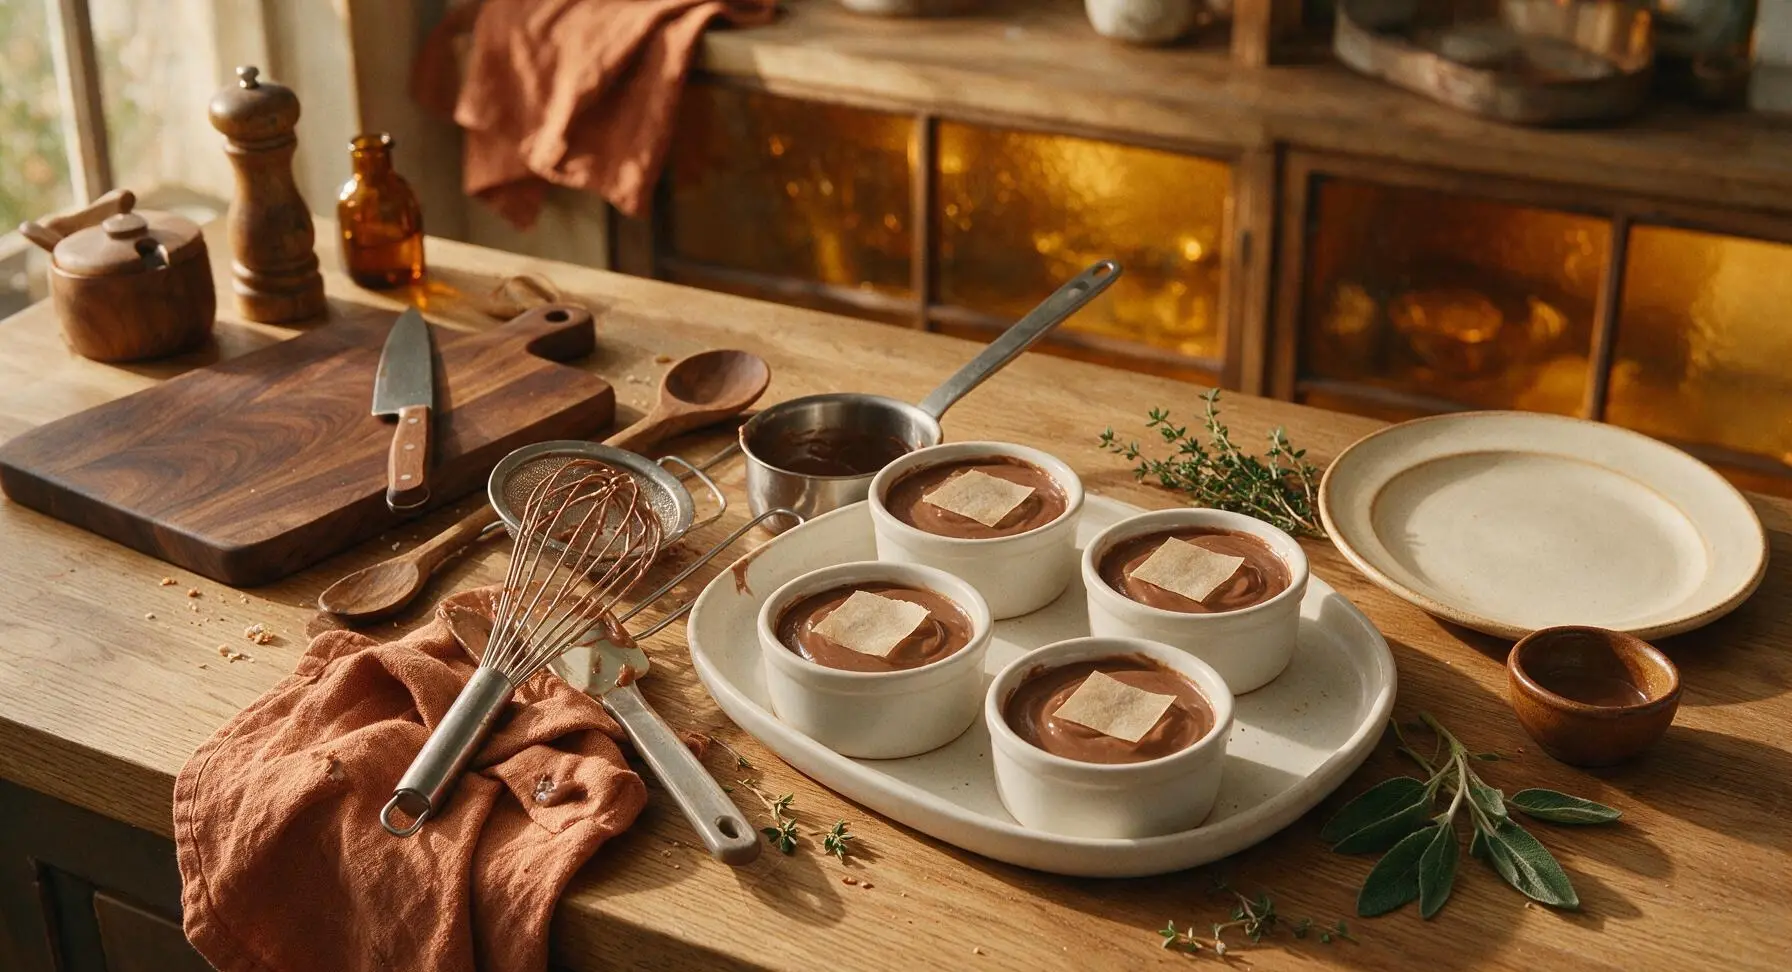
Press a 10cm square of parchment paper directly onto the surface of each pudding to prevent a thick skin from forming as it cools. Place the filled ramekins on the 25cm matte white ceramic serving tray, then transfer to the refrigerator to chill for at least 2 hours, until the pudding is completely firm and set to a silky, spoonable consistency.
Garnish and Serve
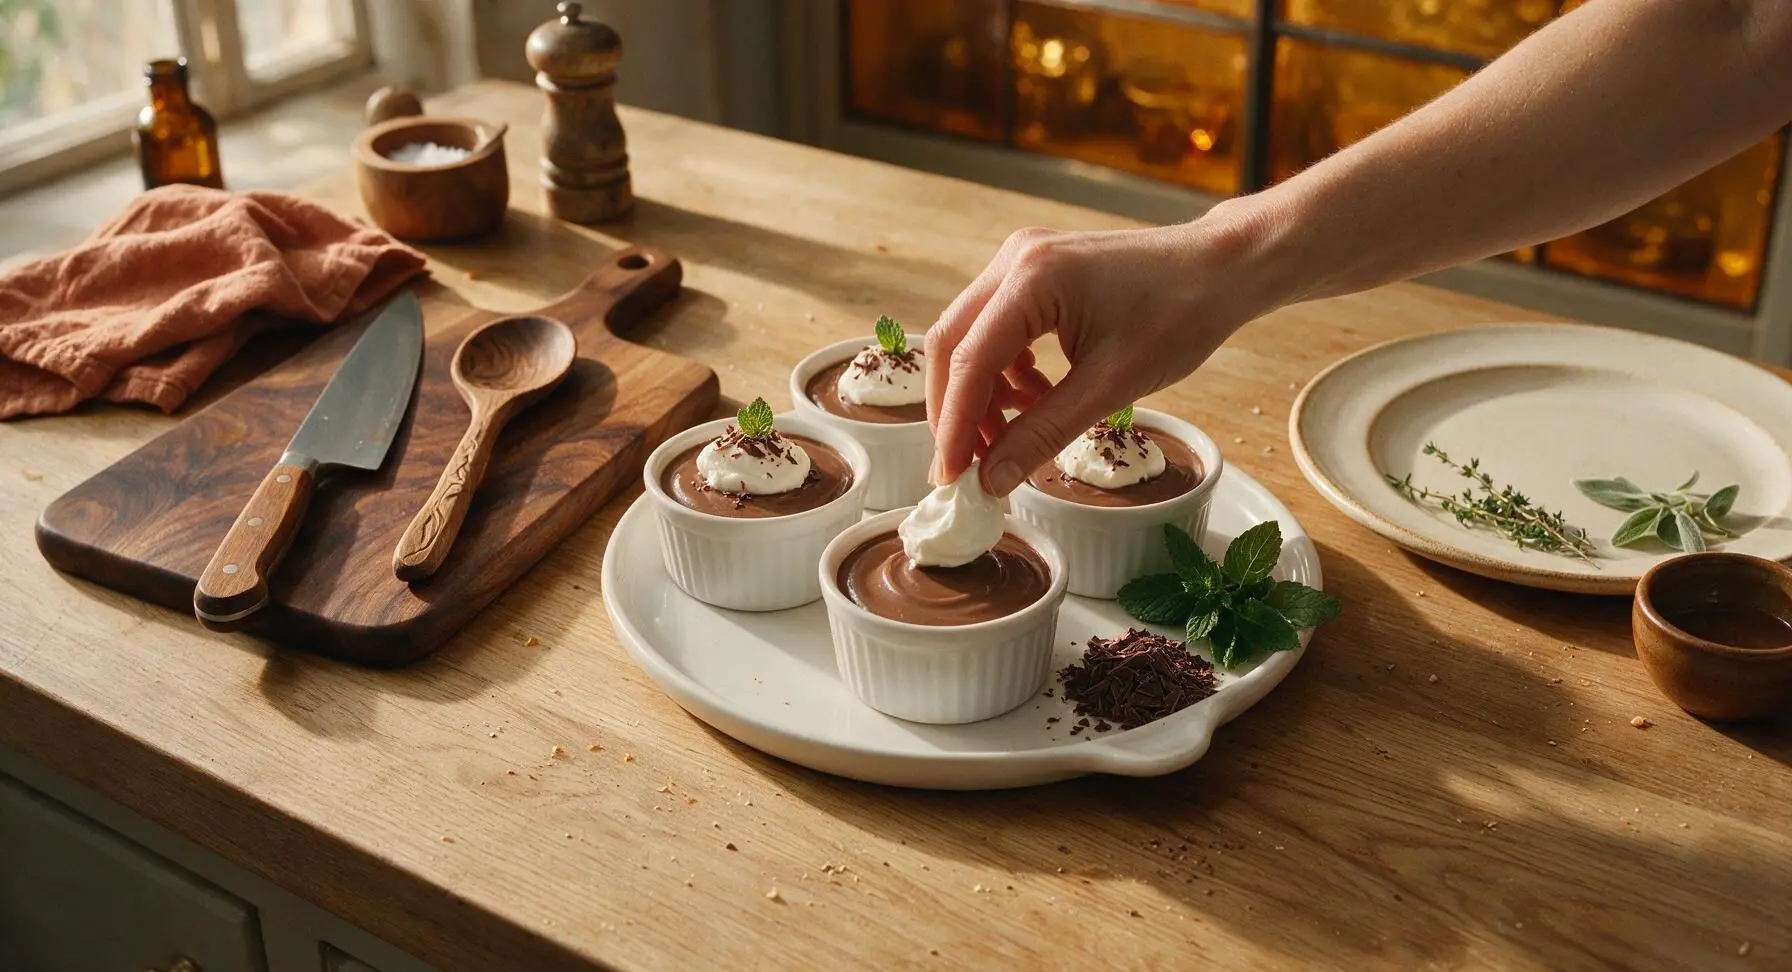
Once the pudding is fully set, remove the parchment paper squares from each ramekin. Top each pudding with a 1-tablespoon dollop of softly whipped heavy cream (if using), a light sprinkle of dark chocolate shavings, and one small fresh mint leaf. Serve immediately while cold.
Tips
2.Never skip pressing parchment directly to the pudding surface while chilling: exposure to cold circulating air causes a thick, rubbery skin to form on top, which ruins the perfectly silky, uniform texture.
3.Keep the stovetop heat at medium-low or lower while cooking: rapid, hard boiling breaks down cornstarch’s thickening power too quickly, leading to a thin, runny pudding that will not set properly even after hours of chilling.






OMG this creamy eggless chocolate pudding was a total game changer for our family dinner last night! My youngest has a severe egg allergy so I’m always hunting for no-egg desserts that don’t taste like a sad compromise, and this absolutely delivered. It was SO rich and silky, even my husband who swears he ‘hates all eggless baked goods’ went back for a second serving before we even cleared the dinner plates. The cook time was actually only 10 minutes like the recipe said, no fussy steps or weird ingredients at all. Will absolutely be bringing this to our next neighborhood potluck for sure!
Perfect easy dessert for my weekly meal prep! I made a big batch on Sunday and it kept perfectly in covered containers in the fridge all week for quick late-night study session snacks. It’s not overly sweet which I love, and the texture is way creamier than the boxed instant pudding I used to buy in college. Quick pro tip: I added a tiny pinch of flaky sea salt on top of each serving and it took the chocolate flavor to the next level, 10/10.
Wait hold on, I used oat milk instead of whole dairy milk when I made this earlier tonight and it still turned out perfectly? I was so nervous it would be watery or weirdly grainy but nope, thick, velvety, super chocolatey. The 10 minute cook time is no joke, I spent longer rummaging in my pantry for unsweetened cocoa powder than I did actually putting the whole thing together. Absolute win for quick weeknight desserts, obsessed.
My kids loved it!!! I’ve been striking out with new desserts lately, my 7 year old has been turning her nose up at every single sweet I make lately, but she ate her whole bowl in two minutes and asked if we could have it for after-school snacks every day this week. It was so easy to throw together even when I’m juggling homework help and weeknight dinner on a Tuesday, zero stress, no fancy equipment needed.
Wait is this actually as creamy as it looks? I’ve tried so many eggless pudding recipes that end up having that weird starchy, gummy texture from too much cornstarch, I’m scared to waste my good dark cocoa powder on another dud. Does it have that artificial boxed chocolate Jell-O vibe at all? It looks incredible in the photos, I really want this to work because I need an easy dessert for my sister’s birthday dinner next weekend!
Made this for our weekend day hike to have as a little summit treat, packed it in small 4oz mason jars and it traveled so well in my cooler! Everyone in my hiking group was begging for the recipe once they tried it, they couldn’t believe it was eggless and only took 10 minutes to throw together. Will be a staple for all my future outdoor trips and campground potlucks, it’s the perfect sweet pick-me-up after a few miles of uphill climbing.