
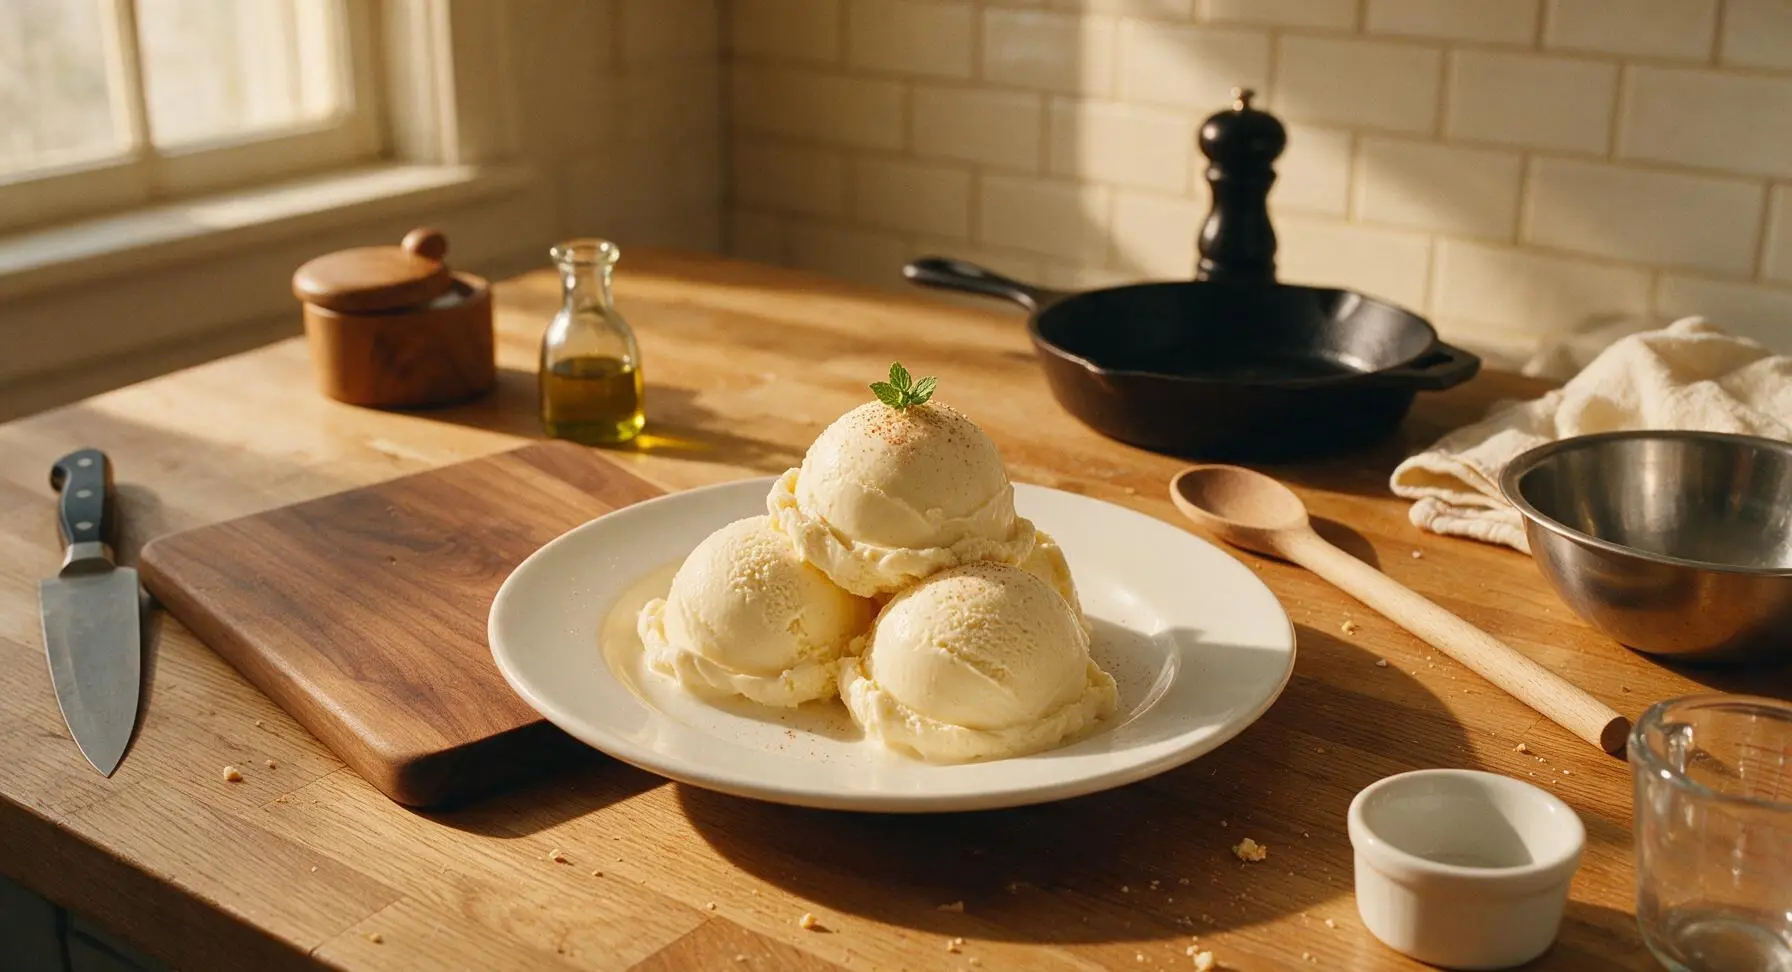
Eggnog Ice Cream

title 1
Eggnog Ice Cream
⏱️ cook time 15 minutes
🍽️ servings 8
⚡ Difficulty medium

intro

Rich, creamy spiced frozen take on classic Christmas eggnog, with a silky cooked custard base, warm nutmeg notes, and a hint of rum, perfectly scoopable and festive.

Ingredients
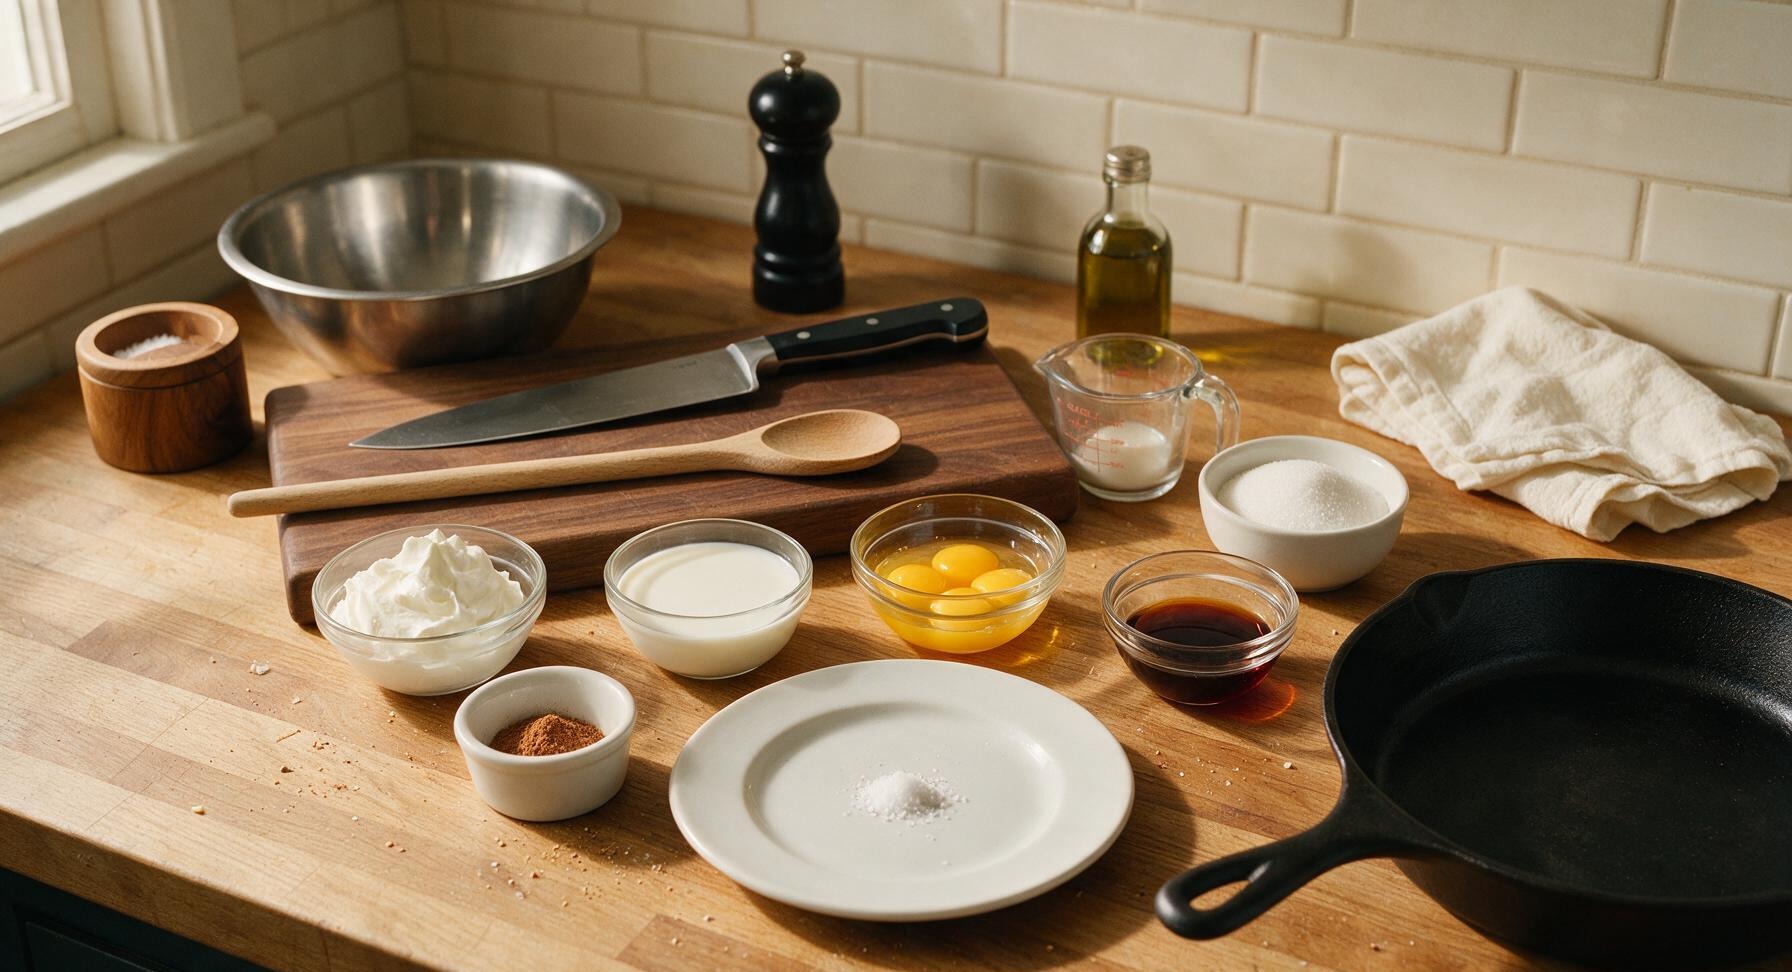
Heavy whipping cream 2 cups (480ml)
Whole milk 1 cup (240ml)
Large egg yolks 6 each
Granulated sugar 3/4 cup (150g)
Freshly grated nutmeg 1 tsp
Dark rum 1/4 cup (60ml)
Pure vanilla extract 1 tsp
Ground cinnamon 1/4 tsp
Fine sea salt 1/8 tsp

Steps

1

Warm Cream and Milk

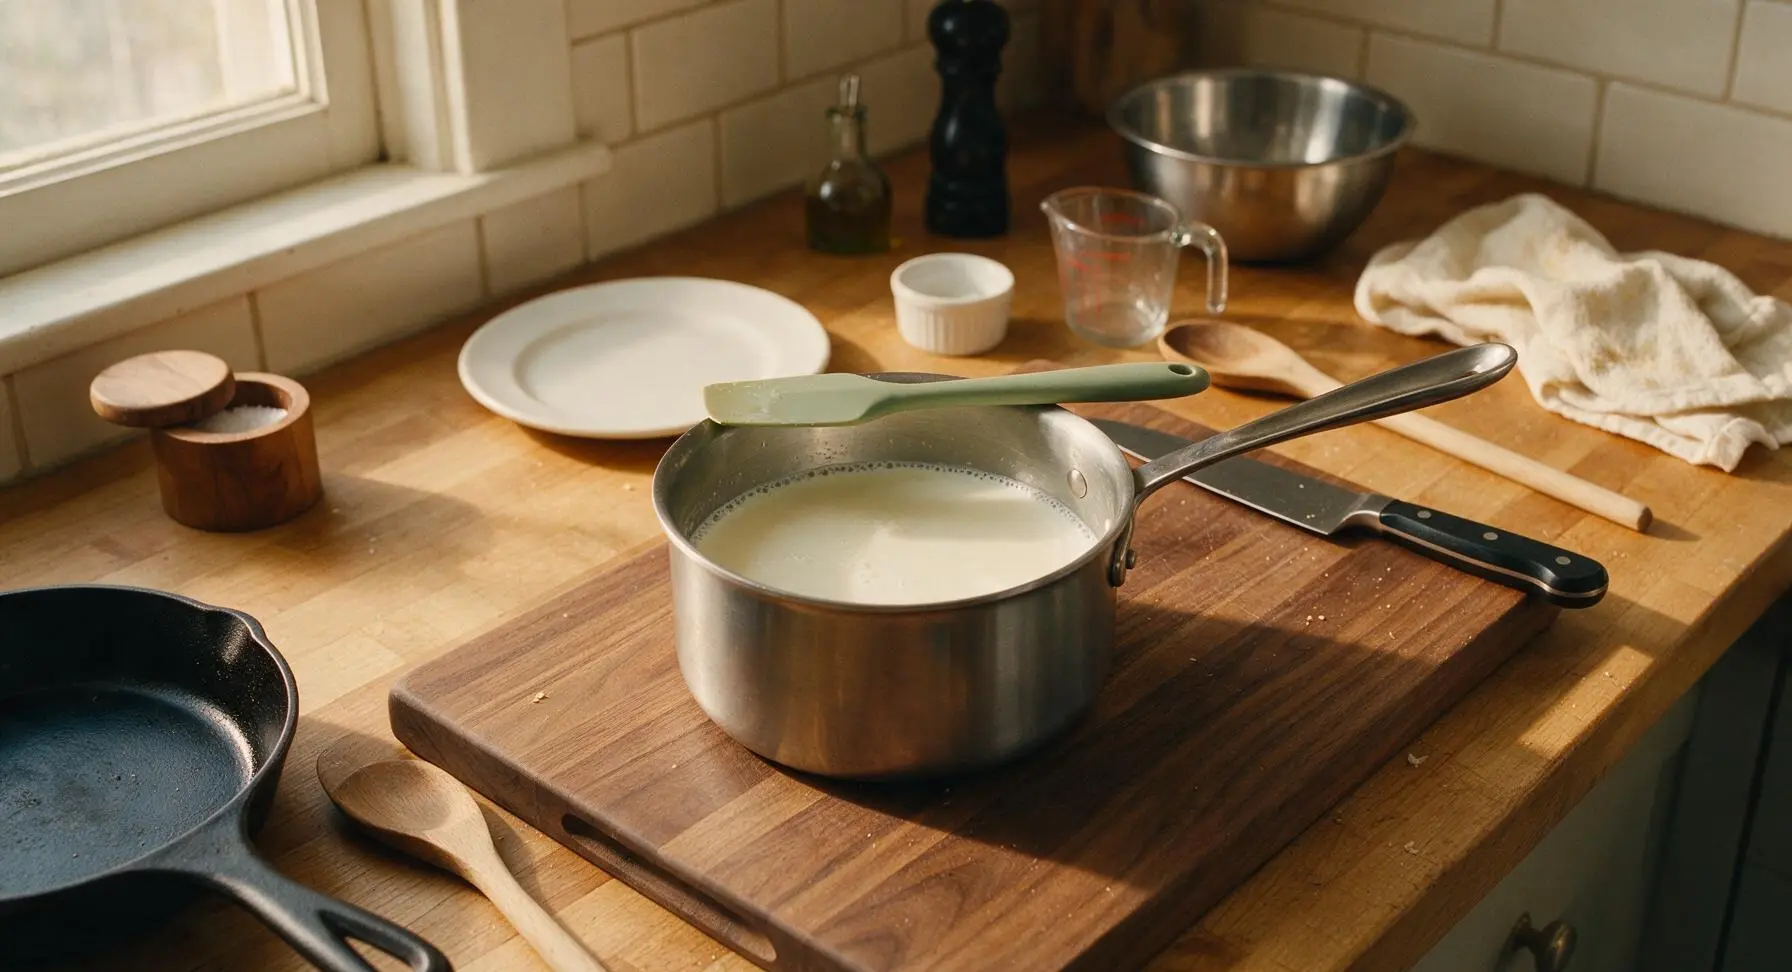
Pour 2 cups heavy cream and 1 cup whole milk into the 2-quart stainless steel saucepan. Set over medium-low heat, stirring occasionally with the sage-handle silicone spatula, until the mixture reaches a gentle simmer (170°F / 77°C) with tiny bubbles forming around the pan edges, about 5 minutes. Do not let the mixture boil, as scalded dairy will create a grainy, unpleasant texture in the finished ice cream.
Step 1
step1:Warm Cream and Milk
2

Whisk Yolks and Sugar

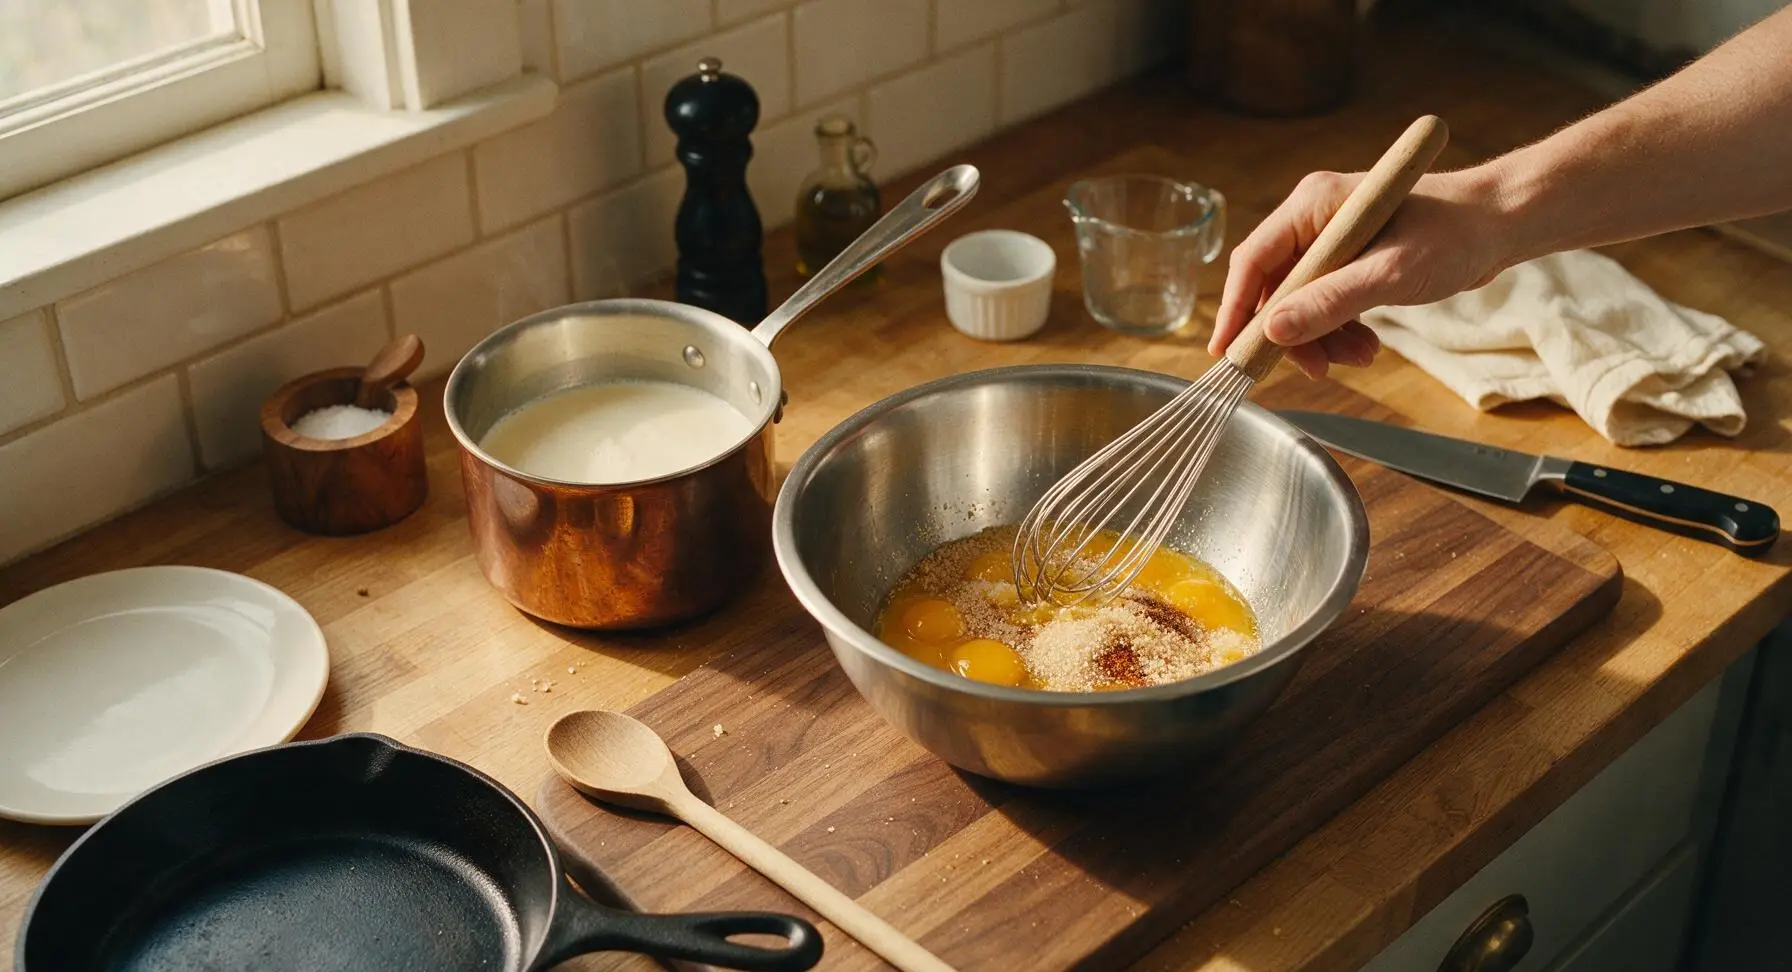
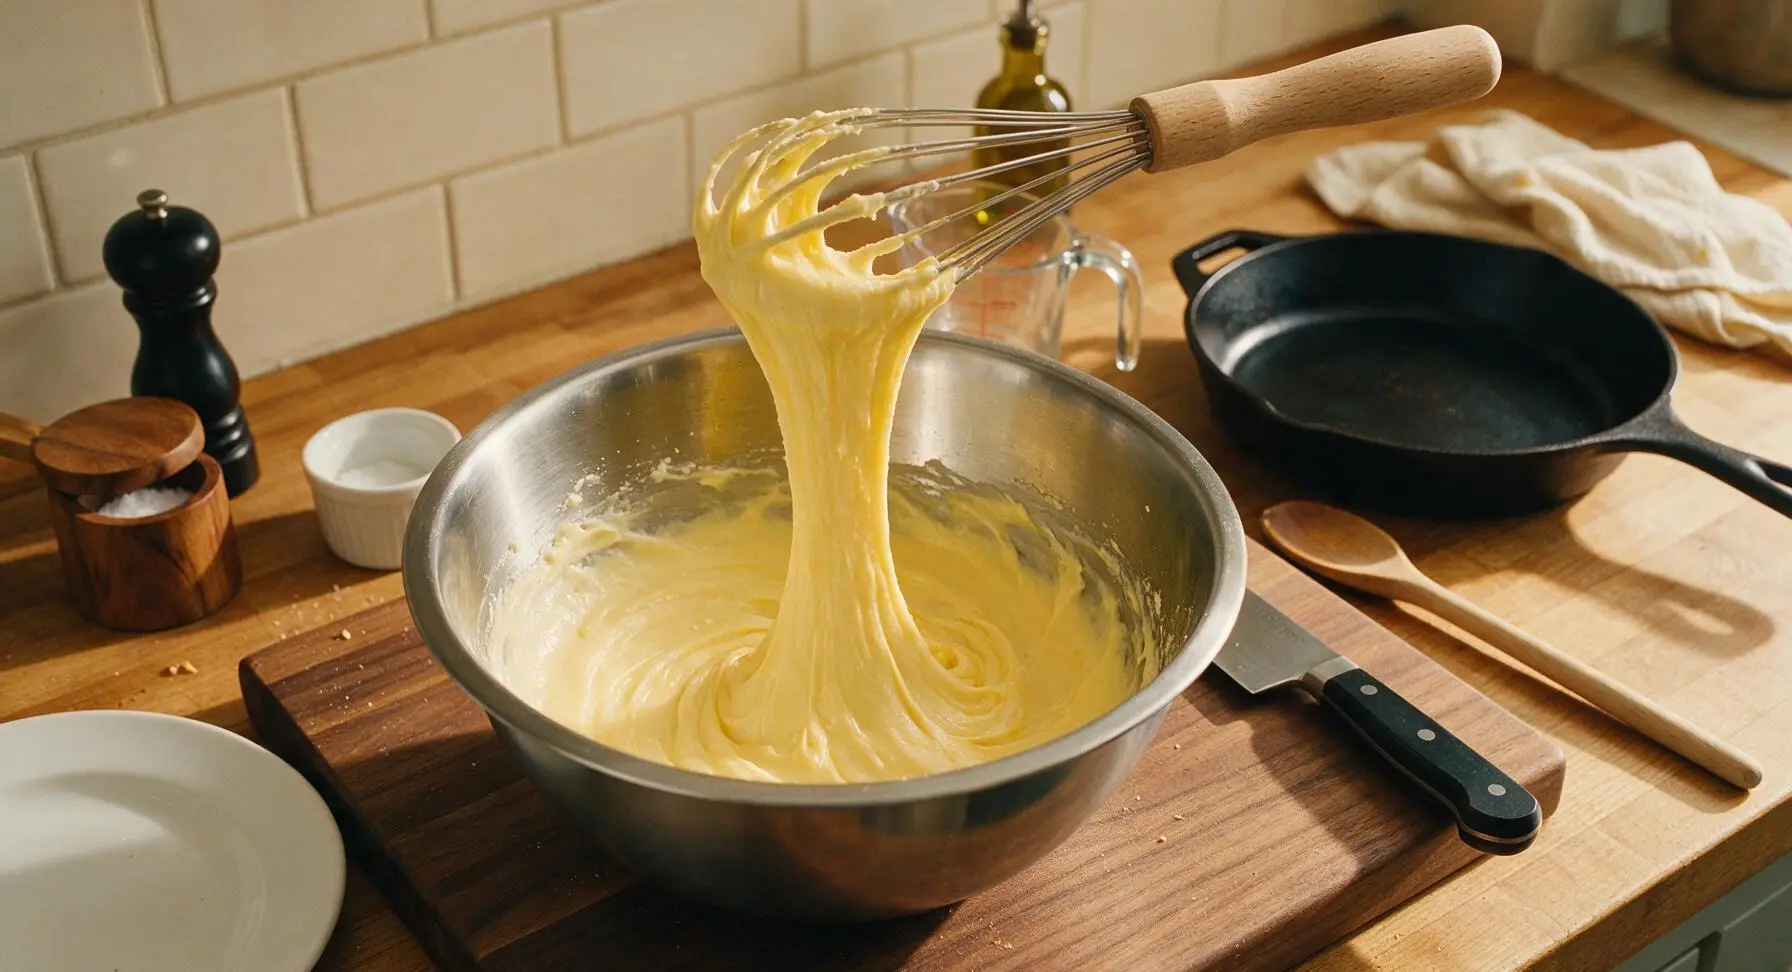
While the dairy warms, place 6 large egg yolks, 3/4 cup granulated sugar, 1 tsp freshly grated nutmeg, 1/4 tsp ground cinnamon, and 1/8 tsp fine sea salt in the 2-quart stainless steel mixing bowl. Whisk continuously with the beech-handle wire whisk for 2-3 minutes until the mixture is pale lemon yellow, thickened, and falls off the whisk in thick, slow ribbons that hold their shape briefly on the mixture surface.
Step 2
step2:Whisk Yolks and Sugar
Step 2
step2:Whisk Yolks and Sugar
3

Temper Egg Yolks

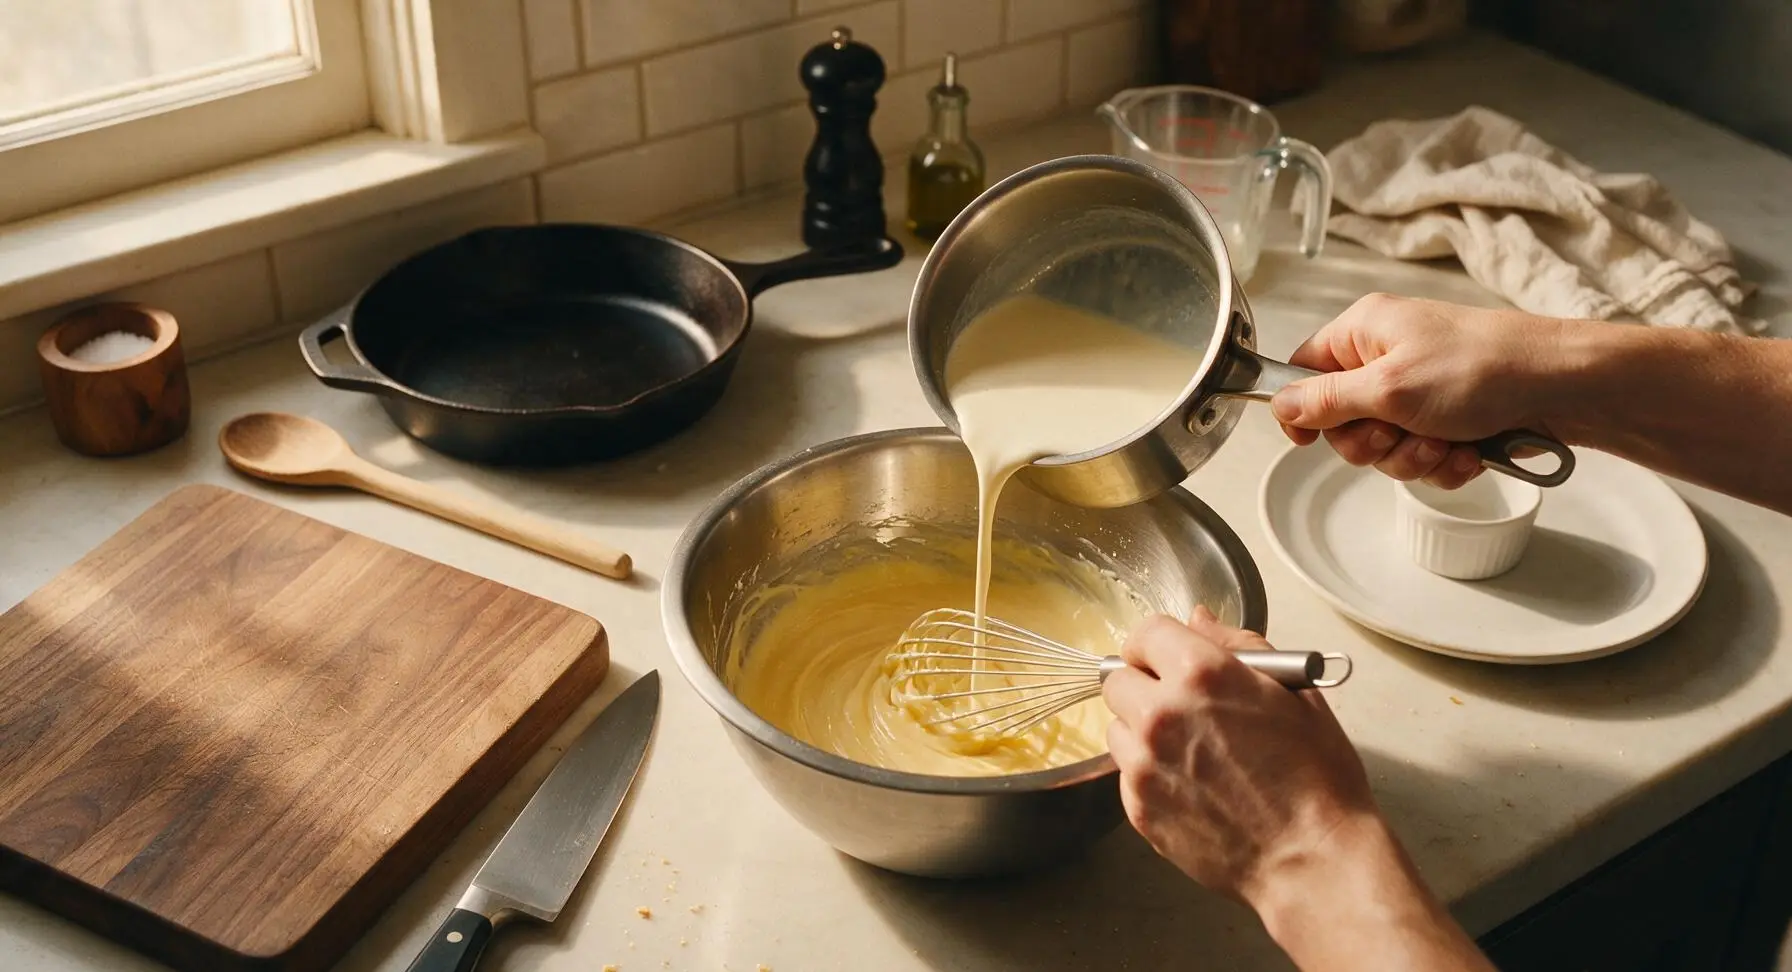
Remove the warm dairy mixture from heat. While whisking the yolk mixture constantly and rapidly to distribute heat, slowly pour 1/2 cup of the warm cream into the yolks in a thin, steady stream to gradually raise the egg temperature and prevent curdling. Repeat with two more 1/2 cup additions of warm cream, whisking nonstop, until the yolk mixture is fully warmed through.
Step 3
step3:Temper Egg Yolks
4

Cook to Nappe Stage

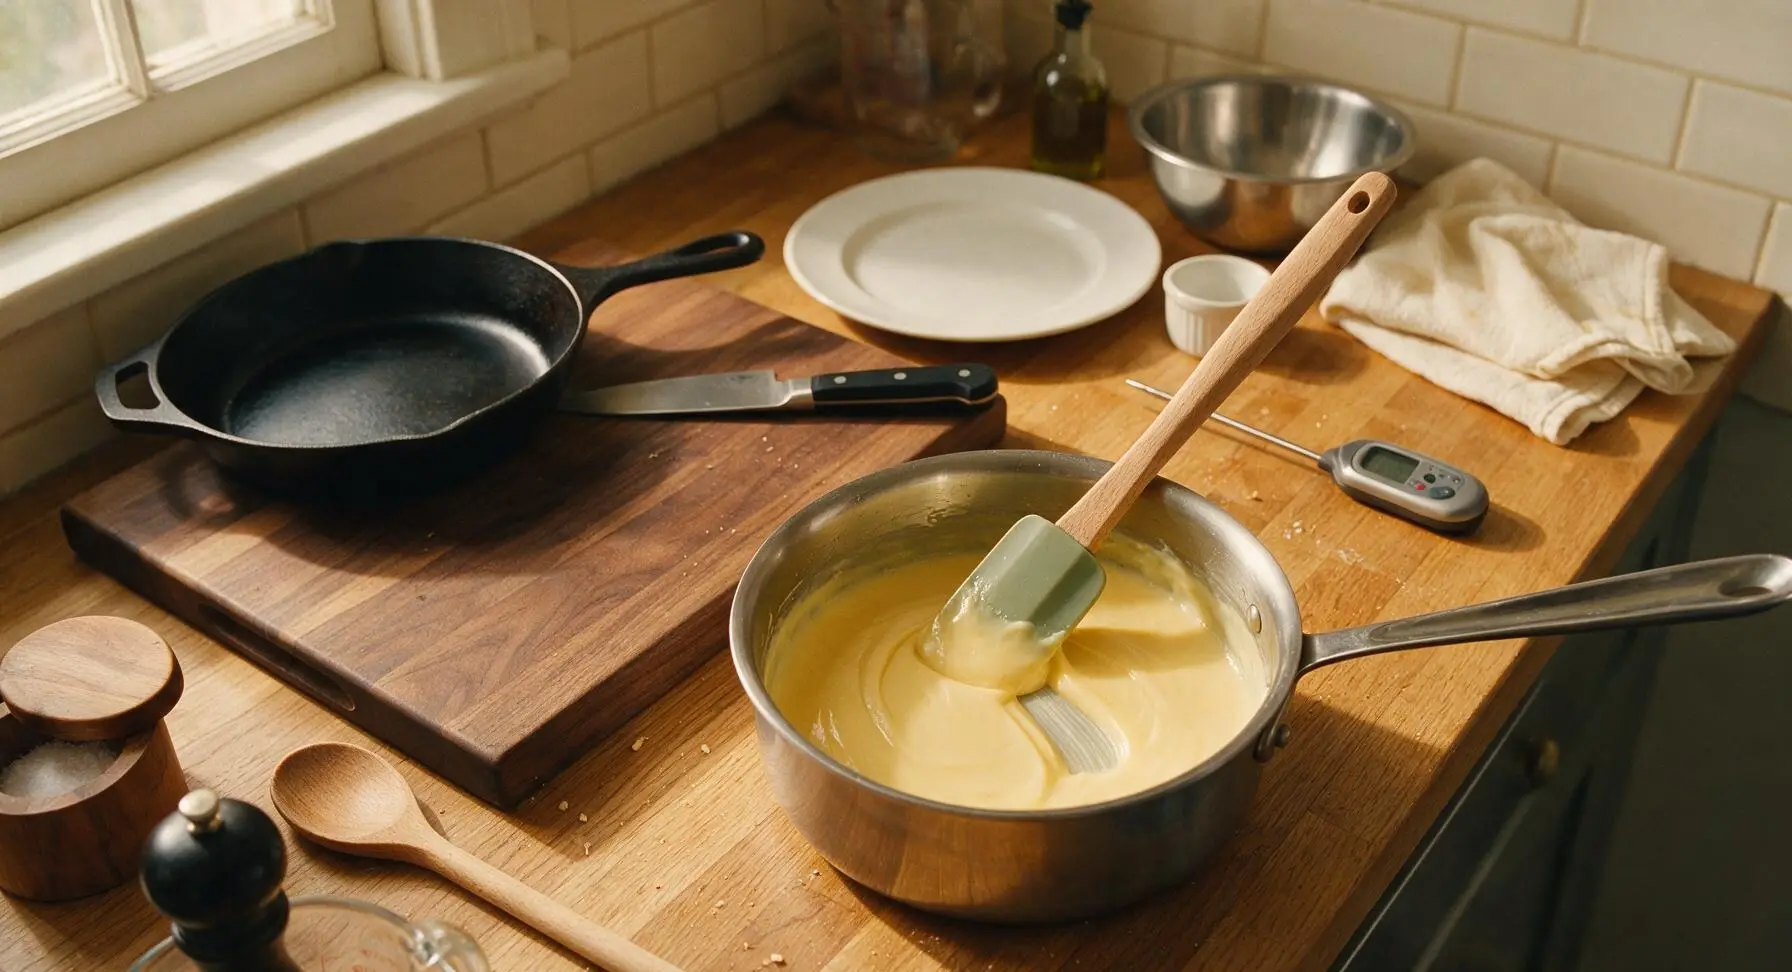
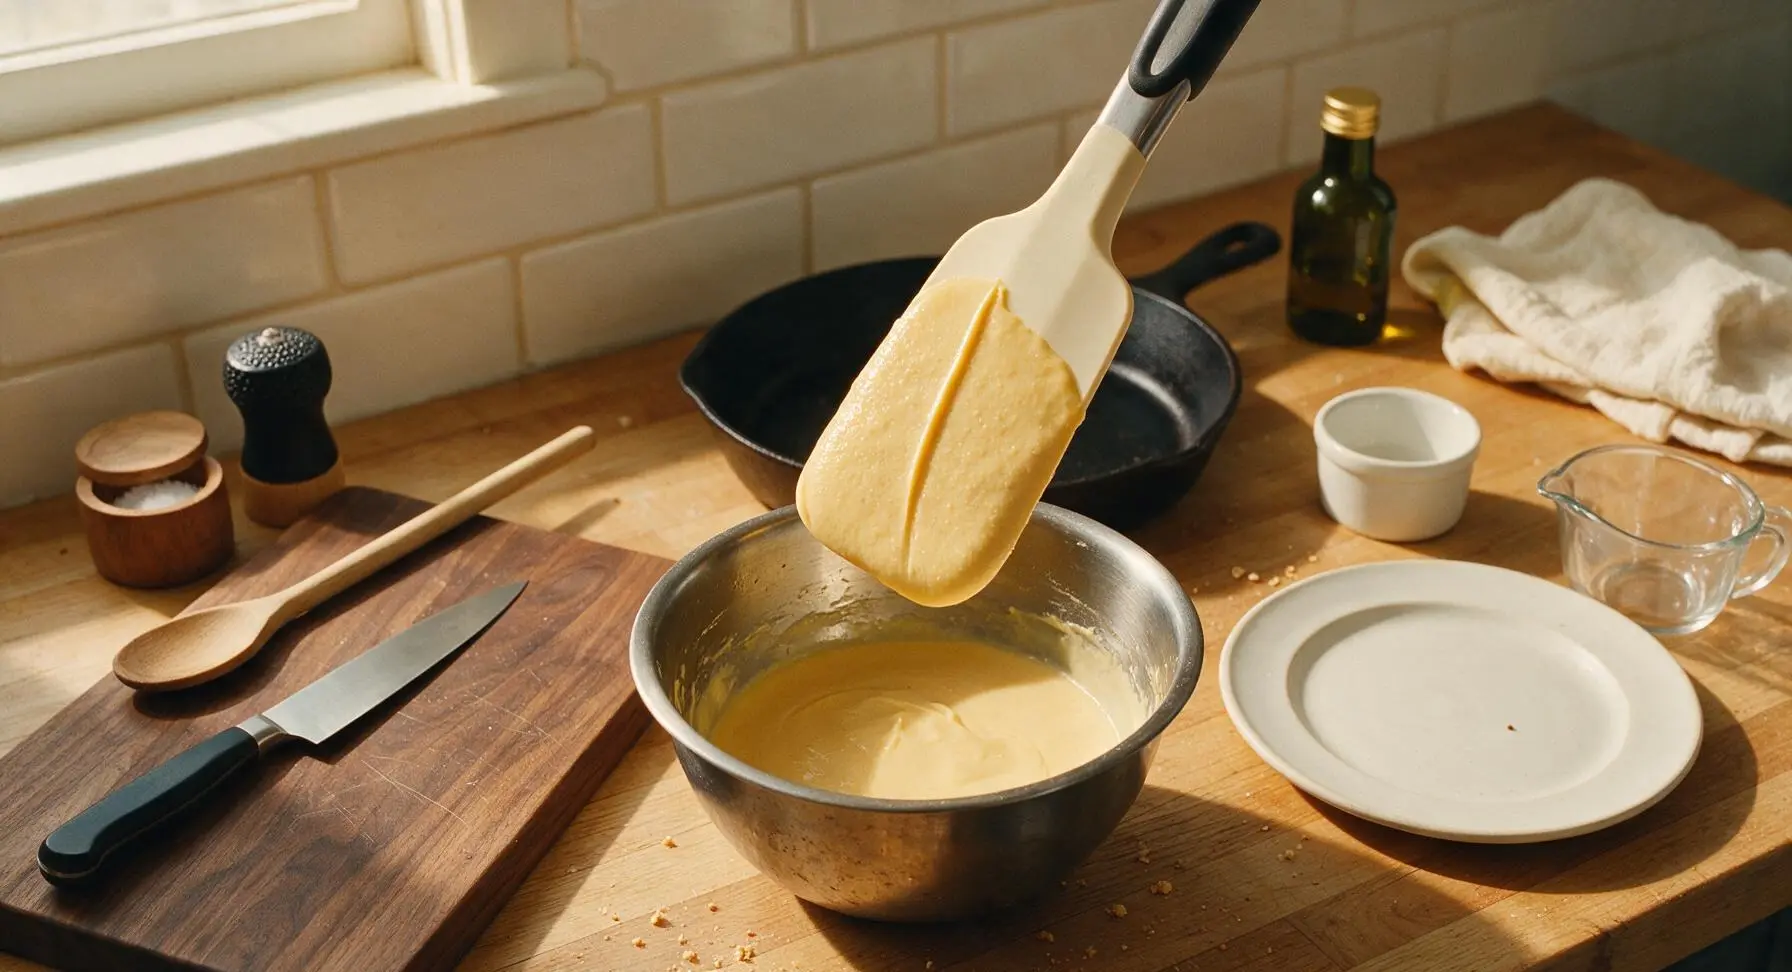
Pour the warmed yolk and cream mixture back into the saucepan with the remaining warm dairy. Return the pan to medium-low heat, stirring constantly with the silicone spatula in slow figure-8 motions, scraping the pan bottom and sides continuously to prevent burning. Cook for 3-4 minutes until the custard reaches 175°F (79°C) and thickens enough to coat the back of the spatula: when you run a clean finger across the spatula’s coated surface, the line will hold cleanly without running. Do not heat above 180°F (82°C), as this will cause the eggs to curdle and create a lumpy texture.
Step 4
step4:Cook to Nappe Stage
Step 4
step4:Cook to Nappe Stage
5

Strain and Chill Custard

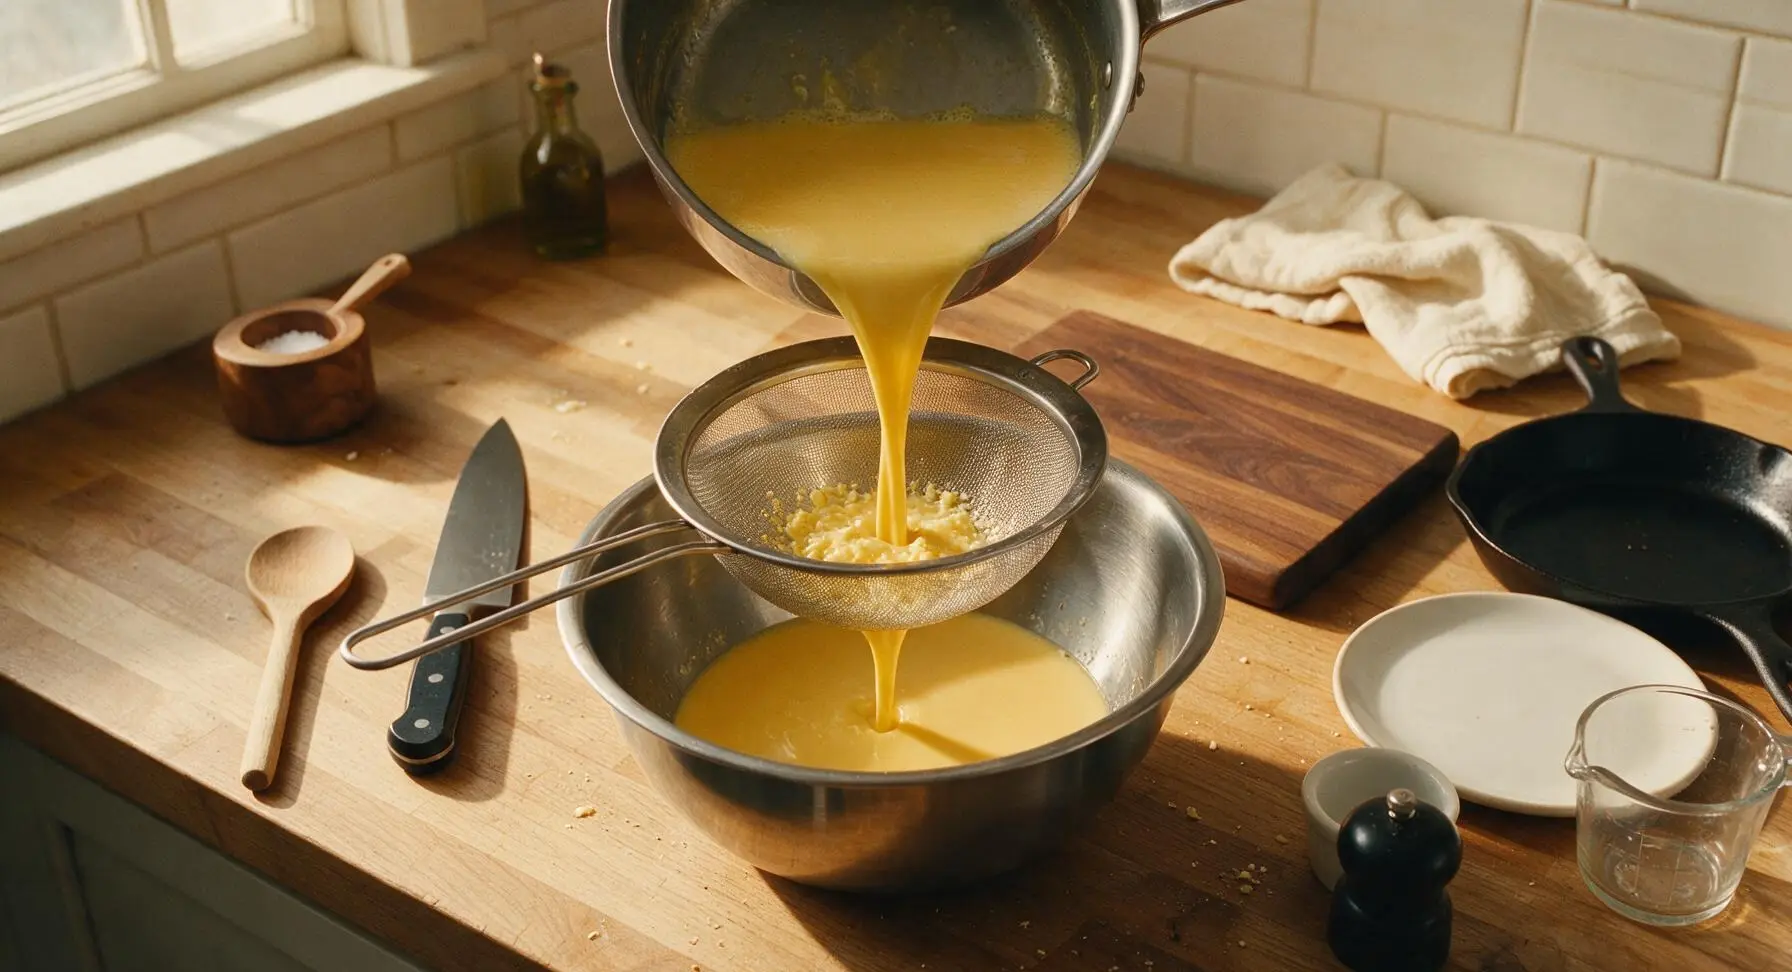
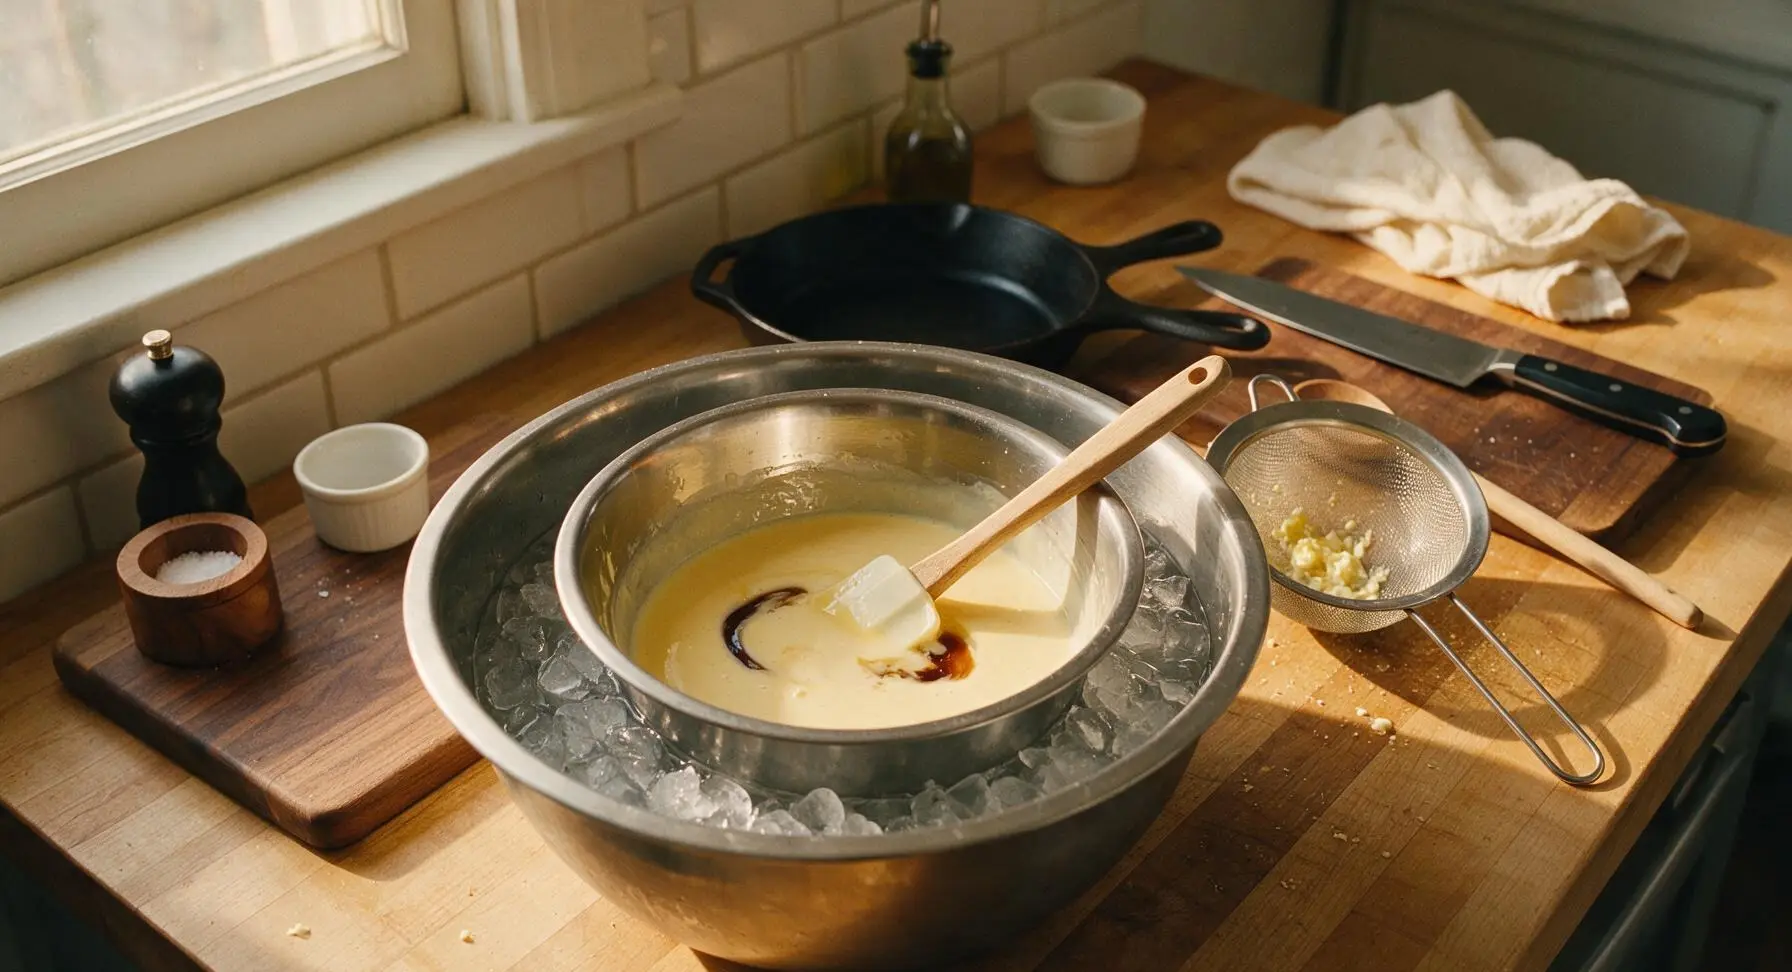
Set the fine-mesh stainless steel sieve over the 4-quart stainless steel mixing bowl. Pour the hot custard through the sieve to catch any tiny curdled egg bits, creating an ultra-smooth base. Stir in 1/4 cup dark rum and 1 tsp vanilla extract until fully combined. Create an ice bath by filling the lower half of the large bowl with ice and cold water, then nestle the bowl of strained custard into the ice bath. Stir occasionally for 15-20 minutes until the custard cools to room temperature, then cover and refrigerate for a minimum of 4 hours (up to 24 hours) until completely chilled to 40°F (4°C); warm custard will not churn into smooth ice cream.
Step 5
step5:Strain and Chill Custard
Step 5
step5:Strain and Chill Custard
6

Churn Chilled Custard

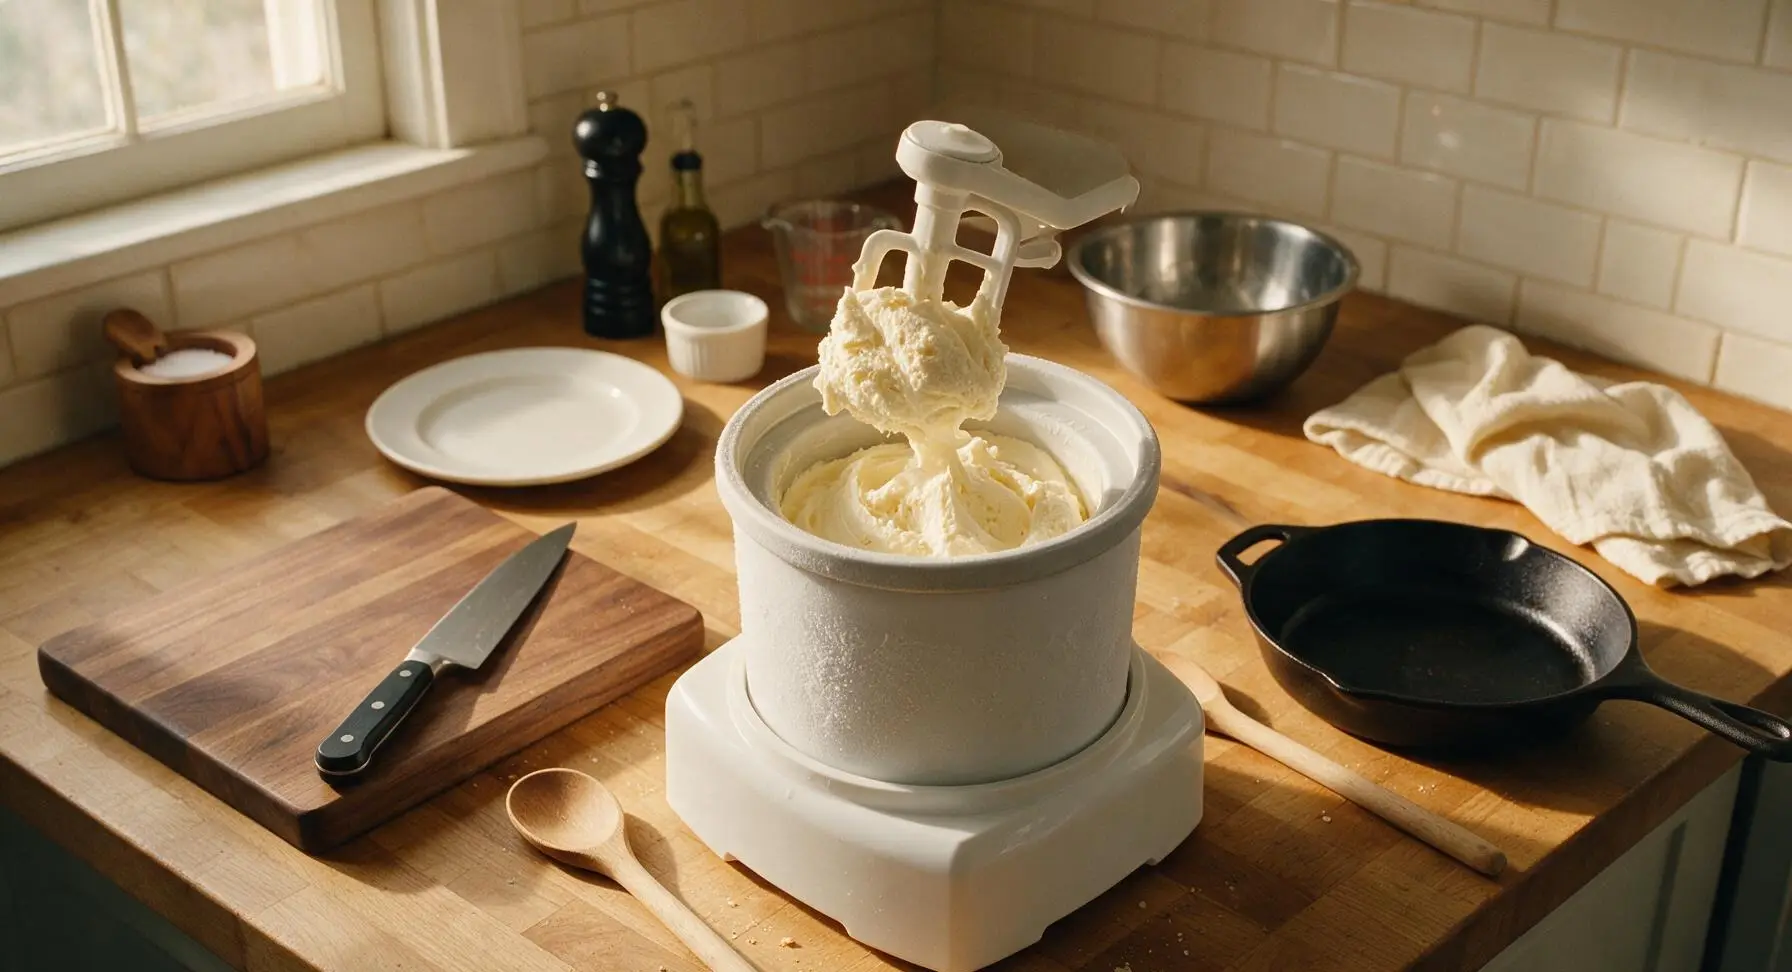
Retrieve the pre-frozen ice cream maker canister from the freezer and assemble the machine per manufacturer instructions. Turn the machine on, then pour the fully chilled custard into the running canister. Churn for 20-25 minutes until the ice cream reaches the consistency of thick soft-serve, with a noticeable increase in volume from incorporated air.
Step 6
step6:Churn Chilled Custard
7

Freeze to Firm Up

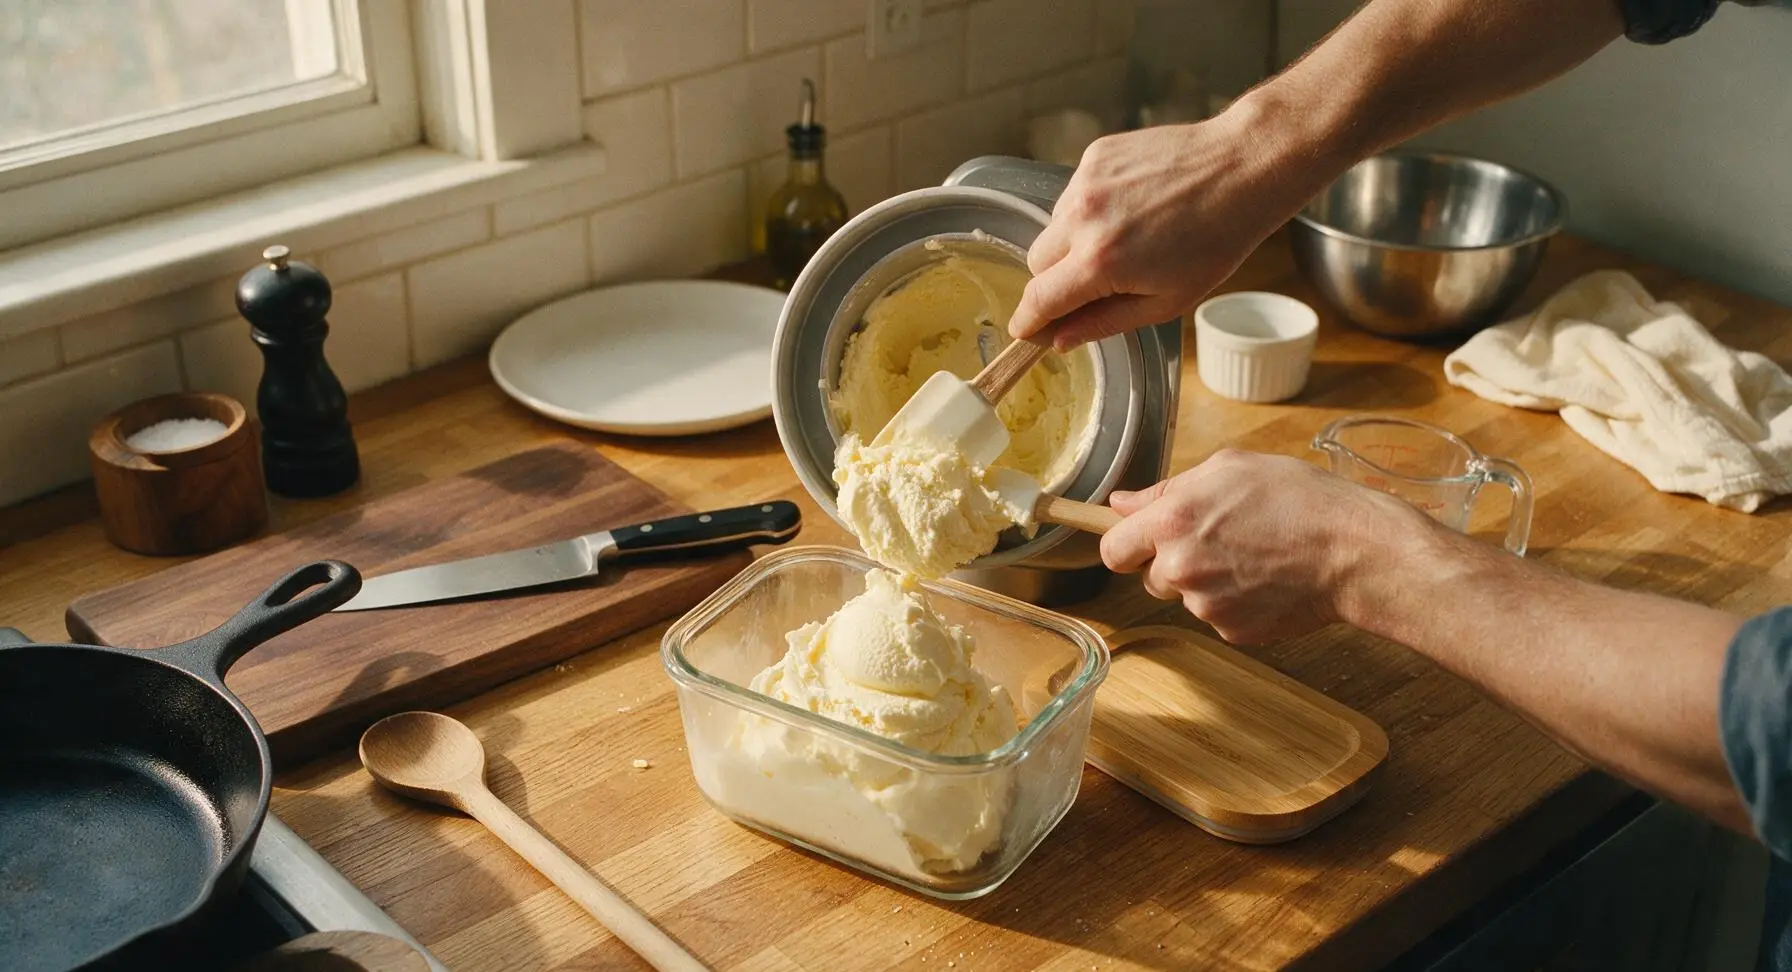
Use the silicone spatula to scrape all the churned soft ice cream from the ice cream canister into the 1.5L clear glass freezer container. Smooth the top surface evenly, then press a piece of parchment paper directly against the ice cream surface to prevent ice crystal formation, and seal tightly with the bamboo lid. Freeze for 4-6 hours until the ice cream is firm enough to scoop, but still creamy and smooth.
Step 7
step7:Freeze to Firm Up

Tips

1.Pre-freeze your ice cream maker canister for a full 24 hours before churning: a partially frozen canister will not freeze the custard quickly enough, leading to large ice crystals and a dense, grainy texture instead of smooth, creamy ice cream.
2.Use freshly grated whole nutmeg instead of pre-ground nutmeg for the best flavor: pre-ground nutmeg loses its aromatic, warm oils quickly, resulting in a flat, slightly bitter taste, while freshly grated nutmeg has a bright, spicy-sweet flavor that defines classic eggnog.
3.For a non-alcoholic version, replace the dark rum with 1 teaspoon rum extract plus 3 tablespoons whole milk: alcohol lowers the ice cream’s freezing point to create a softer, easier-to-scoop texture, so this swap maintains the classic spiced rum flavor without preventing the ice cream from setting properly.


✨ You May Also Like

Desserts & Baking
🍜 Italy

Creamy, coffee-kissed classic Northern Italian no-bake dessert, with layers of rum-spiked mascarpone cream, soft ladyfingers, and a rich cocoa dusting.

⏱️ 4 hours 3Desserts & Baking ★ 4.7
Desserts & Baking
🍜 France

Flaky, shatteringly crisp, buttery French croissants with golden exteriors and soft, airy layered interiors, perfect for pairing with coffee for a special morning treat.

⏱️ 12 hours Desserts & Baking ★ 4.5
Desserts & Baking
🍜 United States

Warm, spiced baked apples topped with a fluffy golden biscuit crust, this cozy dessert pairs perfectly with vanilla ice cream for cool-weather comfort.

⏱️ 55 minuteDesserts & Baking ★ 4.6
Desserts & Baking
🍜 United States

A star-spangled classic American blueberry pie with buttery flaky crust and bright sweet-tart filling, perfect for summer patriotic gatherings.

⏱️ 1 hour 25Desserts & Baking ★ 4.7
Desserts & Baking
🍜 United States

A beloved no-bake regional Maine candy with a chewy coconut-potato center coated in rich dark chocolate, a New England holiday staple since the 1870s.

⏱️ 2 hours 3Desserts & Baking ★ 4.8
Desserts & Baking
🍜 France

Luxuriously creamy, floral frozen custard made with aromatic Tahitian vanilla beans, boasting a smooth, rich texture that melts slowly on the tongue.

⏱️ 3 hours 3Desserts & Baking ★ 4.5

Eggnog Ice Cream:Frequently Asked Questions

1.Can I make this eggnog ice cream without an ice cream maker? ▾
You absolutely can! After chilling the cooked custard base fully, pour it into a shallow freezer-safe dish, then stir vigorously every 30 minutes for 3–4 hours to break up forming ice crystals. It won’t be quite as silky as machine-churned ice cream, but it will still be rich, scoopable, and packed with warm spiced eggnog flavor.
2.Do I have to add rum, or can I make this non-alcoholic? ▾
You can absolutely skip the rum for a family-friendly, non-alcoholic batch! The rum adds subtle warm depth that mirrors classic holiday eggnog, but you can swap it for 1 teaspoon of rum extract plus an extra 1/4 teaspoon of freshly grated nutmeg to keep that familiar cozy flavor without any alcohol.
3.How do I avoid curdling the egg custard base? ▾
Curdling happens when egg yolks get too hot too fast, so take it slow. Heat your milk and cream first, then slowly whisk a small amount of the hot liquid into the yolks to temper them before pouring everything back into the pot. Cook over medium-low heat, stirring constantly, until the base coats the back of a spoon, and never let it reach a rolling boil.
4.Can I use pre-ground nutmeg instead of freshly grated? ▾
Pre-ground nutmeg will work in a pinch, but freshly grated nutmeg makes a huge difference in bright, warm flavor. Pre-ground nutmeg loses its aromatic notes quickly sitting on store shelves, so if you use it, add an extra 1/4 teaspoon to compensate, and confirm it hasn’t been in your pantry for more than 6 months for the best taste.
5.How long do I need to chill the custard base before churning? ▾
For the creamiest, most scoopable texture, chill your fully cooked, strained custard base for a minimum of 4 hours, and ideally overnight, in the fridge. A warm or room-temperature base melts too fast during churning, leading to large, gritty ice crystals instead of that smooth, silky texture we want for this festive holiday treat.
6.How long will this eggnog ice cream stay fresh in the freezer? ▾
Stored in a tightly sealed, airtight container with a sheet of parchment paper pressed directly to the ice cream surface to block ice crystal formation, it will stay fresh for up to 2 weeks. After that, it may develop icy texture and muted spice notes, though it remains food-safe for up to 3 months if kept consistently frozen.
7.Why does my homemade ice cream turn out rock hard and impossible to scoop? ▾
This eggnog ice cream usually turns rock-hard for two key reasons: undercooked custard that leaves excess freezable water, or skimping on the full amount of heavy cream or sugar called for. For easy scooping, cook the custard to the proper coat-the-spoon thickness, and let the frozen ice cream sit on the counter for 5 minutes before serving.
8.Can I add festive mix-ins like cookie pieces or chocolate chips to this recipe? ▾
Absolutely! This spiced custard base pairs beautifully with all kinds of fun, festive mix-ins. Add chopped gingersnap cookies, white chocolate chips, cinnamon bits, or candied pecans during the last 2 minutes of churning, so they distribute evenly without sinking to the bottom of the container as the ice cream finishes freezing.
9.Do I need to strain the custard base after cooking it? ▾
I highly recommend straining the cooked custard through a fine-mesh sieve before chilling, even if you don’t see any obvious curdled bits. Straining catches tiny bits of cooked egg that may have formed, plus uneven clumps of nutmeg, to leave you with the ultra-silky, smooth texture that makes this frozen eggnog feel so luxurious.
10.Can I use store-bought eggnog as a shortcut instead of making the base from scratch? ▾
You can use store-bought eggnog as a time-saving shortcut, but you’ll get the most balanced, bright, fresh flavor making the base from scratch. If you go the shortcut route, swap prepared eggnog for the whole milk in the recipe, cut added sugar by 1/3 cup to account for pre-sweetened nog, and add extra fresh nutmeg for warm depth.

Comments (3)

3 days ago

OMG this eggnog ice cream was the absolute star of our annual holiday potluck last weekend! I was nervous about the medium difficulty rating since I only pull my ice cream maker out once a year max, but the 15 minute cook time for the custard base was so quick to throw together. My kids went back for thirds, and even my super picky father-in-law asked for the recipe to make for his work party. SO good, I’m already planning to whip up a second batch for our New Year’s Eve dinner!

2 days ago

Quick question—did you add extra nutmeg to yours? I made a test batch last night and felt like it was missing a little warm spice oomph, wondering if that’s the move before I make it for my friend’s party!

2 days ago

So glad it was a hit at your potluck, Molly! A quick tip for anyone craving extra warm spice: adding 1/4 tsp of freshly grated nutmeg and a tiny pinch of ground cinnamon to the custard takes it over the top without overpowering that classic creamy eggnog flavor.

1 week ago

Total game changer for holiday meal prep! I made the custard base 3 days ahead and stored it in an airtight container in the fridge before churning it right before our extended family dinner, and it turned out perfectly creamy with zero icy texture. I did swap 2 tbsp of the heavy cream for bourbon (don’t judge, it’s the holidays!) and it tasted exactly like the fancy small-batch eggnog ice cream I pay $9 a pint for at our local scoop shop. This is going to be a yearly holiday staple for us for sure.

5 days ago

Love that bourbon swap trick! Adding a small splash of high-proof spirit actually helps keep the ice cream extra scoopable straight out of the freezer, so that’s a total pro move. So happy this worked for your make-ahead meal prep plans!

30 minutes ago

Brought this to our friends’ ugly sweater holiday party last night and everyone was raving so much I barely got a scoop for myself! Quick note for folks who don’t own an ice cream maker: I tested a no-churn hack where I folded in freshly whipped cream after the cooled custard came down to fridge temp, and it worked pretty well! The texture was a little denser than the traditional churned batch I made as a test run last week, but the flavor was spot on. 10/10, will absolutely be making this again.



