
Eggnog Milkshake
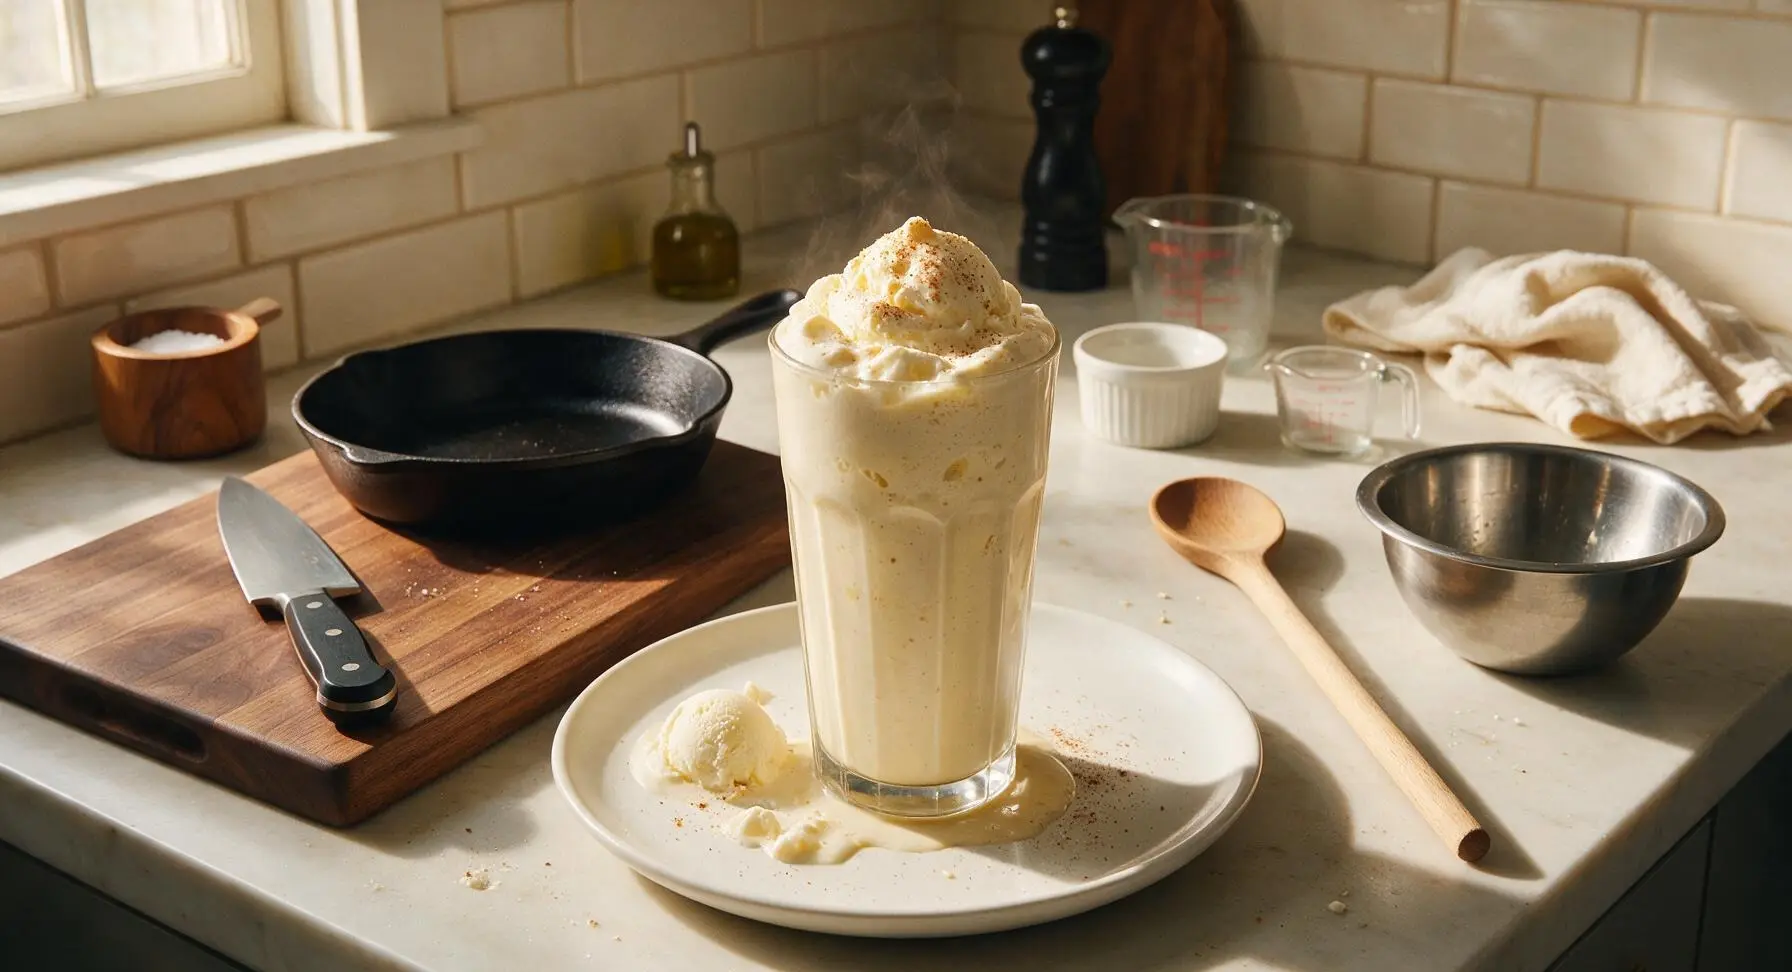
intro
Luxuriously thick, spiced eggnog milkshake blended with vanilla ice cream and warm nutmeg, with an optional boozy twist, perfect for cozy Christmas sipping.
Ingredients
Steps
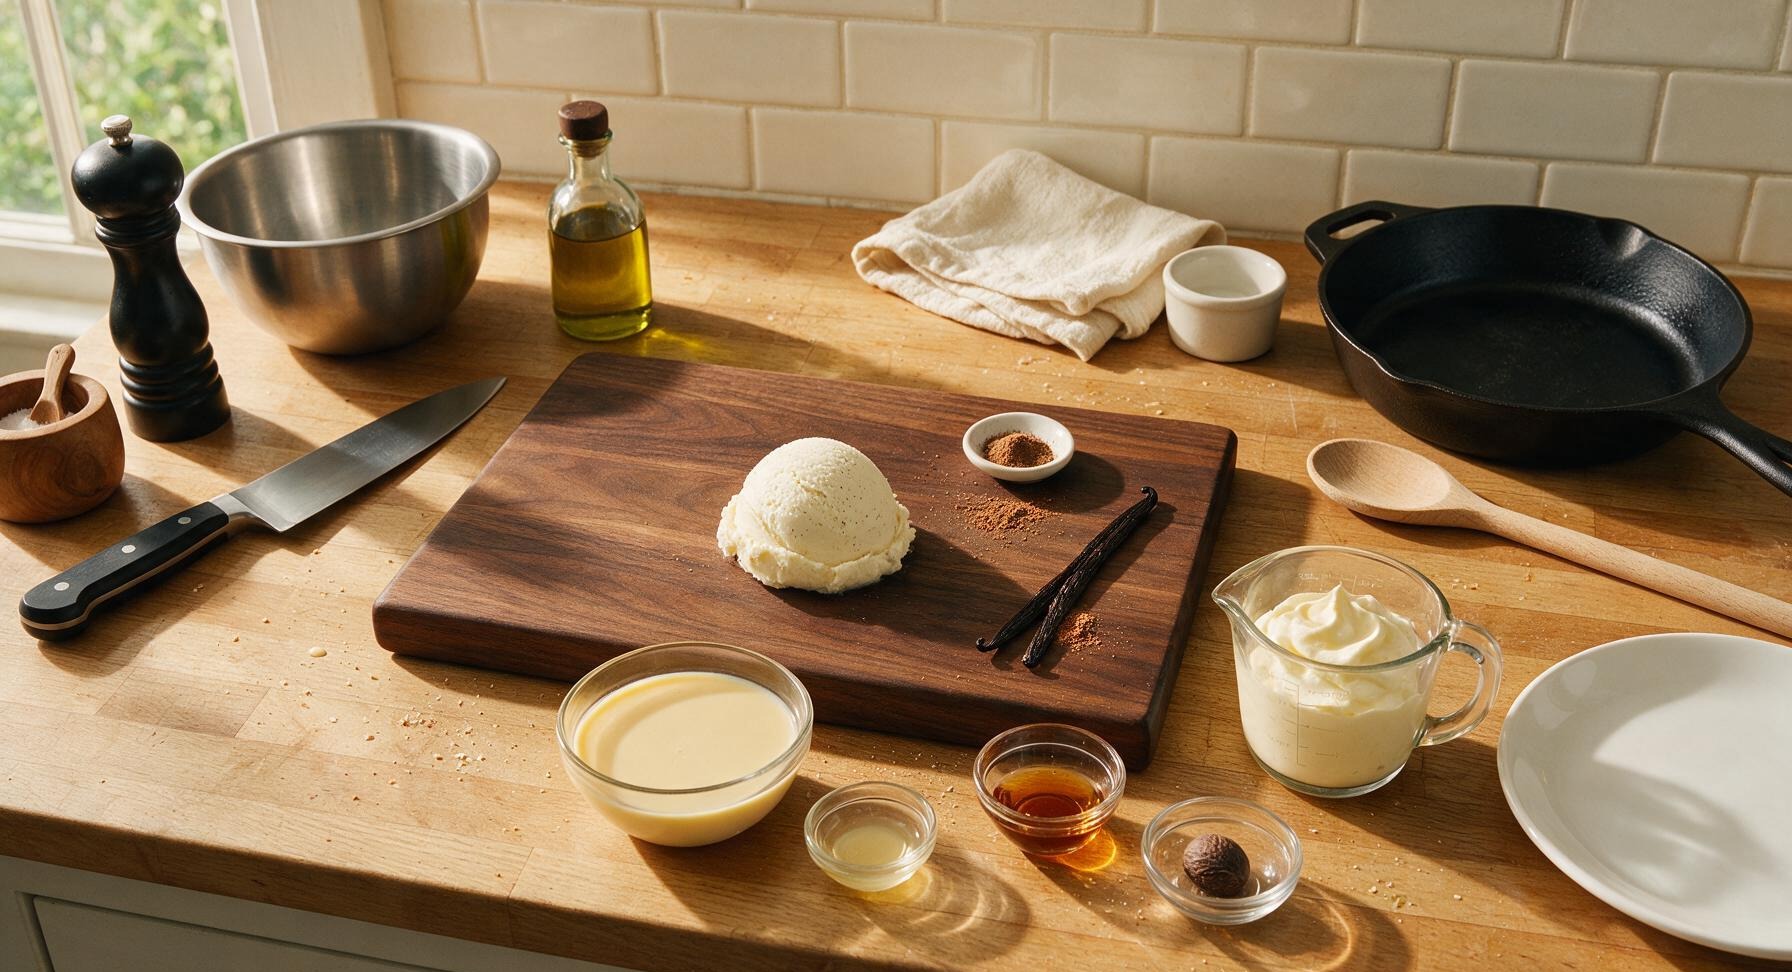
Measure and Prep Ingredients
Remove vanilla bean ice cream from the freezer and let it soften at room temperature for 5 minutes, until it scoops easily with no rock-hard frozen chunks but is not fully melted. Use the 250ml clear glass measuring cup to portion 1.5 cups of cold full-fat eggnog, 1/2 teaspoon ground nutmeg, and 1/2 teaspoon pure vanilla extract. If making the adult boozy version, measure 2 ounces of bourbon and set aside. Place the two retro milkshake glasses in the freezer to chill for 2 minutes while you prep the blender.
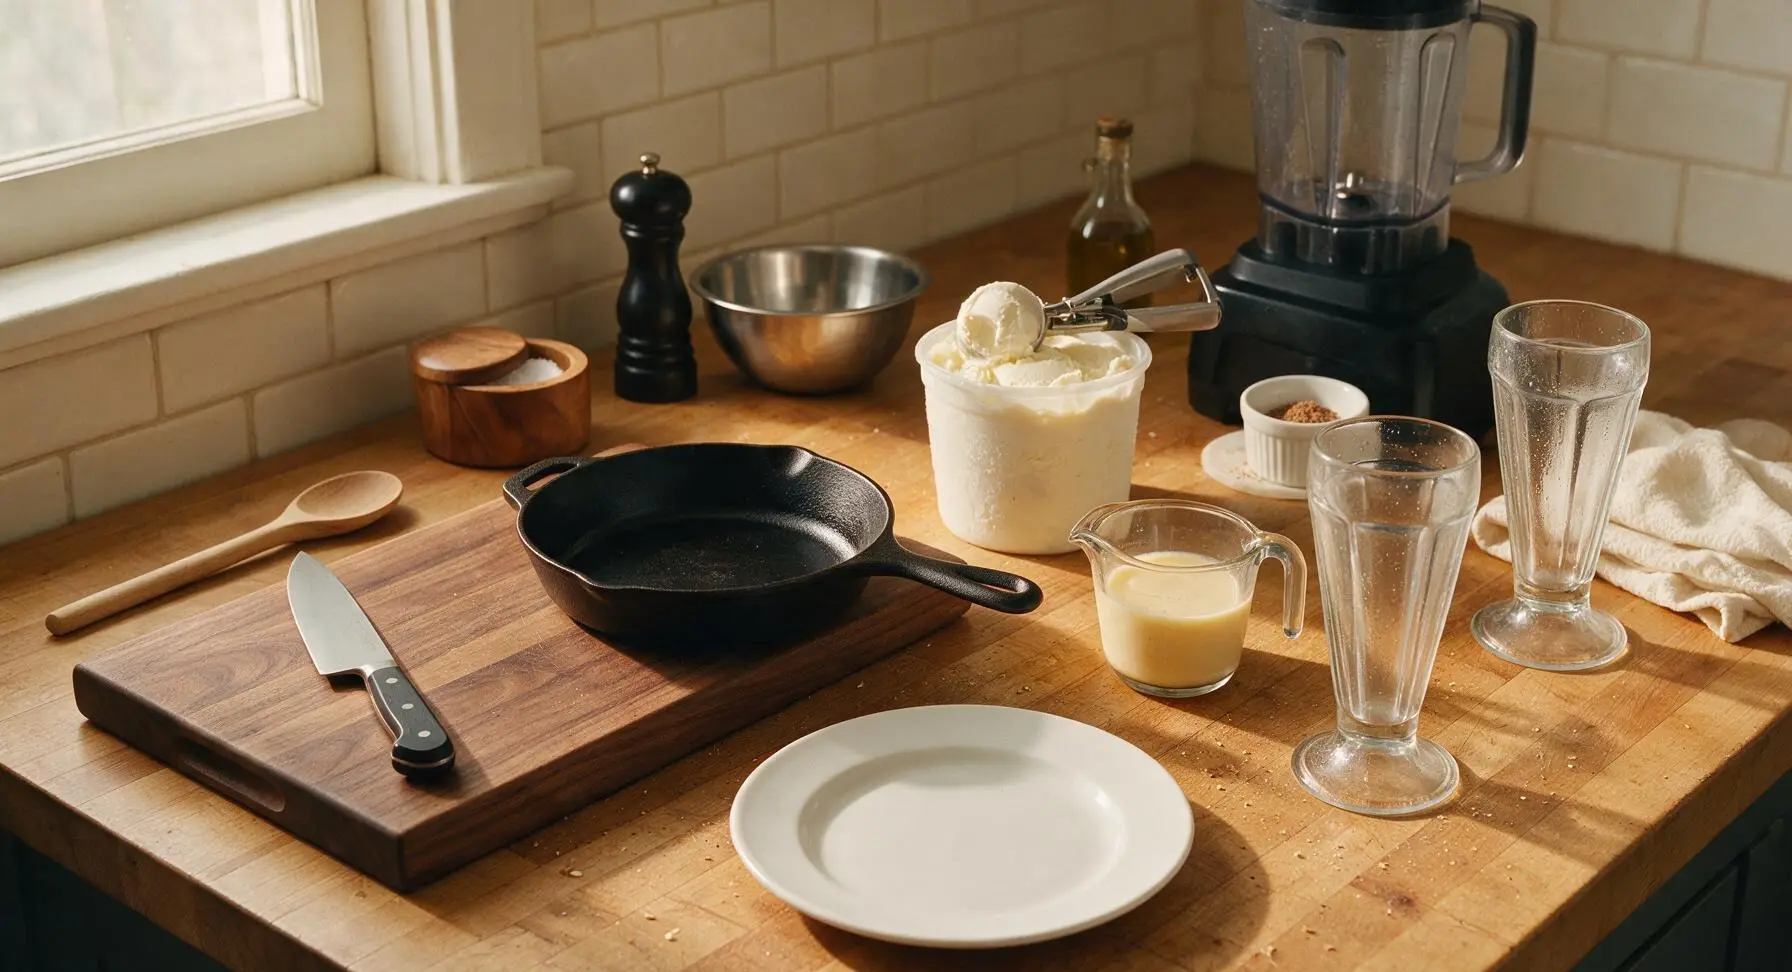
Load Blender With Ingredients
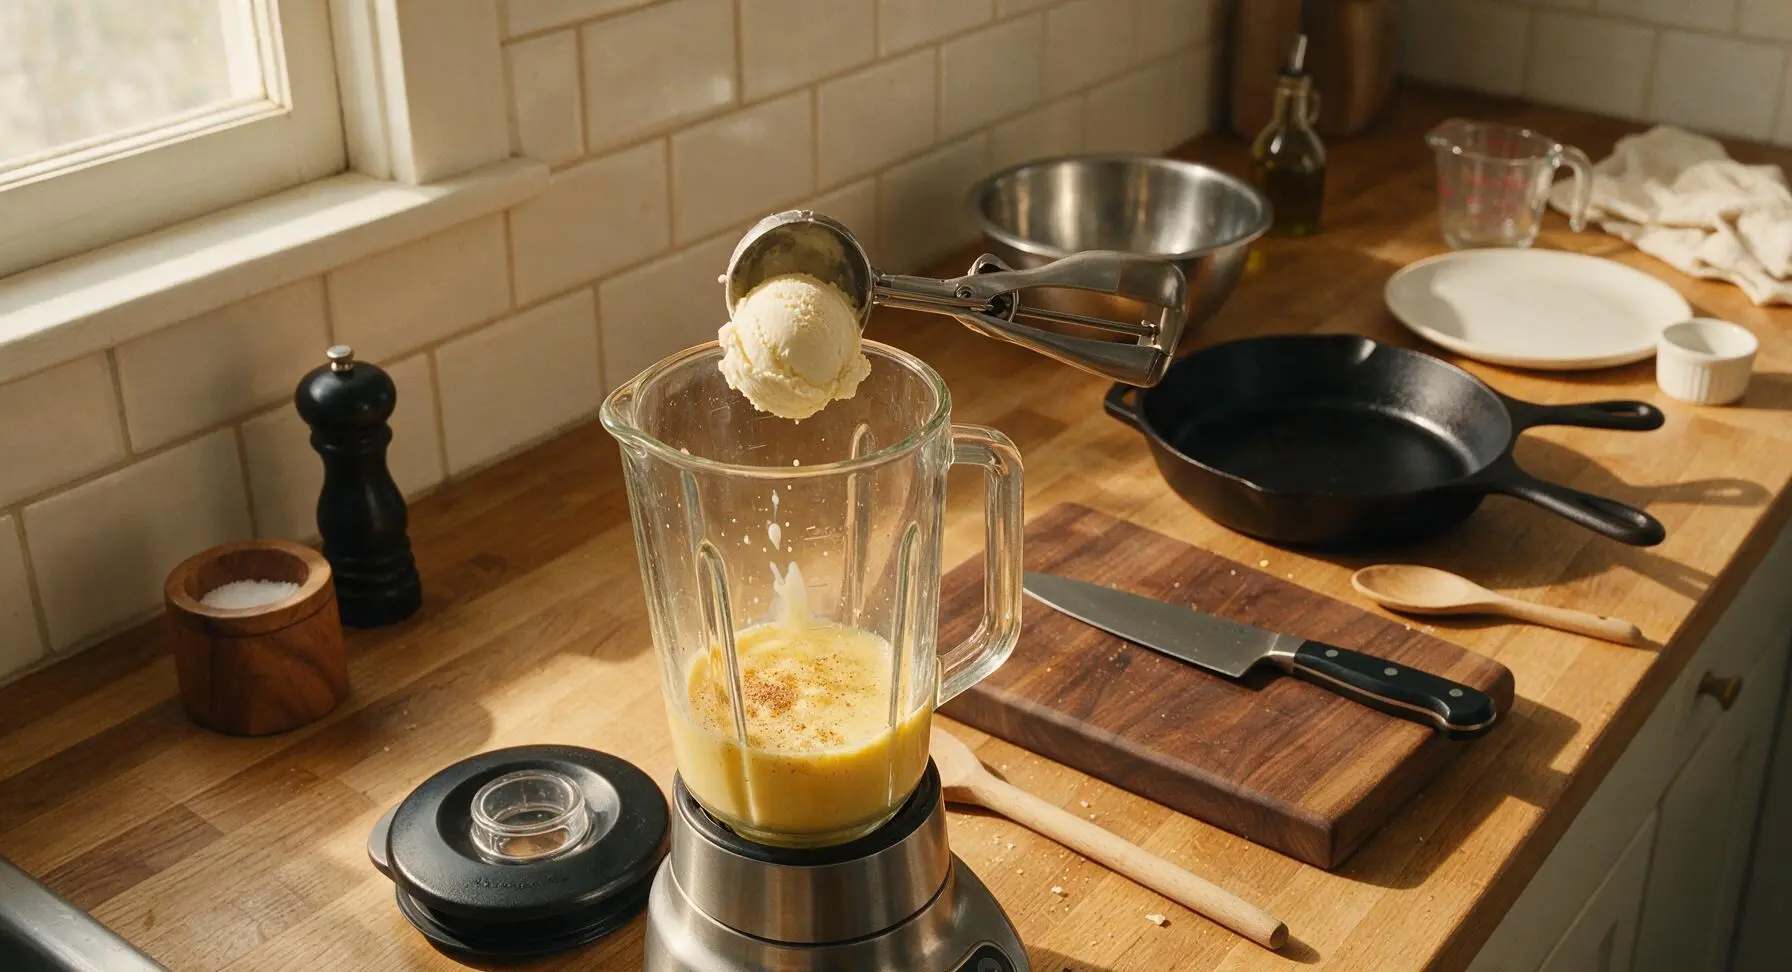
Remove the blender jar lid and set it beside the base. First, pour the measured eggnog, vanilla extract, ground nutmeg, and optional bourbon into the bottom of the blender jar. Use the spring-loaded ice cream scoop to add all 2.5 cups of softened vanilla ice cream on top of the liquid ingredients. Do not fill the jar above its marked maximum fill line to prevent splashing during blending.
Blend to Thick Consistency
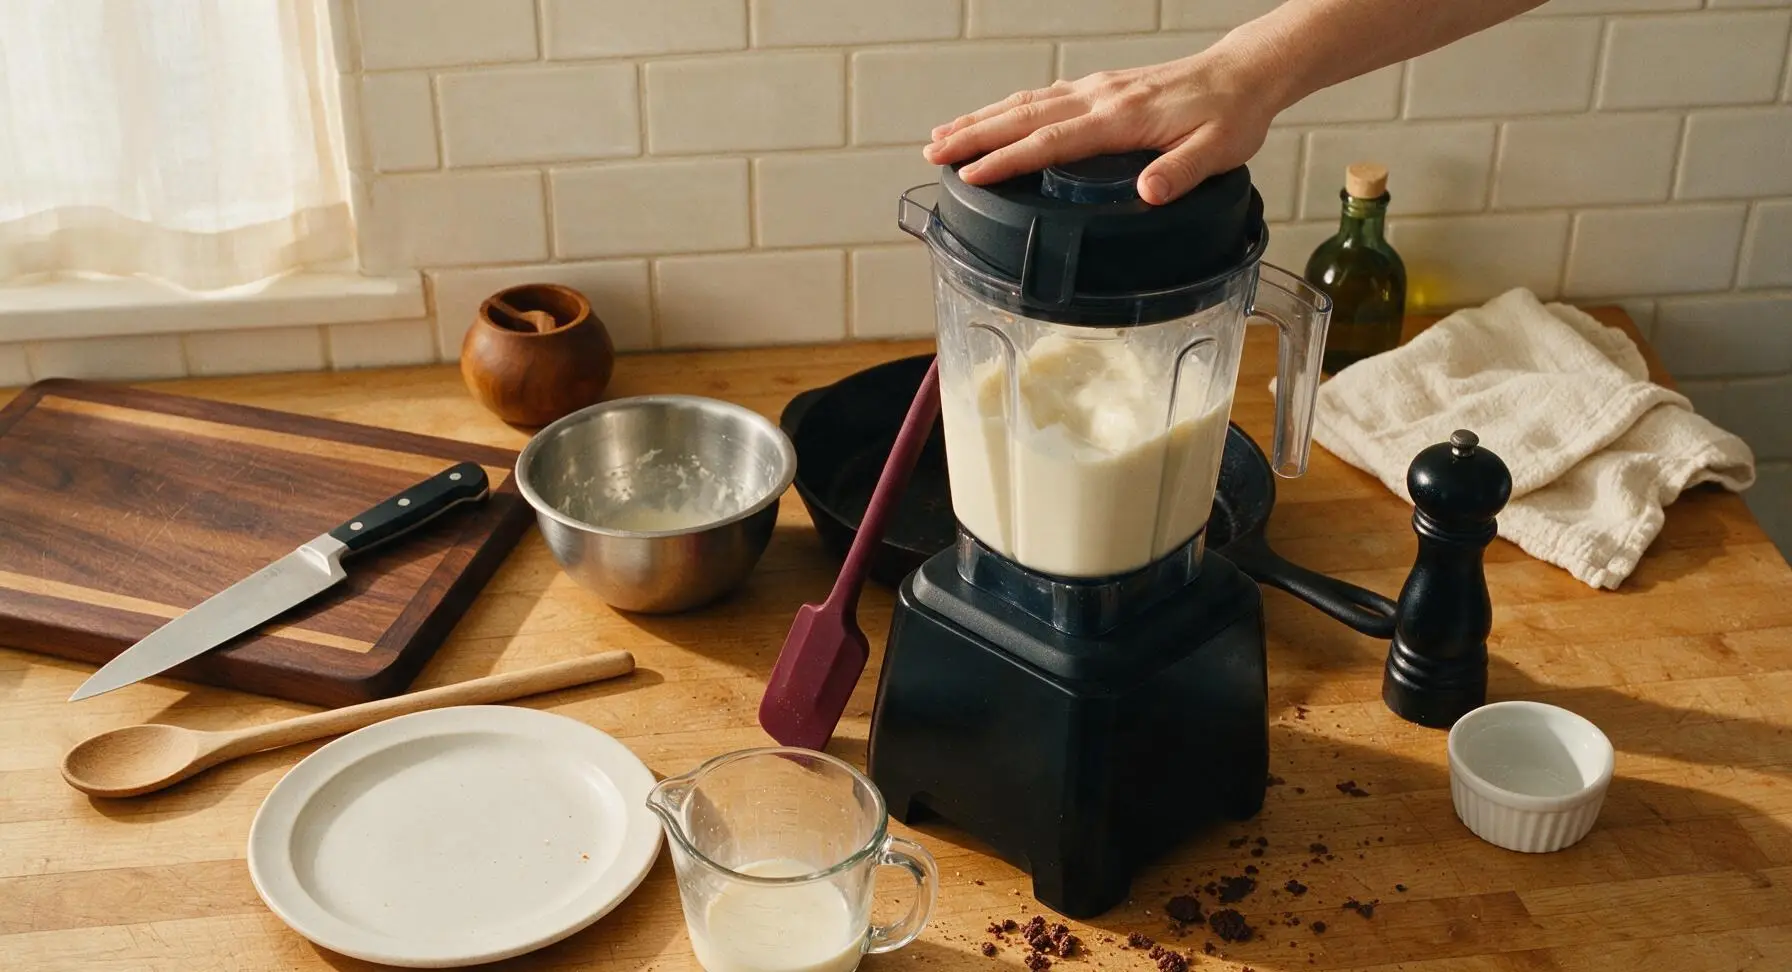
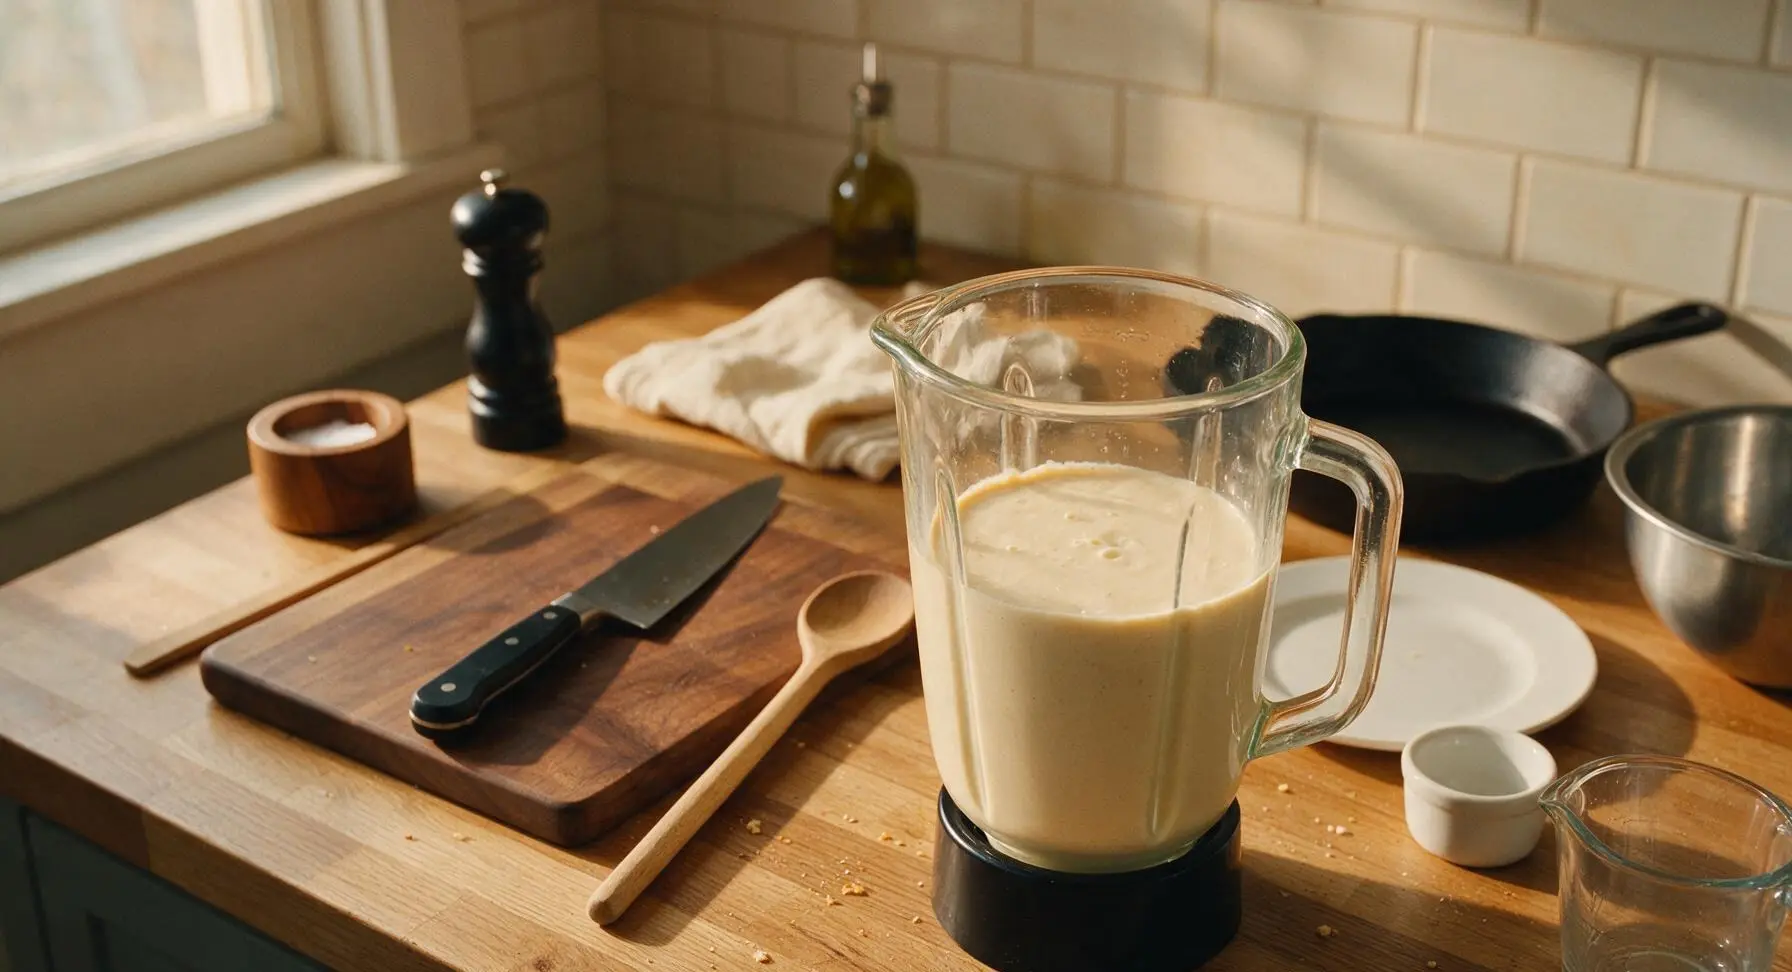
Secure the blender lid tightly, holding it down lightly with a hand if needed to prevent splatters. Blend on medium-high speed for 20 to 30 seconds, stopping once the mixture is completely smooth with no visible lumps of ice cream. Do not over-blend, as this will melt the ice cream too much and create a thin, watery shake. The ideal consistency is thick enough to hold a straw upright when inserted; if too thick, stir in 1 tablespoon extra eggnog, if too thin, add one small extra scoop of ice cream and blend for 5 more seconds.
Scrape Jar for Even Mix
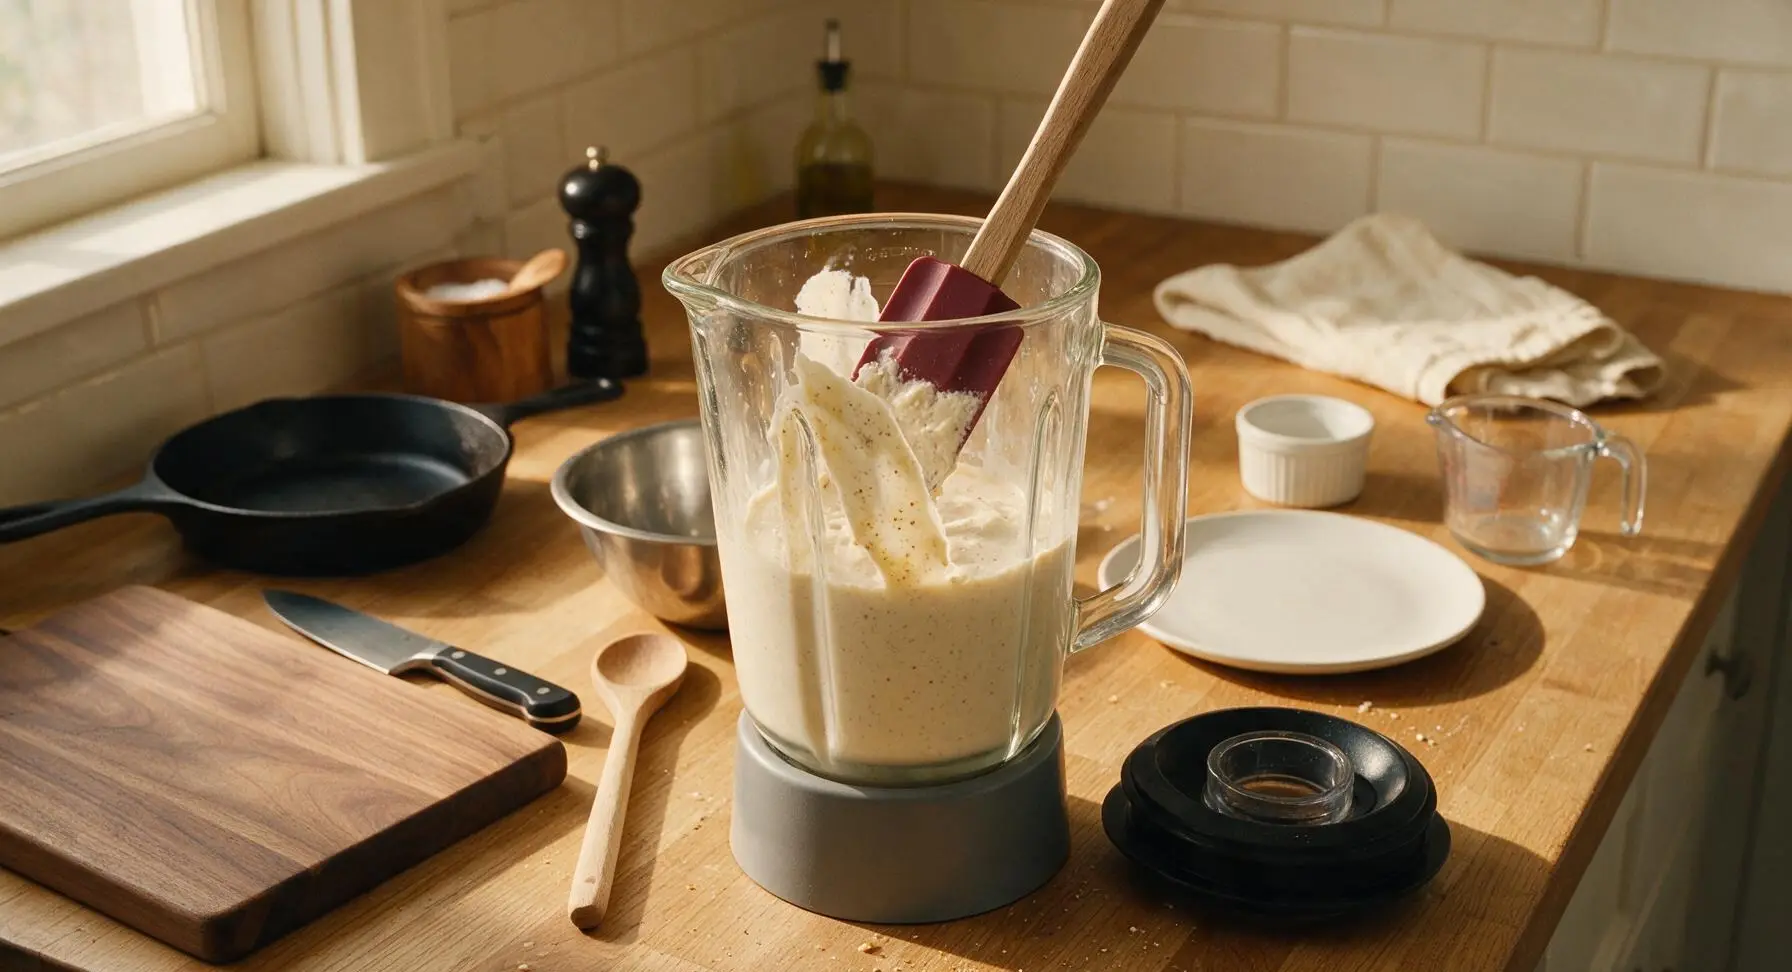
Turn off and unplug the blender for safety, then remove the lid. Use the burgundy silicone spatula to scrape down any unblended ice cream or nutmeg residue from the inner sides of the jar, folding it down into the smooth milkshake base. Replace the lid and pulse the blender for 5 seconds to fully incorporate the scraped bits into the mixture.
Pour Into Chilled Glasses
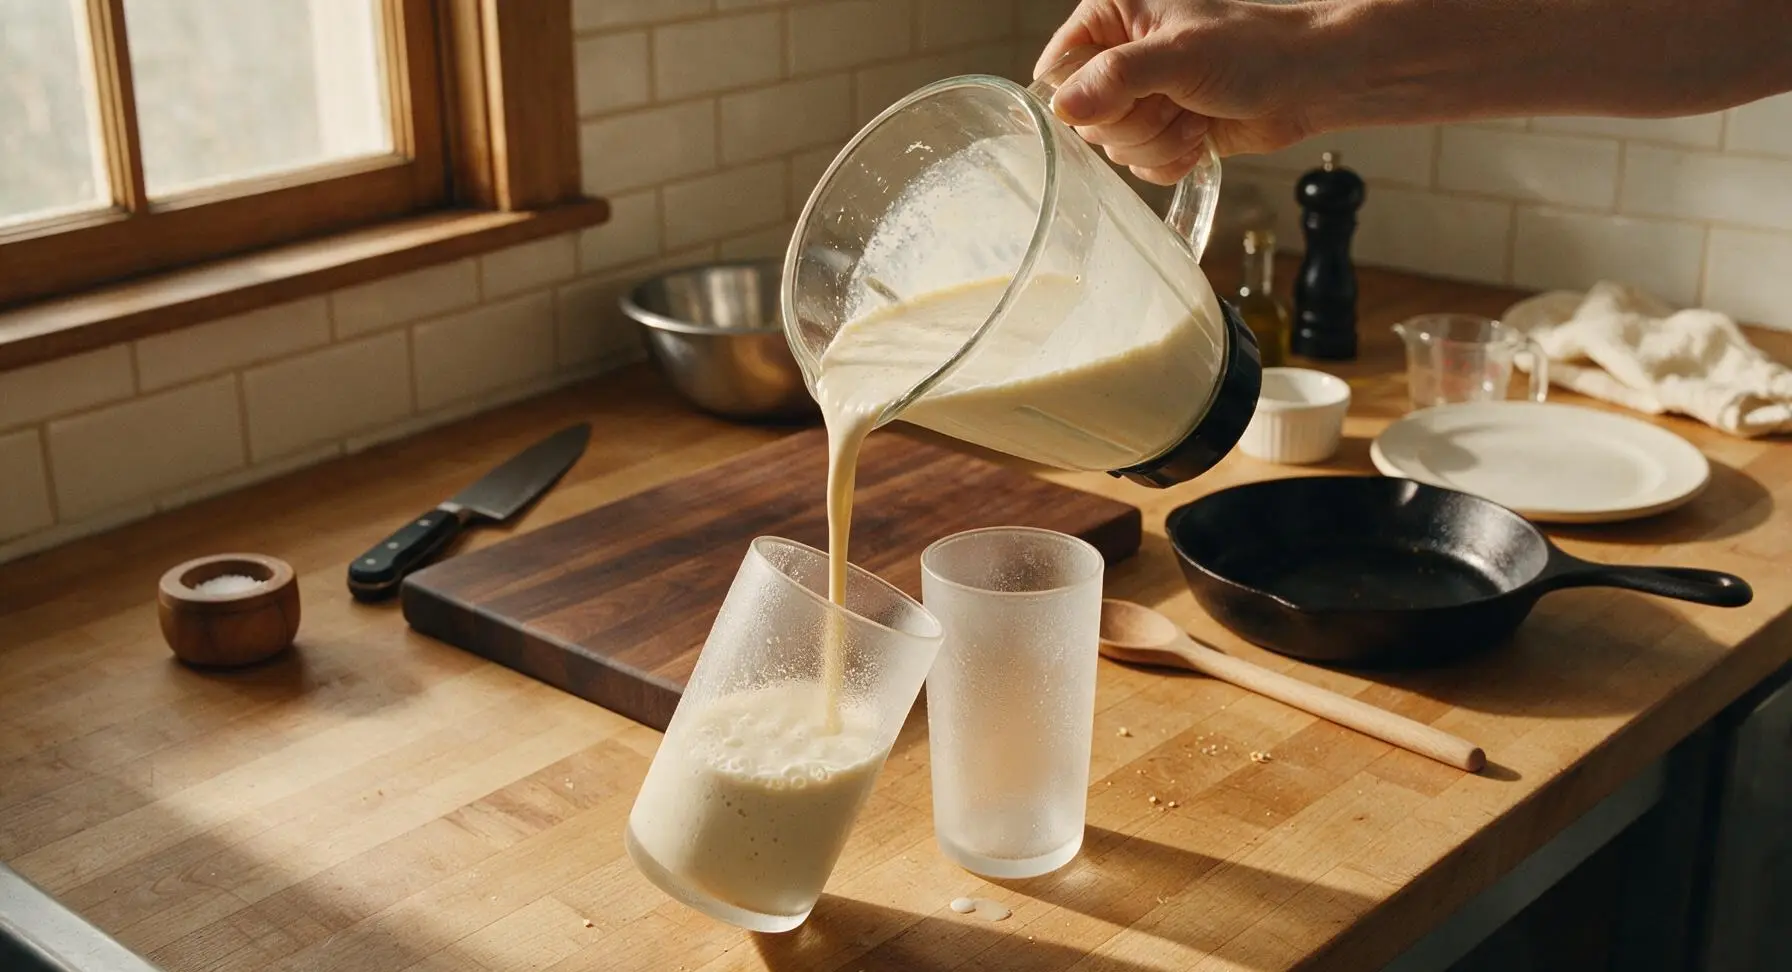
Retrieve the frosted, chilled serving glasses from the freezer. Tilt each glass at a 45-degree angle and slowly pour the thick milkshake from the blender jar, filling each glass to 2cm below the rim to leave enough space for whipped cream topping. If the milkshake is too thick to pour freely, use the spatula to guide it out of the jar into the glasses.
Top With Whipped Cream
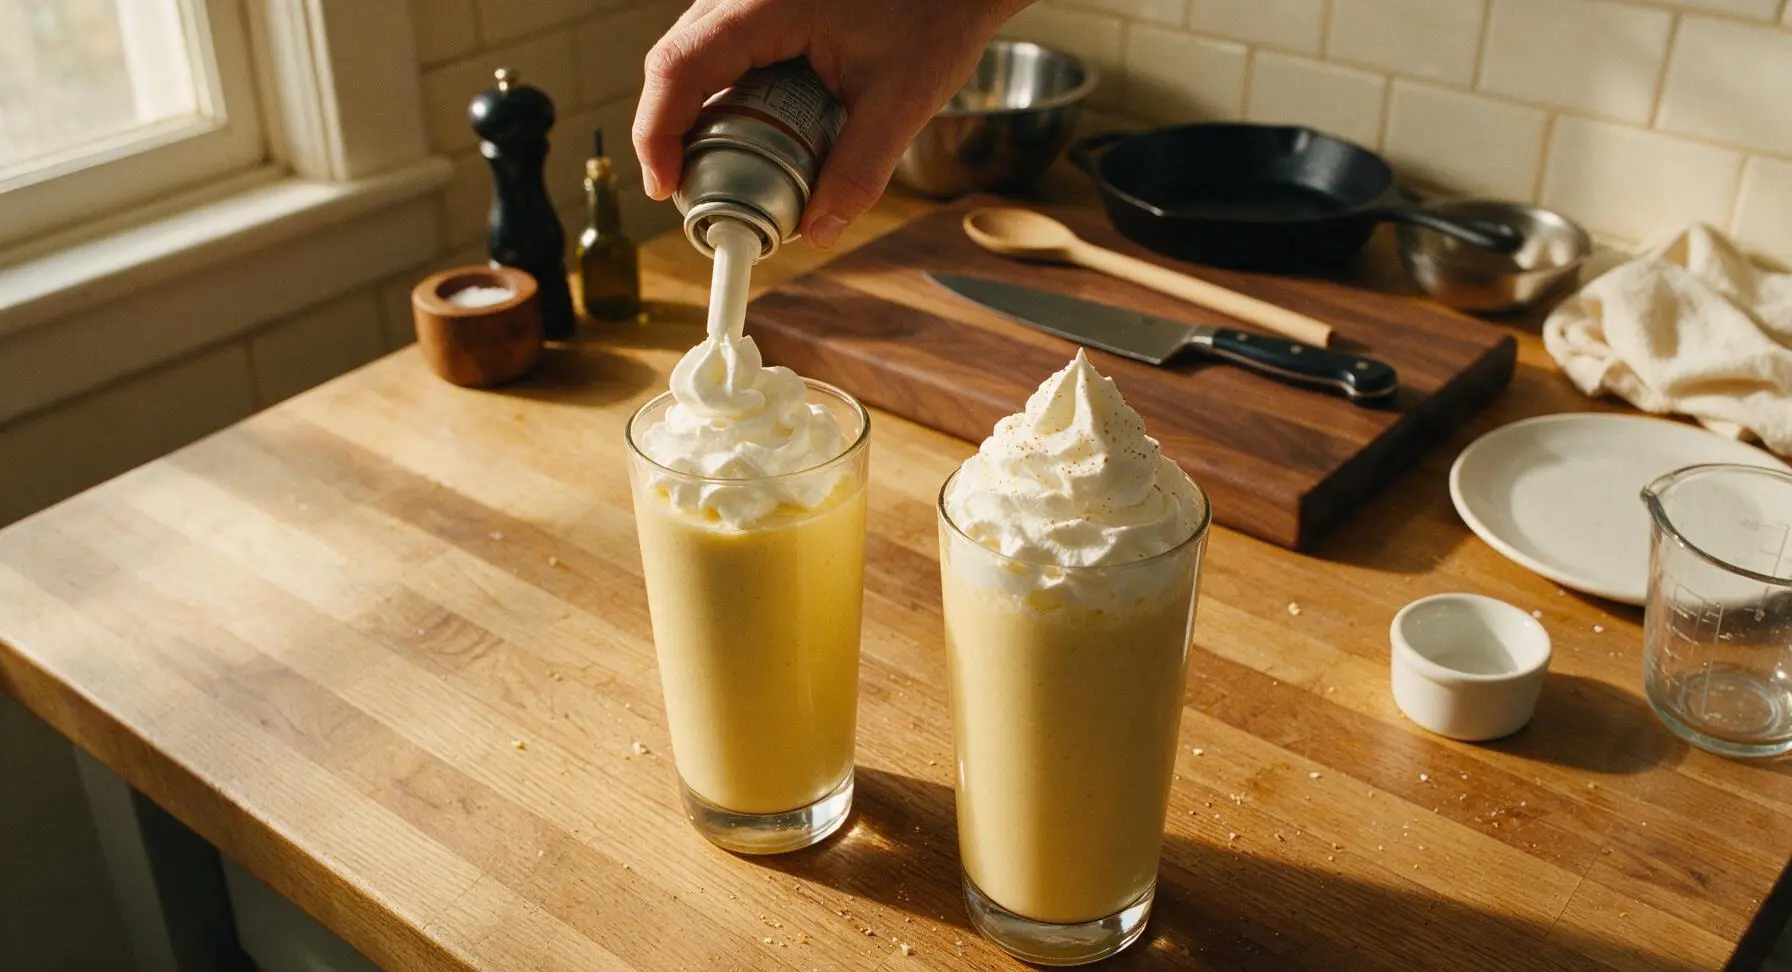
Shake the canned whipped cream canister vigorously for 10 seconds to aerate the cream. Hold the can nozzle 2cm above the surface of each milkshake, and dispense a generous, swirled peak of whipped cream, building the swirl to 3cm above the glass rim for a classic retro diner look. Keep the whipped cream peaks light and fluffy; do not press the nozzle too hard or the cream will deflate.
Garnish and Serve Immediately
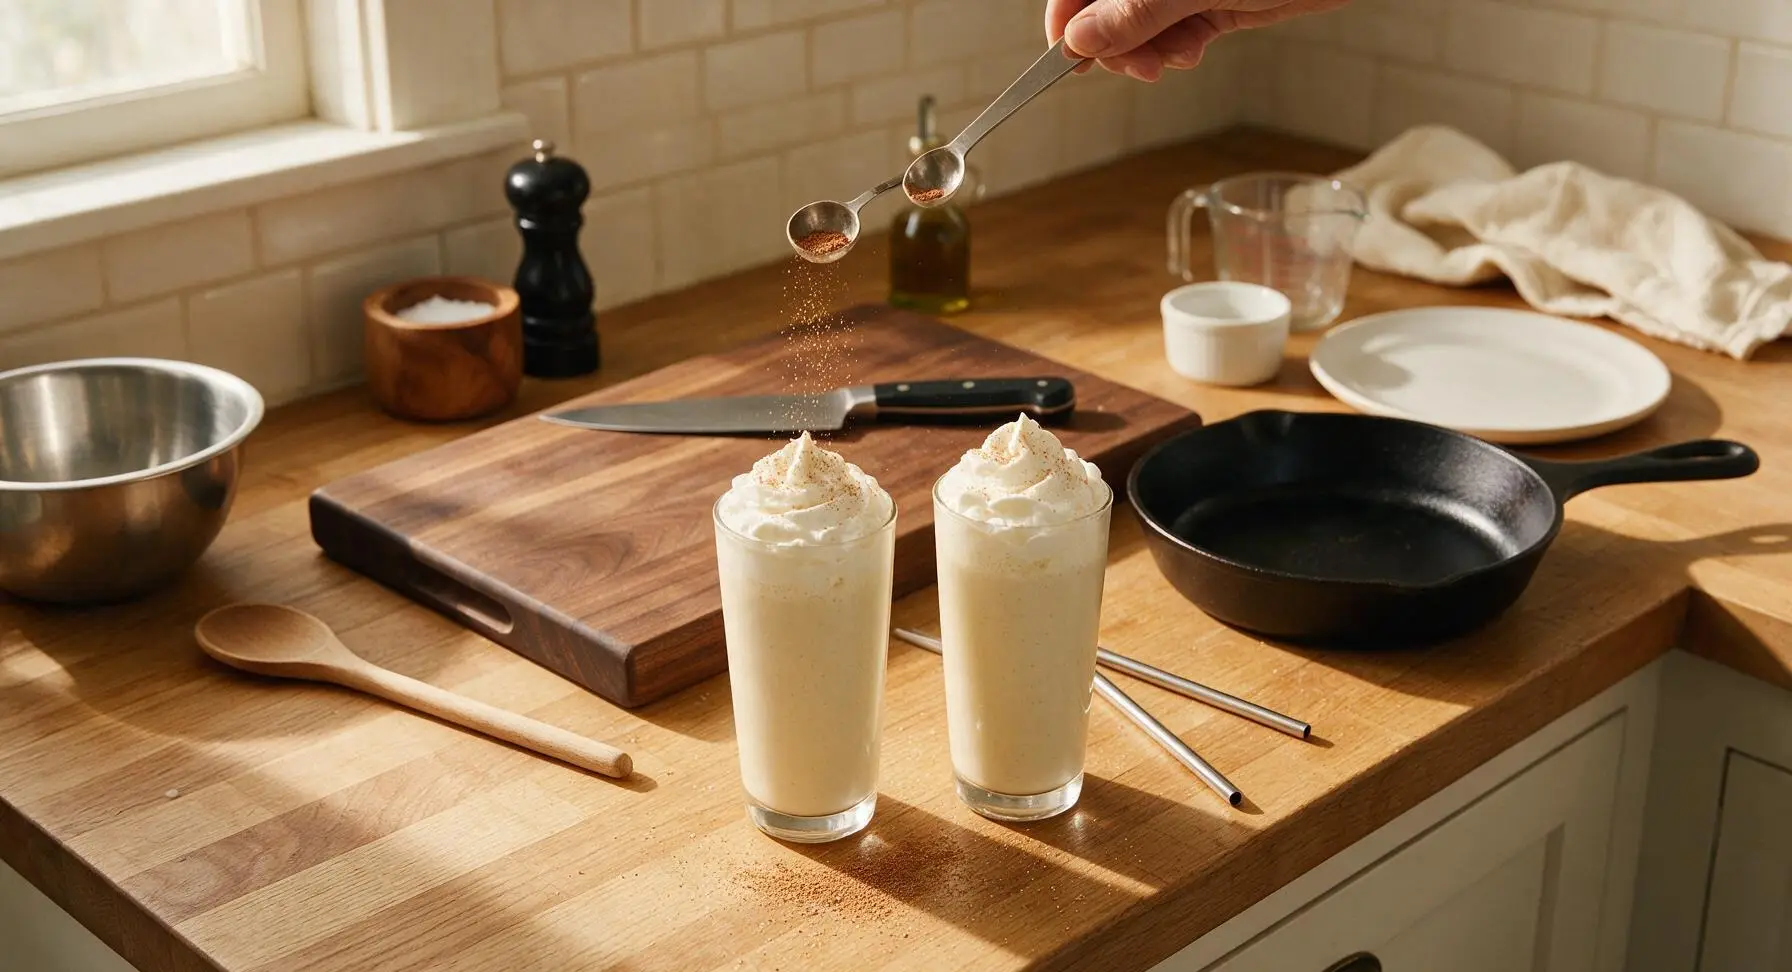
Use the small stainless steel spice spoon to sprinkle a light, even dusting of freshly grated nutmeg over the top of each whipped cream swirl. Insert one brushed stainless steel milkshake straw into each shake at a 20-degree angle. Serve right away, as the milkshake will begin to melt and lose its thick texture after 5 minutes at room temperature.
Tips
2.Soften ice cream at room temperature for 5 minutes instead of microwaving it: microwaving creates uneven, runny melted spots that refreeze into icy chunks, while slow room-temperature softening results in a perfectly smooth, thick milkshake texture with no ice crystals.
3.Use freshly grated whole nutmeg for garnish instead of pre-ground nutmeg: pre-ground nutmeg loses its bright, warm, aromatic oils within a few months of opening, while freshly grated nutmeg has a bright, spicy-sweet flavor that cuts through the rich creaminess of the shake for a more balanced taste.






Game changer for our holiday potluck this weekend! I brought a big batch of these milkshakes (spiked a little with rum for the adults, kept a non-alcoholic pitcher for the kids) and everyone was asking for the recipe. So easy to throw together, no cooking required which saved me so much time. 10/10 will make again all December long!
Tried this last night after seeing it pop up on my feed, it was SO good! I used vanilla bean ice cream instead of regular vanilla and it paired so perfectly with the storebought eggnog I had in the fridge. Took all of 3 minutes to make, zero cleanup basically. Will be making this after my cold Christmas shopping runs from now on.
This is SO tasty, the whole family loved it when I made it last weekend! Quick question though: is there a way to make this dairy free? My youngest is lactose intolerant and I felt so bad she couldn’t have any, I’ve been looking for a fun holiday treat she can enjoy with the rest of us without feeling left out!
My kids loved it! They’ve been begging for milkshakes even though it’s 30 degrees outside, and this eggnog version was the perfect festive compromise. I let them add sprinkles on top and they thought they were getting the fanciest treat ever. Super easy, no fancy ingredients needed.
I added a shot of cold brew to mine and wow, that combo is unmatched. The creamy eggnog + bitter coffee + sweet ice cream? I’m prepping a big batch of these to keep in the freezer for quick breakfasts all holiday season tbh. Don’t judge me, it’s basically a holiday coffee milkshake, it counts.
Wait, how are y’all getting this to turn out so thick? I tried this recipe last night and mine came out super runny, basically just eggnog with melted ice cream. I wanted that thick, spoonable milkshake texture, did I do something wrong?
Made this for our pre-Christmas game watch party with the guys, absolute hit. I added a pinch of sea salt on top to cut the sweetness, and it was chef’s kiss. Everyone was shocked how easy it was, they thought I spent forever making it. Easy difficulty rating is no lie, this is foolproof.
OMG, this tastes exactly like the eggnog milkshakes my grandma used to make every Christmas Eve! I was so worried I wouldn’t be able to replicate that nostalgic flavor, but this nailed it. I topped mine with whipped cream, a cinnamon stick, and a little gingerbread cookie crumble like she did and I almost cried when I took the first sip. Thank you for this recipe!
Zero cook time? Perfect for my dorm room, I just used my tiny personal blender to make this and it came out amazing. I didn’t have any fancy toppings so I just used a little extra cinnamon from my dorm spice rack, and it still slapped. Will be making this nonstop during finals week as a little holiday study treat.
I served these at our neighborhood holiday bake sale on Saturday and we sold out in 20 minutes! I made mini versions in little paper cups with a tiny candy cane garnish, and kids and adults alike were coming back for seconds. So easy to scale up for a crowd, 10/10.