
Elf Hat Cookies
intro
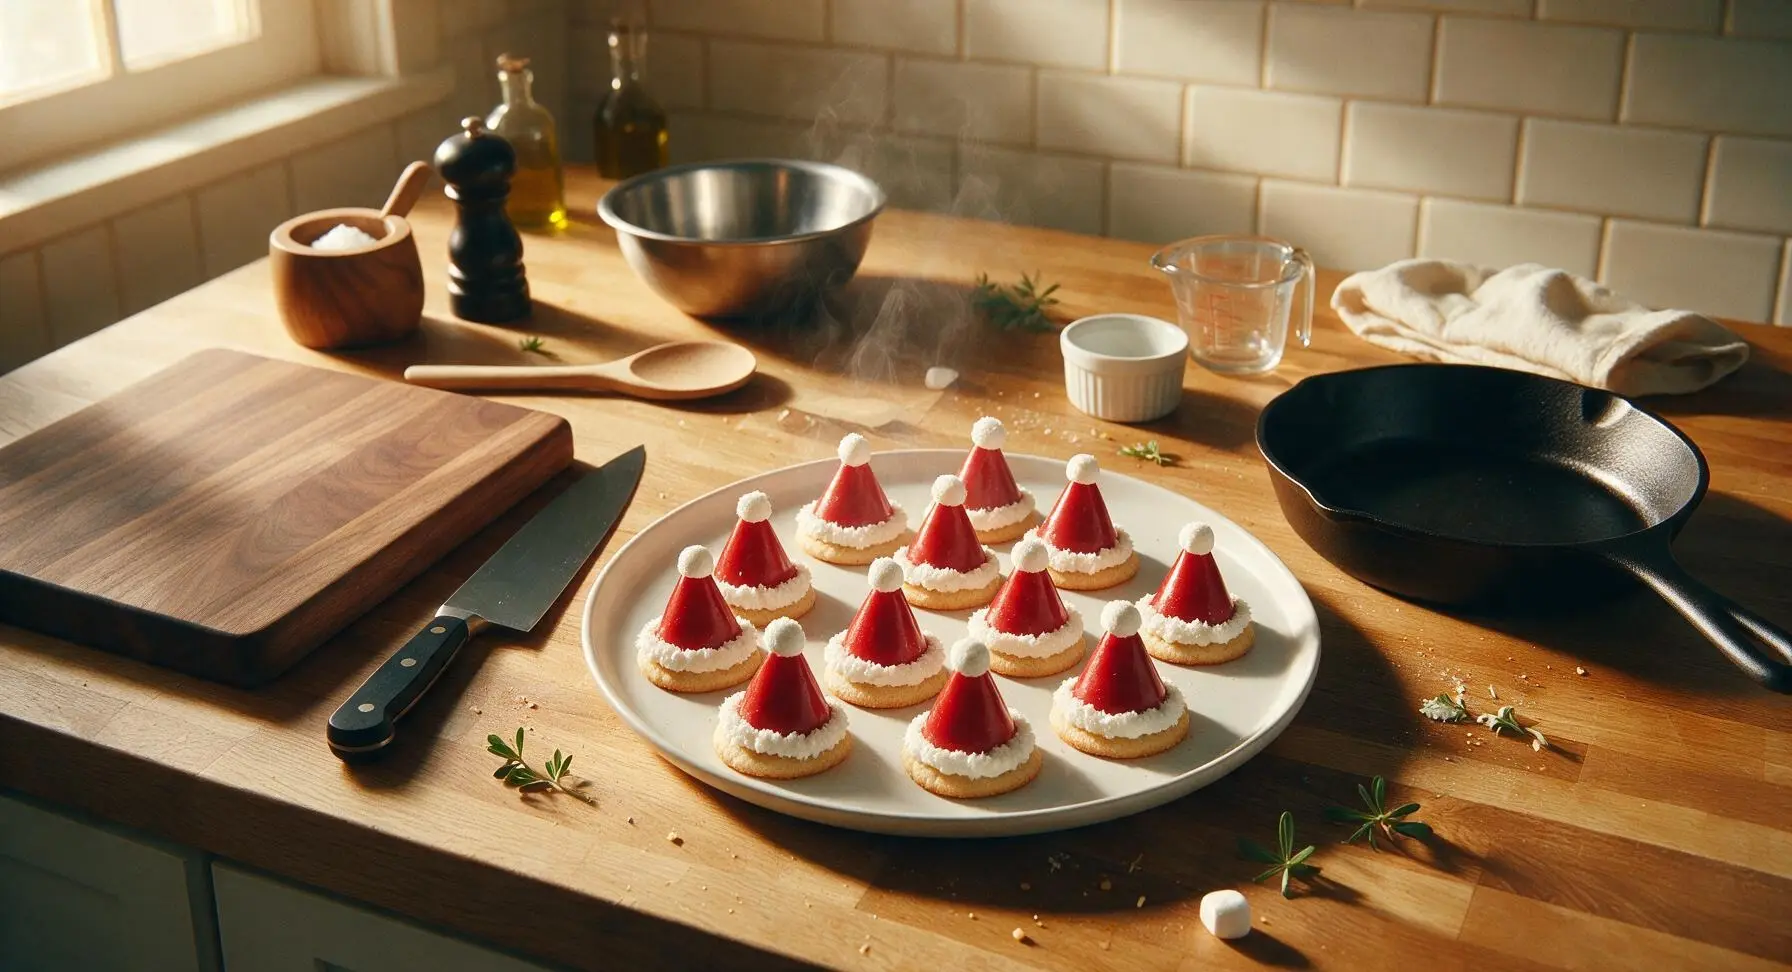
Cheerful, bite-sized no-bake elf hat cookies are a whimsical Christmas classic, with crisp bases, glossy red candy cones, fluffy white trim, and marshmallow pom-poms, perfect for holiday platters and kid-friendly baking.
Ingredients

Steps
Prep Baking Workstation
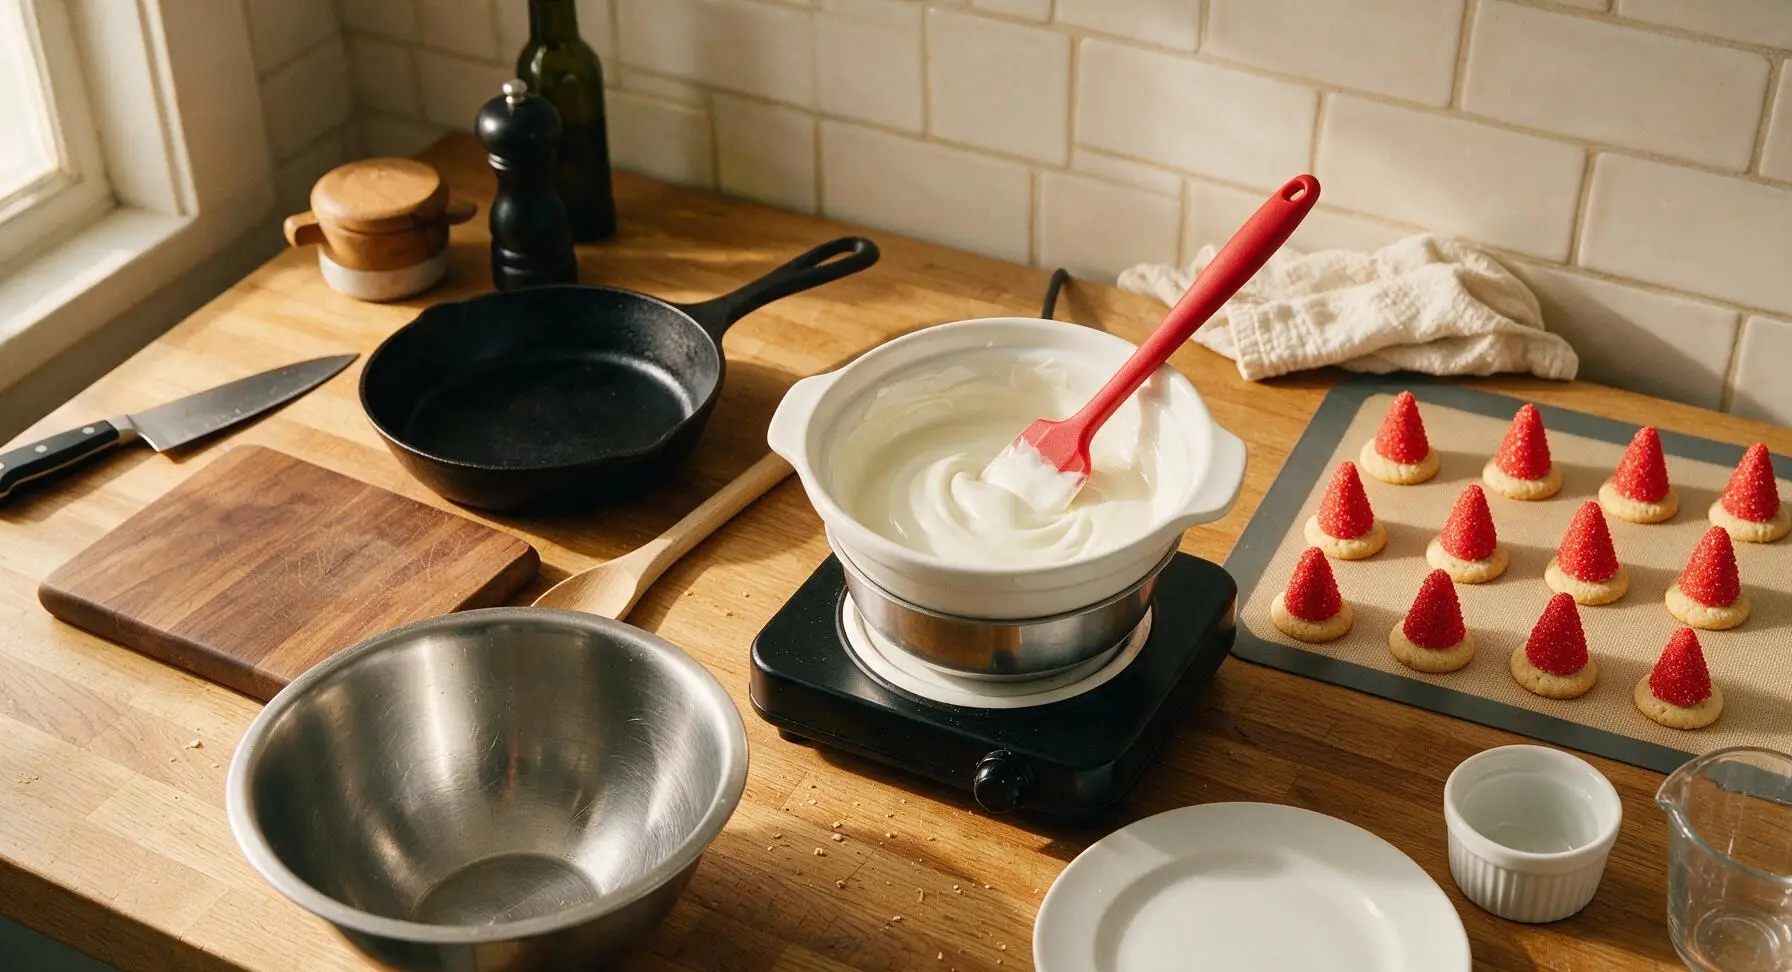
Line the center of the work area with the large white silicone baking mat. Set out the three clear glass ramekins: fill one with 24 Bugle corn snacks, one with 24 mini marshmallows, and one with 1 tsp refined coconut oil. Arrange the 24 vanilla wafer cookies in a single layer on the left side of the mat, flat side down, for easy access. Fill the lower pot of the stainless steel double boiler with 2cm of water, set on the matte black hot plate, and bring to a gentle simmer (no rolling boil) over low heat.

Melt Red Candy Wafers
Place 225g red candy melting wafers and 3/4 tsp of the coconut oil into the top bowl of the double boiler over the simmering water. Stir continuously with the small red silicone spatula for 3-4 minutes, until the candy is completely smooth with no lumps, and flows in a thin, unbroken ribbon off the spatula. Keep water at a gentle simmer to avoid steam getting into the candy, which causes seizing. Once smooth, remove the top bowl from heat and set on the silicone mat to cool for 2 minutes, until warm but not hot to the touch.


Dip Bugle Cones Red
Working one Bugle at a time, hold the narrow pointed tip between your thumb and forefinger, and dip the wide open base end 2/3 of the way up into the melted red candy, turning to coat all sides. Gently tap the Bugle against the edge of the bowl to shake off excess candy, creating a thin, even coating with no thick drips. Set each coated Bugle upright (pointed tip up, wide base down) on the center of the silicone mat to set for 5 minutes, until the candy is firm and does not smudge when touched lightly.

Attach Cones to Bases
Once red-coated Bugles are fully set, dab a 5mm dot of remaining melted red candy on the top center of a vanilla wafer. Press the wide flat base of a red Bugle firmly onto the candy dot, holding for 5 seconds until it adheres and stands perfectly straight upright. Repeat for all 24 cookies, returning each assembled base to the silicone mat as you work.

Melt White Candy Wafers
Wash and dry the double boiler top bowl completely to remove all red candy residue. Add 120g white candy melting wafers and the remaining 1/4 tsp coconut oil to the bowl, and melt over gently simmering water, stirring with the clean red silicone spatula for 2-3 minutes, until completely smooth and lump-free. Let cool 1 minute, then pour the melted white candy into the clear disposable piping bag fitted with the 3mm round tip, twisting the top tightly to seal and pressing out any trapped air bubbles.

Pipe White Fur Trim
Hold the piping bag at a 45-degree angle, 1cm above the seam where the red cone meets the vanilla wafer. Squeeze gently to pipe a thick, even 5mm wide ring of white candy all the way around the cone base, covering the seam completely. Keep the line slightly uneven to mimic soft fur, rather than piping a perfectly smooth circle.

Add Marshmallow Poms
Immediately after piping the white trim on each cookie (before the candy sets), dab a tiny dot of leftover white candy on the flat end of a mini marshmallow. Press the marshmallow firmly onto the very tip of the red cone, holding for 2 seconds to adhere. Let all cookies sit at room temperature for 10 minutes, until all candy coating is completely firm and does not dent when pressed lightly.

Arrange on Serving Platter
Once all candy is fully set, use the small offset spatula to carefully lift each cookie from the silicone mat, brushing off any small candy drips from the wafer base if needed. Arrange the cookies in a loose, slightly tilted pile on the large creamy white ceramic serving platter for a casual, inviting holiday presentation.
Tips
2.If melted candy thickens as you work, stir in 1/8 tsp of extra coconut oil at a time to thin it to a dipping consistency: overly thick candy will leave clumpy drips on the Bugles and create an uneven, dull hat surface.
3.Let cookies set fully at cool room temperature instead of refrigerating them: cold fridge air causes condensation to form on the candy surface as it comes to room temperature, leaving dull, sticky white blotches that ruin the bright, glossy finish.






OMG these elf hat cookies were the biggest hit at my kid’s 2nd grade holiday party! They were so easy to throw together, even my 7 year old helped assemble them. No fancy skills needed, 10 minute cook time is chef’s kiss for this busy mom. 10/10 will make every Christmas from now on!
Game changer for our annual neighborhood ugly sweater potluck! I swapped the regular red candy melts for peppermint flavored ones and it added such a fun zing. Everyone kept asking where I got the recipe, I sent them all straight here! SO good.
Made these last minute for our family dinner last night when I realized I forgot to pick up dessert from the grocery store. Turned out way better than any store bought cookie platter, my 10 year old thought I was a professional baker lmao. Super easy, zero stress.
Wait quick question—can I make these a day ahead of time for my office holiday party? I don’t want them to get soggy if I store them in an airtight container!
I’ve made these three times already this December! First for my book club, then for my grandson’s soccer team snack, then just for my husband to take to work. They’re perfect for quick holiday meal prep too since they store so well, the little marshmallow pom pom on top is such a cute touch, everyone goes crazy for them.
I made these with gluten free sugar cookie dough for my cousin who has celiac and she almost cried she was so happy to have a fun holiday treat she could eat! The recipe was so easy to adapt, no weird tweaks needed. 10/10.
Made these with my roommates for our dorm holiday movie night and they were so good! We didn’t have fancy cookie cutters so we just cut the dough into circles and shaped the hats by hand and they still turned out cute. Zero fancy equipment needed, perfect for broke college students lol.
Okay full transparency, I burned the first batch because I got distracted watching Elf (the irony, I know) but the second batch came out perfect! These are so forgiving even for someone who burns toast 50% of the time. The candy melt band around the hat is so satisfying to put on.
Brought these to my work potluck today and they were gone in 5 minutes flat. People were fighting over the last one! I added a little gold sprinkles on the pom pom to make them extra fancy, looked like something straight out of a bakery.
Tested these with vegan butter, vegan sugar cookie dough, and dairy free candy melts for my vegan friend group and they were a total hit! You can’t even tell they’re vegan, they taste just like the regular version. Such a great base recipe to tweak for different diets.