
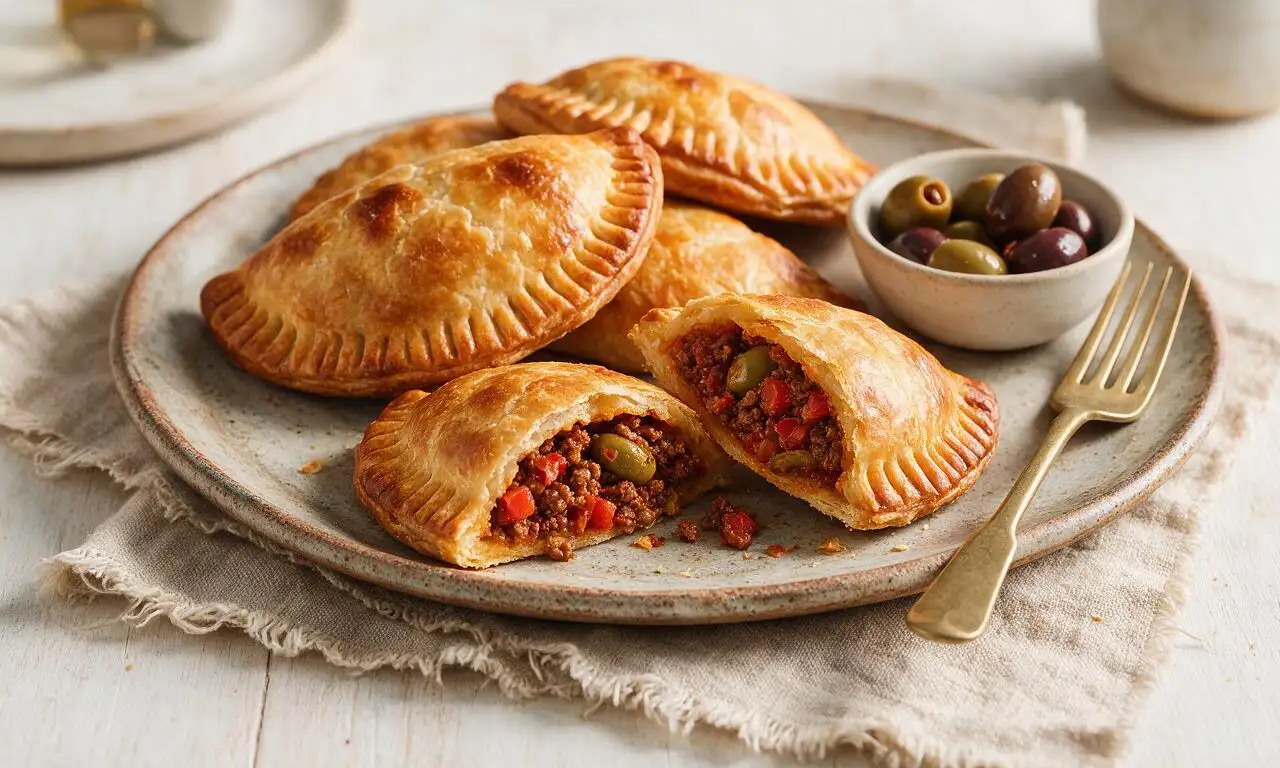
Empanada

title 1
Empanada
⏱️ cook time 60 minutes
🍽️ servings 6
⚡ Difficulty medium

intro

Golden, flaky baked pastry pockets stuffed with warmly spiced ground beef, olives, and veggies—ideal handheld, shareable bites for casual gatherings.

Ingredients

All-purpose flour 3 cups (360g)
Cold unsalted butter 1/2 cup (113g, cubed)
Fine sea salt 1.5 tsp (divided)
Ice cold water 7 tbsp (105ml)
Neutral cooking oil 1 tbsp (15ml)
80/20 ground beef 1 lb (450g)
Small yellow onion 1 unit (100g, finely diced)
Garlic cloves 3 cloves (10g, minced)
Red bell pepper 1/2 medium (75g, finely diced)
Tomato paste 2 tbsp (32g)
Ground cumin 1 tsp
Smoked paprika 1 tsp
Dried oregano 1/2 tsp
Pimento-stuffed green olives 1/4 cup (35g, chopped)
Low-sodium beef broth 1/4 cup (60ml)
Ground black pepper 1/2 tsp
Large egg 1 large (beaten, for egg wash)

Steps

1

Prepare the pastry dough

In a large mixing bowl, combine 3 cups (360g) all-purpose flour and 1 tsp fine sea salt. Cut in 1/2 cup (113g) cold cubed unsalted butter with your fingertips or a pastry cutter until the mixture forms coarse, pea-sized crumbs. Gradually stir in 7 tbsp (105ml) ice cold water, 1 tbsp at a time, until a shaggy, firm dough forms. Shape the dough into a 1-inch thick disk, wrap tightly in plastic wrap, and chill in the refrigerator for 20 minutes while you prepare the filling.
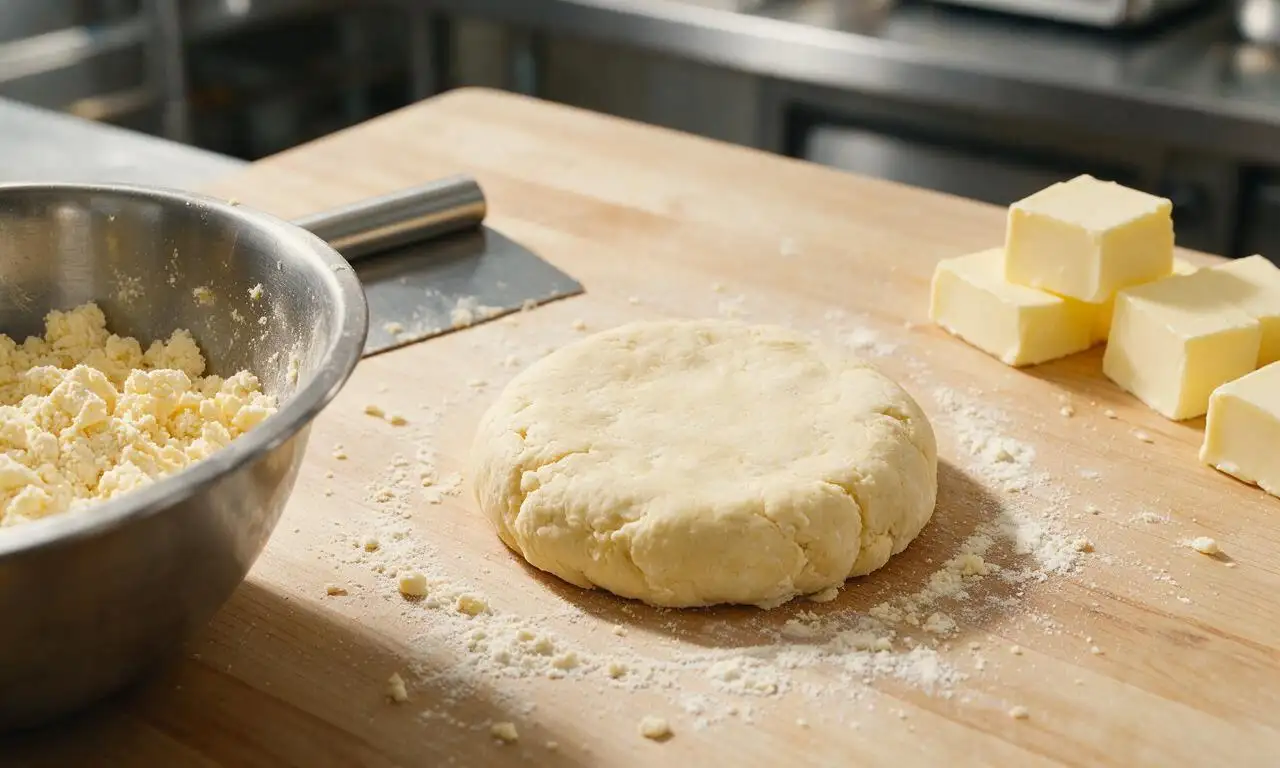
Step 1
step1:Prepare the pastry dough
2

Sauté the filling base

Heat 1 tbsp (15ml) neutral cooking oil in a large cast iron skillet over medium heat (350°F / 175°C). Add the diced yellow onion and red bell pepper, sauté for 4 minutes until soft and translucent. Add minced garlic, tomato paste, ground cumin, smoked paprika, and dried oregano, and cook for 1 minute until fragrant. Stir in 1 lb (450g) ground beef, breaking it apart with a wooden spoon, and cook for 6-7 minutes until fully browned with no pink remaining.
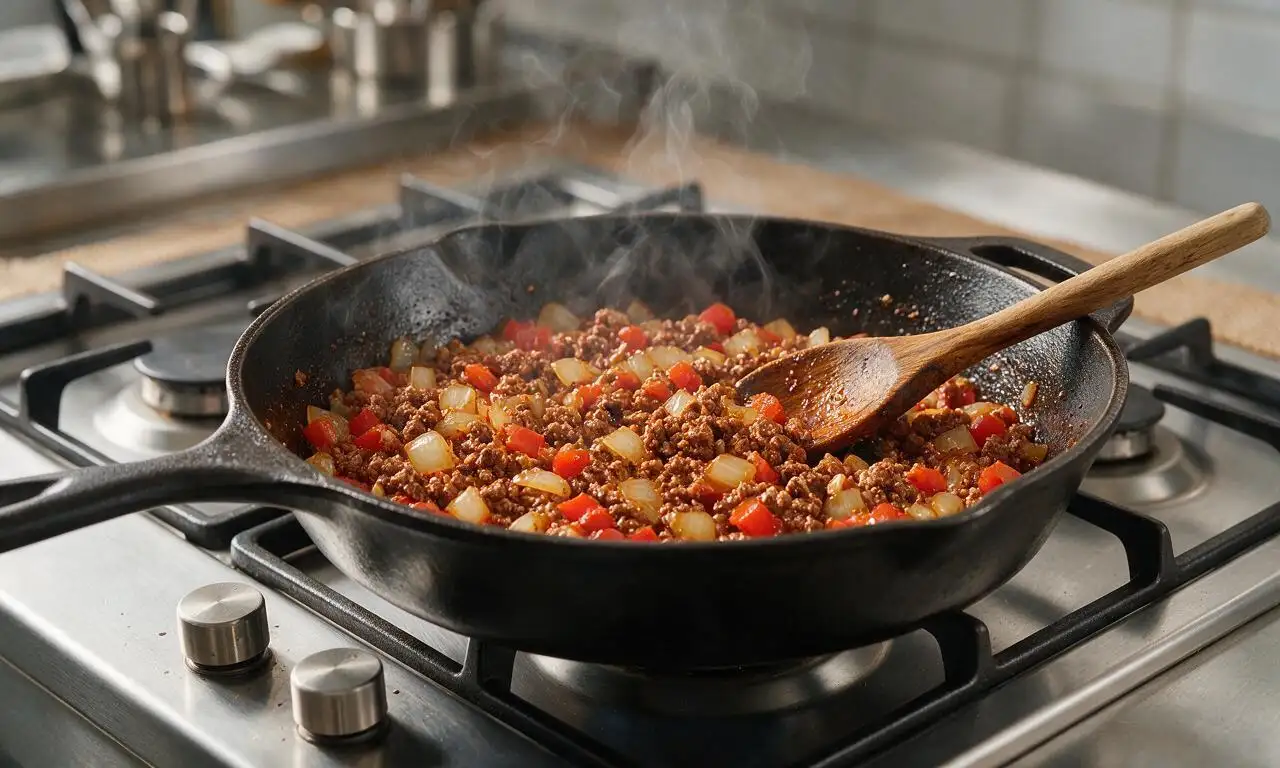
Step 2
step2:Sauté the filling base
3

Finish and cool filling

Stir 1/4 cup (60ml) low-sodium beef broth, chopped green olives, remaining 1/2 tsp fine sea salt, and ground black pepper into the browned beef mixture. Simmer over medium-low heat for 3 minutes until the broth is mostly absorbed, then remove the skillet from heat. Transfer the filling to a shallow ceramic plate and spread it in an even layer to cool for 10 minutes; warm filling will make dough soggy, so do not skip this cooling step.
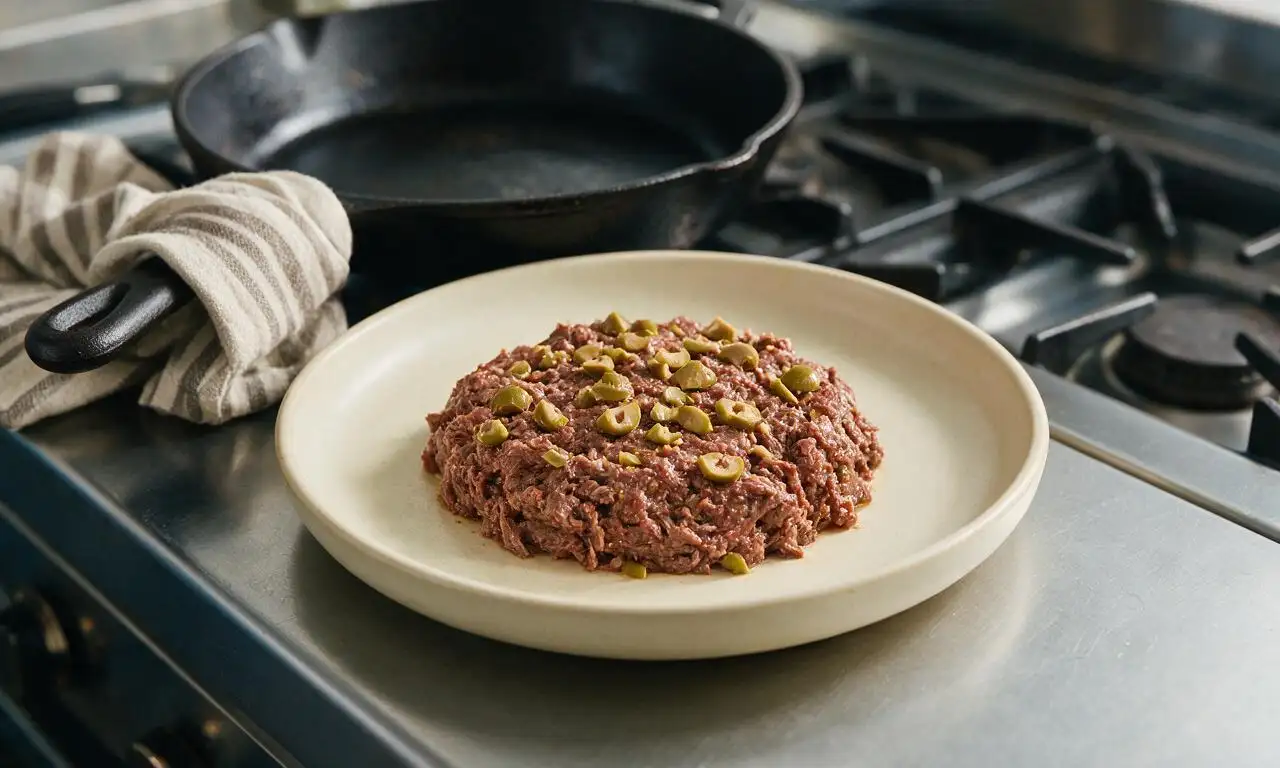
Step 3
step3:Finish and cool filling
4

Roll and cut wrappers

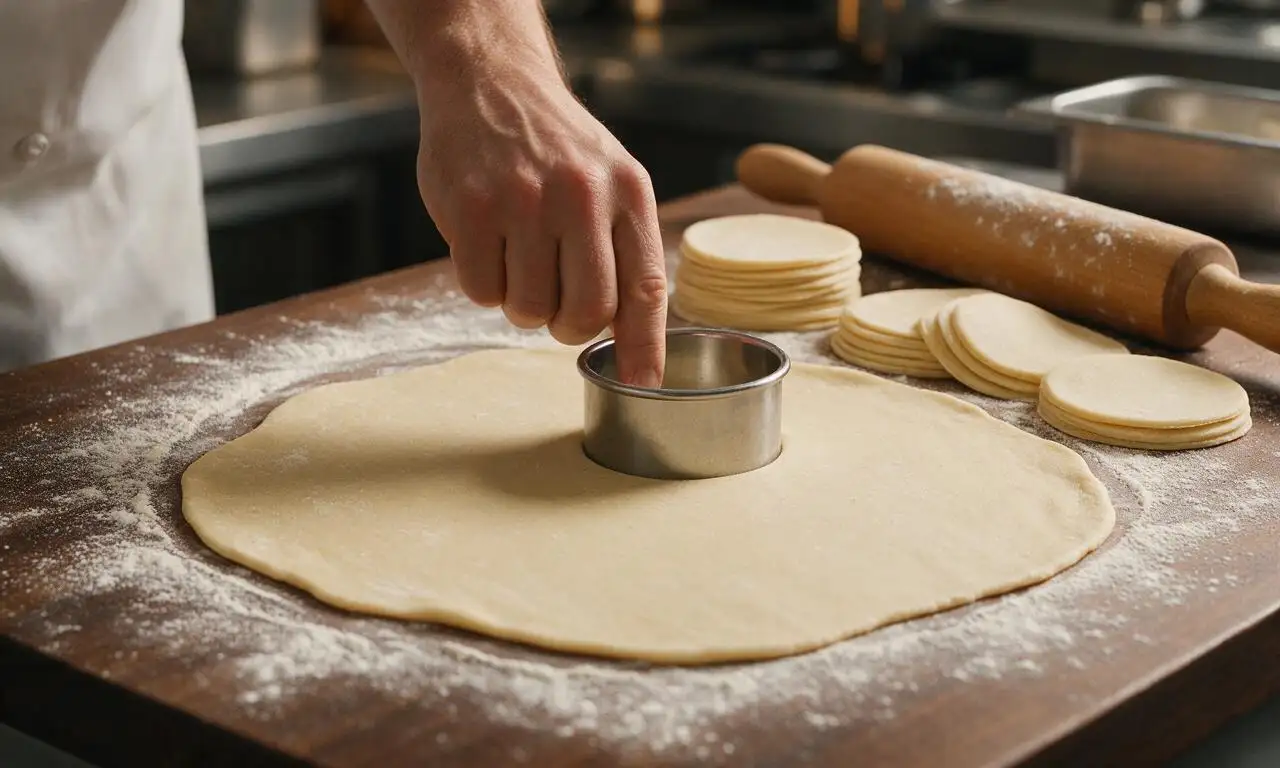
Remove the chilled dough from the refrigerator and place it on a lightly floured work surface. Roll the dough out to a uniform 1/8-inch thickness with a wooden rolling pin, dusting with small pinches of flour as needed to prevent sticking. Use a 4-inch round cookie cutter (or the rim of a small drinking bowl) to cut 12 even circular wrappers from the dough, gathering and re-rolling scraps once to yield enough rounds. Lay the cut rounds on a parchment-lined baking sheet as you work.
Step 4
step4:Roll and cut wrappers
5

Fill and seal empanadas

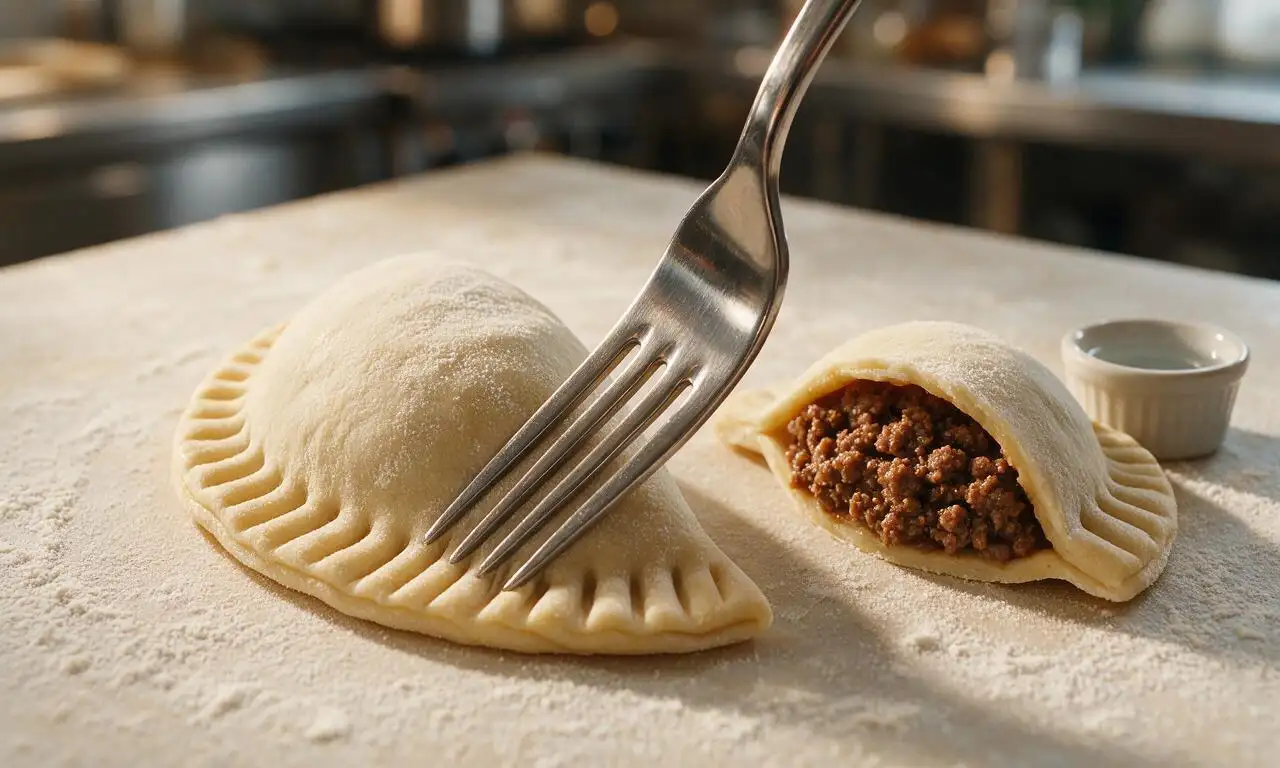
Scoop 1 heaping tablespoon of cooled beef filling into the center of each dough round, leaving a 1/2-inch clear border around the edge. Lightly brush the edge of each round with a small amount of water, then fold the dough over the filling to form a tight half-moon shape. Press the edges firmly together with your fingertips to seal, then crimp the sealed edge with the tines of a fork to create a tight, decorative ridged border. Place filled empanadas 1 inch apart on a parchment-lined baking sheet.
Step 5
step5:Fill and seal empanadas
6

Bake until golden crisp

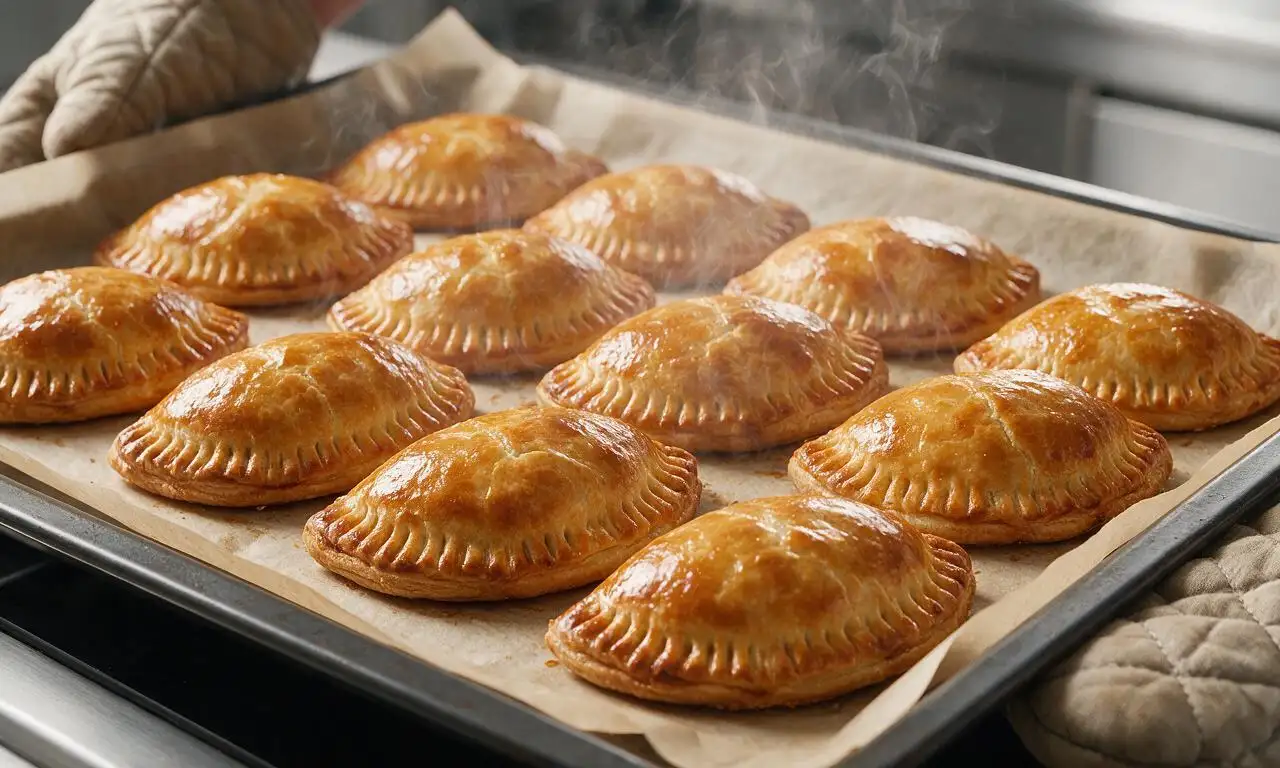
Preheat your oven to 400°F (200°C) while you let assembled empanadas rest in the refrigerator for 10 minutes to prevent dough shrinkage during baking. Brush the top of each empanada evenly with beaten egg wash for a shiny, golden crust. Bake on the middle oven rack for 22-25 minutes, until the pastry is deep golden brown, crisp to the touch, and filling bubbles slightly at the edges. Remove from the oven and let cool for 5 minutes before serving.
Step 6
step6:Bake until golden crisp

Tips

1.Avoid overfilling empanada wrappers: excess filling will burst through sealed edges during baking, leading to leaks and soggy crusts.
2.Prep components up to 2 days ahead: store wrapped dough and cooled filling in separate airtight containers in the refrigerator to cut down on day-of cooking time.
3.For a classic sweet-savory twist, stir 2 tbsp (25g) of golden raisins into the beef filling while simmering, a traditional addition to many regional Mexican empanada recipes.


✨ You May Also Like

Snacks & Appetizers
🍜 Mexico

Crispy thick-cut tortilla chips piled high with seasoned beef, melted cheese, and bright fresh toppings for a shareable, crowd-favorite bite.

⏱️ 25 minuteSnacks & Appetizers ★ 4.8
Snacks & Appetizers
🍜 United States

Crisp, sweet-tangy spiced pickled watermelon rind is a zero-waste summer staple, perfect with grilled meats, charcuterie, or eaten straight from the jar as a bright snack.

⏱️ 30 minuteSnacks & Appetizers ★ 4.6
Snacks & Appetizers
🍜 Germany

A tangy, jellied pork cold cut slow-simmered with aromatic spices, set into a firm sliceable loaf, served cold with mustard and crusty bread.

⏱️ 3 hours 4Snacks & Appetizers ★ 4.8
Snacks & Appetizers
🍜 United States

Creamy, tangy, perfectly seasoned hard-boiled egg halves filled with a rich, smooth yolk mixture, a timeless, crowd-pleasing bite for holiday and casual gatherings alike.

⏱️ 40 minuteSnacks & Appetizers ★ 4.8
Snacks & Appetizers
🍜 Russia

Silky, dill-forward no-smoke cured salmon, a Scandinavian classic with bright salty-sweet flavor, ideal for holiday starter platters and open-faced rye sandwiches.

⏱️ 48 hours Snacks & Appetizers ★ 4.7
Snacks & Appetizers
🍜 Japan

Crisp golden bottoms, juicy savory pork and vegetable filling, and tangy dipping sauce make these pan-fried gyoza a beloved shareable bite.

⏱️ 45 minuteSnacks & Appetizers ★ 4.8

Empanada:Frequently Asked Questions

1.Can I make the empanada dough ahead of time instead of prepping it the day I bake? ▾
Absolutely! Wrap the finished dough tightly in plastic wrap and refrigerate it for up to 3 days, or freeze it for up to 3 months. Thaw frozen dough fully in the fridge, then let it rest 10 minutes at room temperature before rolling to prevent cracking and lock in that flaky, buttery texture.
2.Why does my empanada dough turn out tough instead of light and flaky? ▾
Tough dough almost always stems from two common missteps: overworking the flour when mixing, or using butter that isn’t fully cold. Keep butter ice-cold, mix just until the dough comes together (skip extra kneading!), and use ice-cold water to keep butter bits solid—those bits create flaky layers as they melt in the oven.
3.Can I make the beef filling a day in advance to cut down on day-of prep time? ▾
Not only can you, I actively recommend it! Chilling the cooked spiced beef, olive, and veggie filling for at least 4 hours (or up to 2 days in the fridge) lets the warm spices meld deeper, and the cold, firm filling is far less likely to leak out of pastry pockets as you crimp and bake.
4.How do I keep my empanadas from bursting open while they bake? ▾
First, don’t overstuff each pastry circle—stick to 2 to 3 tablespoons of filling per 6-inch dough round. Brush a thin line of beaten egg along the dough edge before folding, press firmly to seal, then crimp with a fork for a tight closure. Cut one tiny steam slit on top of each empanada to let built-up pressure escape.
5.Can I fry these empanadas instead of baking them if I prefer that crispier texture? ▾
You absolutely can! Keep the exact same dough and filling recipe, heat 2 inches of neutral cooking oil to 350°F, and fry sealed empanadas in batches for 3 to 4 minutes total, flipping once, until deep golden all over. Drain on paper towels for a minute before serving to cut excess grease.
6.Can I freeze assembled, unbaked empanadas for quick future meals or party prep? ▾
Yes, these freeze beautifully! Arrange sealed, uncooked empanadas in a single layer on a parchment-lined baking sheet, freeze solid, then transfer to a labeled freezer bag for up to 3 months. Bake straight from frozen at 400°F, adding 5 to 7 minutes to the standard bake time—no thawing needed.
7.I don’t like green olives—can I leave them out or swap them for another ingredient? ▾
Of course! The olives add a briny, salty pop, but you can swap them for equal amounts of chopped pickled jalapeños for a spicy kick, golden raisins for a classic sweet-savory note, or leave them out entirely and add a pinch of extra sea salt to the beef filling to balance flavors.
8.Why do the bottoms of my empanadas get soggy instead of crisp when baked? ▾
Soggy bottoms usually happen from baking on a thin, unlined sheet, or placing empanadas too close together so hot air can’t circulate. Use a heavy, light-colored baking sheet lined with parchment, space empanadas 1 inch apart, and bake on the middle rack at 400°F for evenly crisp, golden crusts all around.
9.Do I need to add a top coating to empanadas before baking to get that signature golden crust? ▾
For that signature shiny, deep golden finish, a quick egg wash (1 whole egg beaten with 1 tablespoon of cold water) brushed lightly over each sealed empanada is ideal. If you’re out of eggs, use a thin brush of heavy cream or melted butter instead, though it won’t deliver quite the same glossy, crisp top.

Comments (6)

2 hours ago

OMG these baked empanadas are SO good! I was worried they’d be soggy since I skipped frying them, but the crust came out perfectly flaky. My kids devoured three each at dinner last night and begged me to put them in the school lunch rotation. Total game changer for meal prep!

1 hour ago

So happy to hear the whole family loved them, Mia! Pro tip for meal prep: you can freeze the uncooked empanadas on a baking sheet then toss them in a bag, and bake straight from frozen (add 5-7 minutes to cook time) for super quick weeknight meals!

30 minutes ago

Seconding the frozen meal prep trick! I did this last month and they tasted just as fresh baked when I pulled them out for a potluck. Saved me so much time the day of!

3 days ago

Really solid recipe! The beef filling was perfectly seasoned, I tossed in a handful of diced roasted green chiles for a little extra kick and it worked great. Only hiccup was my first batch’s crust edges popped open while baking – I definitely skimped on crimping them tight with a fork, so all the yummy juice leaked out a little. Will absolutely make these again for my next college football watch party with the guys.

1 week ago

I brought these to our neighborhood block party last weekend and people were asking me for the recipe before I even set the platter down! I did half ground beef half chorizo for the filling because that’s what I had in the fridge, and it was chef’s kiss. Baking them instead of frying meant I didn’t have to stand over a spattering pot of oil for an hour, which is a massive win when you’re juggling 3 other potluck dishes. 10/10 will be making these for every gathering from now on.

5 days ago

Love the chorizo swap! That sounds absolutely delicious – adding a teaspoon of smoked paprika to the regular beef filling gives a similar deep smoky note if you don’t have chorizo on hand next time. So stoked these were such a block party hit!

yesterday

Taste was 10/10, but I struggled a little with the homemade dough since I’m pretty new to baking from scratch. It kept cracking when I was folding it over the filling, so a few of mine looked pretty lumpy and wonky, not like the perfect photos. Flavor was totally on point though, even my super picky roommate ate two and asked when I’d make them again. Maybe next time I’ll let the dough warm up a little longer on the counter before assembling so it’s more pliable?

2 weeks ago

I’ve tried so many empanada recipes that are either too complicated or turn out bland, and this one is officially my go-to! Cook time was exactly as advertised even with my toddler clinging to my leg the whole time, which I appreciate. I used store-bought empanada discs once when I was short on time and it still turned out amazing, for anyone who’s short on prep time.

1 week ago

Oh thank you for the store-bought disc tip! I’ve been intimidated to make homemade dough on weeknights, I’m definitely going to try that shortcut this week.

5 days ago

No shame in the store-bought shortcut, Liz! We’re all about making recipes work for your schedule – I’ve used store-bought discs on busy nights too and they turn out perfectly every time.

5 days ago

These are the perfect portable hiking snack! I made a batch last weekend before a big day hike, wrapped them in foil, and they stayed warm for hours in my pack. Savory, filling, not messy at all to eat on the trail. I added a little extra cumin to the beef filling because I love that warm spice, and it was chef’s kiss. So much better than squished granola bars!

2 days ago

Such a smart idea to bring these on hikes! I never think to pack savory snacks, I always just bring sweet stuff that makes me crash halfway through. Definitely adding these to my next backpacking meal prep list.



