
eye of round roast
intro
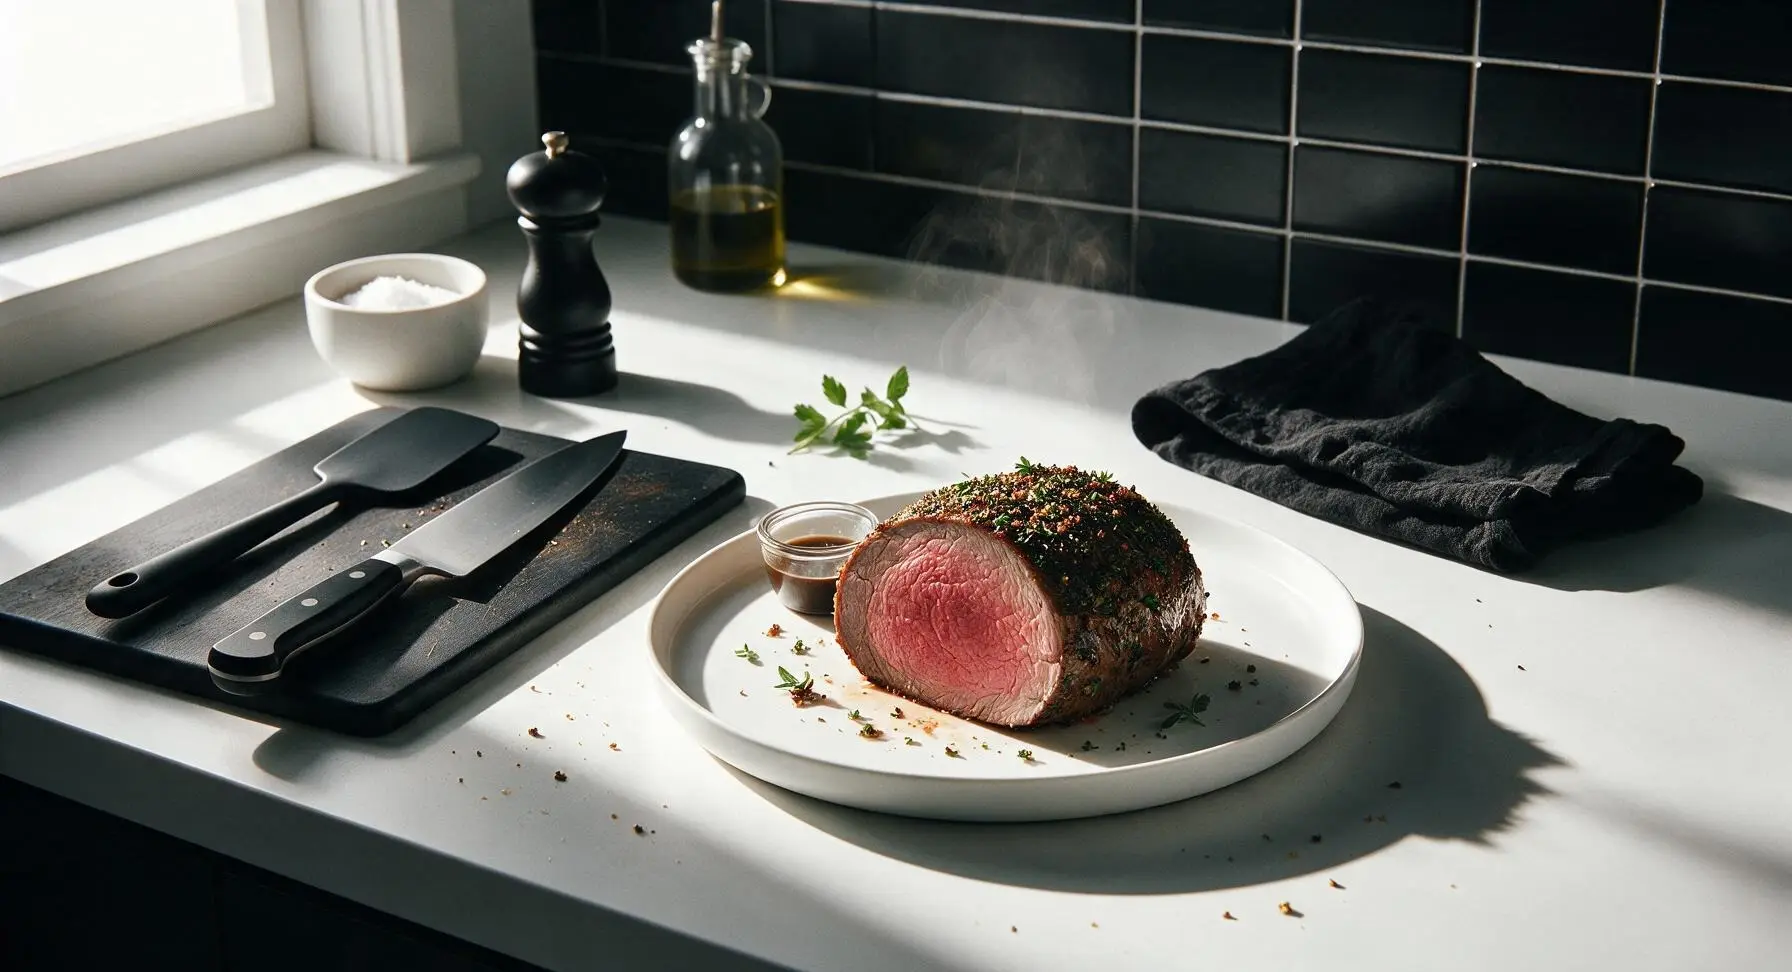
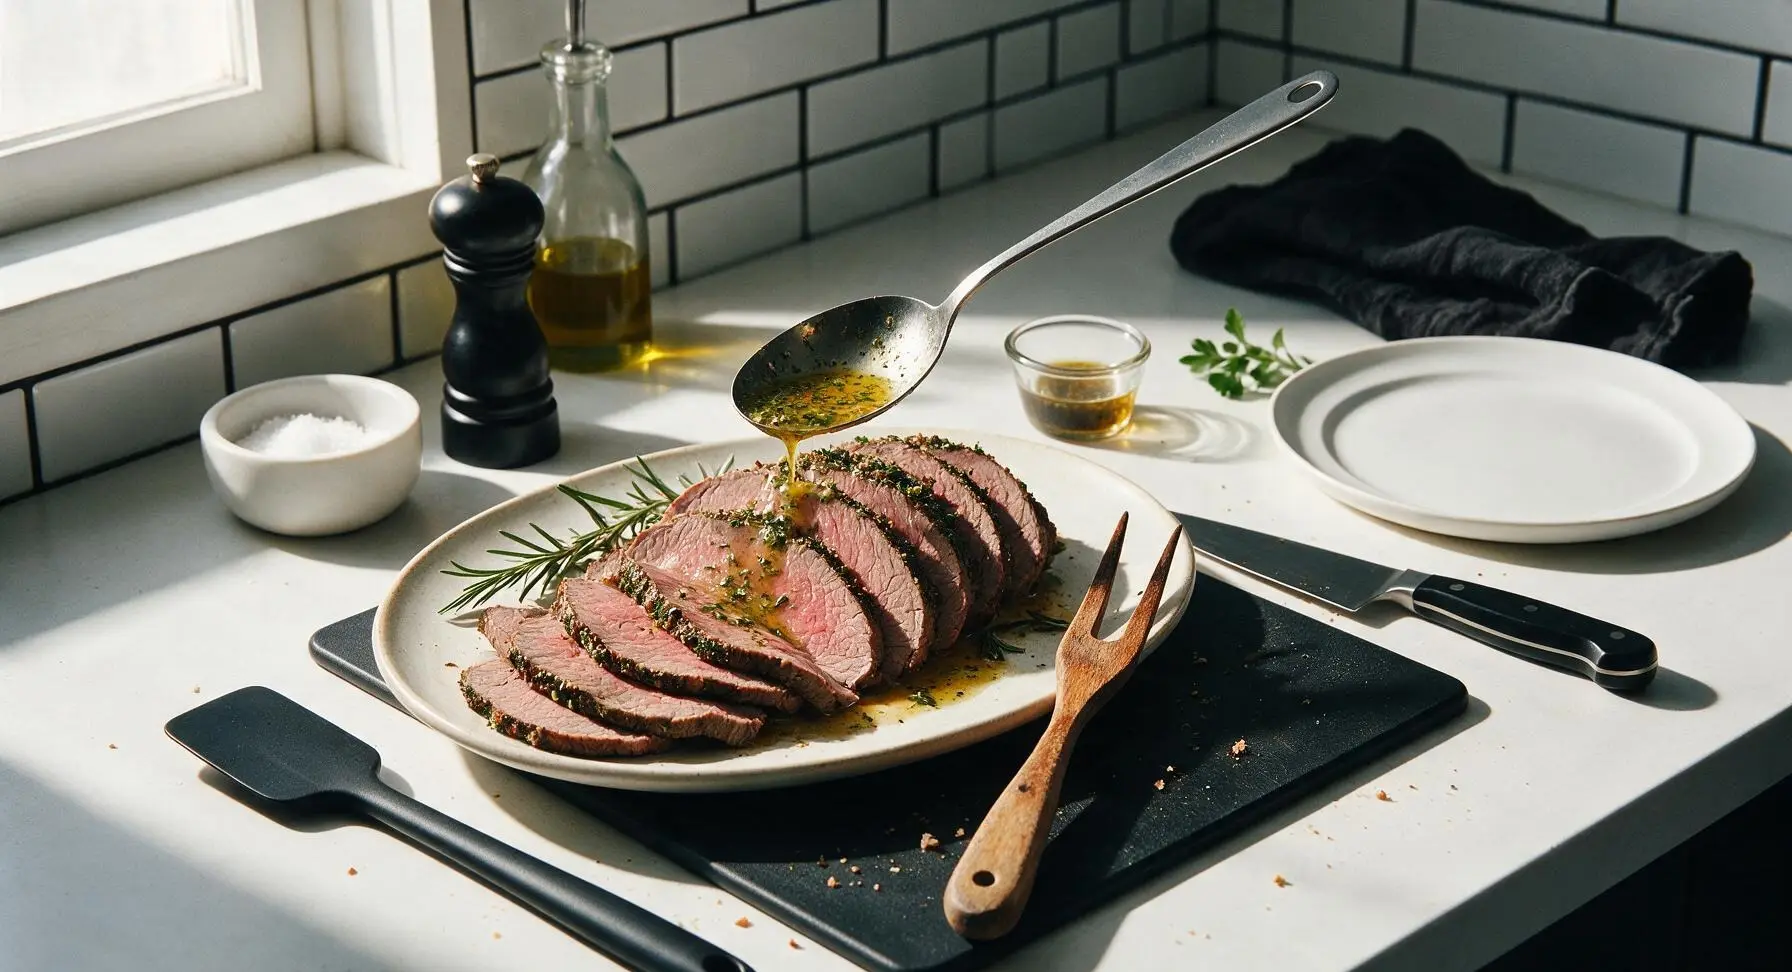
Juicy, herb-crusted eye of round roast with a crisp seared crust and evenly rosy center—an affordable, no-fuss centerpiece for cozy, low-lift family winter meals.
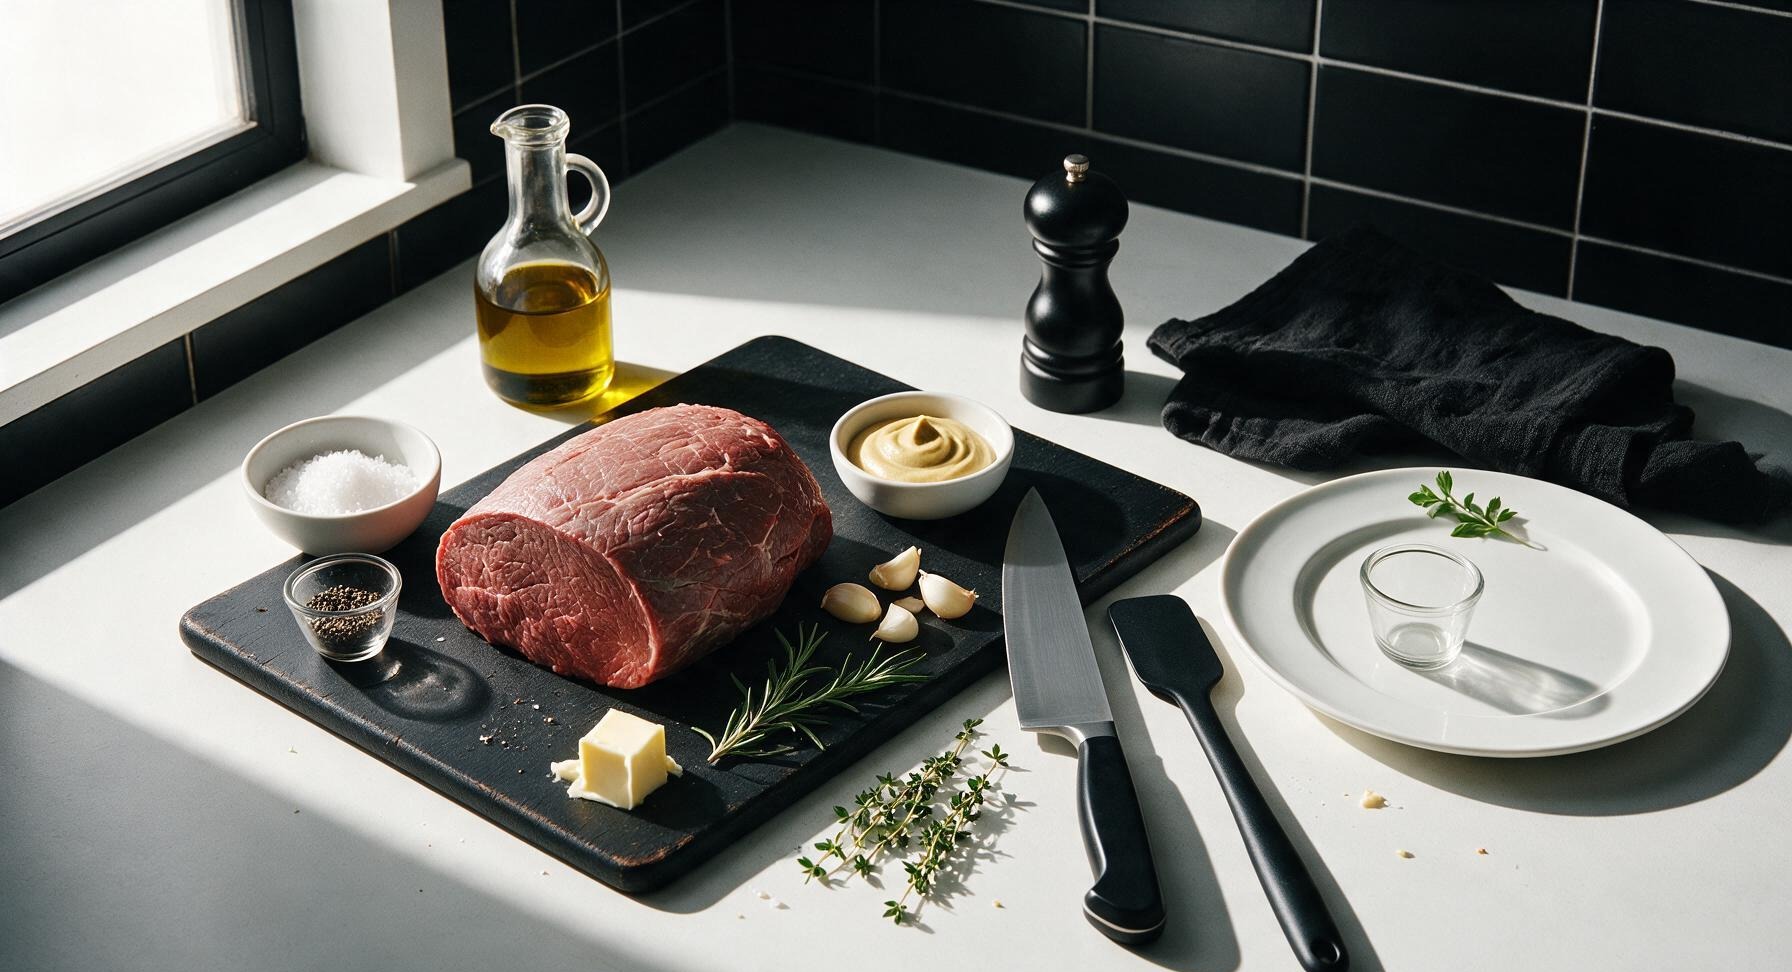
Ingredients
Steps
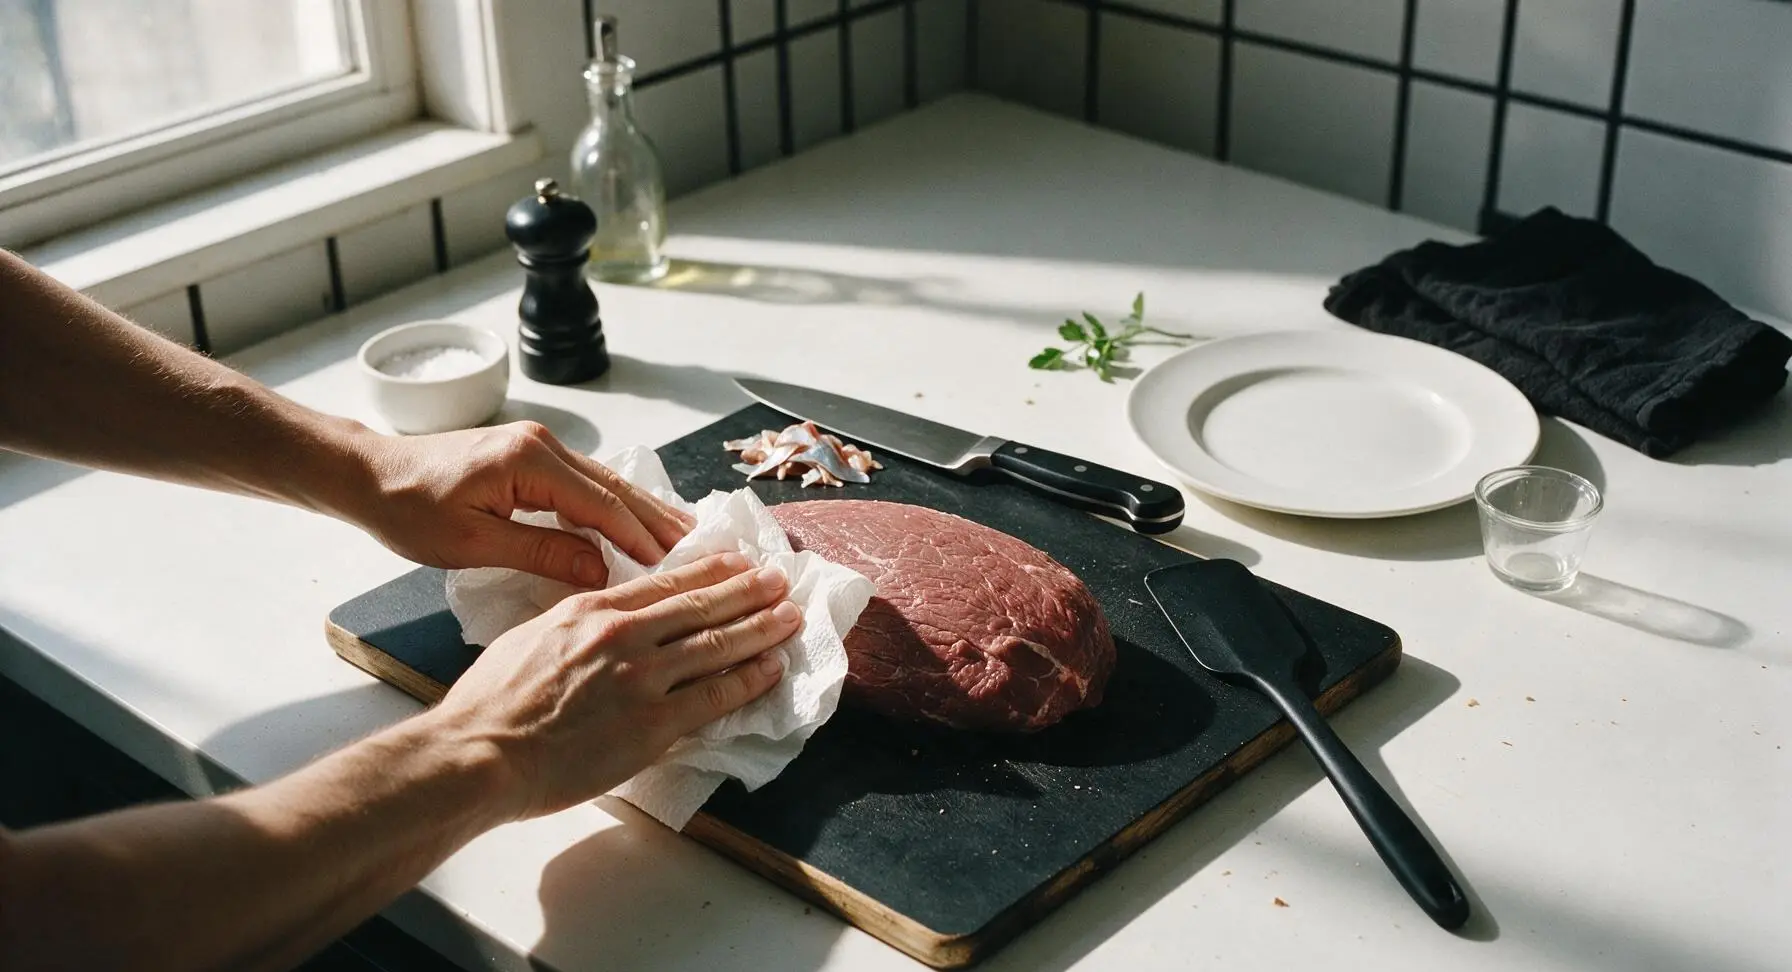
Pat Roast Dry
Remove the 3lb eye of round roast from packaging 45 minutes before cooking to let it come to cool room temperature (this ensures even cooking, and is food-safe for up to 2 hours at room temperature). Pat every surface of the roast completely dry with paper towels, paying extra attention to any moist crevices, until no surface moisture remains. Use the chef knife to trim any thick, tough silver skin from the roast, leaving no more than 1/8 inch of thin fat on the exterior.
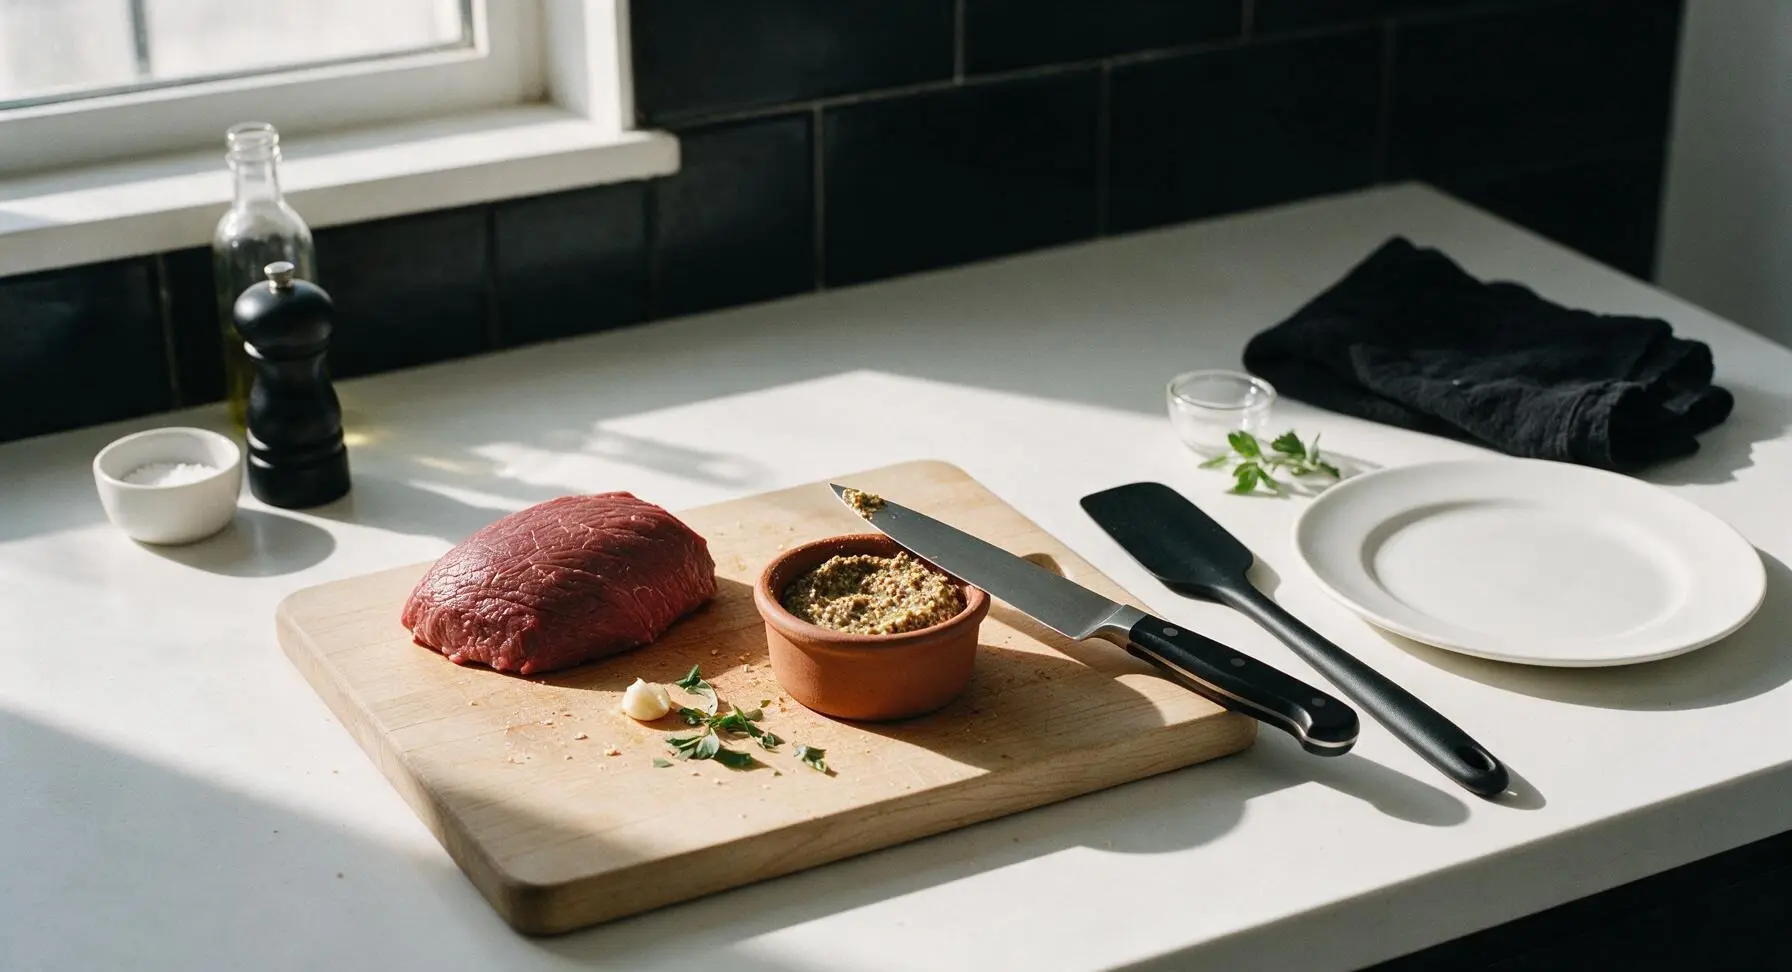
Mix Herb Seasoning
In the small unglazed terracotta ramekin, mix 1.5 tbsp kosher salt, 1 tsp cracked black pepper, 1 tbsp Dijon mustard, 4 crushed garlic cloves, and leaves stripped from 1 rosemary sprig and 2 thyme sprigs to form a thick, coarse paste. Stir the mixture with the tip of the chef knife until fully combined, with no dry clumps of spice remaining.
Coat Roast Evenly
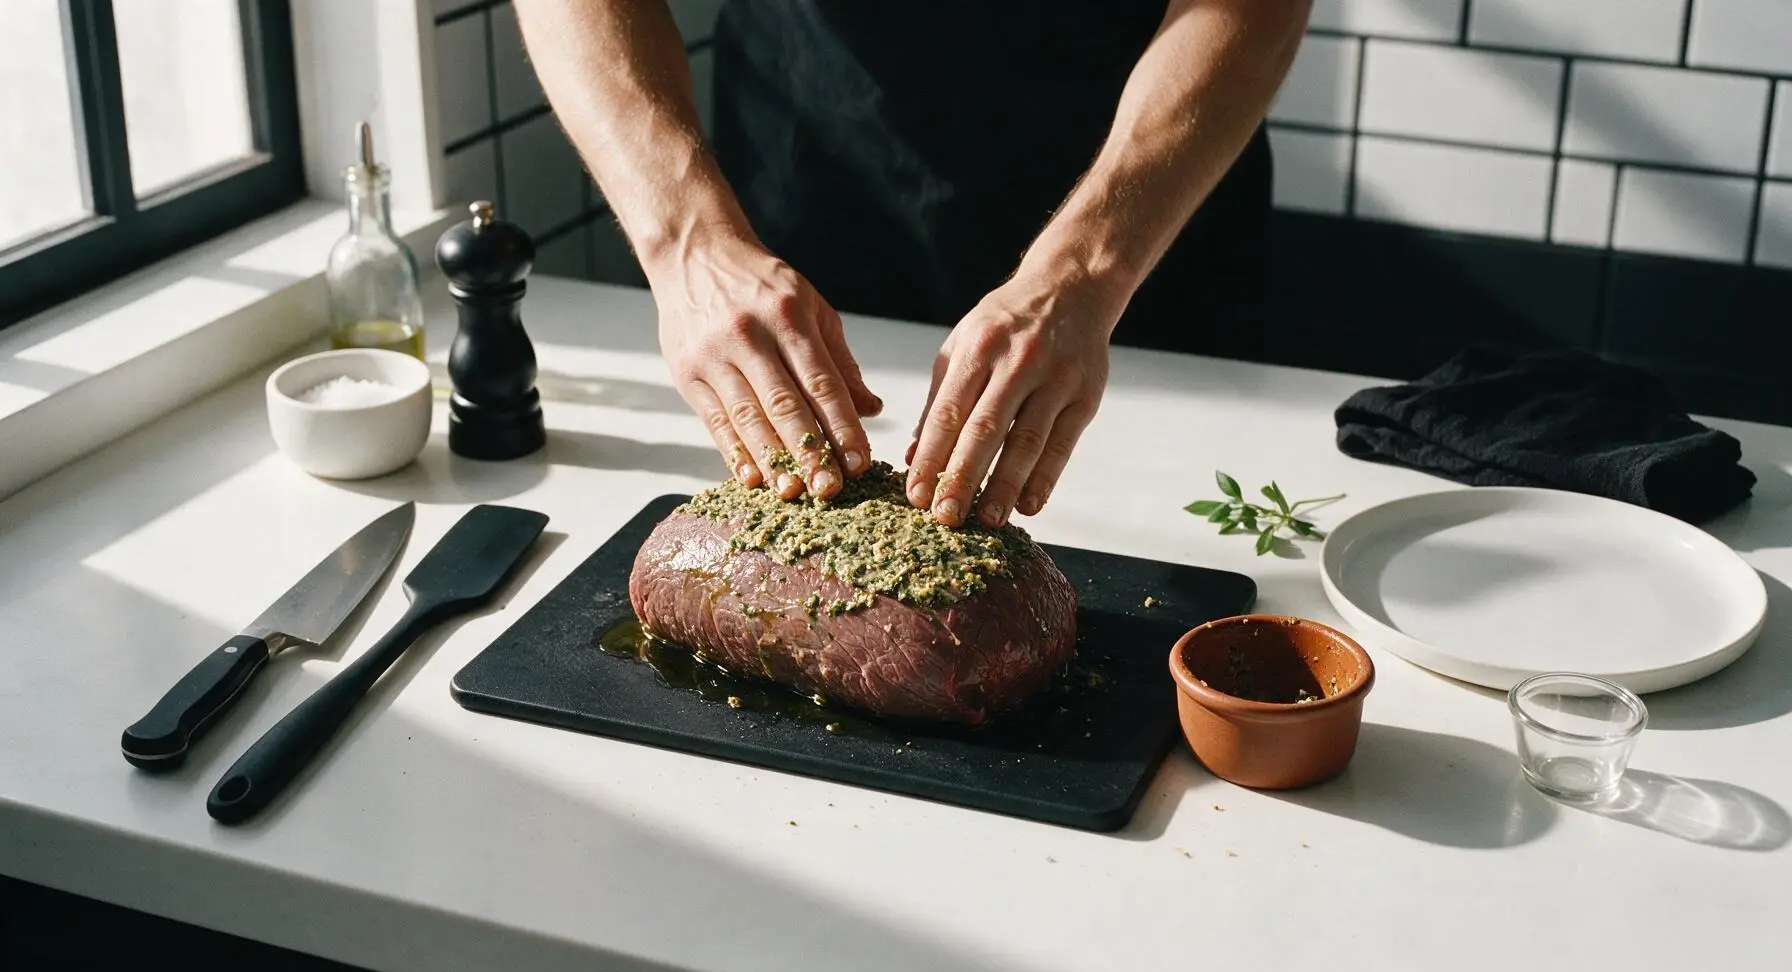
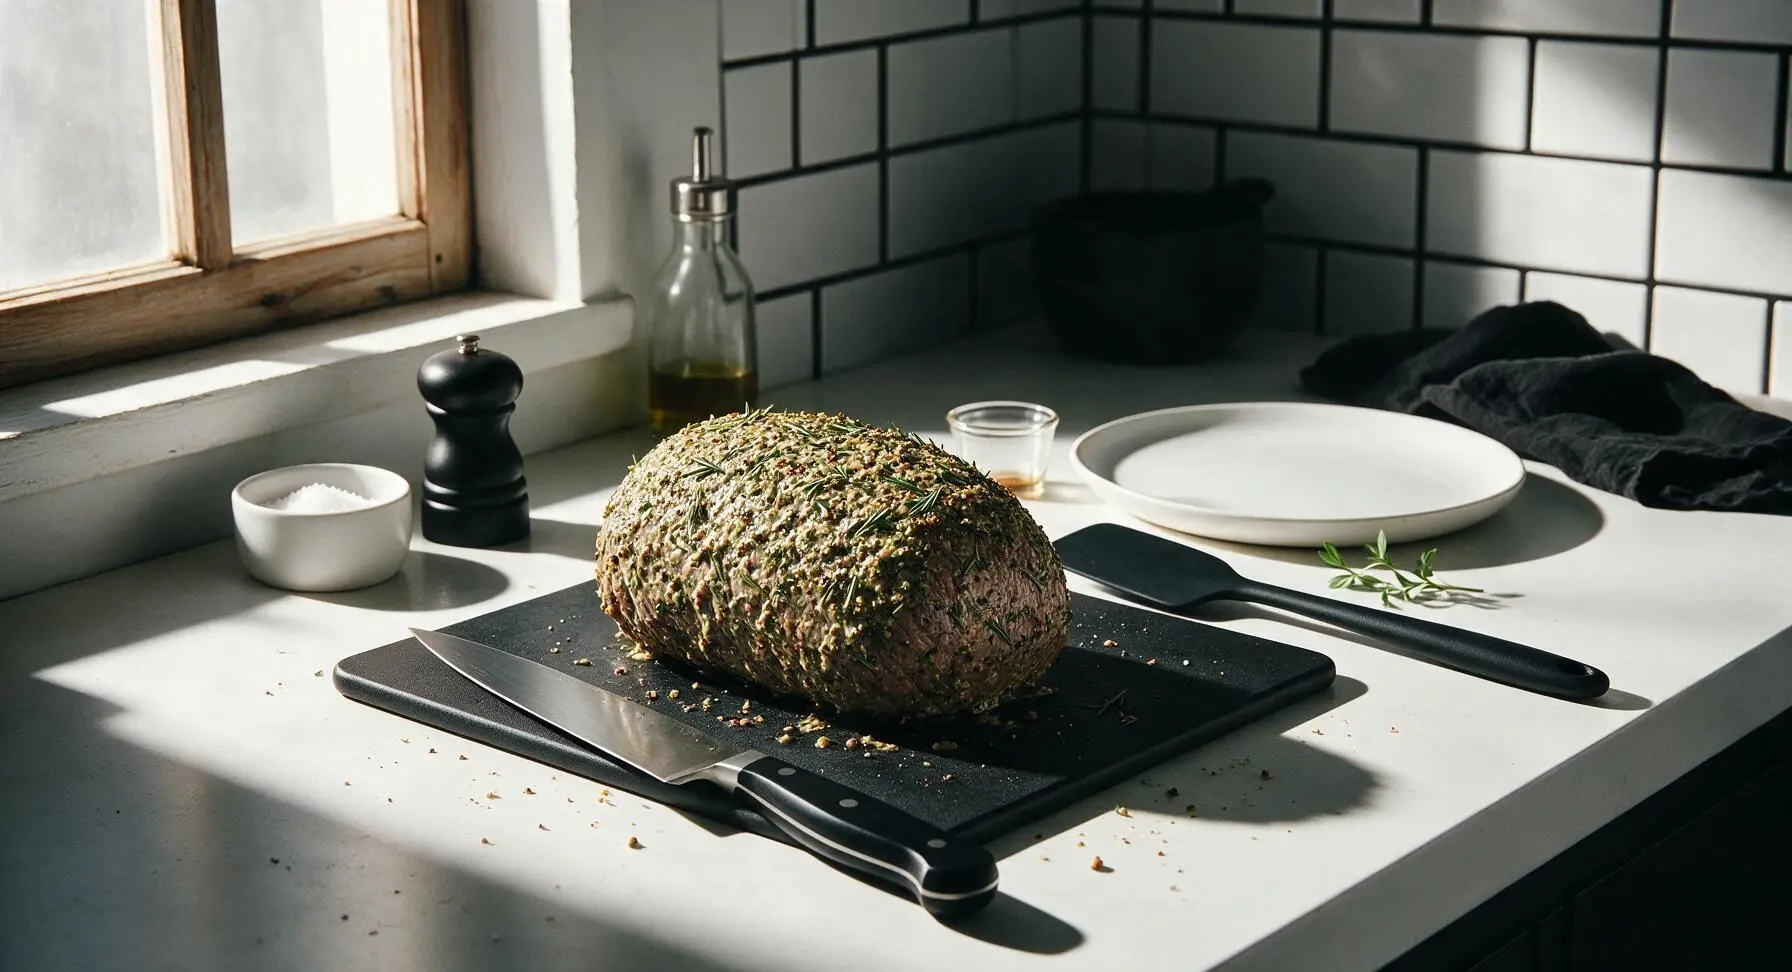
Rub 2 tbsp olive oil over the entire surface of the dried roast, then slather the herb-mustard paste evenly over every side, pressing gently so the seasoning adheres firmly to the meat. Ensure no bare spots remain on the roast, as the seasoning layer forms the flavorful, crisp crust during searing.
Sear All Surfaces
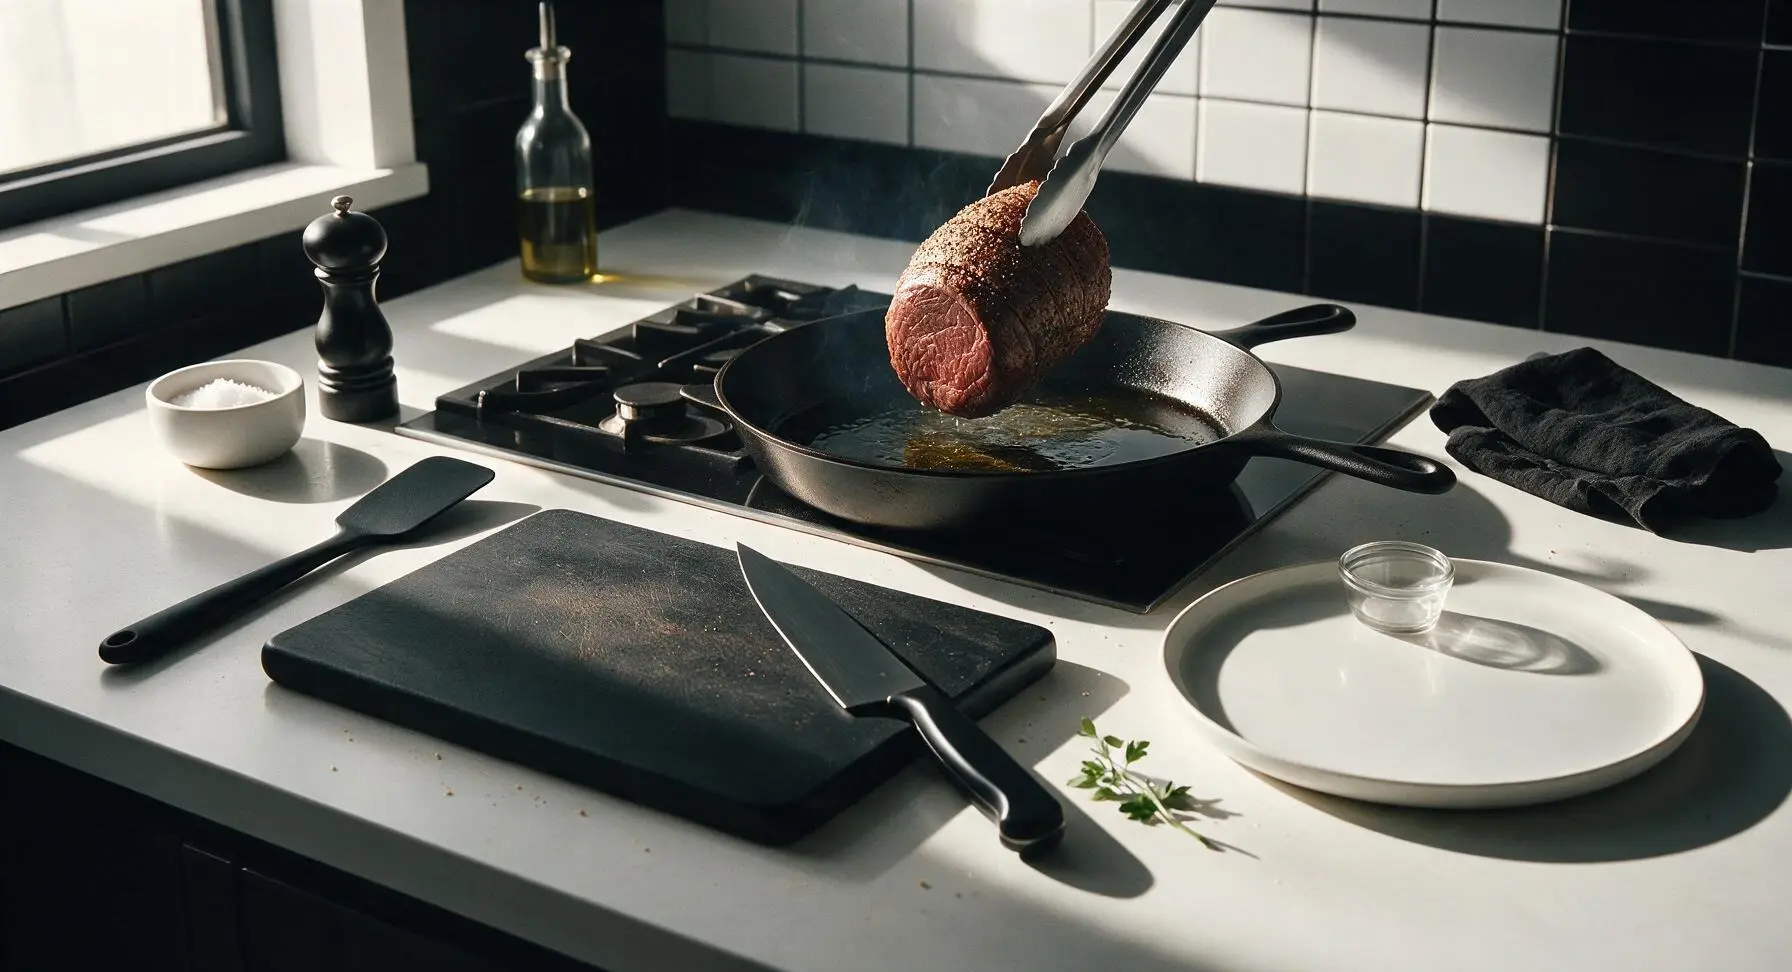
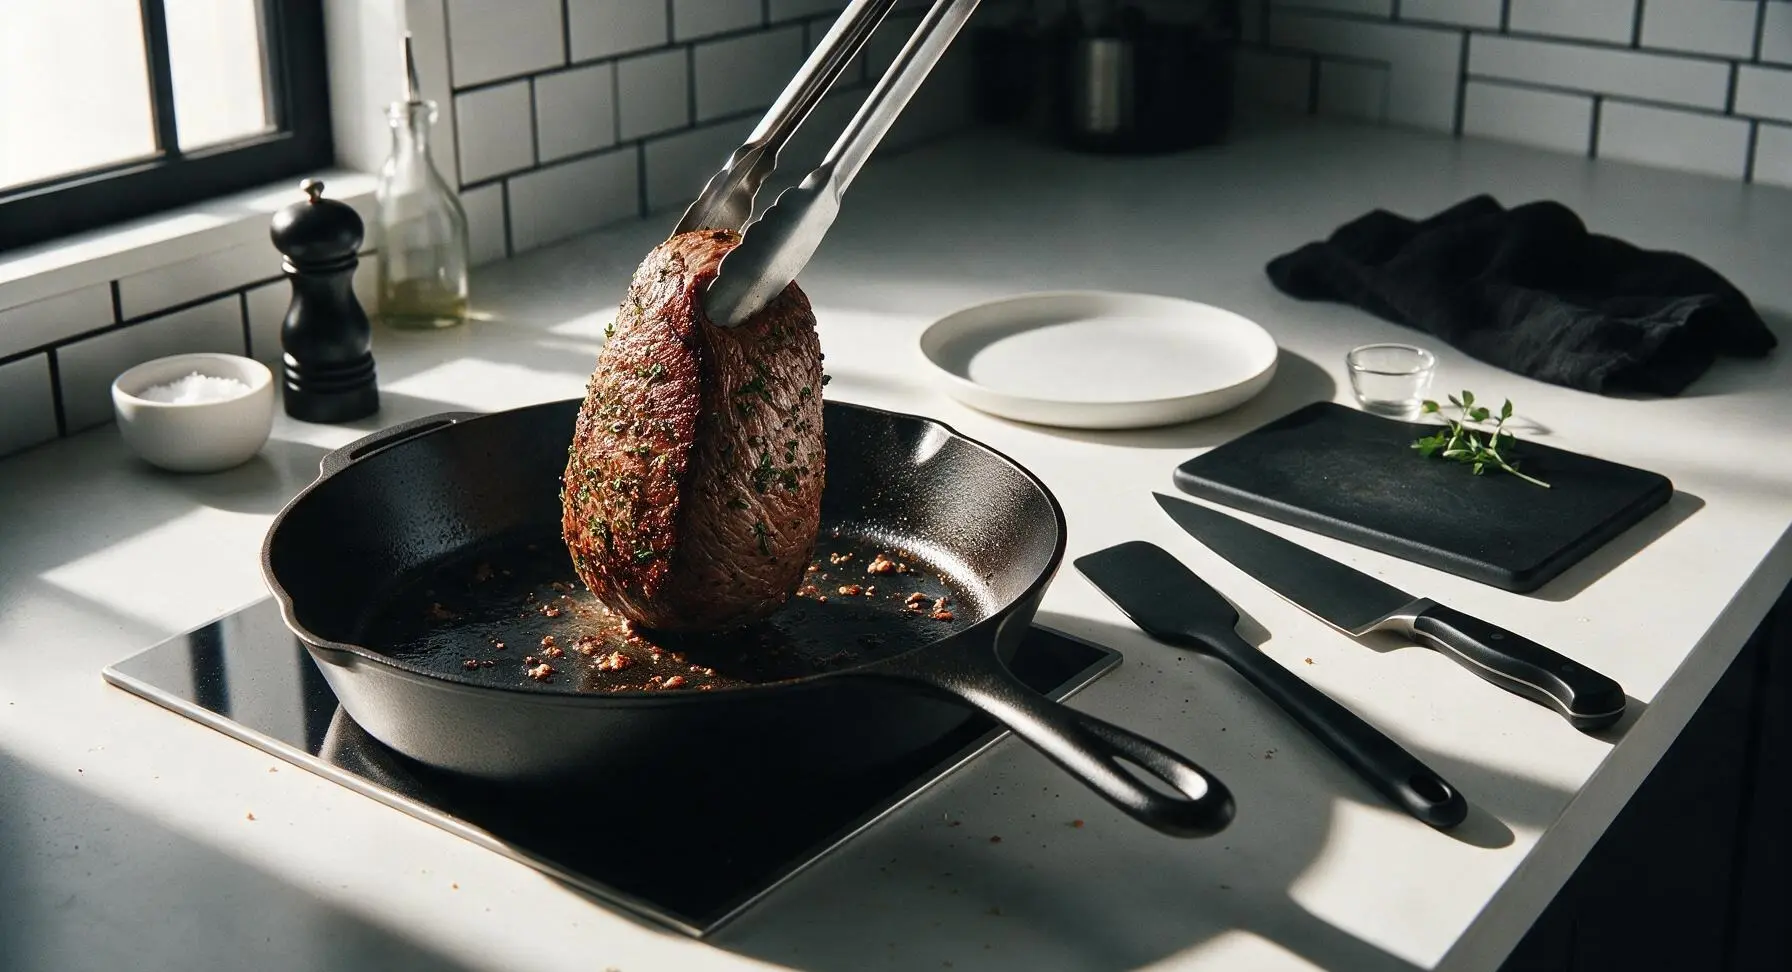
Place the 12-inch matte black carbon steel skillet on the stovetop section of the counter over medium-high heat, add 1 tsp olive oil, and heat until the oil just starts to shimmer (about 2 minutes). Use the stainless steel tongs to set the seasoned roast in the hot pan, searing each side for 2-3 minutes until a deep, dark golden-brown crust forms on every surface (top, bottom, and all narrow ends), about 12 minutes total searing time. Do not move the roast while each side sears to build a thick, crisp crust.
Baste with Herb Butter
Reduce stovetop heat to low. Add 2 tbsp unsalted butter, the remaining 1 rosemary sprig and 2 thyme sprigs to the skillet next to the seared roast. Tilt the pan slightly and use the long-handled stainless steel basting spoon to baste the roast continuously with the melted, herb-infused butter for 2 full minutes, spooning butter over the top of the roast to coat the crust evenly.
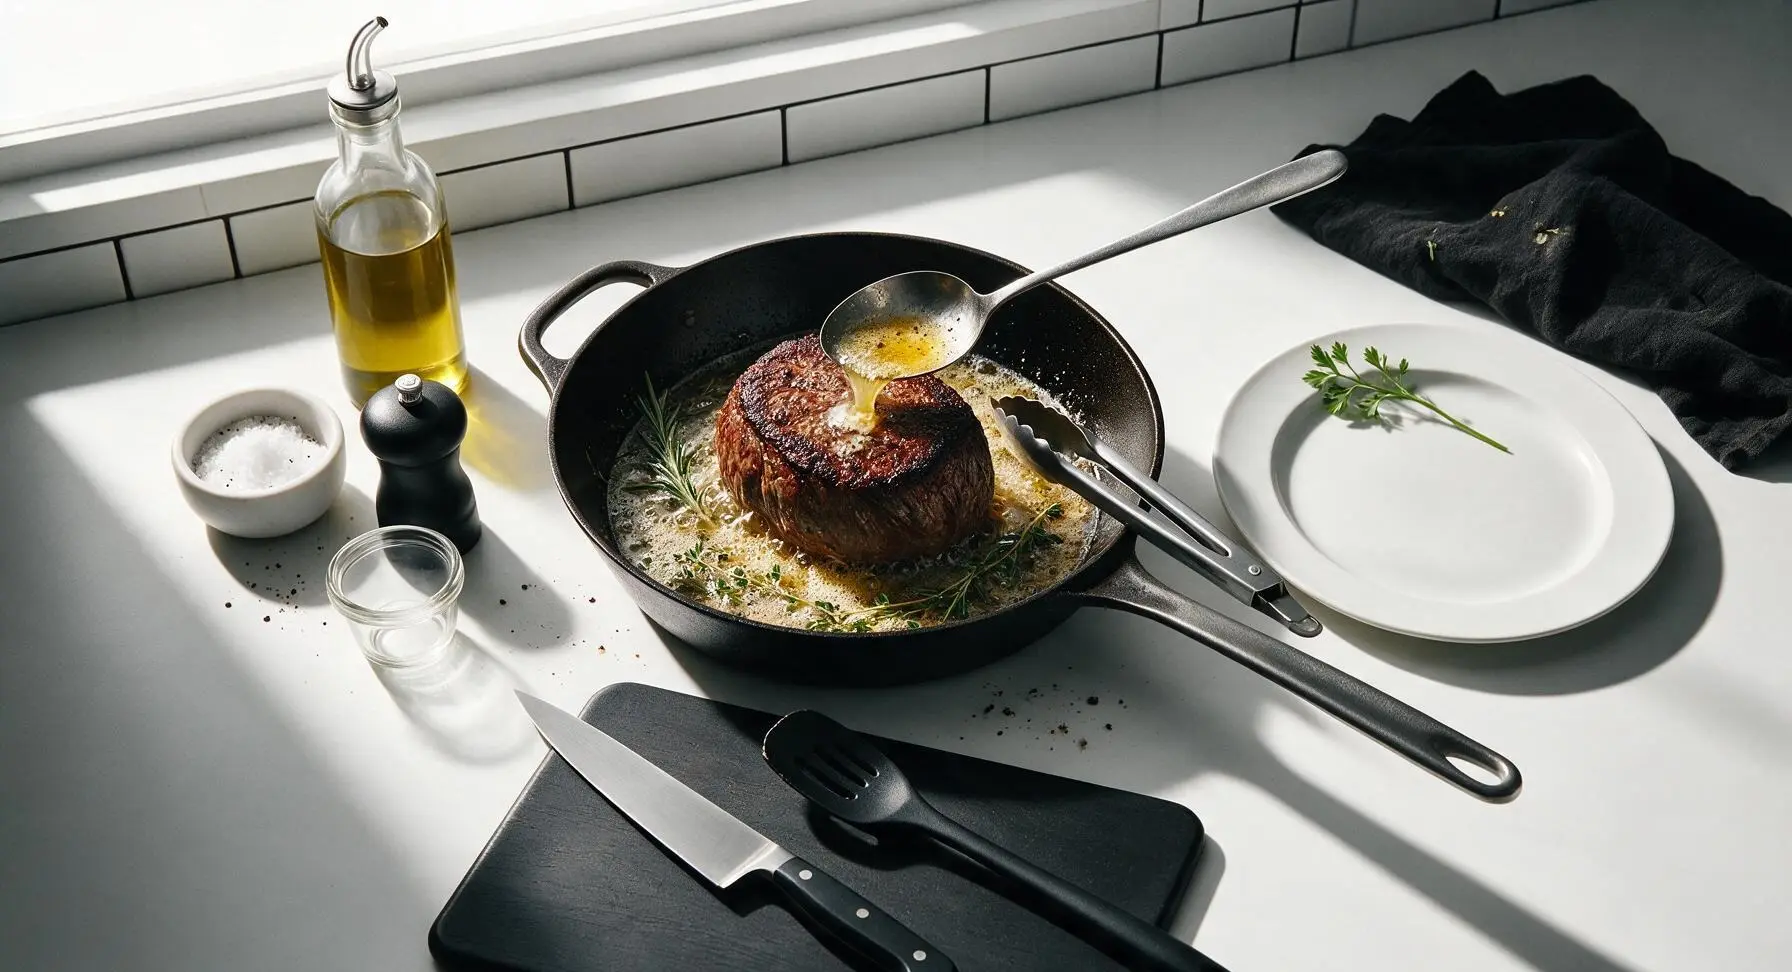
Roast to Temp
Carefully transfer the entire oven-safe skillet to a preheated 325°F (160°C) oven. Insert the probe of the stainless steel meat thermometer into the thickest part of the roast, avoiding contact with fat or the metal pan to ensure an accurate reading. Roast until the internal temperature reaches 125°F (52°C) for medium-rare, approximately 35-40 minutes. Do not cook past 130°F internal temperature, as this very lean cut will quickly become tough and dry when overcooked.
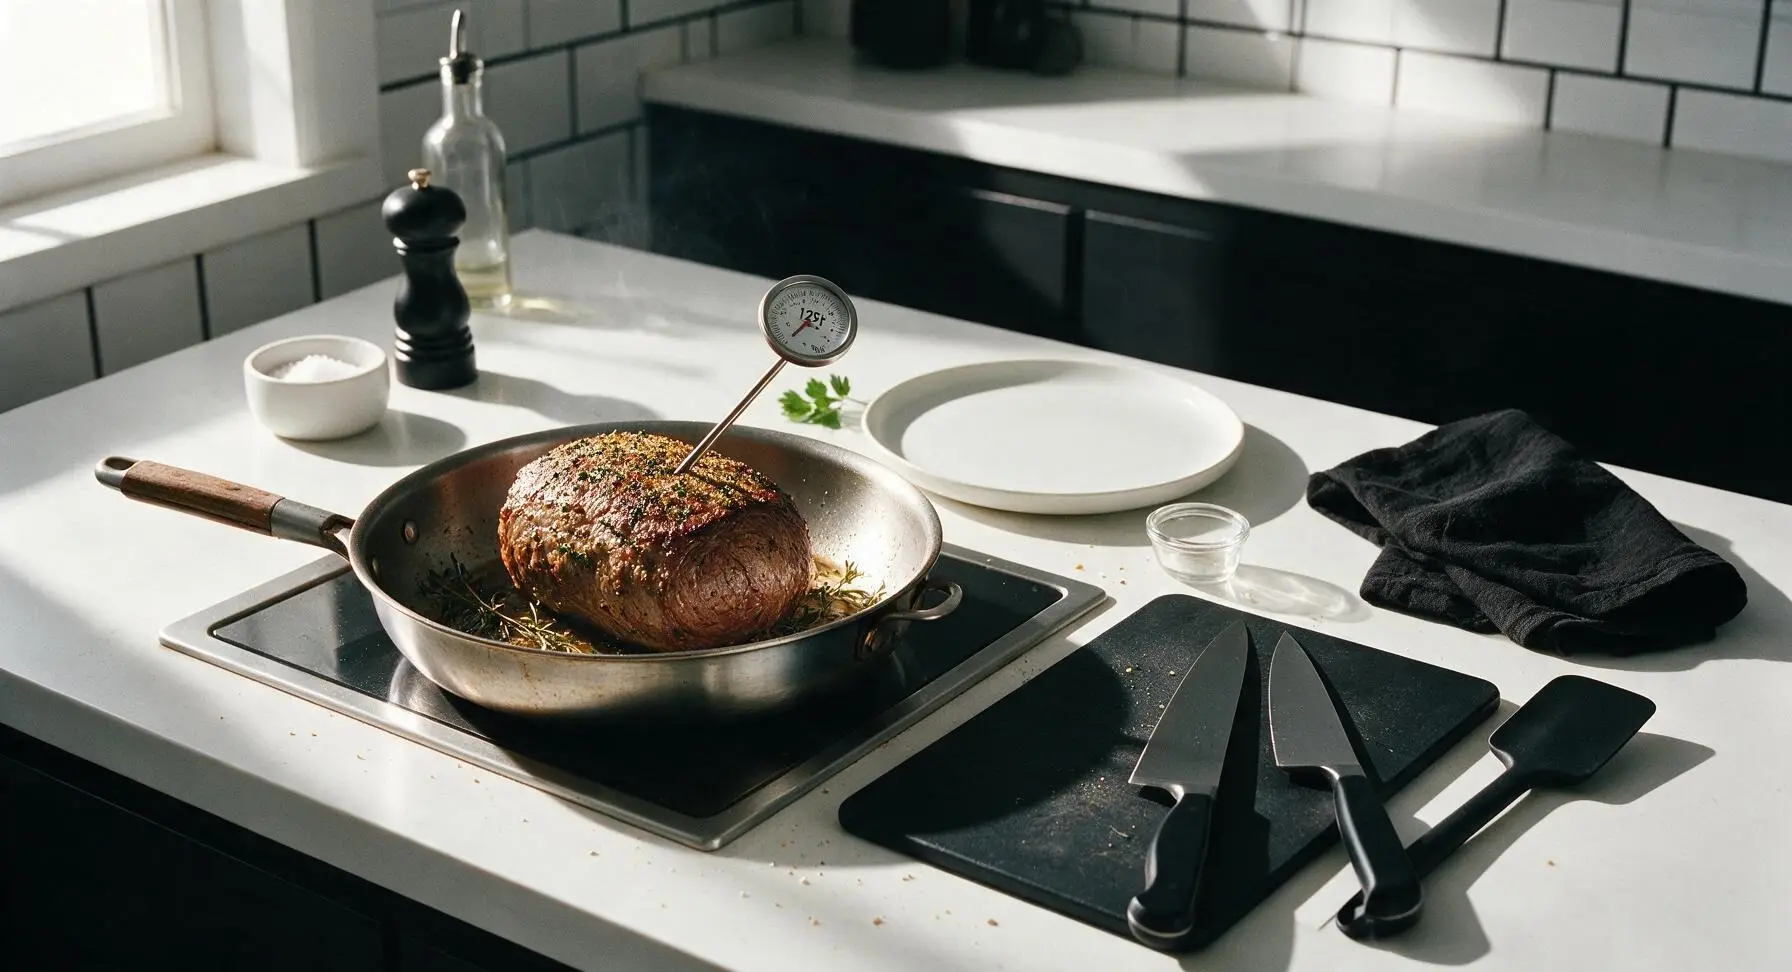
Rest Roast Fully
Use the tongs to transfer the hot roast from the skillet to the center of the maple cutting board. Loosely tent a piece of crinkled aluminum foil over the top of the roast, and let it rest for a full 20 minutes. During resting, the internal temperature will rise 5-10°F (carryover cooking) to reach a perfect 130-135°F medium-rare, and muscle fibers will relax to redistribute juices so they do not run out when sliced. Reserve the browned herb butter and fond in the skillet for drizzling.
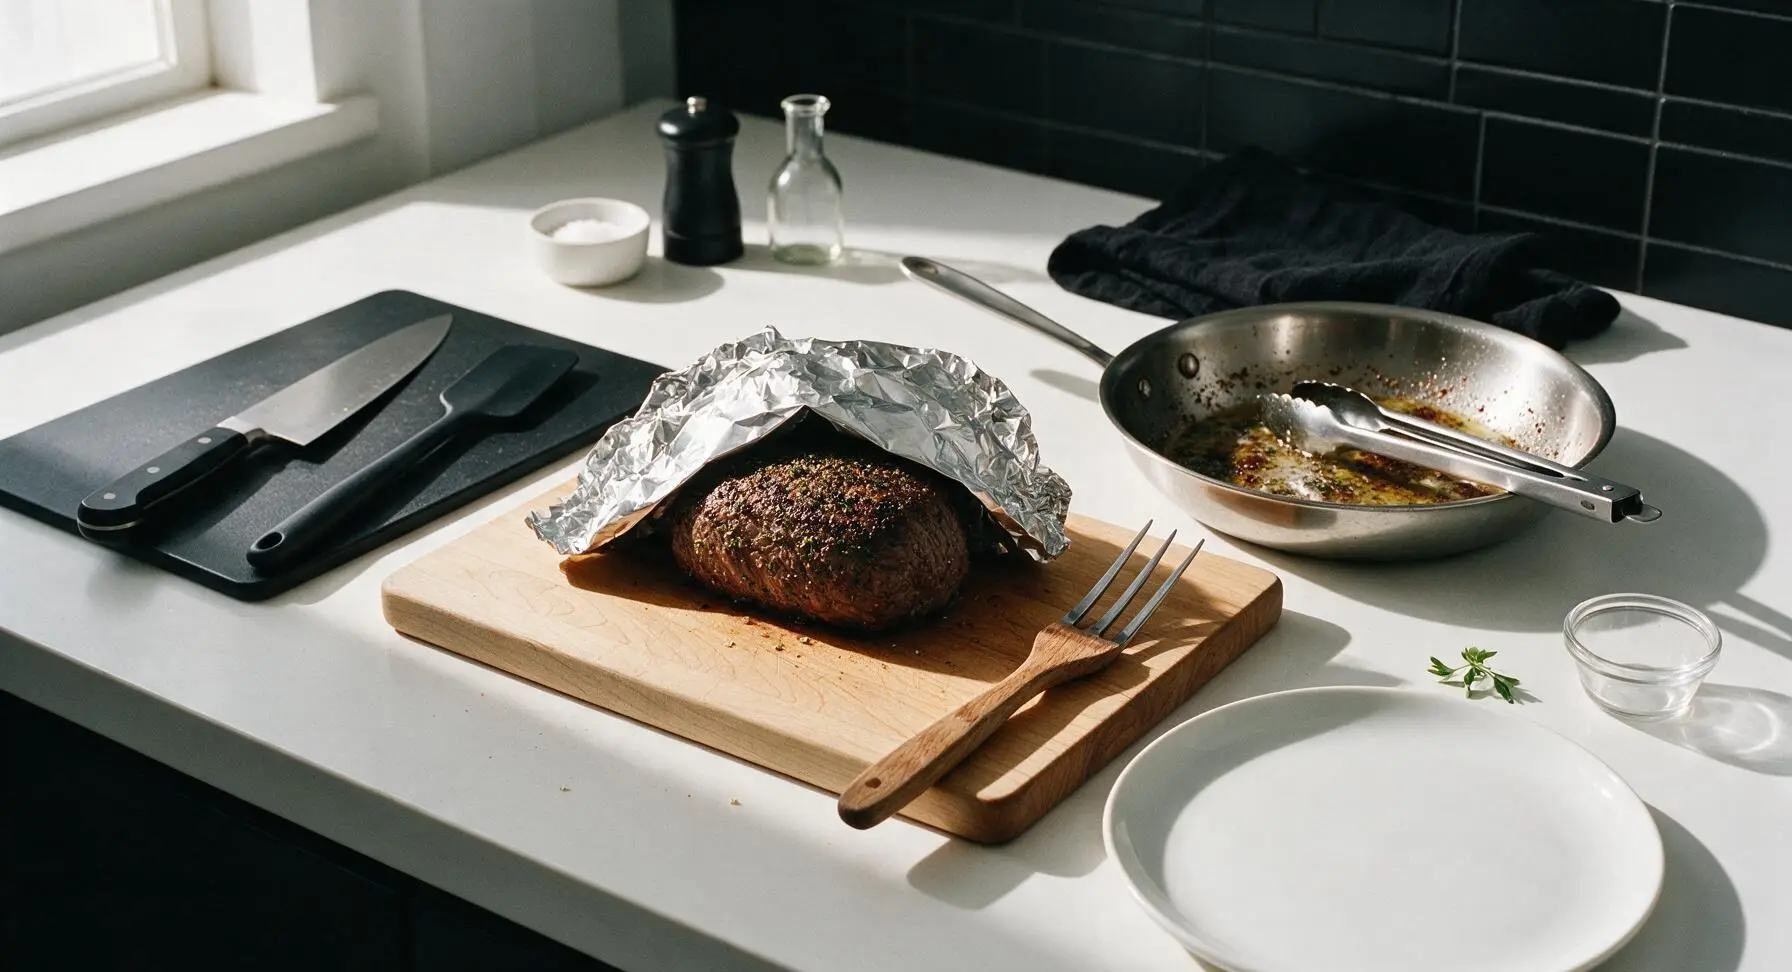
Carve and Serve
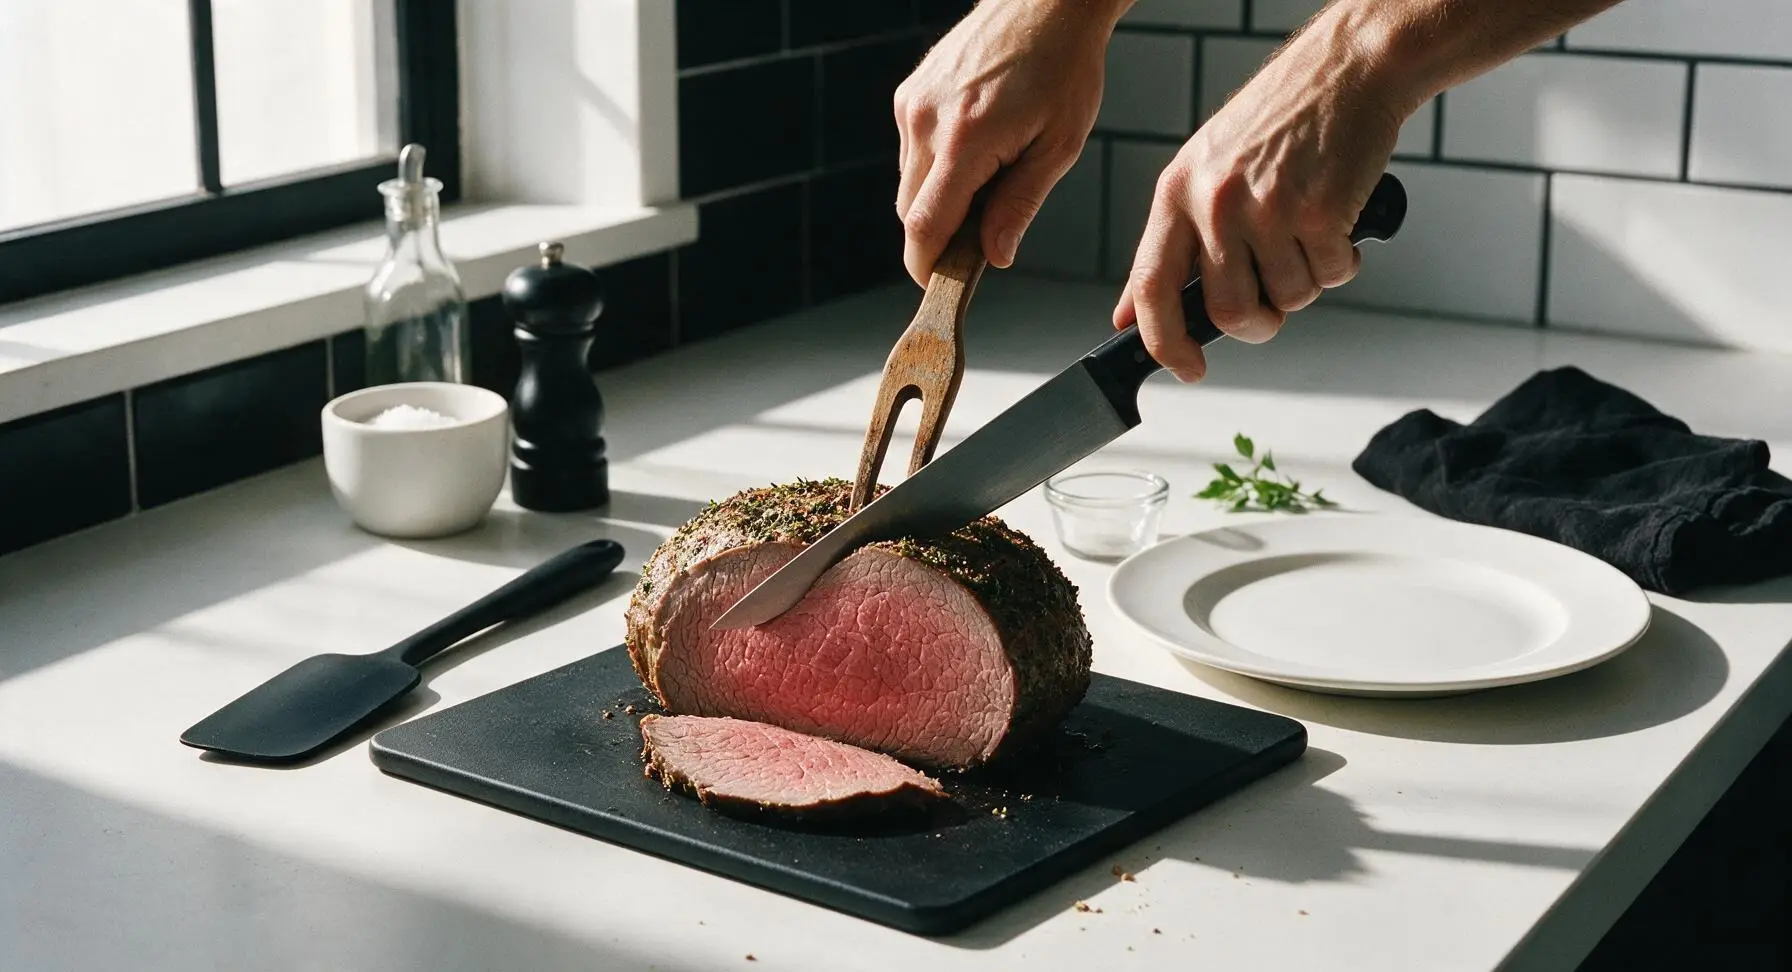
After the full 20-minute rest, remove the foil tent. Hold the roast steady with the beech wood carving fork, and use the sharp chef knife to slice the roast against the grain into uniform 1/4-inch thick slices. Arrange the slices on the large off-white ceramic serving platter, drizzle with the reserved herb butter and pan juices from the skillet using the basting spoon, and tuck a few fresh herb sprigs around the platter for garnish.
Tips
2.Never skip the full 20-minute rest period: eye of round is an extremely lean cut with almost no interior marbling, so cutting into it immediately after cooking will cause all the flavorful, moisture-rich juices to run out onto the cutting board, leaving the meat dry and tough.
3.Slice as thinly as possible against the grain: eye of round has long, dense muscle fibers that run lengthwise down the roast. Cutting across these fibers into 1/4-inch slices shortens the tough fiber strands, making each bite feel tender despite the cut’s naturally lean, firm texture.






OMG this roast was a total game changer for our Sunday family dinner! I was always scared to cook eye of round because it comes out tough, but the herb crust had so much flavor and the cook time was totally doable even with my three kids running around. My husband went back for thirds, my 7 year old asked for it for her school lunch the next day. SO good!
Made this for my neighborhood potluck last weekend and people were begging me for the recipe! The herb crust is crispy, the roast was perfectly medium rare all the way through, and it didn’t dry out at all even when I had it sitting out for a bit on the food table. 10/10 will be making this for every holiday get together from now on.
This is perfect for my weekly meal prep! I sliced it super thin, portioned it out with roasted veggies and mashed cauliflower, and it lasted me all work week without getting weird or dry. The herb blend doesn’t get boring even after eating it 4 days in a row, which is a huge win. Quick note: I used a meat thermometer to pull it at 135°F internal and it came out perfectly tender, no chewy bits at all.
I’ve made eye of round roasts for 40 years and I have to say, this herb crust recipe is easily one of the best I’ve tried. I did add a tiny bit of garlic powder to the rub because we’re garlic fiends in this house, and it paired beautifully with the thyme and rosemary. Served it with horseradish sauce on the side and my grandkids ate every bite.
Wait, I’m a total beginner cook and I was sure I’d mess this up since it says medium difficulty, but it was actually way easier than I thought! Cook time was spot on, I didn’t even have to adjust my janky apartment oven temp. My roommates thought I was some fancy culinary school grad after I served this for our college football game night dinner. Total win.
I was skeptical about cooking this in the oven instead of on my offset smoker, but wow. The herb crust gets so perfectly crispy and the roast stays juicy all the way through. I did baste it with a little melted garlic butter halfway through cooking like I do with my smoked roasts, and it turned out incredible. My teenage son ate half the roast in one sitting, no joke.
Love that this is a high protein, low effort meal that doesn’t feel like boring diet food! The herb crust adds so much flavor without a ton of extra calories, I paired it with a side salad for a post-gym dinner and it was perfect. Only complaint: I wish the recipe had a note about what internal temp to pull it at for different doneness levels, I had to google it for medium rare.
Made this for my wife for our first anniversary dinner at home and I swear I earned 100 husband points. She kept saying it tasted like something we’d order at a fancy steakhouse! I served it with roasted garlic mashed potatoes and roasted asparagus, and we had leftover sandwiches the next day that were chef’s kiss.
Solid, well-tested recipe. The herb ratio is perfectly balanced – not too much piney rosemary that it overpowers the beef, which is a super common mistake I see in online roast recipes. I did sear the roast on all sides in a cast iron skillet before popping it in the oven to get a deeper, more caramelized crust, and I’d recommend that quick step to anyone who has 5 extra minutes. Great base recipe to tweak to your own tastes.
I needed a last minute main dish for my in-laws coming into town and this did NOT disappoint. I had all the herbs in my pantry already so I didn’t even have to make a special grocery run. My mother in law, who is notoriously picky about roasts, asked for the recipe before she left. Total win!
I make this roast before every big backpacking trip! It’s portable, high in protein, and tastes just as good cold as it does hot, which is perfect for trail lunches. I add a little extra black pepper to the crust for a bit more zing, and it holds up for days in a cooler. Total staple for my outdoor trips now.
So happy this recipe is naturally gluten free! I have celiac and it’s so hard to find roast recipes that don’t call for weird seasoned breadcrumbs in the crust or flour for gravy. This herb crust is just herbs, salt, pepper, a little olive oil – perfect! I served it with homemade gluten free gravy on the side and my whole family loved it, even the non-gluten free folks.
Okay full transparency, I burned the herb crust a little bit because I got distracted playing Zelda while it was in the oven, but even slightly burnt it was still SO good. That’s how you know a recipe is foolproof, right? Next time I’ll set three timers so I don’t char the outside, but even my mess up was edible and tasty. 5 stars for being forgiving.
Eye of round is such an affordable cut of beef compared to prime rib or tenderloin, and this recipe makes it taste just as fancy! I fed 6 people for under $20 with this, which is perfect for when you want a nice dinner without dropping a ton of money at the grocery store. Great for people on a tight budget who still want a special weekend meal.
I served this for our Sunday church potluck last week and every single slice was gone before we even got to the dessert table! I paired it with my classic green bean casserole and baked mac and cheese, and people were going back for seconds (and thirds) of the roast. The herb blend pairs so well with classic southern sides, I’ll definitely be making this again.
Wait, I’ve never cooked a roast in my life and I was so nervous I’d ruin our family Christmas dinner, but this recipe walked me through every single step! The cook time was exactly 50 minutes like it said, my roast came out juicy, the crust was packed with flavor, and my whole family raved. My dad said it was better than the roast my grandma used to make (don’t tell grandma lmao).
Tweaked the herb crust a little to add some smoked paprika and garlic salt, and man was that a good call. It gave the crust a little smoky, savory kick that paired so well with the beef. Next time I’m going to try adding a little grated parmesan to the crust too, see how that turns out.
I was worried a roast would take too long for a weeknight dinner, but 50 minutes cook time is totally doable even after getting home from work! I popped this in the oven while I helped my kids with homework, and by the time we were done with homework, dinner was ready. My kids loved it, which is saying something because they turn their nose up at most red meat dishes. Total weeknight win.