
Fajita Veggie Grilled Cheese

title 1
Fajita Veggie Grilled Cheese
⏱️ cook time 15 minutes
🍽️ servings 4
⚡ Difficulty easy

intro

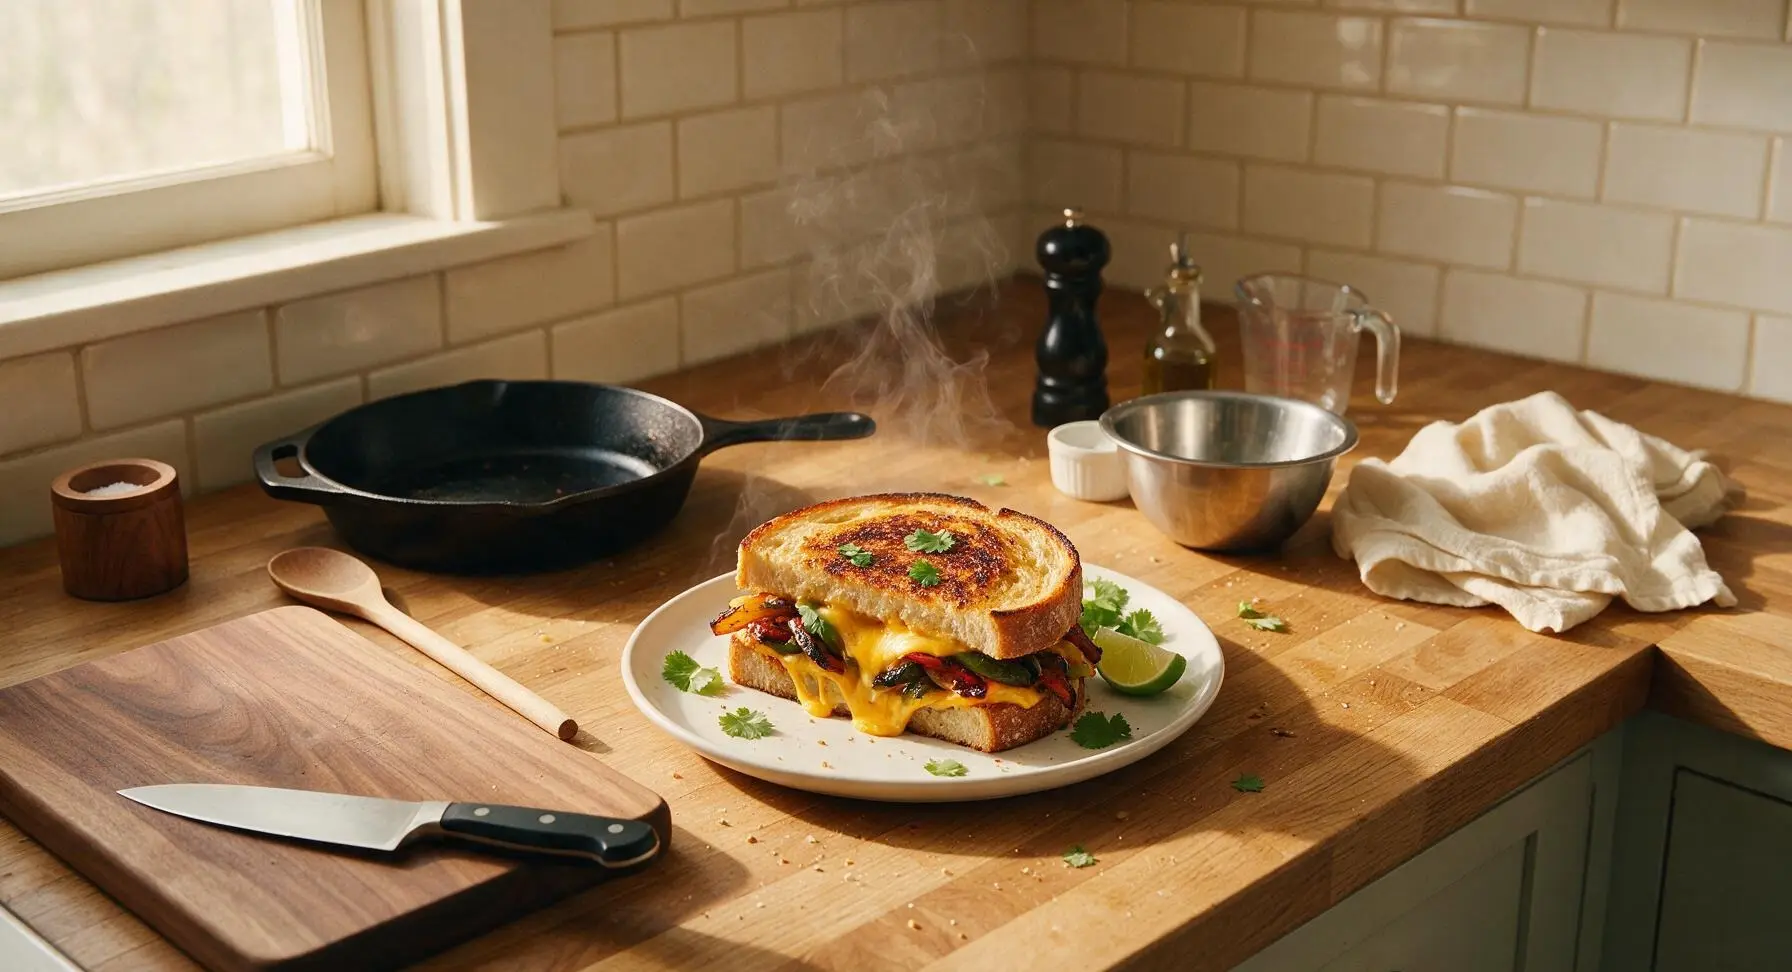
Smoky charred fajita veggies layered between stretchy melted cheese and crispy buttery sourdough, this zesty grilled cheese twist is fast, flavorful, and pure cozy comfort.

Ingredients
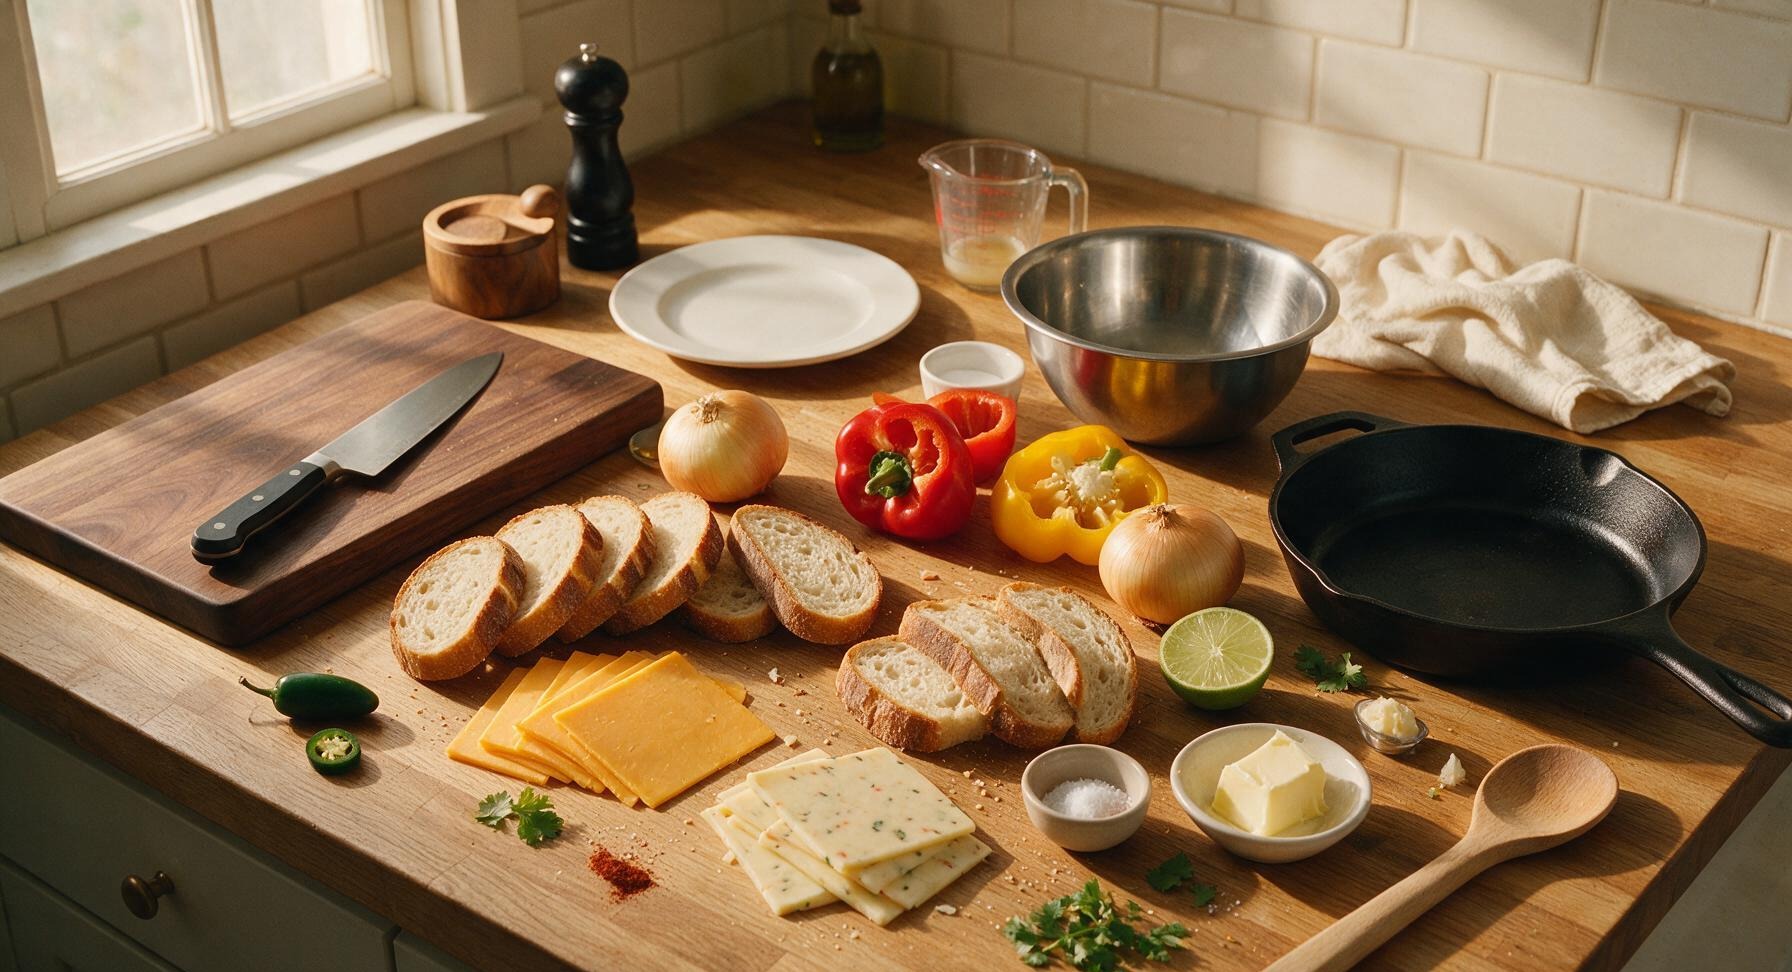
Thick-cut sourdough bread 8 slices (1.5cm thick)
Sharp cheddar cheese 170g, thinly sliced
Pepper jack cheese 113g, thinly sliced
Red bell pepper 1 medium (150g), seeded
Yellow bell pepper 1 medium (150g), seeded
Yellow onion 1 small (120g)
Jalapeño pepper 1 small (15g), seeded (optional)
Unsalted butter 60g, softened
Smoked paprika 1 tsp
Ground cumin 1/2 tsp
Garlic powder 1/2 tsp
Kosher salt 1/2 tsp
Fresh lime 1/2 fruit (1 tsp juice)
Fresh cilantro 2 tbsp, chopped, plus small sprigs for garnish

Steps

1

Slice Fajita Vegetables

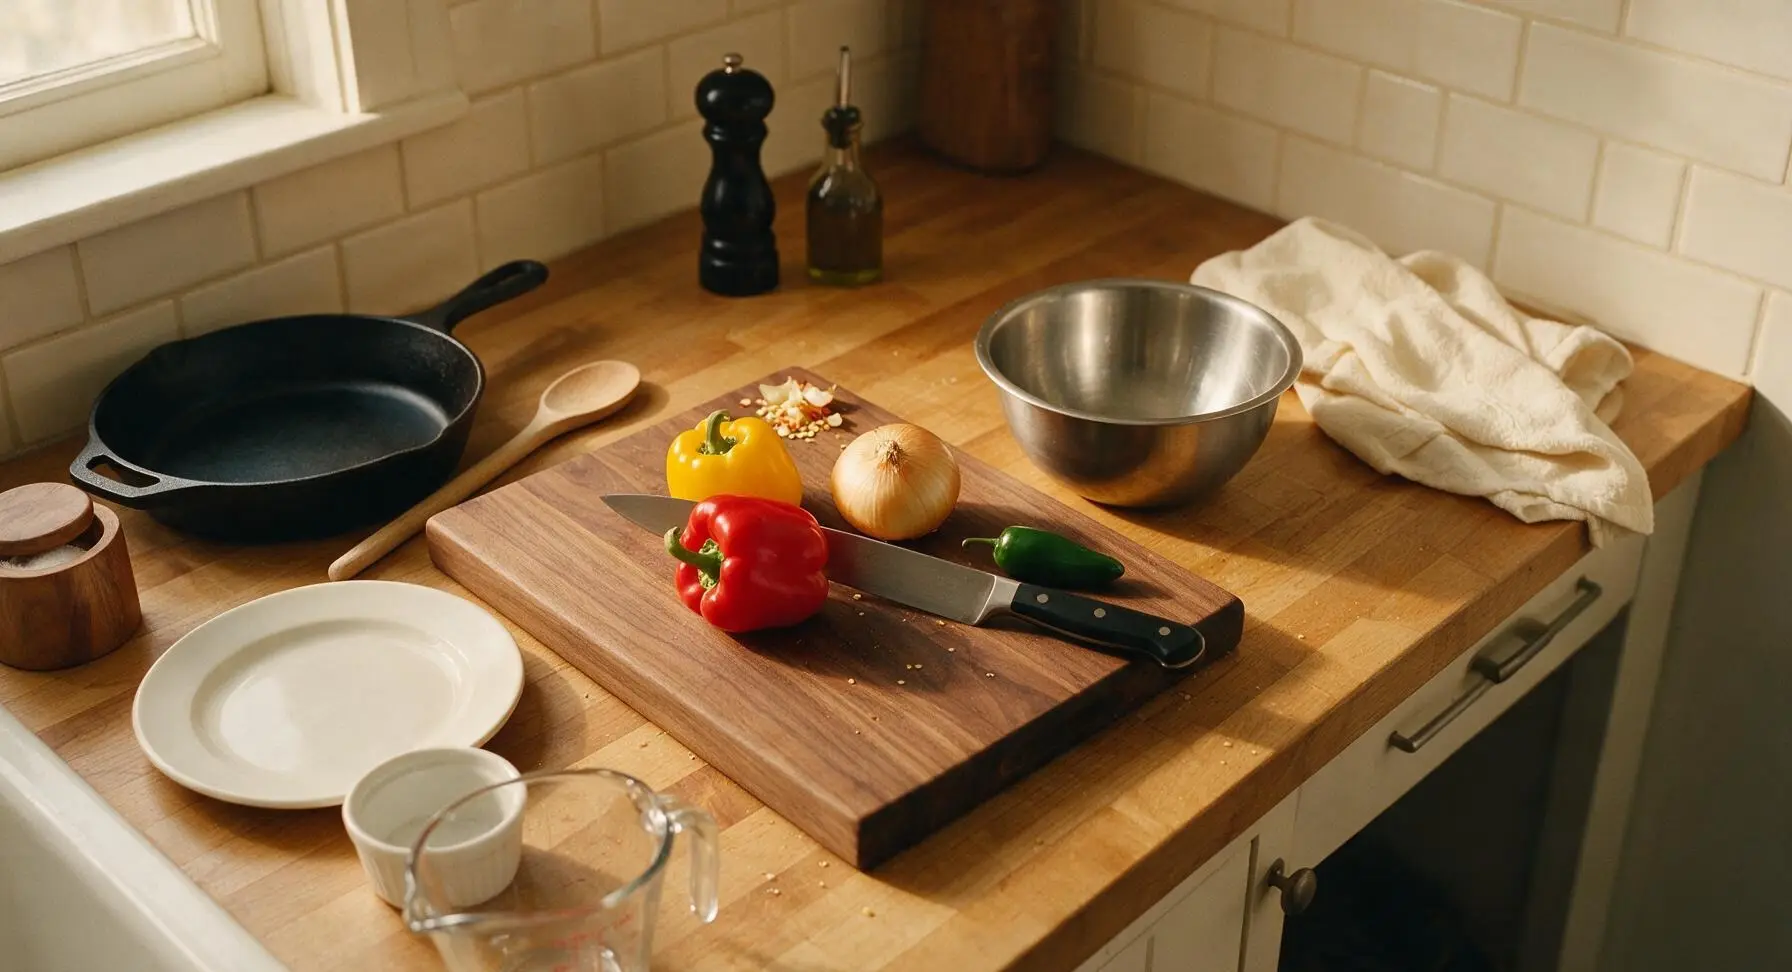
Place washed red bell pepper, yellow bell pepper, yellow onion, and jalapeño on the acacia wood cutting board. Using the chef knife, slice bell peppers and onion into uniform 0.5cm thick strips, and mince the jalapeño finely (remove seeds and ribs for milder heat). Discard stems, seeds, and onion root ends. Evenly sized strips ensure consistent cooking, with no undercooked crunchy bits or overcooked mushy pieces.
Step 1
step1:Slice Fajita Vegetables
2

Season Veggie Strips

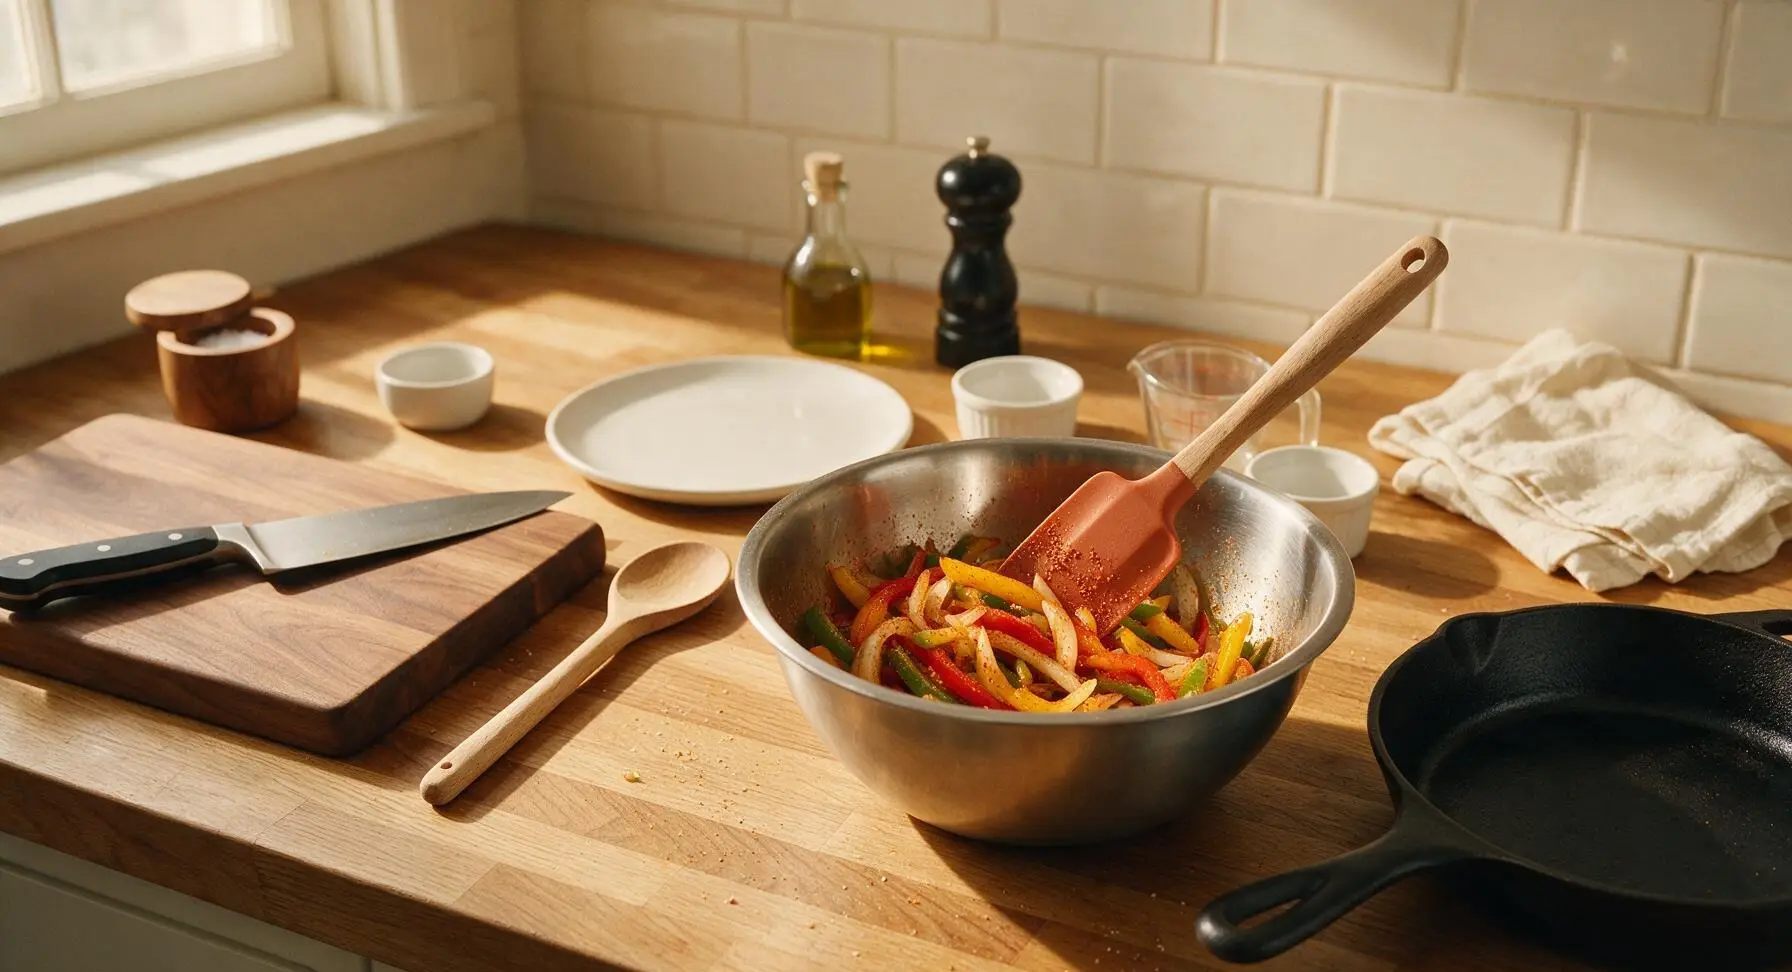
Transfer all sliced vegetables to the medium stainless steel mixing bowl. Add 1 tsp smoked paprika, 1/2 tsp ground cumin, 1/2 tsp garlic powder, 1/4 tsp kosher salt, and 1 tsp fresh lime juice. Toss thoroughly with the silicone spatula until every veggie strip is evenly coated in spice, with no dry clumps of spice left at the bottom of the bowl. The veggies will take on a faint reddish hue from the paprika when fully coated.
Step 2
step2:Season Veggie Strips
3

Sauté Veggies Until Charred

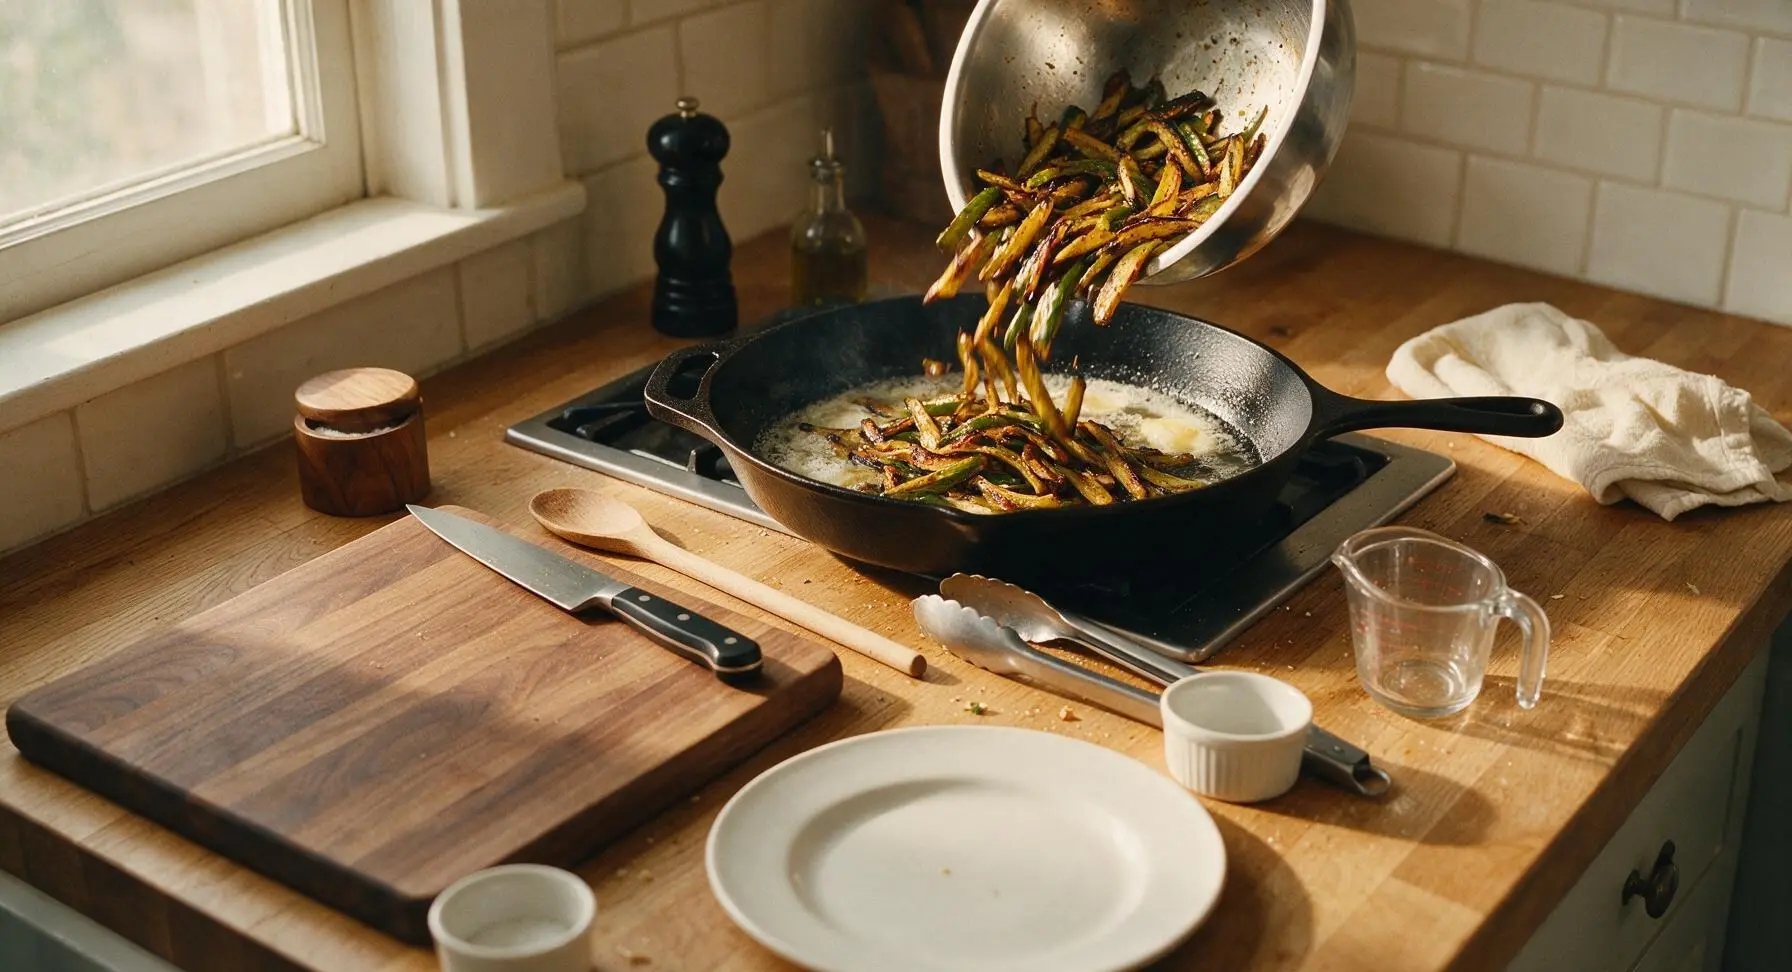
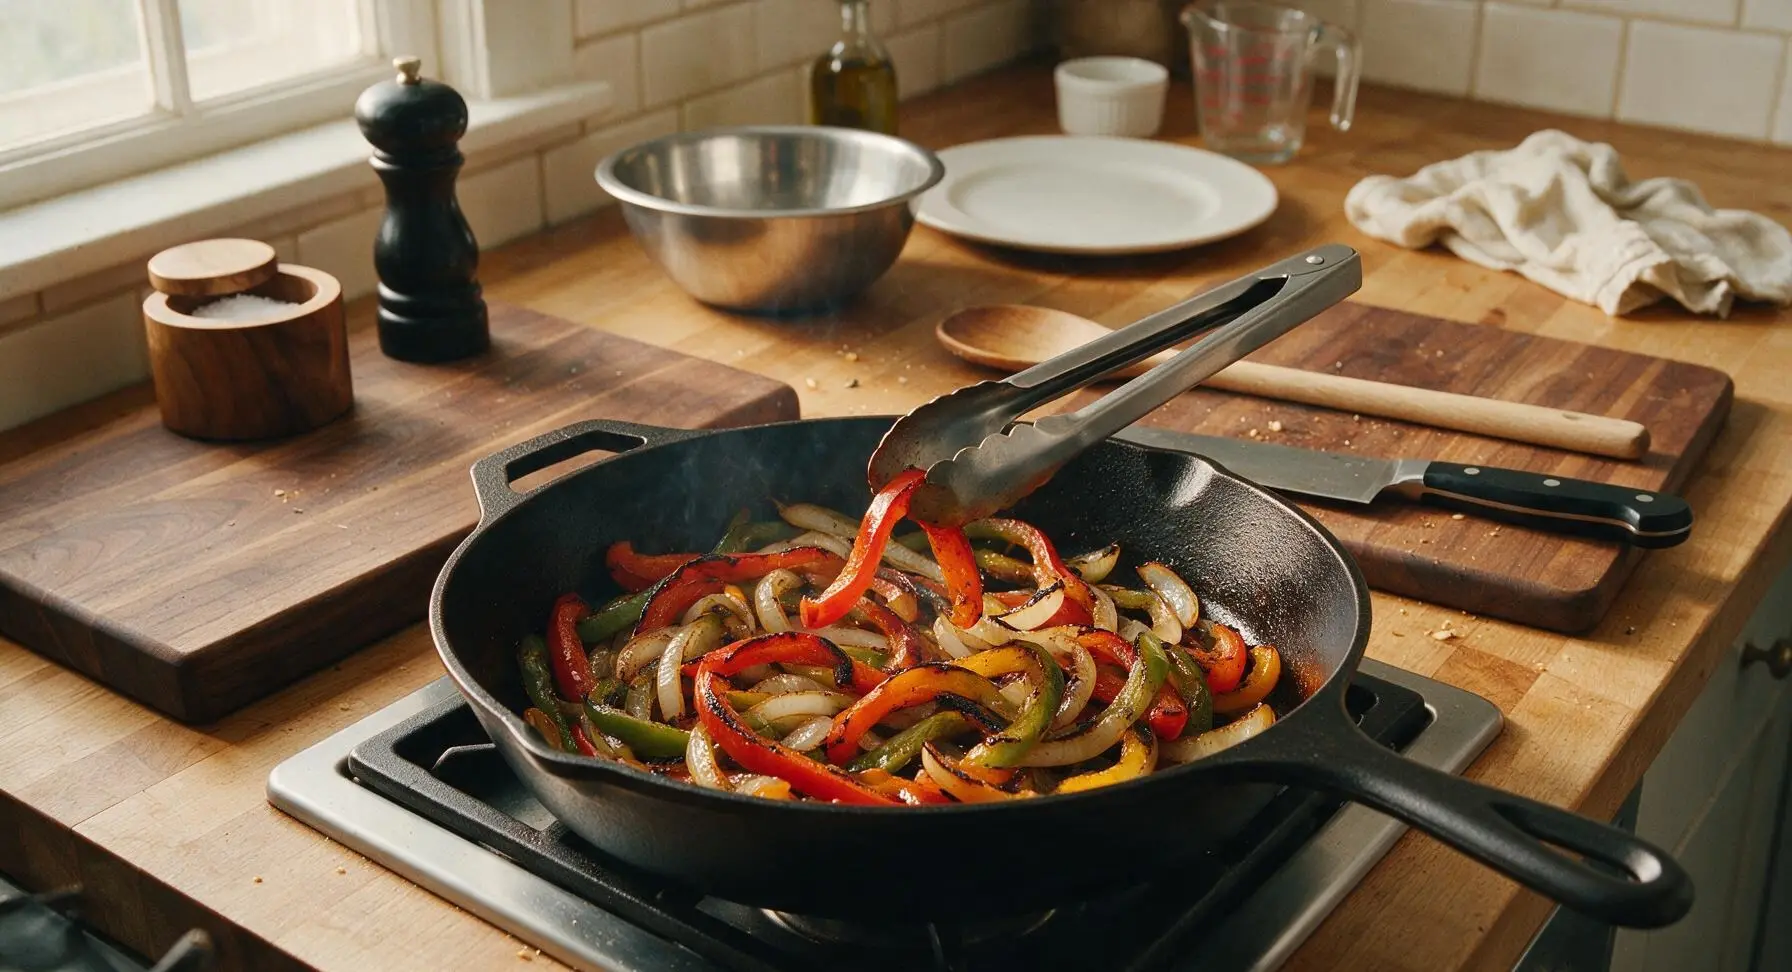
Place the 12-inch carbon steel skillet on the stovetop over medium heat (175C/350F). Add 1 tbsp (15g) of the softened butter, and once melted and foaming (about 30 seconds), pour in the seasoned veggie strips. Cook for 6-7 minutes, stirring occasionally with the stainless steel tongs, until veggies are tender-crisp with dark golden charred edges, and onion is slightly translucent. Do not overcook—veggies should retain a slight firm bite, not turn soft and mushy. Once done, transfer veggies back to the mixing bowl and set aside, then wipe the skillet clean with a paper towel for grilling sandwiches.
Step 3
step3:Sauté Veggies Until Charred
Step 3
step3:Sauté Veggies Until Charred
4

Build Grilled Cheese Stacks

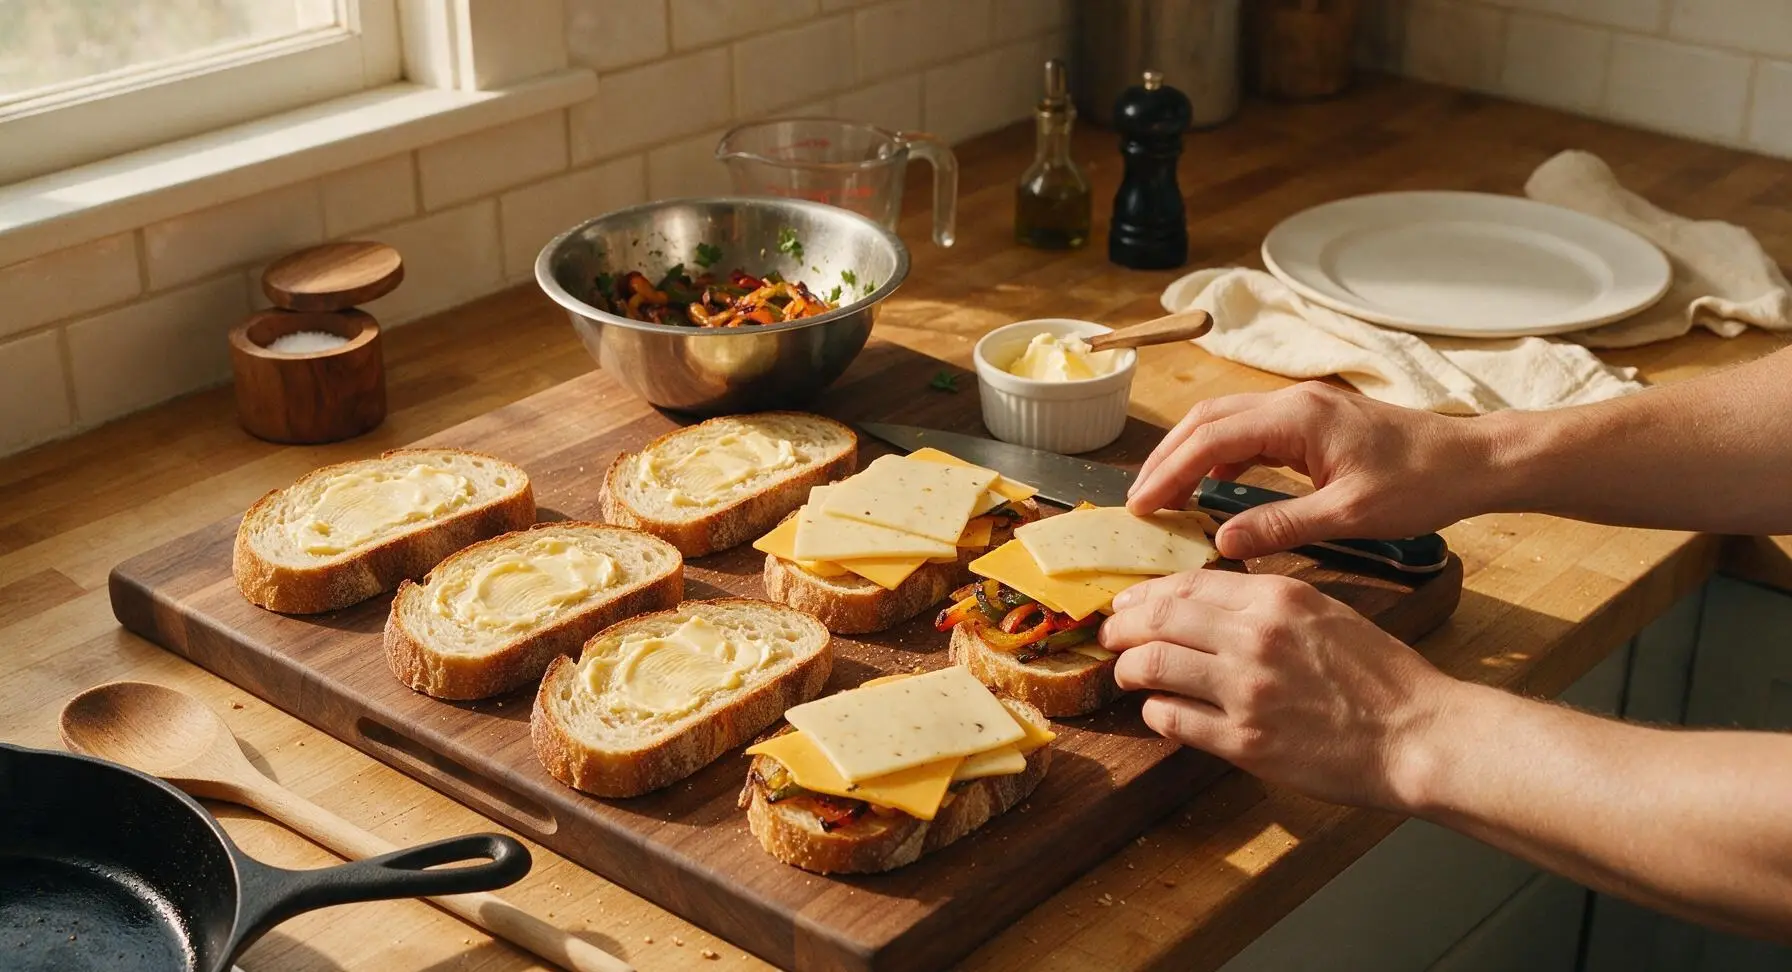
Lay all 8 slices of thick-cut sourdough bread flat on the acacia wood cutting board. Spread 1 tsp of softened butter evenly across one side of each bread slice (this will become the crispy golden outer layer). Flip 4 slices over so the unbuttered side faces up, then layer evenly per sandwich: 1 slice sharp cheddar, 1/4 cup cooked fajita veggies, a pinch of chopped cilantro, 1 slice pepper jack, then top with the remaining bread slices, buttered side facing out. Press each sandwich gently with the palm of your hand to help layers adhere and prevent sliding while grilling.
Step 4
step4:Build Grilled Cheese Stacks
5

Grill Until Golden Melty

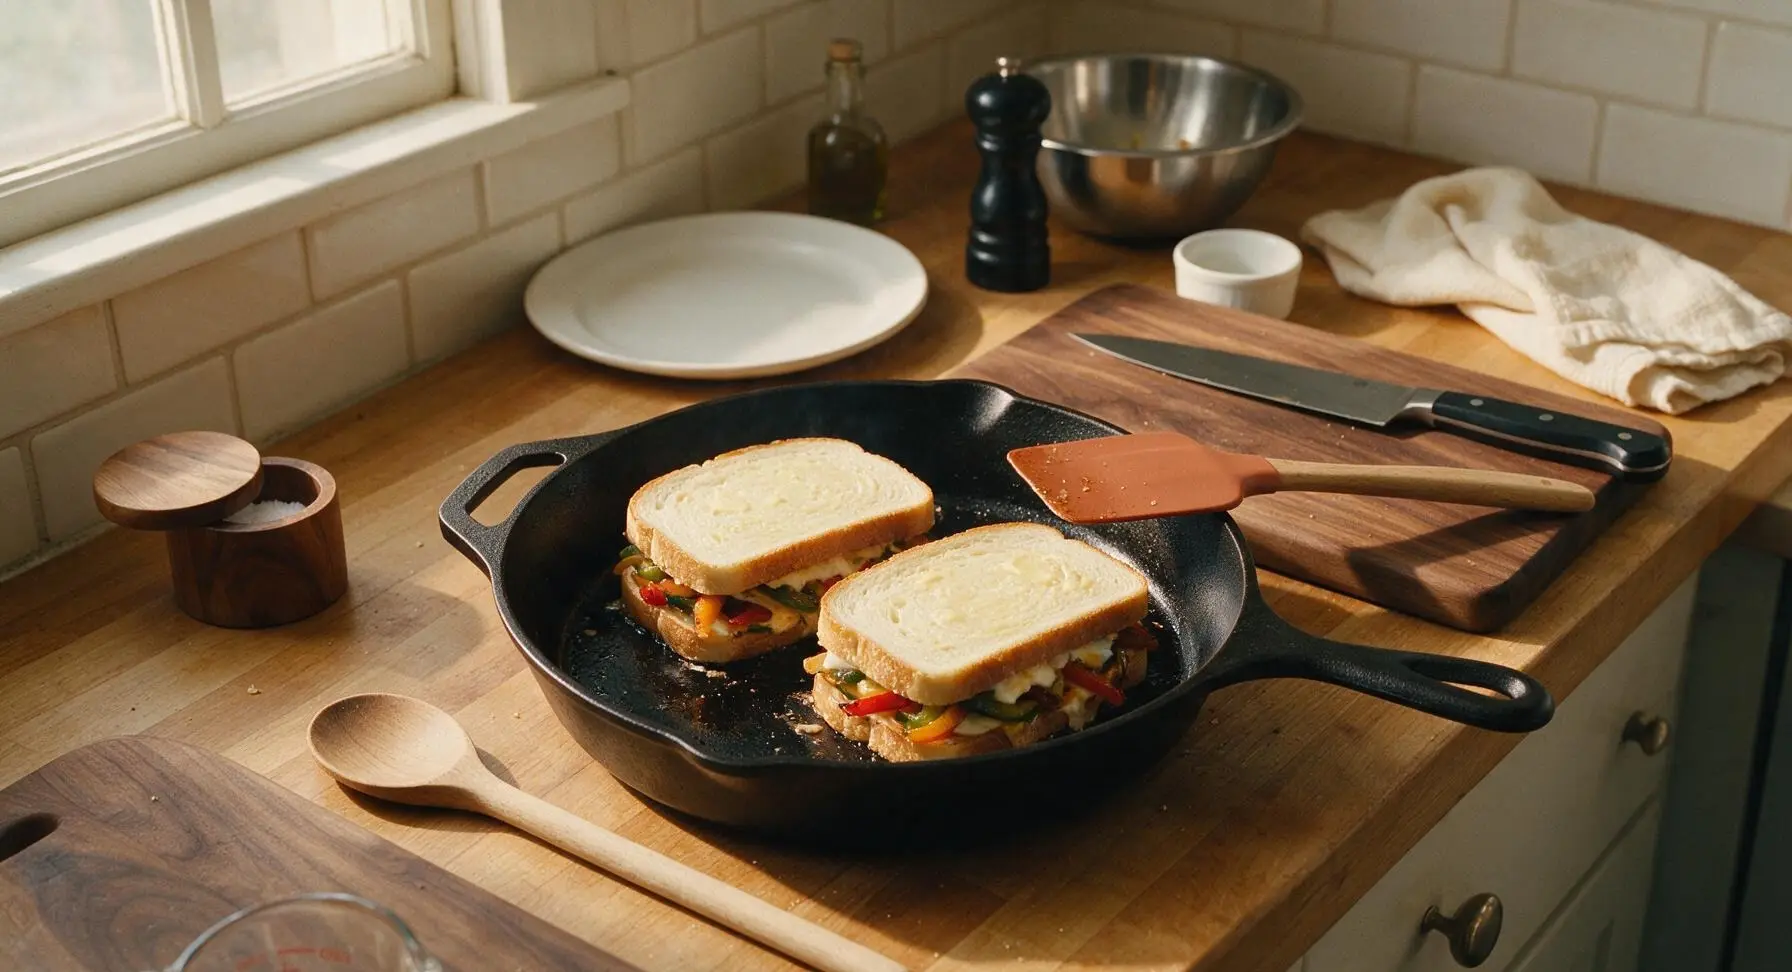
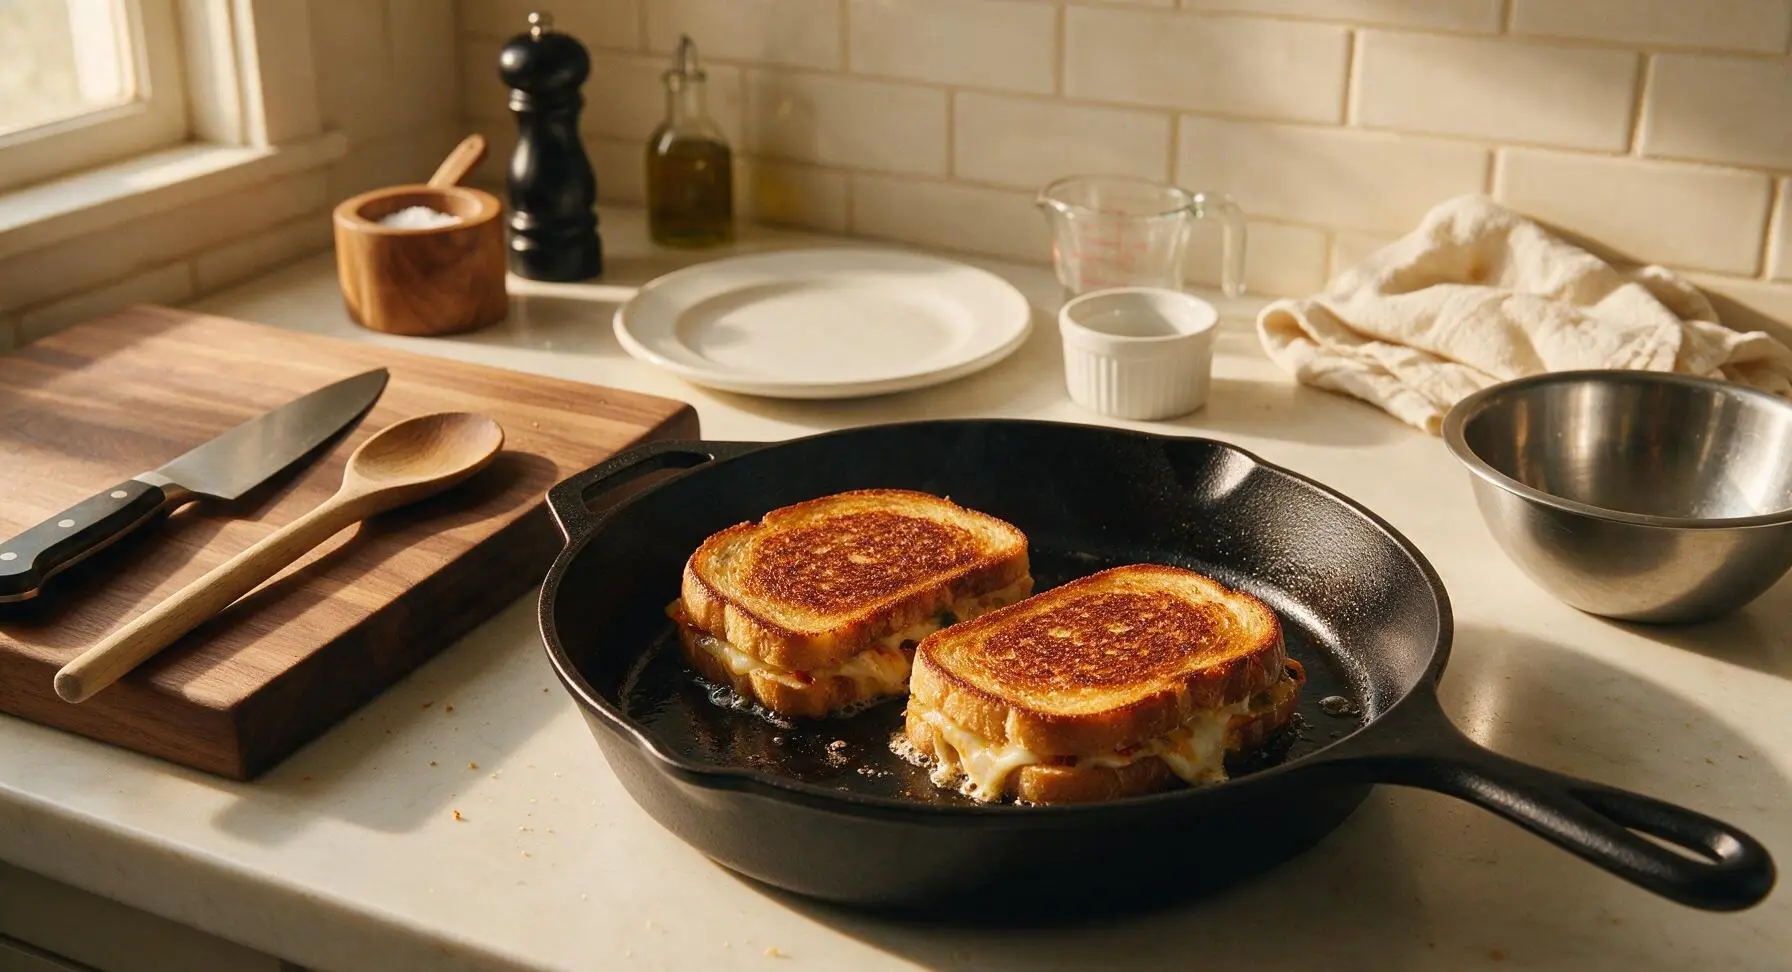
Return the cleaned carbon steel skillet to medium-low heat (160C/320F). Place 2 assembled sandwiches in the pan at a time, taking care not to crowd the pan (crowding causes steaming instead of crisping). Cook for 3-4 minutes per side, pressing gently with the silicone spatula every minute, until the bread is deep golden brown and crispy, and cheese is fully melted with no firm, unmelted chunks visible at the sandwich edges. If bread browns faster than 3 minutes per side, reduce heat slightly to avoid burning. Transfer cooked sandwiches to a clean plate while you cook the remaining two sandwiches.
Step 5
step5:Grill Until Golden Melty
Step 5
step5:Grill Until Golden Melty
6

Rest, Slice, and Serve

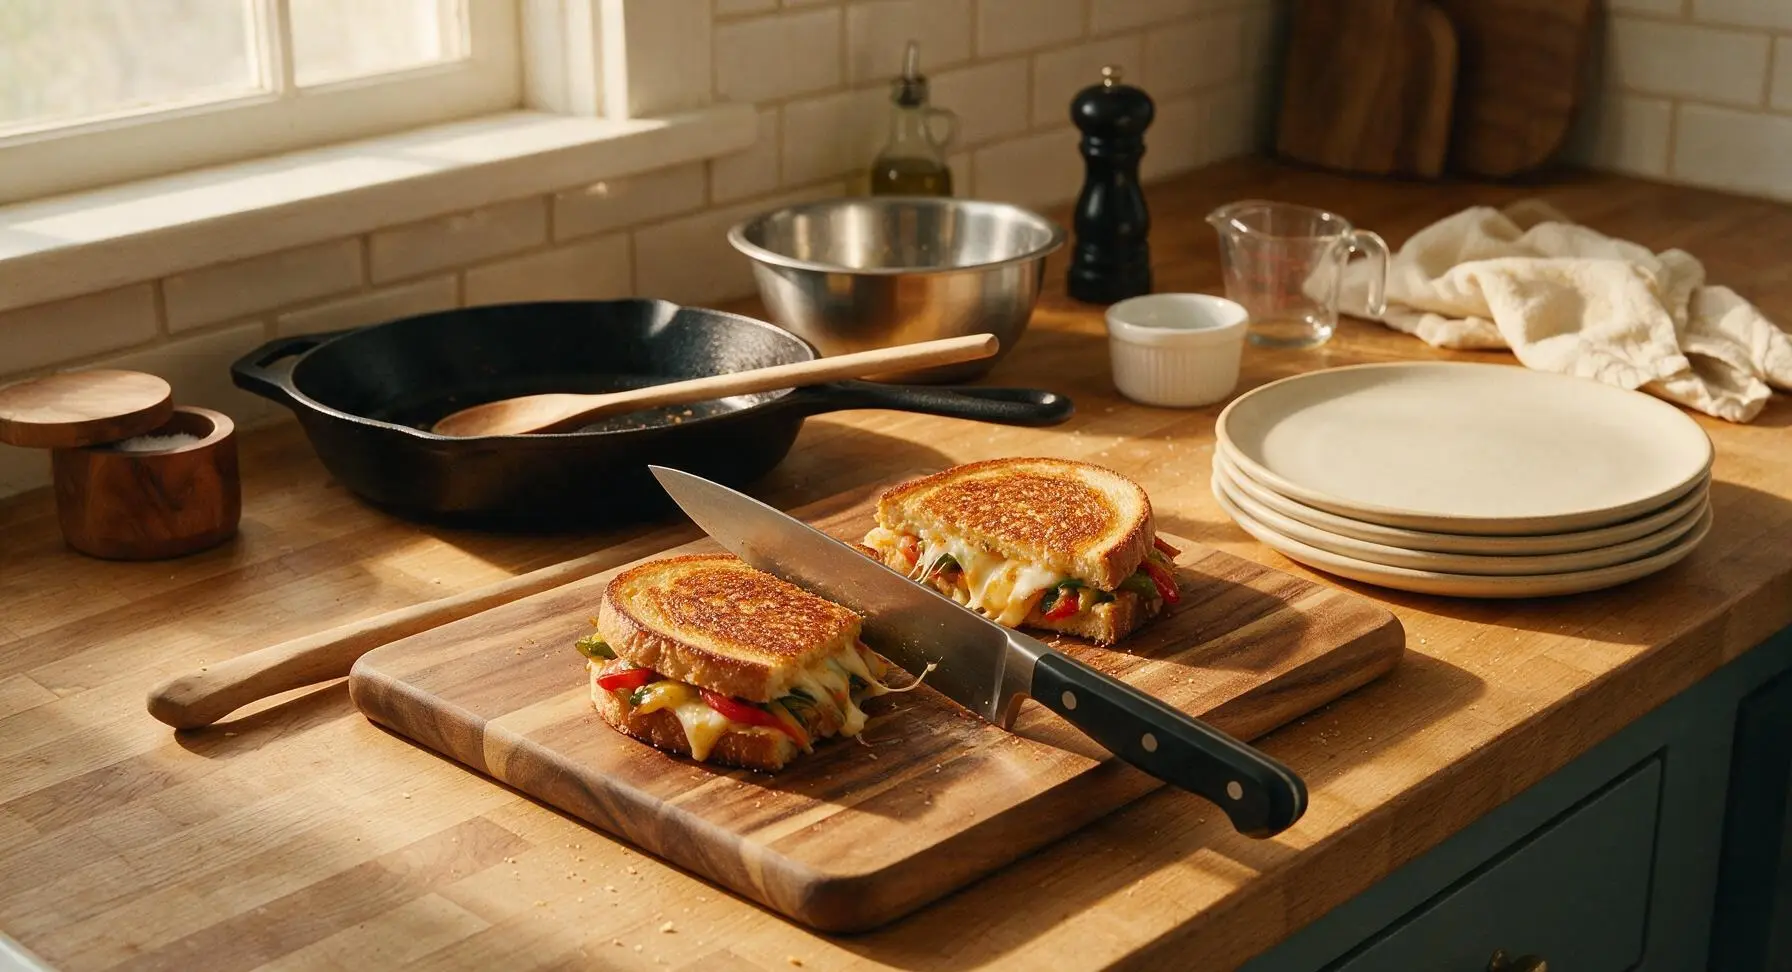
Once all sandwiches are cooked, transfer them back to the acacia wood cutting board and let rest for 2 minutes. This short rest lets the melted cheese set slightly so it does not run out when sliced. Using the chef knife, slice each sandwich diagonally into two equal triangles. Place two triangles per serving on the matte cream ceramic dinner plates, garnish with a small cilantro sprig, and serve immediately while warm and crispy.
Step 6
step6:Rest, Slice, and Serve

Tips

1.Use thick-cut (1.5cm) sourdough bread instead of thin sandwich bread: its sturdy, crisp crust prevents sogginess from juicy fajita veggies, while its open, airy crumb soaks up just enough butter for a crunchy exterior without turning greasy.
2.Cook sandwiches over medium-low heat rather than high heat: high temperatures will burn the butter and bread crust before the cheese fully melts and the center warms through, leading to a bitter, charred exterior and cold, unmelted cheese inside.
3.Let cooked sandwiches rest for 2 full minutes before slicing: cutting immediately causes melted cheese to gush out the sides, but a short rest lets the cheese set slightly so it stays stretchy, gooey, and evenly distributed in every bite.


✨ You May Also Like

Main Course
🍜 United Kingdom

A showstopping classic of tender seared beef, savory mushroom duxelles, and crisp prosciutto wrapped in flaky golden puff pastry, baked to juicy perfection.

⏱️ 2 hours 1Main Course ★ 4.7
Main Course
🍜 India

Tender charred marinated chicken simmered in a rich, spiced creamy tomato sauce, this iconic Anglo-Indian curry pairs perfectly with basmati rice or warm naan.

⏱️ 50 minuteMain Course ★ 4.6
Main Course
🍜 Thailand

Classic tangy, sweet, and savory Thai stir-fried rice noodles with shrimp, tofu, and crunchy garnishes, balancing all five core Thai flavor profiles.

⏱️ 30 minuteMain Course ★ 4.5
Main Course
🍜 United Kingdom

Crispy golden beer-battered cod and fluffy double-fried chips, served with tangy tartar sauce and malt vinegar: the timeless, beloved British pub comfort classic.

⏱️ 45 minuteMain Course ★ 4.7
Main Course
🍜 Mexico

Smoky, chile-marinated pork tacos with caramelized pineapple, fresh cilantro, and lime: a beloved classic Mexican street food perfect for casual summer gatherings.

⏱️ 1 hour 45Main Course ★ 4.8
Main Course
🍜 United States

Crunchy Fritos corn chips layered with savory beef chili and melted cheddar, topped with cool, zesty fixings for a beloved, cozy Tex-Mex comfort food.

⏱️ 35 minuteMain Course ★ 4.8

Fajita Veggie Grilled Cheese:Frequently Asked Questions

1.Can I use pre-sliced cheese instead of shredding my own for this recipe? ▾
While pre-sliced cheese works in a pinch, freshly shredded sharp cheddar and pepper jack melt far smoother and have that perfect gooey pull, since pre-sliced versions are often coated with anti-caking agents that hinder melting. Shred your cheese on the large holes of a box grater right before assembling for the best, most stretchy texture.
2.Do I have to use sourdough bread, or can I swap it for another bread type? ▾
Thick-cut sourdough is ideal for its tangy flavor and sturdy crumb that holds up to charred veggies and melted cheese without getting soggy, but you can swap it for thick-cut Texas toast, halved ciabatta rolls, or hearty whole wheat bread. Just skip thin, soft sandwich bread, which will fall apart or turn mushy during cooking.
3.How do I get that classic smoky fajita char on bell peppers without an outdoor grill? ▾
You don’t need an outdoor grill for that signature fajita char! Heat a cast iron skillet over medium-high heat, toss sliced bell peppers with a pinch of smoked paprika, cumin, and salt, and cook undisturbed for 3-4 minutes per side until dark, caramelized edges form. Avoid constant stirring, as movement prevents that nice char from developing.
4.Can I add onions to the fajita veggie mix for extra flavor? ▾
Absolutely! Thinly sliced yellow or red onion is a classic fajita add-in that pairs perfectly with sweet bell peppers and zesty cheese. Toss onion slices in with the peppers as you start cooking, and cook until soft with slightly charred edges. Be sure to drain excess moisture from cooked veggies before adding them to the sandwich to avoid sogginess.
5.How do I get a crispy, buttery bread crust without burning the bread before the cheese melts? ▾
Cook your assembled sandwich over medium-low heat, not high! Spread softened (not melted) butter evenly all the way to the edges of the outer bread slices, and cook 3-4 minutes per side, pressing gently with a spatula as it cooks. If bread browns too fast, turn heat down and cover the pan for 1 minute to trap heat and melt cheese evenly.
6.Can I adjust this recipe to make it vegan? ▾
You can easily make this vegan fajita grilled cheese with a few simple swaps! Use your favorite melty vegan cheddar and pepper jack-style cheeses, swap dairy butter for softened vegan butter or olive oil spread, and follow the rest of the recipe exactly. For extra smoky depth, add a pinch of smoked paprika to the butter before spreading it on the bread.
7.How do I keep the grilled cheese from getting soggy from the cooked veggies? ▾
Sogginess is easy to avoid with two quick steps. First, after charring your bell peppers, let them drain on a paper towel-lined plate for 1-2 minutes to blot off excess moisture released during cooking. Second, layer a thin amount of cheese directly against both inner bread sides to create a moisture barrier between veggies and bread.
8.Can I add protein to this sandwich to make it a more filling meal? ▾
Definitely! This sandwich pairs beautifully with added protein for a heartier meal. Try tossing in thin slices of grilled chicken, well-rinsed and patted-dry seasoned black beans, crispy pan-fried tofu, or crumbled cooked chorizo. Just make sure any added protein is patted dry before layering it in to keep the bread crisp and cheese melty.
9.Is there a way to make this in an air fryer instead of on the stovetop? ▾
Yes, air fryers make fantastic crispy grilled cheese! Assemble your sandwich as directed, butter the outer bread slices, and air fry at 375°F for 4 minutes, then flip carefully and air fry for another 3-4 minutes until bread is golden crispy and cheese is fully melted. Keep a close eye on it, as air fryer power varies across models.
10.What’s the best ratio of sharp cheddar to pepper jack for balanced flavor? ▾
For the perfect balance of sharp, rich flavor and mild spicy kick, use a 2:1 ratio of sharp cheddar to pepper jack. That means for every ½ cup of shredded sharp cheddar, use ¼ cup of shredded pepper jack. You can adjust this if you love extra heat, but don’t skip the cheddar entirely—its sharpness cuts through buttery bread and sweet peppers beautifully.
11.Can I prep the fajita veggies ahead of time for faster weeknight meals? ▾
Absolutely! You can char the bell peppers up to 3 days ahead of time, let them cool completely, and store them in an airtight container in the fridge. When you’re ready to make your grilled cheese, warm the veggies briefly in a skillet and pat off any excess moisture before layering, cutting total cook time to under 10 minutes on busy nights.
12.What dips pair well with this fajita veggie grilled cheese? ▾
This zesty grilled cheese pairs perfectly with a range of fun dips! Classic tomato soup is always a cozy pick, but you can also serve it with chunky salsa, taco-seasoned sour cream, guacamole, or creamy cilantro lime dip. For extra bright heat, add a side of tangy pickled jalapeños.
13.Why does my cheese never fully melt all the way through by the time the bread is crispy? ▾
This almost always happens if your cheese is ice cold, or if you’re using overly thick slices or large, chunky cheese shreds. Let your shredded cheese sit at room temperature for 10 minutes before assembling so it melts faster, and cook over medium-low heat. If you still have trouble, covering the pan for 60 seconds traps steam to melt cheese evenly without burning bread.
14.Can I freeze these sandwiches for quick make-ahead lunches? ▾
You can freeze assembled, uncooked sandwiches for up to 3 months! Wrap each assembled (uncooked) sandwich tightly in plastic wrap and then foil, and store in the freezer. When you’re ready to cook, no thawing is needed—just cook over low stovetop heat for 5-6 minutes per side until the bread is crispy and cheese is melted all the way through.
15.Do I need to add extra fajita seasoning to the peppers, or is pepper jack enough flavor? ▾
While pepper jack adds a nice subtle spicy kick, tossing your charring bell peppers with a light sprinkle of fajita seasoning (a mix of smoked paprika, cumin, garlic powder, and a pinch of chili powder) elevates that classic fajita flavor dramatically. You only need about ¼ teaspoon of seasoning per pepper, so it won’t overpower the cheese or sweet pepper taste.
16.What thickness should I cut my sourdough slices for the best texture? ▾
Aim to cut your sourdough into ½-inch to ¾-inch thick slices for the perfect grilled cheese texture. Slices thinner than ½ inch will get overly crispy and won’t hold the veggie and cheese filling well, while slices thicker than 1 inch will prevent cheese from melting fully before the bread burns, throwing off the bread-to-filling ratio.

Comments (7)

3 days ago

OMG this is such a game changer! I threw this together last night for a quick weeknight dinner when I forgot to meal prep, and my picky 7 year old asked for seconds! The fajita veggies add so much flavor I didn’t even miss the plain old grilled cheese. 10/10 will be making this every other week for sure.

2 days ago

Wait did you use bell peppers and onions like classic fajitas? I have a ton of zucchini I need to use up, wondering if that works too!

yesterday

Great question! Zucchini works beautifully here — just slice it thin and sauté it for 2-3 minutes with a little fajita seasoning before adding it to your sandwich, it adds such a nice fresh crunch!

5 days ago

SO good! I made a big batch of the fajita veggies on Sunday so I could throw these together for work lunches all week. They hold up way better than I thought they would, even when I reheat them in the office microwave. Only note is I added a little pepper jack for extra kick, chef’s kiss.

3 days ago

Love the pepper jack addition! That spicy creaminess pairs perfectly with the smoky fajita veggies — so glad these worked out for your weekly meal prep!

2 hours ago

Wow this was so easy to throw together after my long commute home! 15 minutes total cook time is no joke, I didn’t even have to stop at the grocery store because I already had all the veggies, bread, and cheese on hand. Perfect lazy dinner that doesn’t taste lazy at all.

1 week ago

I made these cut into little bite-sized squares for our neighborhood potluck last weekend and they were gone in 10 minutes! People kept asking me for the recipe, I can’t believe how much of a hit something so simple was. Even the self-proclaimed veggie haters went back for more.

5 days ago

Wait did you keep them warm in a crockpot or anything? I want to make these for our block party next weekend and I’m worried about them getting soggy!

3 days ago

Great question for potluck prep! If you’re making them ahead, let them cool slightly on a wire rack before storing in an insulated carrier, and avoid wrapping them too tight to prevent sogginess. They hold up great for 2-3 hours at room temp too!

30 minutes ago

Tried this last night and it was good, but I think I overcooked my peppers so they were a little mushy. Any tips for getting that perfect crisp-tender fajita veggie texture? I don’t want to mess it up next time because the flavor combo is unreal.

5 minutes ago

I had the same problem my first try! Cook your veggies on high heat for like 4 minutes max, don’t stir them too much so they get a little char instead of steaming. Game changer, trust me!

just now

Perfect easy dinner for my tiny apartment kitchen! I don’t have a fancy grill pan so I just used my regular nonstick skillet and it still came out with that amazing fajita flavor. Added a dollop of sour cream on the side for dipping, 10/10 no notes.

2 days ago

Made this for my teen kids after their soccer practice last night and they demolished it! I was worried it wouldn’t be filling enough but I paired it with a side of tortilla chips and salsa and everyone left the table full. Already added the ingredients to my weekly grocery list.

yesterday

That makes us so happy to hear! This is such a great post-practice or busy school night meal — quick, satisfying, and packed with flavor. Thanks so much for sharing!



