1.Do I have to peel the butternut squash before roasting it for this soup?
▾
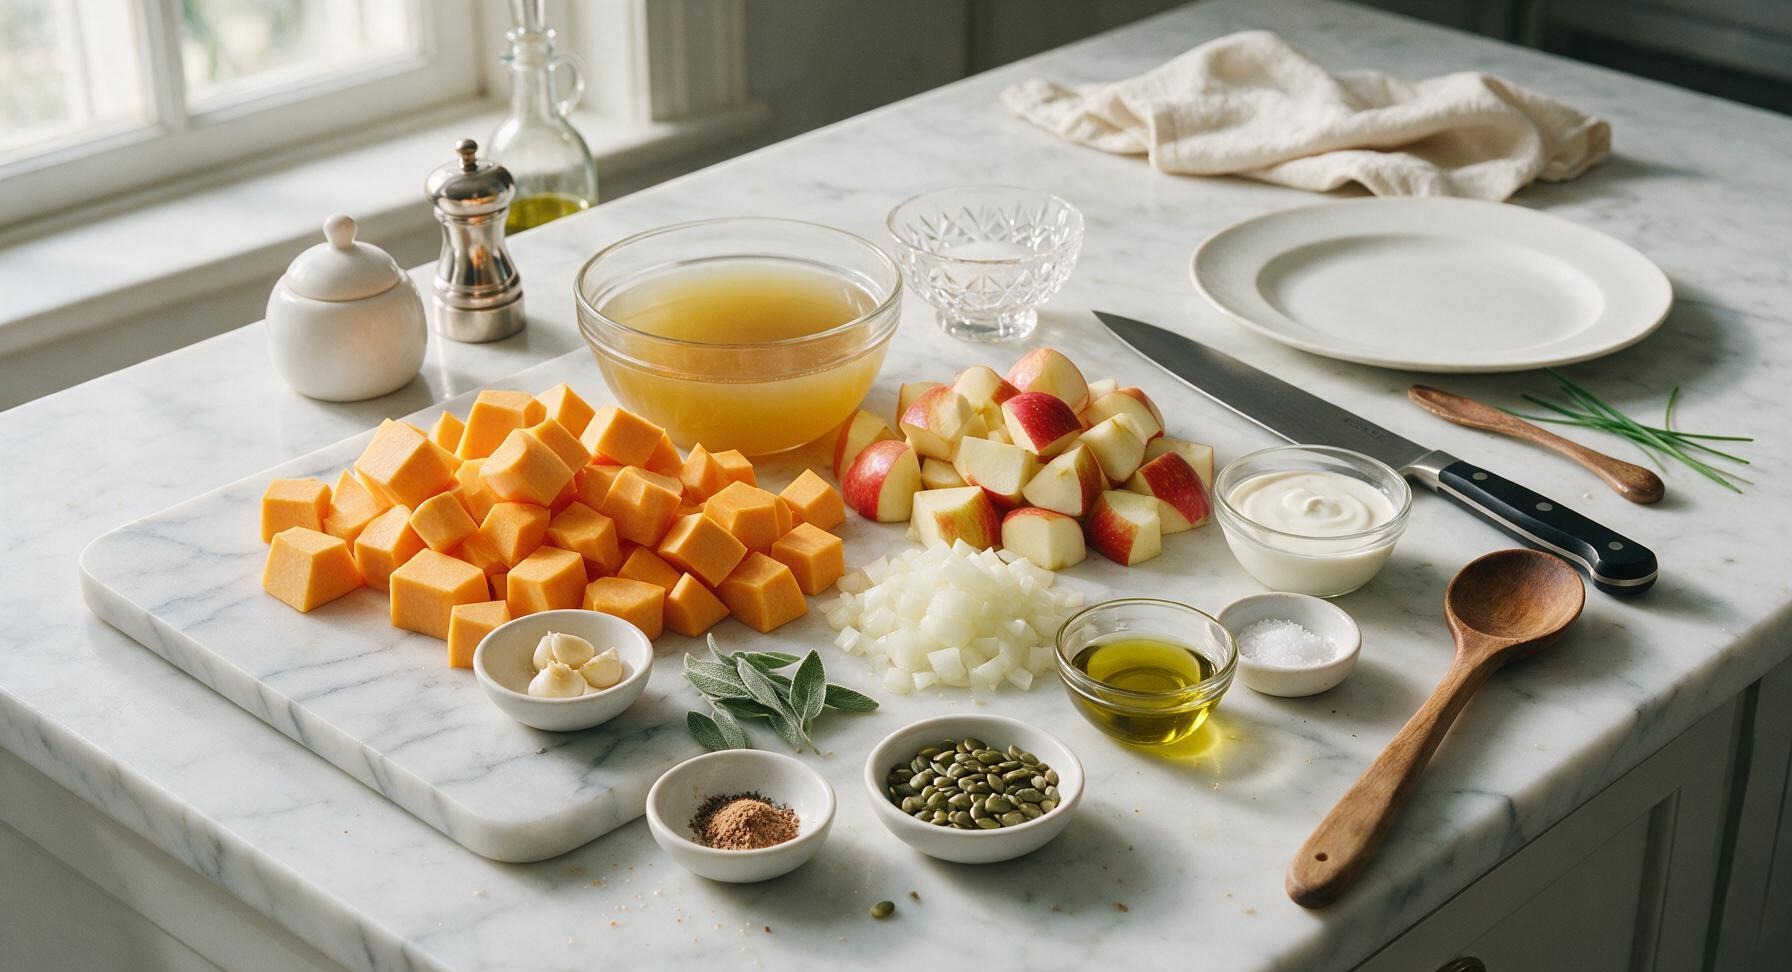
I get it, peeling squash is such a chore! For this recipe, yes, you’ll want to peel it first—roasted squash skin gets tough and chewy, and won’t fully break down when blended, leaving you with a grainy, uneven texture. Use a sharp Y-peeler to make quick work of it, and trim off any tough greenish spots under the skin before cubing.
2.Can I use dried sage instead of fresh sage leaves?
▾
You absolutely can in a pinch, but you’ll need to adjust the quantity. Dried sage is far more concentrated than fresh, so use 1 teaspoon of rubbed dried sage for every 1 tablespoon of chopped fresh the recipe calls for. Add it halfway through roasting so it doesn’t burn and turn bitter, instead of tossing it with raw veggies at the start.
3.How do I keep this soup from turning out too sweet?
▾
Great question—squash and Honeycrisp apples are naturally sweet, so balance is key. Avoid over-roasting veggies to the point of dark, heavy caramelization on every edge, add a pinch of flaky sea salt at the end, and stir in ¼ teaspoon of apple cider vinegar if you still need a bright, tangy cut to balance that natural sweetness.
4.Can I make this soup vegan?
▾
Definitely! The core of this soup is totally plant-forward already. Swap any dairy you’d use for roasting or finishing (like butter or heavy cream) for olive oil or melted unrefined coconut oil, use low-sodium vegetable broth instead of chicken broth, and add a splash of full-fat coconut milk at the end for that same velvety richness.
5.How long should I roast the squash and apples for the best flavor?
▾
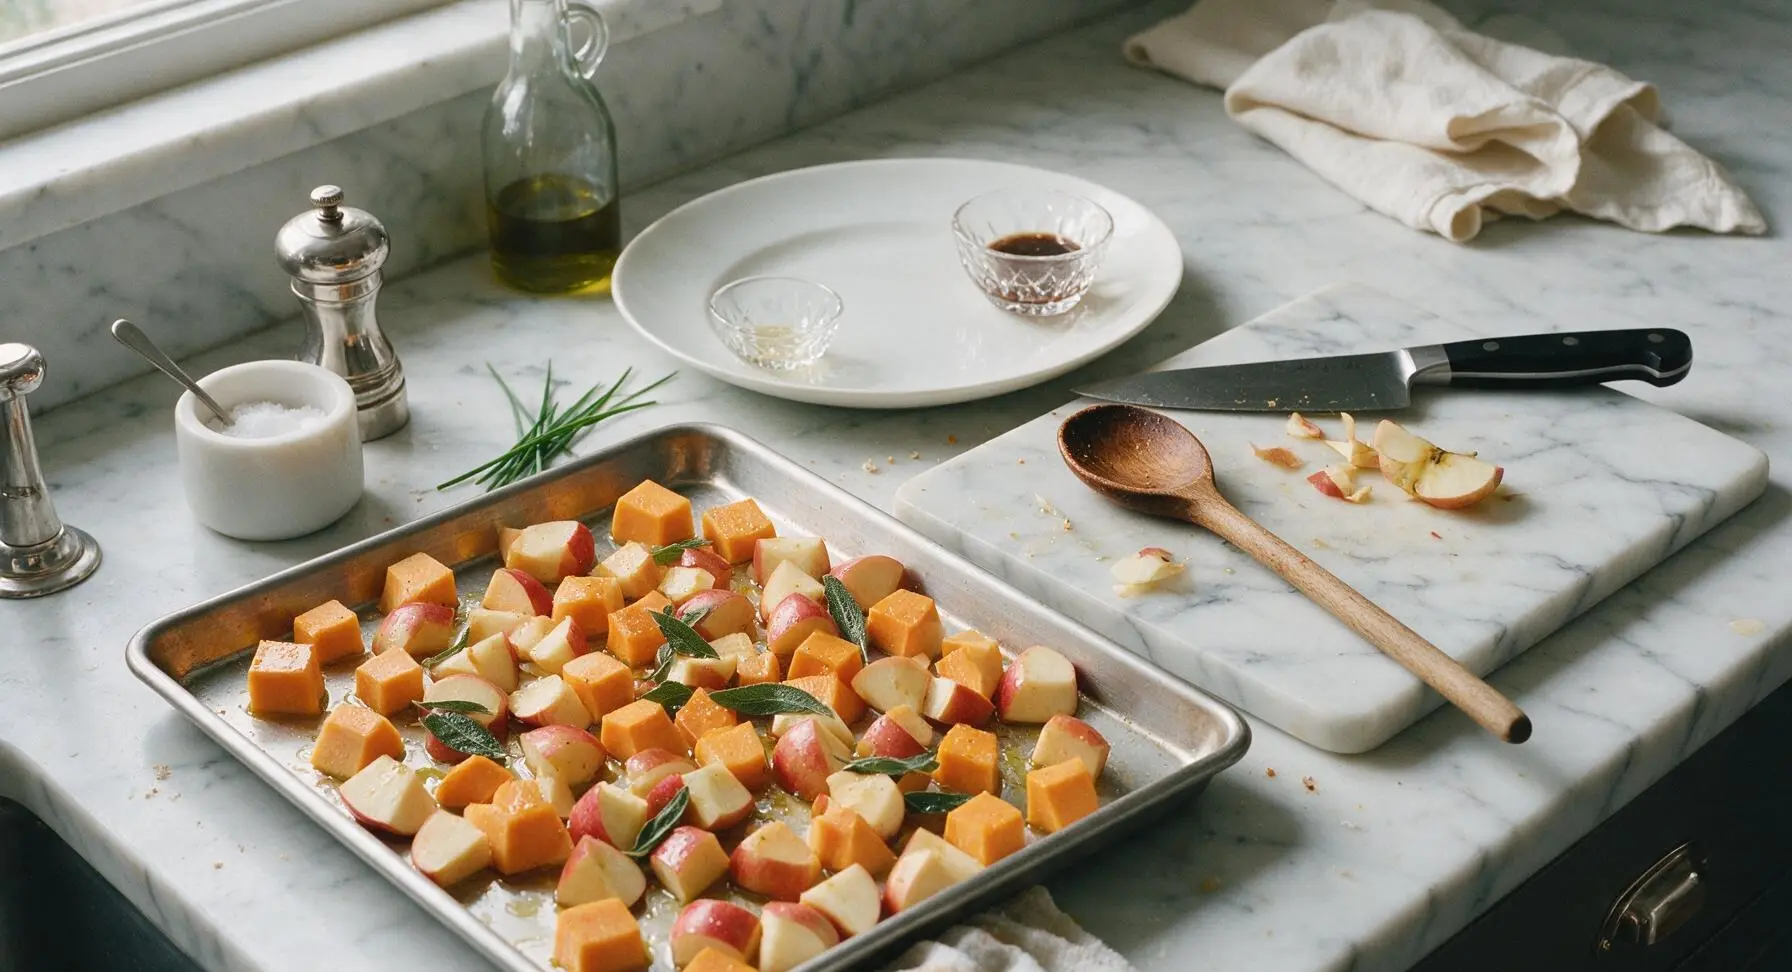
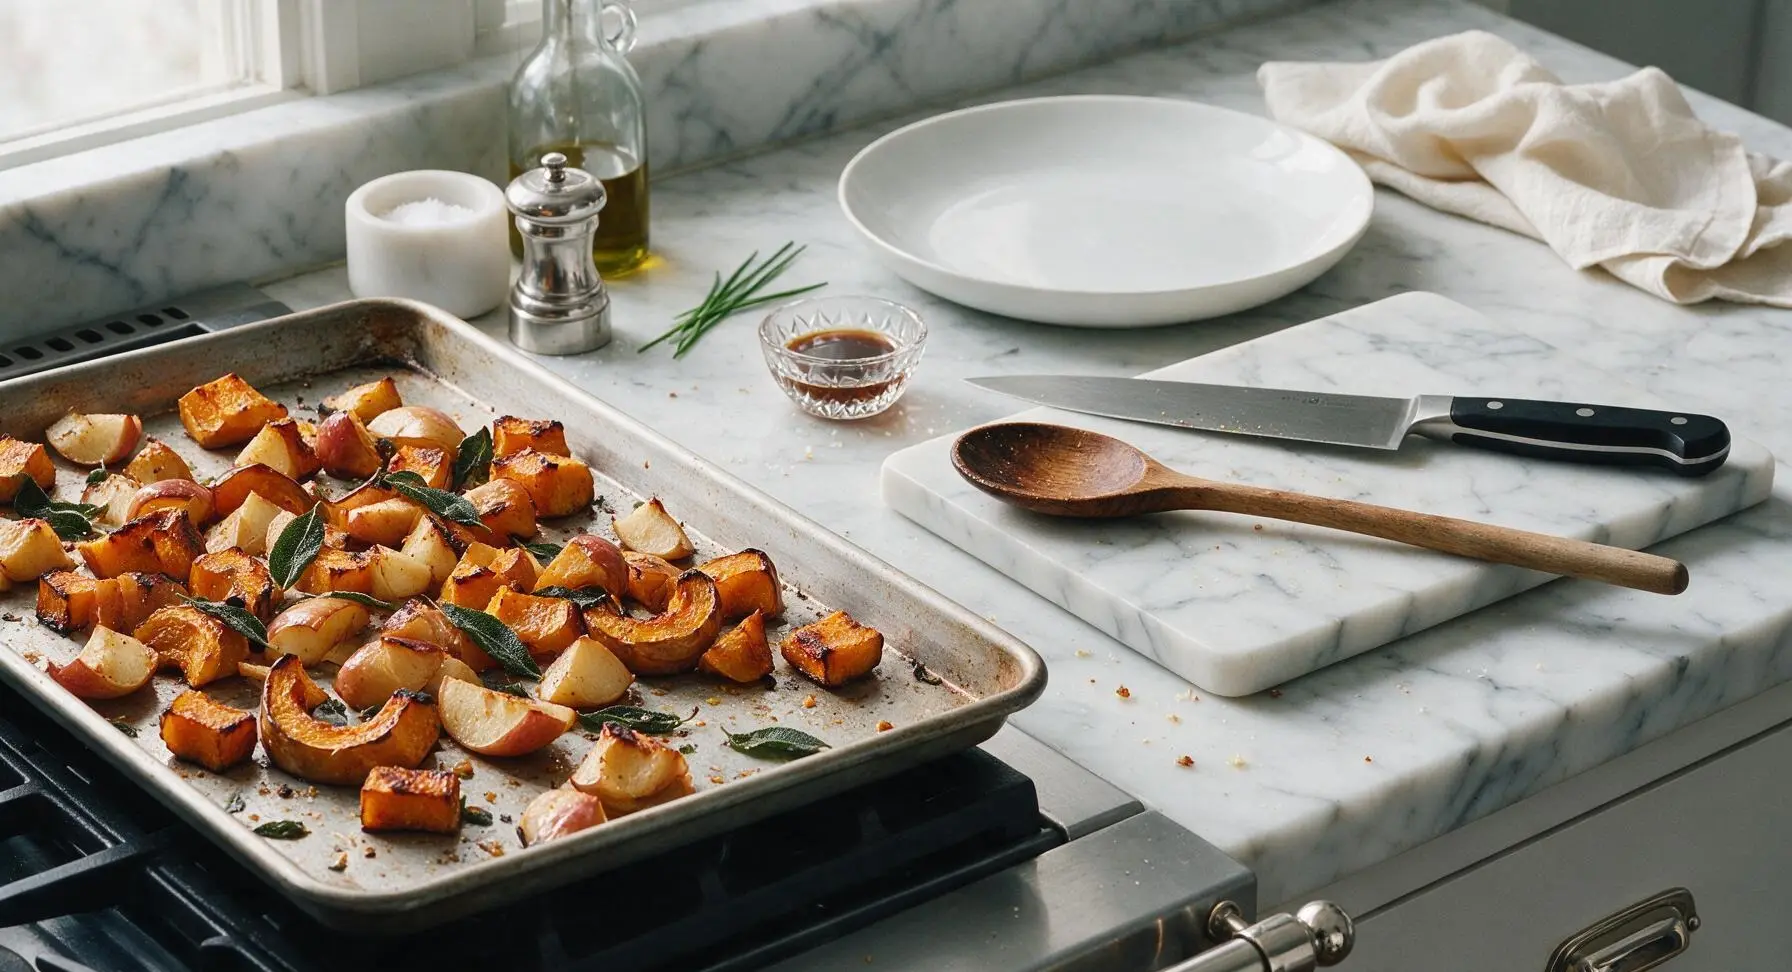
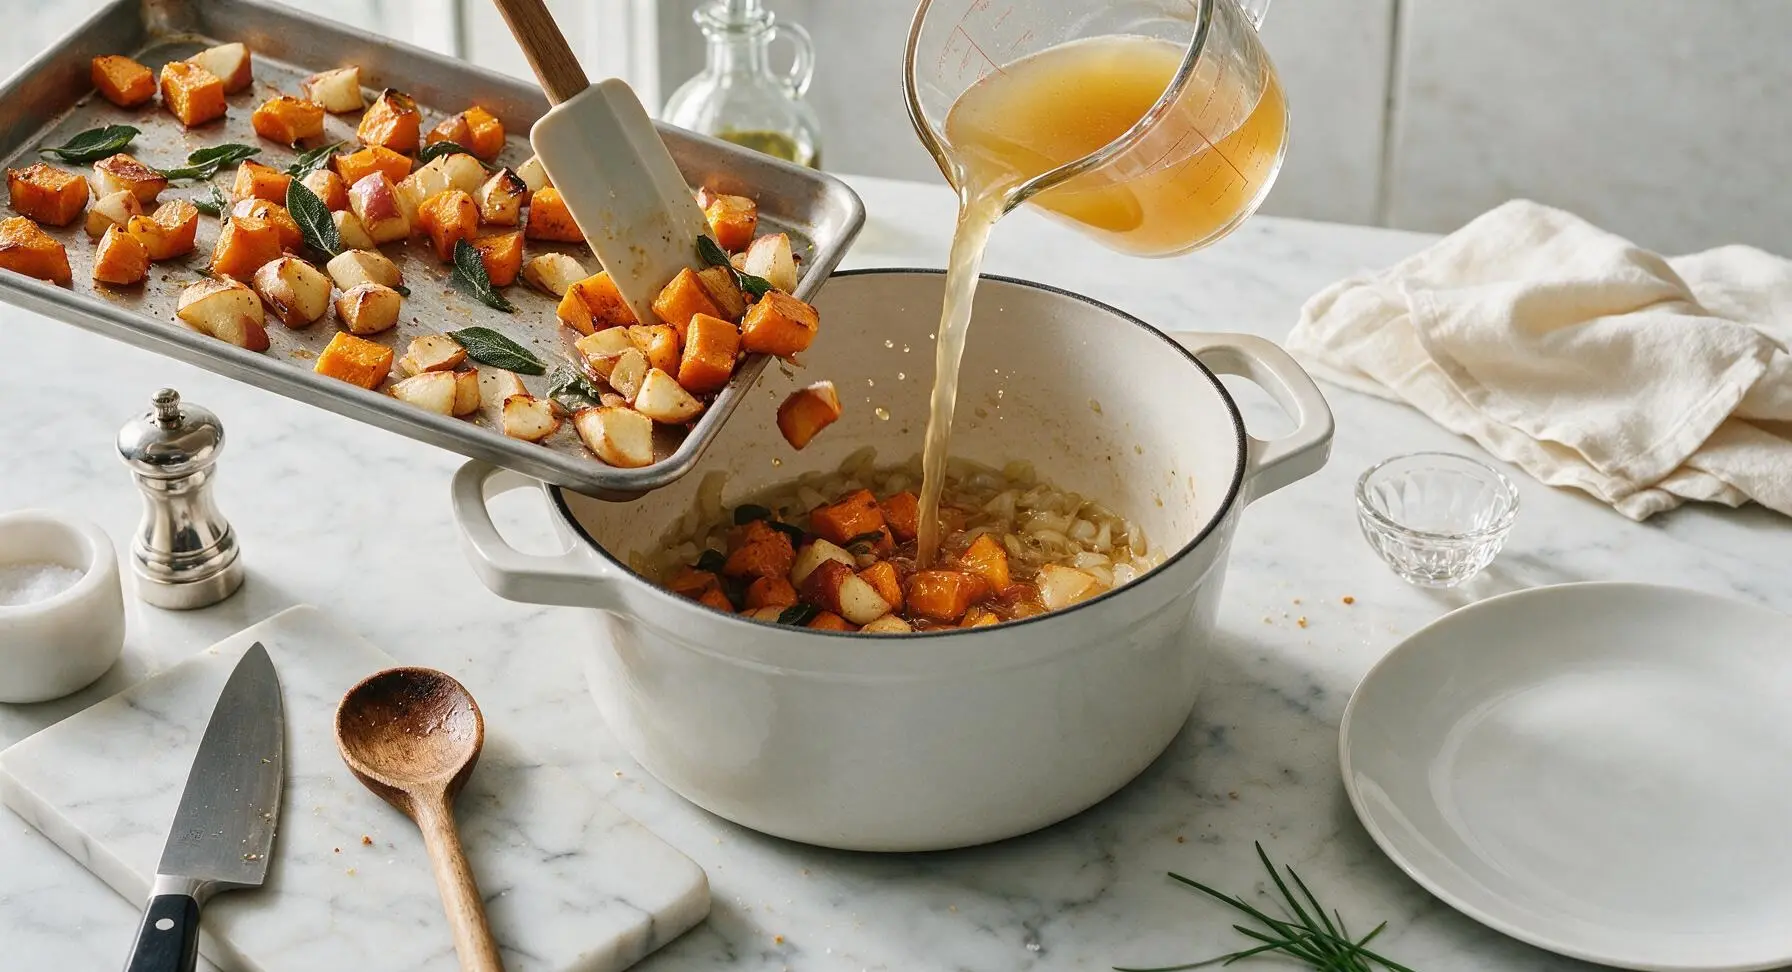
Aim for 25 to 30 minutes in a 400°F oven, tossing the cubes once halfway through cooking. You want the squash to be fork-tender all the way through, with light golden edges on the apple and onion pieces. Don’t roast until everything is dark brown and crispy, as that adds a charred, bitter note that overwhelms the warm, cozy fall flavors.
6.What kind of blender works best to get that signature velvety soup texture?
▾
A high-speed countertop blender will give you the absolute silkiest result, but an immersion blender works perfectly too if that’s what you have on hand. If using a standard countertop blender, vent the lid slightly and cover it with a kitchen towel while blending to let steam escape, so hot soup doesn’t splatter and burn you.
7.Can I prep the ingredients for this soup ahead of time?
▾
Totally! You can cube your squash, dice your onion, peel and core your apple, and chop your sage up to 2 days ahead, storing each component in sealed airtight containers in the fridge. Just toss the cut apple pieces in a tiny bit of lemon juice to keep them from browning before you’re ready to roast, which cuts down on weeknight cooking time drastically.
8.Is there a way to make this soup without an oven?
▾
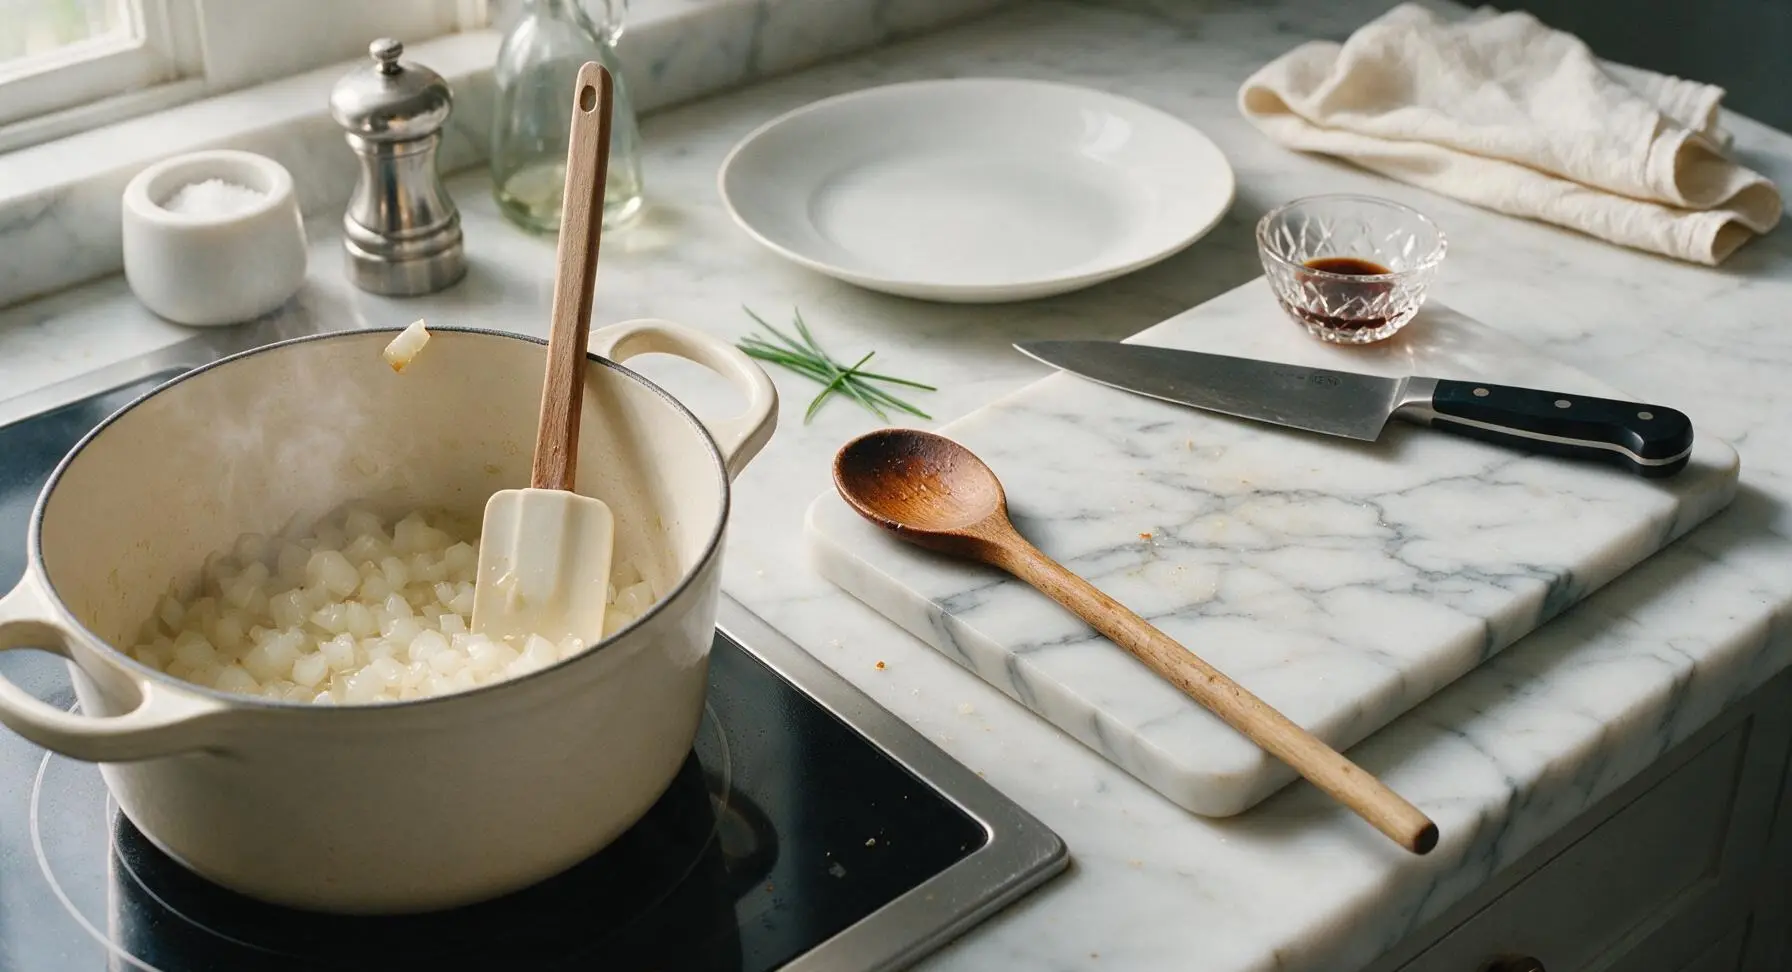
If you don’t have access to an oven for roasting, you can get a similar deep, caramelized flavor by sautéing cubed squash, apple, onion, and garlic in a heavy-bottomed Dutch oven over medium heat for 15 to 20 minutes, stirring often, until everything is tender with light golden edges. It won’t be quite as deep in flavor, but it’s still delicious.
9.How much nutmeg is too much for this soup?
▾
Nutmeg is potent, so a little goes a very long way. Stick to ¼ to ½ teaspoon of freshly grated nutmeg, added right at the end of cooking, for that warm, cozy background note. If you add more than that, it can quickly overpower the delicate squash and apple flavor, and leave your soup tasting soapy or overly spiced. Freshly grated tastes far brighter than pre-ground, too.
10.Can I freeze this soup for later meals?
▾
Absolutely! This soup freezes beautifully for up to 3 months. Let it cool completely first, then pour it into freezer-safe airtight containers, leaving an inch of headspace at the top to let it expand as it freezes. Thaw it in the fridge overnight, then reheat gently on the stovetop over low heat, stirring often, until it’s warmed all the way through.
11.What are good toppings to serve with this soup?
▾
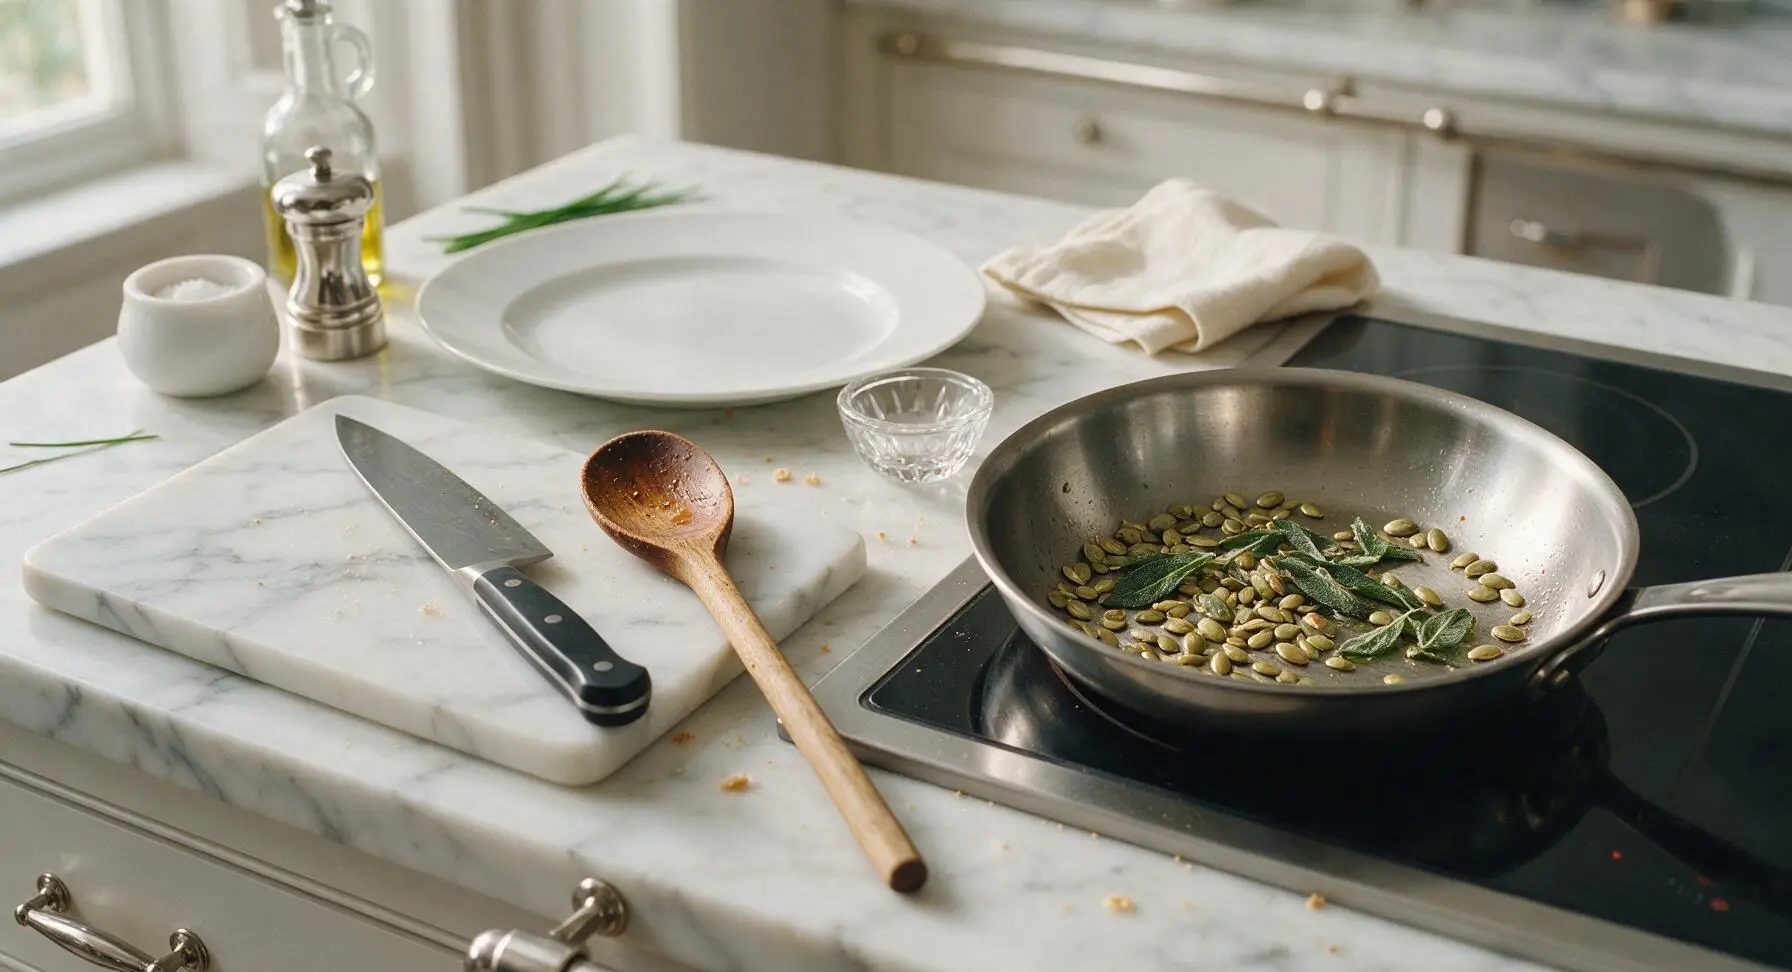
My go-to toppings are a sprinkle of crispy fried sage leaves, a dollop of plain Greek yogurt or crème fraîche, a handful of toasted pumpkin seeds, a light drizzle of maple syrup, or a pinch of red pepper flakes for a tiny kick. Crusty sourdough bread or garlicky croutons on the side are perfect for sopping up every last velvety bite.
12.Why does my soup taste bland even after adding salt?
▾
Bland soup almost always comes down to under-seasoning in layers, not just skipping salt at the end. Make sure you season the veggies with salt and pepper before roasting, season the broth as you simmer the roasted veggies, and do a final taste test right before serving. A tiny squeeze of lemon juice can also make all existing flavors pop without extra salt.
13.Can I use pre-cut butternut squash from the grocery store for this recipe?
▾
100% you can—pre-cut squash is one of my favorite grocery store shortcuts for busy weeks, and it works perfectly here. Just give the cubes a quick rinse and pat them dry before tossing with oil and seasonings to roast, since pre-cut squash can have slight residual moisture from packaging that prevents good, even browning.
14.How thick should this soup be, and can I thin it out if it’s too dense?
▾
The ideal consistency is thick enough to lightly coat the back of a spoon, but still pourable—not like the thick squash puree you’d serve as a side dish. If your soup comes out too thick after blending, stir in extra broth a splash at a time until you hit your preferred texture. If it’s too thin, let it simmer uncovered for 5 to 10 minutes to reduce.
15.Do I need to add heavy cream to make this soup creamy?
▾
Nope! Roasted butternut squash breaks down into a naturally velvety, rich puree all on its own when blended, so you don’t need heavy cream to get that luxurious texture. If you want an extra creamy finish, you can stir in ¼ cup of heavy cream, half-and-half, or coconut milk right before serving, but it’s totally optional and delicious without it.
16.Can I add extra protein to this soup to make it a more filling meal?
▾
Definitely! My favorite quick add-ins are a handful of crispy roasted chickpeas tossed on top, a scoop of shredded cooked chicken stirred into the finished soup, or a sprinkle of crumbled cooked bacon for a salty, smoky kick. You can also blend in a half cup of canned white beans for extra plant-based protein that doesn’t alter the soup’s flavor.
17.How long will leftover soup keep in the refrigerator?
▾
Stored in a sealed, airtight container in the fridge, this soup will stay fresh for 4 to 5 days. Reheat individual portions in the microwave or on the stovetop over low heat, giving it a good stir before serving. You may notice it thickens up as it chills, so just add a tiny splash of broth or water when reheating to get your ideal consistency back.
18.Can I swap the butternut squash for another type of winter squash?
▾
You bet! Roasted sugar pumpkin, kabocha squash, or red kuri squash all work beautifully as a 1:1 swap for butternut squash in this recipe. Just avoid very stringy squash like spaghetti squash, which won’t blend into that smooth, velvety texture you want. Acorn squash works too, though it has a slightly nuttier, earthier flavor than butternut.
19.Should I roast the garlic with the other veggies from the start, or add it later?
▾
Great catch—garlic burns much faster than squash, apple, and onion, so I recommend tucking whole, unpeeled garlic cloves into the roasting pan during the last 10 minutes of cook time. That lets it get soft, sweet, and mellow without turning bitter and charred, which would throw off the warm, balanced flavor of the finished soup.











OMG this soup is *chef’s kiss* for fall! I made it last night for our weekly family dinner and even my super picky 7 year old asked for seconds. The sweetness from the apple cuts the earthy squash so perfectly, I can’t believe how easy it was to throw together on a weeknight. Already planning to make a double batch for our neighborhood potluck this weekend!
Really solid soup! Cook time was spot on at 40 minutes, no fancy steps which I appreciated as a guy who barely knows his way around a roasting pan. Only reason I’m not giving 5 stars is I wish it had a tiny bit more kick—next time I’m adding a pinch of cayenne like my grandma used to put in her squash soups. Will definitely make again though!
Game. Changer. I’ve been searching for a fall soup that doesn’t require 100 ingredients and 3 hours of cook time, and this delivered. I meal prepped a big batch on Sunday and ate it for lunch all week, and my kids didn’t even complain about there being veggies in it. 10/10, will be in our regular rotation all fall and winter.
Made this last night when the temp dropped to 40 degrees here in Chicago and it was the coziest dinner ever! I used honeycrisp apples like the recipe suggested and that sweet-tart flavor was unreal. Paired it with a side of crusty sourdough for dipping and my roommate said it’s better than the soup we got at that fancy farm-to-table spot last month.
So happy I found this recipe! I swapped the heavy cream for full fat coconut milk to make it vegan and it came out so rich and creamy, no one could tell it was dairy free. Perfect for my vegan meal prep clients, I’ve already had three people ask for the recipe after I posted it to my Instagram.
Made this for a pre-tailgate get together before the UGA game last Saturday and it was a huge hit. Only thing I did different was add a little crumbled bacon on top because, well, bacon makes everything better. Super easy to make in a big batch and keep warm in the slow cooker for people to serve themselves. Will make again for next year’s tailgates.
Obsessed with how freezer-friendly this is! I made two batches last weekend, portioned them out into single-serve containers, and popped half in the freezer for busy weeknights later this month. Tastes just as good reheated as it did fresh, which is a total win for meal prep. The apple adds such a nice bright note that keeps it from tasting like boring old squash soup.
I’ve been making squash soup for over 40 years and I have to say, adding the roasted apple is the trick I never knew I needed! It adds just the right amount of sweetness without making it taste like dessert. My granddaughter who’s in college came over for dinner last night and took a whole tupperware of it back to her dorm, so that’s the highest praise there is.
Just finished making this for dinner tonight and WOW, SO good. I had a random butternut squash sitting on my counter from my CSA box and a couple apples going soft in the fruit bowl, so this was the perfect way to use them up. Didn’t even have to run to the grocery store for extra ingredients, which is my favorite kind of weeknight recipe.
Brought this to my annual fall harvest potluck and it won the favorite side dish award! I love that it’s naturally vegetarian so all my friends with different dietary restrictions could enjoy it, no modifications needed. I topped each serving with a little drizzle of maple syrup and a sprinkle of cinnamon and it felt so festive.
Perfect post-hike meal! My partner and I got back from a cold, rainy 6 mile hike in the Cascades last weekend and whipped this up in 40 minutes exactly, just like the recipe said. We were warm and full in no time, and the leftovers were perfect for lunch at work the next day. Will be making this on repeat all hiking season.
Really good soup! My only note is that my immersion blender died halfway through blending so I had to do it in batches in my regular blender, which made a huge mess, but that’s 100% on me not the recipe. Kids ate it without complaining, wife asked me to put it on the monthly dinner rotation, so that’s a dad win in my book.
Just took my first bite and had to come leave a review immediately! Added a healthy dash of cayenne and a sprinkle of chili flakes like I do with every soup, and the heat pairs so perfectly with the sweet apple and creamy squash. This is going to be my go-to lazy Sunday soup all fall long, no question.
Tried the coconut milk swap that someone mentioned in the reviews and it came out amazing! I also tossed in a little fresh thyme from my windowsill herb garden while roasting the veggies and it added such a nice earthy depth. This recipe is so easy to tweak to your taste, which I love.
This is the first recipe I’ve made in my first apartment that didn’t turn out burnt or bland! I was so nervous to cook for my parents when they came to visit, but they both said it tasted like something from a restaurant. Cannot recommend enough for new cooks who don’t have a ton of fancy equipment or skills.