
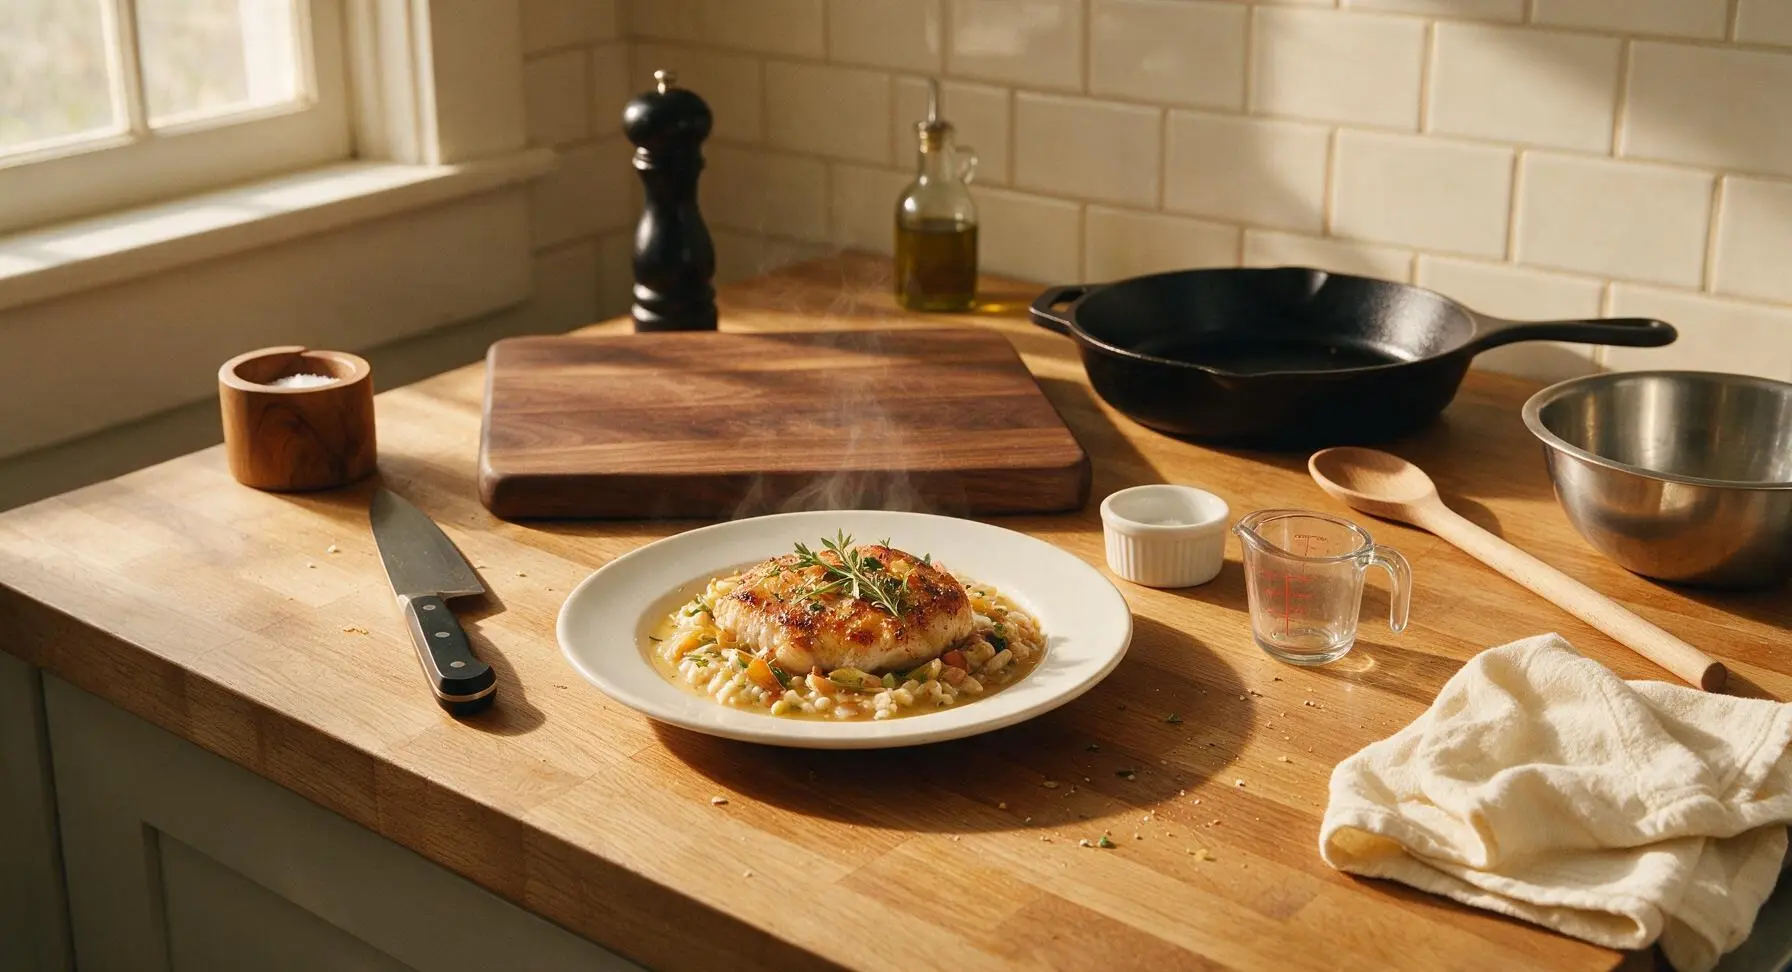
Farmhouse Ale

title 1
Farmhouse Ale
⏱️ cook time 2 hours
🍽️ servings 10
⚡ Difficulty medium

intro

Crisp, earthy, lightly fruity farmhouse ale with a dry peppery finish, brewed simply at home for warm-weather sipping. Balanced, refreshing, and ideal for backyard BBQ pairings.

Ingredients
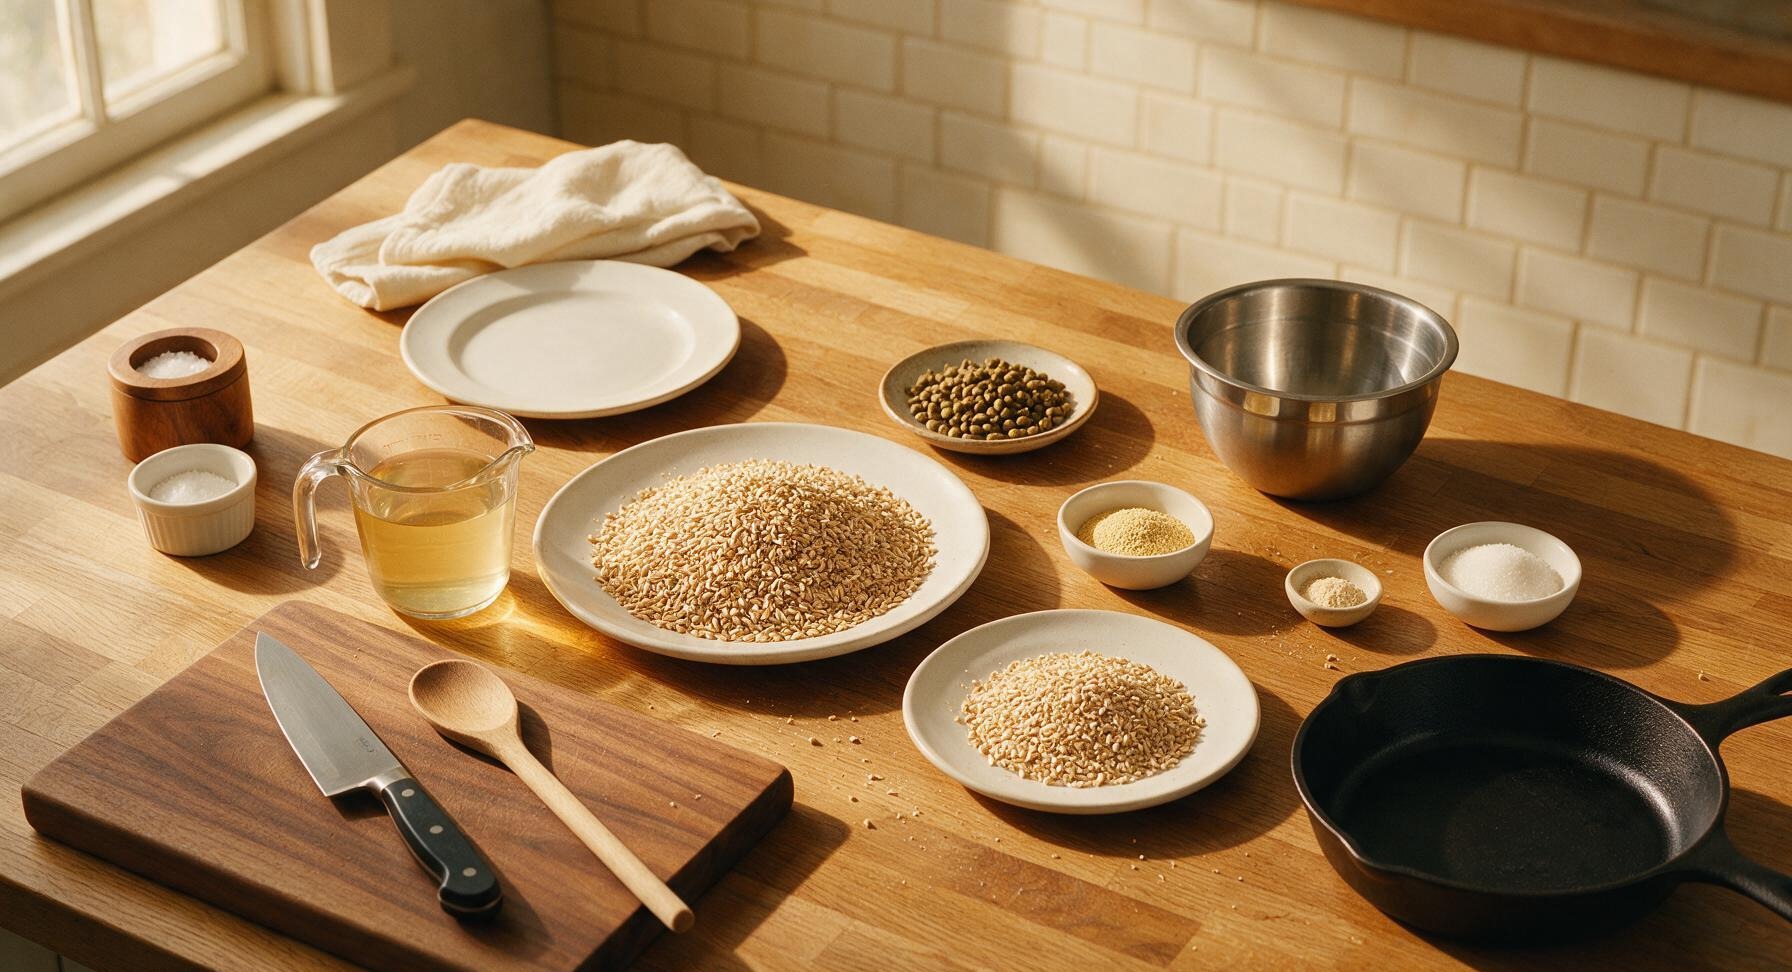
Crushed pale 2-row malted barley 1100g (2.4 lbs)
Crushed malted wheat 120g (4.2 oz)
Pelletized Saaz hops 15g (0.5 oz, divided)
French saison brewing yeast (dry) 1 packet (11g)
Brewer's yeast nutrient 1g (1/4 tsp)
Corn sugar (priming sugar) 28g (1 oz)
Filtered water 4.5L (1.2 gallons)

Steps

1

Sanitize Brewing Equipment

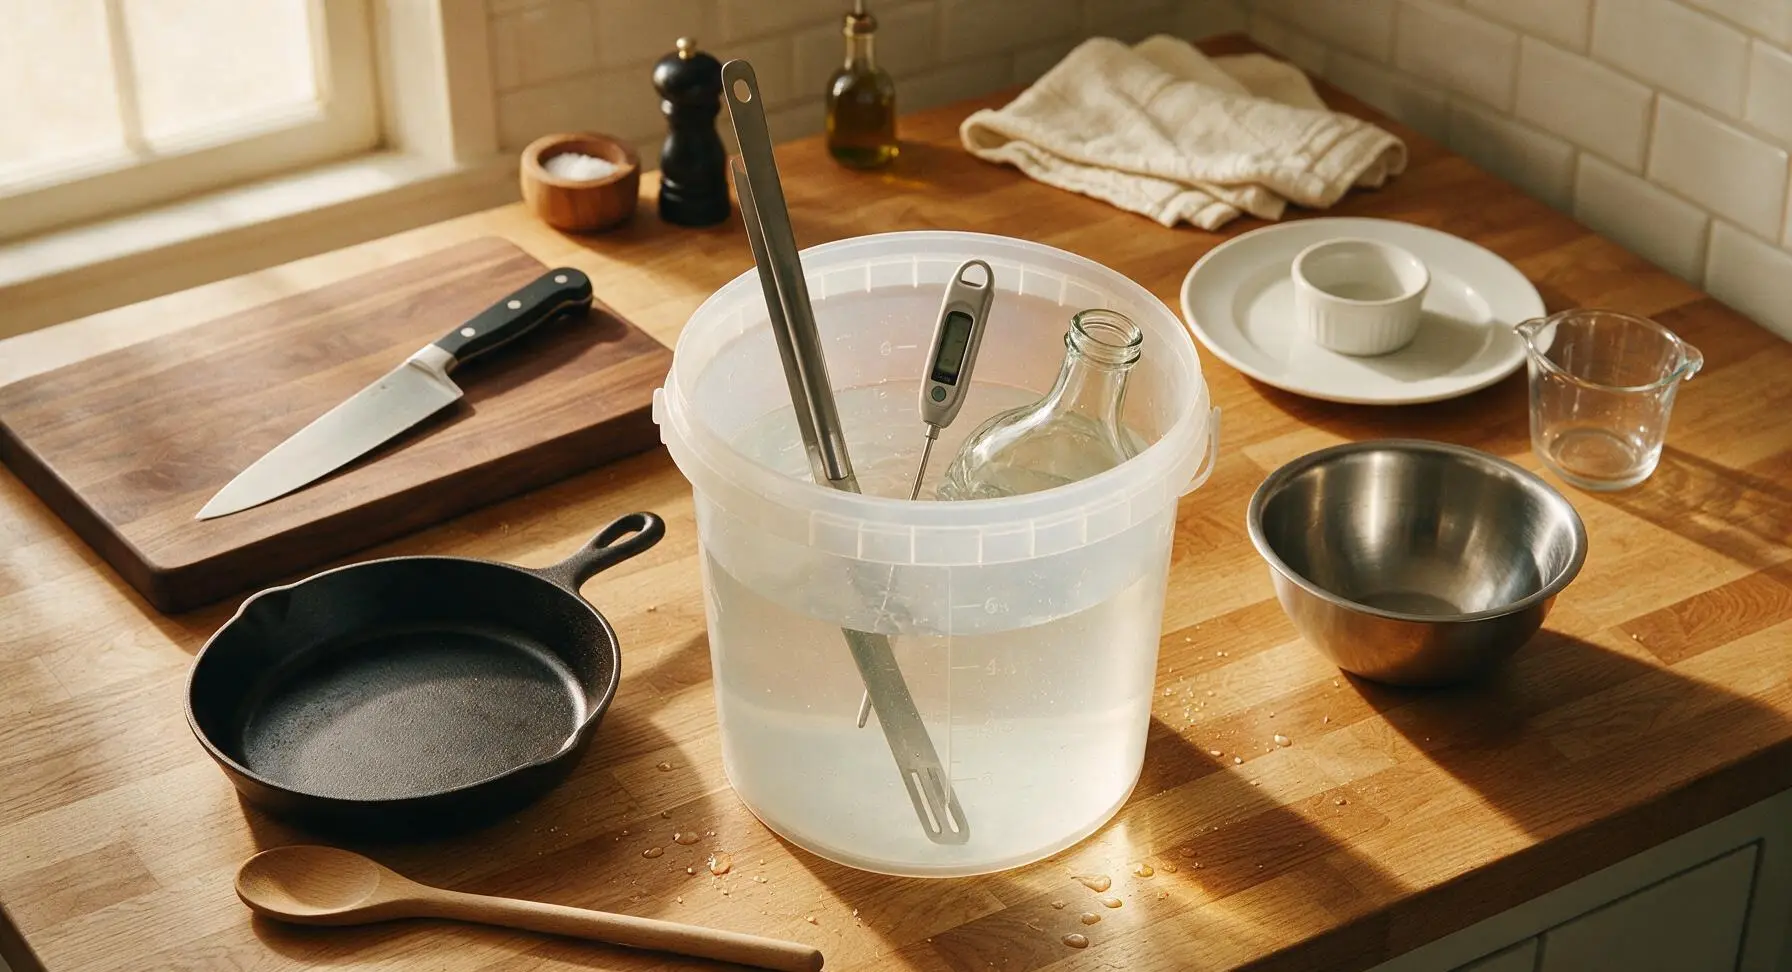
Fill the 6L translucent plastic sanitizer bucket with 4L of cool tap water and the manufacturer-recommended dose of no-rinse brewer's sanitizer. Submerge the brew pot lid, stainless steel mash paddle, digital thermometer, fine-mesh strainer, glass carboy, rubber stopper, airlock, auto-siphon, and ramekins in the solution for 2 full minutes. Remove items and allow them to air dry completely on the clean counter surface; do not towel dry, as this can introduce unwanted bacteria. Every surface that will touch cooled wort must be fully sanitized to prevent off-flavors or spoiled beer.
Step 1
step1:Sanitize Brewing Equipment
2

Heat Mash Water

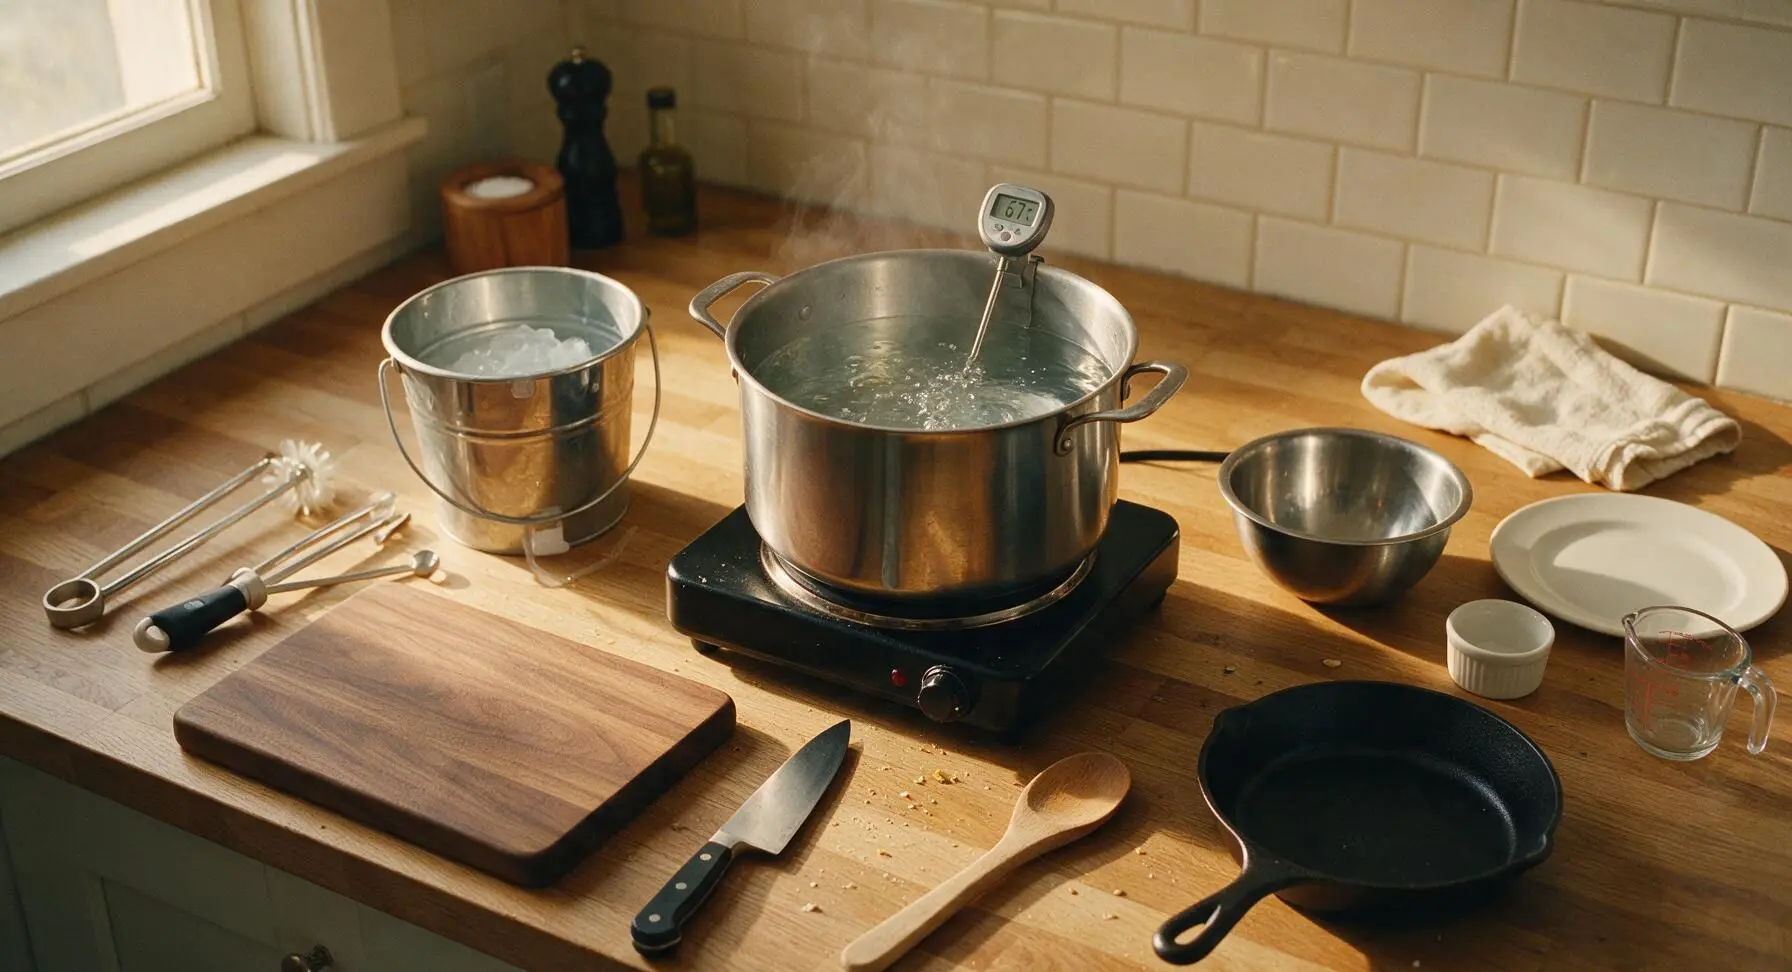
Place the stainless steel brew pot on the matte black electric hot plate, add 2.5L of filtered water, and heat to 67C (153F), monitoring temperature with the digital instant-read thermometer. Hold this temperature steady for 5 minutes, adjusting the hot plate dial as needed, before adding grain. The water will be hot to the touch but not boiling, with tiny steady bubbles rising from the pot bottom.
Step 2
step2:Heat Mash Water
3

Mash the Grain Bill

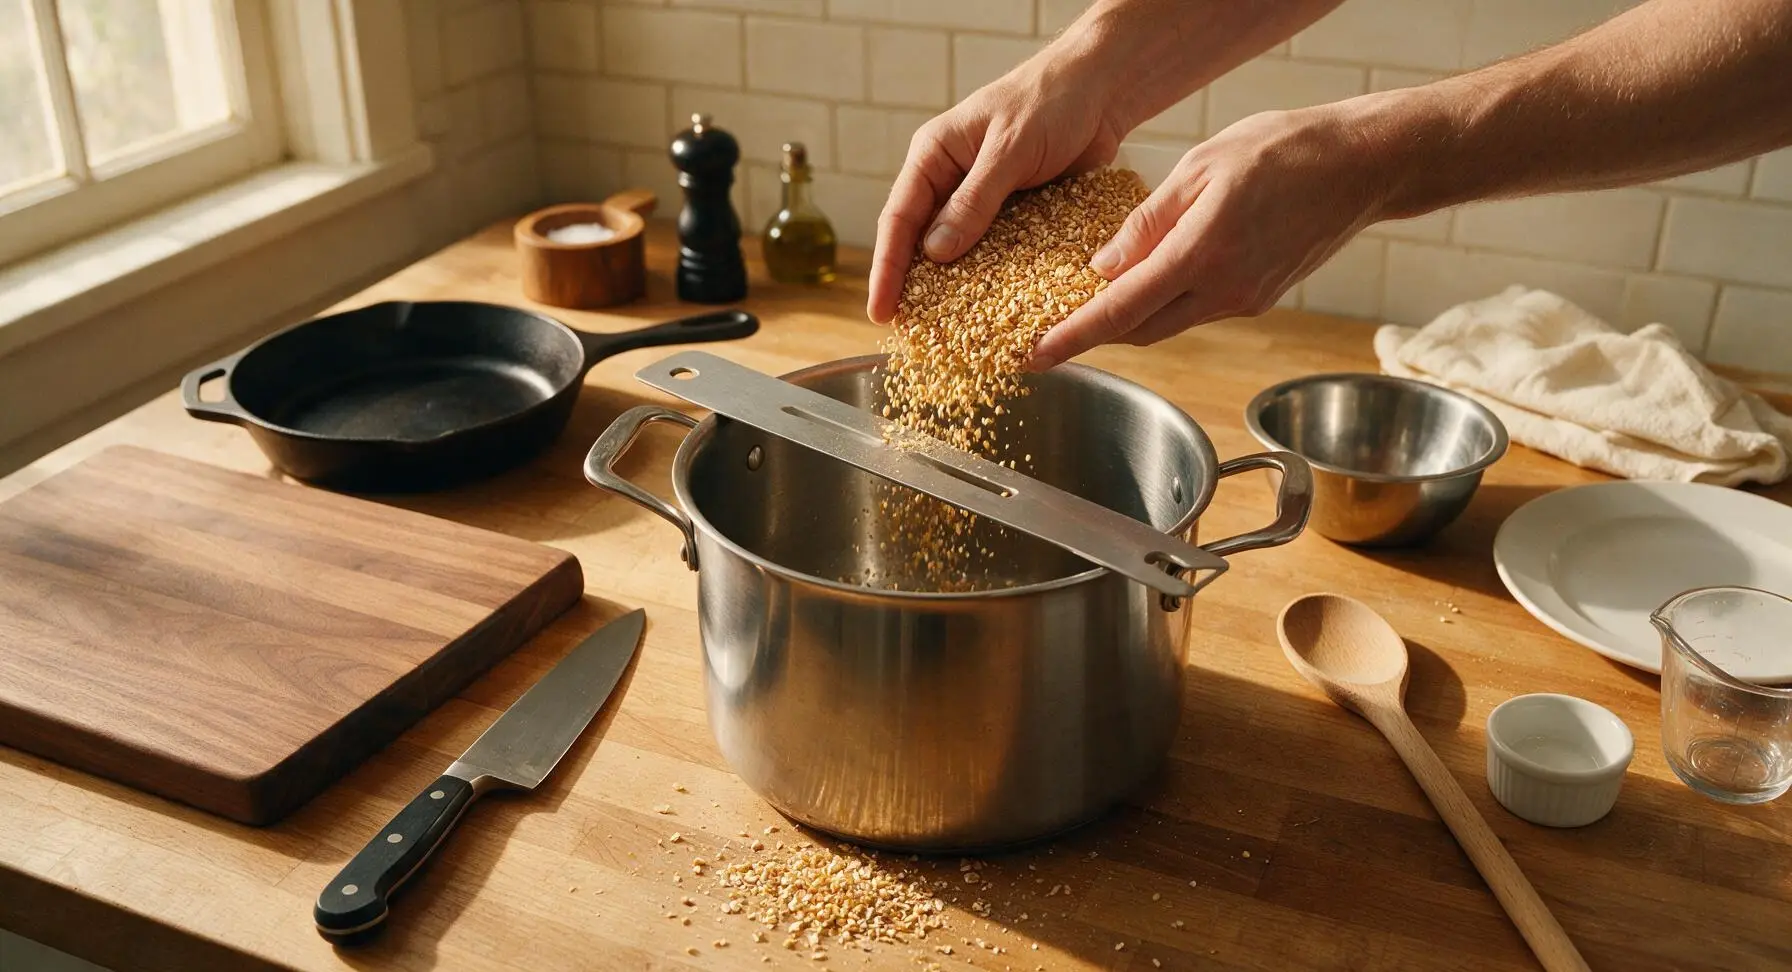
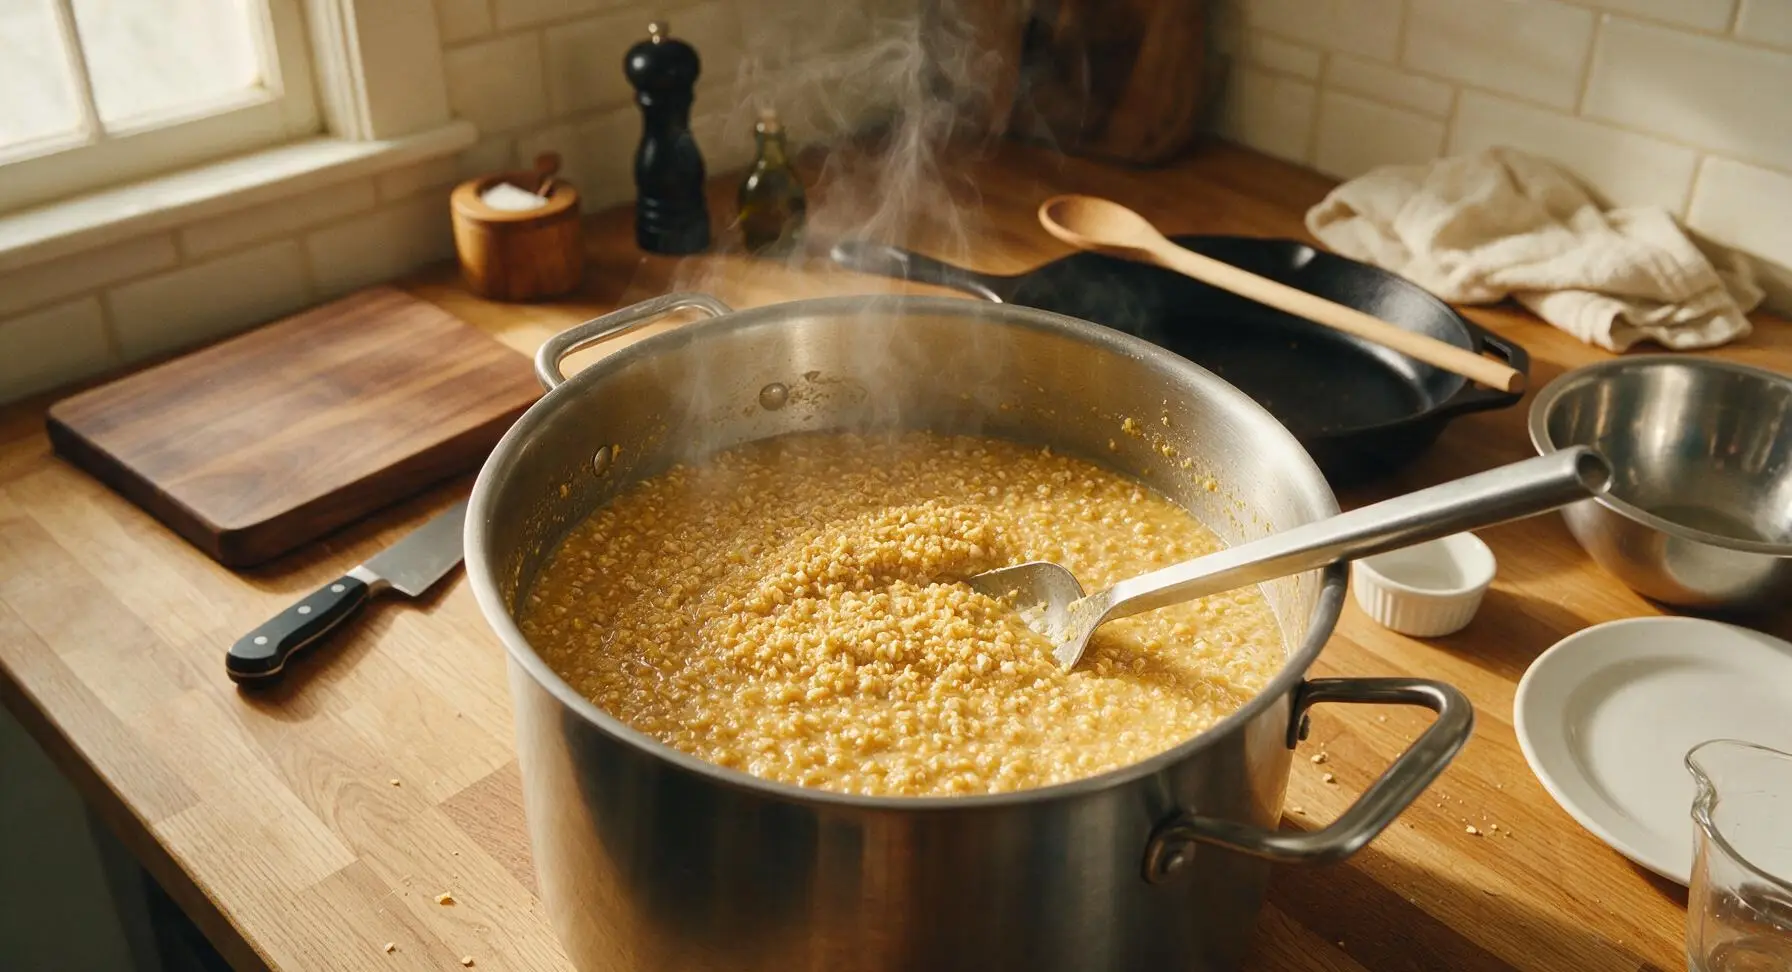
Slowly add all crushed pale 2-row malt and crushed wheat malt to the 67C water, stirring constantly with the stainless steel mash paddle to break up any dry clumps of grain. Hold the mash temperature steady at 65-68C (149-154F) for 60 minutes, keeping the pot covered with its lid and stirring every 10 minutes to prevent hot spots. The mixture will form a thick, sweet-smelling, porridge-like mash; after 60 minutes, a small taste of the drained liquid wort will taste sweet, with no raw, starchy grain flavor.
Step 3
step3:Mash the Grain Bill
Step 3
step3:Mash the Grain Bill
4

Boil and Add Hops

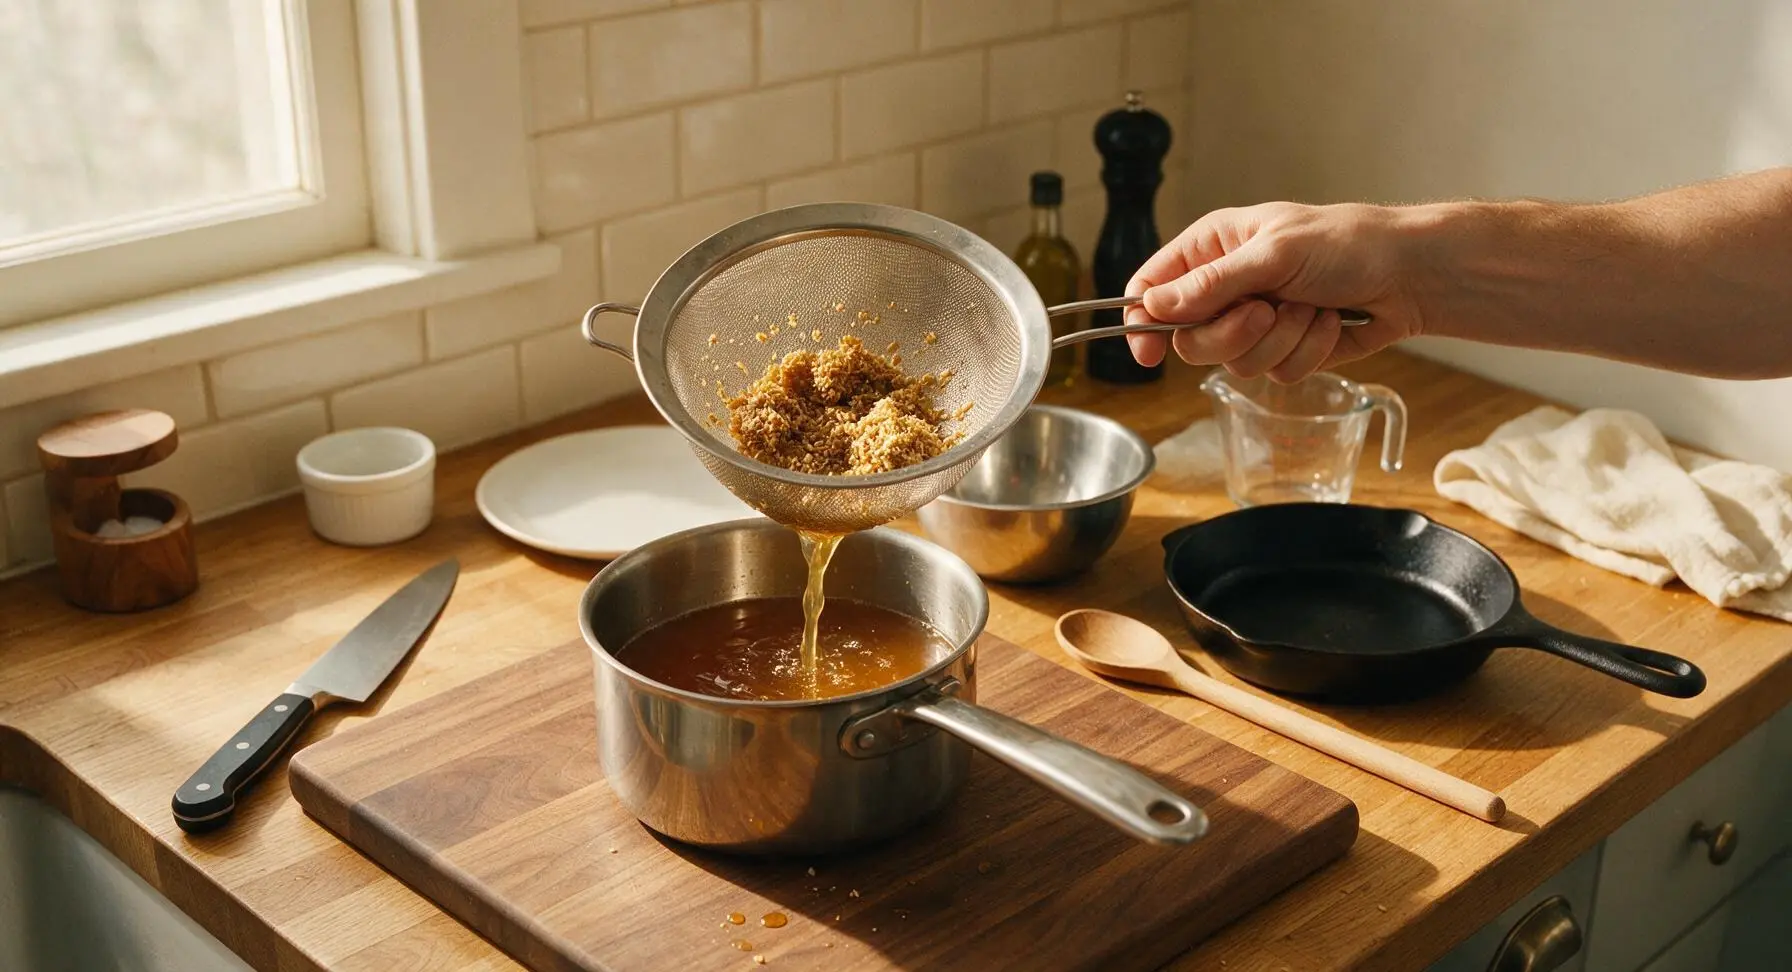
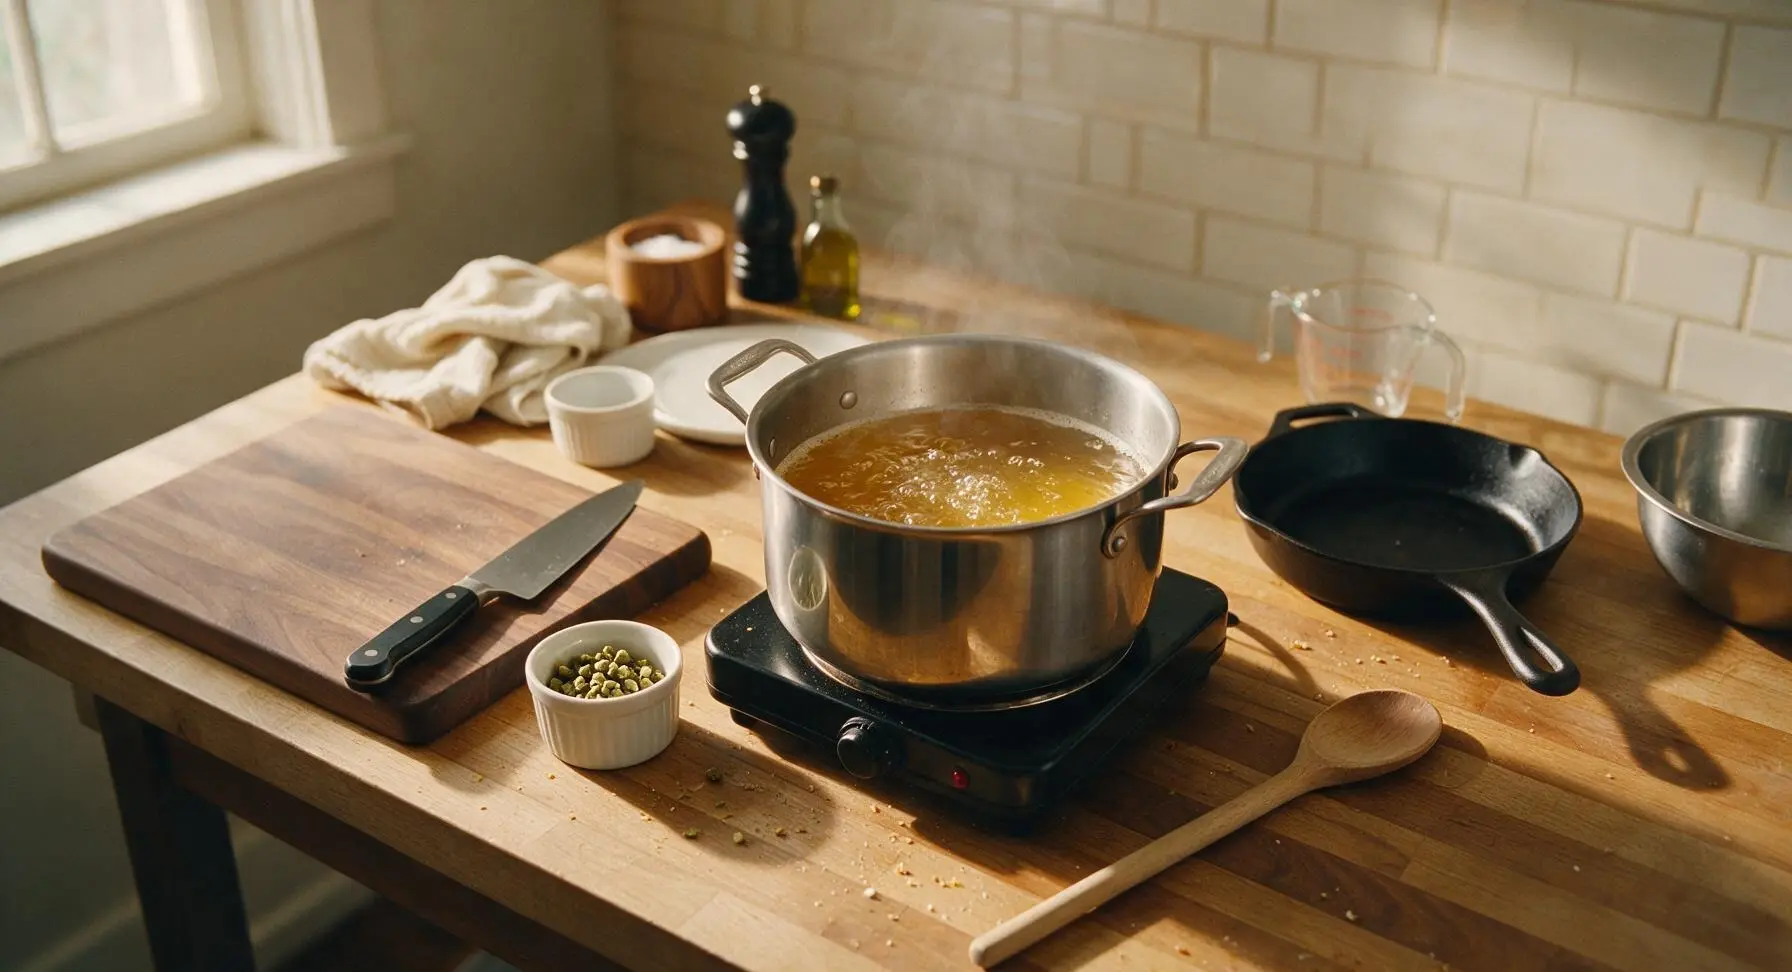
Temporarily remove the pot from the hot plate, pour the mash through the fine-mesh stainless steel strainer to separate sweet golden wort from the spent grain, then return the strained wort to the pot and bring to a gentle rolling boil (100C/212F). Once boiling, add 7g of Saaz hops, set a timer for 45 minutes, and maintain a steady boil, adjusting heat to prevent messy boil-overs. With 15 minutes remaining in the 60-minute total boil, add 5g of Saaz hops and the 1g of yeast nutrient. Add the final 3g of Saaz hops during the last 1 minute of boiling to preserve bright, floral hop aroma.
Step 4
step4:Boil and Add Hops
Step 4
step4:Boil and Add Hops
5

Cool and Transfer Wort

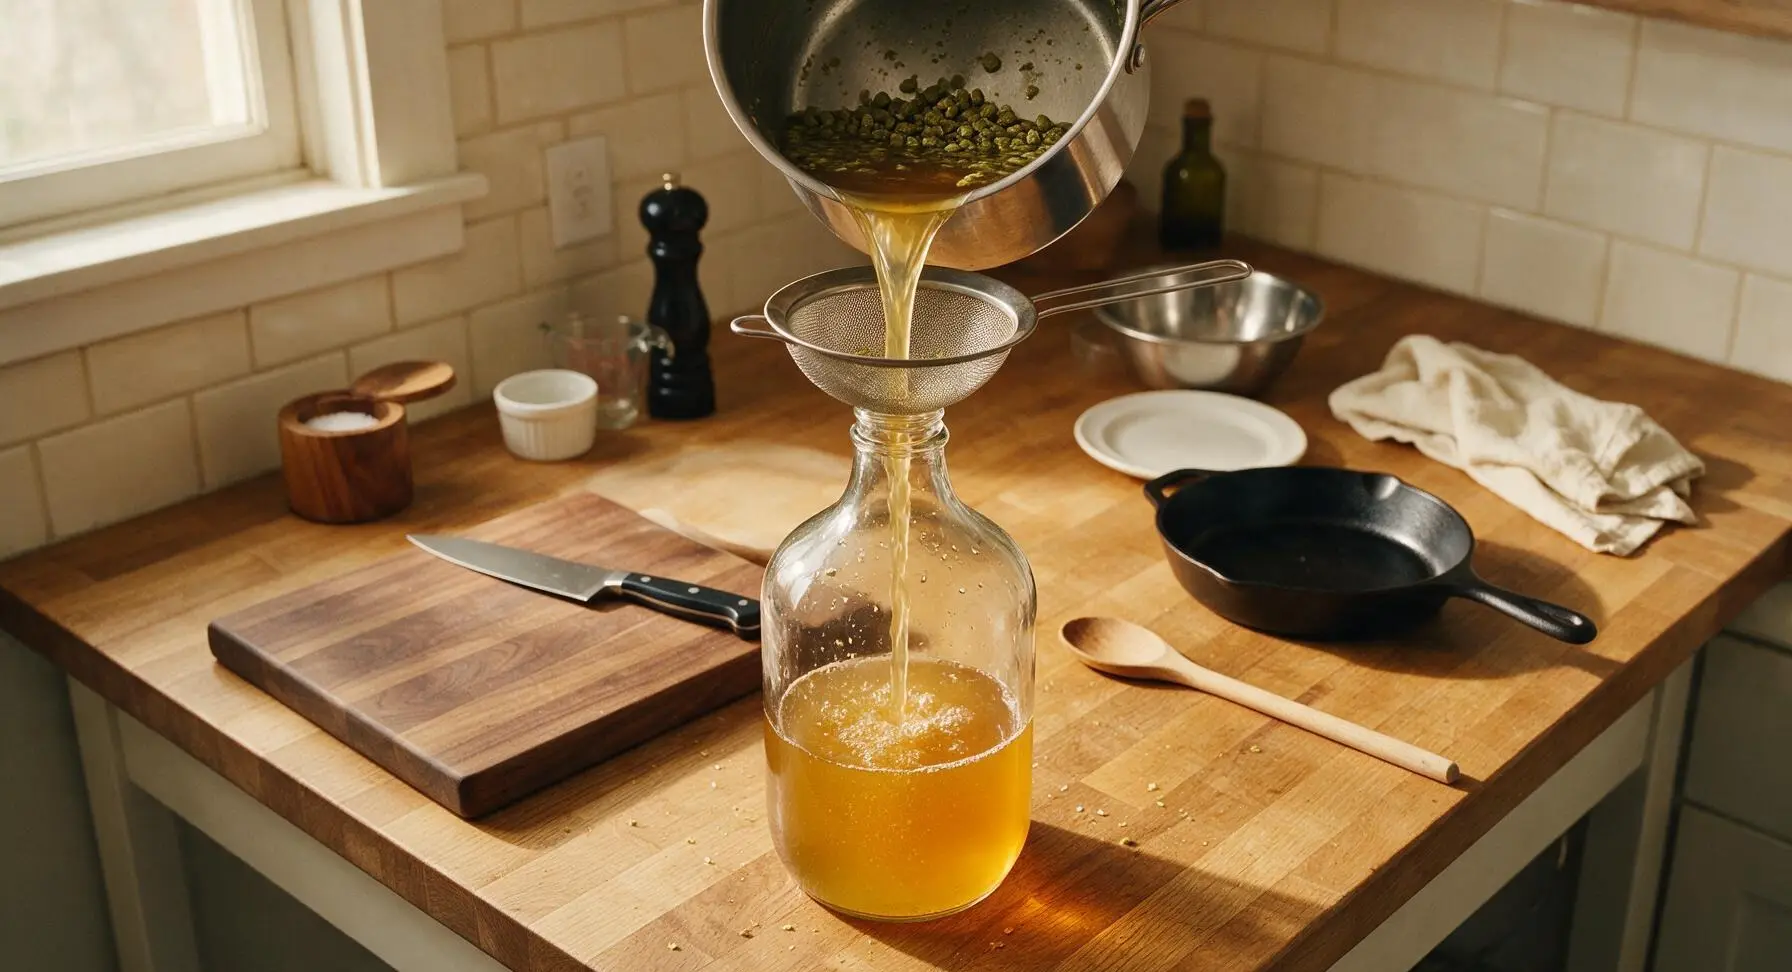
After the 60-minute boil is complete, turn off the hot plate, cover the pot, and place it in a sink of ice water (off-frame) to cool the wort quickly to 21C (70F), checking temperature every 5 minutes — this takes approximately 25 minutes. Once cooled, set the fine-mesh strainer over the mouth of the clear glass carboy, and pour the wort through the strainer into the carboy to catch any remaining hop sediment. Top up the carboy with the remaining 2L of cool filtered water to reach a total volume of 4L (1 gallon).
Step 5
step5:Cool and Transfer Wort
6

Pitch Brewing Yeast

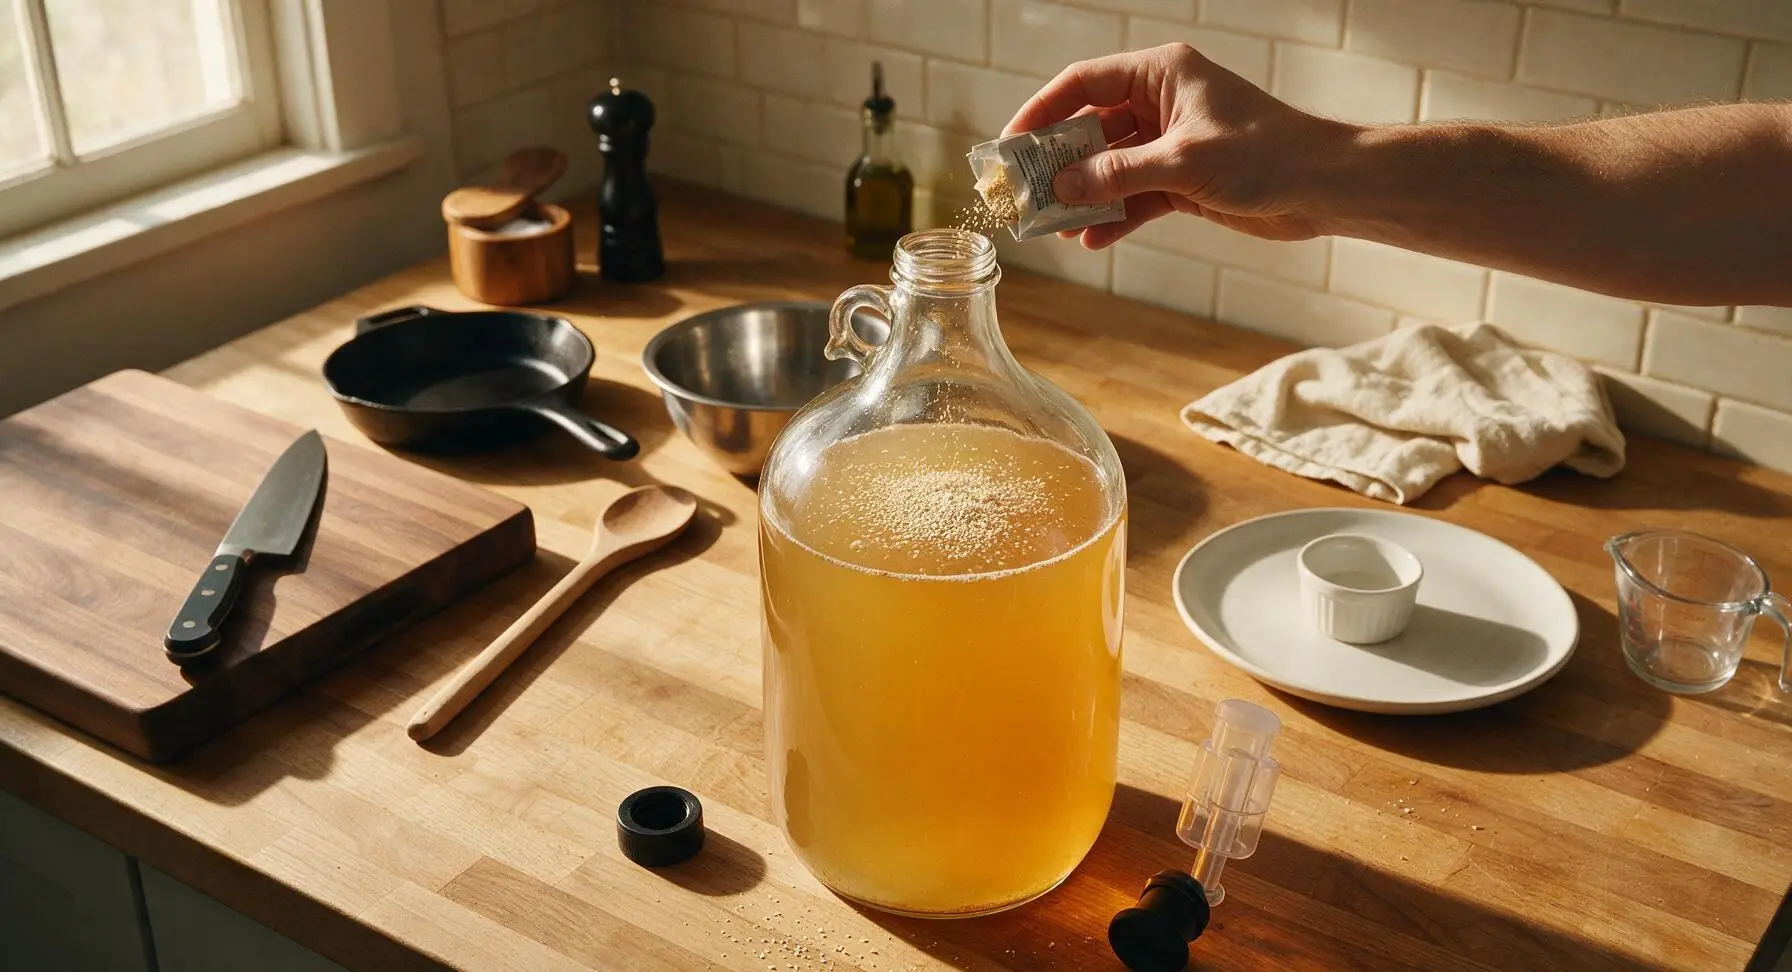
Sprinkle the entire 11g packet of dry French saison yeast evenly across the surface of the cooled wort in the carboy; do not stir. Press the drilled rubber stopper firmly into the carboy neck, fill the 3-piece airlock halfway with leftover sanitizer solution, and seat the airlock securely in the stopper hole. Move the carboy to a dark, temperature-stable spot (off-frame, held at 18-24C/65-75F) to ferment for 14 days, until bubbling in the airlock stops completely and the wort begins to clear.
Step 6
step6:Pitch Brewing Yeast
7

Bottle for Carbonation

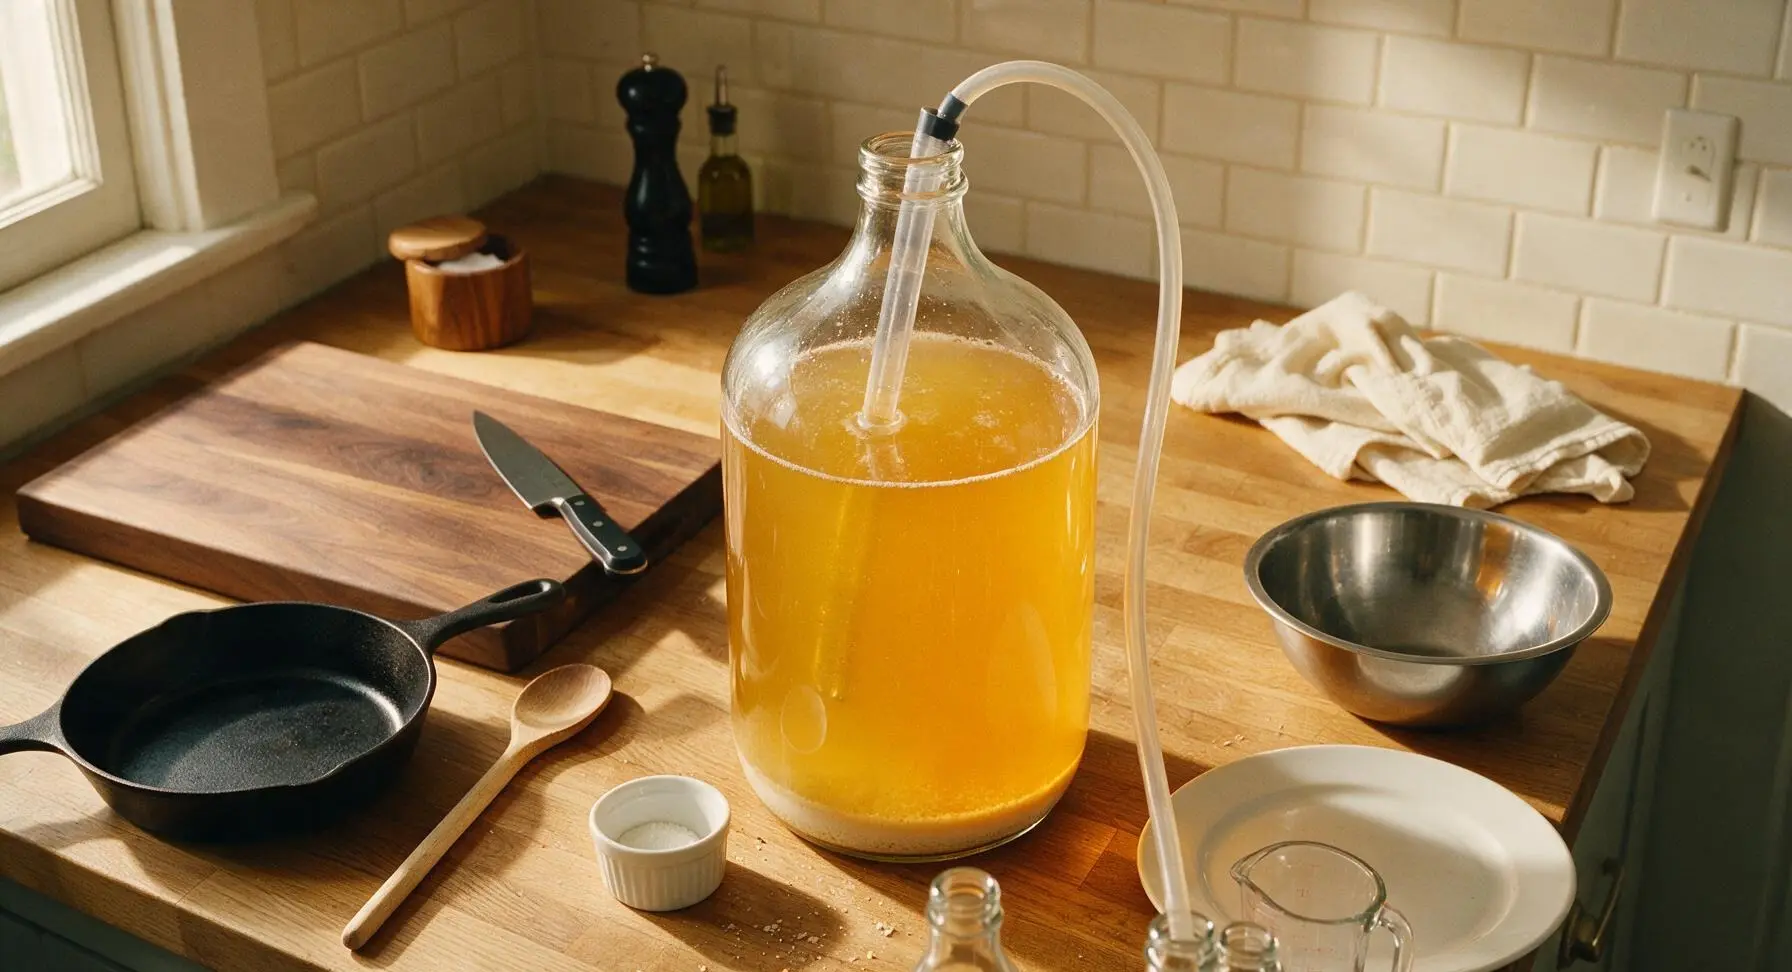
After 14 days of primary fermentation, when the airlock has not produced a bubble for 48 consecutive hours, sanitize the auto-siphon, silicone tubing, and 10 reusable 12oz glass beer bottles (off-frame). Boil the 28g of corn sugar in 100ml of water for 5 minutes to make a priming solution, add it to a sanitized bottling container, then siphon the fully fermented beer from the carboy into the container, mixing gently to evenly distribute the priming sugar. Siphon the beer into sanitized bottles, cap tightly, and store at room temperature (20-22C/68-72F) for 10 additional days to allow natural carbonation to develop, then chill for 24 hours before serving.
Step 7
step7:Bottle for Carbonation

Tips

1.Never squeeze the strainer or grain when separating wort from mashed grain, as this extracts harsh, astringent tannins from the grain husks that will make your finished beer taste dry and bitter. Let gravity drain the wort naturally for the smoothest, most balanced flavor.
2.Always confirm wort temperature is below 24C (75F) before pitching yeast, as high temperatures cause saison yeast to produce harsh, solvent-like off-flavors instead of the desired peppery, light tropical fruit notes that define farmhouse ale.
3.Avoid opening the carboy during primary fermentation, as introducing oxygen or airborne bacteria at this stage can spoil the entire batch. The airlock lets you track fermentation progress (visible bubbling) without exposing the beer to contaminants.


✨ You May Also Like

Drinks & Beverages
🍜 Mexico

A bright, balanced tequila-based cocktail with zesty fresh lime, smooth orange liqueur, and a signature salt rim, perfect for warm summer sipping.

⏱️ 5 minutesDrinks & Beverages ★ 4.9
Drinks & Beverages
🍜 United States

Thick, creamy, nostalgic classic vanilla milkshake with a rich, smooth texture, topped with whipped cream and a cherry for cool, sweet refreshment.

⏱️ 5 minutesDrinks & Beverages ★ 4.7
Drinks & Beverages
🍜 United States

A bright, golden strong ale with fruity banana-clove notes, subtle hop spice, and soft carbonation, brewed in classic Trappist Tripel tradition.

⏱️ 2 hours aDrinks & Beverages ★ 4.5
Drinks & Beverages
🍜 United States

A frothy, nostalgic American soda fountain treat pairing bubbly cold root beer with creamy vanilla ice cream, perfect for cooling down at warm weather gatherings.

⏱️ 20 minuteDrinks & Beverages ★ 4.8
Drinks & Beverages
🍜 United States

Tart, funky, effervescent American Wild Ale is a complex fruity craft beer brewed with wild yeast, delivering bright, zesty notes perfect for warm-weather sipping.

⏱️ 2 hours aDrinks & Beverages ★ 4.4
Drinks & Beverages
🍜 United States

Bright, bubbly copycat of the iconic American caramel cola, balanced with citrus and warm spice, perfect for sipping ice-cold on hot days.

⏱️ 15 minuteDrinks & Beverages ★ 4.8

Farmhouse Ale:Frequently Asked Questions

1.Do I need expensive professional brewing equipment to make this farmhouse ale at home? ▾
No, you can pull off this batch with basic entry-level homebrew gear: a 5-gallon food-grade fermenter bucket, airlock, auto-siphon, 3+ gallon stockpot, and no-rinse brewing sanitizer. You don’t need a fancy temperature-controlled conical fermenter for this forgiving recipe—just be sure every surface touching the beer is fully sanitized to avoid off-flavors.
2.How is this farmhouse ale different from a standard American wheat beer? ▾
Unlike soft, hazy, citrus-forward American wheat beers, this farmhouse ale leans into earthy Saaz hop notes, subtle peppery esters from French saison yeast, and a crisp, fully dry finish instead of muted bready sweetness. It’s light enough for sweltering warm days, with just enough peppery bite to stand up to smoky, rich BBQ fare.
3.How long does this ale take from brew day to being ready to drink? ▾
Plan for roughly 3 to 4 weeks total for a finished, carbonated batch. Primary fermentation with the dry French saison yeast wraps up in 7 to 10 days at 65–75°F, followed by 2 weeks of room-temperature bottle conditioning to build carbonation and let the peppery, fruity yeast notes mellow into that smooth signature farmhouse profile.
4.What can I substitute for the French saison yeast if I can’t find it locally? ▾
You can swap it for another dry saison strain if available, but skip standard bread yeast or neutral American ale yeast—those won’t deliver the signature dry, peppery finish. If you’re in a pinch, a dry Belgian abbey yeast works as a close backup, though it will produce slightly more fruity, less peppery notes than the recommended strain.
5.Can I skip the brewer’s yeast nutrient, or is it actually necessary? ▾
Don’t skip it! The French saison yeast works hard to create that crisp, dry finish, and it needs key trace nutrients to ferment fully without stalling early or producing unpleasant off-flavors like sulfur or harsh solvent notes. You only need a teaspoon per 5-gallon batch, and it guarantees a clean, consistent ferment even for first-time brewers.
6.What’s the ideal serving temperature for this homemade farmhouse ale? ▾
Skip the ice-cold 33°F pour you’d use for a mass-market light lager—this ale shines at 45–50°F, just lightly chilled. That temperature lets the subtle earthy hop notes, soft wheat brightness, and gentle peppery yeast finish come through, instead of muting all those delicate flavors when the beer is too frosty for backyard sipping.
7.How long will bottled batches of this farmhouse ale stay fresh? ▾
When stored upright in a cool, dark spot away from direct sunlight and wild temperature swings, this ale will stay crisp and fresh for up to 6 months. Its dry, peppery character will mellow slightly after 3 months, so for the brightest, most balanced flavor, aim to drink it between 2 weeks and 4 months after bottling.
8.Do I need to do a secondary fermentation for this recipe? ▾
No secondary ferment is required for this straightforward farmhouse ale! Once primary fermentation is fully complete—no airlock bubbles for 2 straight days, plus a stable hydrometer reading for 3 days—you can go straight to bottling with priming sugar for carbonation. Skipping secondary cuts down on work and lowers risk of contamination or oxidation.
9.Besides backyard BBQ, what foods pair well with this farmhouse ale? ▾
While it’s a natural match for smoky grilled ribs, cheeseburgers, and charred corn, this crisp, peppery ale also pairs beautifully with tangy goat cheese, spicy grilled sausage, pickled veggie platters, and lemon-herb roasted chicken. Its dry, bubbly finish cuts through rich, fatty, or tangy foods without overpowering lighter summer dishes.

Comments (18)

2 days ago

First time nailing a farmhouse ale after 3 failed attempts at other recipes! This one turned out so crisp, with that perfect hint of peppery yeast I’ve been chasing. Brought a growler to my neighborhood potluck last weekend and everyone was asking for the recipe. Total game changer for my homebrew setup.

30 minutes ago

Wait, the recipe says 2 hours cook time—does that include the time for the mash and sparge, or is that just the active boil? I’m pretty new to homebrewing and don’t want to mess up the timing on my first batch.

5 minutes ago

Great question! That 2 hour cook time covers active prep and boil time—you’ll want to set aside extra time for mashing, fermentation, and bottling, which we note in the step-by-step instructions below. Don’t hesitate to reach out if you hit snags along the way!

1 week ago

OMG this is SO good. I swapped the regular pale malt for a small amount of smoked malt on a whim and it added the coziest, campfire-adjacent note that pairs perfectly with grilled brats. My whole family raved about it at our Labor Day cookout.

5 days ago

Wait how much smoked malt did you add? I’ve been wanting to experiment with that but don’t want it to overpower the classic farmhouse flavor!

3 days ago

Love that creative swap! For anyone else trying this, we recommend keeping smoked malt to under 10% of your grain bill so it doesn’t cover up that bright, fruity yeast character that makes farmhouse ale so special.

yesterday

Solid recipe for medium difficulty, no weird hard-to-find ingredients which is a huge win. I didn’t have to make a special trip to the homebrew shop for once, just grabbed everything from my regular supply bin. Turned out balanced, not too bitter, perfect for sipping on the porch after mowing the lawn.

3 days ago

Ugh, my first batch came out a little cloudier than the photos show—did I do something wrong? It tastes fine, just not as clear as I expected.

2 days ago

Don’t stress! Farmhouse ales are traditionally a little hazy! If you want it clearer next time, try cold crashing it for 2-3 days before bottling, that worked like a charm for my last batch.

2 weeks ago

Made this for my fantasy football draft party and it was a total hit. Even my friends who only drink cheap light lager were going back for refills. 10/10 will be making this again before our next game day.

1 week ago

That’s what we love to hear! Farmhouse ale is such a crowd-pleaser because it’s crisp and approachable even for folks who don’t drink craft beer regularly. So glad it was a hit at your draft!

5 days ago

Seconding this! I made it for my own draft last weekend and brought a keg, it was kicked by halftime of the first early game. Absolute banger recipe.

2 hours ago

Has anyone tried making this with a gluten-free grain blend? I have a couple friends with celiac who I want to include at my next bonfire, but I don’t want to waste ingredients if it doesn’t turn out right.

30 minutes ago

We haven’t tested a gluten-free version of this recipe ourselves yet, but several homebrewers in our community have reported success swapping the barley for a GF malt blend made with millet and rice, and using a GF farmhouse yeast strain. Start with the same hop schedule and you should get a really similar result!

5 days ago

I’ve been brewing farmhouse ales for almost 20 years, and this recipe is one of the most straightforward, reliable ones I’ve come across. No fancy frills, just a classic, well-balanced brew that tastes like the ones I had when I visited small farms in Belgium back in the 90s. Will be adding this to my regular rotation.

1 week ago

How long do you all usually let this ferment before bottling? The recipe says 2 weeks but I’m wondering if I can let it go a little longer for more of that funky yeast flavor?

5 days ago

I let mine go for 3 weeks at 72 degrees and it had the perfect amount of that classic farmhouse funk, no off flavors at all. Just make sure you take hydrometer readings to make sure it’s done fermenting before you bottle!

3 days ago

Agreed! I’ve let mine go as long as 4 weeks once when I got busy and forgot about it, and it was actually even better. Just don’t rush the carbonation step after bottling!

2 days ago

This was my first ever homebrew batch and I was so nervous I’d mess it up! It turned out way better than I expected, my roommate said it tastes like the expensive stuff we buy at the craft brewery downtown.

yesterday

Same! This was my first batch too and I was shocked how drinkable it was right after carbonation. Way easier to nail than the IPA I tried to make a couple months ago that tasted like pine soap.

3 days ago

I added a half ounce of Saaz hops at whirlpool for a little extra spicy, floral note and it slapped. Perfect summer sipper, drank half the batch on my last camping trip with the guys. Already planning my next batch for the fall.

5 minutes ago

Roughly how much does a full batch of this cost to make? I’m trying to get into homebrewing without dropping a ton of money on fancy ingredients right off the bat.

just now

If you already have basic homebrewing equipment, a 5-gallon batch of this will run you about $35-$45 depending on where you source your grains and yeast, which is way cheaper than buying craft beer by the six pack long term!

just now

Can confirm! I sourced my grains from a local bulk shop and got yeast that I repitched from a previous batch, and my total cost was under $30 for 5 gallons. Such a steal for how good it turns out.

1 week ago

Heads up for anyone new: don’t skip the priming sugar step when bottling! I got lazy on my first batch and it was totally flat, tasted like flat bread soda almost. Made it a second time following the measurements exactly and it was perfect.

5 days ago

Thanks for sharing that tip! Carbonation can be tricky for new brewers, so measuring your priming sugar carefully and making sure your bottles are properly sealed is key to getting that perfect fizz. Glad your second batch turned out great!

2 weeks ago

Brewed a batch of this to have on hand for my family’s annual fall apple picking trip, and it paired so well with the apple cider donuts and cheese plates we packed. Not too heavy, not too boozy, just perfect for sipping while we walked through the orchard.

yesterday

Wait, do you have to use a specific farmhouse yeast strain for this? I have a leftover pack of American ale yeast in my fridge, would that work as a substitute?

2 hours ago

It’ll work, but you won’t get that signature peppery, fruity farmhouse flavor! It’ll just taste like a regular pale ale if you use standard American ale yeast. It’s worth grabbing the right strain if you can, I found mine for like $4 at my local homebrew shop.

yesterday

Brought a 6 pack of this to my office potluck last week and now all my coworkers are begging me to homebrew for every company event. Didn’t even get to drink a second one myself because it went so fast! Oops, guess I need to make a double batch next time.

yesterday

LMAO same thing happened to me when I brought this to my team happy hour! My boss asked if I could start selling it out of my garage, it was that good.

30 minutes ago

That’s the best kind of problem to have! A double batch is a great call—this recipe scales really easily as long as you adjust your boil time and hop additions proportionally. Good luck keeping up with demand!

3 days ago

Has anyone tried adding any spices to this? I’m thinking a tiny bit of orange peel and coriander for a holiday version, but I don’t want to throw off the balance of the original recipe.

2 days ago

That sounds delicious! We recommend adding no more than 1 teaspoon of crushed coriander and 2 strips of orange peel (no white pith, that adds bitterness) during the last 10 minutes of the boil to keep the flavors subtle and well-integrated. Let us know how it turns out if you try it!

just now

I’ve been scared to try all-grain brewing for years, but this recipe made it feel totally doable. The step-by-step instructions were so clear, I didn’t have to Google a single thing while I was brewing. Ended up with a smooth, tasty ale that I’m proud to share with friends. 10/10 for new all-grain brewers!



