
fat free cream cheese
intro
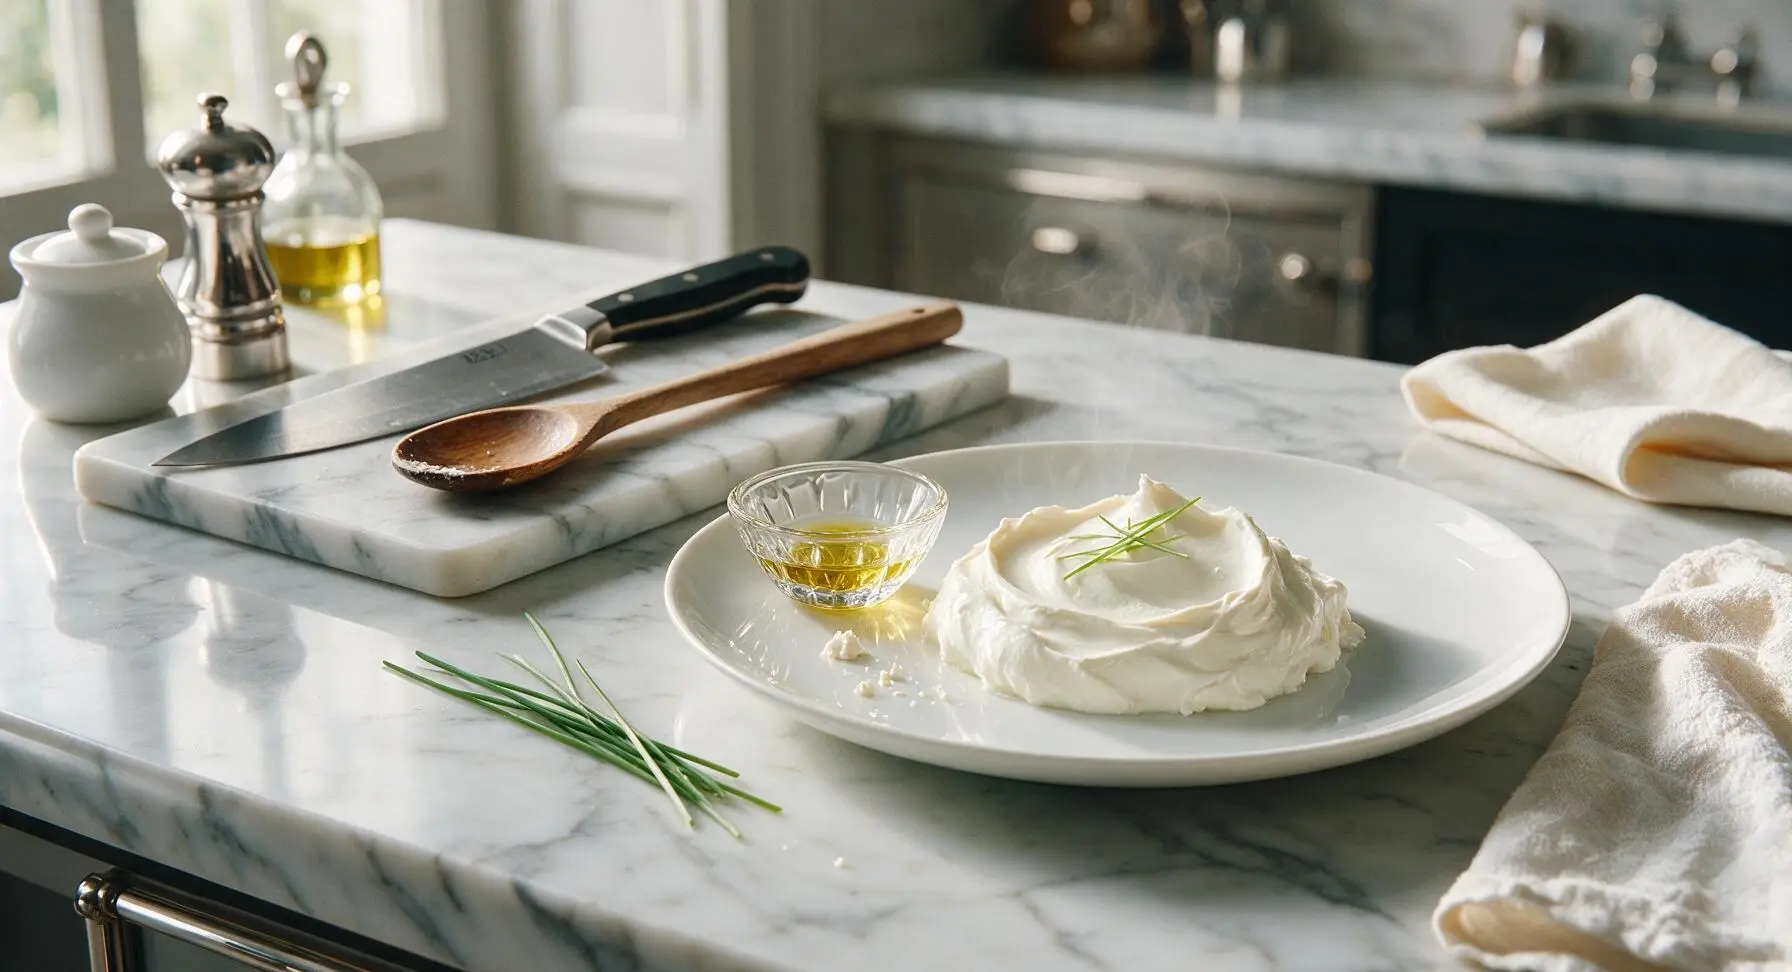
Smooth, tangy, zero-fat homemade cream cheese with the same spreadable texture as full-fat versions, perfect for light bagels, dips, and holiday baked goods.
Ingredients
Steps
Bloom powdered gelatin
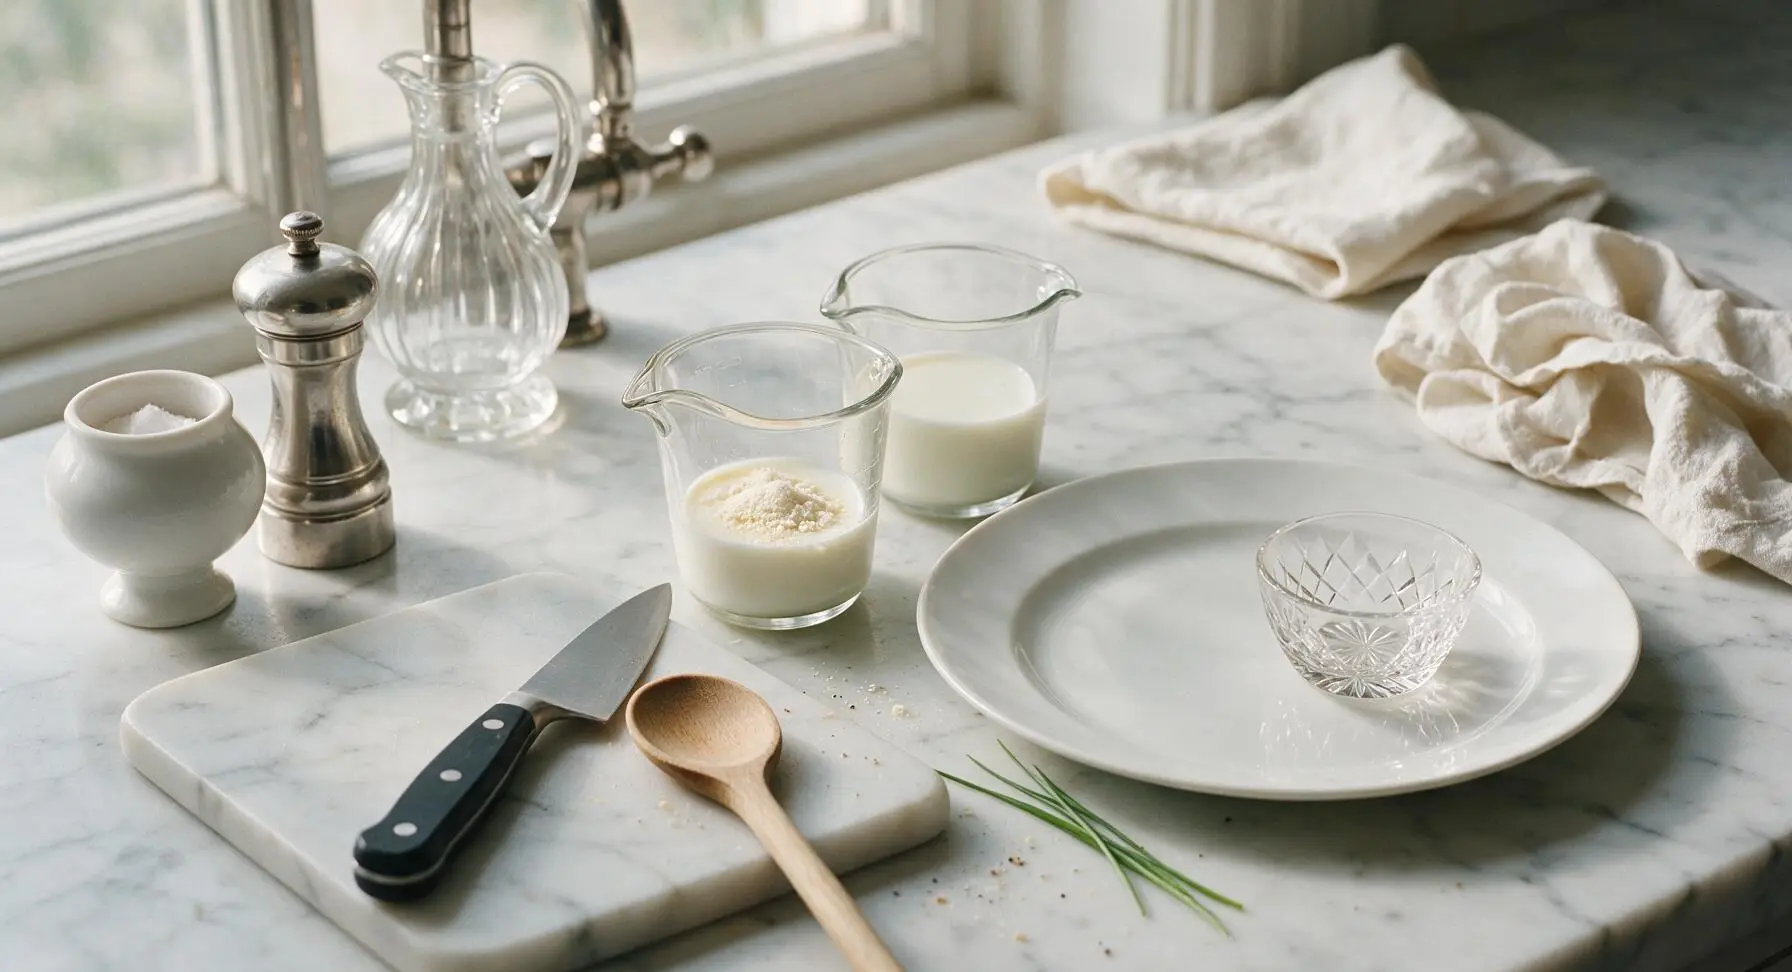
Measure 2 tbsp of cold skim milk (reserved from the total 240ml) into the glass measuring cup. Sprinkle the 1 tsp unflavored powdered gelatin evenly across the surface of the cold milk. Let rest for 5 minutes at room temperature to bloom; the gelatin will absorb the milk, forming a wrinkled, semi-solid layer on the surface with no dry powder remaining.
Heat and curdle milk
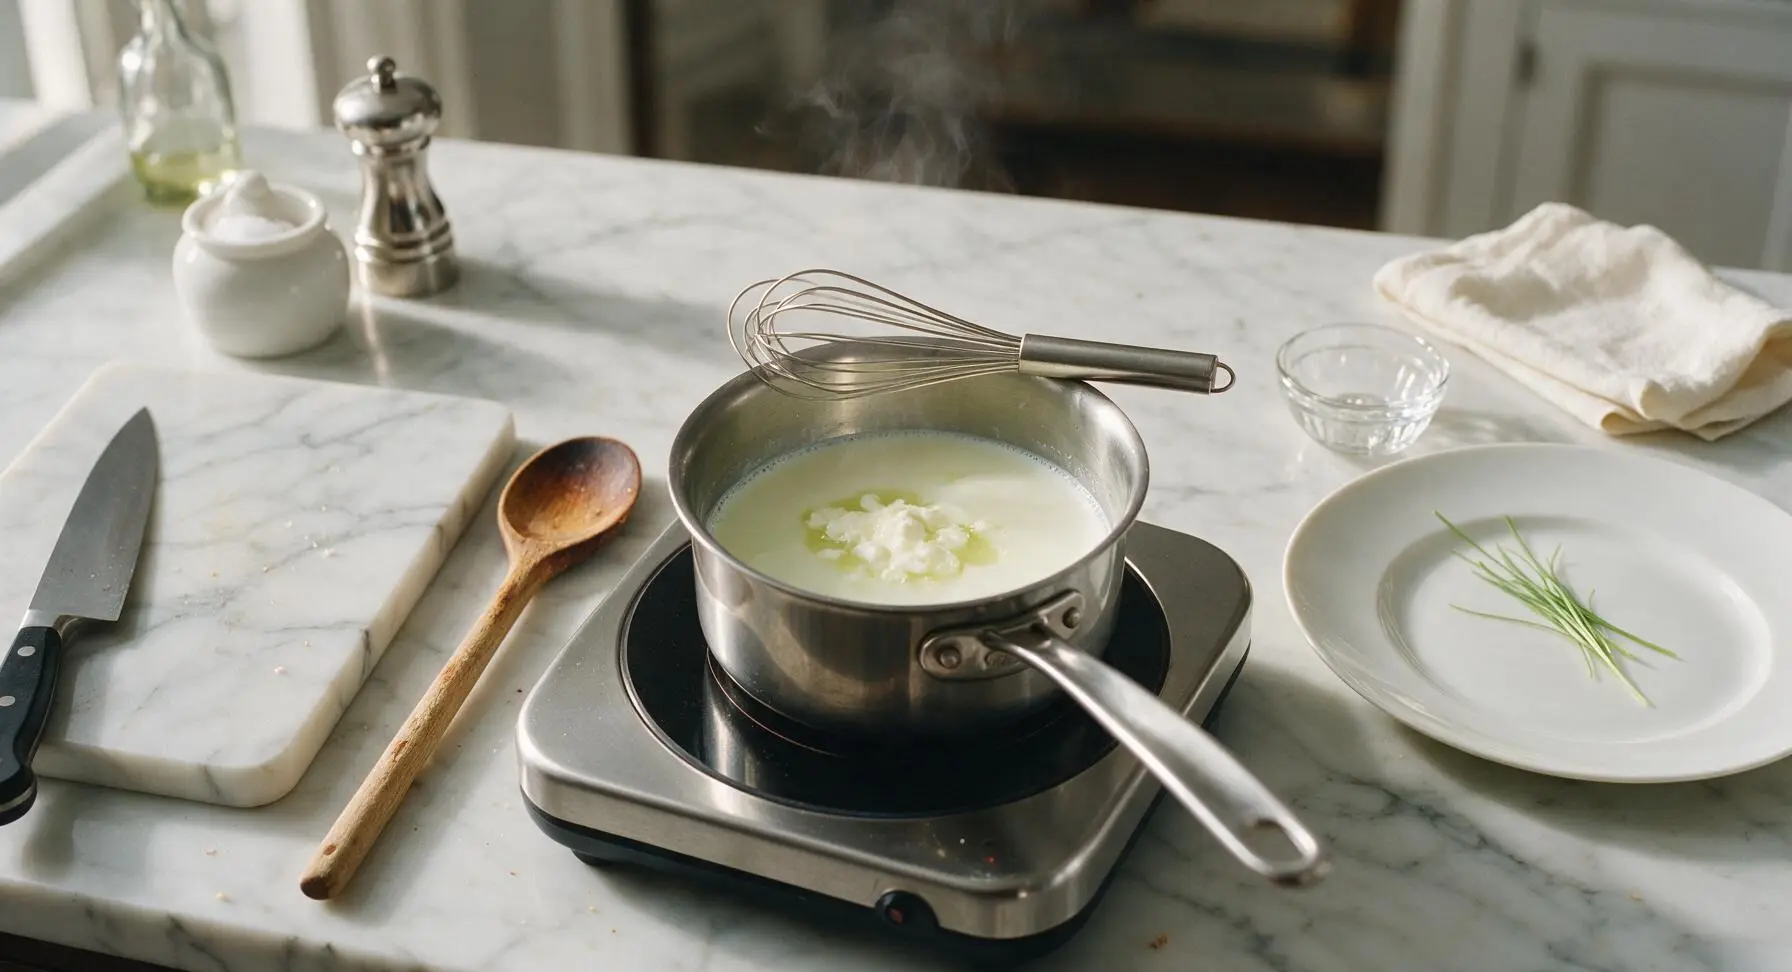
Pour the remaining skim milk (approximately 210ml) into the small stainless steel saucepan, and place the pan on the portable induction burner set to medium-low heat. Warm the milk to 82°C (180°F), stirring occasionally with the stainless steel whisk to prevent scalding on the pan bottom. Once the target temperature is reached, remove the pan from heat, stir in 2 tbsp of fresh lemon juice (squeezed with the hand-held citrus juicer), and let rest 5 minutes. Small, soft white curds will form, separating from translucent pale yellow-green whey.
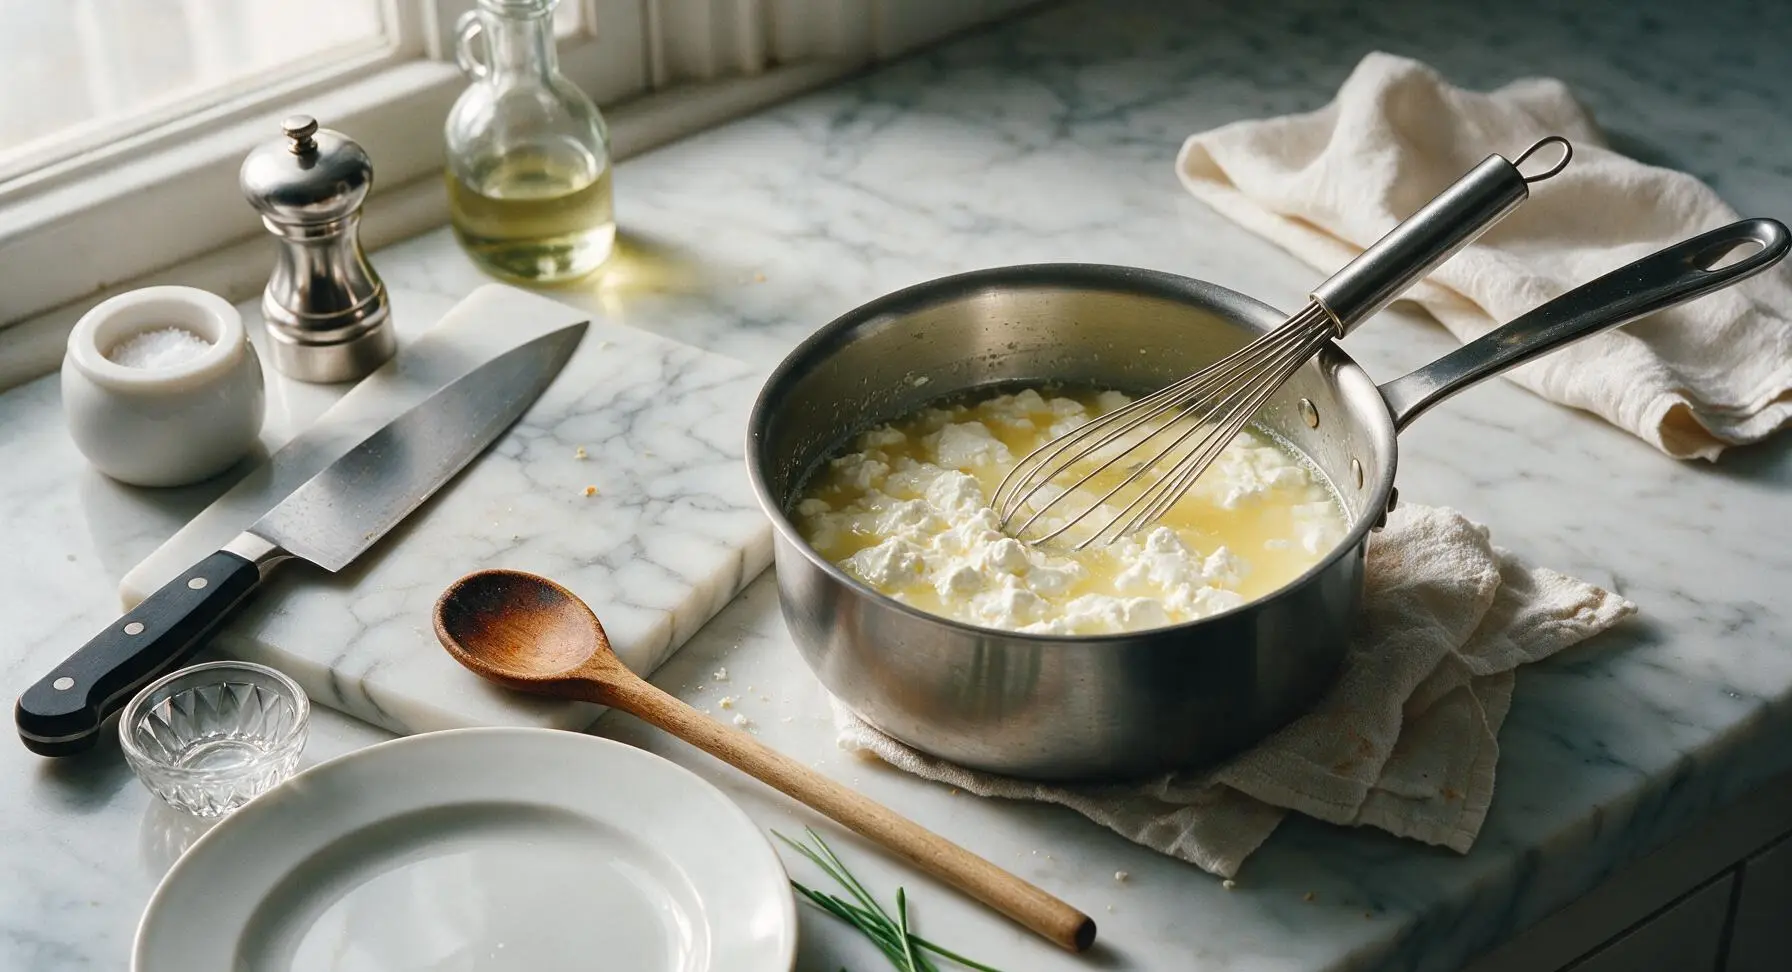
Line sieve for straining
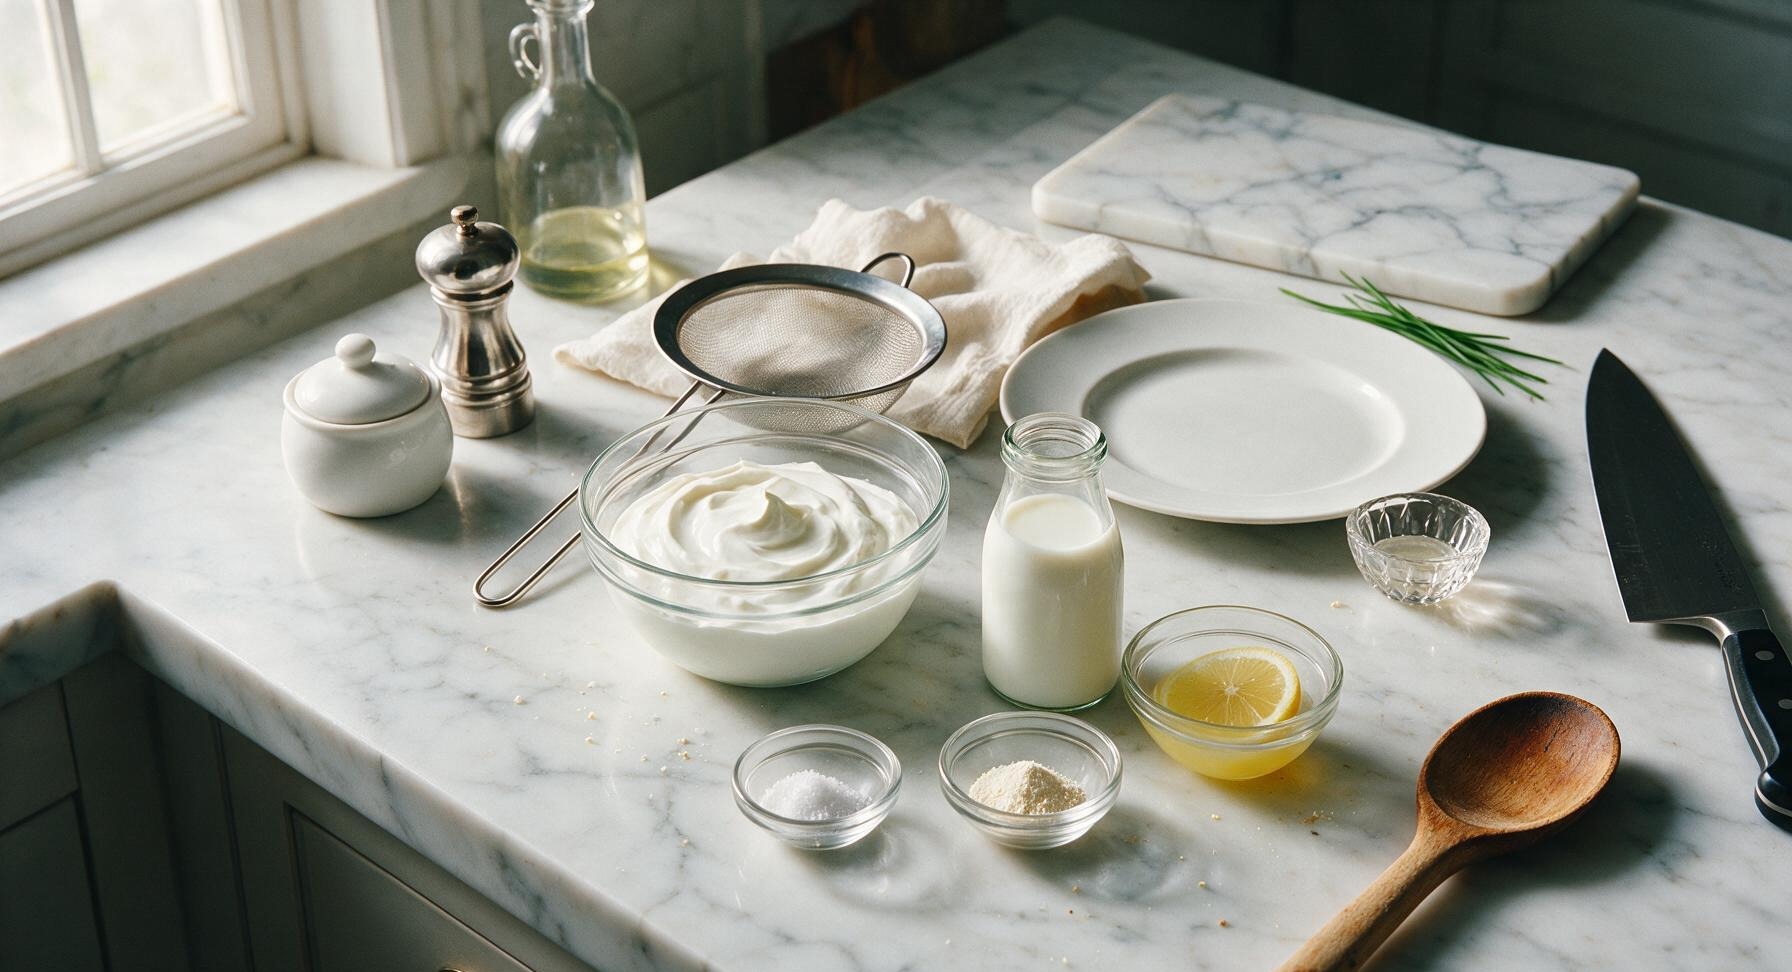
Retrieve the fine-mesh stainless steel sieve from its storage spot next to the measuring cup, and set it securely on top of the central glass mixing bowl. Retrieve the cheesecloth from under the linen towel, fold it into a double layer, and line the sieve with it, leaving 5cm of cloth overhang around the entire sieve rim to make wrapping the curds easy later.
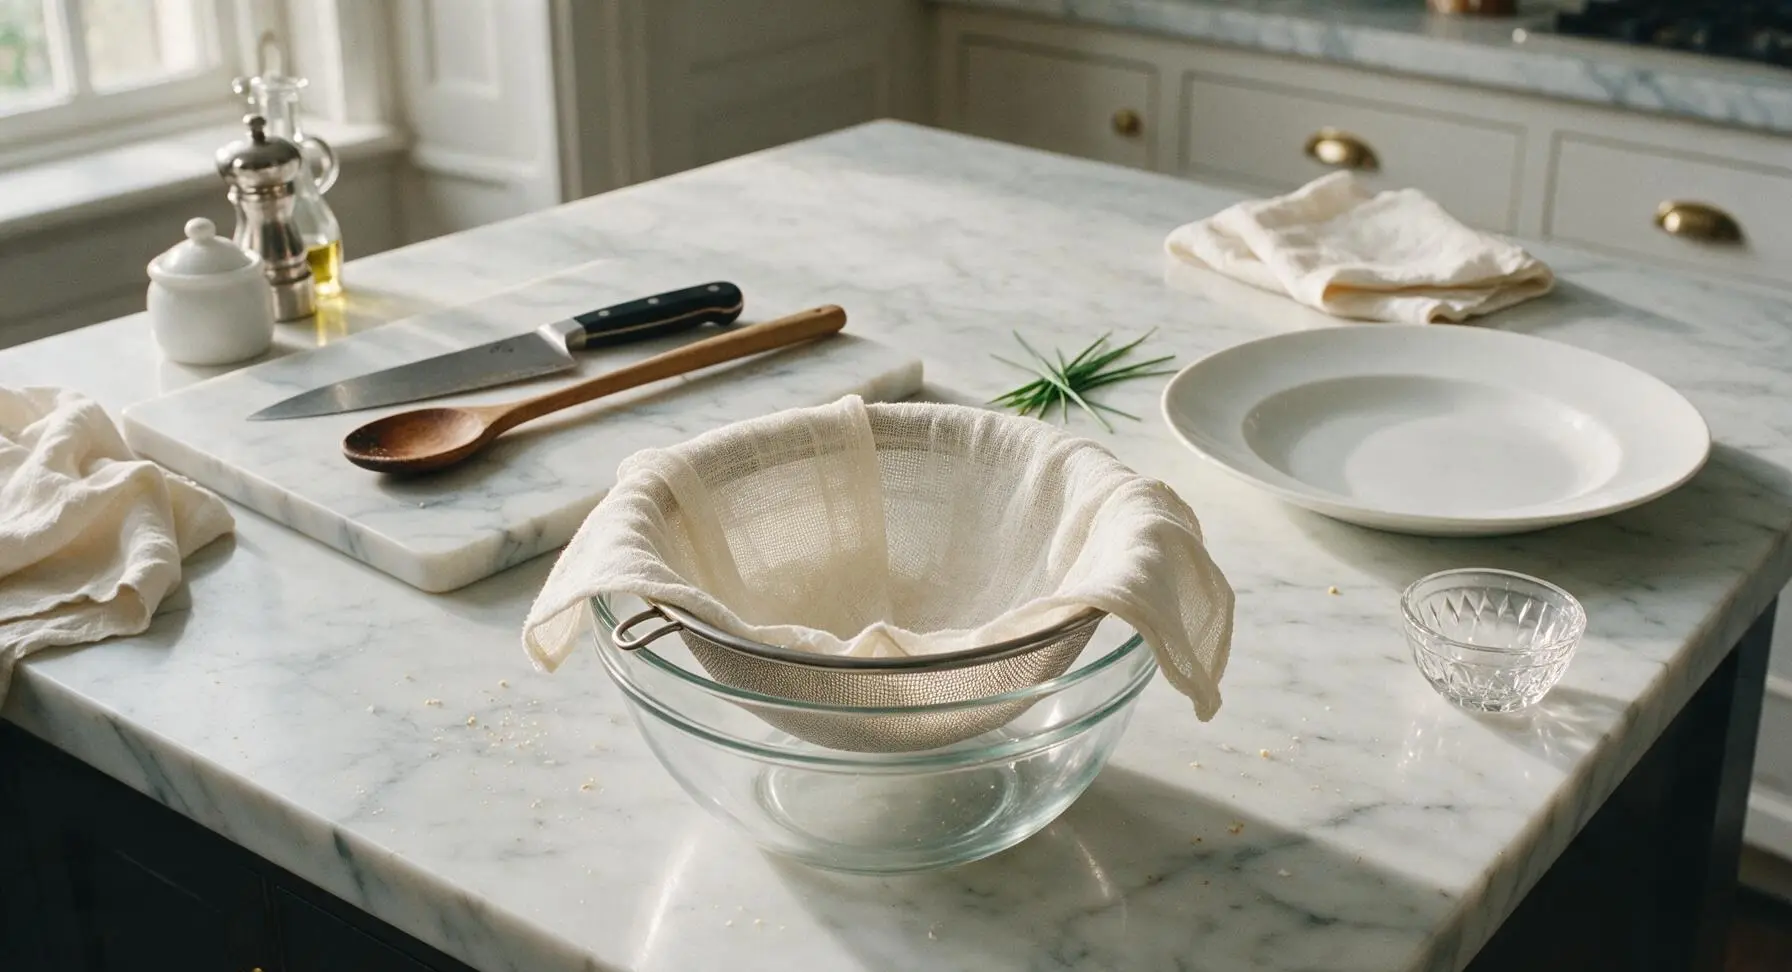
Strain curd and yogurt
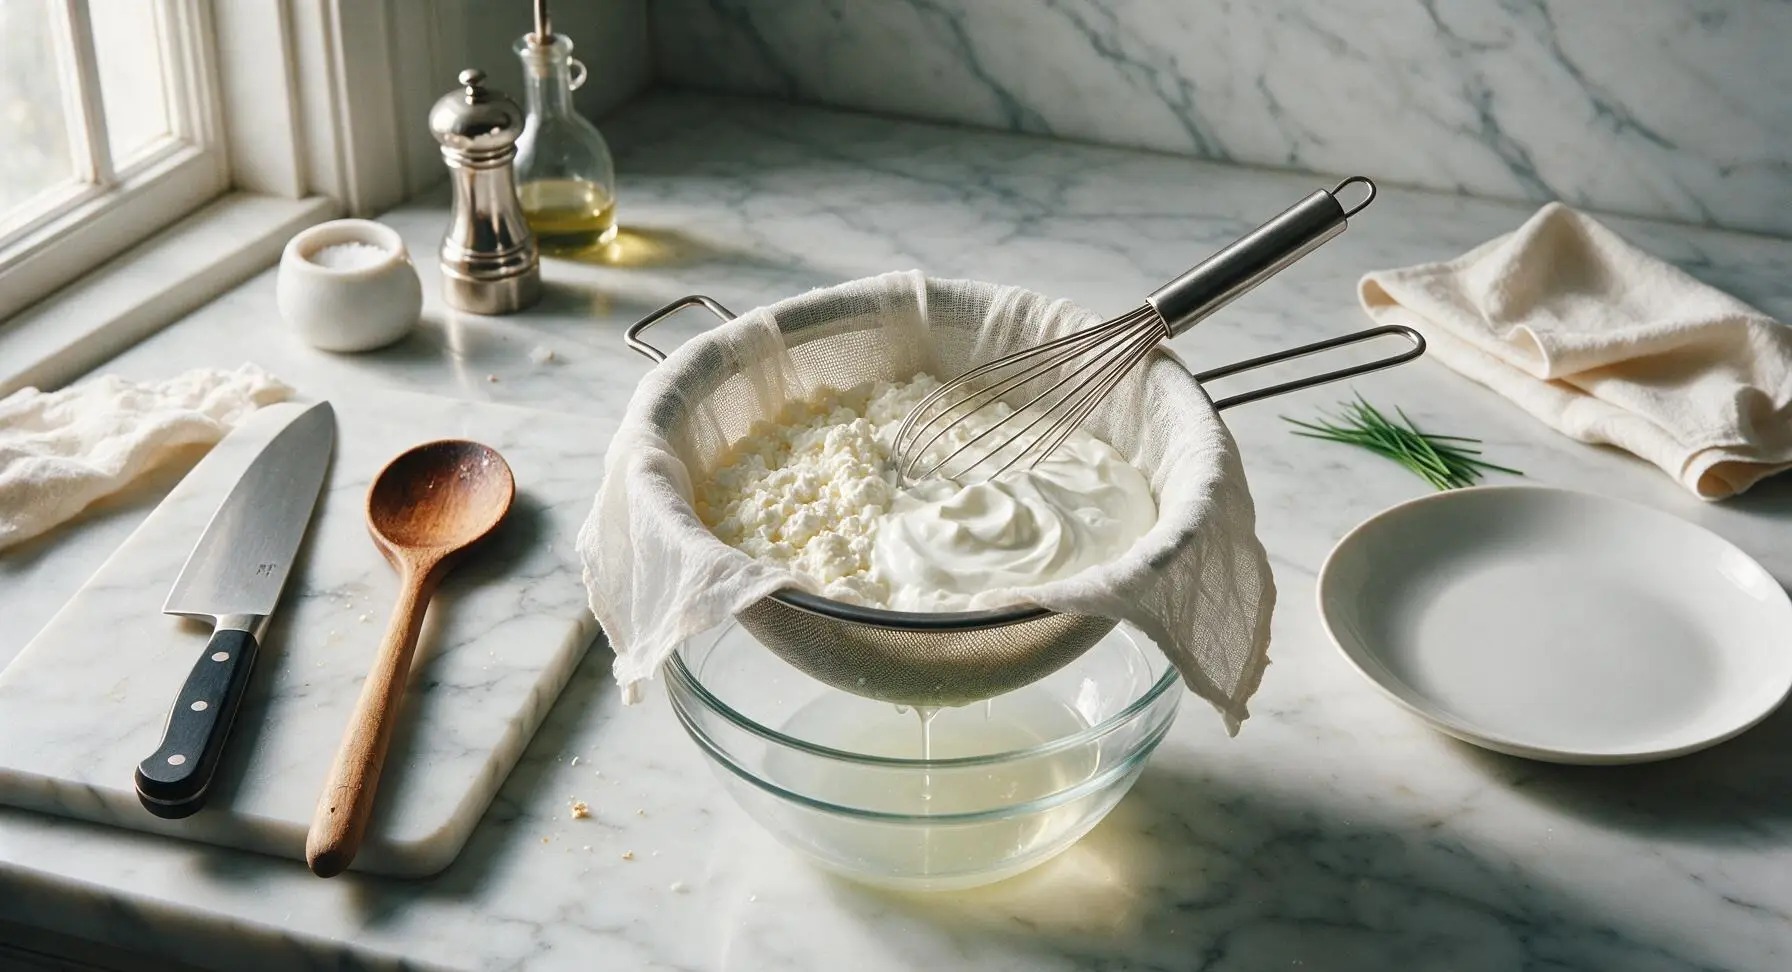
Pour the curdled milk and whey mixture from the saucepan into the cheesecloth-lined sieve, then add all 450g of unsweetened nonfat plain Greek yogurt. Stir gently with the whisk to combine the curds and yogurt into a uniform mixture, then sprinkle the 1/4 tsp fine sea salt from the pinch bowl over the top and stir once more. Let the mixture drain undisturbed for 2 hours at room temperature; approximately 300ml of pale whey will collect in the mixing bowl below, leaving a thick curd mass with no loose liquid pooling on its surface.
Melt bloomed gelatin
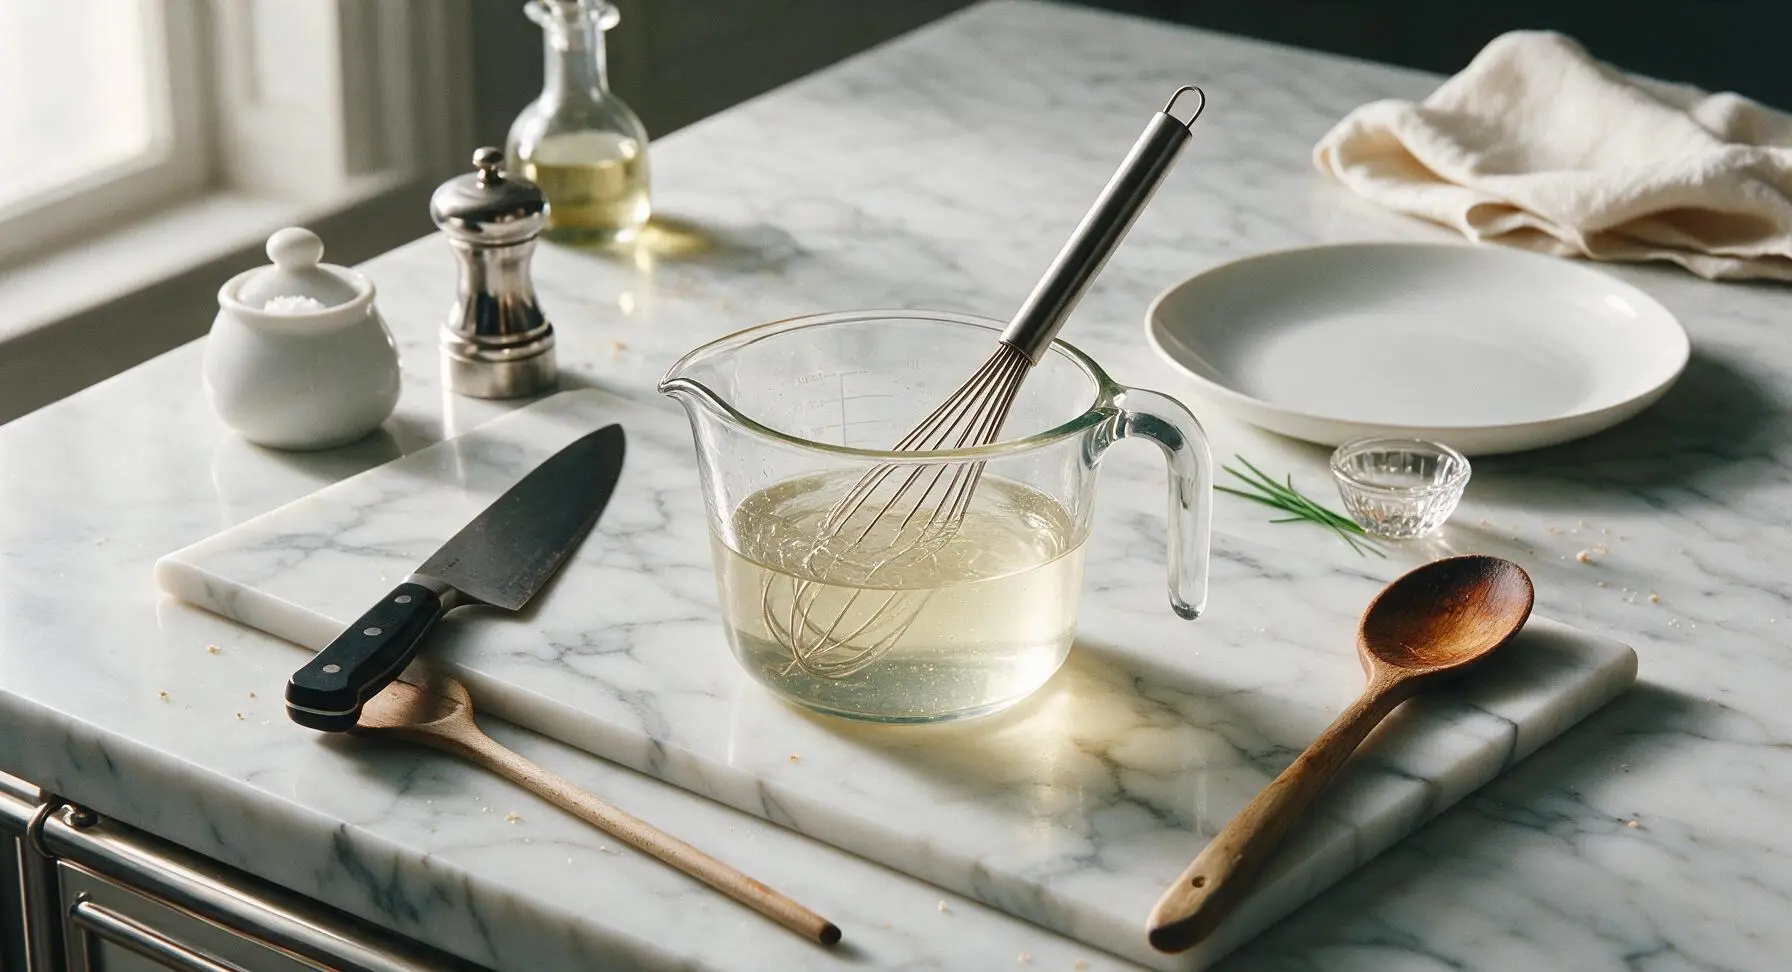
After the curd mixture has strained for 2 hours, heat the glass measuring cup with the bloomed gelatin in the microwave for 10 seconds on high, or set the cup in a small bowl of hot water for 1 minute, until the gelatin is fully melted into a clear, smooth liquid with no visible lumps. Stir gently with the whisk to ensure even consistency.
Blend gelatin into curds
Carefully lift the sieve off the mixing bowl, pour the collected whey out of the bowl, then return the sieve to the now-empty bowl. Fold back the cheesecloth covering the curds, pour the melted gelatin evenly over the curd surface, and stir vigorously with the whisk for 1 full minute, until the gelatin is completely incorporated with no clear streaks remaining.
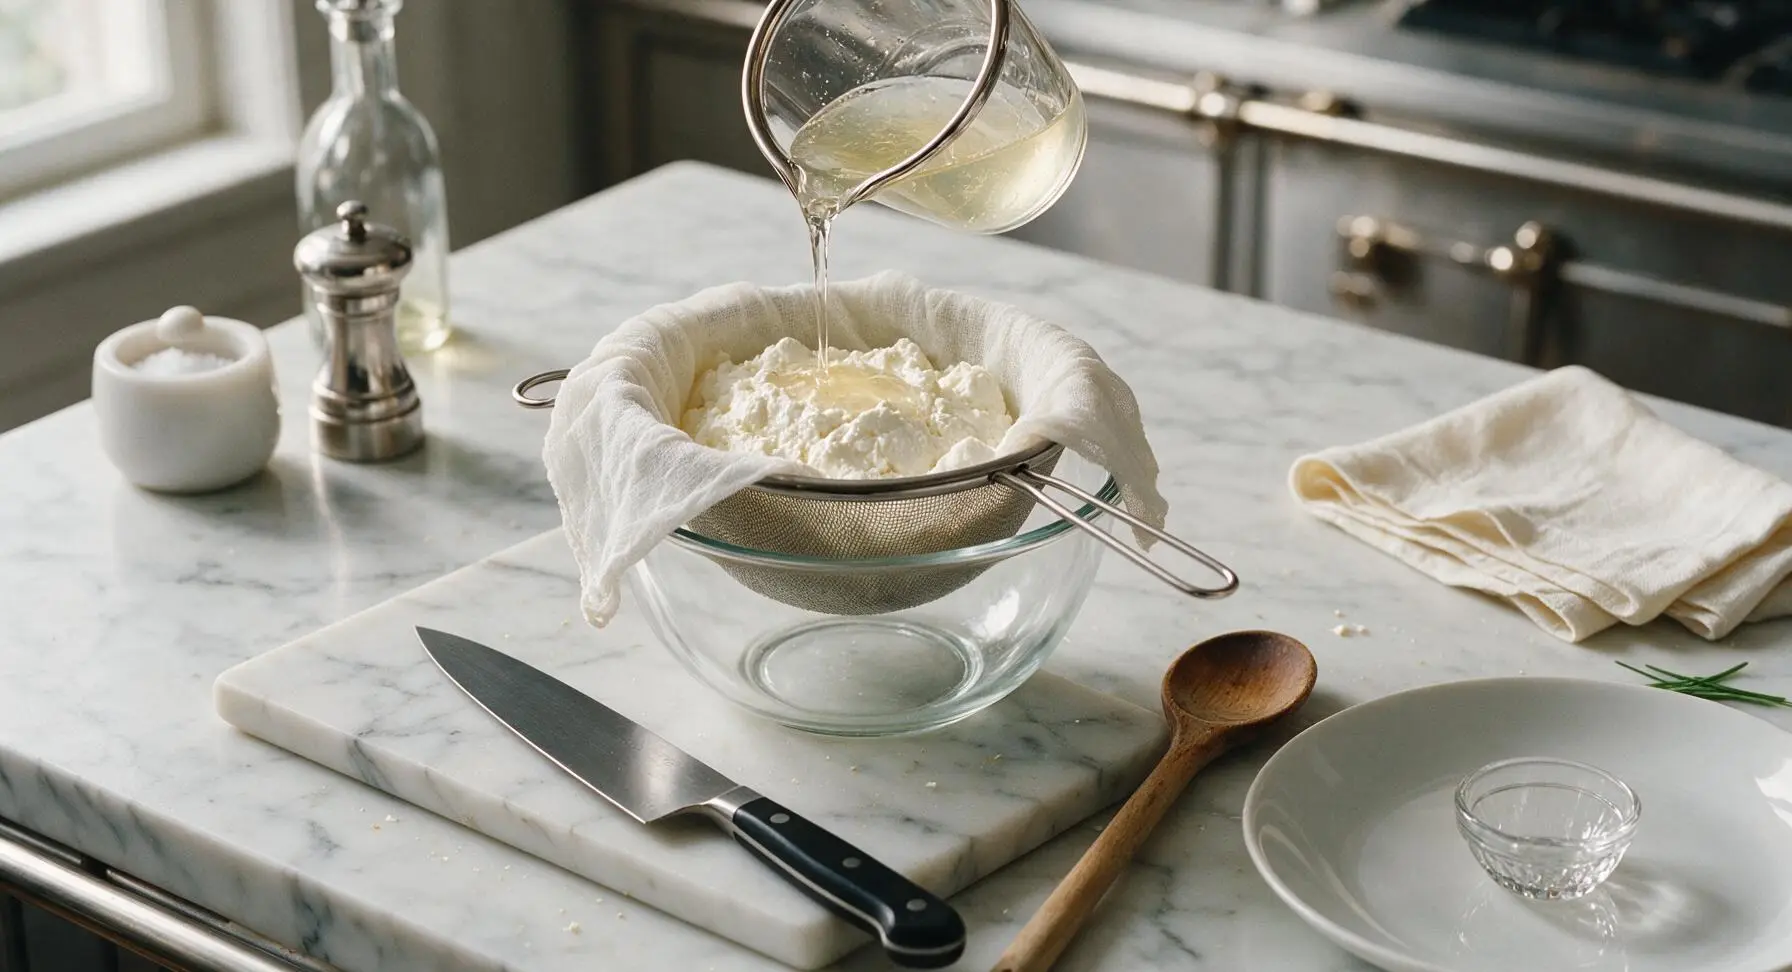
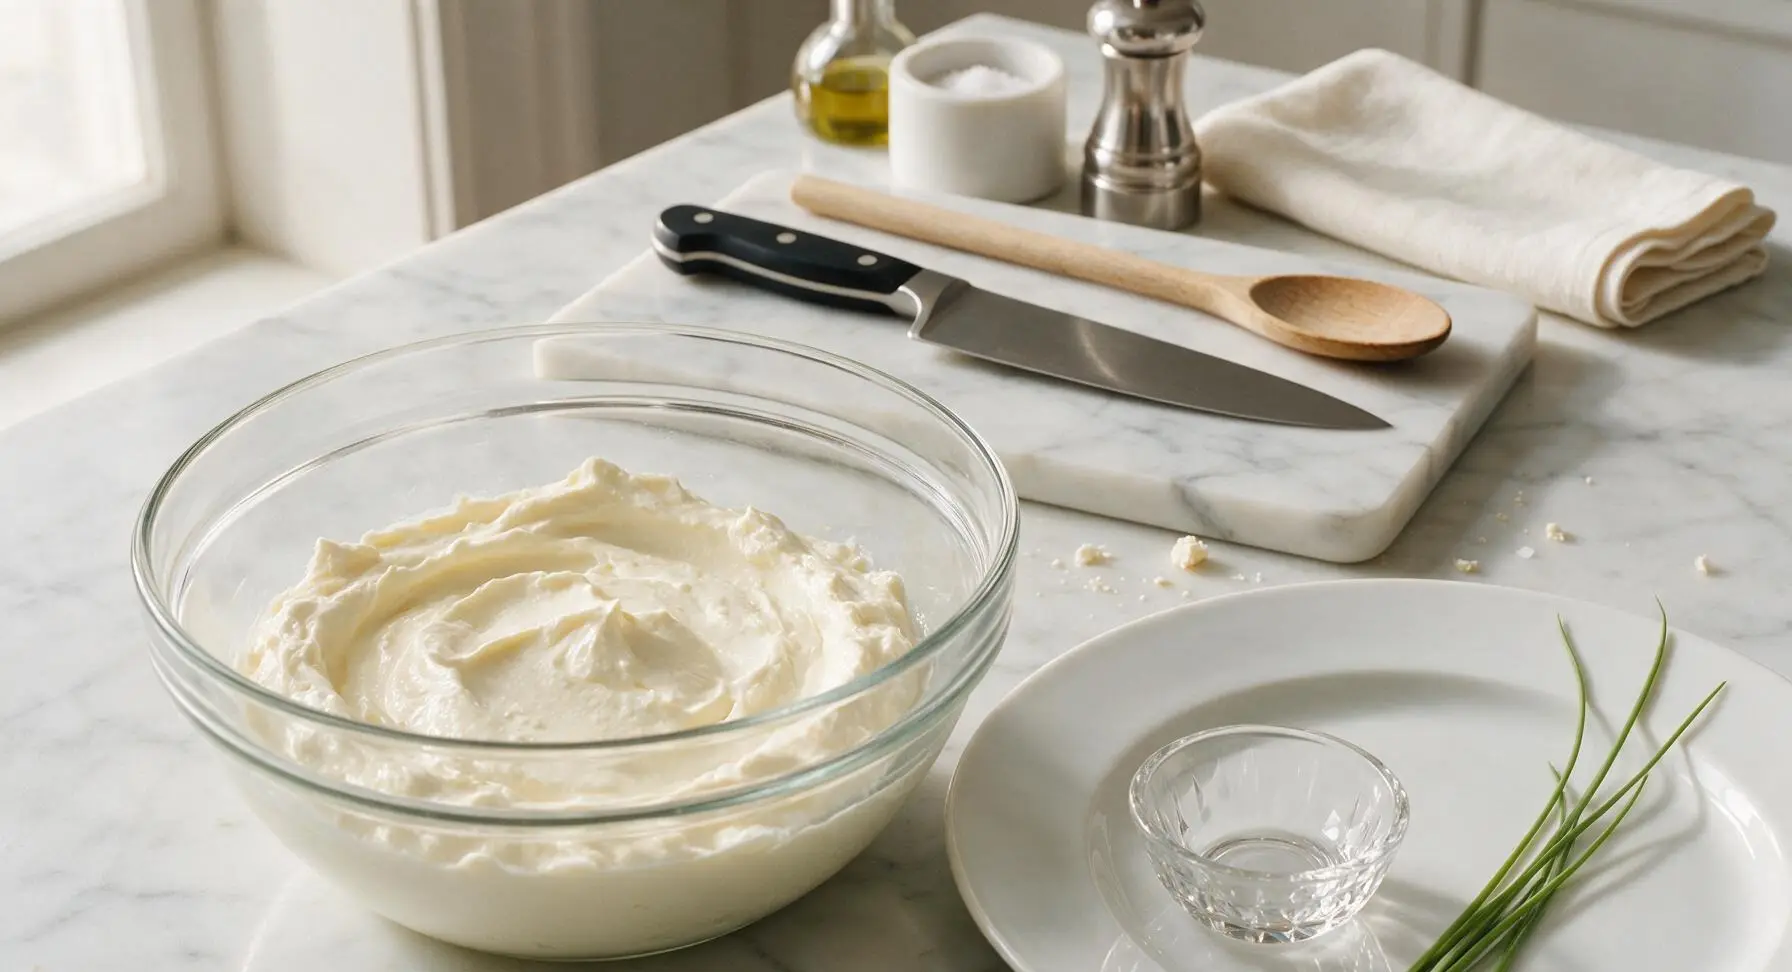
Strain and chill mixture
Smooth the top of the curd mixture into an even layer in the cheesecloth, then fold the overhanging cheesecloth edges over the top to cover the curds completely. Drape the linen towel loosely over the top of the sieve to block fridge odors, then transfer the entire sieve and bowl setup to the refrigerator to chill for 4 hours, until the curd is firm to the touch and fully set.
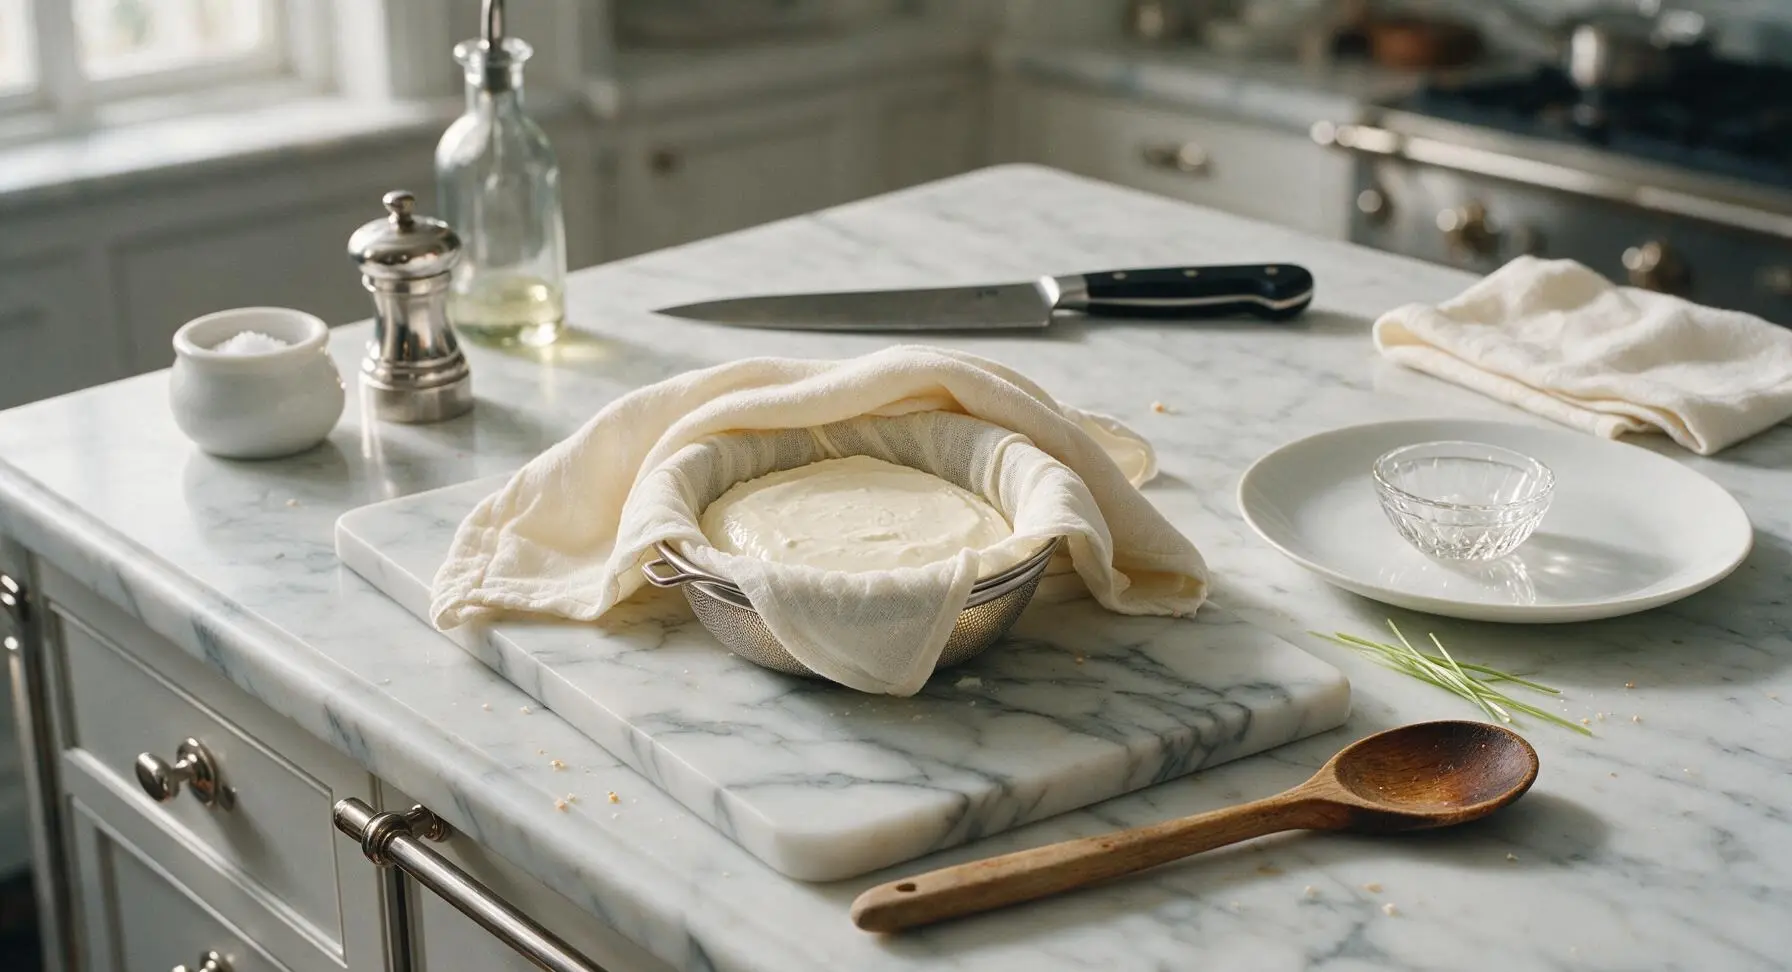
Whip and store cheese
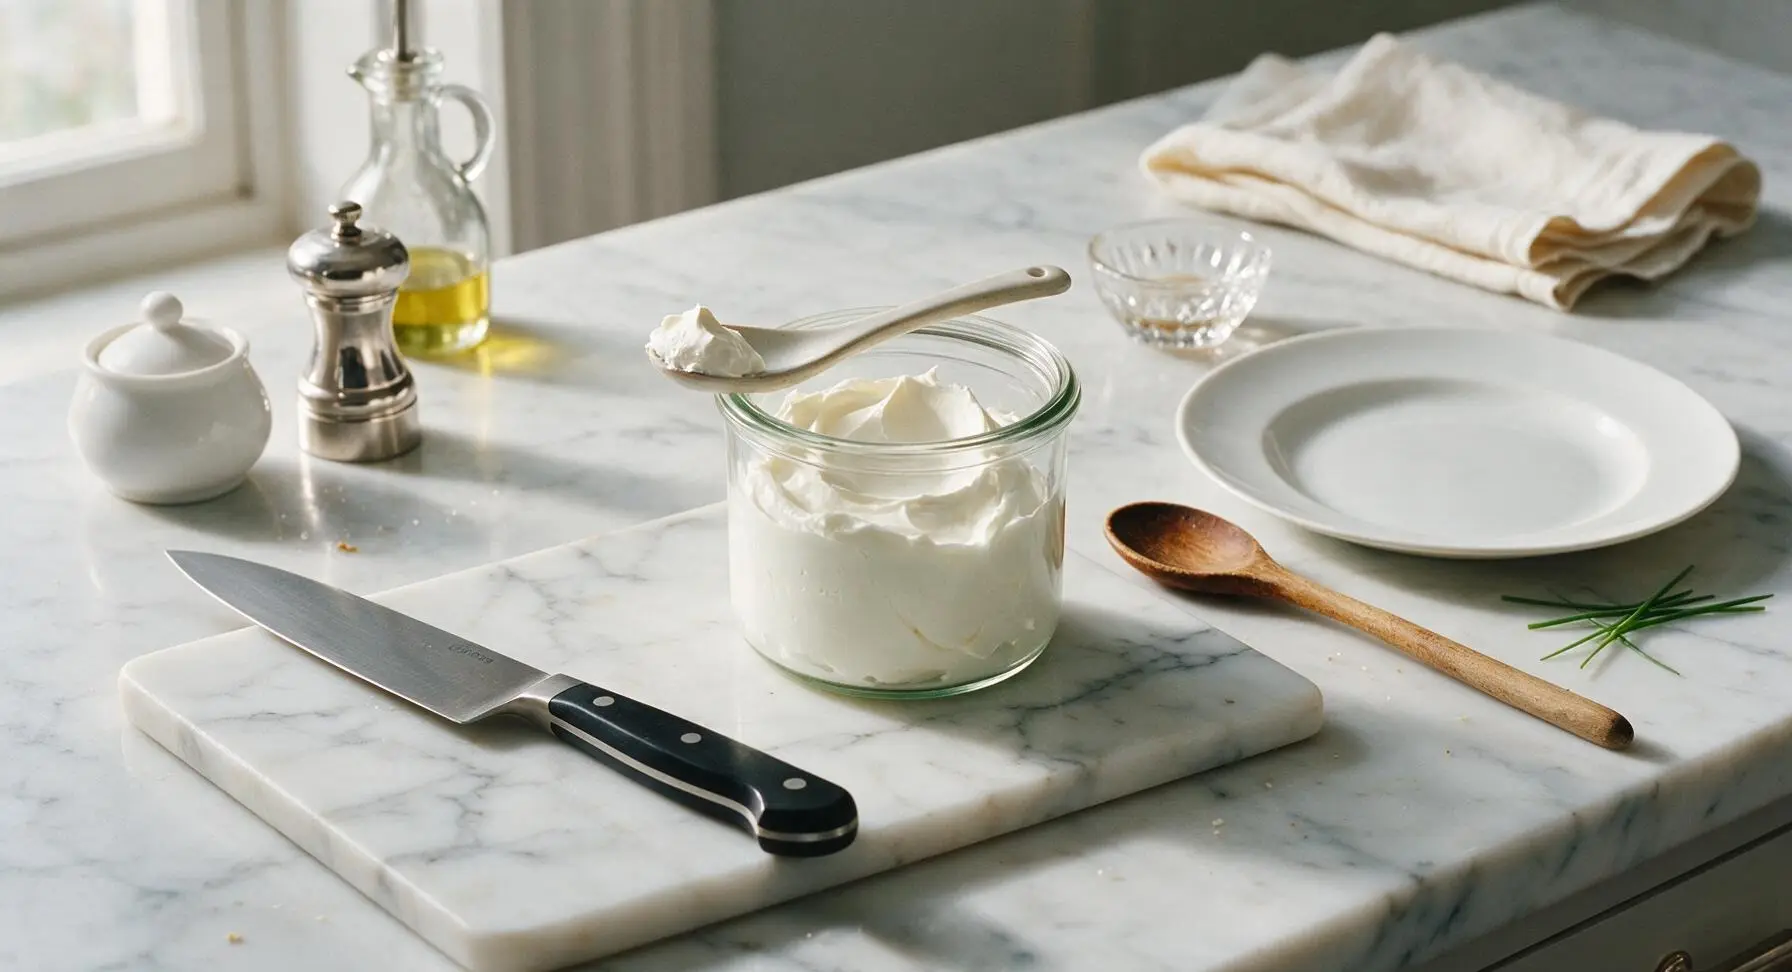
Remove the sieve setup from the refrigerator, unwrap the cheesecloth, and transfer the firm set curd to the clean central mixing bowl. Whip the chilled curd with the whisk for 30 seconds, until it is completely smooth, light, and spreadable with no remaining lumps. Transfer the whipped cream cheese to the clear glass storage jar, smooth the top with the ceramic tasting spoon, and seal with the glass lid until ready to use.
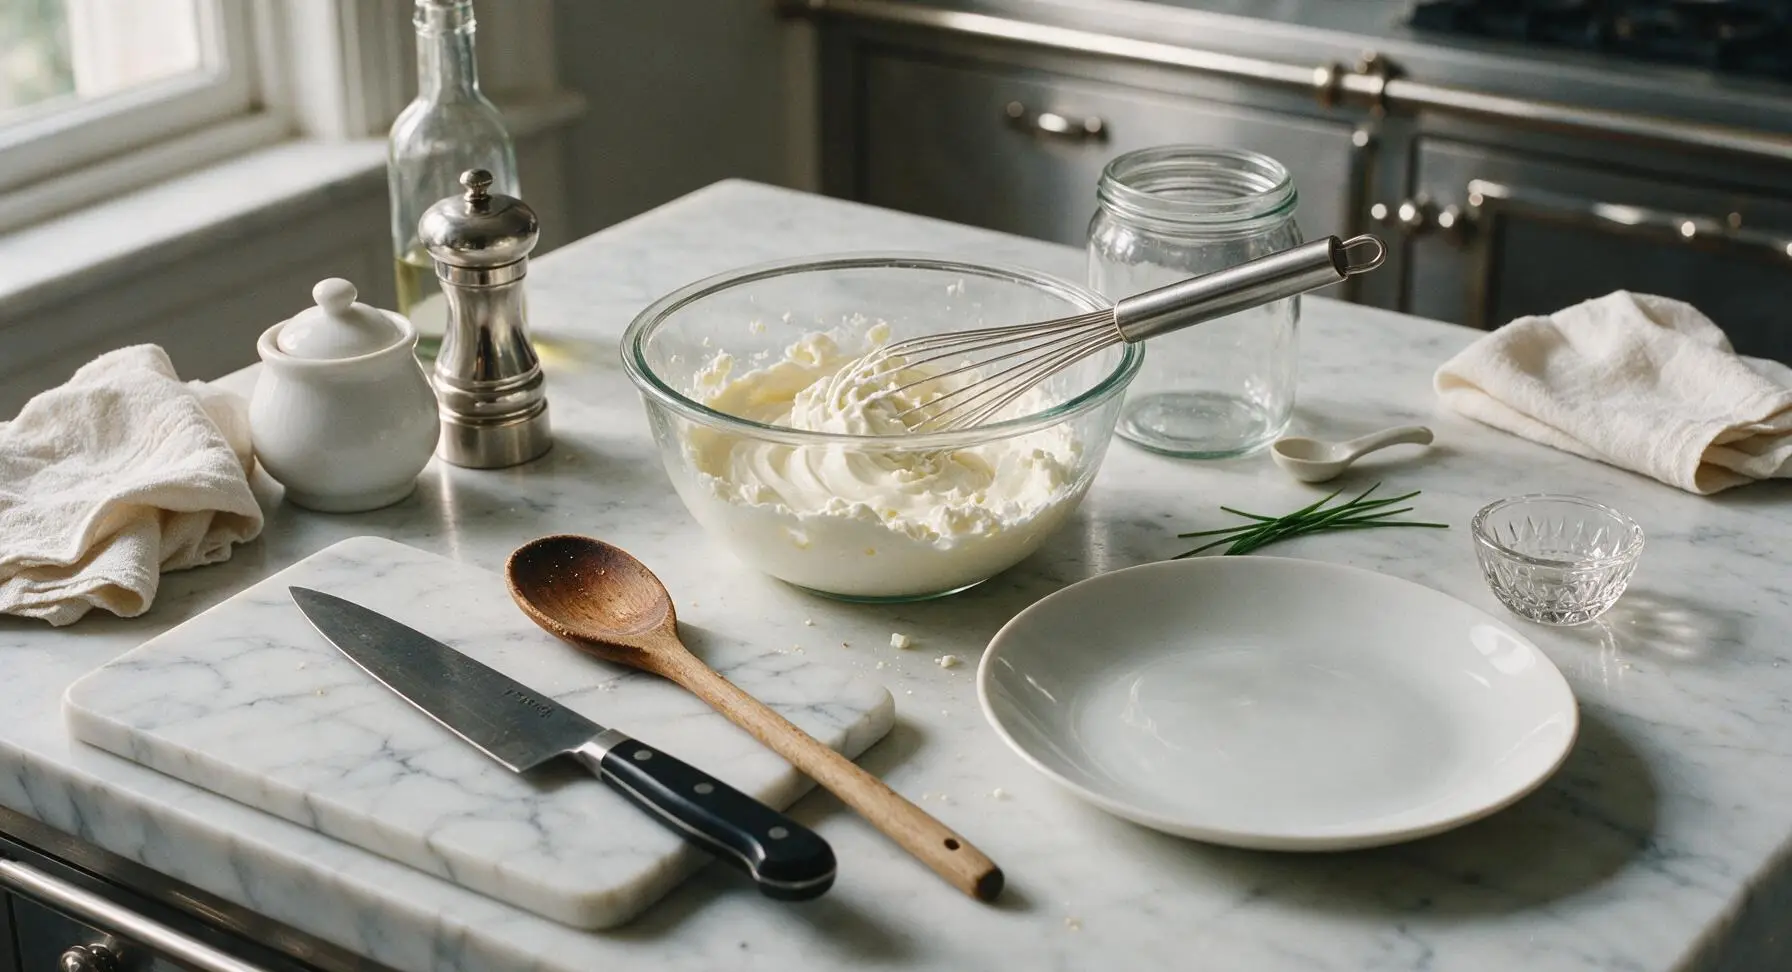
Tips
2.Use only unsweetened plain 0% fat Greek yogurt: Flavored, sweetened, or low-fat (not nonfat) yogurt will add unwanted sugar, extra fat, or artificial flavor that disrupts the neutral, tangy cream cheese profile that works equally well for savory dips and sweet baked goods.
3.Reserve the drained whey: The pale yellow whey collected during straining is high in complete protein and has a mild, tangy flavor. Use it to replace water or milk in smoothies, overnight oats, or homemade bread recipes to cut down on food waste and add extra nutrition.






OMG this homemade fat free cream cheese is a total game changer! I’ve been buying the expensive store brand fat free stuff forever for my morning bagels and this tastes so much better, no weird gummy texture at all. My kids even ate it on their celery sticks with a sprinkle of everything bagel seasoning after school yesterday, zero complaints! Super easy too, I almost couldn’t believe how few steps there were. 10/10 will be making this for weekly meal prep from now on.
SO good, I used this to make a lighter veggie dip for my friend’s potluck last weekend and nobody could tell it was fat free! Only reason I’m knocking off a star is I thought it would be a little tangier, I added a tiny squeeze of lemon juice at the end to kick that up and it was perfect. Definitely going to keep this in my regular rotation for high protein snacks.
I was so skeptical fat free cream cheese could actually taste good, especially homemade, but this blew my expectations out of the water! I used it to make a lighter version of my grandma’s famous cheesecake bars for our family dinner and everyone was asking for the recipe. The strain time is totally hands off so it’s not even a hassle, super easy like the recipe says.
Taste is great, but I had a couple issues. First, I didn’t have cheesecloth so I used paper towels and it left little fuzzy bits in the final product, oops. Second, I think I let it sit too long because it was almost crumbly instead of spreadable. Wanted to love it, might try again with the right supplies though!
Game changer for my weekday breakfasts! I make a batch every Sunday, portion it out into little containers, and mix in different add-ins all week — everything from strawberry jam to diced jalapeño for a savory spread. Way cheaper than the store bought fat free cream cheese and no weird preservatives I can’t pronounce. 10/10, so easy even I can’t mess it up.
I’ve been making full fat cream cheese from scratch for decades, and I wanted a lighter option now that my doctor has me watching my saturated fat. This recipe is so simple, the texture is perfectly smooth, and it doesn’t have that weird artificial aftertaste the grocery store fat free versions have. I served it on homemade rye bread at my bridge club luncheon and all the ladies asked for the recipe!
Really solid recipe! I love that it’s zero fat and high protein, perfect for dipping carrot sticks and bell peppers when I get that mid-afternoon munchie craving at work. My only note is that it doesn’t last quite as long as store bought, so I’d recommend making smaller batches if you’re only using it for yourself, I had a little go bad after a week in the fridge.