
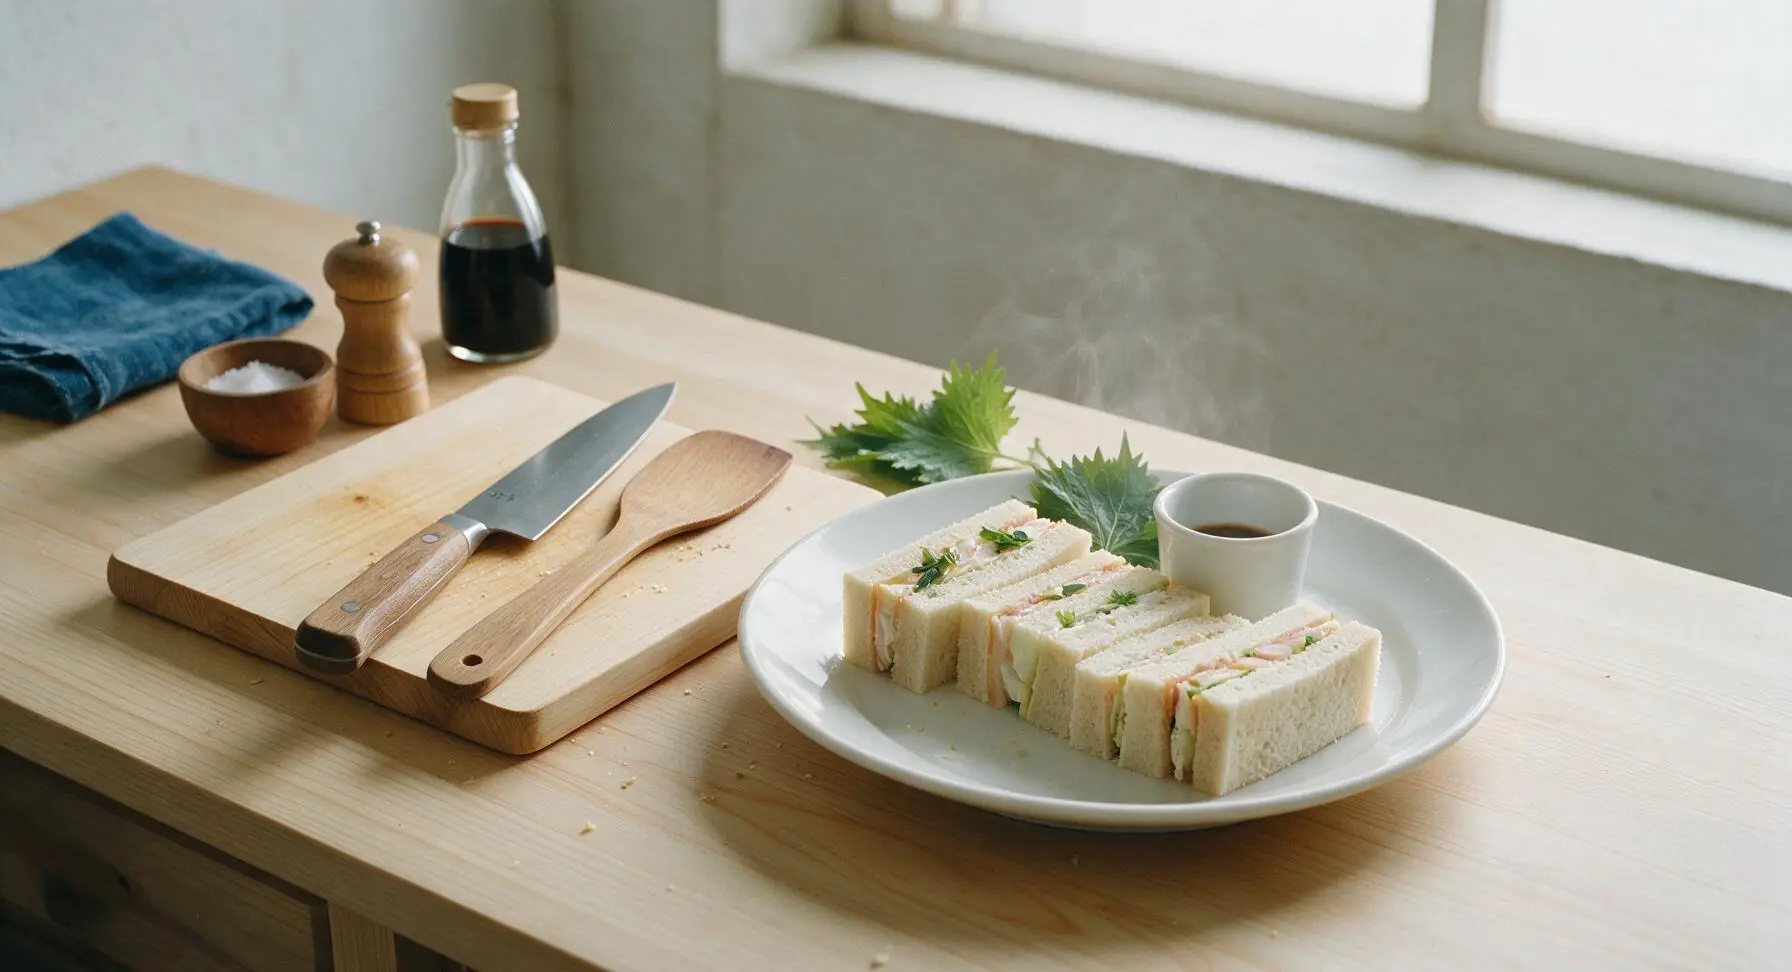
finger sandwich

title 1
finger sandwich
⏱️ cook time 10 minutes
🍽️ servings 4
⚡ Difficulty easy

intro

Delicate, crustless finger sandwiches with light, fresh spring fillings, perfect for picnics or afternoon tea, with soft bread and creamy, bright, well-balanced flavors.

Ingredients
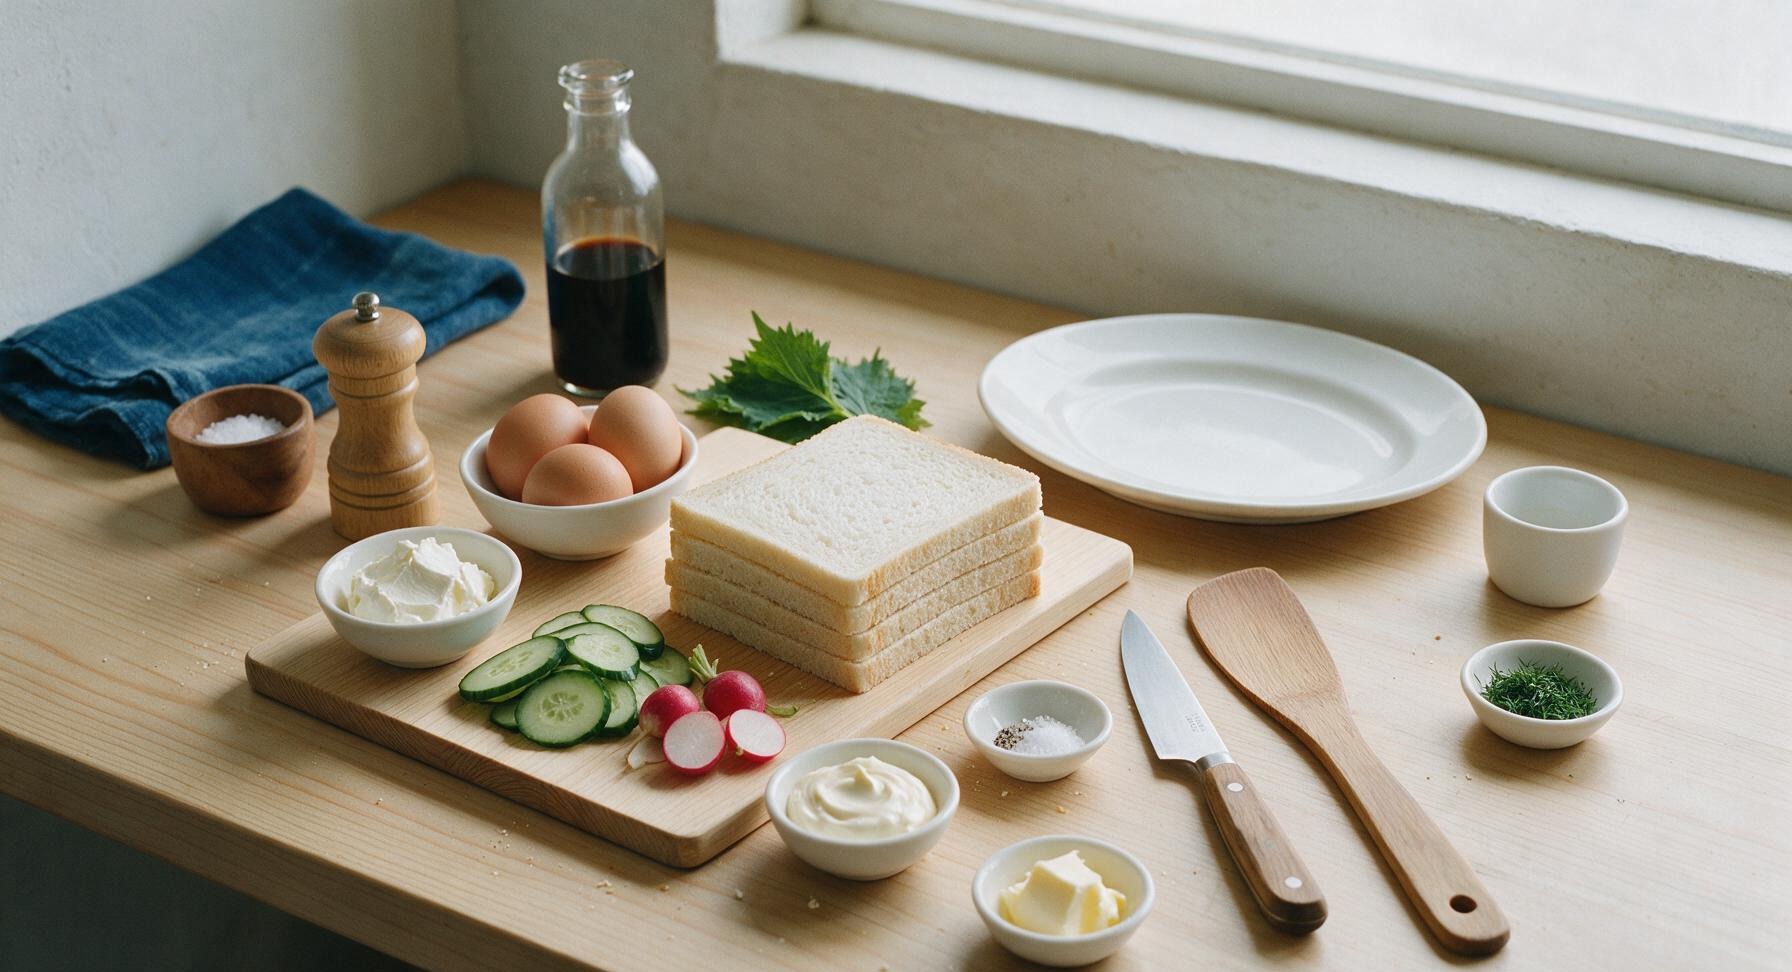
Thin-sliced soft white sandwich bread 8 slices (240g)
Large eggs 3 (150g)
Full-fat cream cheese, softened 113g (1/2 cup)
English cucumber 1/2 medium (100g)
Small radishes 4 (50g)
Mayonnaise 2 tablespoons (30g)
Fresh dill 2 tablespoons (5g), chopped
Unsalted butter, softened 2 tablespoons (28g)
Fine sea salt 1/4 teaspoon (1g)
Freshly ground black pepper 1/8 teaspoon

Steps

1

Hard Boil Eggs

Place 3 large eggs in the 1L stainless steel saucepan, cover with 5cm of cold water, and bring to a rolling boil over high heat. Once boiling, cover the pan, remove from heat, and let rest for exactly 9 minutes. Transfer eggs to an ice water bath in the clear glass bowl for 5 minutes to stop cooking, then peel fully once cool. This produces firm, non-rubbery yolks perfect for egg salad.

Step 1
step1:Hard Boil Eggs
2

Mix Egg Salad Filling

Once the hard-boiled eggs are fully cooled and peeled, place them in the 16cm brushed stainless steel mixing bowl. Use the santoku knife to chop eggs into fine, even 1/4cm pieces, then add 2 tablespoons mayonnaise, 1 tablespoon chopped fresh dill, 1/8 teaspoon fine sea salt, and a pinch of freshly ground black pepper. Stir with the rubber spatula until fully combined into a creamy, spreadable consistency; set aside. Empty the ice water from the glass bowl off-frame, leaving the bowl in its fixed position.

Step 2
step2:Mix Egg Salad Filling
3

Slice Fresh Vegetables

Place the half English cucumber and 4 small radishes on the light maple cutting board. Use the santoku knife to slice cucumber into paper-thin 2mm rounds, discarding the seedy, watery core end if it appears overly moist. Slice radishes into equally thin rounds, then pat both vegetable slices gently with the corner of the fixed pale yellow linen towel to remove excess surface moisture—this critical step prevents soggy sandwich bread during storage or transport.

Step 3
step3:Slice Fresh Vegetables
4

Prep Sandwich Spreads

Scoop the 113g softened full-fat cream cheese into one of the two matte cream ceramic ramekins, stirring with the rubber spatula until completely smooth and easily spreadable, then stir in the remaining 1 tablespoon chopped fresh dill. Scoop the 2 tablespoons softened unsalted butter into the second ramekin, stirring until smooth and free of lumps. Season both spreads with a tiny pinch of fine sea salt for depth of flavor.

Step 4
step4:Prep Sandwich Spreads
5

Coat Bread Evenly

Lay all 8 slices of thin-sliced soft white bread in a single layer on the maple cutting board. Use the rubber spatula to spread a paper-thin, even layer of softened unsalted butter across the entire surface of 4 bread slices, spreading all the way to the crust edges to create a moisture barrier. Spread the dill cream cheese evenly across the remaining 4 bread slices, again covering completely edge to edge to prevent sogginess.
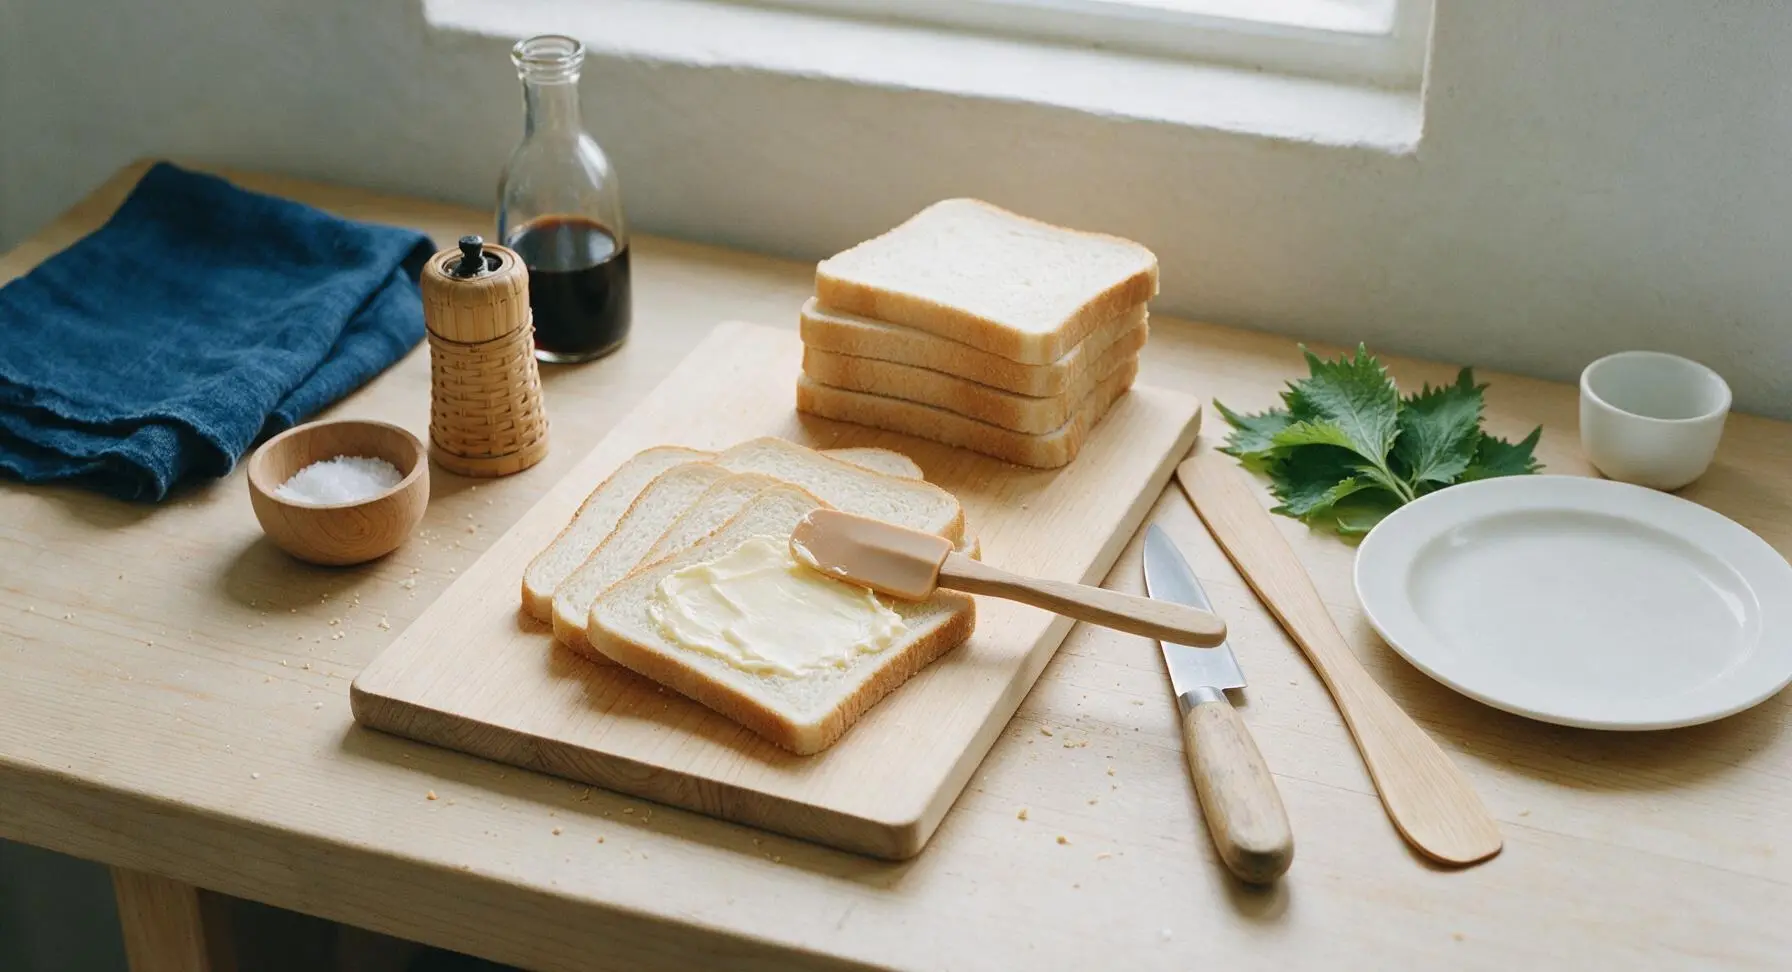
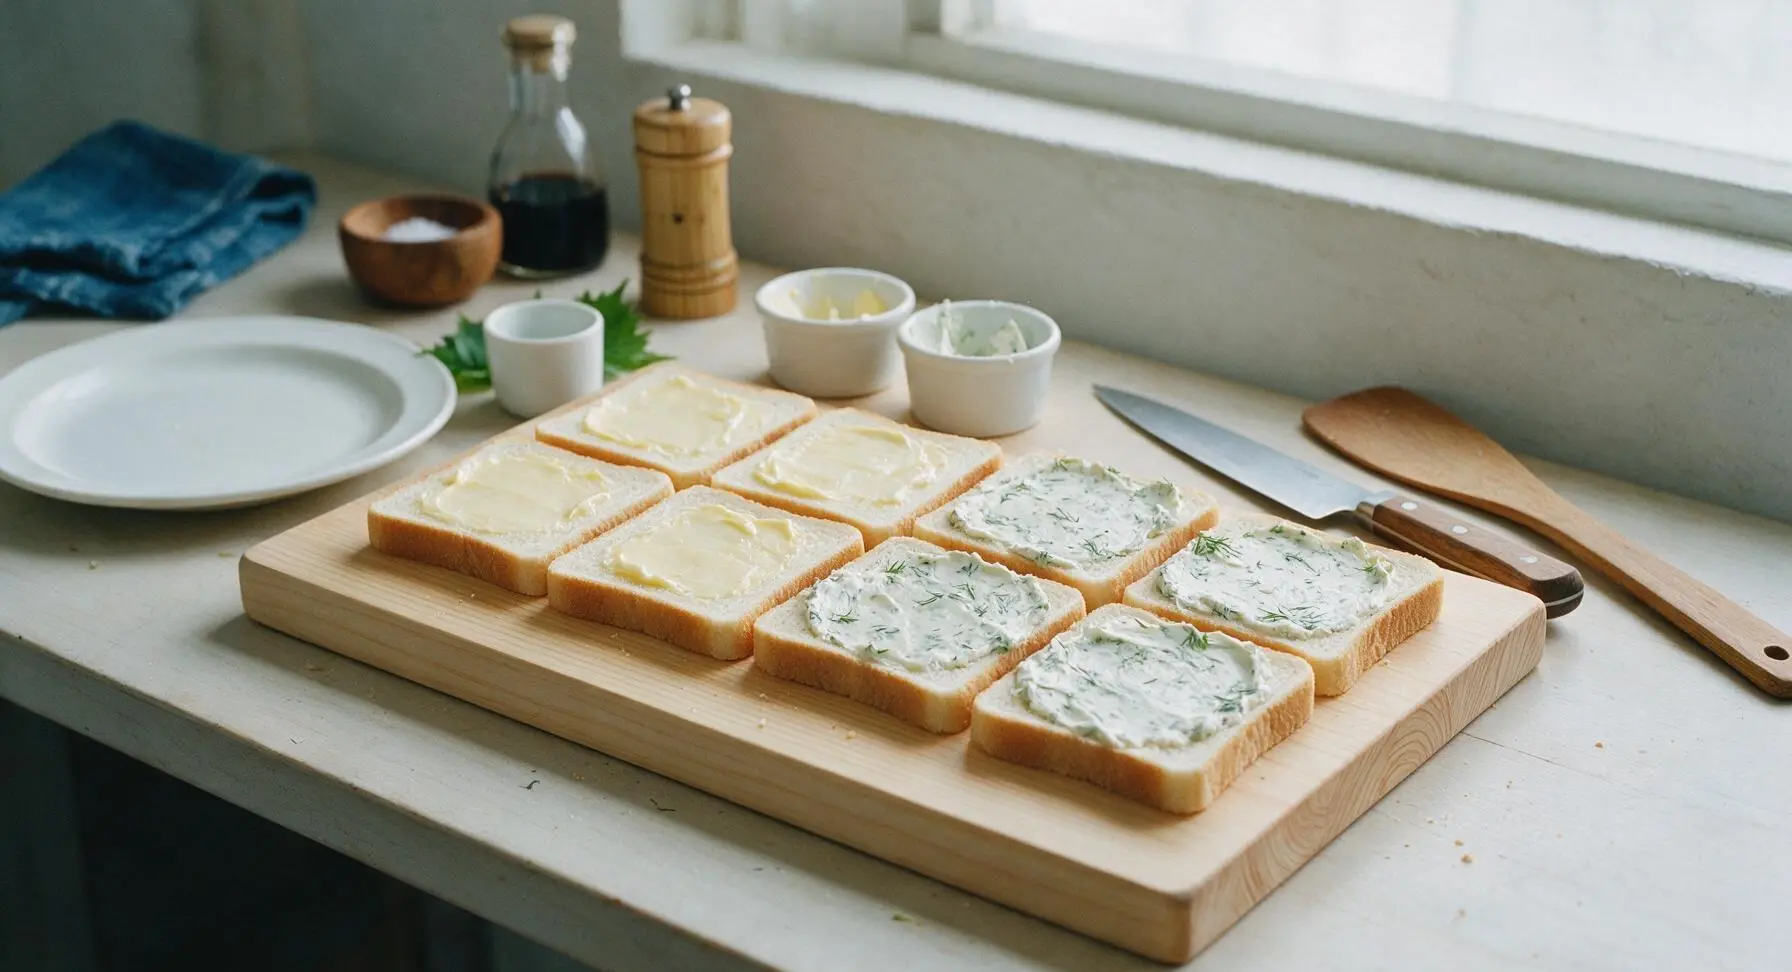
Step 5
step5:Coat Bread Evenly
Step 5
step5:Coat Bread Evenly
6

Assemble Sandwich Layers

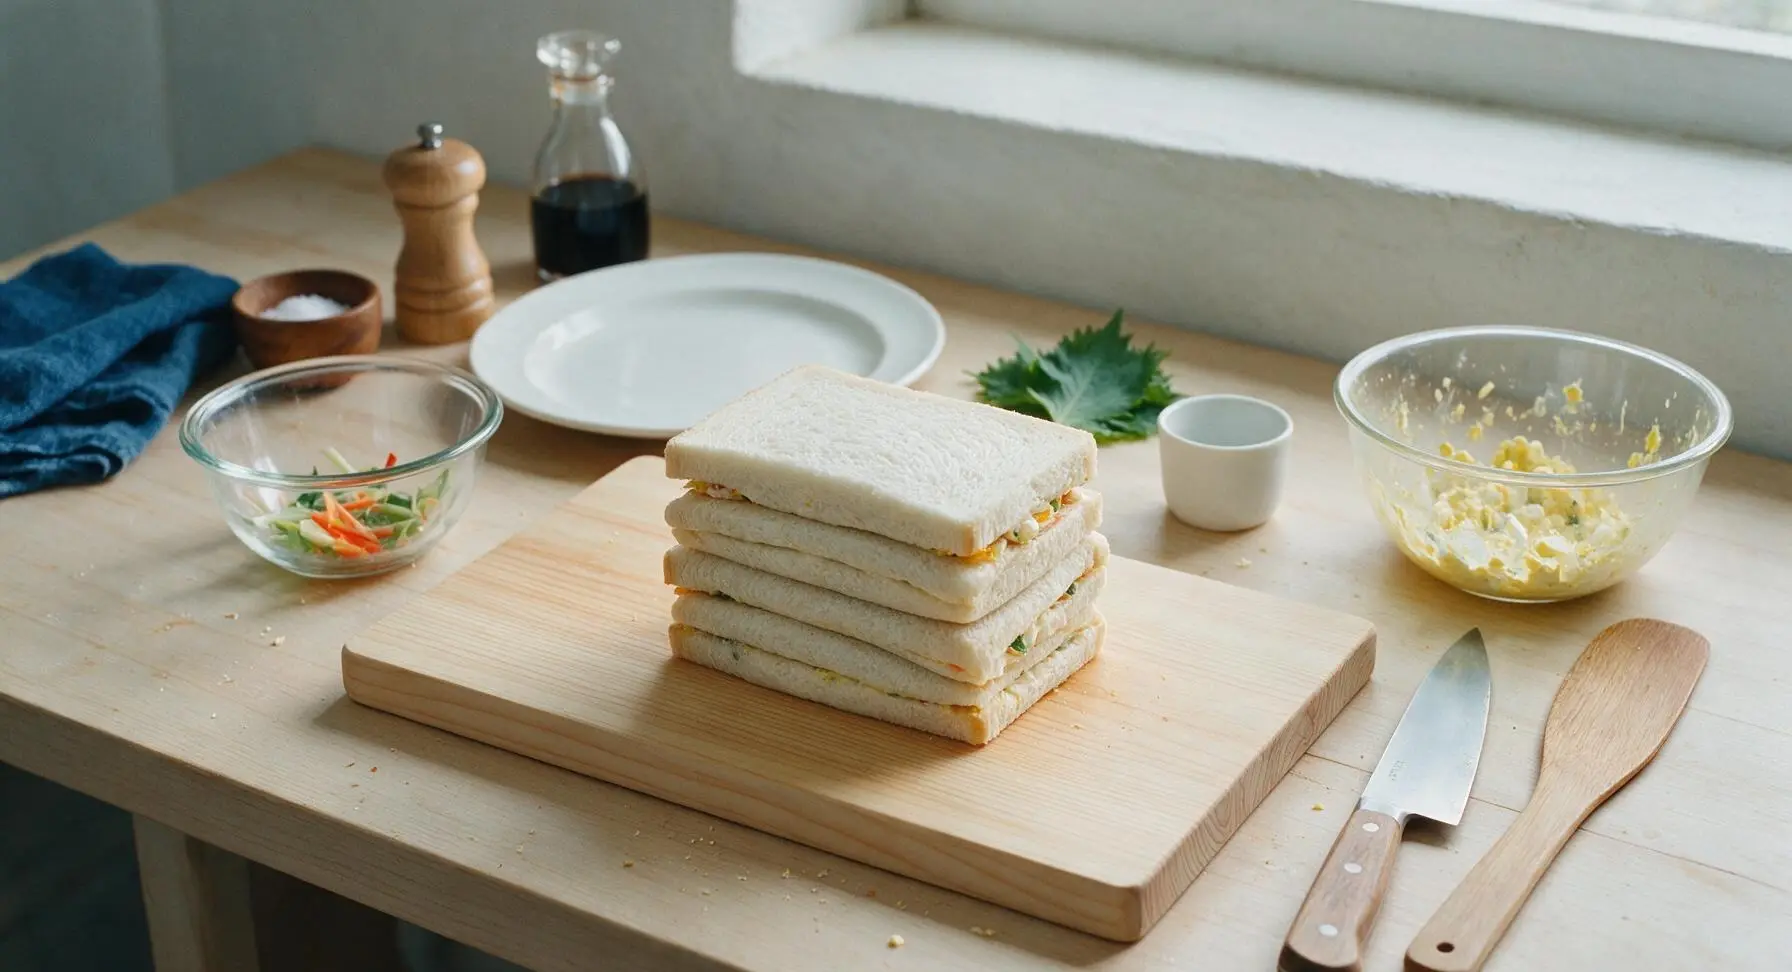
Divide the thinly sliced cucumber evenly across the 4 cream cheese-covered bread slices, overlapping slices slightly in a single, even layer with no large gaps. Divide the radish slices across 2 of the buttered bread slices, arranging in a thin, uniform layer. Scoop the prepared egg salad evenly across the remaining 2 buttered bread slices, spreading gently into a 1cm thick even layer. Carefully press the matching top bread slices onto each base to form 4 full sandwiches: 2 cucumber-dill cream cheese, 1 radish butter, 1 egg salad.
Step 6
step6:Assemble Sandwich Layers
7

Trim Bread Crusts

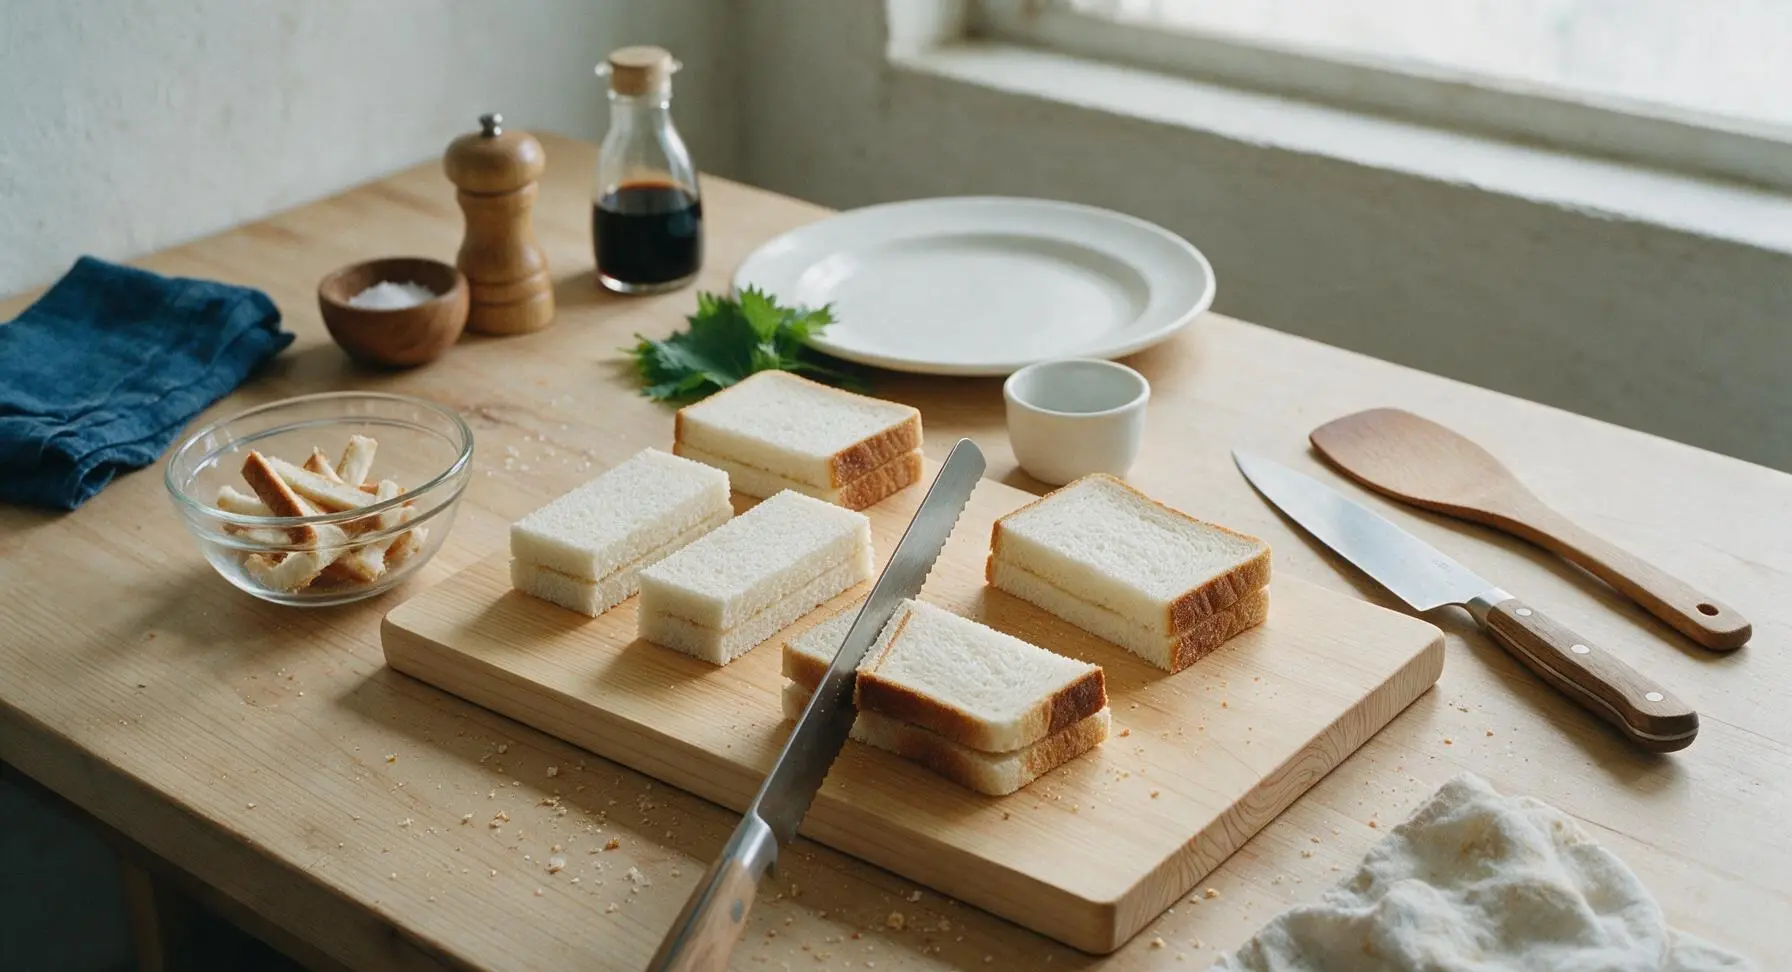
Use the serrated bread knife to carefully trim off all four brown crust edges from each assembled sandwich, keeping cuts straight and even to form neat 8cm wide rectangular sandwiches. Deposit the trimmed crusts into the clear glass bowl with the vegetable trimmings. Wipe any smudged filling from the knife blade with the linen towel between cuts for perfectly clean edges.
Step 7
step7:Trim Bread Crusts
8

Cut Finger Portions

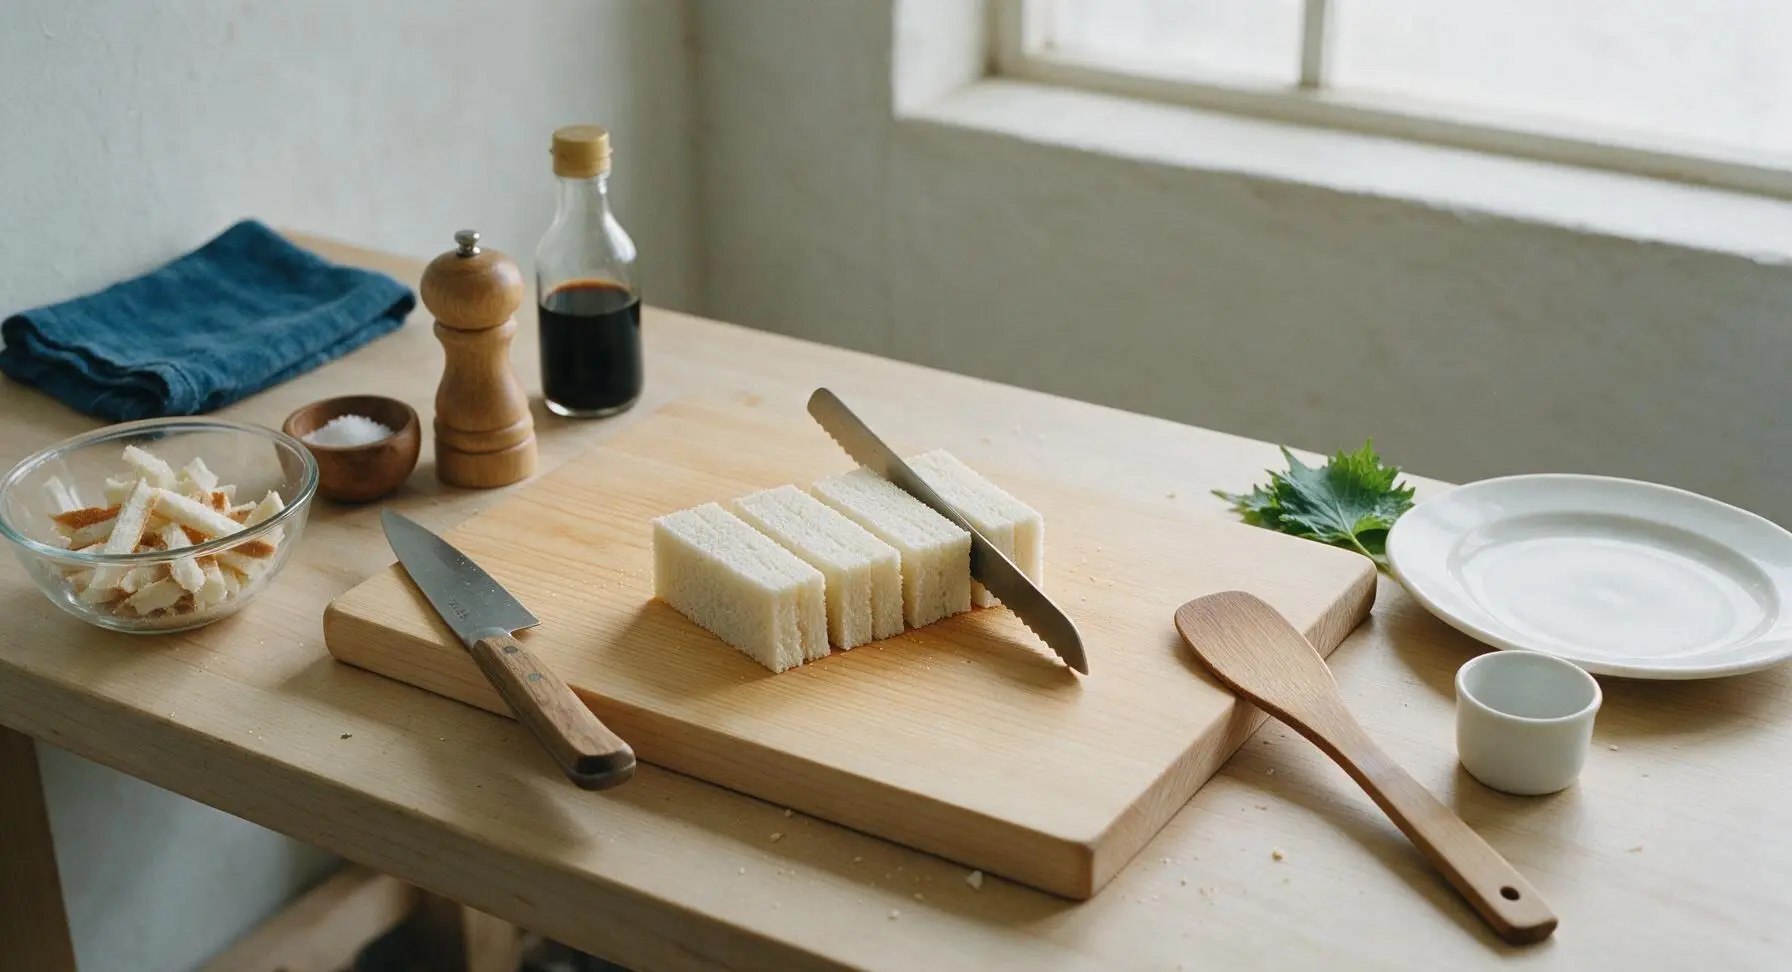
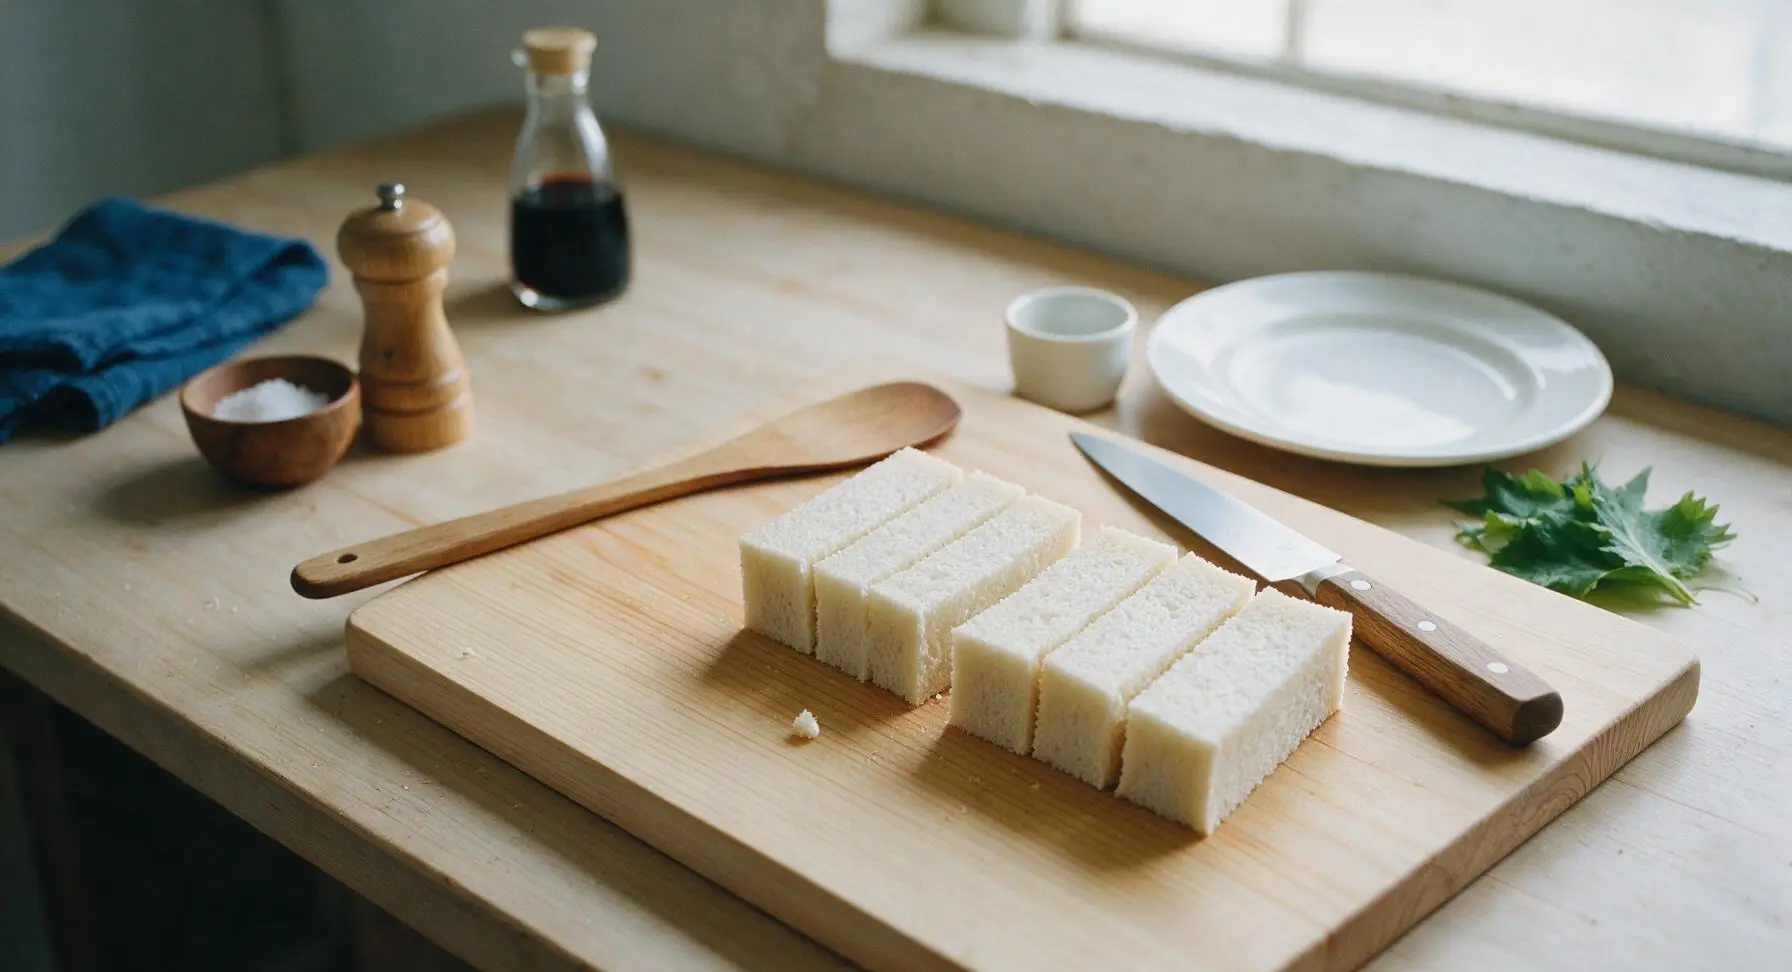
Cut each crustless rectangular sandwich crosswise into 3 equal 3cm wide, 8cm long finger-sized portions, using gentle sawing motions with the serrated knife to avoid squishing the soft bread and squeezing out filling. Keep cuts perfectly straight for uniform, restaurant-worthy pieces.
Step 8
step8:Cut Finger Portions
Step 8
step8:Cut Finger Portions
9

Arrange On Platter

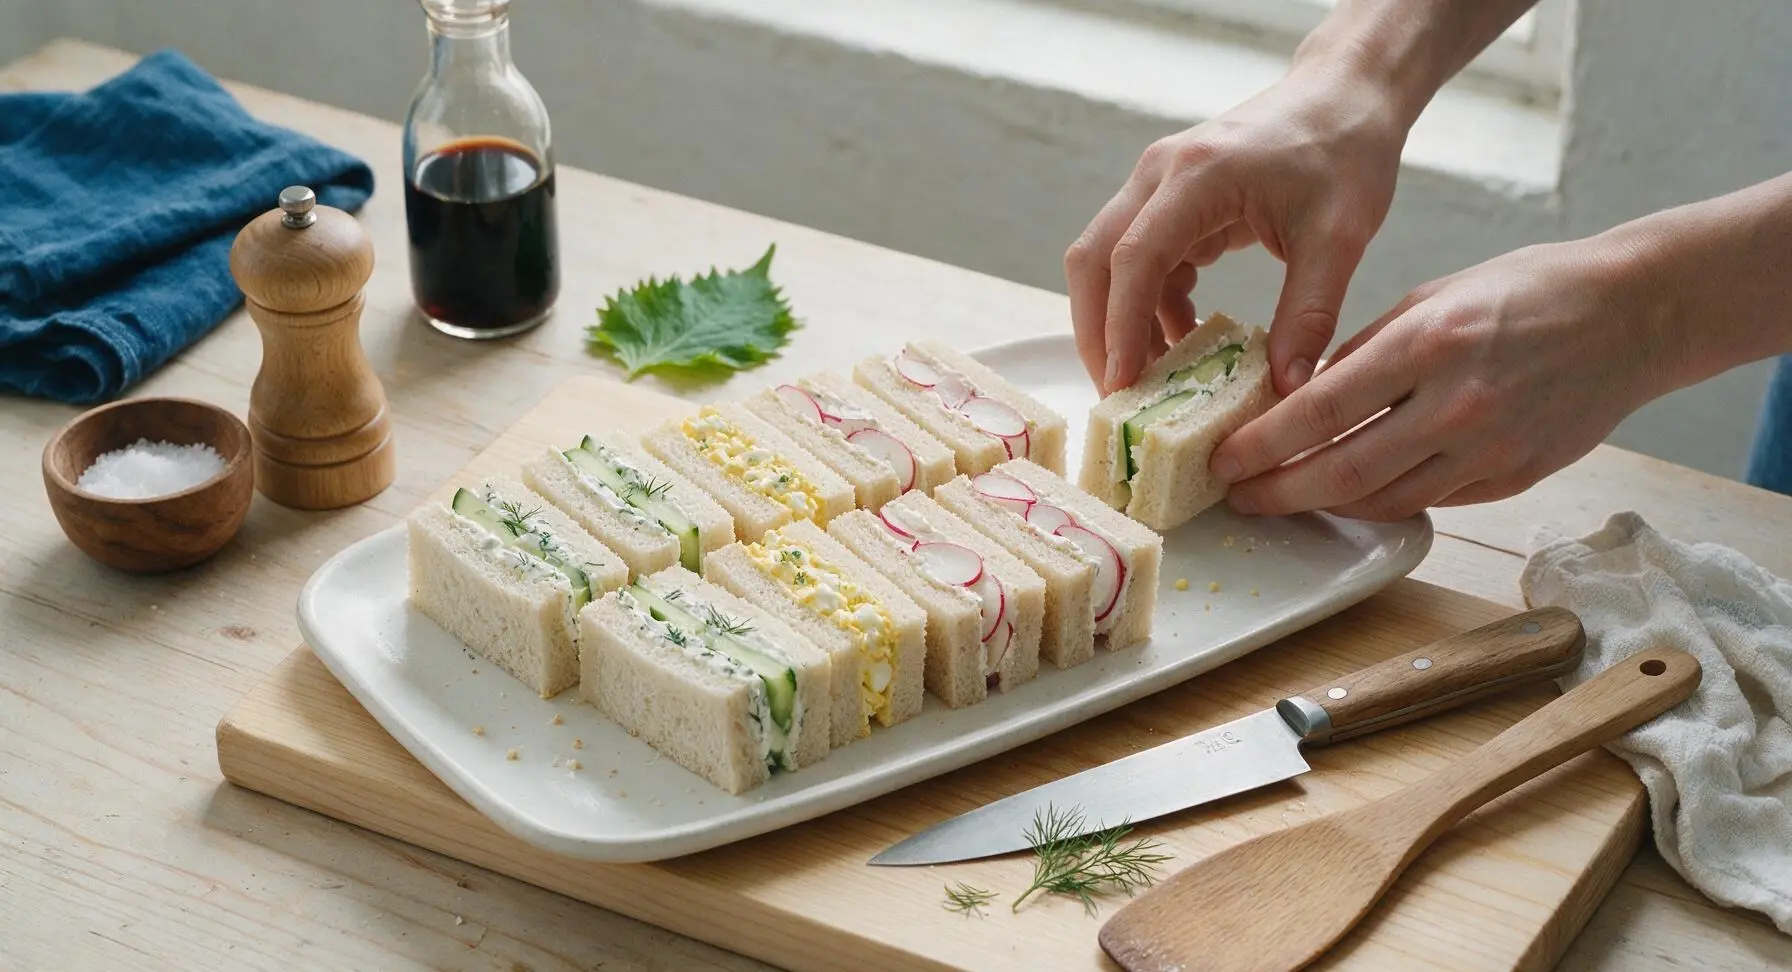
Transfer the cut finger sandwiches to the fixed rectangular matte white ceramic serving platter, arranging them in neat diagonal rows grouped by filling: cucumber-dill cream cheese, egg salad, radish butter. Tuck a few small sprigs of leftover fresh dill between the rows for a simple, fresh garnish. Serve immediately, or cover tightly with plastic wrap and chill for up to 2 hours before serving for best texture.
Step 9
step9:Arrange On Platter

Tips

1.Always spread a thin layer of butter or cream cheese all the way to the bread edges before adding wet fillings: the fat creates an impermeable barrier that prevents vegetable moisture from making the bread soggy, even after 2 hours of chilling.
2.Use day-old slightly firm bread if possible: ultra-fresh soft bread squishes easily when cutting, and day-old bread holds its shape better for clean, neat finger sandwich edges without tearing.
3.Avoid overstuffing sandwiches: fillings should be spread in thin, even layers, as thick fillings will squeeze out when cutting and eating, creating messy portions and soggy bread.


✨ You May Also Like

Snacks & Appetizers
🍜 Mexico

Crispy thick-cut tortilla chips piled high with seasoned beef, melted cheese, and bright fresh toppings for a shareable, crowd-favorite bite.

⏱️ 25 minuteSnacks & Appetizers ★ 4.8
Snacks & Appetizers
🍜 United States

Crisp, sweet-tangy spiced pickled watermelon rind is a zero-waste summer staple, perfect with grilled meats, charcuterie, or eaten straight from the jar as a bright snack.

⏱️ 30 minuteSnacks & Appetizers ★ 4.6
Snacks & Appetizers
🍜 Germany

A tangy, jellied pork cold cut slow-simmered with aromatic spices, set into a firm sliceable loaf, served cold with mustard and crusty bread.

⏱️ 3 hours 4Snacks & Appetizers ★ 4.8
Snacks & Appetizers
🍜 United States

Creamy, tangy, perfectly seasoned hard-boiled egg halves filled with a rich, smooth yolk mixture, a timeless, crowd-pleasing bite for holiday and casual gatherings alike.

⏱️ 40 minuteSnacks & Appetizers ★ 4.8
Snacks & Appetizers
🍜 Russia

Silky, dill-forward no-smoke cured salmon, a Scandinavian classic with bright salty-sweet flavor, ideal for holiday starter platters and open-faced rye sandwiches.

⏱️ 48 hours Snacks & Appetizers ★ 4.7
Snacks & Appetizers
🍜 Japan

Crisp golden bottoms, juicy savory pork and vegetable filling, and tangy dipping sauce make these pan-fried gyoza a beloved shareable bite.

⏱️ 45 minuteSnacks & Appetizers ★ 4.8

finger sandwich:Frequently Asked Questions

1.Why do I have to remove the crusts from these finger sandwiches? ▾
Trimming crusts creates the delicate, uniform, elegant bite classic for afternoon tea, and cuts out the drier, chewier bread edge that would disrupt the soft, light texture. Save trimmed crusts to make homemade breadcrumbs or croutons to cut down on food waste, and trim right before assembling for best freshness.
2.Can I use whole wheat bread instead of soft white sandwich bread for this recipe? ▾
You can swap in thin-sliced whole wheat if you prefer a nuttier flavor, but stick to a soft, thinly sliced loaf rather than a dense, seedy artisanal bread. Hearty, coarse breads will overpower the light, fresh fillings and make the delicate finger sandwiches feel heavy instead of bright and snackable.
3.How do I keep my cucumber sandwiches from getting soggy before serving? ▾
Soggy bread comes from excess cucumber moisture, so pat thinly sliced cucumber dry with paper towels after slicing, and spread a thin, even layer of softened cream cheese on both slices of bread first. That cream cheese barrier locks out vegetable moisture so your sandwiches stay soft, not mushy, for 2-3 hours if kept chilled.
4.Do I really need to use full-fat cream cheese for the fillings? ▾
Full-fat cream cheese gives the richest, creamiest texture that clings to bread and fillings without oozing out when you pick up a sandwich. Low-fat or fat-free cream cheese has higher water content that can make bread soggy, plus a thinner, slightly artificial aftertaste that throws off the balanced, mild flavor profile.
5.How far in advance can I assemble these finger sandwiches for a party? ▾
You can assemble them up to 4 hours ahead of time if you store them properly. Arrange finished, cut sandwiches in an airtight container, lay a slightly damp paper towel over the top, seal tightly, and keep refrigerated. Don’t store them longer than that, as vegetable fillings will release moisture and make bread soggy.
6.What’s the best way to cook eggs for the egg filling component of these sandwiches? ▾
For tender, non-rubbery hard-boiled eggs, place large eggs in a pot of cold water, bring to a rolling boil, cover, remove from heat, and let sit 9 minutes before plunging into ice water to stop cooking. This creates fully set yolks with no unappetizing gray ring, perfect for mashing with a little cream cheese for a light, creamy filling.
7.How thin should I slice the cucumber and radishes for the fillings? ▾
Slice both cucumber and radishes to about 1/8-inch thickness, ideally with a sharp mandoline if you have one for even, uniform cuts. Slices that are too thick make sandwiches bulky and hard to eat in neat bites, while paper-thin slices won’t add that satisfying, crisp crunch that balances the creamy cream cheese.
8.How do I cut the sandwiches into the classic finger shape evenly? ▾
After assembling full, uncut sandwiches, stack 2-3 at a time on a cutting board, trim off all crusts with a sharp serrated knife, then cut each full sandwich into three equal 1-inch wide rectangles. Use a gentle sawing motion instead of pressing down, which would squish soft bread and squeeze filling out the edges.
9.Can I add extra seasonings to the cream cheese spread for more flavor? ▾
Absolutely! Stir in a pinch of flaky sea salt, a tiny grind of black pepper, a sprinkle of fresh chopped dill or chives, or even a light pinch of lemon zest to the softened cream cheese before spreading. Just go light on strong seasonings—these sandwiches are meant to have bright, mild, well-balanced flavors.
10.My bread keeps tearing when I spread the cream cheese—what am I doing wrong? ▾
This almost always happens if your cream cheese isn’t fully softened to room temperature before you start. Let full-fat cream cheese sit out on the counter for 30-45 minutes until it’s spreadable with no hard lumps, so it glides across soft thin bread without pulling or tearing the delicate crumb.
11.Are these finger sandwiches suitable to bring to an outdoor picnic? ▾
They’re perfect for picnics, as the recipe notes, as long as you keep them chilled in a cooler with an ice pack until you’re ready to serve. Skip leaving them out in direct hot sun for more than 1 hour, as cream cheese can warm up and get runny, and vegetable slices will wilt quickly in high heat.
12.Do I need to peel the English cucumber for these sandwiches? ▾
English cucumber skin is thin, mild, and adds a nice pop of bright green color, so you don’t have to peel it if you don’t want to. If you prefer a more uniform, extra-delicate texture, you can peel alternating strips of skin for a subtle striped look, but full peeling is totally optional.
13.How many finger sandwiches should I plan per guest for afternoon tea? ▾
Plan for 3-4 finger sandwiches per person if you’re serving them alongside other standard afternoon tea fare like scones, small pastries, and tea. If the sandwiches are the main savory offering for a lighter picnic or gathering, bump that up to 5-6 per person to make sure everyone has enough to eat.
14.Can I make these sandwiches if I don’t have a mandoline to slice the vegetables? ▾
No mandoline required! A very sharp, thin-bladed kitchen knife works perfectly well to slice cucumber and radishes to the right thinness. Just take your time to make even, consistent slices, and discard any extra-thick chunks that would make the sandwiches lumpy or hard to bite through cleanly.

Comments (9)

2 days ago

OMG these were SO good for my book club afternoon tea last weekend! I made the cucumber + cream cheese and egg salad varieties, everyone went back for seconds. So easy to throw together in 10 minutes too, total game changer when I was running late setting up. 10/10

just now

Made these for my dorm floor tea party and they were a hit! I didn't even have fancy tools, just used regular sandwich bread and cut the crusts off with a butter knife. Perfect cheap, easy snack for a group. My friends kept asking for the recipe!

1 week ago

Packed these for a post-hike picnic with the family last weekend and they held up way better than I thought they would! No soggy bread even after being in the cooler for a couple hours. My kids loved the ham and cheese ones best. Will definitely make again.

yesterday

Quick question! Can I assemble these the night before for a neighborhood brunch potluck, or will the bread get all soggy? I don’t want to wake up super early the day of to make them if I can prep ahead!

12 hours ago

Great question! You can assemble heartier fillings like egg salad or ham & cheese the night before and store them in an airtight container lined with parchment paper in the fridge. I’d hold off on cucumber or tomato fillings until the day of though, since those release a lot of moisture that makes bread soggy fast!

30 minutes ago

Who knew finger sandwiches were this easy? I always thought they were super fussy fancy food, but this recipe took me no time at all. I added a little extra dijon to the egg salad and it slapped. Perfect snack to have with my afternoon coffee break while I work from home.

10 minutes ago

The dijon addition is genius! I did a little hot honey on the ham and cheese ones last time I made them, can’t recommend that enough too.

2 hours ago

Has anyone tried making these with gluten free bread? I have a friend coming to my bridal shower tea who’s celiac and I want to make sure they turn out good, not all crumbly like GF bread can get sometimes.

1 hour ago

I made them with GF white sandwich bread last month for my sister’s baby shower! Just let it come to room temp before spreading fillings and they held together totally fine, no one even noticed they were gluten free.

3 days ago

I made these for my afternoon tea birthday party and they were perfect! I did three fillings: smoked salmon + dill cream cheese, cucumber + mint, and lemon chicken salad. Everyone kept saying they felt like they were at a fancy hotel! Only thing is I wish I made double, they were gone in 10 minutes lol

2 days ago

Oh the smoked salmon dill combo sounds chef’s kiss! Did you use regular white bread or sourdough for those? I’m making these for a work potluck next week and can’t decide

1 day ago

So glad they were a hit for your birthday! For future reference, we usually plan 3-4 finger sandwiches per guest, so doubling is never a bad call 😊 @PotluckQueenKris soft white sandwich bread works best for that classic delicate tea sandwich texture, though sourdough is tasty if you prefer a heartier bite!

2 weeks ago

I’ve been making tea sandwiches for 50 years and this recipe is just as good as my old tried and true! The tip to use softened cream cheese so it spreads without tearing the bread is such a good reminder, I can’t tell you how many times I’ve mangled bread trying to spread cold cream cheese back in the day.

1 week ago

Oh I did that last week! Tried to spread cold cream cheese and ripped half my bread slices, total mess. Will definitely remember to set it out ahead of time next go around.

1 week ago

That means so much coming from a seasoned tea sandwich pro! The softened cream cheese trick saves so much frustration, especially for folks who are new to making these at home.

5 minutes ago

Made these for my 7 year old’s princess tea party birthday and they were such a hit! I cut them into little star shapes instead of rectangles with a cookie cutter and the kids went crazy for them. Even the picky eaters ate theirs without complaining. SO easy, will absolutely be adding these to our regular party rotation.

2 minutes ago

The cookie cutter shape idea is brilliant! My daughter is having a fairy themed party next month and I was looking for fun, easy food ideas, this is perfect. Did you use any fun fillings the kids liked best?

1 minute ago

Love the cookie cutter hack! Kids go crazy for fun shaped food, and it’s such an easy way to make the sandwiches feel extra special for a party without adding a ton of extra work.



