1.Why do my Florentines spread so much that they run together on the baking sheet?
▾
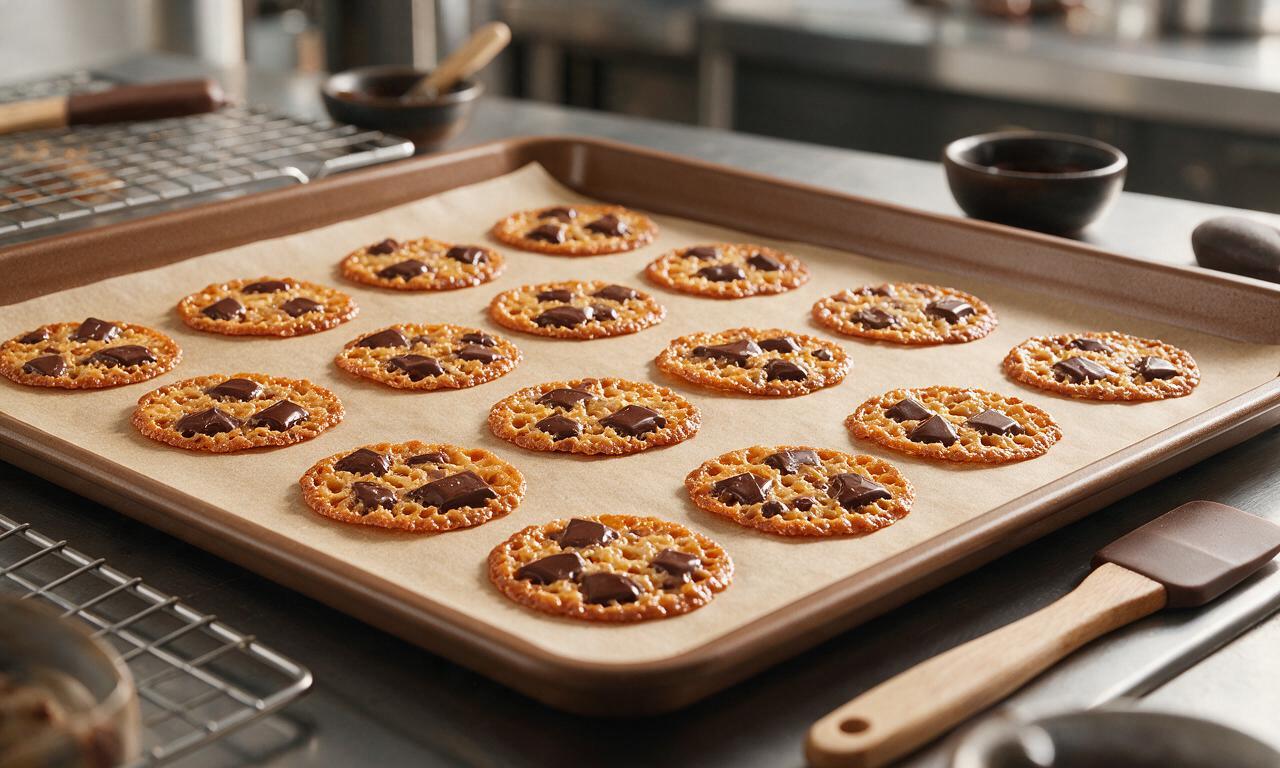
This is one of the most common Florentine mishaps! Use butter that’s just room temperature (not melted or overly soft) and space dough mounds a full 3 inches apart on parchment-lined sheets. If your kitchen is warm, chill scooped dough for 15 minutes before baking, and double-check you didn’t add extra heavy cream, which thins the batter too much.
2.Can I use regular raw sliced almonds instead of blanched sliced almonds for this recipe?
▾
You absolutely can, just expect a slightly earthier, nuttier flavor and flecks of light brown almond skin across the cookies. If you want that classic pale, delicate lace look blanched almonds give, you can quickly blanch raw sliced almonds yourself by soaking them in boiling water for 1 minute, then draining and patting fully dry before use.
3.What’s the best way to get that smooth, even dark chocolate coating on the back of each Florentine?
▾
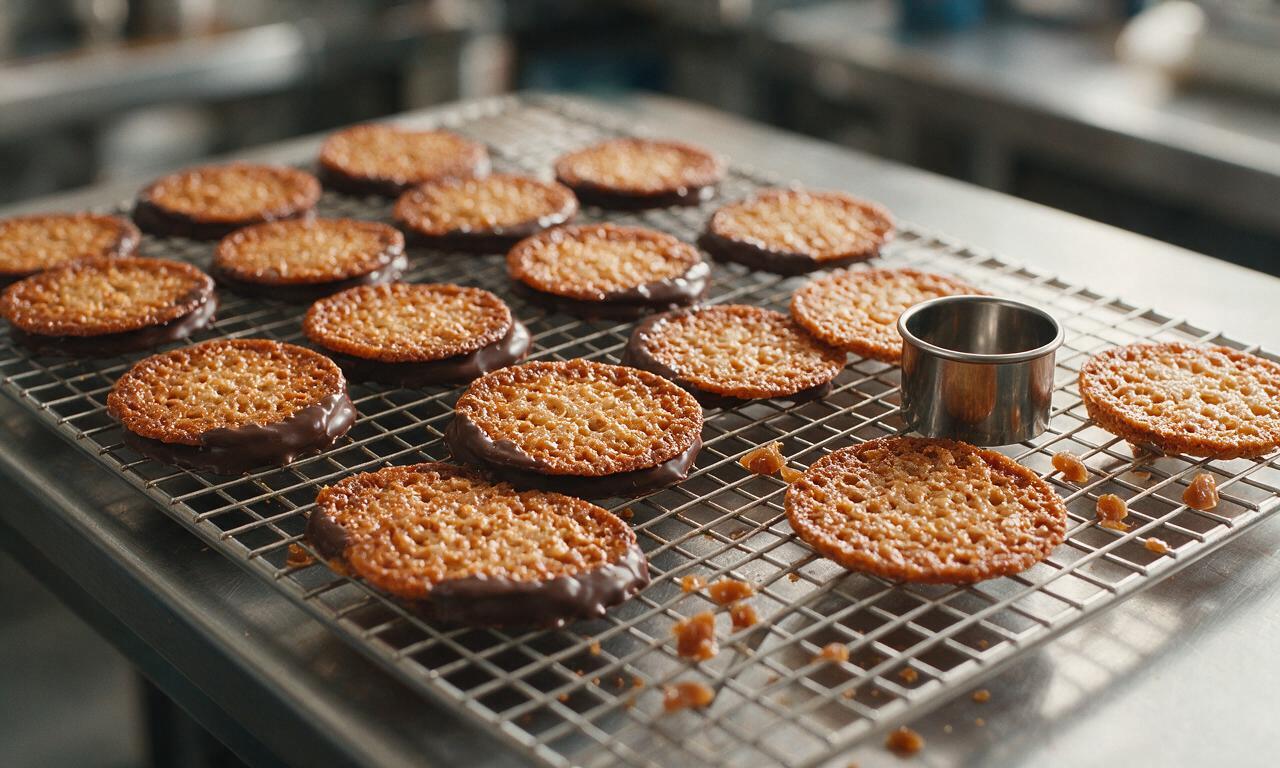
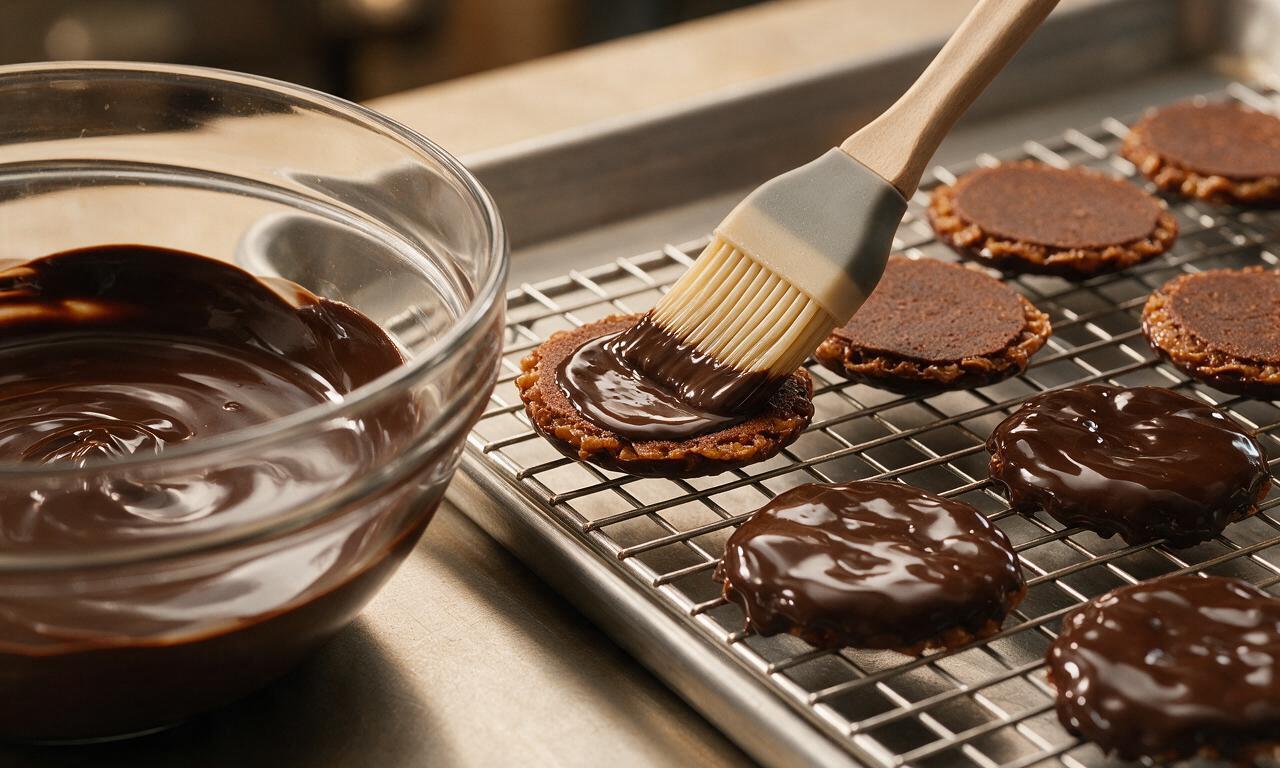
First, let baked Florentines cool completely so they don’t melt the chocolate on contact. Temper your 70% dark chocolate (or melt it gently with 1 teaspoon of shortening for a quick cheat) then use a small offset spatula to spread a thin, even layer on the flat back of each cookie. Let the chocolate set fully at cool room temperature before stacking.
4.How do I know when Florentines are done baking, since they’re so thin?
▾
Watch for a uniform deep golden amber color across the entire cookie, with edges just slightly darker than the center. They’ll look very soft and fragile right when you pull them out of the oven—that’s totally normal! Let them rest on the hot baking sheet for 5 full minutes before transferring to a rack, as they crisp up as they cool.
5.Can I substitute lower-percentage dark chocolate or milk chocolate for the 70% dark chocolate called for?
▾
You can absolutely swap it to match your taste, just know 70% dark chocolate cuts through the sweet, buttery, nutty base to create that classic balanced flavor. If you use milk chocolate or lower-cocoa dark chocolate, chill the coated cookies briefly to help the softer chocolate set firm, and expect a sweeter, less cocoa-forward treat.
6.How should I store finished Classic Dark Chocolate Florentines to keep them crisp?
▾
Store them in an airtight container layered between sheets of parchment paper, in a cool, dry spot away from direct sunlight or heat sources like your stovetop. They’ll stay perfectly crisp for up to 1 week. Avoid storing them in the fridge, as condensation can make the cookies turn soggy and cause the chocolate to develop dull white bloom.
7.My Florentines came out chewy instead of crisp—what did I do wrong?
▾
Chewy Florentines usually mean they were underbaked, or trapped moisture after cooling. First, bake them to that full golden amber stage, and let them cool completely on a wire rack before storing. If you live in a very humid climate, add a cheesecloth-wrapped tablespoon of uncooked rice to your storage container to absorb excess moisture and keep them crisp.
8.Do I have to use 35% fat heavy whipping cream, or can I use a lighter cream?
▾
Stick to 35% fat heavy whipping cream for the best results, if you can. The high fat content helps bind the nut and sugar mixture together without making the batter watery, and adds that rich, luxe mouthfeel classic Florentines are known for. If you use half-and-half or lower-fat cream, the batter may be too thin, leading to excess spread and milder flavor.
9.Can I add mix-ins like dried fruit or other nuts to these Florentines?
▾
Absolutely! Traditional Florentines often include small amounts of finely chopped candied orange peel, dried cranberries, or even tiny bits of pistachio for extra color and flavor. Just keep mix-ins finely chopped and limit total add-ins to ¼ cup per batch—too many extra bits will break up the delicate lace structure of the thin cookies.
10.Why is my chocolate coating developing a streaky, white cloudy bloom after it sets?
▾
That white bloom is either fat or sugar bloom, caused by temperature swings or moisture hitting the chocolate. To avoid this, make sure the cookies are totally dry before coating, don’t let condensation touch the melted chocolate, and let the chocolate set at cool room temperature instead of sticking cookies straight in the fridge. The bloom is safe to eat, just less polished.
11.Can I make these Florentines ahead of time for holiday gifting?
▾
They’re perfect for holiday gifting! Bake and coat the cookies up to 5 days ahead, then store them in an airtight container as directed until you’re ready to pack them. Pack them in rigid cookie tins lined with parchment between layers to avoid breaking the thin, crisp cookies, and keep them out of hot spots during transport to prevent melted chocolate.
12.Do I need any special equipment to make these Florentines?
▾
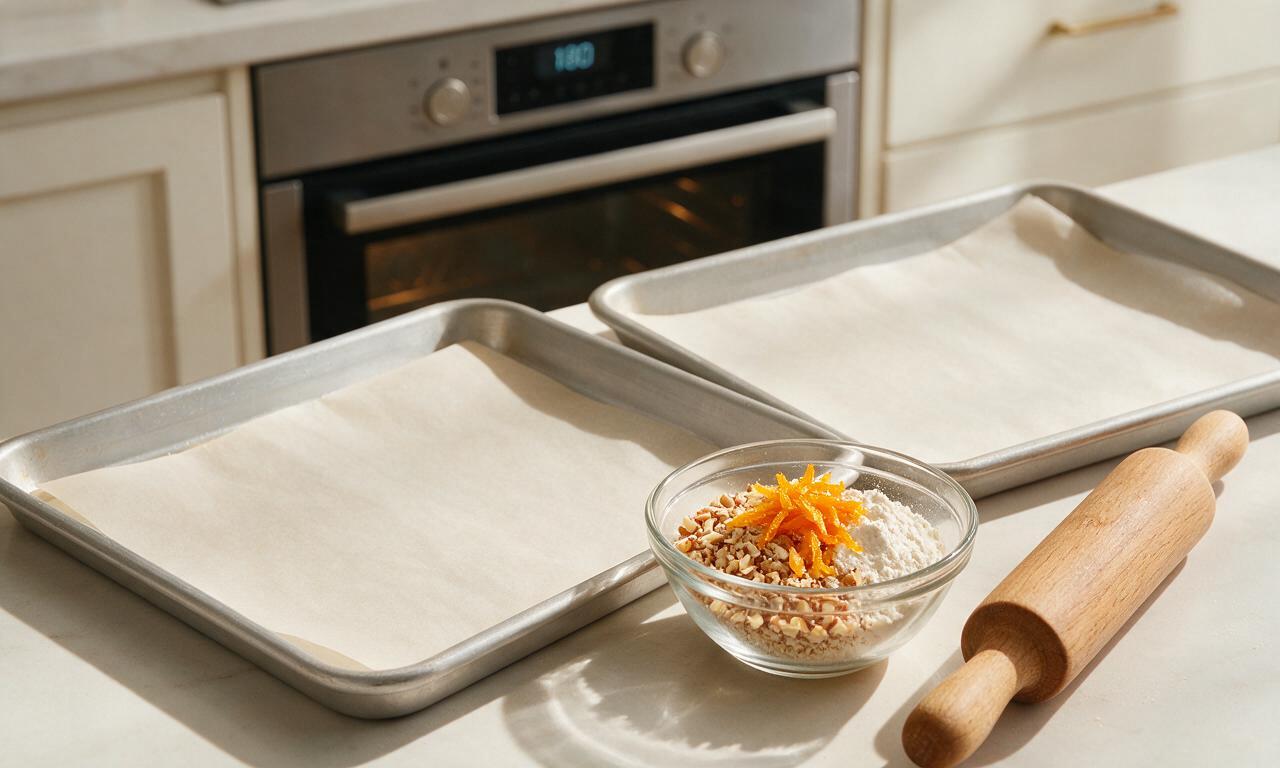
You don’t need fancy gear! The most important supplies are a heavy-rimmed baking sheet, parchment paper (or a silicone baking mat) to prevent sticking, and a small offset spatula for spreading the chocolate. A 1-tablespoon cookie scoop helps make uniformly sized mounds for even baking, but you can use a regular spoon to portion dough if you don’t have one.
13.Can I make these Florentines gluten-free for guests with dietary restrictions?
▾
Great news—this classic recipe is naturally gluten-free as written! Just double-check that your sliced almonds, dark chocolate, and heavy cream don’t have hidden gluten-containing additives or cross-contamination warnings on the packaging if you’re baking for someone with severe celiac disease. Skip wheat-based add-ins to keep them fully gluten-free.
14.My Florentines stick to the baking sheet even after I greased it—what’s the fix?
▾
Skip greasing the sheet entirely, and use a fresh sheet of parchment paper or a well-cared-for silicone baking mat for every batch. If you let the cookies rest the full 5 minutes on the hot sheet after baking, they’ll release easily as the sugar sets. If they stick a little, gently nudge them loose with a thin spatula after 1 extra minute of cooling.
15.Should I leave the chocolate-coated side of the Florentines smooth, or can I add a decorative texture?
▾
It’s totally up to you! The classic bakery move is to drag the tines of a fork across the still-wet chocolate to make wavy, decorative lines before it sets. You can also sprinkle a tiny pinch of flaky sea salt, toasted almond crumbs, or edible gold glitter on the wet chocolate for a festive holiday twist, as long as you don’t weigh the thin coating down.

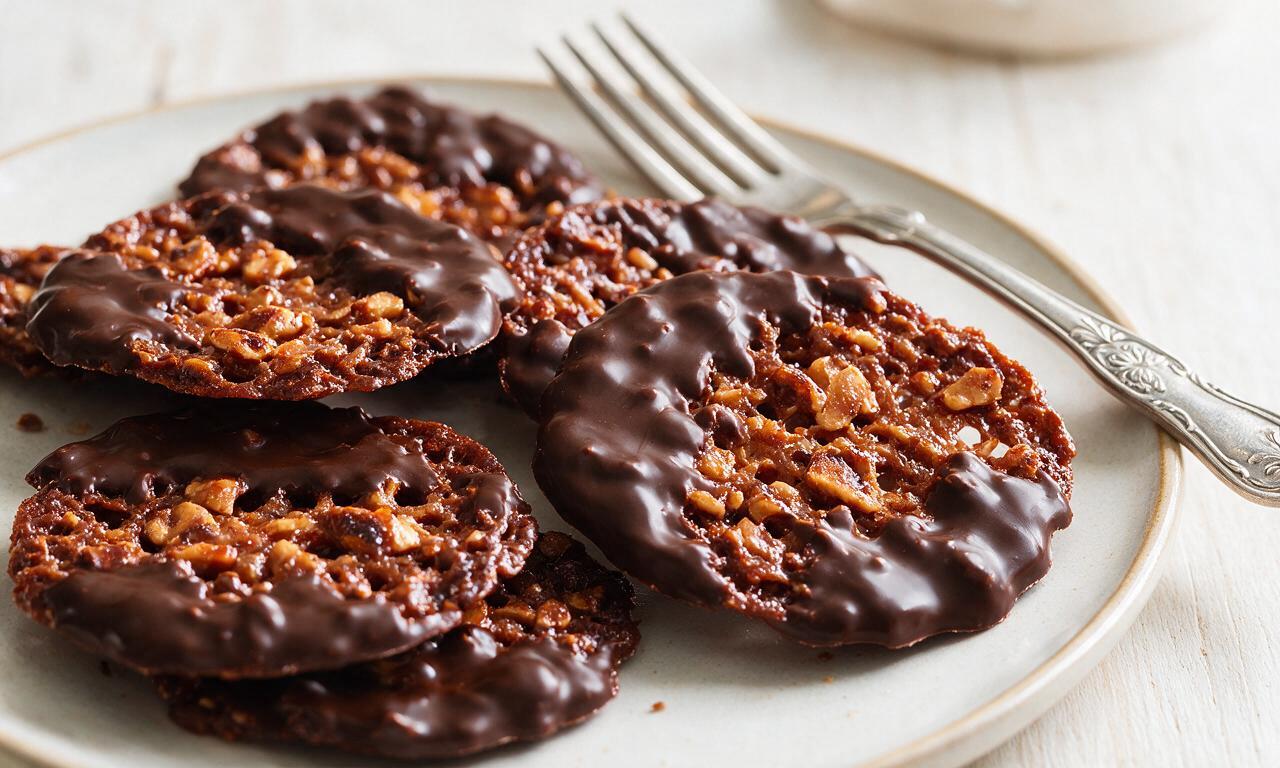






OMG these florentines are INSANE! I brought them to my office potluck last week and everyone begged for the recipe. The dark chocolate cuts the sweetness of the caramelized nuts perfectly, and they look so fancy even though I’m definitely not a pro baker. Only note: make sure you space them super far apart on the baking sheet because mine spread a TON on the first batch! 10/10 will make again for my kid’s soccer team snack next weekend.
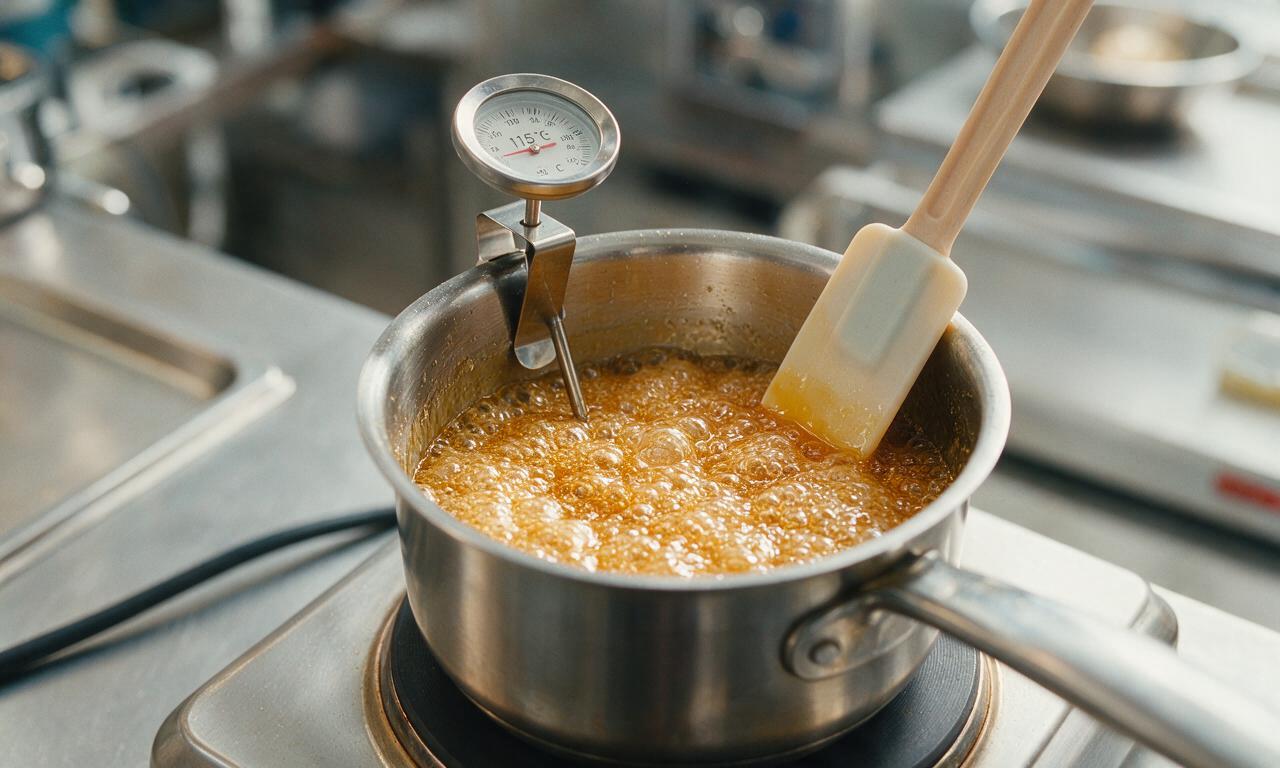
These were really tasty but I struggled a little with getting the caramel to the right temp? I don’t have a candy thermometer so I guessed, and a few of mine came out a little darker and more bitter than I wanted. Also, wait time for the chocolate to set felt foreverrrr but it was so worth it once they were done. My whole family loved them at Sunday dinner.
Game changer recipe! I’ve tried a few florentine recipes before that were way too fussy and called for weird ingredients I never have on hand, but this one uses basic pantry stuff and turned out perfect on the first try. Dipped half in dark chocolate like the recipe says, left half plain for my wife who doesn’t love super rich chocolate, both versions slapped. Made these for meal prep to have as a little sweet treat after lunches all week, they hold up great in an airtight container.
SO good! I swapped the sliced almonds for chopped pecans because that’s what I had in the cabinet, and added a tiny pinch of flaky sea salt on top of the chocolate — chef’s kiss. They taste like something you’d pay $5 a piece for at a fancy bakery. Who else is making these for holiday cookie tins this year? 🙋♀️
Wait, is it normal for these to be a little chewy in the middle once they cool? I followed the cook time exactly but mine were pretty soft straight out of the oven, I was worried I underbaked them, but once they set up they had that perfect crisp edge and chewy center. My kids loved them, and had a blast helping me sprinkle the nuts on — they thought it was so fun to make their own little cookie shapes. Definitely a new family favorite.