1.Can I make these Frankenstein Marshmallow Pops ahead of time for a Halloween party?
▾
Absolutely! Make them up to 3 days in advance, then store them in an airtight container in a single layer (separated by parchment paper to prevent sticking) in a cool, dark spot away from direct sunlight. Avoid the fridge, as condensation will make the candy coating blotchy and sticky when you pull them out to serve.
2.My marshmallows keep sliding off the lollipop sticks when I dip them—what am I doing wrong?
▾
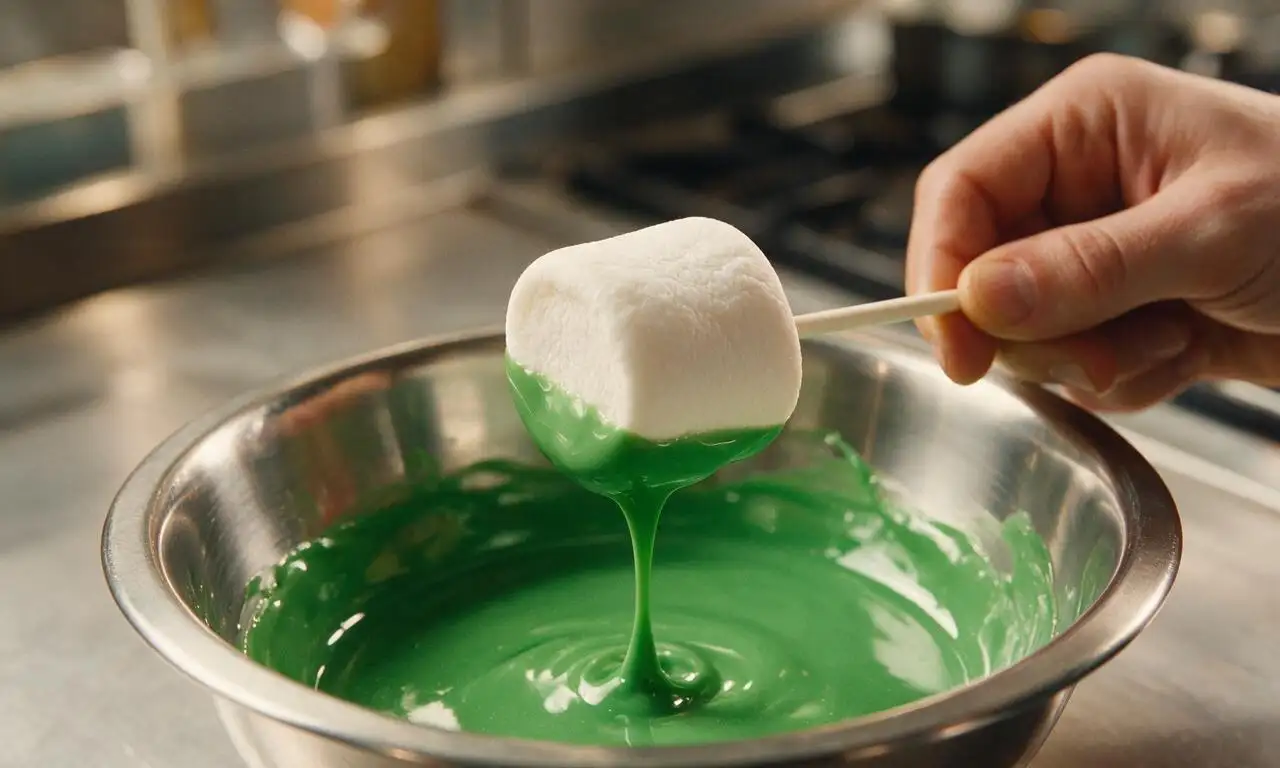
This is such a common, easy fix! Before threading the marshmallow onto the stick, dip the top ½ inch of the lollipop stick into the melted green candy melt first, then push it ⅔ of the way into the marshmallow. Let that set for 2 minutes before dipping the whole marshmallow; the hardened candy acts like glue to hold the marshmallow firmly in place.
3.Can I use regular food coloring to tint white chocolate green if I don’t have green candy melts?
▾
Skip regular water-based food coloring for this—it will make your melted chocolate seize up into a lumpy, unusable mess! If you’re tinting white chocolate, use only oil-based green candy coloring, and thin the coating with 1 teaspoon of refined coconut oil per cup of melted chocolate to keep it smooth enough for even dipping.
4.What’s the easiest way to make Frankenstein’s signature dark chocolate hair on the pops?
▾
After the green candy coating fully sets (about 10 minutes at room temp), hold each pop at a 45-degree angle over your bowl of melted dark chocolate wafers. Dip the top ¼ of the marshmallow, then gently drag a toothpick along the bottom edge of the chocolate to make jagged, uneven hairline points before the chocolate sets for that classic monster look.
5.Do I have to use mini candy eyes, or can I make my own eye decorations?
▾
You absolutely don’t need store-bought candy eyes! If you don’t have them on hand, pipe small dots of melted dark chocolate for the eye base, then add a tiny dot of melted white candy melt on top once set for a goofy, homemade look. You can also cut small white fruit leather circles and dot the centers with dark chocolate for a chewy alternative.
6.How do I keep the candy coating from cracking after it sets on the marshmallows?
▾
Cracking usually happens when the coating is too thick, or if the marshmallows are extra cold when you dip them. Let your marshmallows come to room temperature first, and thin your melted candy melts with a tiny bit of coconut oil if they feel gloppy. Don’t tap the pops too hard to remove excess coating, as that can cause thin spots that crack as they set.
7.Are these pops safe for kids with nut allergies to eat at a class party?
▾
That depends entirely on the ingredients you pick! Many brands of candy melts and chocolate wafers are made in facilities that process tree nuts and peanuts, so always check labels for “may contain” warnings if serving allergy-prone kids. Look for certified nut-free candy coating brands, and prep on a thoroughly cleaned, nut-free surface to avoid cross-contamination.
8.Can young kids help make these marshmallow pops, or are they too fussy for little hands?
▾
These are perfect for kid helpers! Let little ones take on age-appropriate tasks: pushing marshmallows onto pre-glued sticks, adding candy eyes right after dipping, or drawing on Frankenstein’s stitch scars with edible markers once the coating sets. Save the hot melted candy work for adults to avoid burns, and lean into the messy, goofy decoration vibe.
9.My melted candy melts got lumpy and thick halfway through dipping—can I fix that?
▾
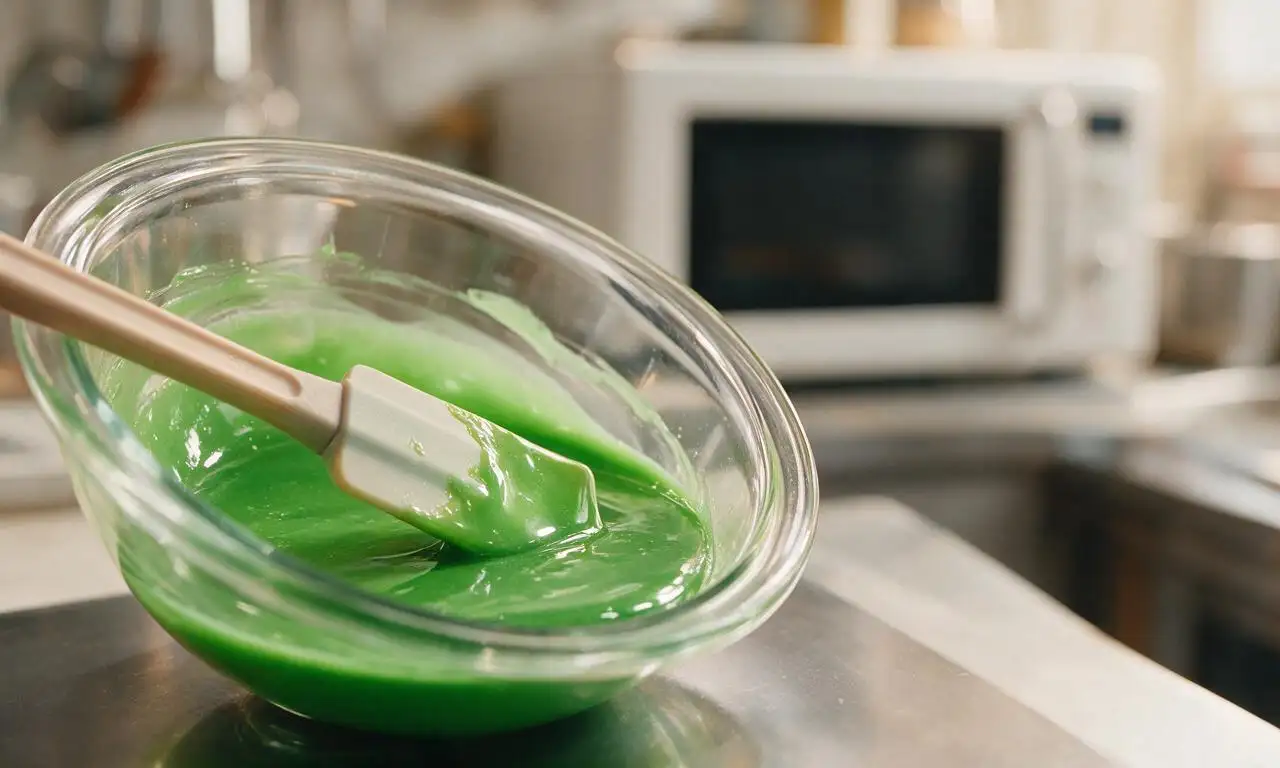
Definitely! Candy melts thicken up if they get too cool, or if you overheat them. Pop the bowl back in the microwave for 10-second bursts at 50% power, stirring really well between each burst, and stir in ¼ teaspoon of paramount crystals or refined coconut oil at a time until the coating thins back to a smooth, dippable consistency.
10.How should I display these pops for a Halloween party spread?
▾
The easiest display is a block of floral foam wrapped in black or orange construction paper, set inside a decorative bucket—you just push the stick ends into the foam to hold pops upright. You can also use a store-bought lollipop stand, or prop them up in a jar filled with candy corn or mini chocolate candies to hold sticks steady for guests.
11.Can I add extra Frankenstein details besides the hair and eyes?
▾
Go wild! Once all the base coating sets, use a black edible marker or thin line of melted dark chocolate to draw stitched scars across the forehead, little bolt shapes on the sides of each marshmallow, and a silly scowling mouth. You can even press tiny silver sugar pearls on the side bolts for a little extra metallic, spooky sparkle.
12.What’s the best way to transport these pops to a party without ruining the decorations?
▾
Transport them upright if at all possible! Use a shallow plastic storage bin, and set a block of floral foam in the bottom to stick the pops into so they don’t roll around. If you don’t have foam, lay them in a single layer between parchment sheets in a rigid container, and keep the bin in a cool car spot so coating doesn’t melt in warm fall weather.
13.Can I use mini marshmallows instead of large ones to make bite-sized versions?
▾
Absolutely! Mini marshmallows make adorable tiny Frankenstein bites, perfect for snack mixes or little kid portions. Use shorter 2-inch lollipop sticks (or even toothpicks for bite-sized picks) and keep your dips extra quick, since mini marshmallows are smaller and coat faster. Just note that fine decoration details will be a little trickier on the tiny surface.
14.How long do these pops stay fresh after I make them?
▾
When stored properly in an airtight container at cool room temperature, away from direct heat and sunlight, these pops will stay fresh for up to 1 week. The marshmallow inside will stay soft and chewy, and the candy coating will stay crisp as long as you avoid exposing them to moisture or big temperature swings that cause splotchy condensation.
15.Do I need any special tools to dip and decorate these pops?
▾
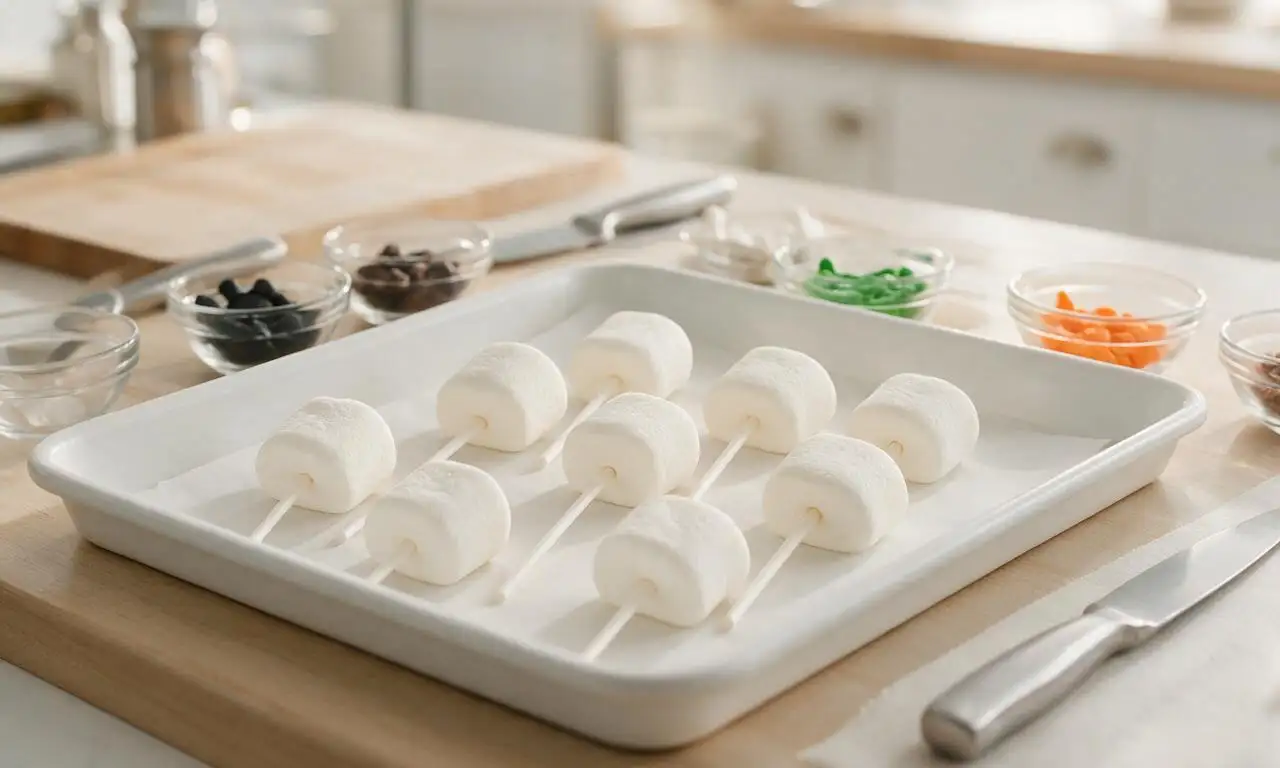
You don’t need fancy specialty equipment! All you really need is a couple of microwave-safe bowls for melting candy, a spoon to help drizzle coating if needed, toothpicks for detailing jagged hairlines and scars, and a flat tray lined with parchment paper to set dipped pops on. A tall narrow dipping cup makes coating easier, but it’s totally not required.
16.Can I make these pops vegan for friends with dietary restrictions?
▾
You totally can with a few simple swaps! Pick vegan large marshmallows (made without gelatin), vegan green candy melts or dairy-free white chocolate dyed green with oil-based coloring, dairy-free dark chocolate wafers, and vegan candy eyes (or make your own with vegan chocolate). All prep steps stay exactly the same for a treat everyone can enjoy.
17.The candy eyes keep sliding off after I stick them on—how do I get them to stay put?
▾
This is an easy fix! You want to add the candy eyes right after you dip the marshmallow in the green coating, before the candy starts to set—usually within the first 30 to 60 seconds after dipping. If your coating has already started to harden, dab a tiny dot of melted candy or chocolate on the back of each eye as glue before pressing it on to hold it securely.

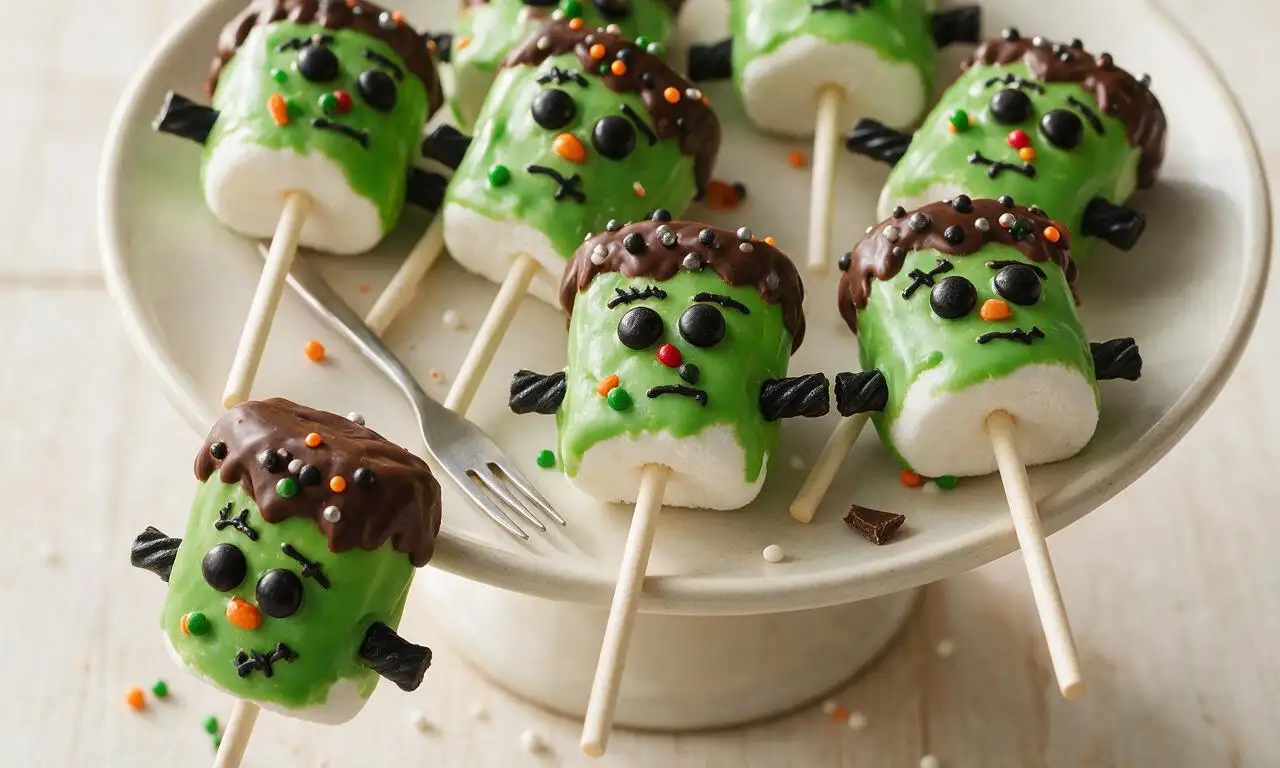
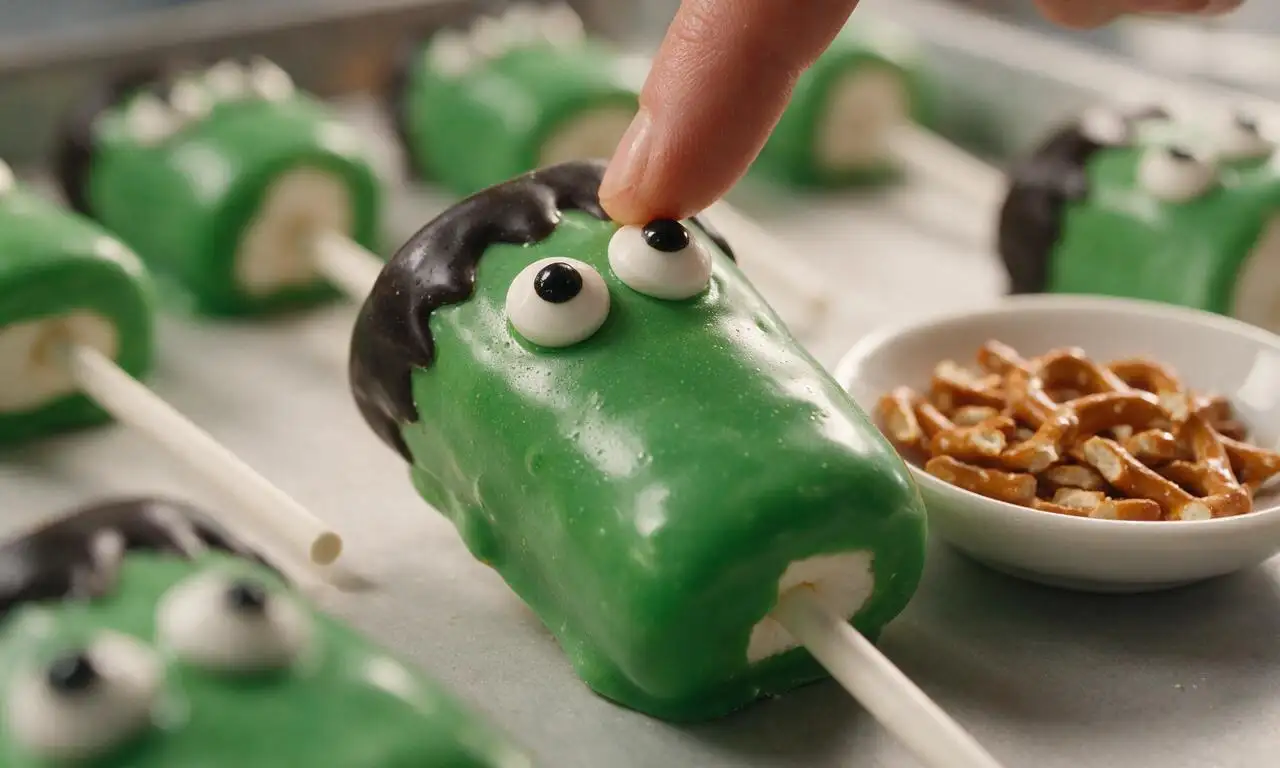
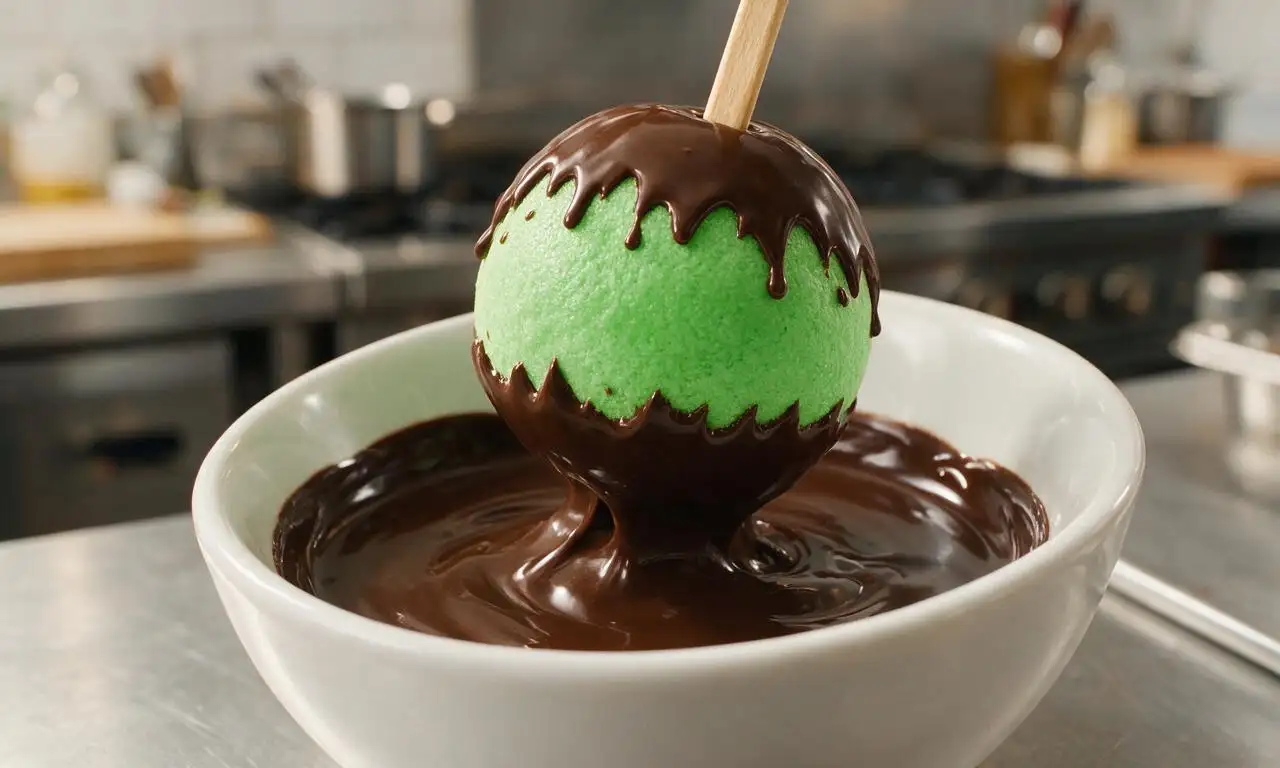
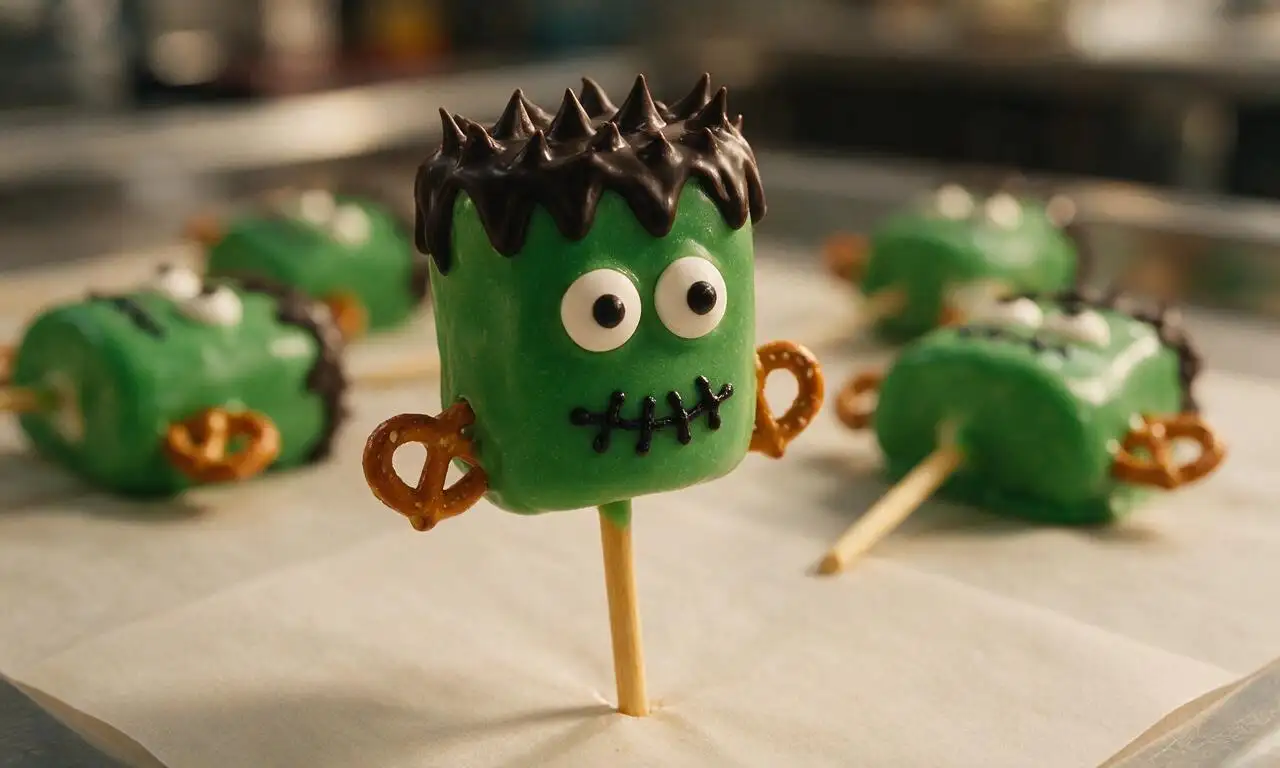






OMG these Frankenstein pops were the star of our annual neighborhood block party potluck! I roped my 7 year old into helping decorate and we had the best time – the recipe was so easy to follow even he could dip the marshmallows and add the candy eyes without making a total mess. Pro tip: stick them in the fridge for 10 minutes after dipping so the chocolate sets faster, no smudges! Already got three texts from neighbors asking for the recipe.
Made these for my dorm Halloween pregame last weekend and they were gone in literally 10 minutes. Total game changer for anyone who can’t actually bake (read: me). I used pre-colored green candy melts from the dollar store and they turned out perfect, no fancy supplies needed. Only note is I wish I’d bought more marshmallows because I definitely ate a handful plain while I was making them lmao.
These were SO good and so easy! I brought them to my office Halloween potluck and even the people who say they ‘don’t like sweet stuff’ grabbed one. I added a little sour candy strip as a scar on each one and it made them look even more like Frankenstein, super cute. Will 100% be adding these to my yearly Halloween treat rotation.
My kids loved it! I was looking for a quick Halloween activity to do with my 4 and 6 year old on a rainy Saturday and these popped up on my feed. 50 minutes total start to finish, which was perfect for their attention spans. We used mini chocolate chips for the hair and mouth instead of sprinkles because that’s what we had in the cabinet, worked like a charm.
Wait a second – are these easy to make gluten free? My niece has celiac and I’m in charge of treats for her Halloween birthday party this weekend, I want to make sure nothing will make her sick. They look so cute I’d love to add them to the menu if I can swap a couple ingredients!