
freezing waffles
intro
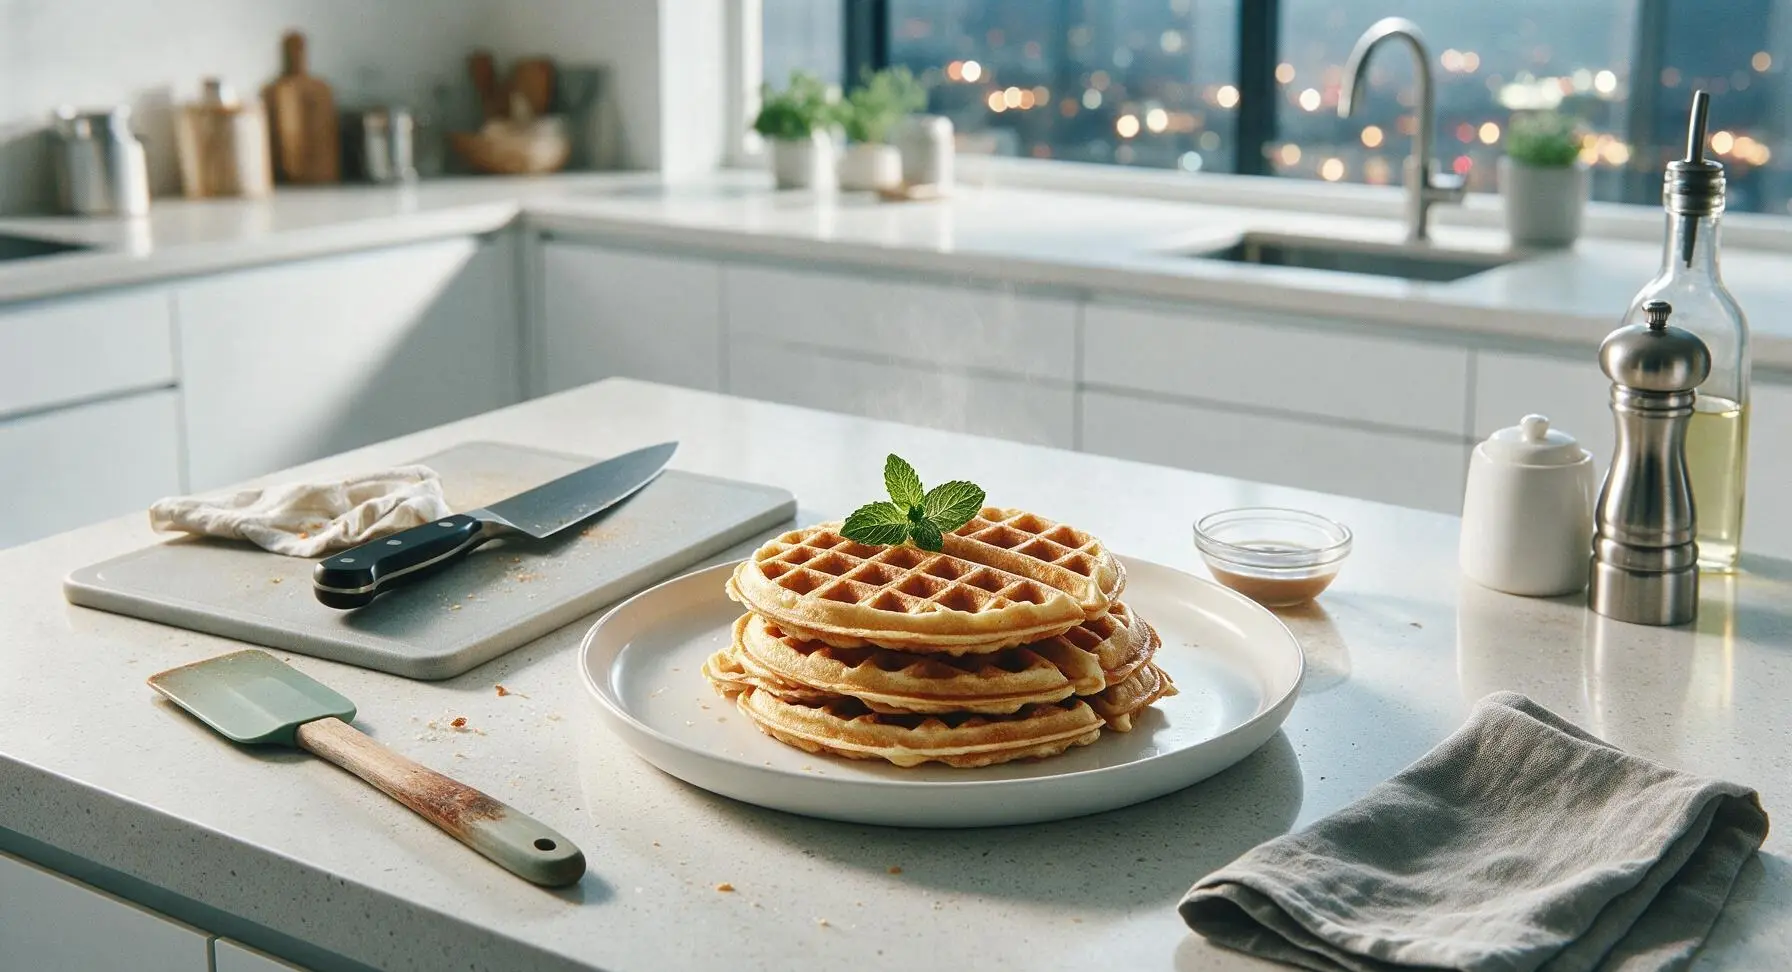
Fluffy, crisp homemade waffles prepped and frozen for quick, fuss-free meals—no soggy texture, no artificial additives, ready in 3 minutes from freezer to plate.
Ingredients
Steps
Mix Waffle Batter
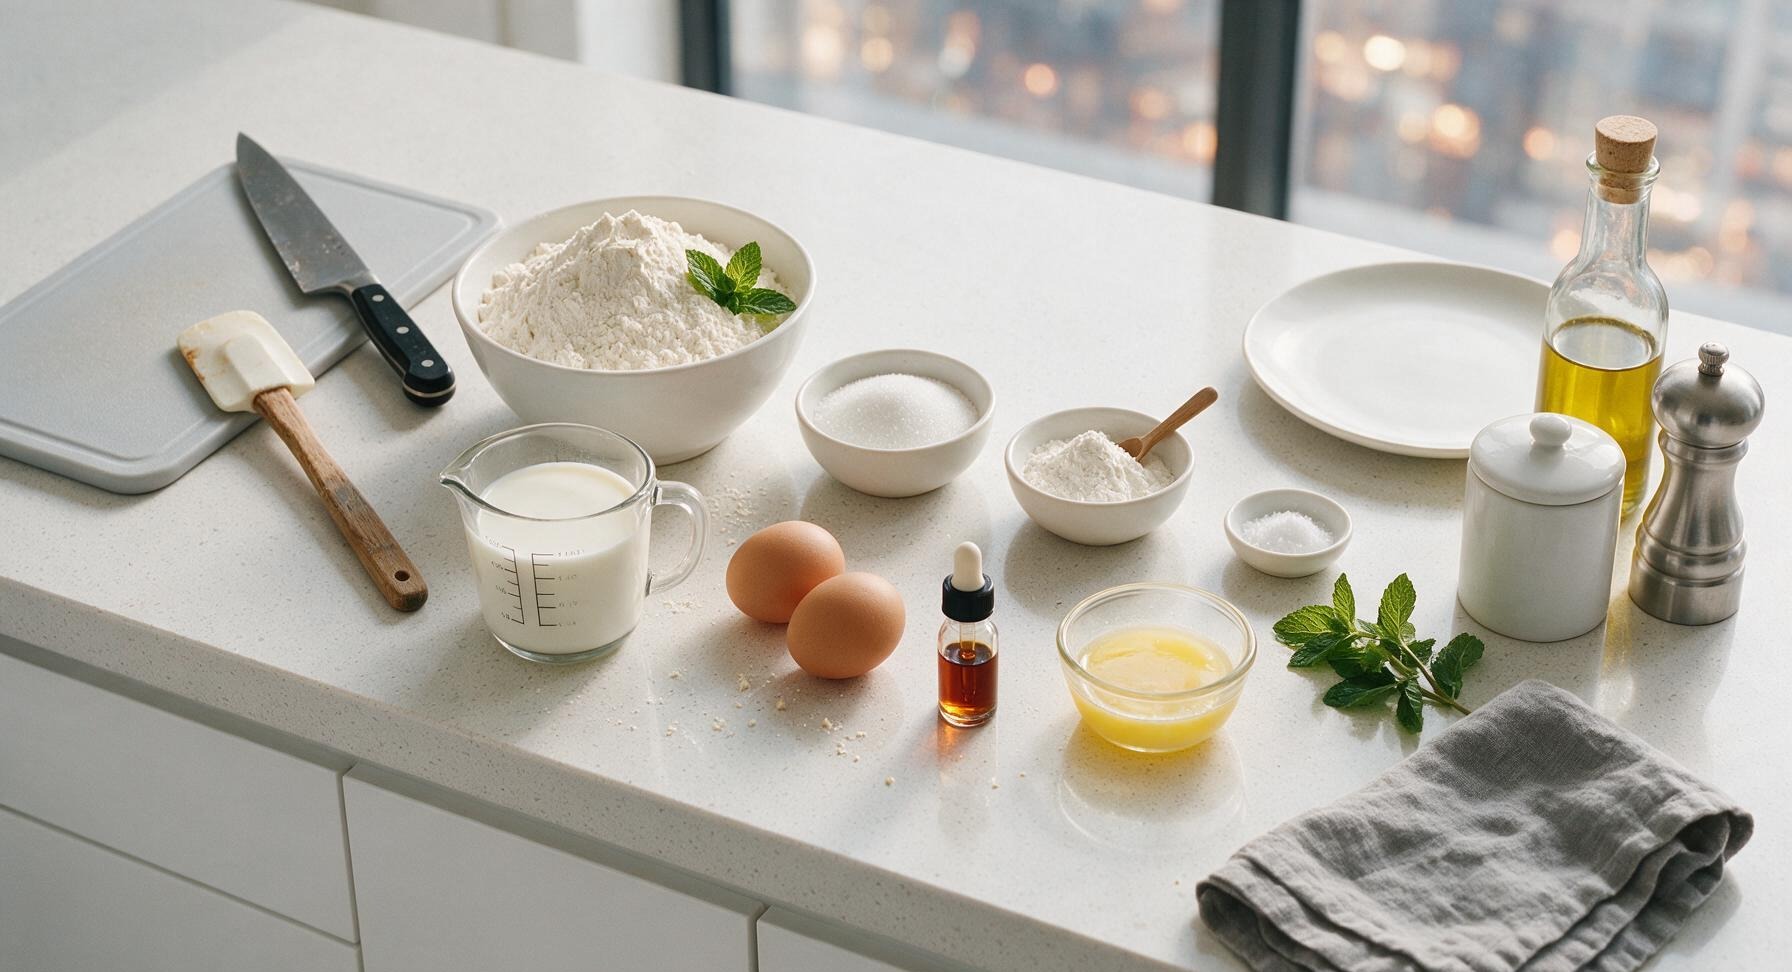
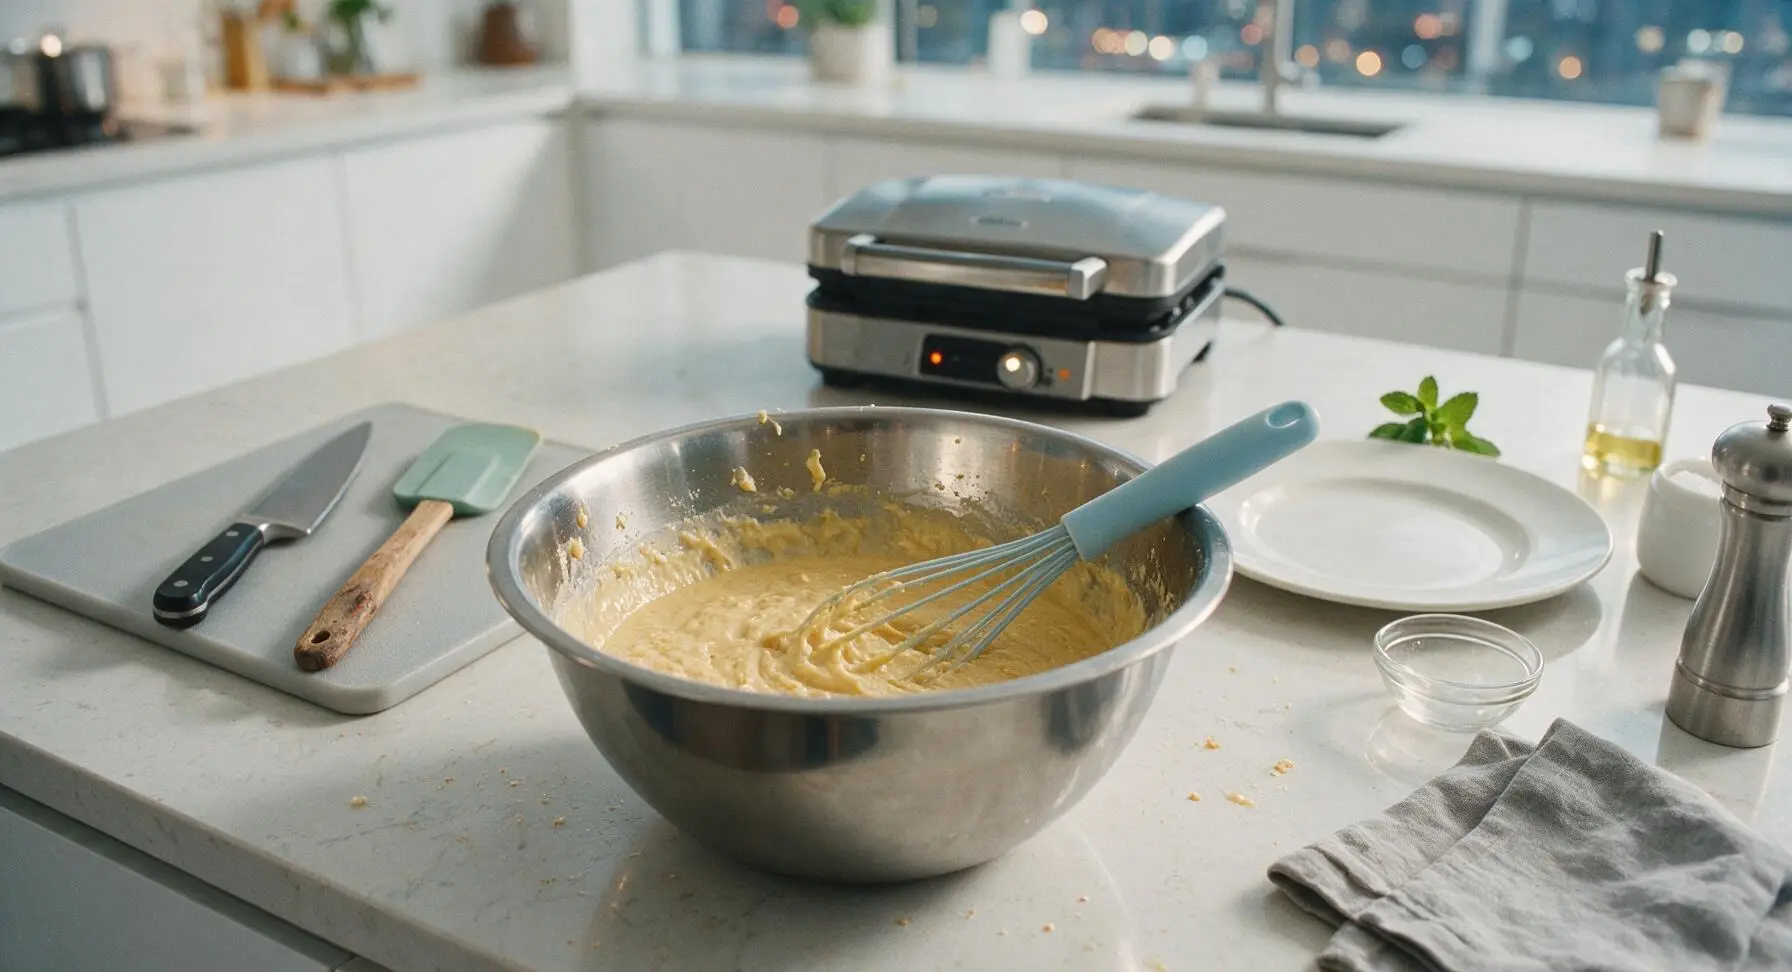
In the large stainless steel mixing bowl, whisk together 2 cups all-purpose flour, 2 tablespoons granulated sugar, 1 tablespoon baking powder, and 1/2 teaspoon fine sea salt until evenly combined. In a small pour, whisk 2 large eggs, 1 3/4 cups whole milk, 1/3 cup melted cooled unsalted butter, and 1 teaspoon vanilla extract. Pour wet ingredients into dry ingredients, stir with the light blue-handled silicone whisk just until combined—small lumps are normal, do not overmix (overmixing creates tough, dense waffles). Let batter rest 5 minutes while the waffle maker preheats to 375°F (medium-high setting).
Cook Waffle Batches
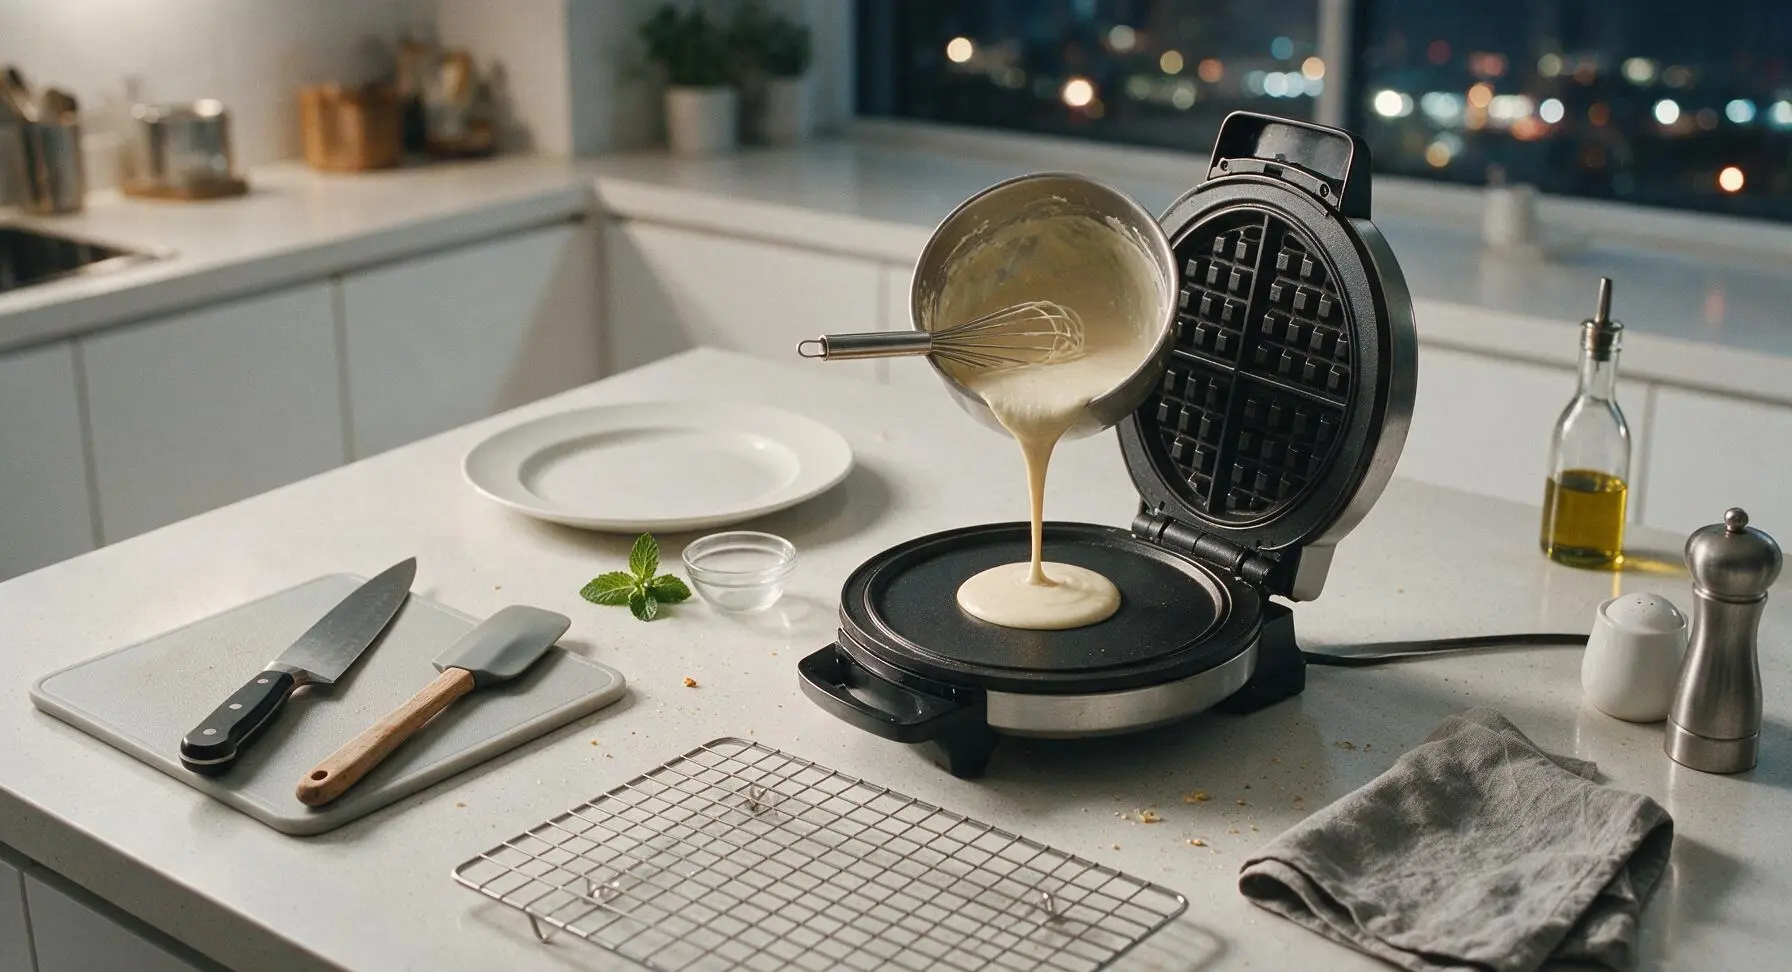
Lightly coat the preheated waffle maker plates with a thin brush of melted butter. Pour 1/2 cup of batter per waffle onto the center of the waffle iron, close the lid, and cook for 3 to 4 minutes until waffles are deep golden brown and crisp to the touch, with no raw batter seeping from the edges. Repeat with remaining batter, using the small offset silicone spatula to transfer cooked waffles directly to the wire cooling rack as you go, taking care not to tear the delicate waffle edges.
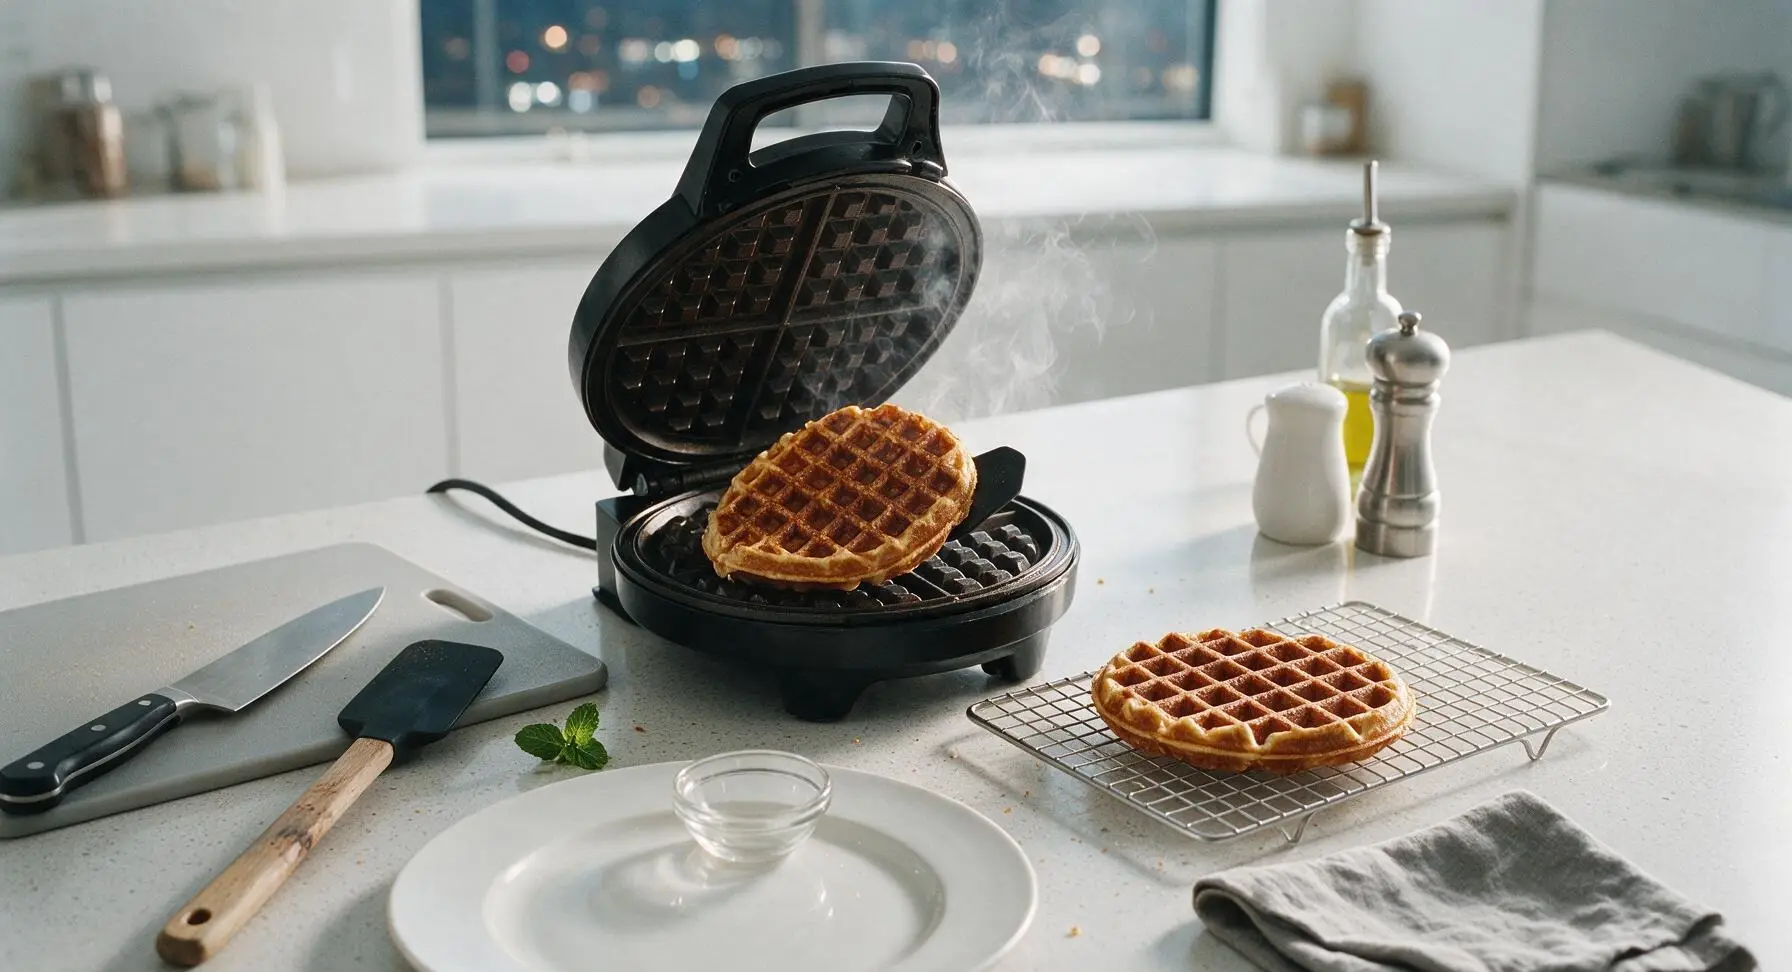
Cool Waffles Fully
Arrange cooked waffles in a single, non-overlapping layer on the wire cooling rack set over the aluminum baking sheet. Let them cool completely to room temperature, approximately 15 minutes. Do not skip this step: trapping warm, moist condensation with frozen waffles causes sogginess and large, grainy ice crystals during storage. Waffles are ready for freezing when they feel cool to the touch on all sides, with no residual warmth when you press the thickest center point.
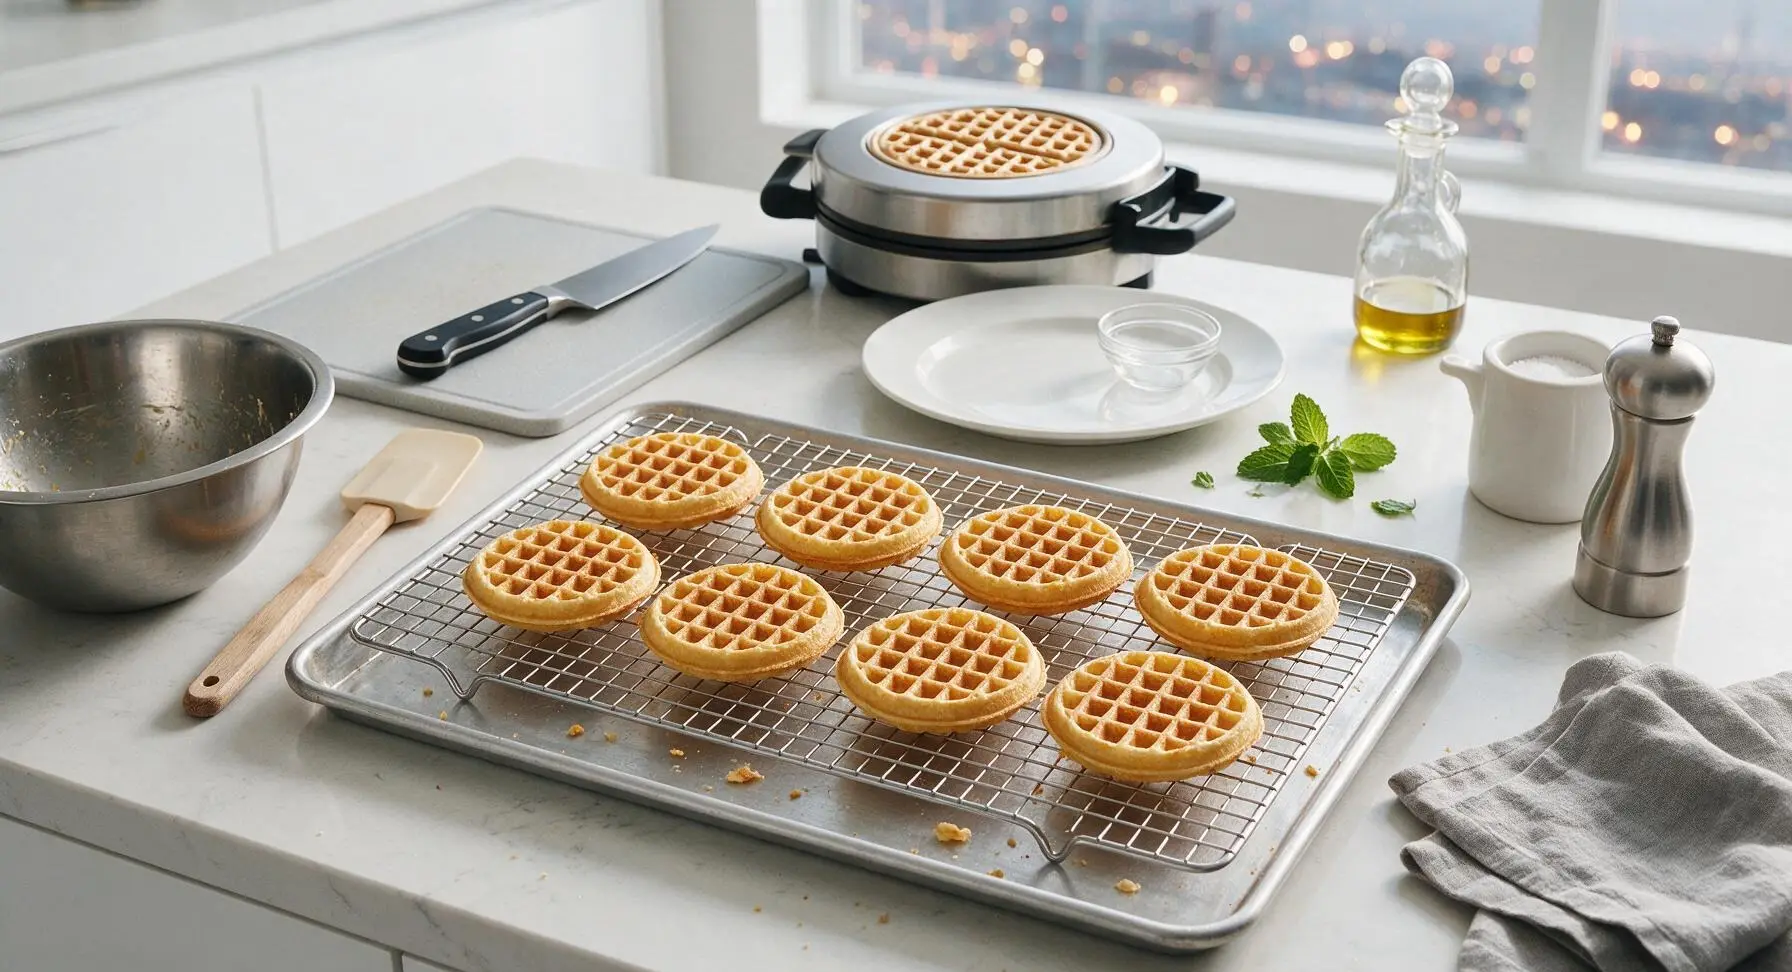
Cut Parchment Dividers
While waffles cool, use the kitchen shears to cut the unbleached parchment paper into 11cm square pieces, one square for every waffle cooked. These dividers prevent frozen waffles from sticking together, so you can pull out individual servings without prying frozen waffles apart. Squares do not need to cover the entire waffle surface—they only need to be large enough to separate adjacent waffles in the stack.
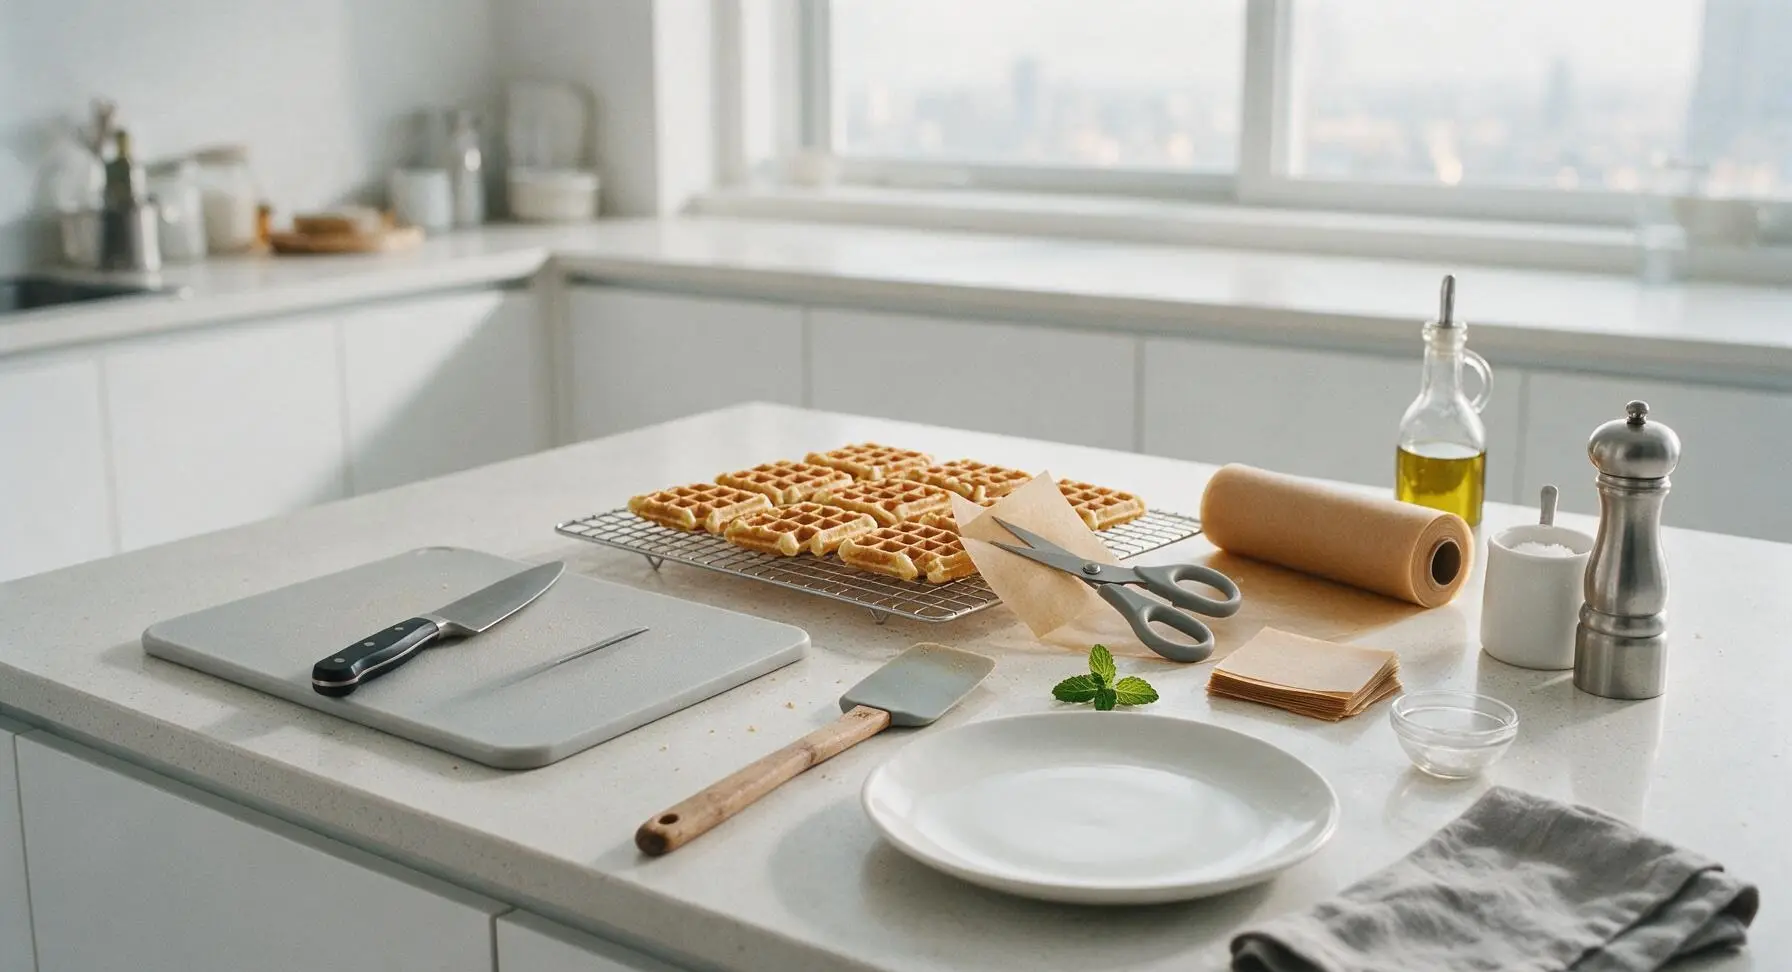
Flash Freeze Waffles
Once waffles are fully cooled to room temperature, transfer the entire wire cooling rack and aluminum baking sheet (with waffles in a single layer) to the freezer. Freeze uncovered for 2 hours until waffles are completely solid and hard to the touch, with no soft give when you press a grid edge. This flash freeze step prevents waffles from fusing together into a solid, unopenable block during long-term storage.
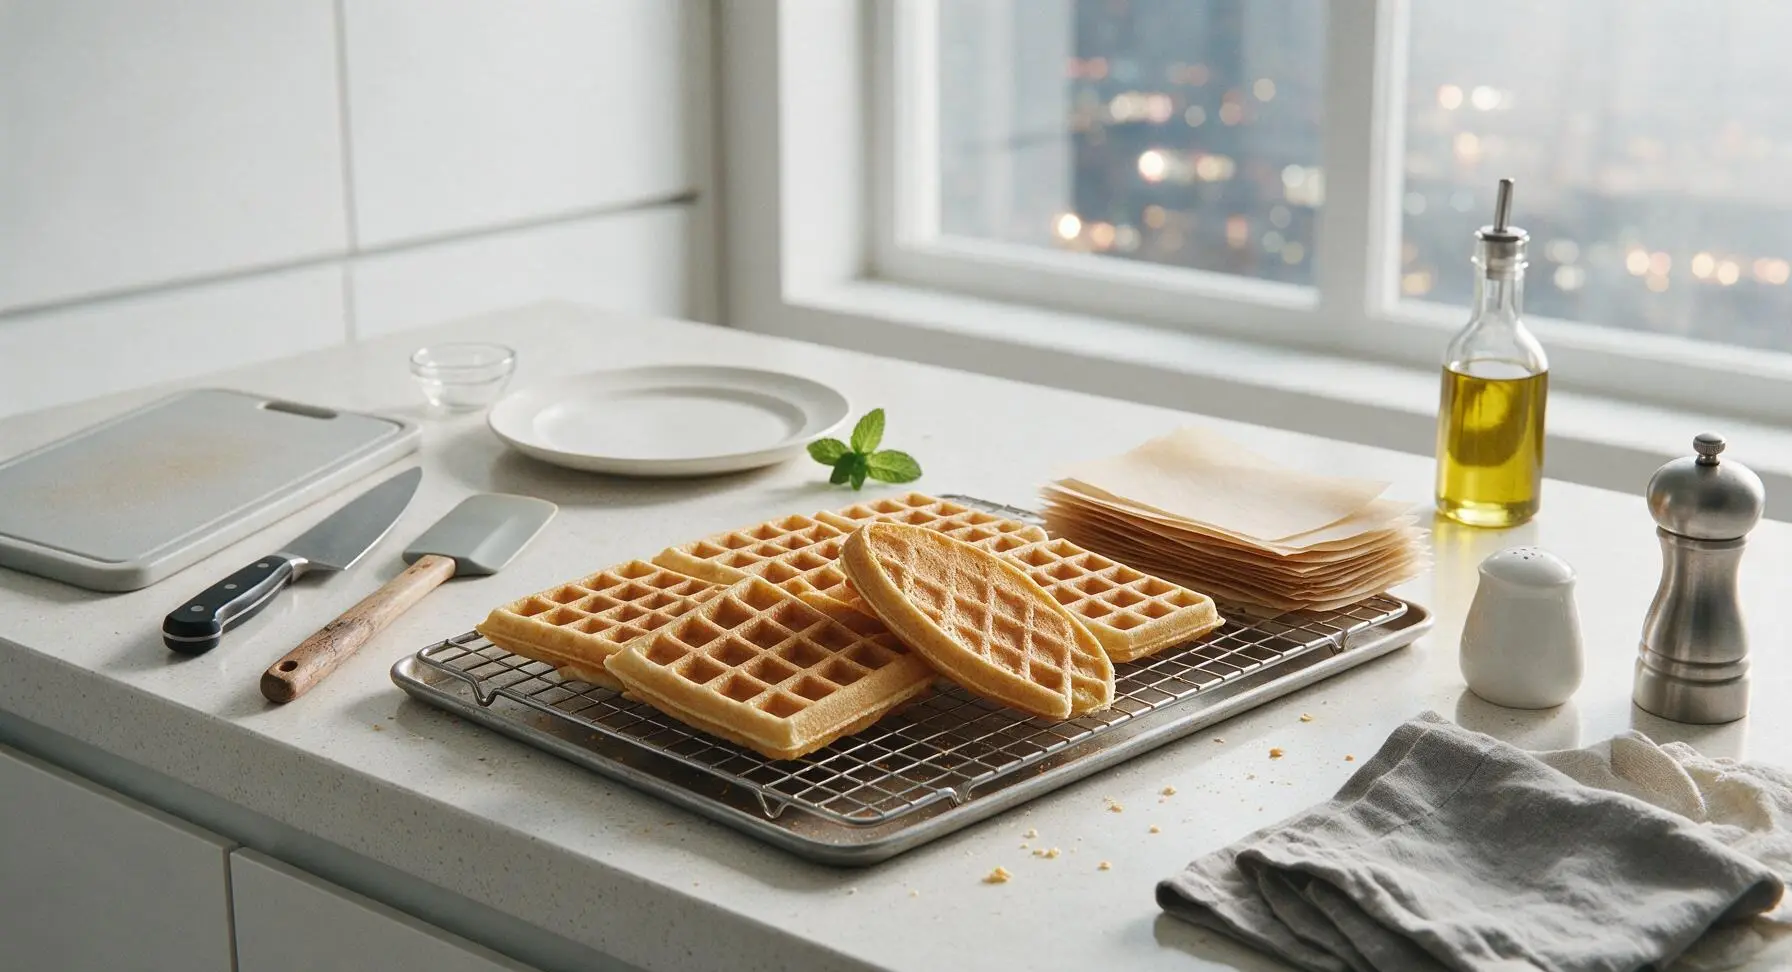
Layer Waffles For Storage
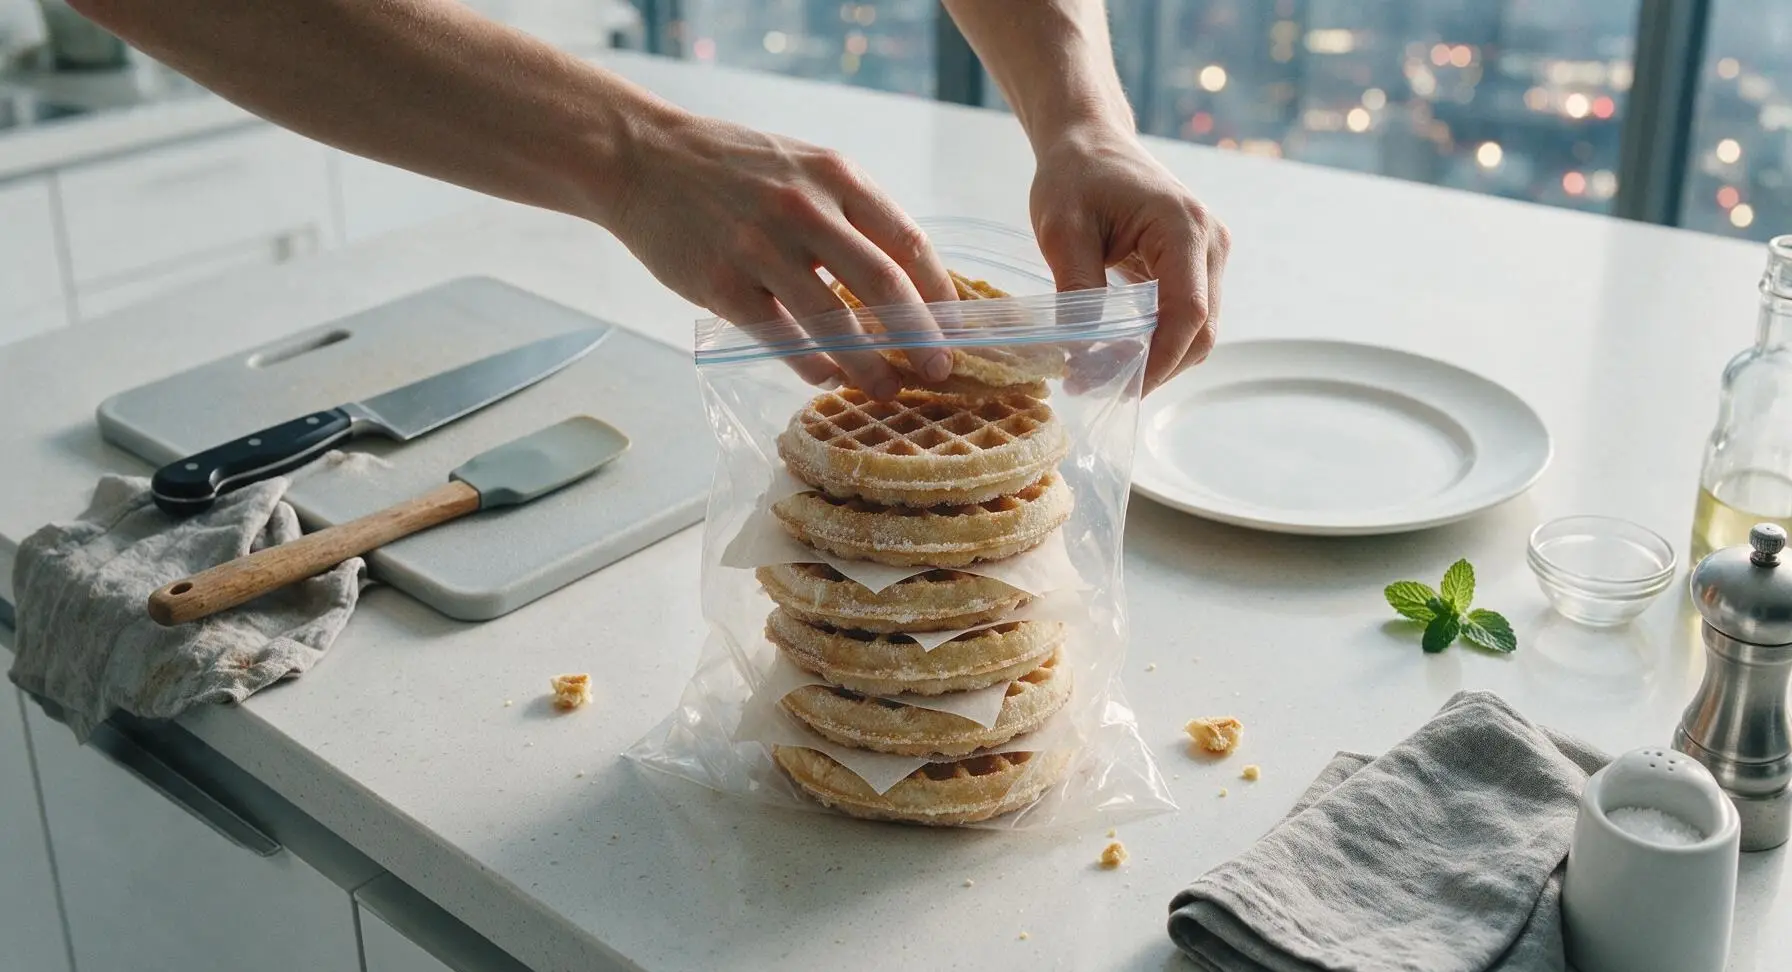
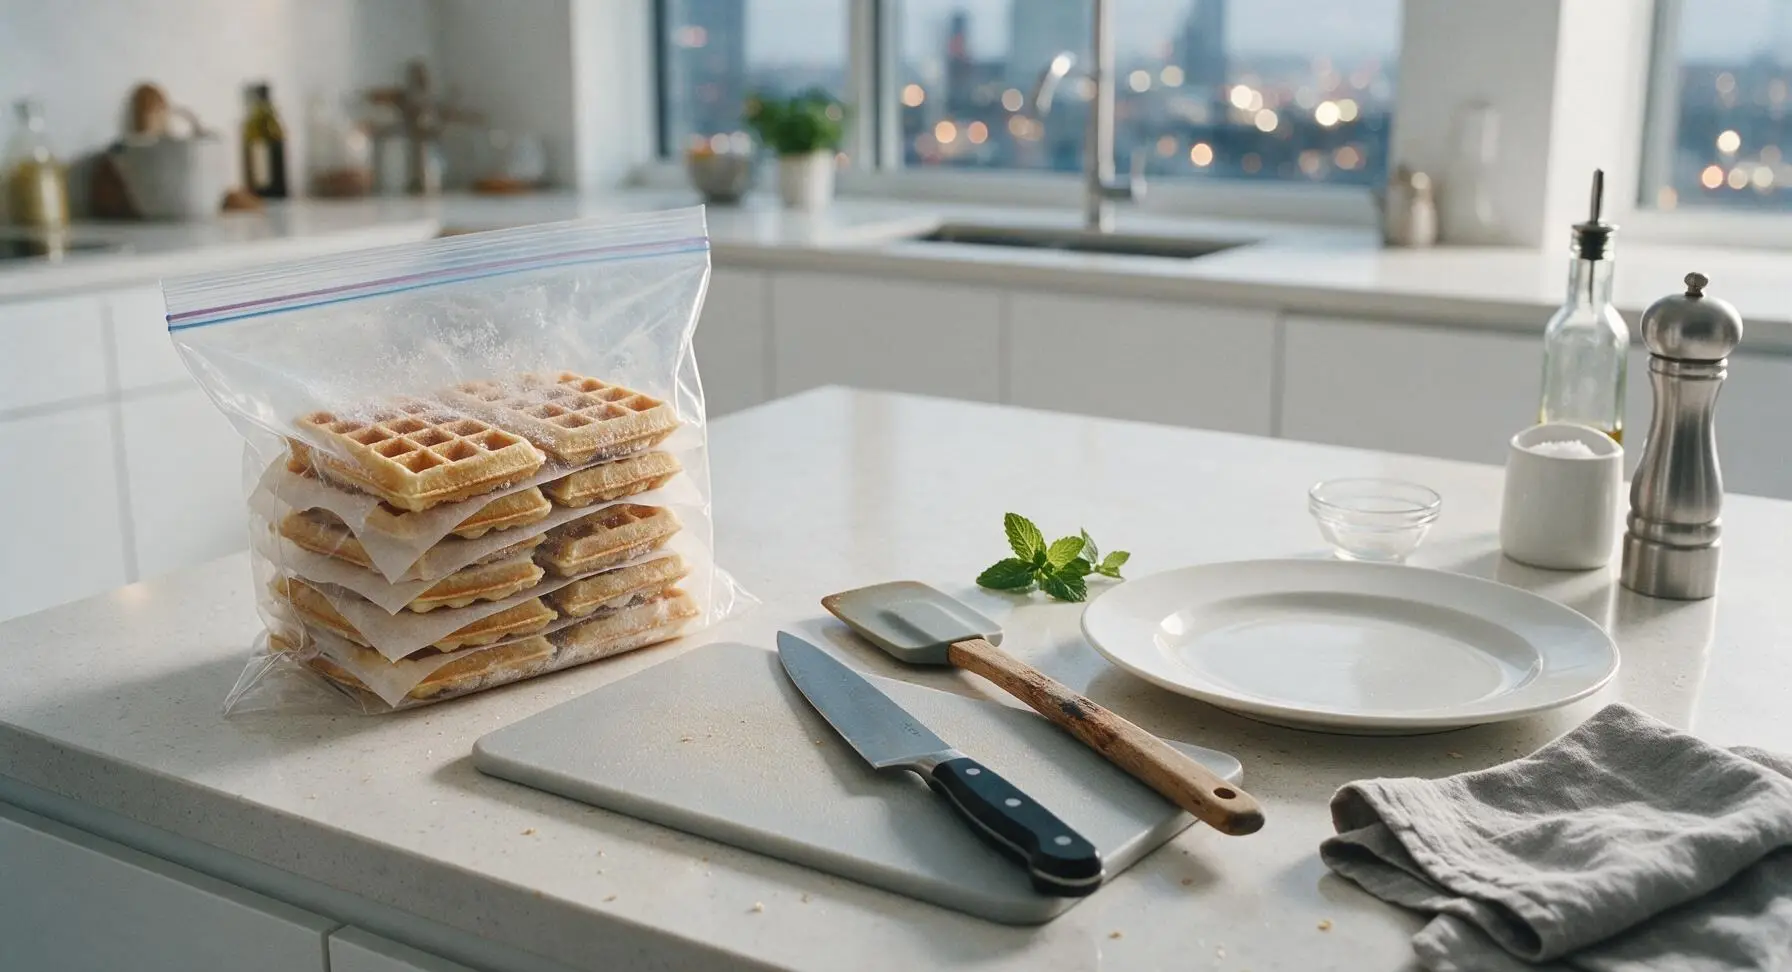
Remove the fully frozen, solid waffles from the freezer. Stack waffles in the 1-gallon clear zip-top freezer bag, tucking one cut parchment square between each waffle to prevent sticking. Press out as much excess air as possible from the bag before sealing tightly—trapped air causes freezer burn and stale, off-flavors over storage time.
Store and Reheat
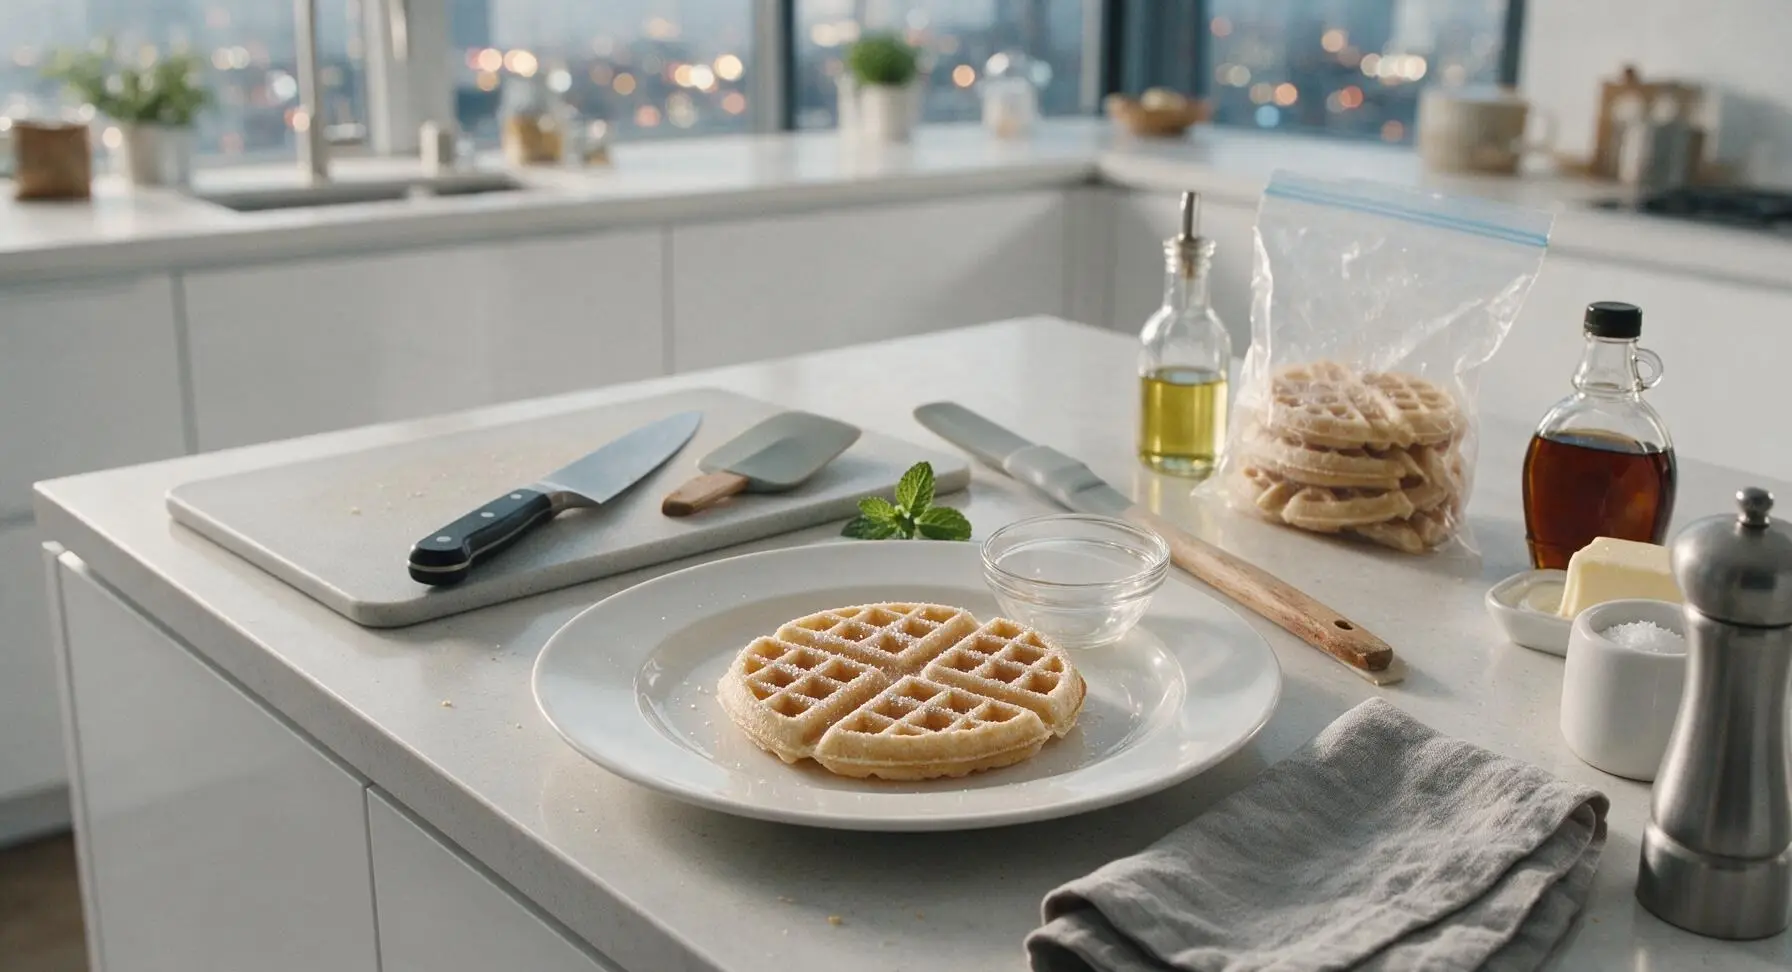
Place the sealed bag of waffles back in the freezer for long-term storage, where they will keep for up to 3 months. To serve, remove individual waffles from the bag (they will pop apart easily thanks to the flash freeze and parchment dividers) and reheat directly from frozen: toast in a toaster or toaster oven on medium setting for 2 to 3 minutes, or bake at 350°F for 5 minutes, until crisp on the outside and heated through. Do not thaw waffles before reheating, as this causes soggy, limp texture.
Tips
2.Skip the microwave when reheating frozen waffles: microwaves heat moisture unevenly and turn waffles soft and chewy. A toaster, toaster oven, or regular oven set to 350°F will crisp the waffle exterior while heating the fluffy interior evenly, matching fresh-made texture.
3.For a quick time-saving shortcut, you can skip the parchment dividers entirely: as long as you fully flash freeze waffles in a single layer until rock hard before bagging, they will not stick together, though dividers make removing single waffles slightly faster.






OMG these are a total game changer for our chaotic school mornings! I used to spend 20 minutes every day making waffles from scratch while the kids ran around half-dressed, now I just pop one in the toaster and we’re out the door 10 minutes early. My kids loved it, even my super picky middle son who turns his nose up at 90% of breakfast foods. SO good!
These came out super fluffy! I only knocked off a star because my first batch stuck a little to my old waffle iron — I think I needed to spray it a bit more between rounds. Perfect for meal prep though, I have a stack in my freezer for quick breakfasts before early work shifts.
Game. Changer. I’ve been buying frozen waffles from the grocery store for years and they always taste so cardboard-y. These are so much better, cheaper too! I love that I can customize them — added blueberries to a third, cinnamon to another third, left the rest plain for savory toppings like fried chicken.
Just pulled my first batch out of the waffle iron and they are perfect! Can’t wait to stock my freezer so I don’t have to skip breakfast on days I hit the gym early. Quick question — how long do these stay good in the freezer for?
These were fine, but a little denser than I expected. I think I overmixed the batter? I’m used to super light, crispy waffles from my go-to recipe, but these are definitely convenient for quick meals. Maybe I’ll adjust the leavening next time.
As a broke college student with barely any time to cook between classes, these are a lifesaver! I don’t have a fancy waffle iron, just the cheap $20 one I got at Target, and they still turned out amazing. Way cheaper than buying the name brand frozen waffles, and I know exactly what’s in them.
I’ve been making waffles for my grandkids for 40 years, and I never thought to freeze them ahead! I made a double batch last Sunday when all the kids were over, and now my granddaughter says she wants a bag to take back to college with her. They toast up just like fresh, you’d never know they were frozen.
These are perfect for post-hike breakfasts! I keep a stack in my camper freezer, and after an early morning summit, I just heat a couple up on my camp stove toaster and top them with peanut butter and banana. Way better than packing granola bars for every trip.
Really solid base recipe! I swapped half the all-purpose flour for whole wheat, added a scoop of chia seeds, and they turned out great. Only thing is I wish the recipe had notes for vegan swaps, but I used oat milk and flax egg and it worked just fine for me.
My students always tease me for talking about meal prep, but these waffles are the reason I do it! I eat one on my commute every single morning, topped with Greek yogurt and berries. No more stopping for overpriced fast food breakfast on my way to school, and they keep me full through first period.
Took these to my weekly guys’ camping trip last weekend and they were a hit! We heated them up over the fire on a cast iron griddle and loaded them up with maple syrup and bacon. No messy batter to mix out in the woods, just grab and go from the cooler. Genius.
My toddler is going through a phase where he will only eat beige food, so these waffles are a lifesaver. I sneak a little pureed sweet potato into the batter and he has no idea, he just shovels them down! I gave 4 stars because I wish they were a little crispier straight from the freezer, but toasting them for an extra 30 seconds fixes that.
I am not a morning person at all, so these are perfect for my weekly meal prep! I make them on Sunday afternoons while I’m watching football, then I don’t have to cook breakfast all week. Win win. They taste just as good as the ones I make fresh on weekends, no weird freezer aftertaste at all.
I was worried these would get soggy when I reheated them, but nope! I followed the tip to reheat in the toaster instead of the microwave and they were crispy on the outside, fluffy on the inside, just like fresh. 10/10, will be making these every single month for meal prep.
Just popped my first test waffle out of the iron and oh my gosh, the vanilla flavor is chef’s kiss. I can already tell these are going to be a staple in my house. I’m gonna make a triple batch so I don’t run out anytime soon!
Great recipe! I added a scoop of vanilla protein powder to the batter to bump up the protein for post-run fuel, and it worked beautifully. The texture was still light, no weird chalky protein aftertaste like I’ve had with other waffle recipes.
I make a batch of these once a month for my kid’s school breakfast program. They freeze so well, we just heat up a big tray in the oven on distribution days and the kids go crazy for them. Way better than the pre-packaged frozen ones the district used to order!
These are convenient, but I found them a little too sweet for my taste. Next time I make them I’ll cut the sugar by half, since I usually top them with sweet syrup and fruit anyway. Still a great base recipe, just needs a little tweak for my preferences.
We do a big family breakfast every Saturday, and now I make these waffles ahead so I don’t have to stand over the waffle iron for an hour while everyone else is hanging out. I get to sit and drink my coffee and watch cartoons with the kids instead. Absolute game changer for our weekend routine.