
french toast syrup
intro
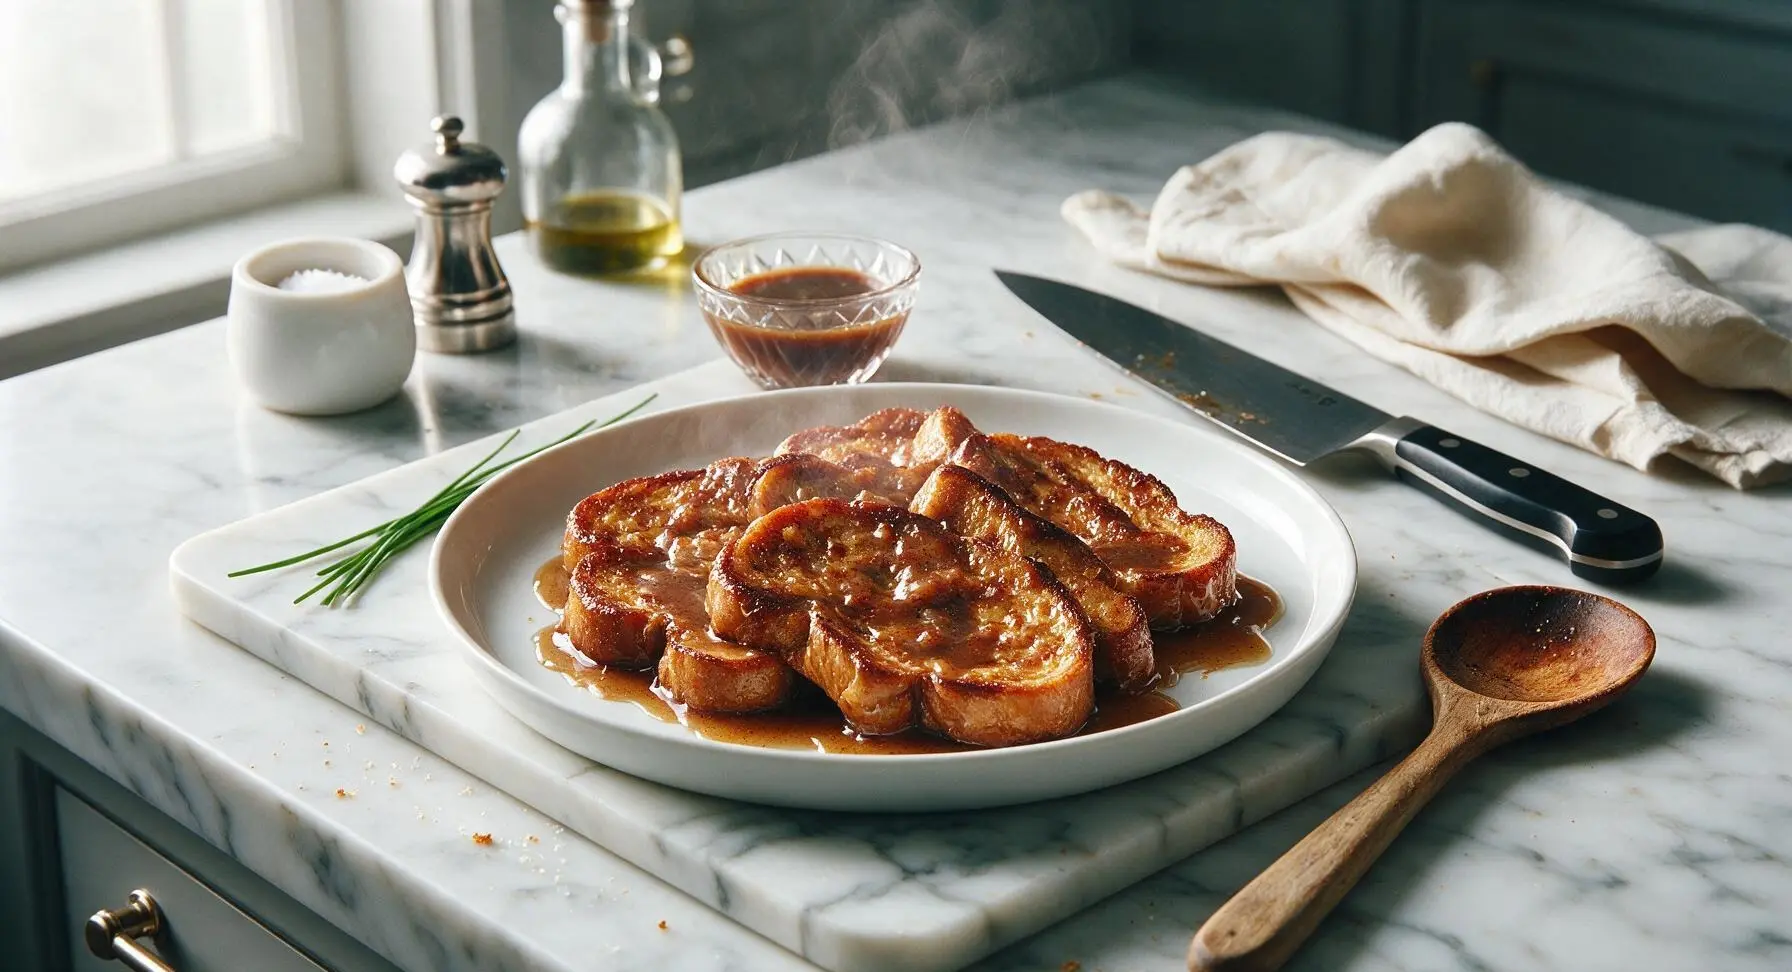
Rich, buttery, warmly spiced homemade French toast syrup with deep caramel and vanilla notes, far more flavorful than store-bought, clinging perfectly to every fluffy toast slice.
Ingredients
Steps
Measure All Ingredients
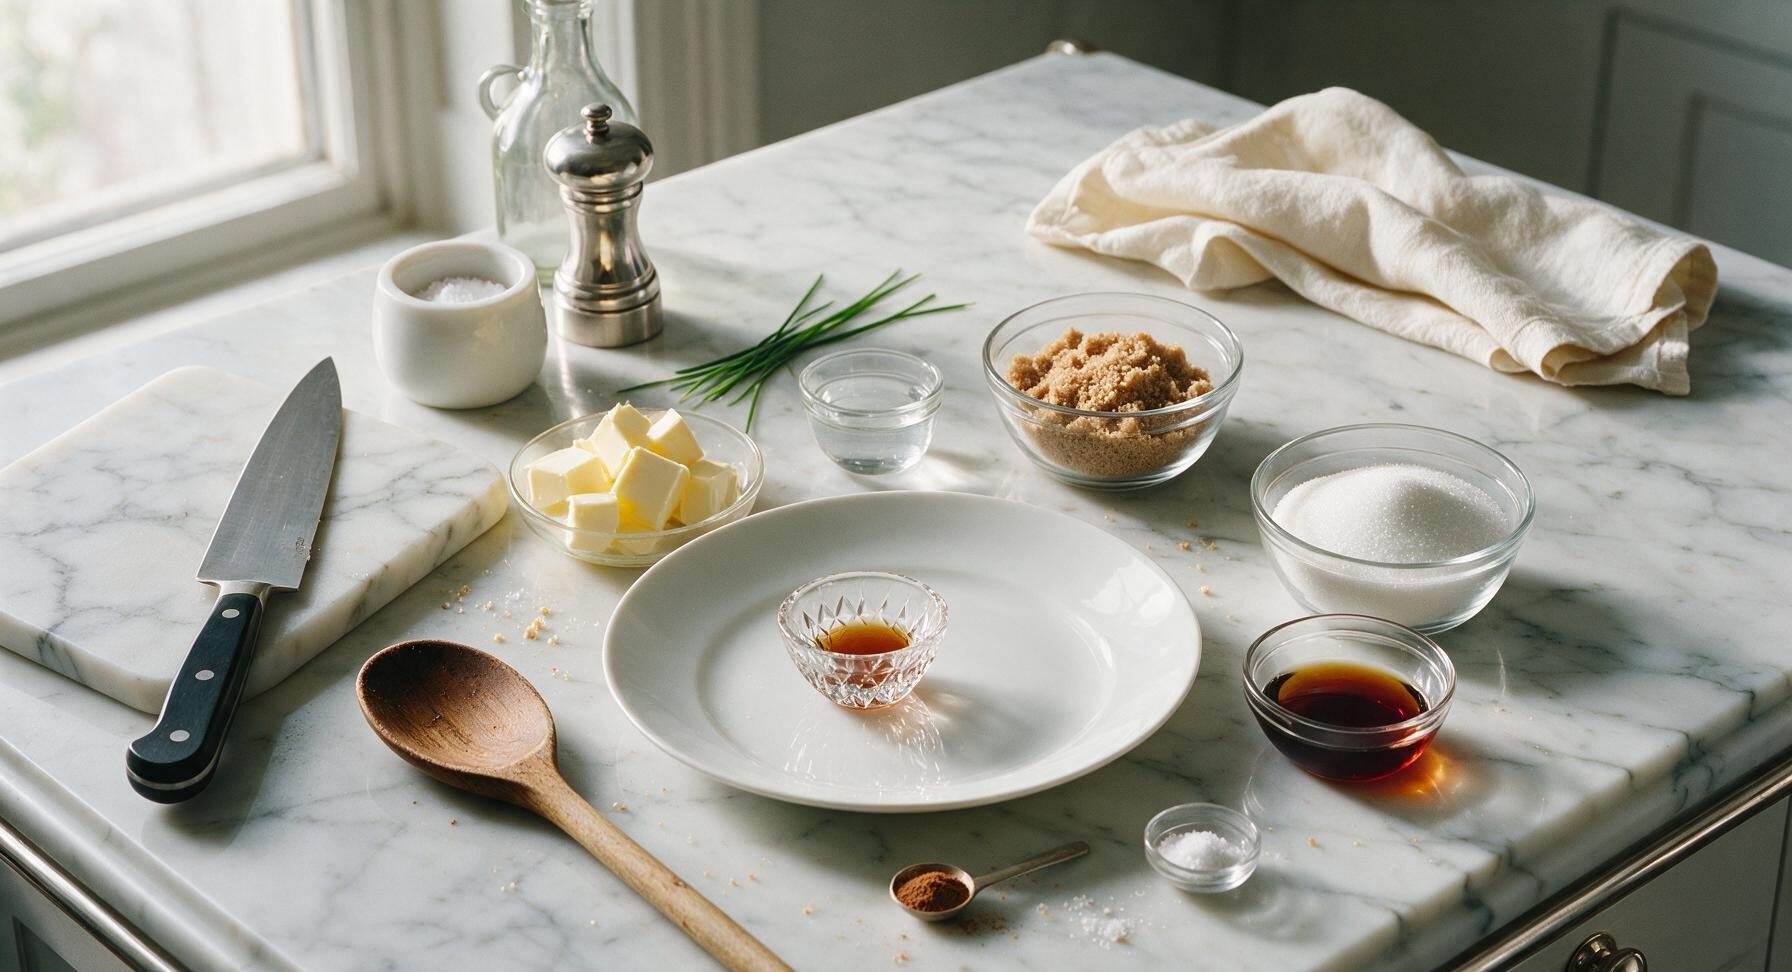
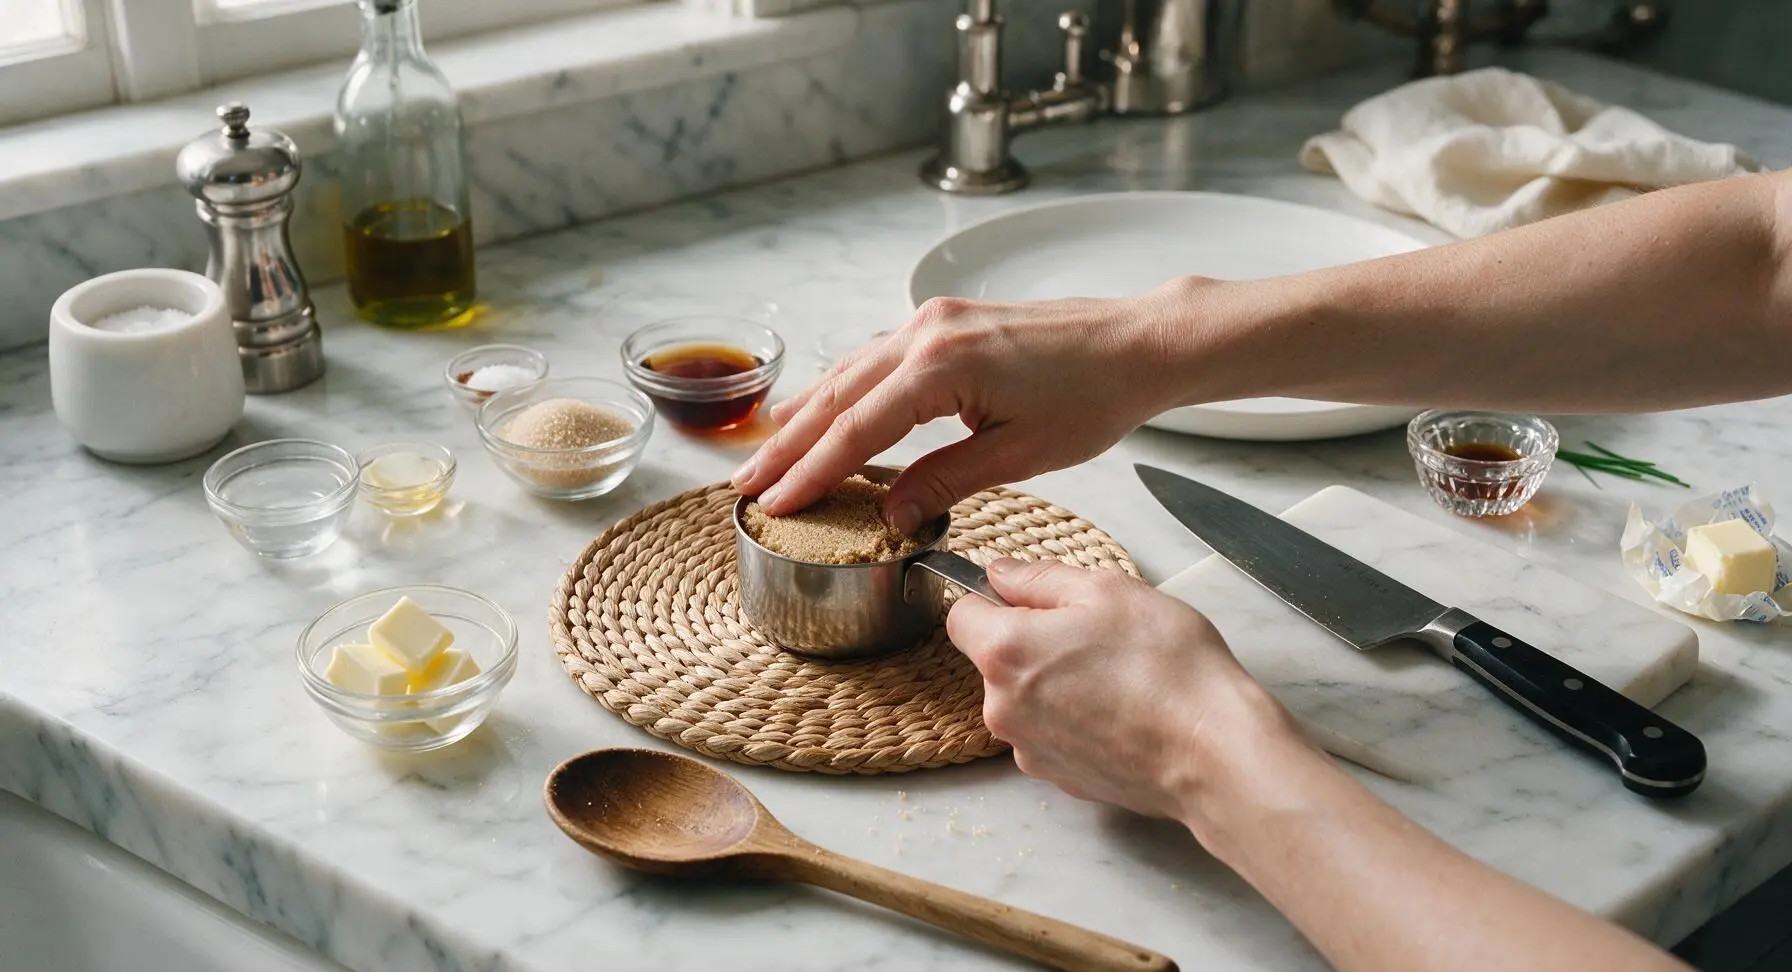
Use the stainless steel measuring cups and spoons to portion all ingredients into small clear prep bowls: cut butter into 4 individual 1-tbsp pats for faster melting, firmly pack brown sugar into the measuring cup to eliminate air gaps, and level granulated sugar, water, and maple syrup for accurate measurement. Portion vanilla, cinnamon, and salt into tiny pinch bowls. Set all prepped ingredients within easy reach of the work zone, and discard butter wrappers to reduce clutter. This advance prep prevents overcooking from scrambling for ingredients mid-simmer.
Melt Butter in Saucepan
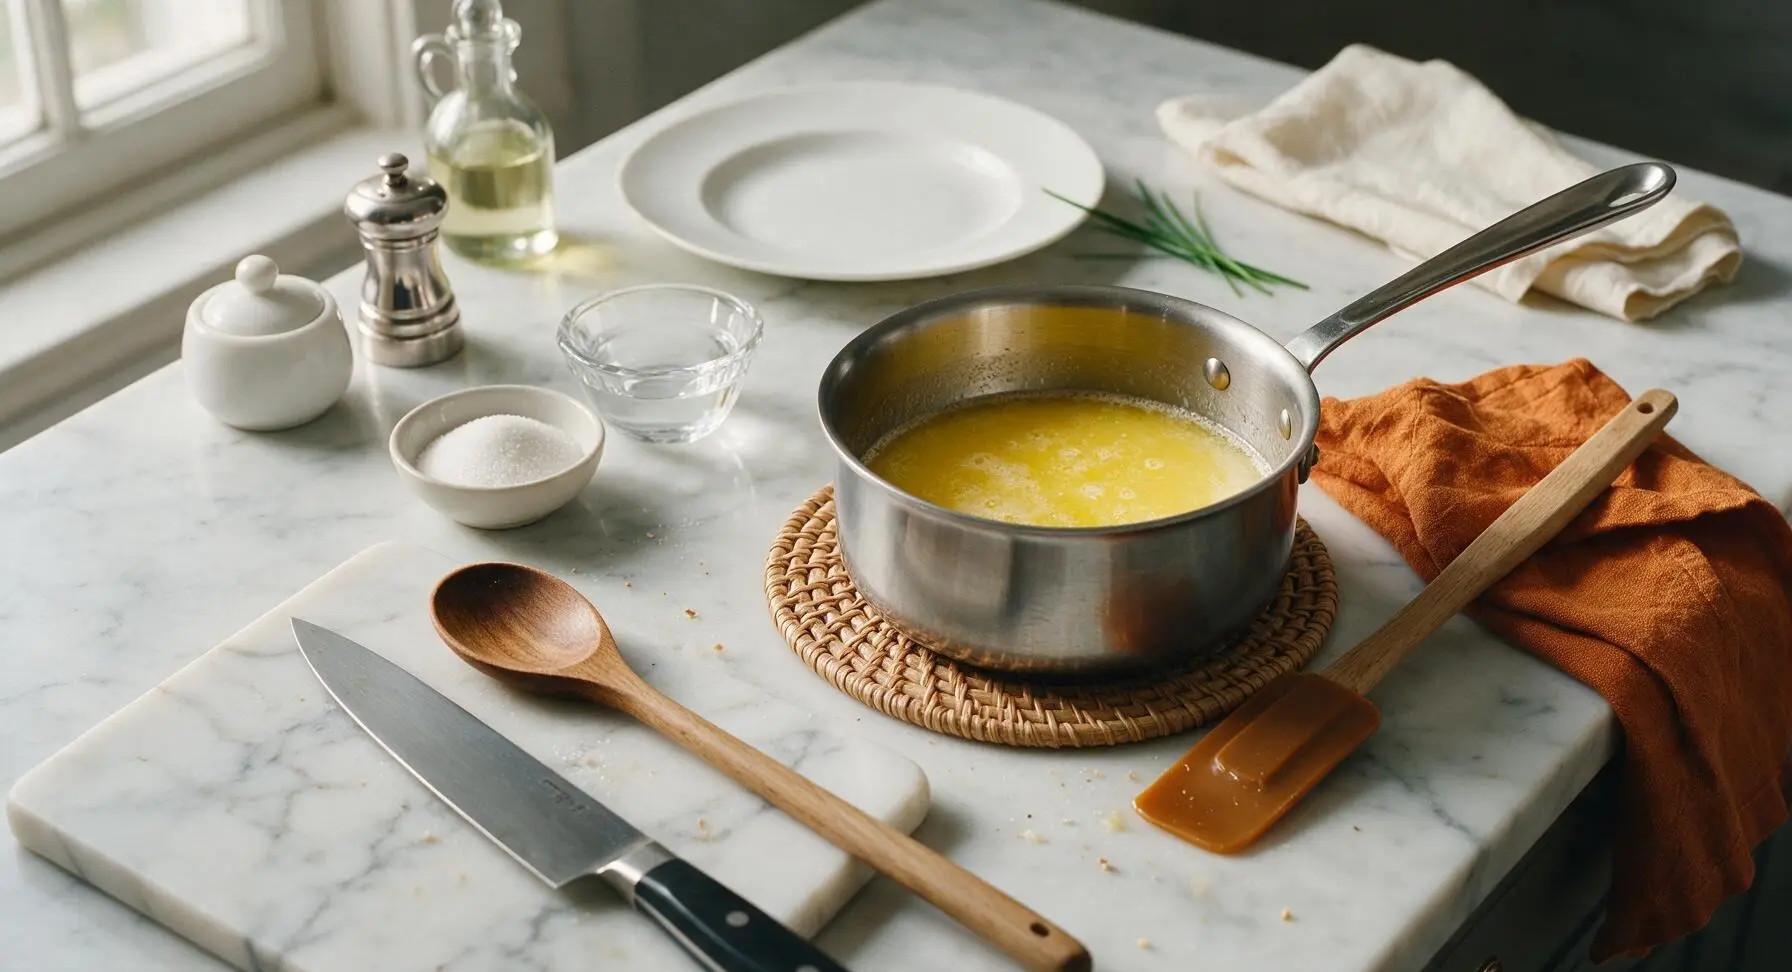
Set the 1-quart stainless steel saucepan on the stovetop over medium-low heat (325°F / 160°C). Add the measured butter pats to the pan, swirling occasionally as they melt for 2 minutes, until butter is fully liquid with a thin layer of fine bubbles across the surface. Do not let the butter brown, as this will create a bitter, nutty flavor that overwhelms the syrup’s delicate sweet profile. Carefully carry the warm pan to the counter and set it centered on the rattan trivet, resting the caramel silicone spatula on the pan’s right edge.
Add Sugars and Water
Pour the measured light brown sugar, granulated sugar, and filtered water into the saucepan with melted butter. Stir gently with the silicone spatula, scraping the bottom and sides of the pan to lift any sugar granules that stick, to prevent burning. The mixture will look grainy and separated at this stage, with visible sugar crystals suspended in the butter; this is completely normal and will resolve as the syrup heats.
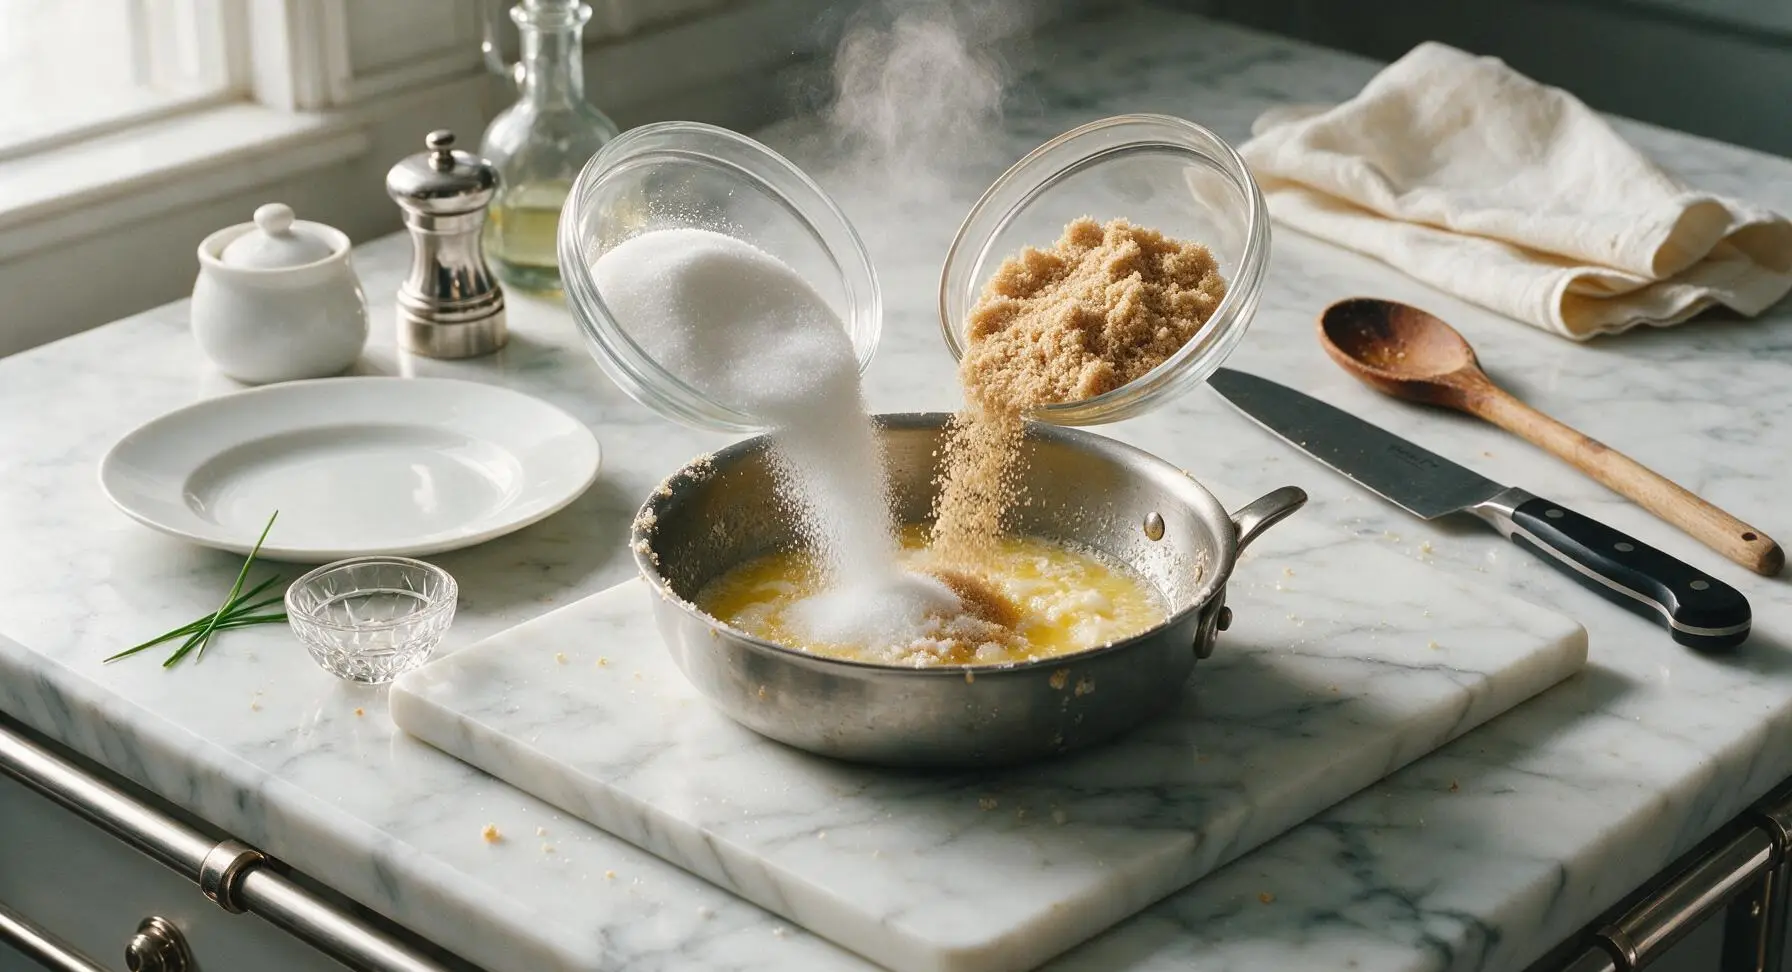
Simmer Syrup Gently
Return the saucepan to medium-low heat, stirring constantly until all sugar fully dissolves and the mixture shifts from grainy and opaque to completely clear. Once the liquid comes to a gentle, steady simmer (not a violent, rolling boil), stop stirring entirely and let the syrup cook uncovered for exactly 5 minutes. Do not stir during this simmer period, as agitation can cause sugar crystals to form and create a grainy final texture. The syrup will darken to a warm amber color and reduce slightly as it cooks; adjust heat as needed to prevent boil-overs or burning at the pan bottom.
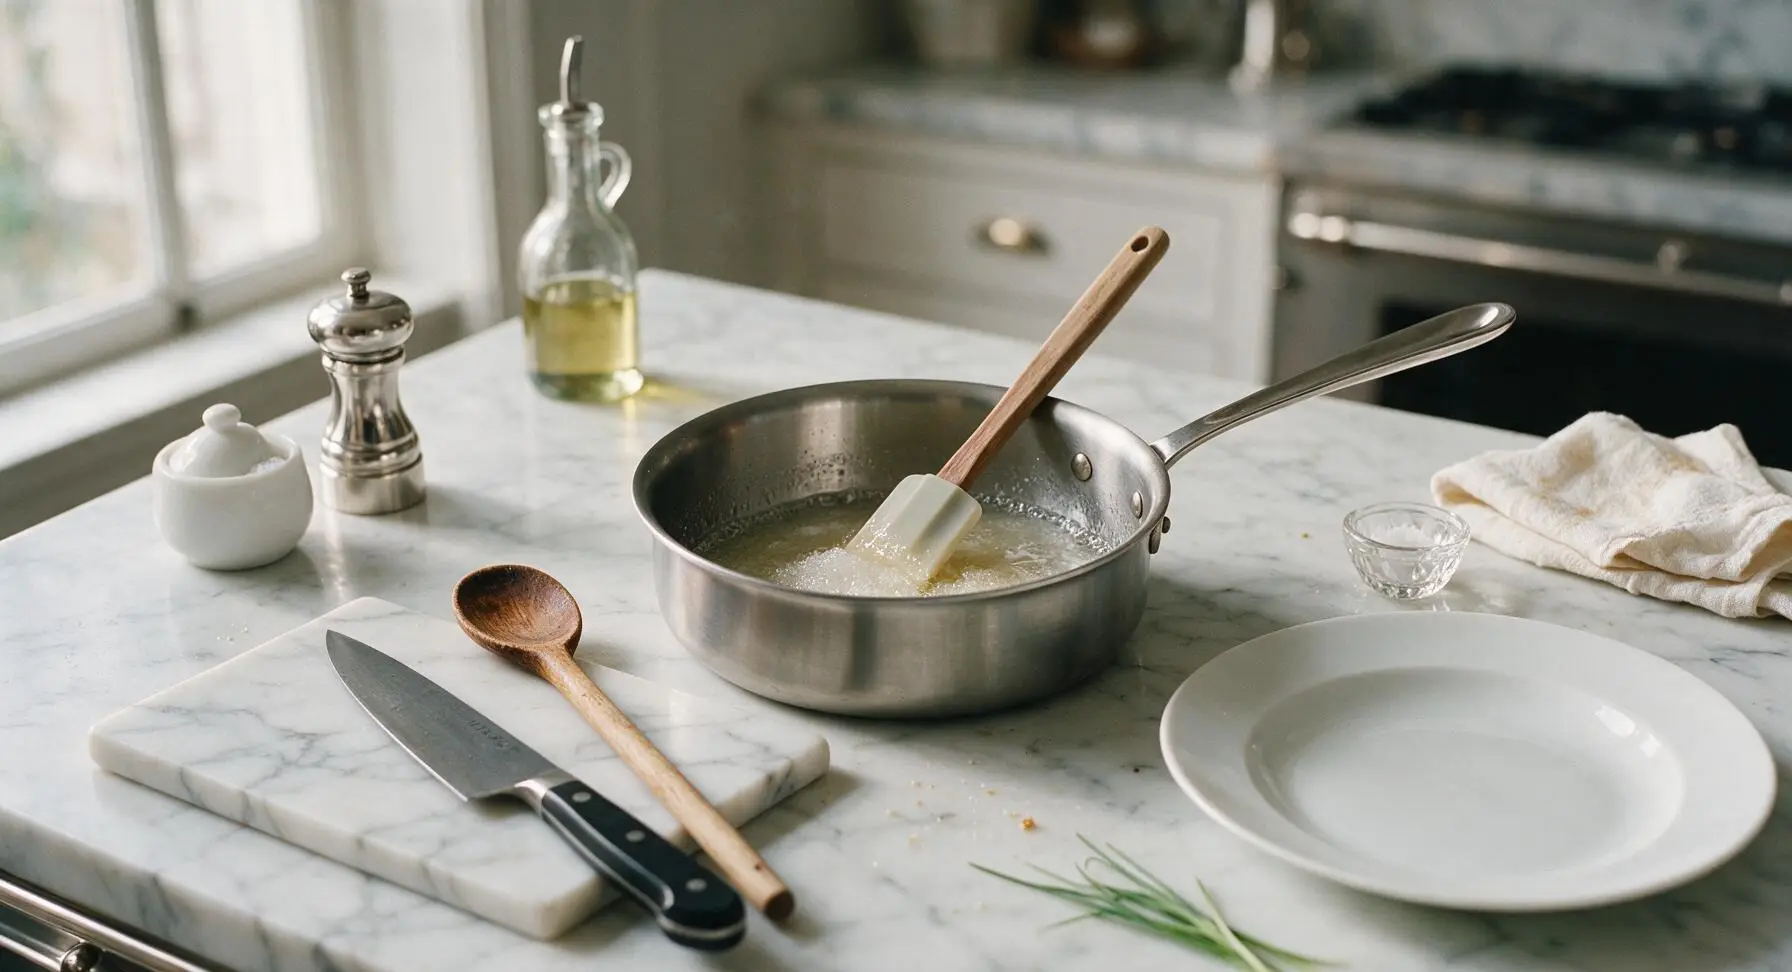
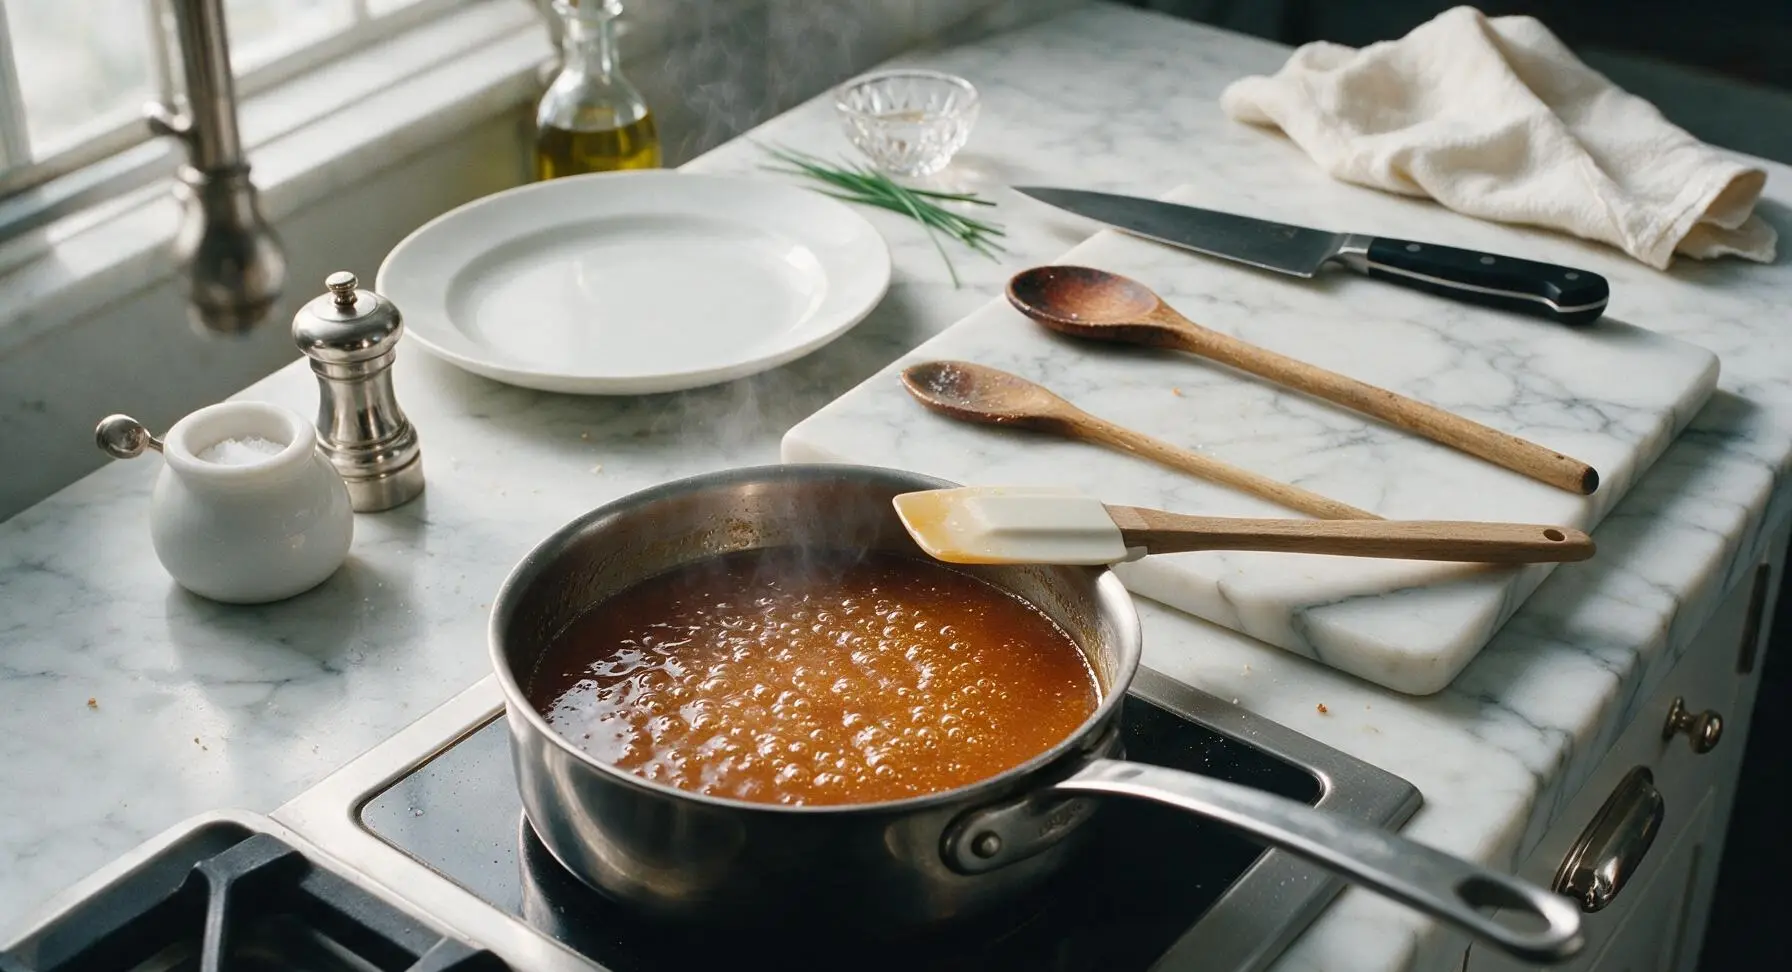
Add Flavor Enhancers
After 5 minutes of simmering, remove the pan from heat and set it back on the rattan trivet. Slowly pour in the pure maple syrup, then add the ground cinnamon, fine sea salt, and vanilla extract. Stir slowly with the silicone spatula for 30 seconds to fully incorporate all ingredients, breaking up any small clumps of cinnamon to ensure even distribution. Pour slowly, as the warm syrup will bubble up slightly when room-temperature ingredients are added, which can cause splatters.
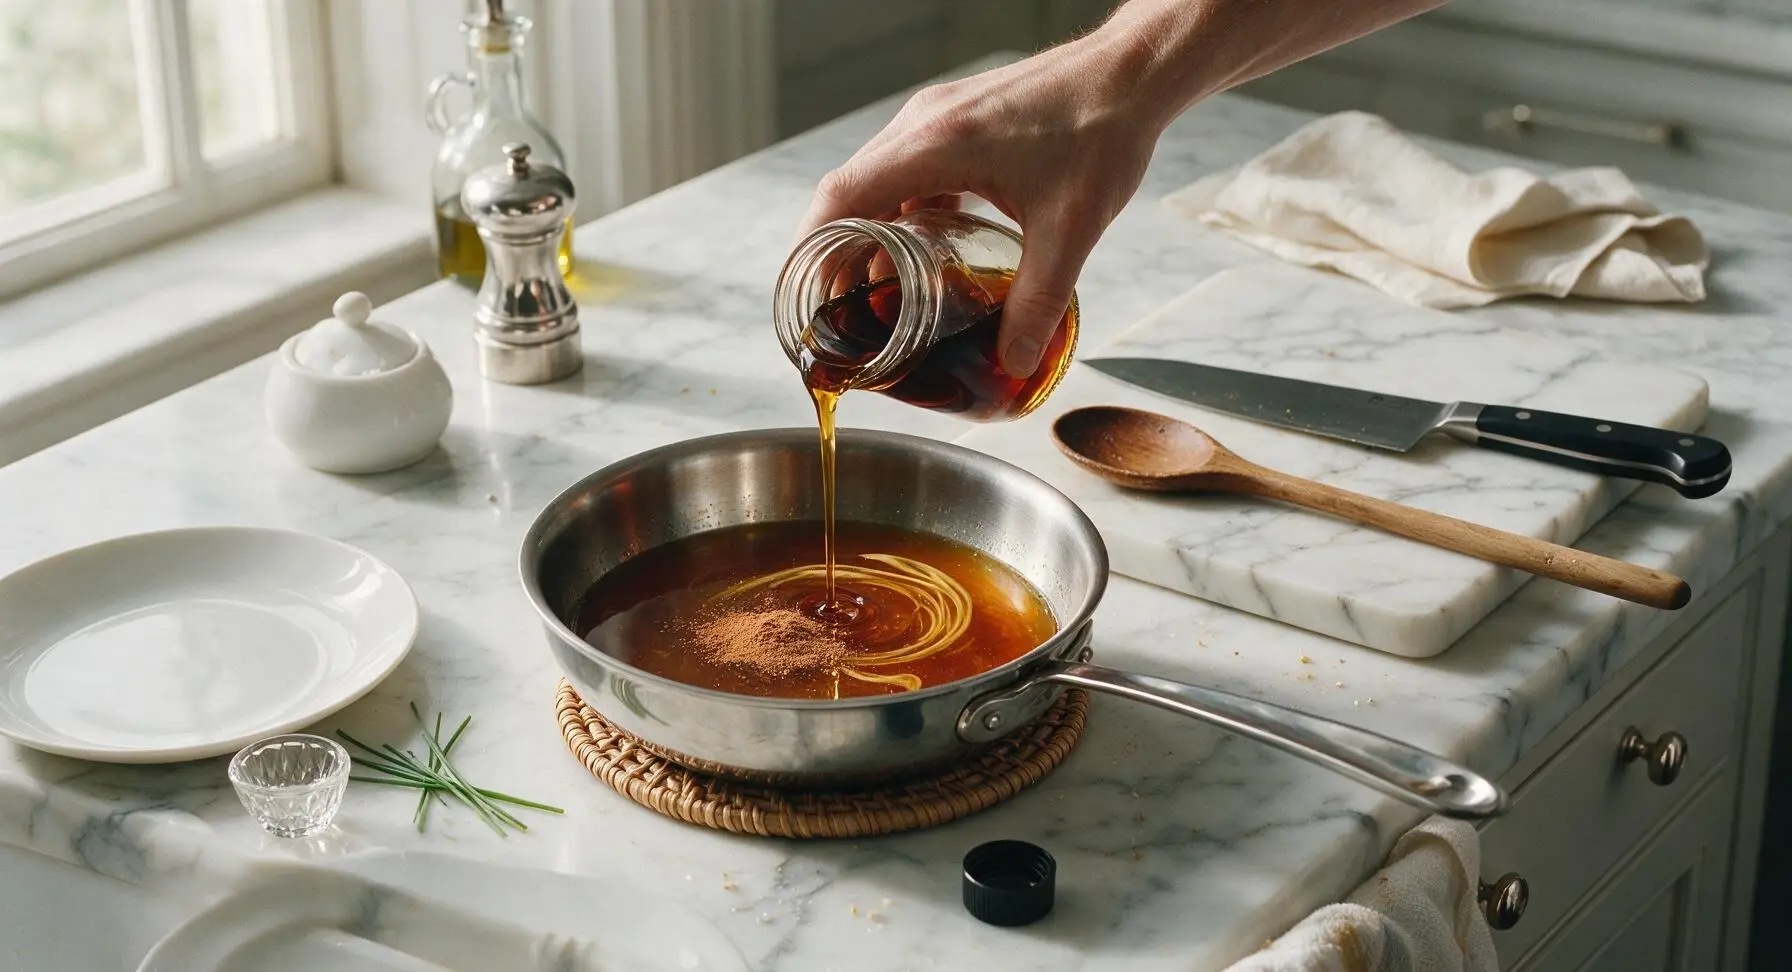
Test Syrup Consistency
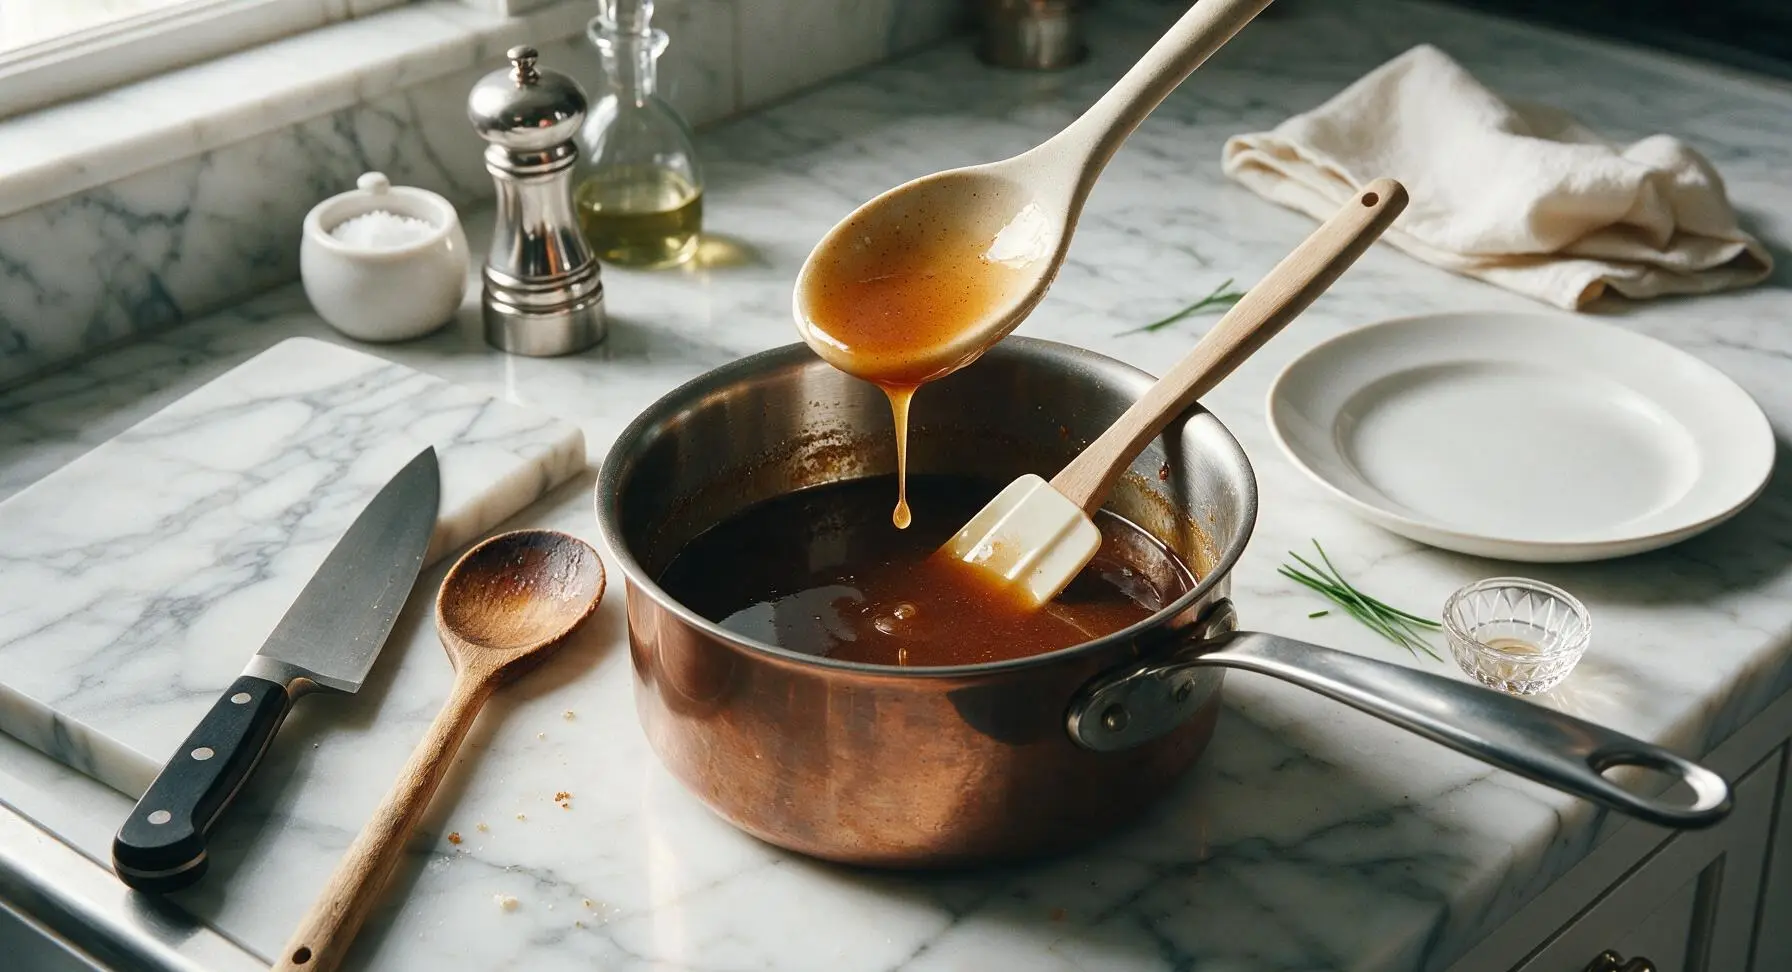
Dip the matte cream ceramic tasting spoon into the warm syrup, then lift it 5cm above the pan. The syrup should coat the back of the spoon in a thin, even layer that runs slowly off the edge in a single steady stream when tilted. If the syrup is too thin and runs off in fast drips, return it to low heat for 1 additional minute of simmering; if it is too thick, stir in 1 tablespoon of warm water to thin. Keep in mind the syrup will thicken noticeably as it cools, so err on the slightly thinner side while hot.
Cool and Serve Syrup
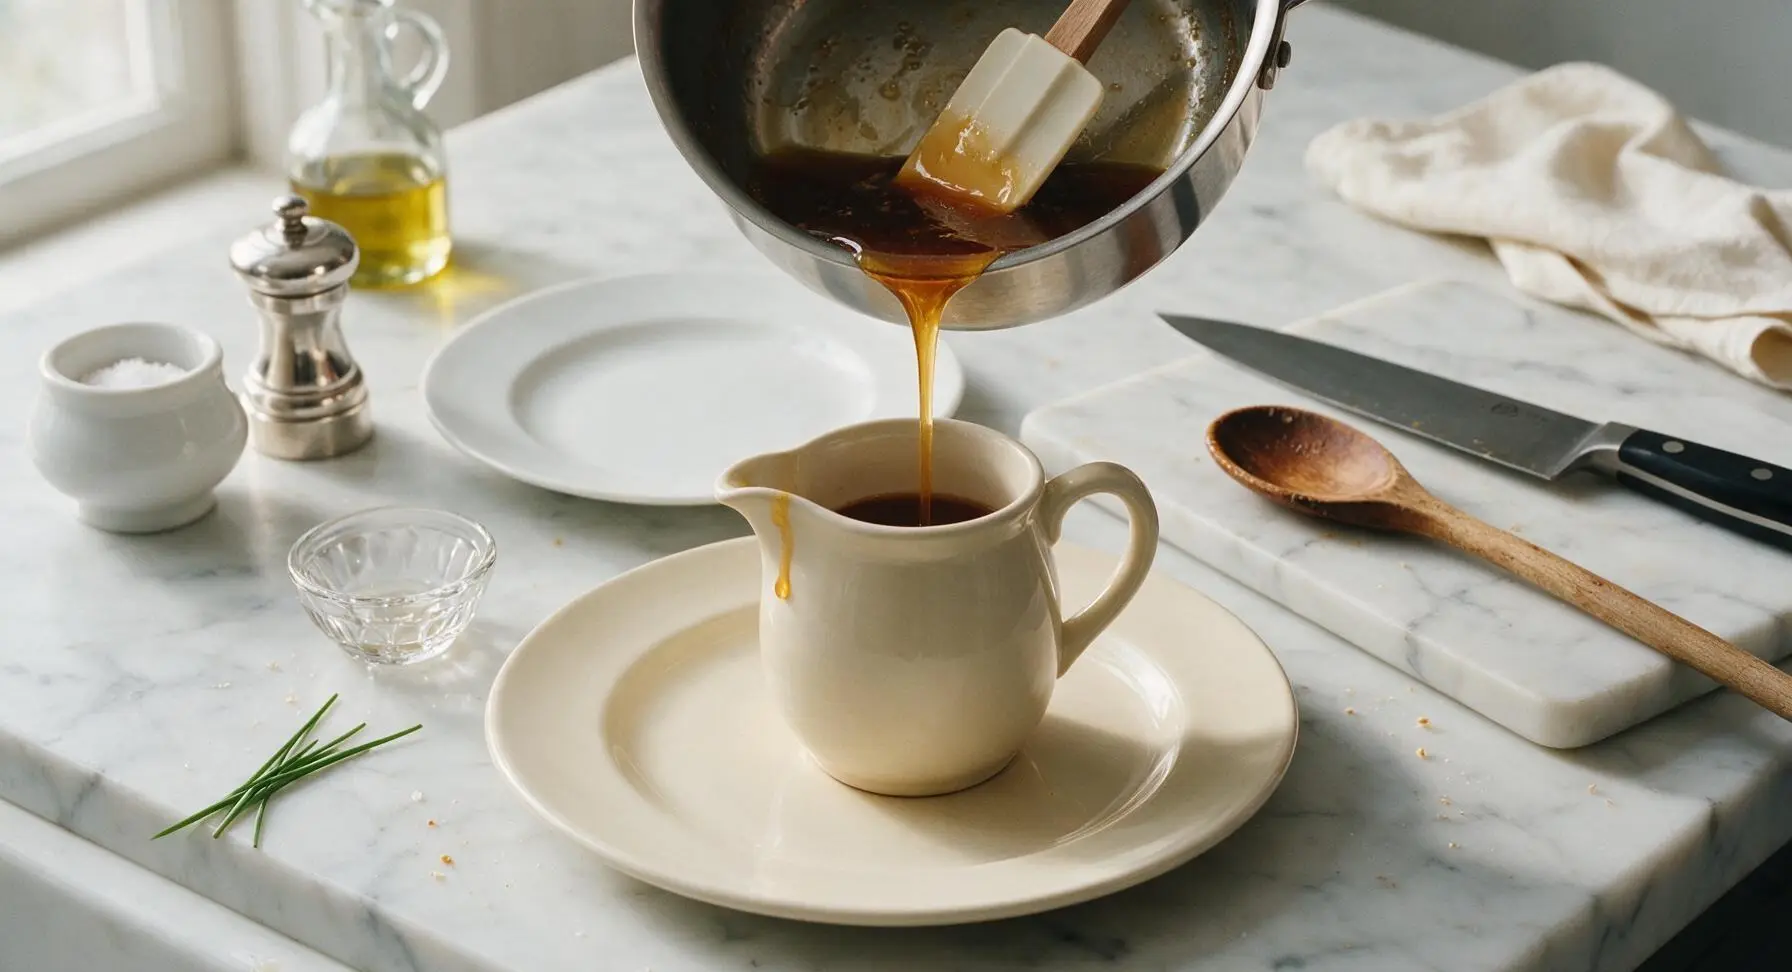
Let the syrup rest in the saucepan on the trivet for 3 minutes to cool slightly and let surface bubbles subside. Carefully pour the warm syrup into the cream white hand-thrown ceramic syrup pitcher, using the silicone spatula to scrape every last drop of syrup from the pan sides and bottom. Wipe any small drips from the outside of the pitcher with a corner of the burnt orange linen napkin for a clean presentation. Serve warm over French toast, pancakes, or waffles.
Tips
2.Let the syrup rest for 3 full minutes after cooking before serving: boiling-hot syrup can cause painful mouth burns, and the short rest lets it thicken to the ideal pourable consistency that clings to French toast instead of running straight off the plate.
3.Store leftover syrup in a sealed glass jar in the refrigerator for up to 2 weeks: the butter in the syrup will solidify when chilled, so reheat gently in 30-second microwave bursts or in a small pan over low heat before serving, adding a teaspoon of warm water if it thickens too much.






OMG this syrup is a total game changer! I made it for our Sunday family brunch earlier this week and everyone was asking for the recipe. It’s so buttery and smooth, way better than the store-bought corn syrup garbage we usually grab. 10 minute cook time? Are you kidding? I’ll never buy syrup again!
My kids loved it! I was worried it would be too rich, but it’s perfectly sweet and that buttery flavor? They were dipping their sausage links in it too, lmao. Super easy to whip up even on chaotic school mornings when everyone is running late.
Wait, can I make this with dairy-free butter? My youngest has a milk allergy and I’ve been hunting for a syrup recipe that doesn’t have weird additives or artificial flavors that works for our diet.
SO good. I made this with my tiny dorm hot plate since I don’t have a full kitchen, and it came together no problem in 10 minutes flat. Way cheaper than buying name-brand syrup every week, tastes like the fancy stuff they serve at bougie brunch spots. 10/10, will be making this all semester.
Tastes exactly like the buttery syrup my grandma used to make back in the 70s! I’ve been trying to replicate her recipe for years and this is spot on. Not too thick, not too runny, perfect amount of vanilla. Brought it to our neighborhood potluck last weekend and people were pouring it over everything, even the coffee cake. Total hit!
I prepped a batch of this for our weekend camping trip and it held up great! Poured it over campfire french toast and even stirred a little into my morning coffee as a sweetener. Zero fuss, easy to pack in a mason jar, no messy leaks. Will be a staple on all our trips from now on.
This is such a nice, easy recipe! I added a tiny pinch of cinnamon to my batch and it gave it such a warm, cozy flavor. Served it to my bridge club ladies with baked french toast casserole and everyone asked for a copy of the recipe to take home.
Meal prepped a jar of this on Sunday and it lasted all week for quick weekday breakfasts! We used it on french toast, frozen waffles, even drizzled a little over vanilla ice cream for a quick weeknight dessert when we didn’t have time to bake. Total multitasker recipe, worth every minute.
Wait, quick question — do I need to refrigerate this after making it? I’m a total newbie at cooking and don’t want to mess this up, it smells so good while it’s simmering on the stove!
Y’all, this syrup is SO good! I added a splash of bourbon to my batch (don’t judge, it’s for adult brunch!) and it was absolutely insane. Served it over pecan crusted french toast and my guests were raving the whole time.
Made this this morning for my boyfriend’s birthday breakfast and he said it’s better than the artisanal syrup we bought on our Vermont honeymoon! It’s so rich and buttery, not cloyingly sweet like so many grocery store brands. I will absolutely be making this on repeat, no more store syrup for us.
I was super skeptical a homemade syrup could be that easy, but wow — 10 minutes, simple ingredients I already had in my pantry, and it tastes way more fancy than it has any right to. Drizzled it over frozen waffles for my kid’s before-school breakfast and they didn’t even complain about eating breakfast today. Total mom win!