1.Why use Granny Smith apples instead of sweeter varieties for these fried pies?
▾
Granny Smith apples are ideal here because their firm, crisp texture holds up perfectly to cooking without turning mushy, and their bright tartness balances the sweet brown sugar, warm spices, and rich, crispy fried crust for that perfectly balanced, classic Southern pie flavor.
2.Can I use homemade pie crust instead of the refrigerated 9-inch store-bought kind?
▾
Absolutely! Homemade all-butter or lard pie crust works beautifully for an even richer, flakier result. Just roll it to the same 1/8-inch thickness as store-bought 9-inch crusts, and cut matching 6-inch circles so your pies seal evenly and fry up consistently every time.
3.What oil is best for frying these apple pies to get a crispy, non-greasy crust?
▾
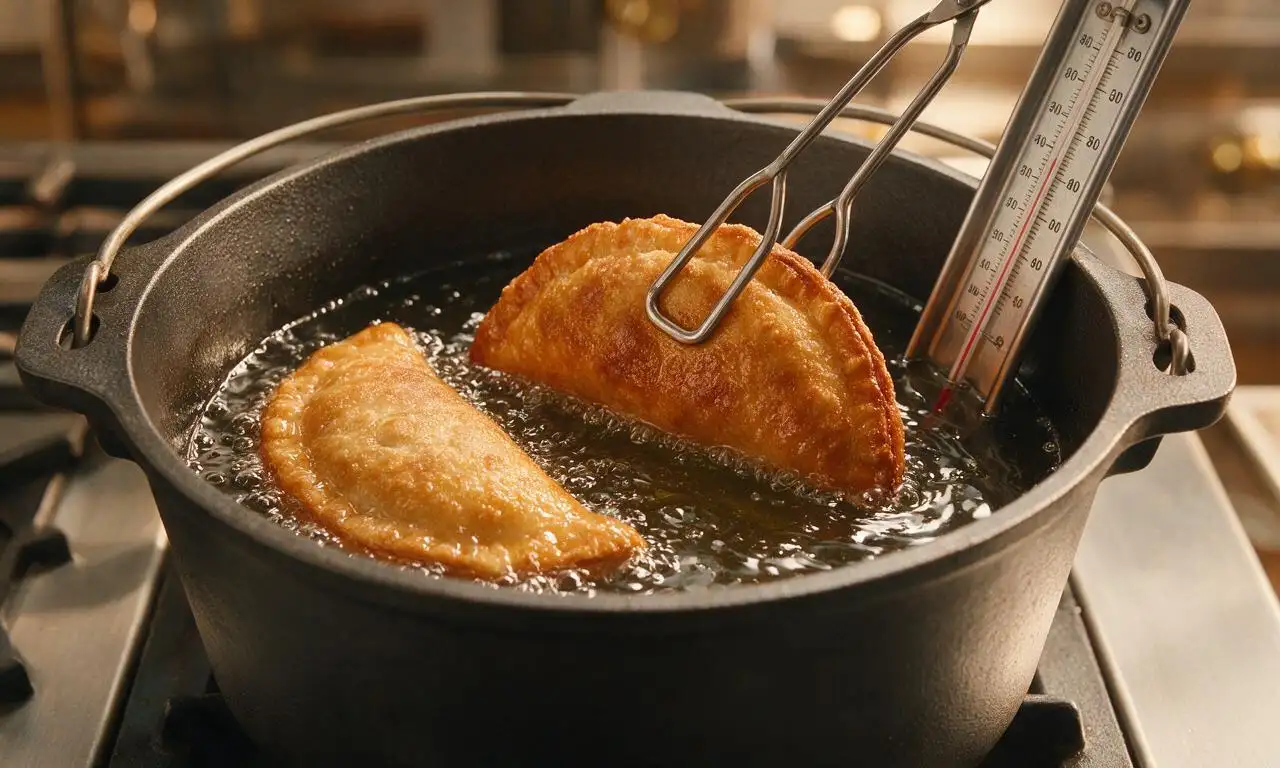
Reach for neutral, high-smoke-point oils like vegetable, canola, or peanut oil for best results. Heat it to a steady 350°F—too hot and the crust burns before the filling cooks, too cool and the crust soaks up excess oil and turns soggy instead of light and crisp.
4.How do I keep the pie edges from popping open while frying?
▾
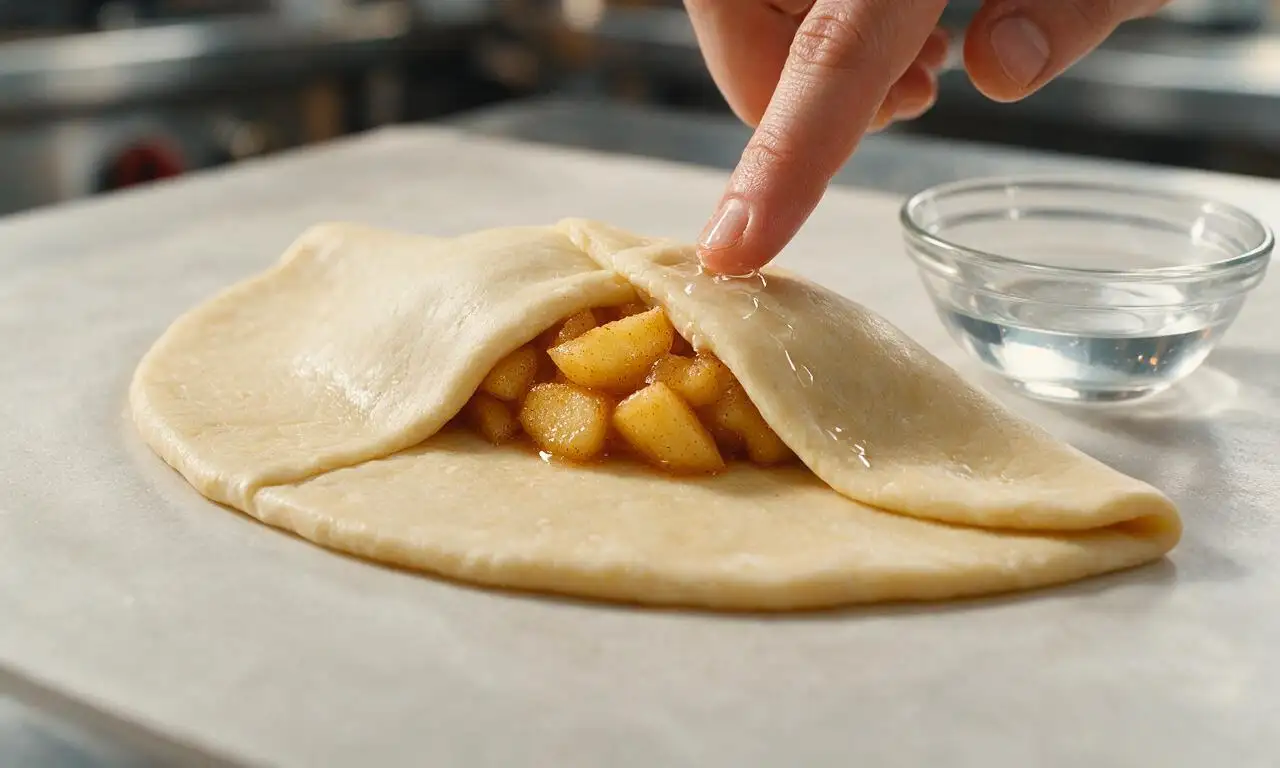
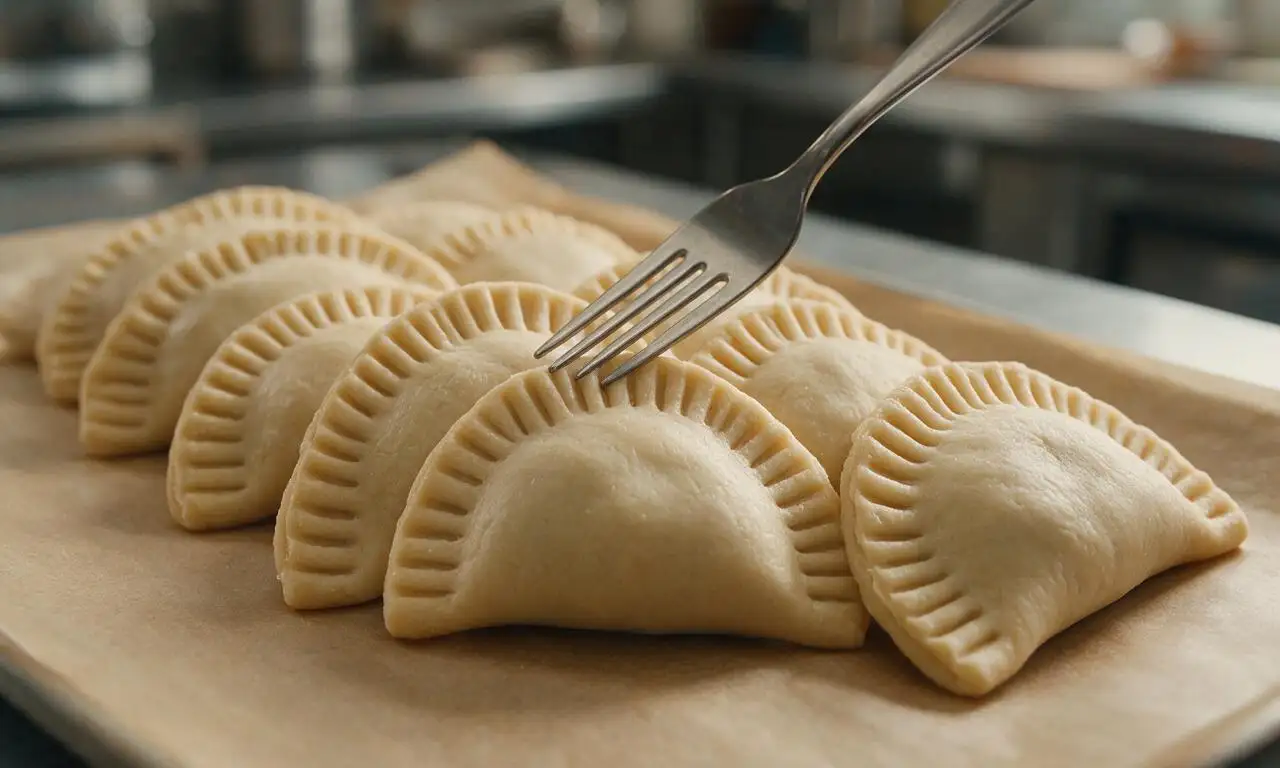
Start by not overstuffing each pie circle—2 to 3 tablespoons of filling per 6-inch crust round is perfect. Brush the entire inner edge with a little egg wash or cold water before folding, then crimp tightly with a fork, pressing firmly all the way around to create a tight seal that won’t burst mid-fry.
5.Can I bake these instead of frying them for a lighter version?
▾
You sure can! Brush the sealed, crimped pies with melted butter or egg wash, cut a small slit in the top to vent steam, and bake on a parchment-lined sheet at 400°F for 18 to 22 minutes, until deep golden. Note they won’t have that exact crispy fried texture, but they’re still delicious.
6.Do I need to pre-cook the apple filling before assembling the pies?
▾
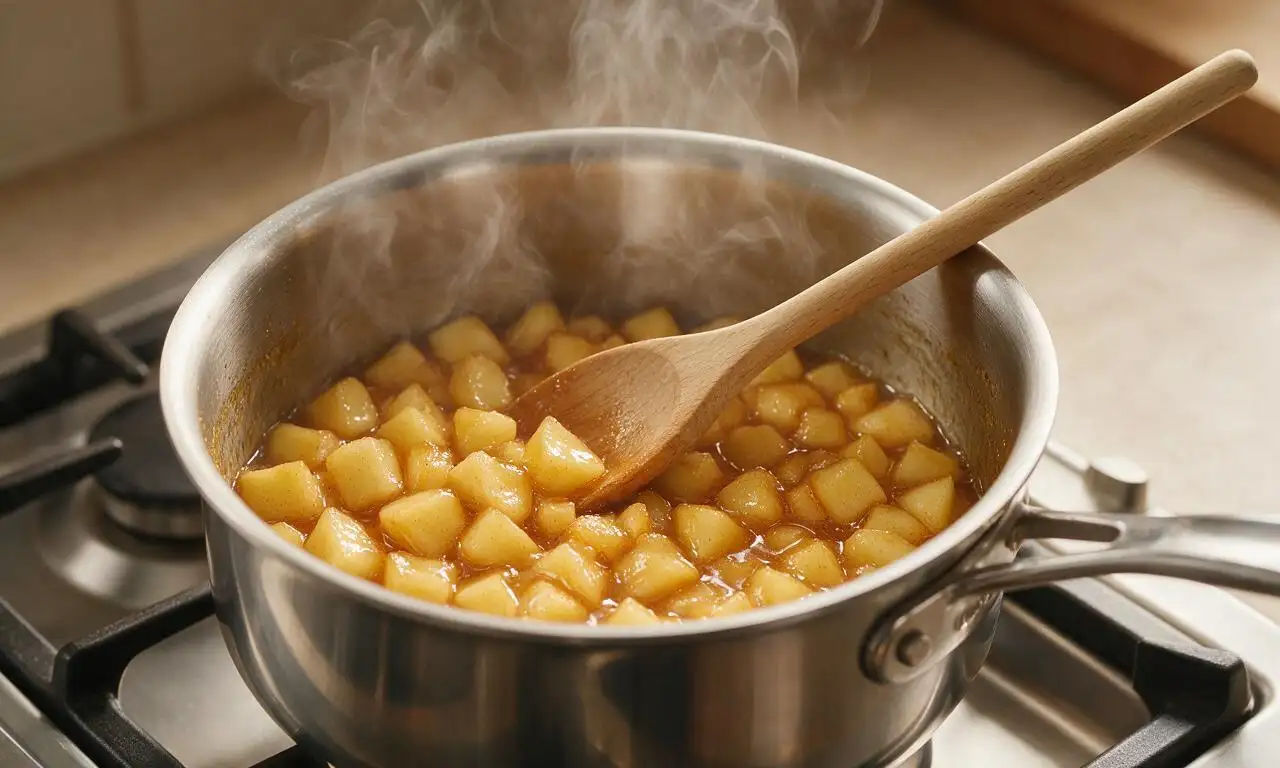
Yes, a quick 5 to 7 minute sauté of the diced apples with brown sugar, cinnamon, and nutmeg is key. It softens apples just enough, cooks out excess moisture that would make your crust soggy, and lets spices meld fully so you don’t end up with crunchy, unseasoned apple inside.
7.Why does my fried crust turn out soggy instead of light and flaky?
▾
Soggy crust almost always traces back to oil temperature that’s too low, or excess moisture in your filling. Make sure your oil holds a steady 350°F, drain cooked filling fully before adding it to crusts, and don’t overcrowd the pan, which drops oil temp fast and leads to greasy, limp pies.
8.Can I make these pies ahead of time and freeze them for later?
▾
Absolutely! Assemble the sealed, uncooked pies in a single layer on a baking sheet, freeze until solid, then transfer to a labeled freezer bag for up to 3 months. Fry straight from frozen at 340°F for 4 to 5 minutes per side, no thawing needed, to avoid a soggy crust.
9.What’s the best way to drain excess oil off the freshly fried pies?
▾
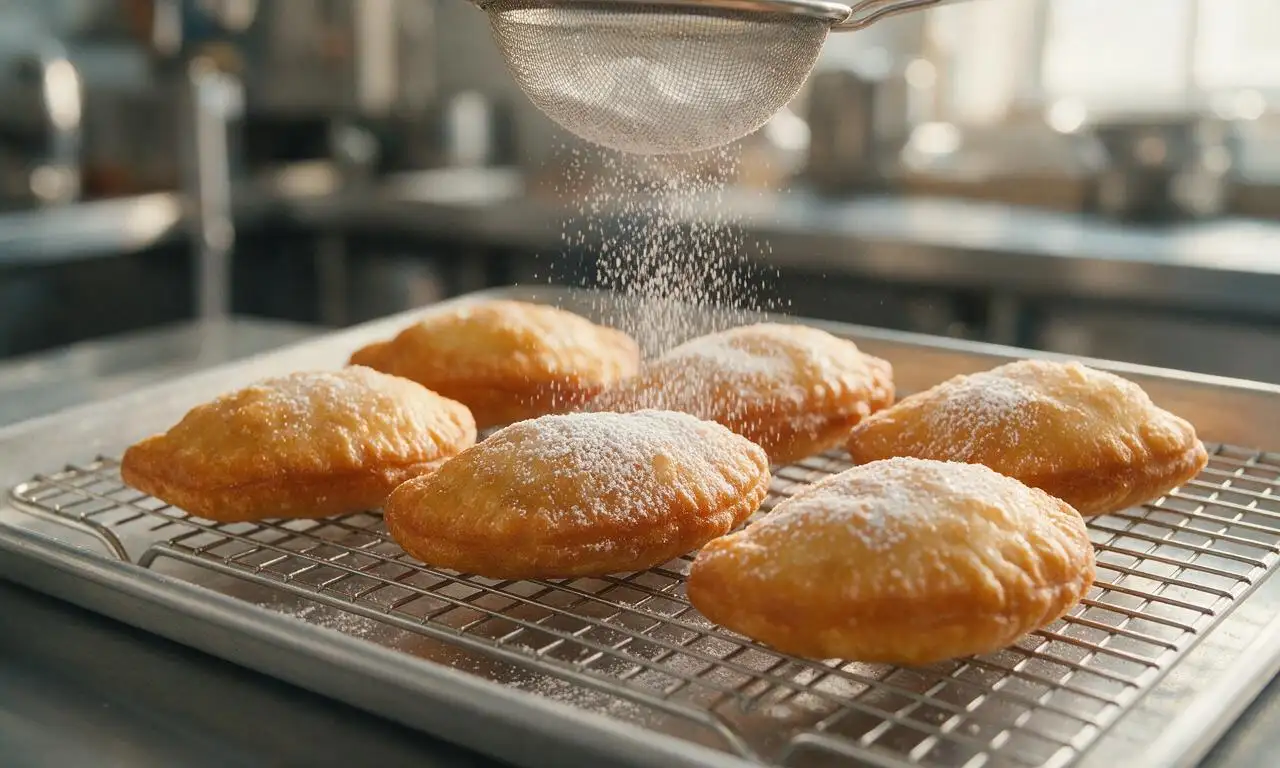
Set up a wire rack lined with paper towels over a baking sheet right next to your fry station. As soon as you pull golden pies out of the oil, set them on the rack to drain for 2 to 3 minutes—don’t stack them while hot, as trapped steam will soften that perfectly crispy crust.
10.Can I use a different type of sugar if I don’t have light brown sugar on hand?
▾
If you’re out of light brown sugar, make a quick substitute by mixing 1 cup of granulated sugar with 1 tablespoon of molasses, stirred until fully combined. Dark brown sugar works too, but it adds a deeper, more molasses-forward flavor that’s slightly richer than the classic version.
11.How much cinnamon and nutmeg should I use for that classic spiced apple flavor?
▾
For 3 cups of diced Granny Smith apples, 1 teaspoon of ground cinnamon and 1/4 teaspoon of freshly grated nutmeg hits that perfect warm, cozy balance without overpowering the bright apple flavor. Taste the cooked filling before assembling, and add a pinch more spice if you prefer a bolder kick.
12.How big should I cut the pie crust circles for the perfect handheld size?
▾
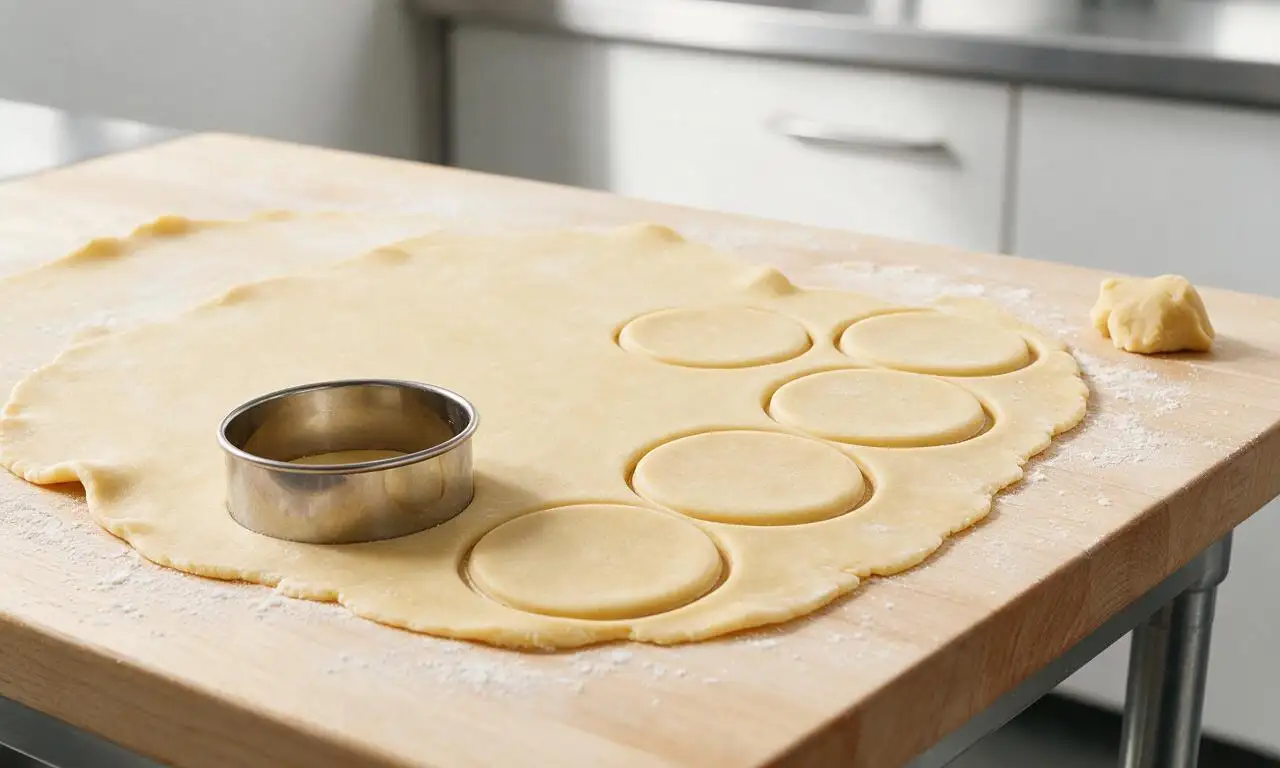
Each 9-inch refrigerated pie crust will yield 3 to 4 six-inch circles, which is the ideal handheld size. Use a 6-inch round cookie cutter, or trace around a small cereal bowl with a paring knife to get even, consistent circles that fold easily without stretching the dough too thin.
13.Do I need to cut vent slits in the top of the pies before frying?
▾
Yes! Cut 1 to 2 tiny 1/4-inch slits in the top of each sealed pie right before lowering it into the oil. Those slits let built-up steam escape as the filling cooks, which prevents pies from bursting open at the crimped edges and keeps air circulating for an evenly crisp crust.
14.Can I add other mix-ins to the apple filling for extra flavor?
▾
Of course! A splash of vanilla extract, a tiny pinch of allspice, a handful of chopped toasted pecans, or a tablespoon of melted salted butter stirred into the cooked apple filling adds lovely depth. Just skip too many wet mix-ins, as extra moisture will break your crust seal and make pies soggy.
15.How long do these fried pies stay fresh after cooking?
▾
Stored in an airtight container at room temperature, the pies will stay fresh for up to 2 days, though the crust will soften slightly over time. For the best crispy texture, reheat leftovers in a 350°F oven or air fryer for 3 to 4 minutes instead of microwaving, which makes crust chewy.
16.Is it safe to fry these pies in a stovetop skillet, or do I need a dedicated deep fryer?
▾
You don’t need a fancy deep fryer at all! A heavy-bottomed cast iron skillet or Dutch oven with 1.5 inches of oil works perfectly. Just clip a candy thermometer to the side to monitor oil temperature, and keep a splatter screen handy to catch any hot oil pops as pies cook.
17.What should I serve with these fried apple pies for a classic Southern spread?
▾
For the full nostalgic experience, serve warm pies dusted with a little powdered sugar or cinnamon sugar, alongside a cold glass of sweet tea, a scoop of vanilla bean ice cream, or a dollop of freshly whipped cream. A light drizzle of salted caramel is also a delicious, crowd-pleasing upgrade.
18.Why are my pie crusts shrinking when I cut and fold them for the pies?
▾
Refrigerated pie crust shrinks when it’s too cold and stretched too thin right out of the package. Let crusts sit at room temperature for 10 to 15 minutes before unrolling, don’t pull or stretch dough as you cut and fold, and let assembled pies rest 5 minutes before frying to let gluten relax and prevent shrinkage.

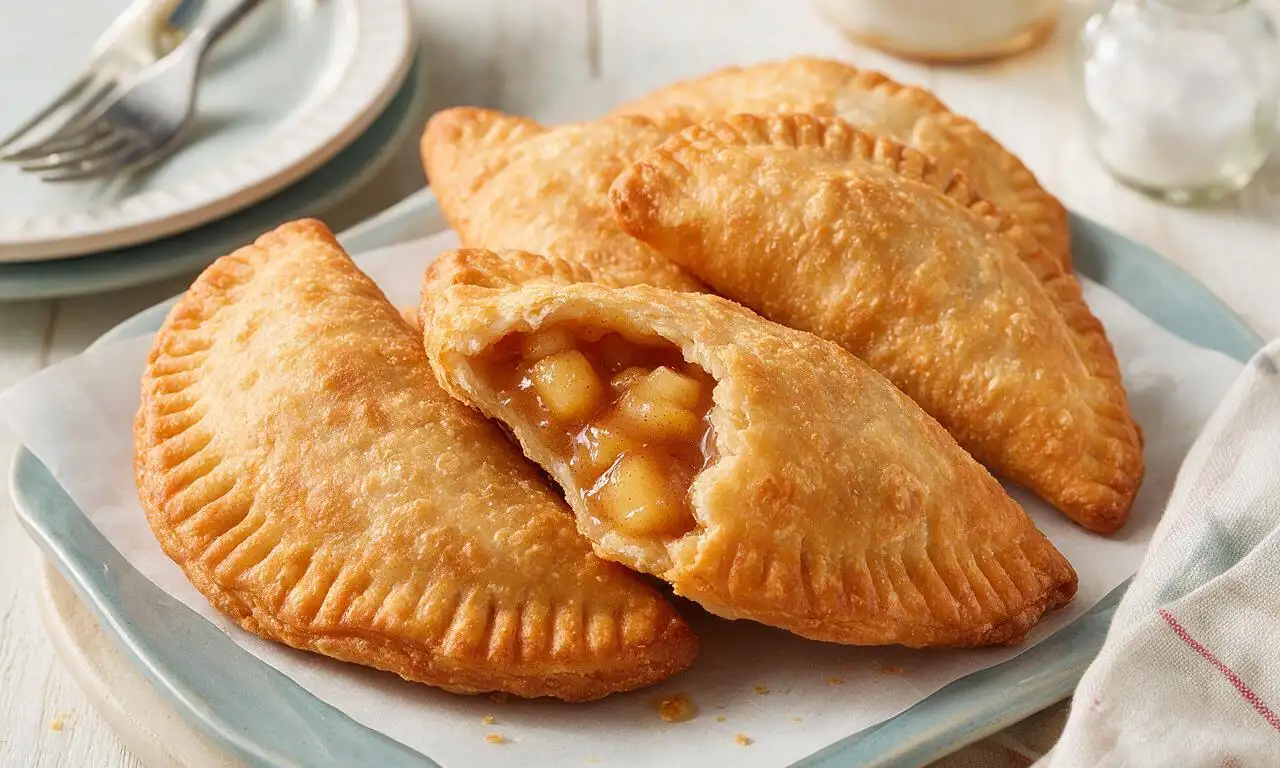






OMG these taste exactly like my grandma’s fried apple pies she used to make for Sunday suppers after church! The crust is perfectly flaky, not too greasy, and the apple filling has just the right amount of cinnamon and nutmeg. I brought a batch to our neighborhood potluck last weekend and every single one was gone in 10 minutes. SO good, will be making these on repeat all fall!
This recipe was so easy to throw together on a weeknight! I was worried fried pies would be too fussy for my skill level, but 45 minutes total cook time? Total game changer. My kids devoured two each after soccer practice and asked if we can have them for dessert every night this week. Only thing I did different was add a tiny drizzle of caramel on top after they cooled, chef’s kiss.
Wait, quick question—can I use store-bought pie crust for these if I’m short on time? I’m hosting a book club tomorrow and want to make these but don’t have a ton of extra time to make crust from scratch.
Made these for our college football watch party this past Saturday and they were a massive hit. I fried them up in my cast iron skillet out on the patio and people kept hovering by the stove waiting for the next batch to come out. Only note: don’t skimp on letting them drain on paper towels for a minute after frying, otherwise they get a little too oily.
I swapped the regular butter for vegan butter and used Granny Smith apples like the recipe suggested, and these came out insane. I packed a couple for my day hike in Rock Canyon yesterday and they were the perfect mid-hike sweet treat, no sogginess even after being in my backpack for 4 hours. Will absolutely be adding these to my regular meal prep rotation for day trips.
How long do these stay good for after making? I want to make a big batch for my kid’s class harvest party on Friday, but I’d need to make them Thursday night to save time.
Okay, full transparency: I have never successfully fried anything without burning it, so I was super nervous to make these. But the temperature guide for the oil was so clear! I kept it at 350 like the recipe said and they came out perfectly golden, no burnt spots at all. Even my super picky partner said they were better than the ones we get at the local cider mill.
I’ve been making fried apple pies for over 50 years, and I have to say this recipe is right up there with the best of them. The balance of sugar and tart apple is perfect, no overly sweet cloying filling like so many newer recipes have. I made a batch for my grandkids when they visited last weekend and they left with a whole tupperware of leftovers to take back to college.
Has anyone tried making these with a gluten free flour blend for the crust? My daughter has celiac and I’ve been searching for a gluten free version of fried apple pies that doesn’t turn out crumbly or weird.
Pro tip from someone who’s made these three times already: dust them with a little cinnamon sugar right after you pull them out of the oil, while they’re still hot. It sticks perfectly and adds that little extra crunch and sweetness that takes them over the top. I get asked for this recipe every single time I bring them somewhere.
Easy recipe, great results. I used a mix of Honeycrisp and Granny Smith apples for the filling like my mom used to do, and it gave the perfect mix of sweet and tart. Cook time was right on 45 minutes even with me stopping to let my dog out halfway through. No fancy ingredients needed, just good old fashioned comfort food.
As a college student on a super tight budget, this recipe was perfect! I already had most of the ingredients in my pantry, no random fancy expensive stuff required. My roommates and I made these instead of ordering takeout dessert last night and we all agreed it was way better than any fast food apple pie we’ve ever had. 10/10 would make again.
I made these for our annual family apple picking trip after we got home with a whole bushel of fresh apples, and they were the perfect post-picking snack. The only issue I had was a couple of pies popped open while frying and oozed filling into the oil—any idea what I did wrong there?