
Fried Morels
intro
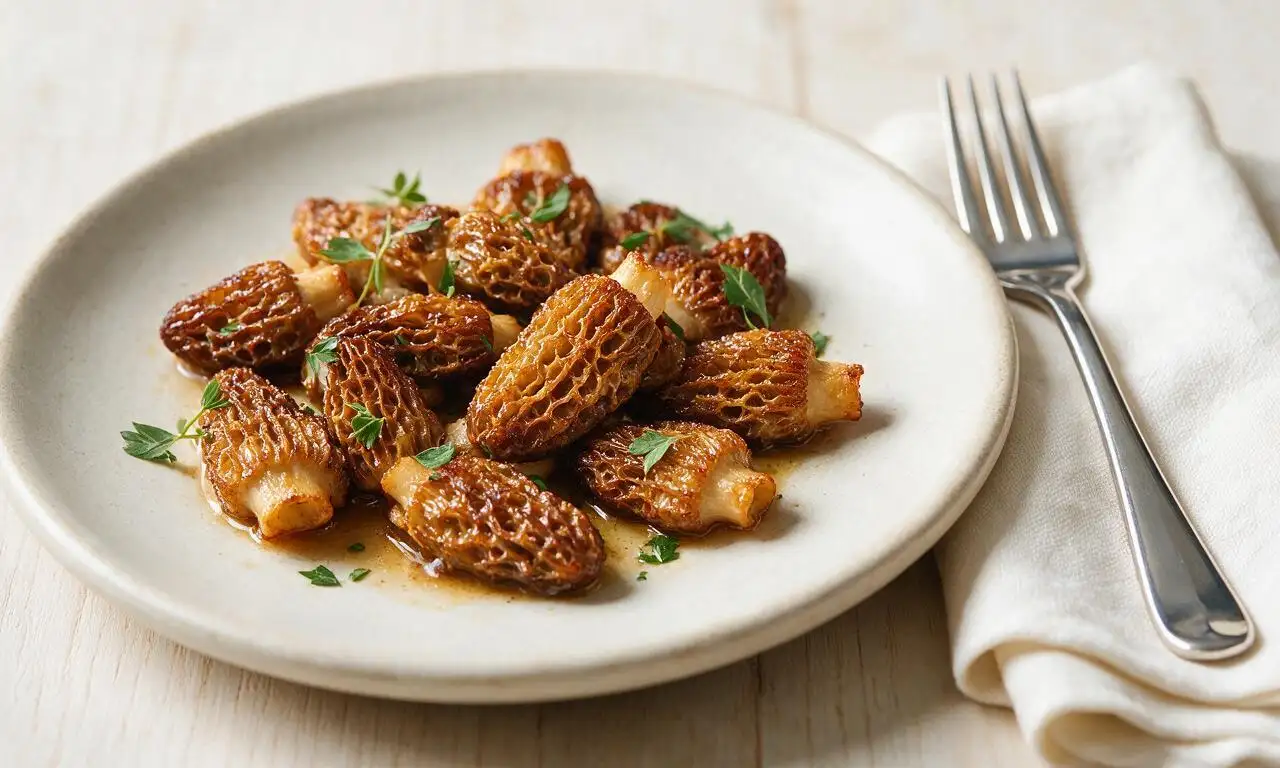
Golden, crispy pan-fried morels with deep earthy, nutty flavor, a beloved spring foraged treat made with simple seasoning to highlight the wild mushroom’s unique taste.
Ingredients
Steps
Prep fresh morels
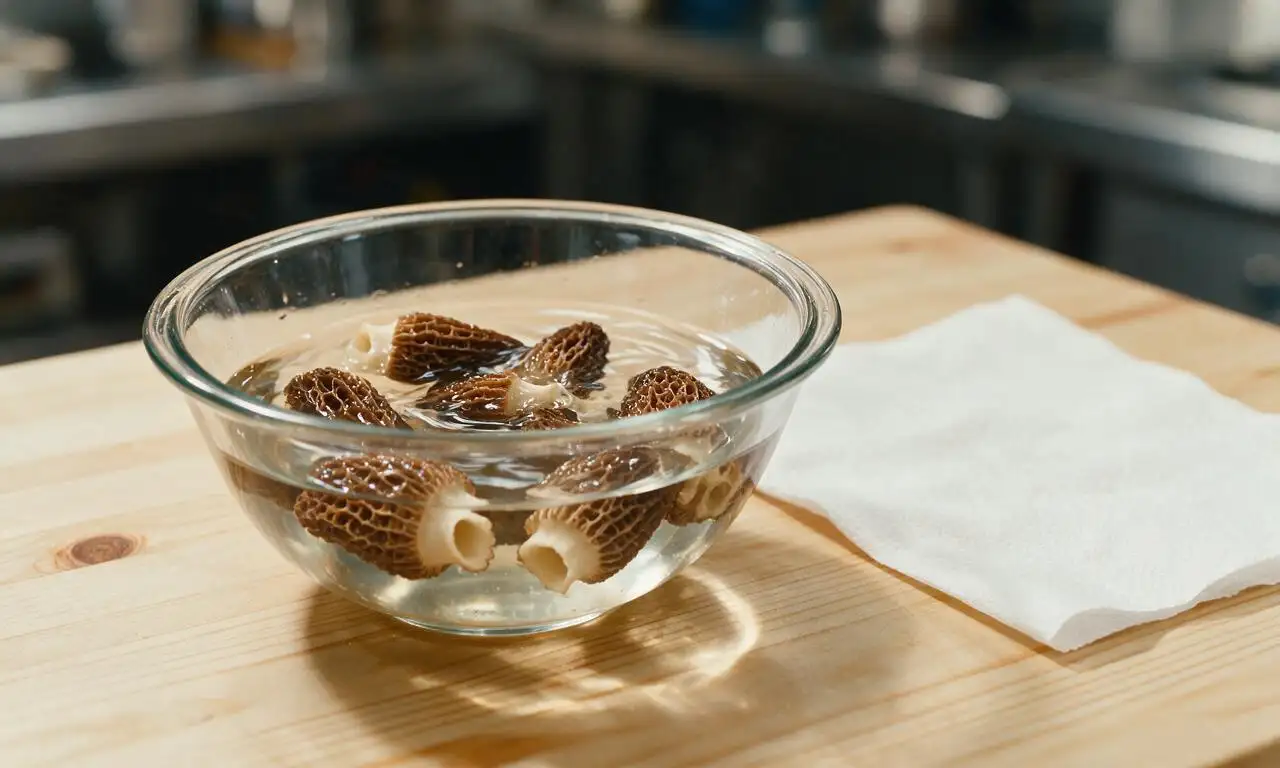
Halve 450g of fresh morels lengthwise, then submerge them in a bowl of cold salted water (1 tsp kosher salt per 4 cups cold water) for exactly 5 minutes to dislodge trapped dirt and small insects. Swish gently, lift morels out of the water (do not pour them into a colander, which leaves settled dirt behind), and pat completely dry with paper towels; do not soak longer than 5 minutes to prevent waterlogged, soggy mushrooms.
Set up breading station
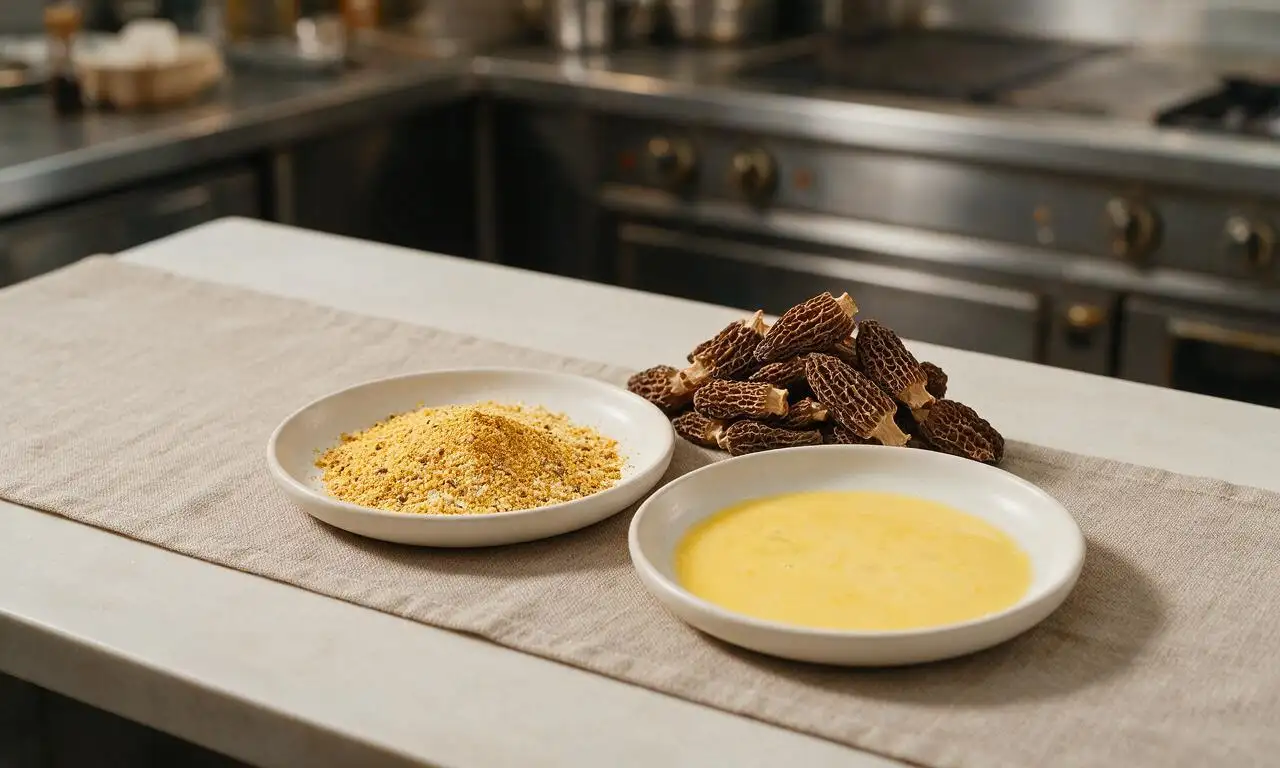
Arrange two shallow dishes next to your dried morels. In the first dish, whisk together 60g all-purpose flour, 35g fine yellow cornmeal, 1 tsp garlic powder, ½ tsp smoked paprika, ½ tsp kosher salt, and ½ tsp ground black pepper until fully evenly mixed. In the second dish, beat 2 large eggs until completely smooth, with no visible streaks of unincorporated egg white.
Coat morel pieces
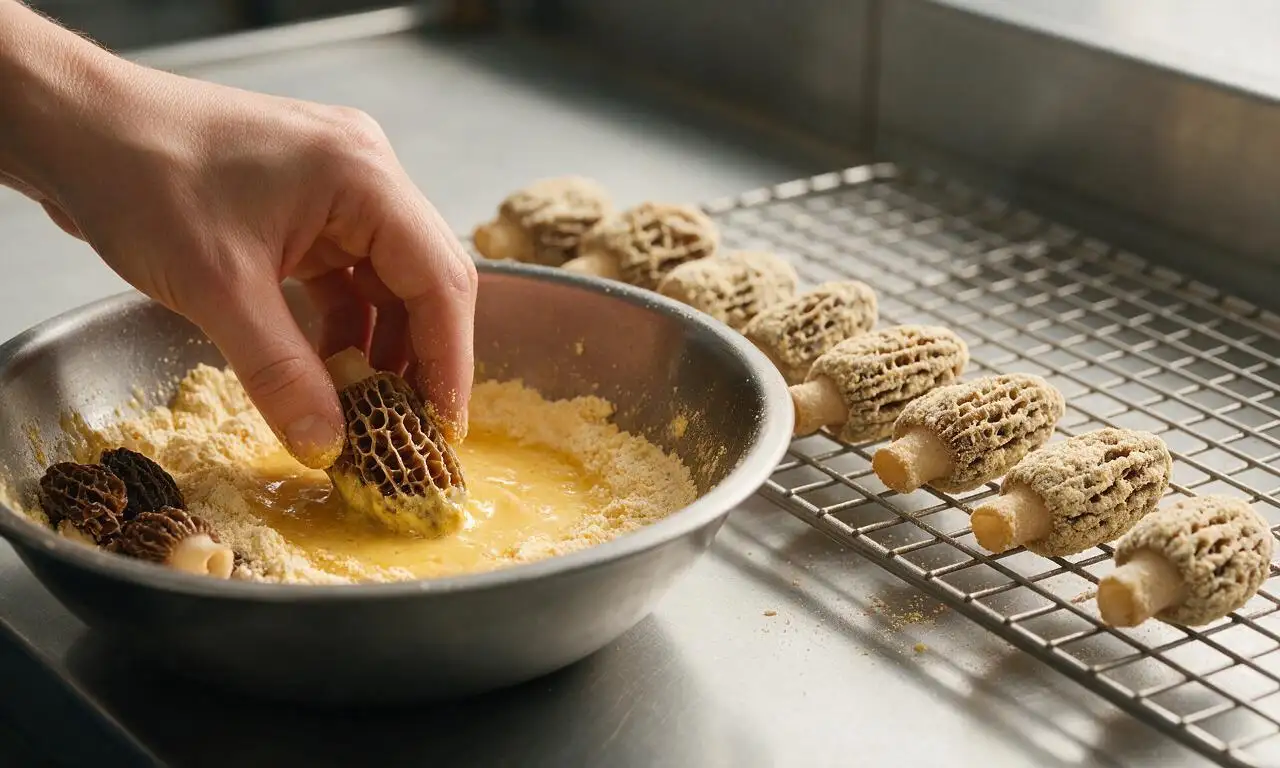
Working in small batches of 6-8 morel halves at a time, dip each piece first in the beaten egg, holding it above the dish for 2 seconds to let excess egg drip off, then toss it in the flour-cornmeal mix to coat fully, pressing gently so the breading adheres to the mushroom’s honeycomb nooks. Set coated morels on a wire rack for 3 minutes to let the breading set before frying, which prevents the coating from falling off during cooking.
Heat pan and fat
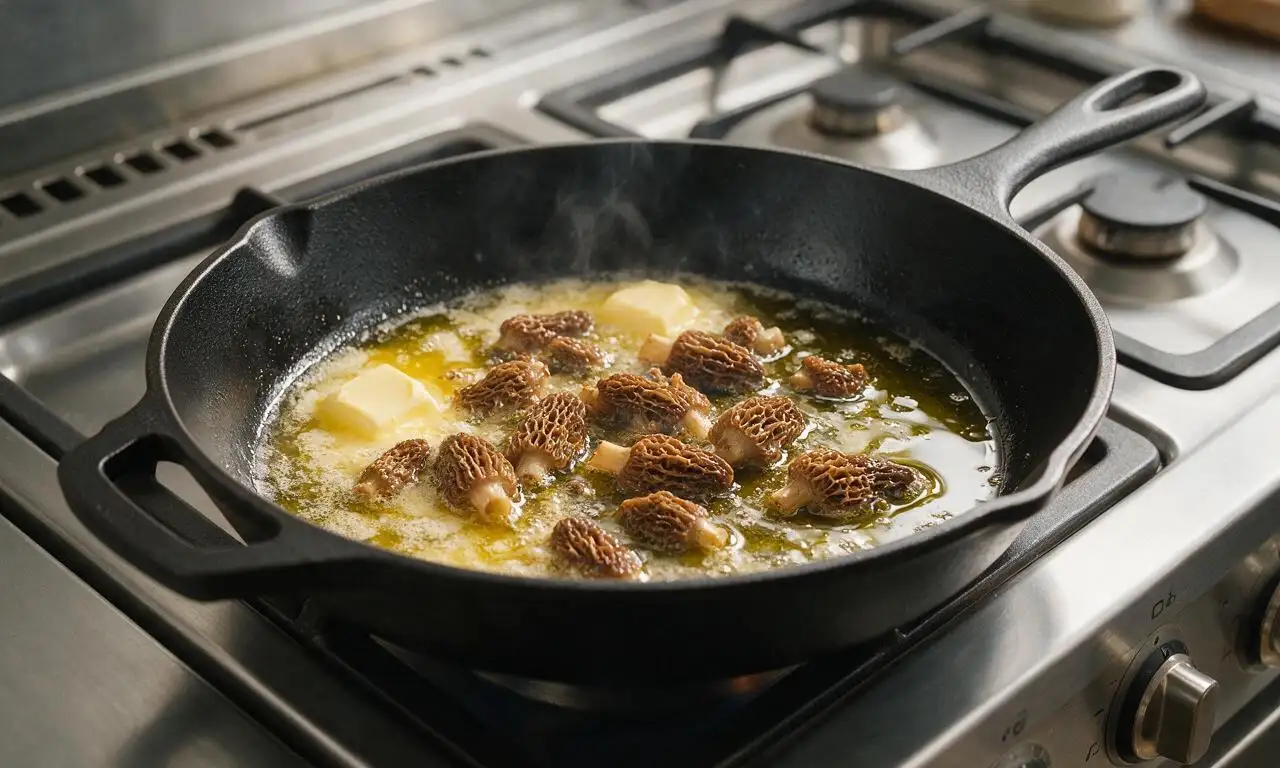
Place a 12-inch heavy-bottomed cast iron skillet over medium heat (target pan surface temperature 350°F / 175°C). Add 3 tbsp unsalted butter and 2 tbsp extra-virgin olive oil, heating for approximately 2 minutes until the butter is fully melted, foaming subsides, and the fat shimmers gently; do not let the butter smoke or turn dark brown, as this will create a bitter burnt taste.
Fry morels until crisp
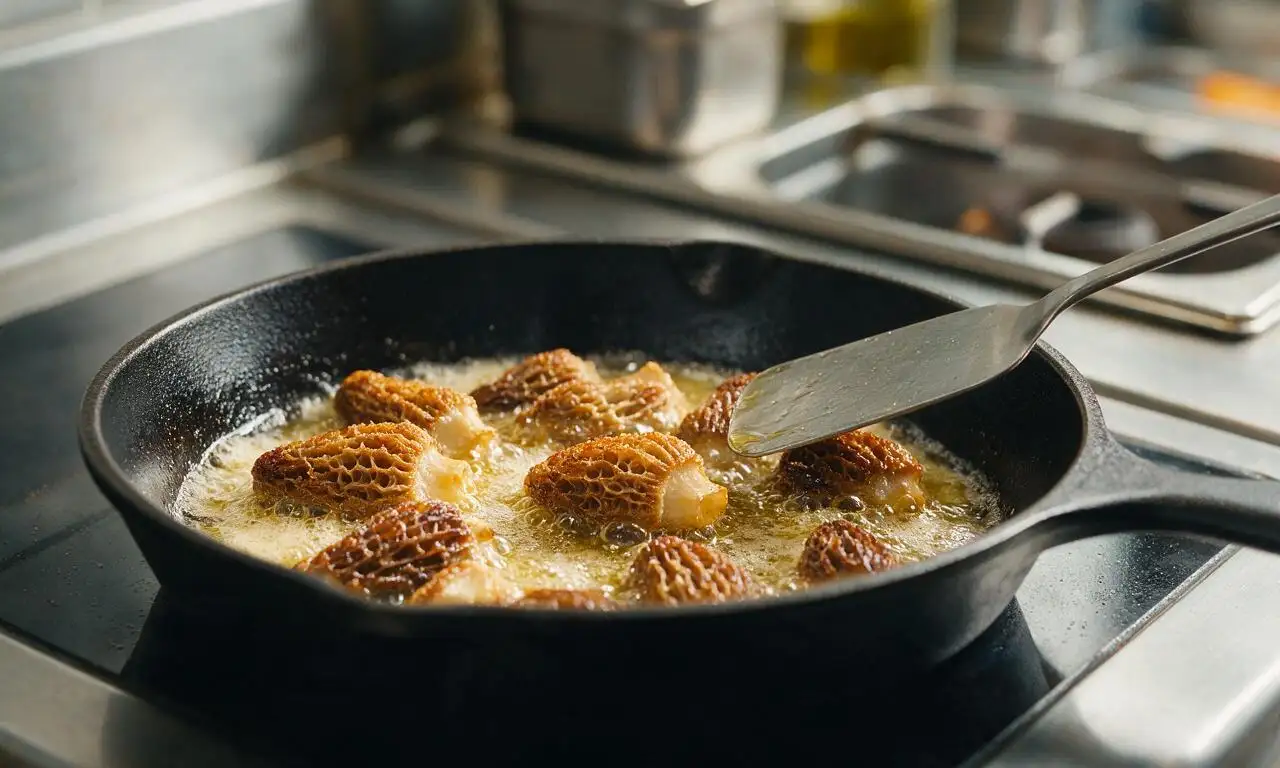
Arrange coated morels in the skillet in a single layer, cut side down, taking care not to overcrowd the pan (cook 2 separate batches if needed). Fry for 3 minutes per side, until the breading turns a deep golden brown and crisp, and the mushroom flesh is tender all the way through. Reduce heat to medium-low if the breading browns faster than 2 minutes per side to avoid burning. Transfer finished morels to a paper-towel lined plate, immediately seasoning with the remaining 1 tsp kosher salt while the surface oil is hot to help salt stick evenly.
Garnish and serve
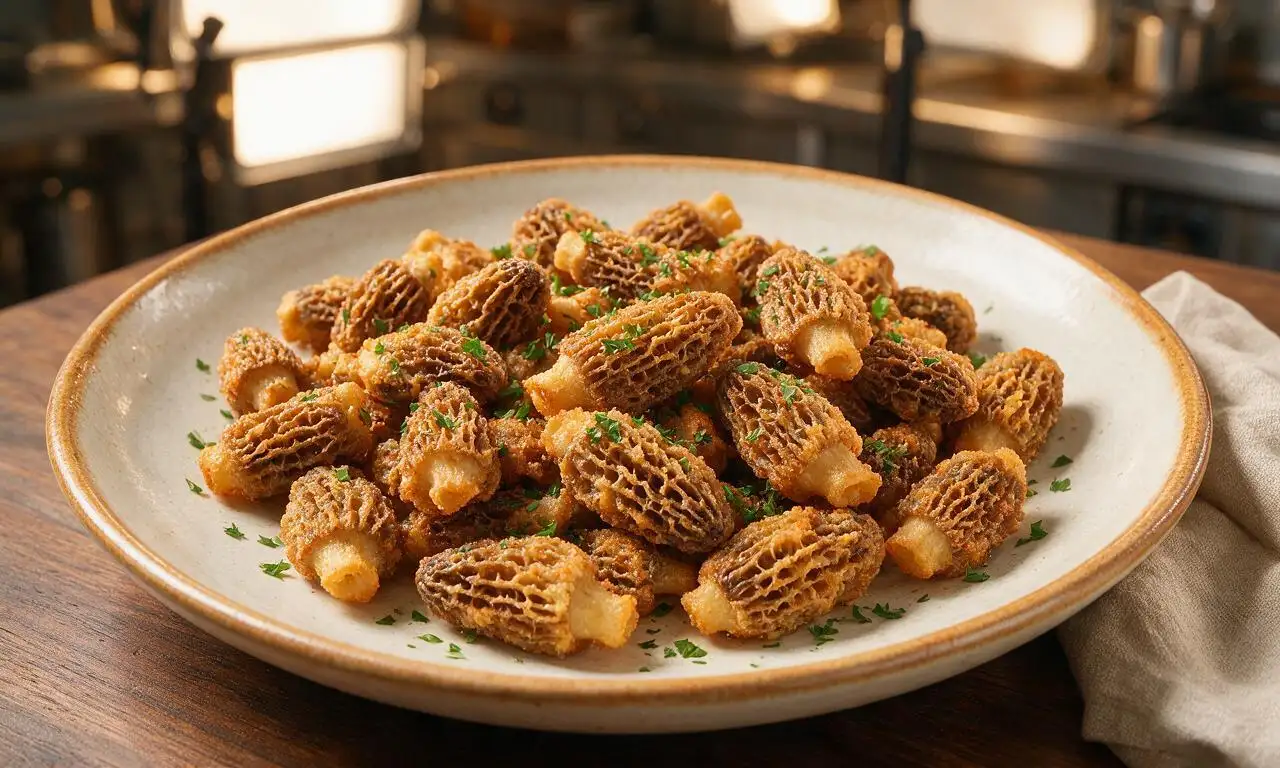
Arrange the hot, freshly salted fried morels on a small serving platter, sprinkle evenly with 2 tbsp finely chopped fresh flat-leaf parsley, and serve immediately while the crust is shatteringly crisp, ideally within 5 minutes of finishing frying, as the breading will soften as it sits.
Tips
2.For an extra-crunchy, thick crust, use a double-dip method: coat each morel in egg, then flour mix, then a second dip in egg, then a second coat of flour mix, and let set 5 minutes on the wire rack before frying.
3.Wait to season fried morels with salt immediately after removing them from the pan—seasoning too early draws moisture out of the mushrooms and makes the breading soggy, while salting hot food helps the seasoning adhere evenly for better flavor.






OMG, these came out SO good! I was nervous morels would get soggy if I pan fried them, but the crust stayed perfectly crispy even 10 minutes after I pulled them off the pan. Served these at our family dinner last night and even my picky teen asked for seconds. Total game changer for morel season!
Took these to a neighborhood potluck over the weekend and they were gone in 10 minutes flat! People kept asking me for the recipe, I can’t believe how simple the breading was — I thought crispy morels would be way more work for a medium difficulty recipe. Only note: I added a little extra garlic powder to the flour mix and it was chef’s kiss.
Found a huge patch of morels on a hike last Saturday and used this recipe to cook them up. Cook time was right around 30 minutes like the recipe said, no guesswork, and they had the perfect crunch without overpowering the natural mushroom taste. 10/10, will be making this every morel season from now on.
First time cooking morels ever and I was so stressed I’d mess them up! I followed the instructions step by step and they turned out crispy on the outside, tender on the inside, no sogginess at all. My husband said they’re better than the fried morels we get at the fancy restaurant downtown. Only knocking off one star because the breading station made a little bit of a mess on my counter, but totally worth it.
Made a big batch of these for meal prep last week and honestly? They held up way better than I expected! I reheated them in the air fryer for 3 minutes at 400 and they got crispy again, no sad soggy mushrooms. Perfect quick side for weeknight dinners when I don’t have a ton of time to cook.
My grandma used to make pan fried morels every spring when I was a kid, and this recipe tastes exactly like hers! The crispy cornmeal addition in the breading is exactly what she used, I haven’t found a recipe that got that right until now. Made me so nostalgic eating them, my kids loved them too.
I don’t have a cast iron pan, can I use a regular non-stick skillet for this? I was worried I wouldn’t be able to get the heat high enough to get that crispy crust without burning the breading. I’ve been craving fried morels all spring so I’m excited to try!
Made these for my anniversary dinner with my partner last night, paired with a nice steak and a glass of red wine, and it was the star of the meal! The crunch was insane, and the earthy morel flavor was front and center, not covered up by too much seasoning. We both went back for seconds, no leftovers at all.
I swapped the regular all purpose flour for a 1:1 gluten free flour blend and used gluten free panko, and these came out perfectly crispy! I was so worried the texture would be off, but no one at my backyard cookout could tell they were gluten free. Such a versatile recipe!
Just picked my first ever batch of morels this morning and stumbled on this recipe. The cook time is totally doable even for a total newbie like me, difficulty level felt totally fair — I didn’t feel overwhelmed at any step. Ended up with perfectly crispy, delicious mushrooms, I’m so proud of myself! SO good.